
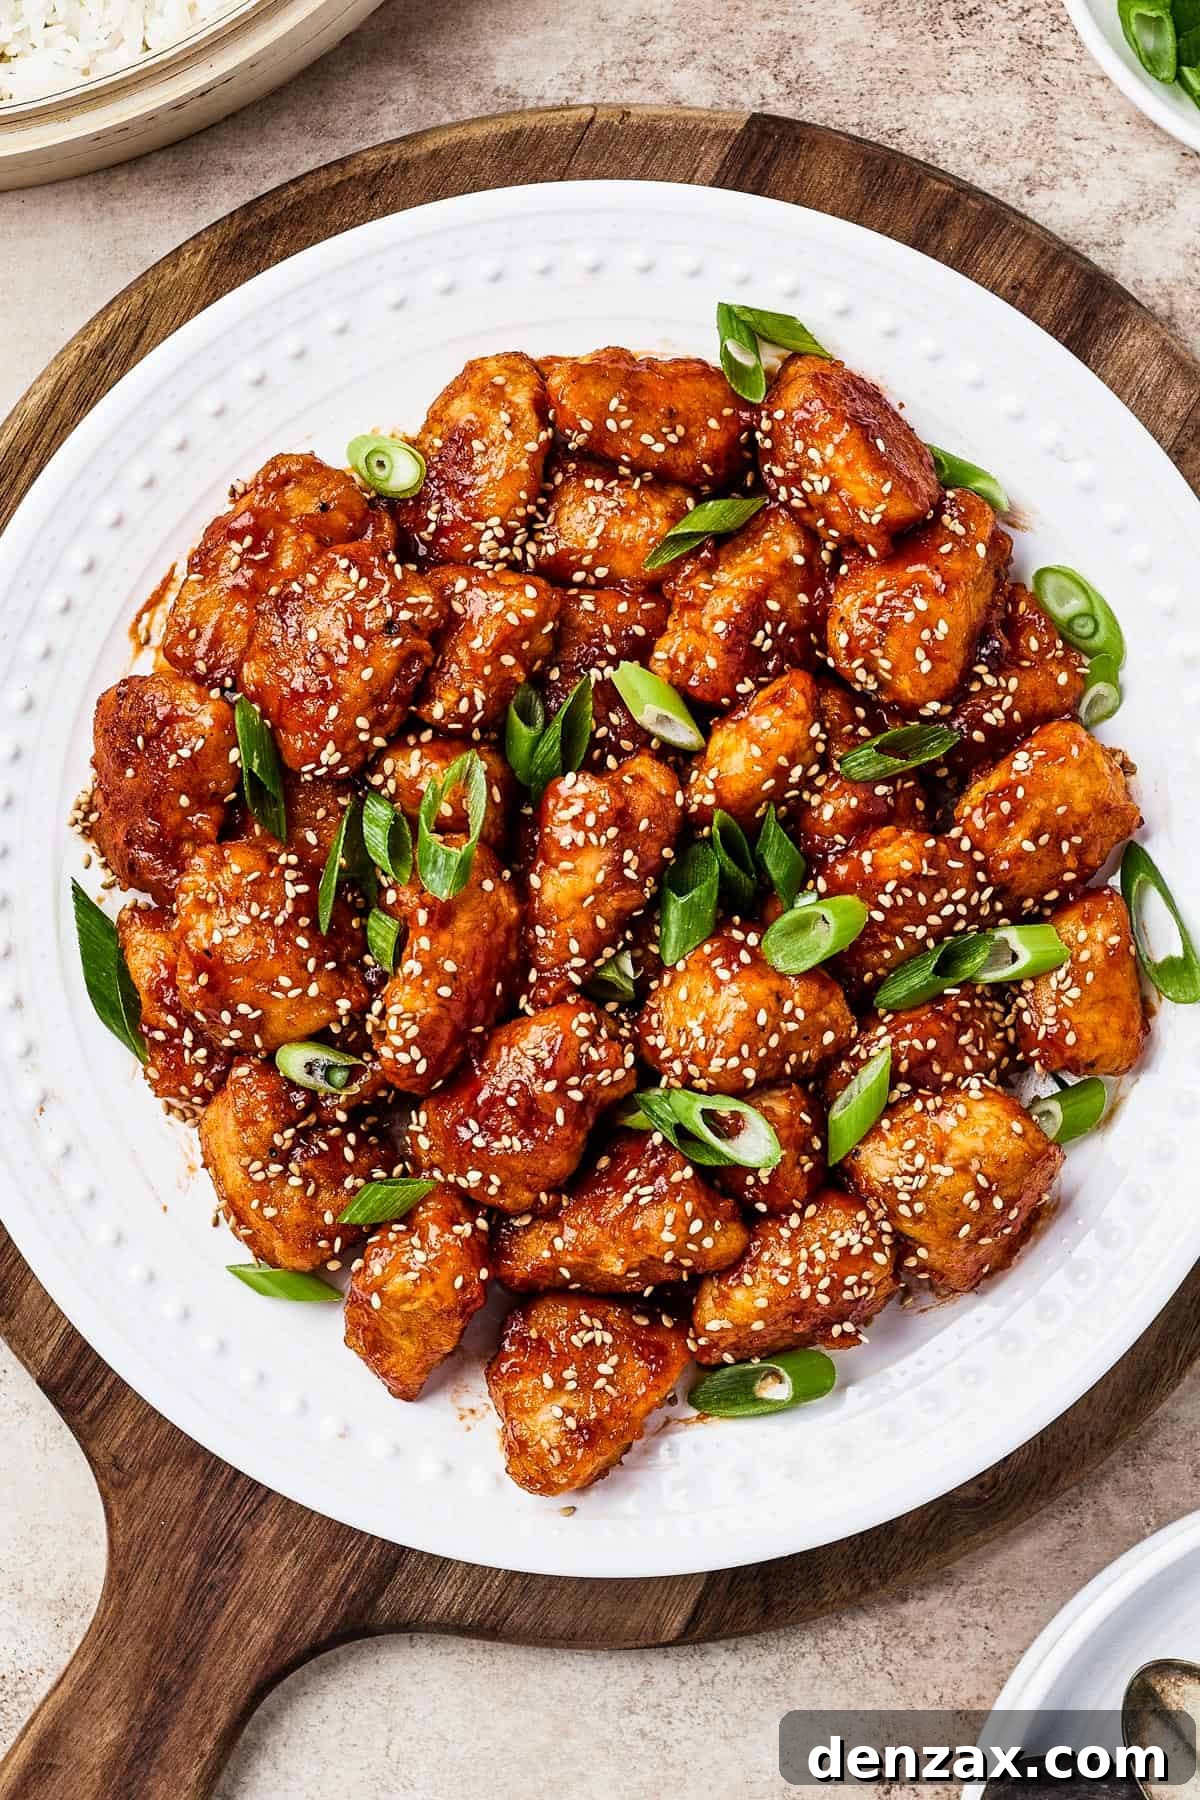
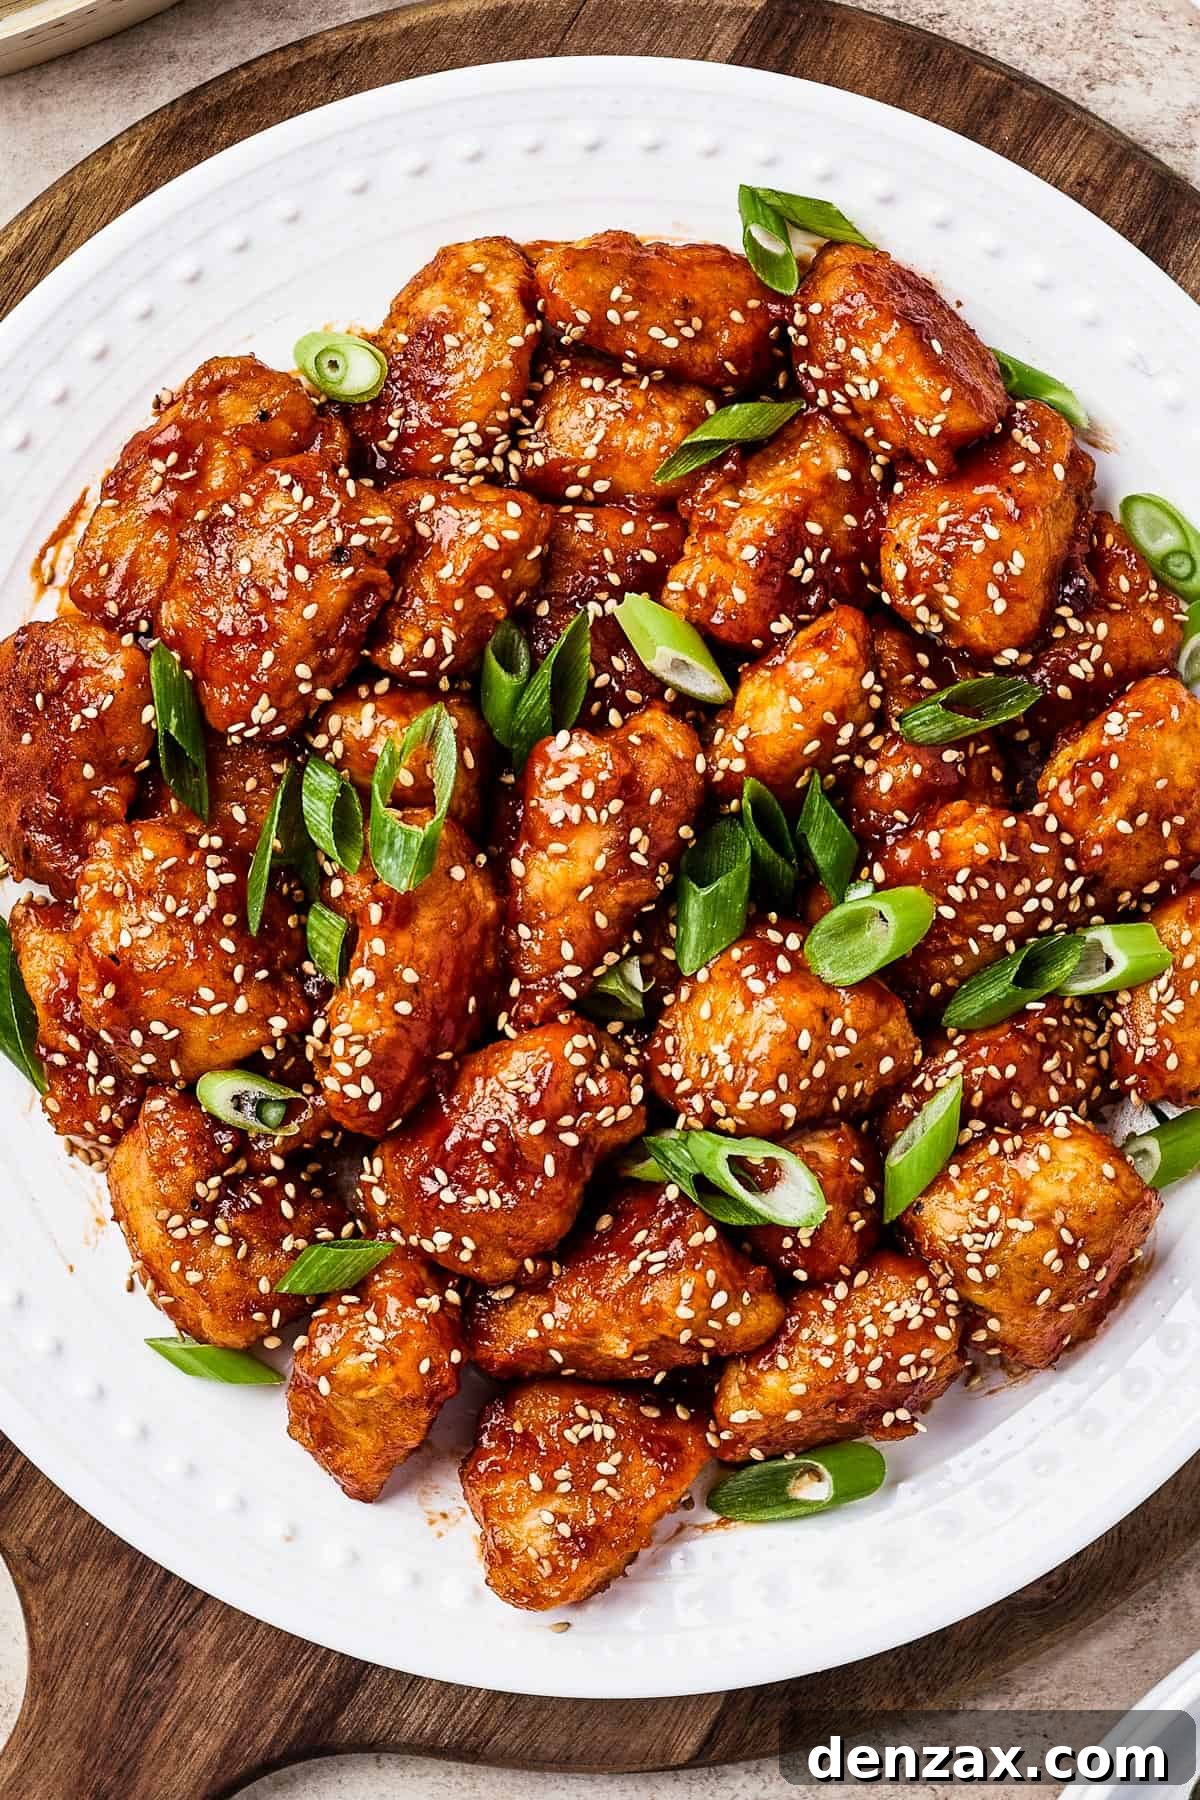
Welcome to your new favorite homemade Sweet and Sour Chicken recipe! This classic Chinese American dish, adored by families everywhere, is a delightful blend of crispy, tender chicken pieces enveloped in a vibrant, perfectly balanced sweet and sour sauce. Forget the takeout menu – you can recreate that irresistible flavor right in your own kitchen, serving up a fun and flavorful dinner that’s guaranteed to impress. Whether paired with fluffy white rice or your choice of delicious side dishes, this recipe transforms ordinary weeknights into a culinary celebration.
Mastering a Takeout Classic in Your Own Kitchen
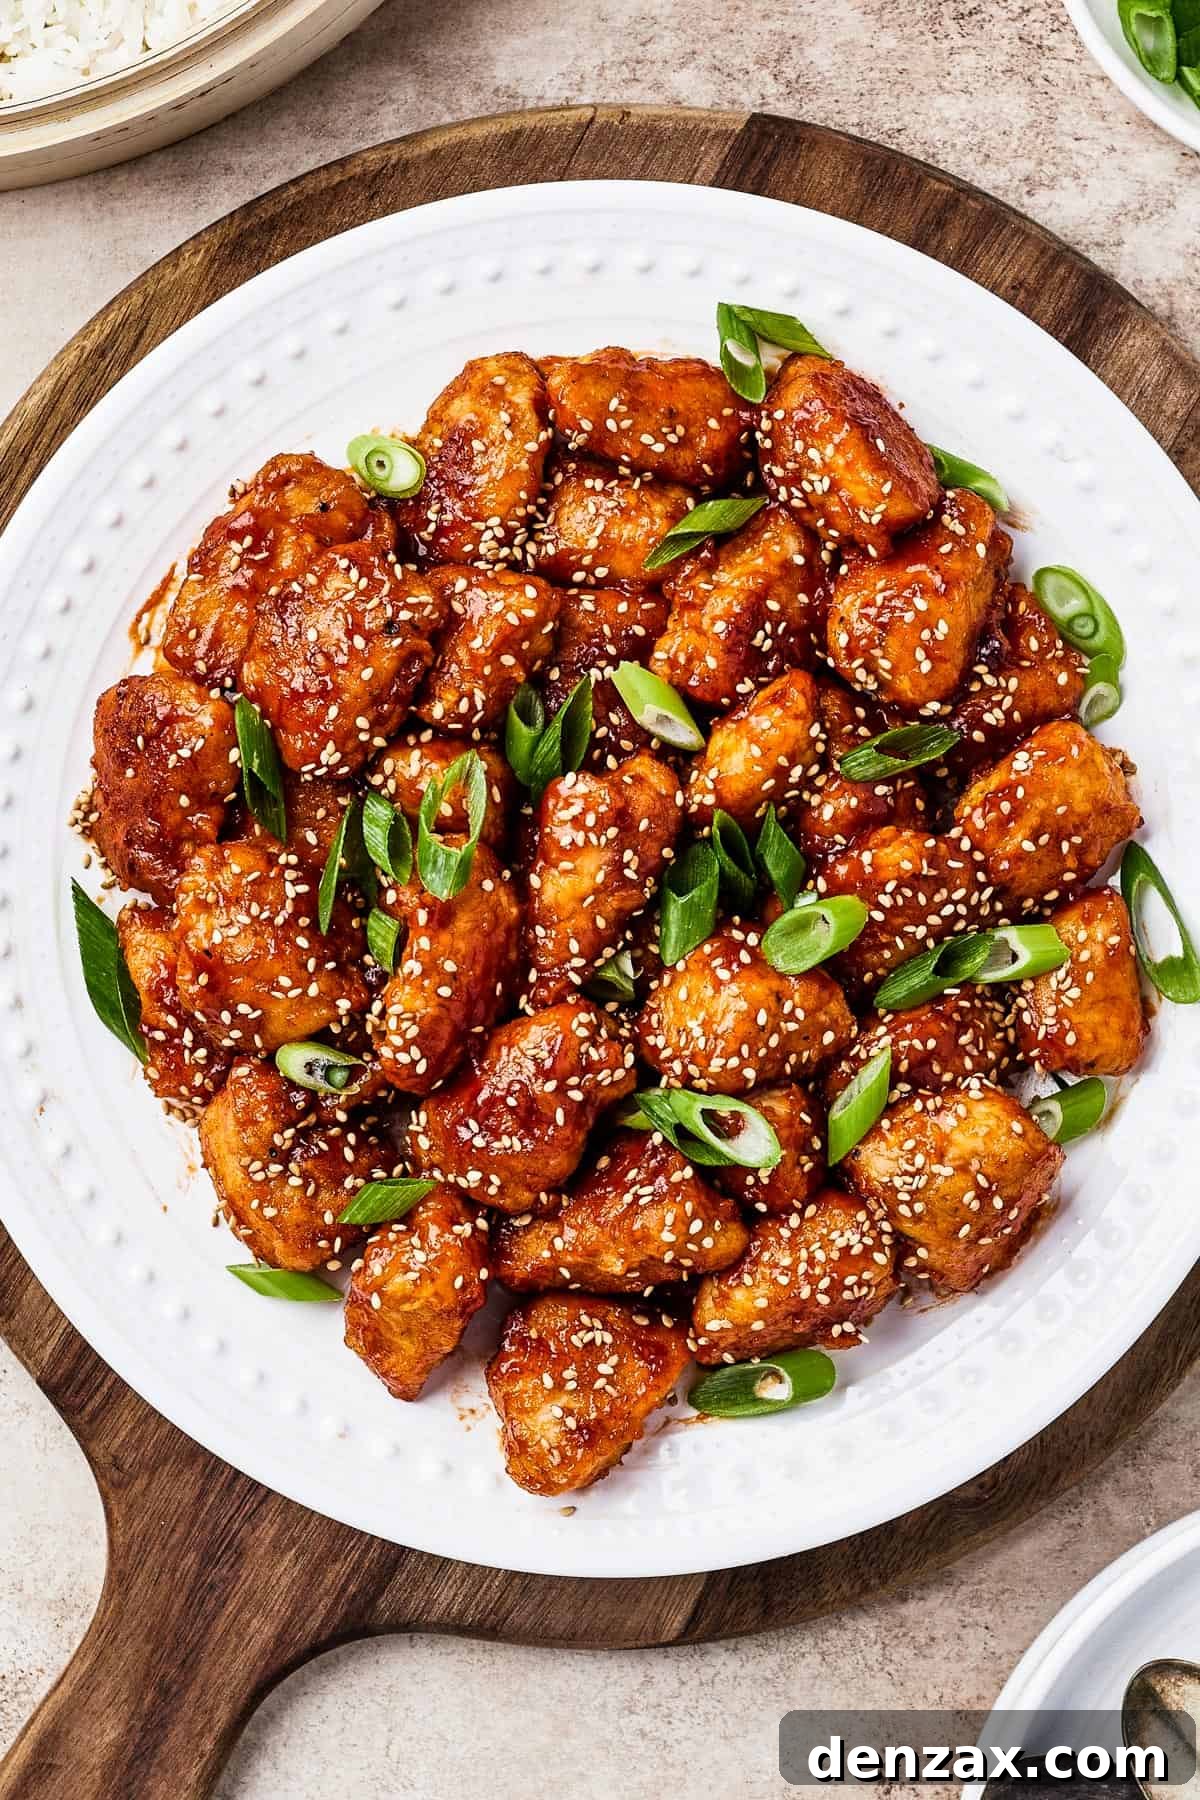
There’s an undeniable allure to Chinese takeout, and for many, Sweet and Sour Chicken stands out as a top contender. The satisfying crunch of perfectly fried chicken, followed by the explosion of a glossy, tangy, and sweet sauce, is pure culinary magic. This recipe demystifies the process, showing you how to achieve that authentic restaurant-quality taste and texture right in your home. You’ll be making crispy chicken breast, lightly breaded and fried to golden perfection, then lovingly coated in a rich, thick, and utterly addictive sweet and sour sauce. It’s the kind of dish you might find at your favorite New York-style Chinese restaurant or a bustling food court, but with the added satisfaction of knowing you made it yourself.
While the idea of breading and frying chicken from scratch, along with crafting your own sauce, might initially seem a bit daunting, rest assured – this recipe is designed for home cooks of all skill levels. We break down each step into simple, manageable instructions, guiding you through the process of preparing the chicken, frying it to a beautiful crisp, and finally, coating it in the magnificent sauce. The result is a dish so delicious and impressive, you’ll wonder why you ever bothered with takeout. Prepare for an unforgettable meal that brings joy to every bite!
Sweet & Sour vs. Orange Chicken: Understanding the Flavor Nuances
Many people often wonder if Sweet and Sour Chicken is essentially the same as Orange Chicken, given their similar appearance and preparation methods. While they share some common characteristics, there are distinct differences that set them apart. Both typically feature crispy, breaded chicken pieces and a vibrant sauce, but their flavor profiles are unique.
Orange chicken, for instance, tends to lean heavily into citrus notes, often featuring a more pronounced tangy and sometimes spicier kick from ingredients like orange zest, orange juice, and chili flakes. The heat level can vary significantly, from mildly zesty to notably fiery, depending on the recipe or restaurant. On the other hand, Sweet and Sour Chicken, as its name suggests, strives for a harmonious balance between sugary sweetness and a bright, tangy acidity. Its flavor is generally milder and less spicy, focusing on the classic combination of sweet pineapple and tomato-based notes balanced with sharp vinegar. While some food courts and casual eateries might offer versions that blur the lines between the two, an authentic Sweet and Sour Chicken is typically celebrated for its well-rounded, less piquant taste.
Key Ingredients for Authentic Chinese Sweet and Sour Chicken
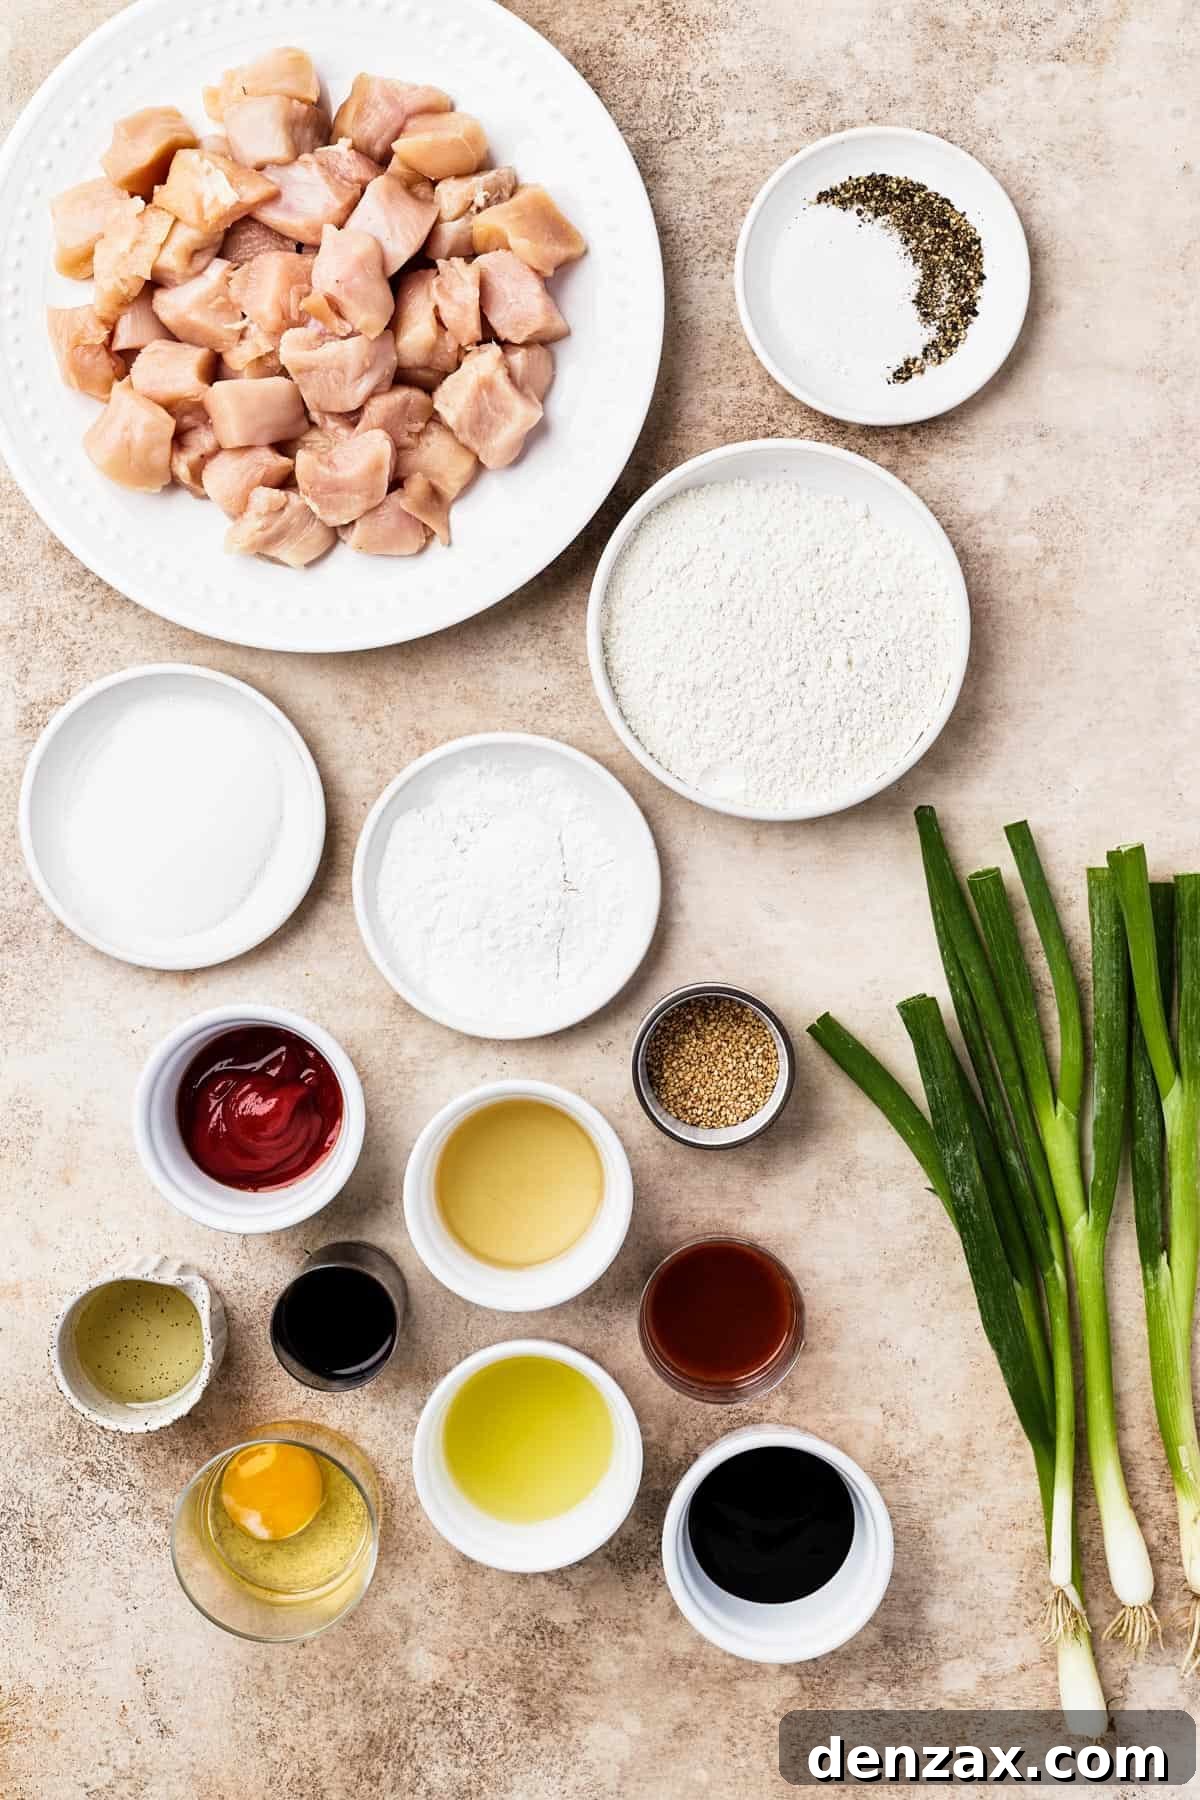
Crafting this delicious dish requires a thoughtful selection of ingredients, many of which you likely already have in your pantry. The magic truly happens when these simple components come together to create that signature sweet and sour flavor and satisfying texture. Here’s a breakdown of what you’ll need to make this recipe:
- For the Chicken Marinade & Breading:
- Soy Sauce: A quarter cup of less sodium soy sauce is used to marinate the chicken, infusing it with umami. For gluten-free options, tamari or coconut aminos work beautifully as substitutes.
- Chicken Breast: Two pounds of boneless, skinless chicken breast, cut into uniform 1-inch chunks, ensures even cooking and perfect bite-sized pieces.
- Flour: Two cups of all-purpose flour create the initial breading, providing a crisp exterior.
- Salt and Pepper: One teaspoon each of salt and pepper to season the flour mixture, ensuring flavor throughout the chicken.
- Egg Wash: One large egg, whisked with two tablespoons of water, acts as the binding agent, helping the flour adhere perfectly to the chicken pieces.
- Oil: Approximately two tablespoons of a high-heat oil like canola or vegetable oil are essential for deep frying the chicken to golden crispness.
- For the Sweet and Sour Sauce:
- Pineapple Juice: One-third cup of pineapple juice provides a natural sweetness and tangy tropical note. You can use store-bought juice, the liquid from canned pineapple, or even fresh pineapple juice.
- Ketchup: Four tablespoons of ketchup give the sauce its classic reddish hue and a foundational sweet-and-tangy tomato flavor. Regular or sugar-free ketchup can be used.
- Rice Vinegar: Two tablespoons of rice vinegar contribute a delicate, mild acidity that is crucial for balancing the sweetness in the sauce. It’s a staple in stir-fries and dressings.
- Oyster Sauce: Two tablespoons of oyster sauce are the secret to that authentic “takeout” taste. This thick, dark sauce offers a savory, slightly salty seafood flavor that mellows beautifully when cooked with other ingredients, adding incredible depth. Look for it in the ethnic foods aisle of most grocery stores.
- Sugar: Two tablespoons of granulated sugar enhance the sweet profile of the sauce. Brown sugar or honey can also be used for a slightly different richness.
- Cornstarch: One tablespoon of cornstarch is vital for thickening the sauce, giving it that desirable glossy, clingy texture.
- Sriracha: Two teaspoons of sriracha add a touch of heat, complementing the sweet and sour flavors. Feel free to adjust or omit if you prefer a milder dish.
- Optional Garnishes:
- Toasted Sesame Seeds: Two to three tablespoons of toasted sesame seeds add a nutty crunch and visual appeal.
- Chopped Green Onion: Freshly chopped green onions provide a burst of color and a mild, fresh onion flavor.
Step-by-Step Guide: Crafting Your Sweet and Sour Chicken
Creating this delicious, savory, and perfectly balanced chicken dish is surprisingly straightforward, even with a few distinct stages. Each step is designed to build flavor and achieve the ideal texture. Here’s a detailed guide to help you make it:
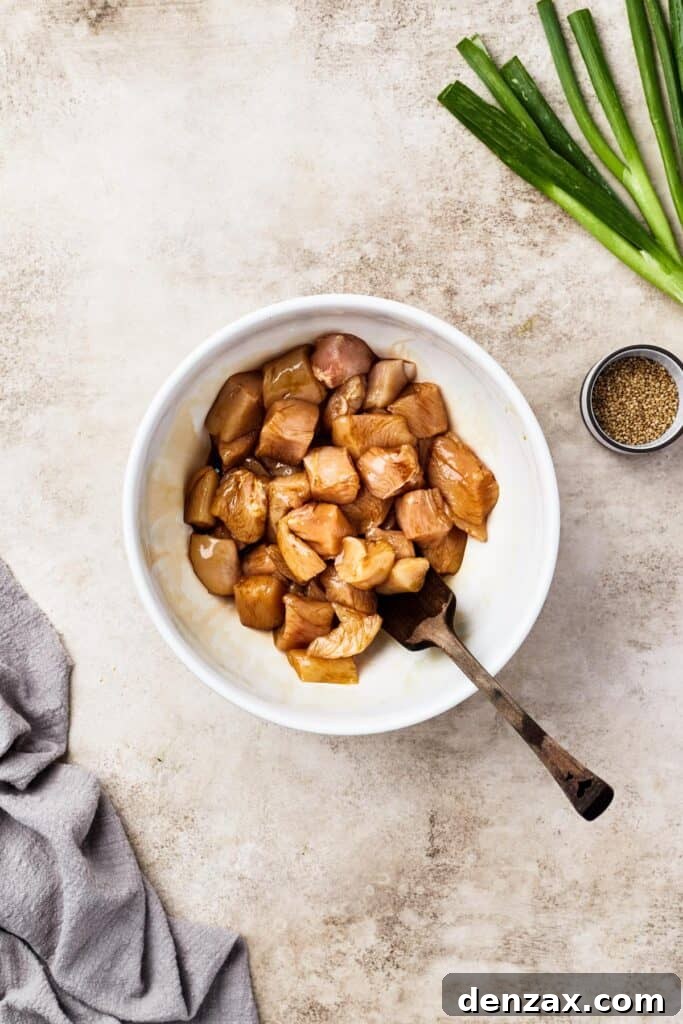
- Marinate the Chicken Briefly: Begin by tossing your 1-inch chicken chunks with a quarter cup of soy sauce in a large bowl. This quick marination step infuses the chicken with a foundational layer of savory flavor. Cover the bowl and let it sit for 5 to 10 minutes while you get your other ingredients ready. This short soak makes a noticeable difference in the final taste of the chicken.
- Prepare the Signature Sweet and Sour Sauce: In a separate medium-sized bowl, whisk together the pineapple juice, ketchup, rice vinegar, oyster sauce, sugar, cornstarch, and sriracha. Stir until all ingredients are well combined and the cornstarch has dissolved, ensuring a smooth sauce. Set this flavorful mixture aside; it will be added to the chicken later.
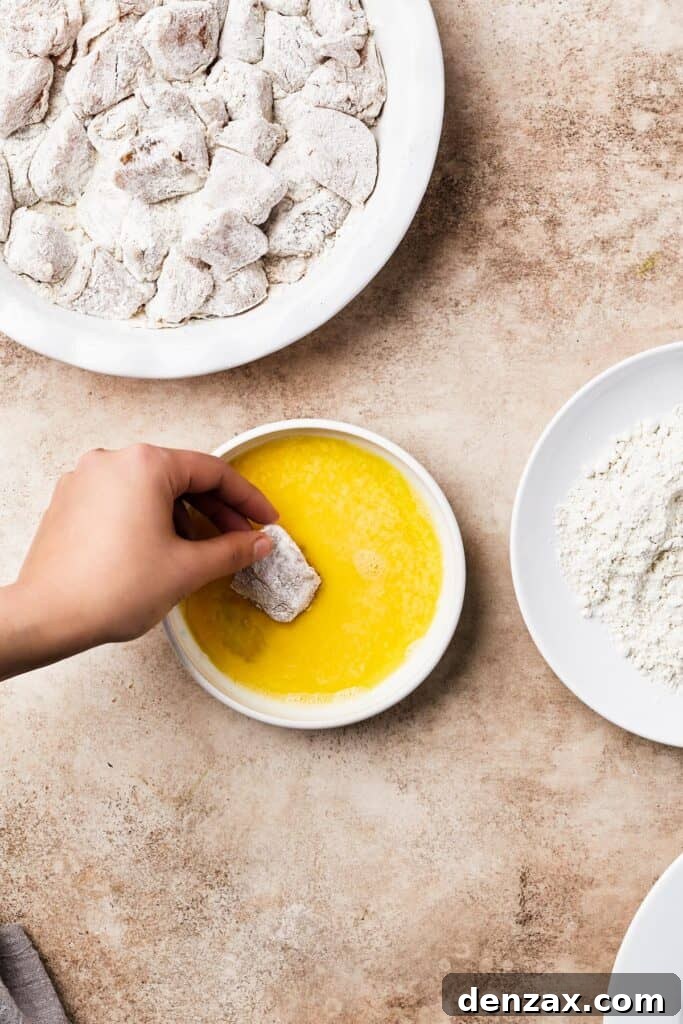
- Set Up the Breading Station: In a large, shallow bowl, combine the two cups of flour with one teaspoon each of salt and pepper. Whisk these dry ingredients together until thoroughly mixed. Now, divide this seasoned flour mixture evenly into two separate bowls. In a third bowl, whisk the egg with two tablespoons of water to create your egg wash. Having separate bowls helps maintain the integrity of the breading process.
- Bread the Chicken to Perfection: First, remove the chicken pieces from the soy sauce marinade and pat them thoroughly dry with paper towels. This crucial step helps the breading adhere better and promotes crispiness. Toss the dried chicken pieces in the first bowl of seasoned flour, ensuring each piece is completely coated. Next, dip each floured chicken piece into the whisked egg wash, letting any excess drip off. Finally, transfer the egg-coated chicken to the second bowl of seasoned flour, coating it a second time for extra crispness. Place the fully breaded chicken pieces on a clean plate as you work, making sure they don’t stick together. Repeat this process until all chicken pieces are breaded.
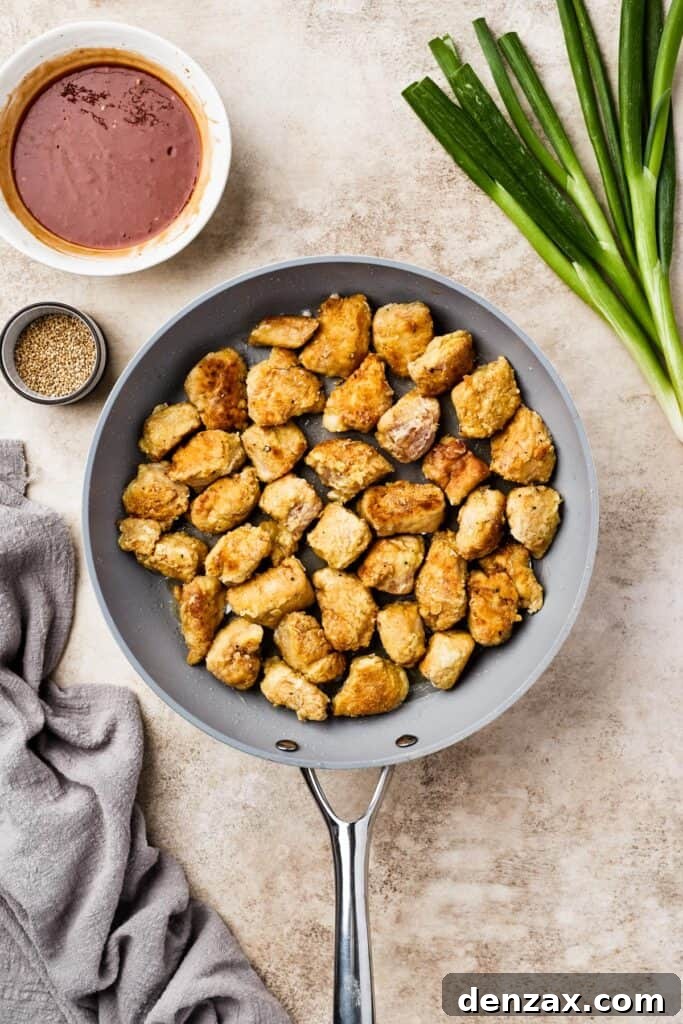
- Achieve Golden Crispy Chicken: Heat two tablespoons of canola or vegetable oil in a large wok or a spacious skillet over medium heat. The oil is ready when it shimmers gently or when a tiny sprinkle of flour sizzles upon contact. Carefully add the breaded chicken pieces to the hot oil, making sure not to overcrowd the pan (cook in batches if necessary). Fry the chicken on all sides, tossing and stirring occasionally, for approximately 5 to 7 minutes. The goal is a beautiful crispy, golden-brown exterior and fully cooked, tender interior.
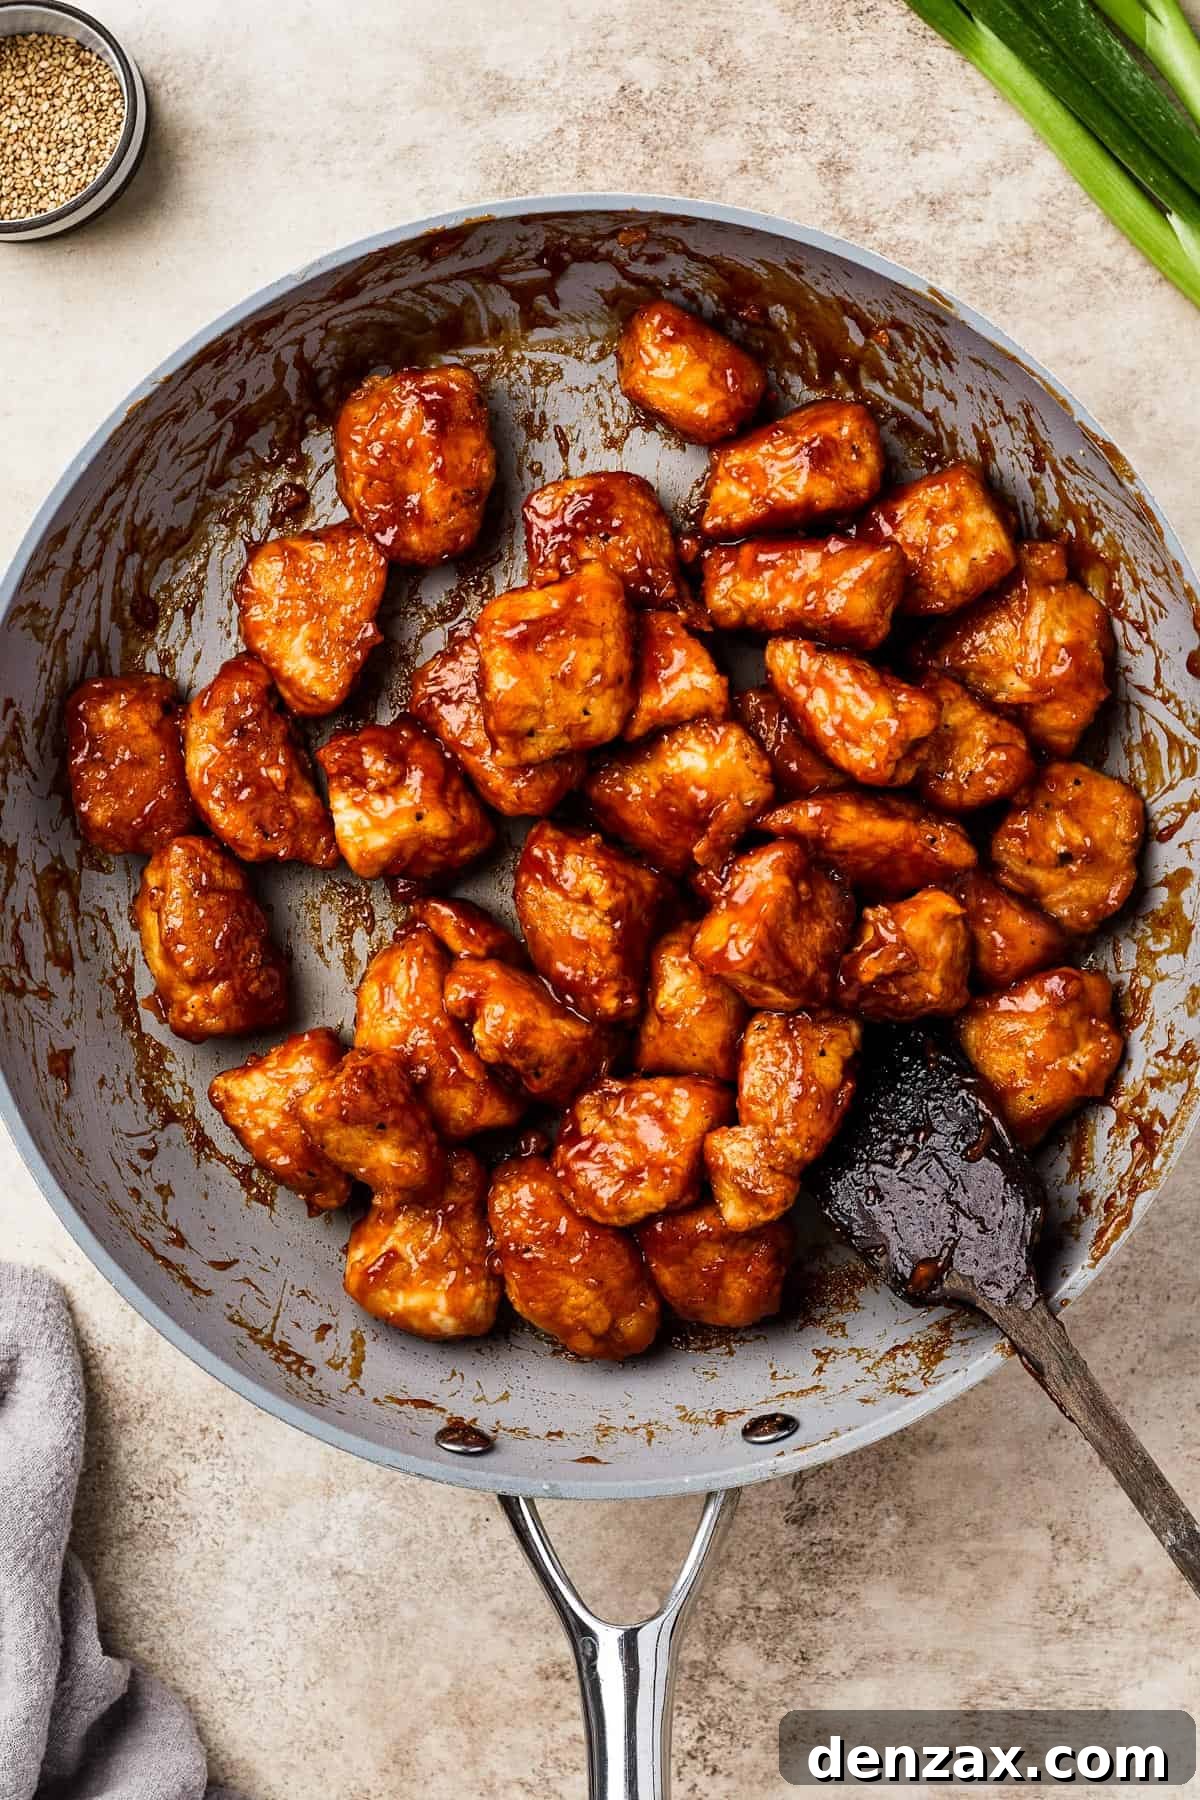
- Combine with the Irresistible Sauce: Once the chicken is cooked through and perfectly crispy, reduce the heat to medium-low. Pour the prepared sweet and sour sauce mixture evenly over the fried chicken in the wok or skillet. Gently stir the chicken, ensuring every piece is coated in the glossy sauce. Continue stirring occasionally for another 1 to 2 minutes, or until the sauce has thickened to a luxurious, clingy consistency.
- Serve and Savor: Remove the wok or skillet from the heat. If using, sprinkle generously with toasted sesame seeds and freshly chopped green onions for a pop of color and extra flavor. Serve your homemade Sweet and Sour Chicken immediately, piping hot, and prepare to enjoy a truly delectable meal!
Expert Tips for Your Best Sweet and Sour Chicken Yet
Before you dive into the delightful world of cooking this Sweet and Sour Chicken, take a moment to review these invaluable tips and tricks. These are my go-to hacks for ensuring your dish is nothing short of spectacular, simple to make, and utterly delicious. Bon appétit!
- Embrace Chicken Thighs for Richness: While chicken breast is excellent, don’t hesitate to use boneless, skinless chicken thighs instead. Dark meat offers a slightly richer, more succulent flavor and remains incredibly moist, even after frying. This subtle change can elevate the overall depth of your dish.
- Master Oil Temperature for Perfect Crisp: Achieving that coveted crispy exterior is all about the right oil temperature. To test your oil, drop a tiny pinch of flour into the hot oil. If it immediately sizzles and begins to turn golden, your oil is ready. If it browns too quickly, the oil is too hot; if it barely reacts, it needs more time to heat up. Proper temperature ensures crispness without burning or absorbing too much oil.
- Speed Up with Store-Bought Sauce (If You Must!): If you’re short on time or prefer a shortcut, good quality store-bought sweet and sour sauce can be a lifesaver. After frying your chicken to perfection, simply reduce the heat to low, add about 1 to 1½ cups of your preferred sauce to the pan or wok, and toss until the chicken pieces are thoroughly coated and the sauce is heated through. It’s a convenient way to get dinner on the table faster.
- Amp Up the Nutrition with Veggies: Adding vegetables to this dish is incredibly easy and highly recommended for a more balanced meal. While the chicken is frying or just before adding the sauce, stir-fry some chopped bell peppers, onions, broccoli florets, sliced mushrooms, or even snap peas. Cook them until they are tender-crisp, then stir them right into the finished dish with the sauced chicken. They add color, texture, and essential nutrients.
- Don’t Skimp on Patting Dry: After marinating and before breading, ensure your chicken is as dry as possible. Excess moisture can prevent the breading from sticking properly and result in a less crispy crust. A thorough pat-down with paper towels makes a significant difference.
Delicious Serving Suggestions to Complete Your Meal
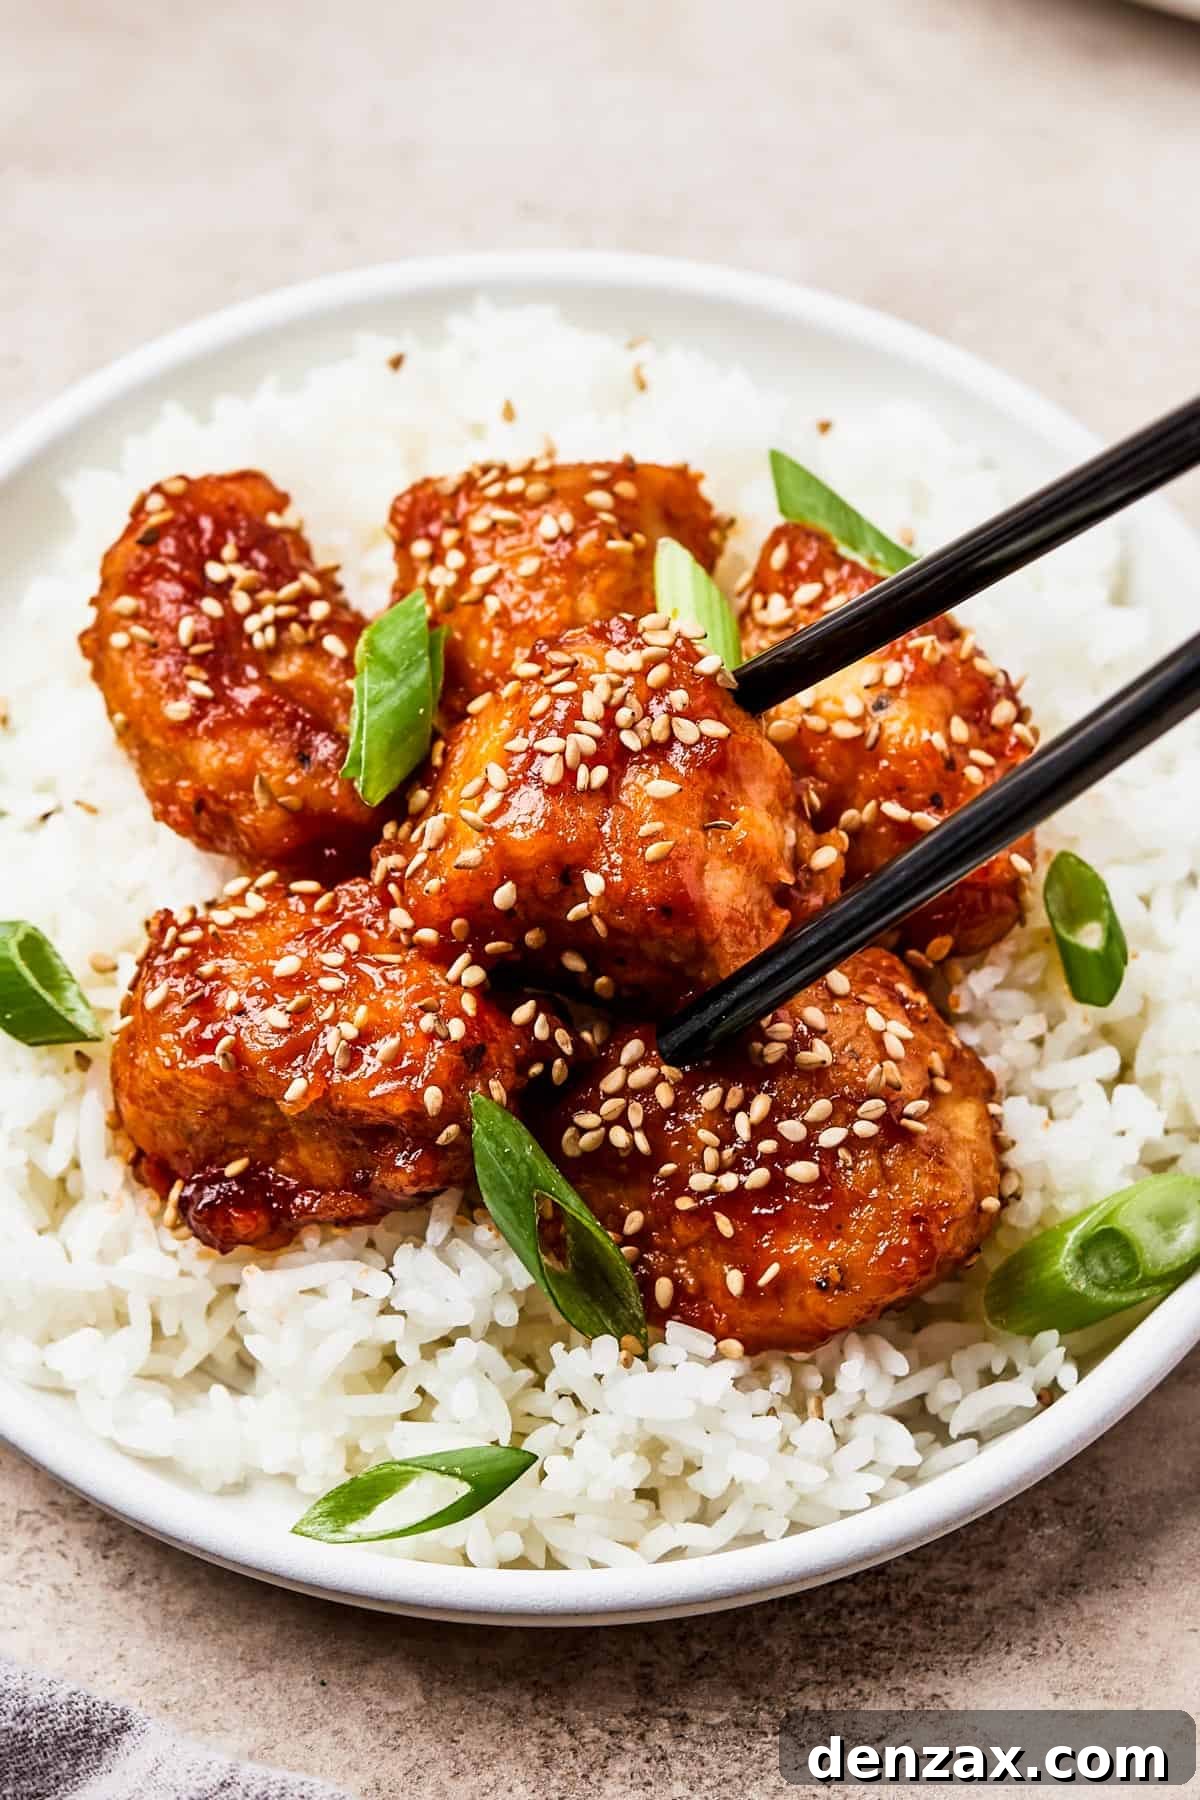
This Sweet and Sour Chicken is a showstopper on its own, but it truly shines when served alongside thoughtfully chosen accompaniments. It’s absolutely perfect simply draped over a bed of steamy white rice – I particularly adore jasmine rice for its fragrant aroma and wonderfully tender texture! However, if you’re aiming for a more elaborate feast, consider adding one or two of these delightful takeout-inspired classics to create a truly memorable meal:
- Soul-Soothing Soup: For many, a complete takeout experience isn’t quite complete without a comforting bowl of soup. If you’re like me, Egg Drop Soup is a must-have! The good news is, it’s incredibly simple to whip up your own homemade version, offering a delicate and satisfying start to your meal. You simply have to try it!
- Crispy Crab Rangoons: These delightful little parcels of joy are another undisputed favorite. Made with delicate wonton wrappers cradling a rich and savory cream cheese filling, Crab Rangoon Wontons are addictively delicious. Their crispy texture and creamy interior make them impossible to resist – you’ll find it hard to stop at just one!
- Golden Spring Rolls: For an extra-special and fresh side dish, these Golden Veggie Spring Rolls are an absolute winner. The filling is a harmonious blend of savory vegetables, encased in wonderfully crunchy wrappers, resulting in an overall irresistible treat that adds a perfect textural contrast to the saucy chicken.
- Stir-fried Noodles: Consider a simple stir-fried noodle dish like lo mein or chow mein as an alternative to rice. These flavorful noodles, often packed with vegetables, provide another excellent base for your sweet and sour chicken.
- Steamed Garlic Broccoli: For a light and healthy complement, perfectly steamed broccoli florets tossed with a hint of garlic and a dash of soy sauce are an ideal addition. They offer a fresh counterpoint to the rich chicken and sauce.

Storing and Reheating Your Sweet and Sour Chicken
Proper storage and reheating ensure that your delicious Sweet and Sour Chicken remains enjoyable for future meals. Here’s how to best handle leftovers:
- To Store: Allow any leftover sweet and sour chicken to cool completely to room temperature before storing. Transfer the cooled chicken and sauce to an airtight food storage bag or a sturdy container. Refrigerate promptly for up to 3 days to maintain freshness and safety.
- To Reheat on the Stovetop: For best results, especially if you want to retain some crispness, reheat the chicken on the stovetop. Place the desired portion in a covered saucepan or skillet over low to medium-low heat. Add a splash of water or chicken broth if the sauce seems too thick. Stir occasionally, allowing the chicken to heat slowly and evenly until it is piping hot all the way through. This method helps prevent the chicken from drying out.
- To Reheat in the Microwave: While convenient, microwaving can sometimes make the chicken less crispy. Place your leftovers in a microwave-safe dish, cover loosely, and heat in 30-second intervals, stirring in between, until heated through.
Freezing Sweet and Sour Chicken for Later
Yes, you can absolutely freeze Sweet and Sour Chicken for a convenient make-ahead meal option! Freezing is a great way to extend the life of your leftovers or prepare meals in advance. Here’s how to do it effectively:
- For Best Results: It’s generally recommended to freeze the chicken and sauce separately if possible, or ensure the chicken is thoroughly coated in sauce before freezing. Allow the cooked chicken and sauce to cool down completely to room temperature.
- Packaging: Pack the cooled chicken and sauce into heavy-duty freezer bags, removing as much air as possible, or use airtight freezer-safe containers. This helps prevent freezer burn. Freeze for up to 3 months.
- Thawing: When you’re ready to enjoy, thaw the frozen chicken overnight in the refrigerator. Do not thaw at room temperature.
- Reheating After Freezing: Reheat thawed chicken on the stovetop over low heat, as described above, adding a little water or broth to loosen the sauce if needed. Gently warm until thoroughly hot.
- Consider Veggies: Keep in mind that any vegetables added directly to the dish (like bell peppers or onions) may become softer or mushier in texture after freezing and thawing due to their high water content. If you plan to freeze, you might consider adding fresh, stir-fried vegetables when you reheat the chicken for the best texture.
Sweet and Sour Chicken
This homemade Sweet and Sour Chicken is a family favorite, made with a perfectly-balanced stir-fry sauce and tender, juicy, white meat chicken. A simple recipe for delicious takeout at home!
Cook Time: 10 minutes
Total Time: 30 minutes
Servings: 6
Ingredients
For the Chicken:
- ¼ cup less sodium soy sauce
- 2 pounds boneless skinless chicken breast, cut into 1-inch chunks
- 2 cups all-purpose flour
- 1 teaspoon salt
- 1 teaspoon pepper
- 1 egg, whisked with 2 tablespoons of water (for egg wash)
- 2 tablespoons canola or vegetable oil (for frying)
For the Sweet and Sour Sauce:
- ⅓ cup pineapple juice
- 4 tablespoons ketchup
- 2 tablespoons rice vinegar
- 2 tablespoons oyster sauce
- 2 tablespoons sugar
- 1 tablespoon cornstarch
- 2 teaspoons sriracha (optional, adjust to taste)
For Garnish (Optional):
- 2 to 3 tablespoons toasted sesame seeds
- Chopped green onion
Instructions
- Marinate Chicken: In a large bowl, toss the chicken chunks with the soy sauce. Cover and let marinate for 5 to 10 minutes while you prepare the remaining ingredients.
- Prepare Sauce: In a medium-sized bowl, whisk together the pineapple juice, ketchup, rice vinegar, oyster sauce, sugar, cornstarch, and sriracha (if using) until smooth. Set aside.
- Set Up Breading Station: In a large bowl, whisk together the flour, salt, and pepper. Divide this mixture evenly into two separate bowls. In a third bowl, prepare the egg wash by whisking the egg with 2 tablespoons of water.
- Bread Chicken: Remove chicken from the marinade and pat completely dry with paper towels. First, toss the chicken pieces in one bowl of seasoned flour to coat fully. Next, dip each piece into the egg wash, allowing excess to drip off. Finally, dip into the second bowl of seasoned flour for a second coating. Place breaded chicken on a plate, ensuring pieces don’t touch. Repeat for all chicken.
- Fry Chicken: Heat 2 tablespoons of canola or vegetable oil in a large wok or skillet over medium heat until shimmering. Add the breaded chicken pieces, ensuring not to overcrowd the pan (fry in batches if necessary). Fry for 5 to 7 minutes, tossing and stirring occasionally, until chicken is crispy, golden brown, and cooked through.
- Combine with Sauce: Reduce heat to medium-low. Pour the prepared sweet and sour sauce over the fried chicken in the skillet. Stir gently until all chicken pieces are evenly coated. Continue to stir occasionally for 1 to 2 minutes, allowing the sauce to thicken and become glossy.
- Garnish and Serve: Remove from heat. Garnish with toasted sesame seeds and chopped green onions, if desired. Serve immediately with rice or your preferred side dishes.
Nutrition
Nutritional info is an estimate and provided as courtesy. Values may vary according to the ingredients and tools used. Please use your preferred nutritional calculator for more detailed info.
- Calories: 435kcal
- Carbohydrates: 42g
- Protein: 39g
- Fat: 11g
- Saturated Fat: 2g
- Polyunsaturated Fat: 4g
- Monounsaturated Fat: 3g
- Trans Fat: 1g
- Cholesterol: 124mg
- Sodium: 1290mg
- Potassium: 691mg
- Fiber: 2g
- Sugar: 6g
- Vitamin A: 90IU
- Vitamin C: 4mg
- Calcium: 53mg
- Iron: 3mg
More Irresistible Takeout-Inspired Favorites to Try
If you’ve enjoyed bringing the magic of Sweet and Sour Chicken into your home kitchen, you’ll love exploring these other incredible recipes that capture the essence of your favorite Asian takeout dishes. Expand your culinary repertoire with these flavorful and satisfying options:
- Pad See Ew: Dive into the rich, savory world of Thai cuisine with this beloved noodle dish. Featuring wide, flat rice noodles, tender protein, and crisp Chinese broccoli, all tossed in a sweet and salty soy sauce, it’s a truly comforting and authentic experience.
- Shrimp Fried Rice with Pineapple: Elevate your fried rice game with this vibrant and flavorful recipe. Succulent shrimp, fluffy rice, and a surprising burst of sweetness from pineapple create a dish that’s both quick to make and incredibly satisfying.
- Instant Pot Mongolian Beef: Craving tender, thinly sliced beef coated in a sticky, garlic-ginger sauce? This Instant Pot version delivers all the rich flavors of a classic Mongolian Beef with significantly less effort and cleanup. It’s perfect for a speedy weeknight dinner.
- Easy Sesame Chicken: Another beloved crispy chicken dish, Sesame Chicken offers a nutty, sweet, and savory glaze that’s utterly delicious. It’s a fantastic alternative if you love the crispy texture but want a different sauce profile.