
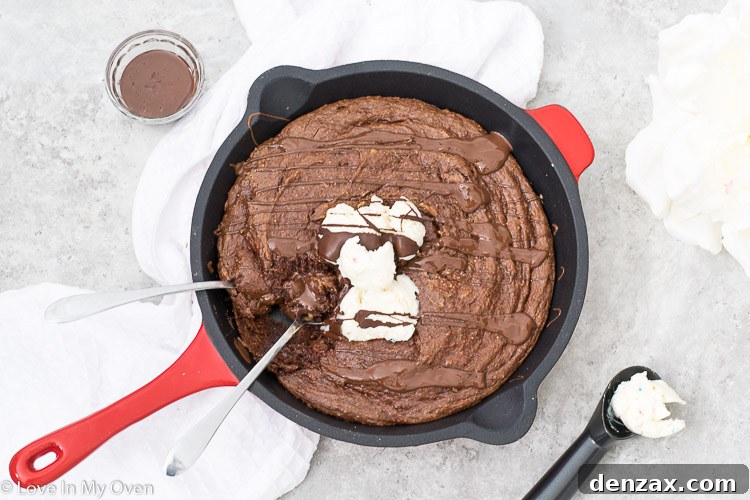
Indulge in these rich, fudgy, and incredibly easy gluten-free skillet brownies! Crafted with wholesome ingredients like nutrient-dense nut butter and naturally sweetened with banana and honey, these brownies are free from refined sugars and ready to delight your tastebuds in just 15 minutes. Pure chocolate bliss, guilt-free!
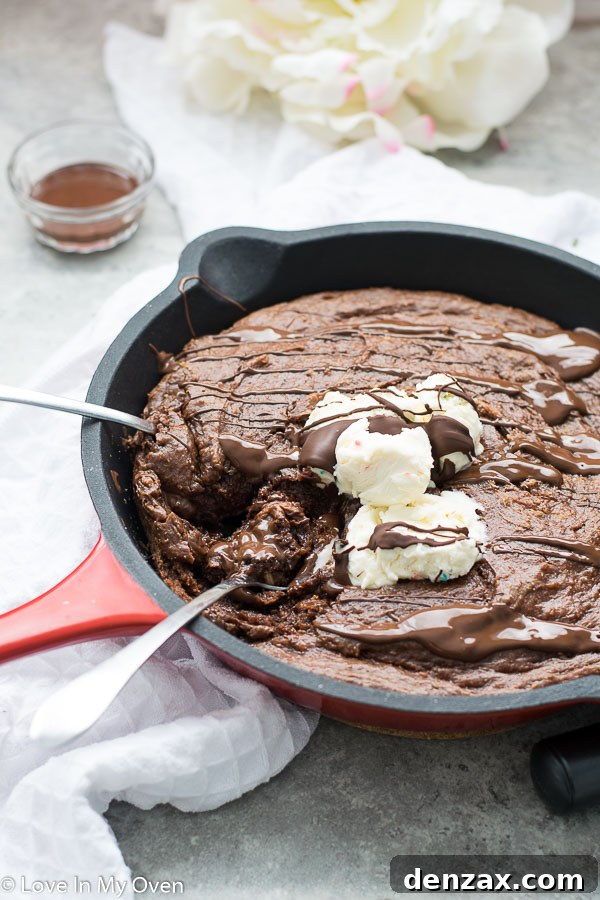
Decadent Gluten-Free Skillet Brownies: A Wholesome 15-Minute Treat
Sometimes, a craving hits for something warm, gooey, and intensely chocolatey, but you don’t want to compromise on health or spend hours in the kitchen. That’s exactly how these incredible gluten-free skillet brownies were born! After months of perfecting, I’m thrilled to share this recipe that delivers maximum flavor with minimal effort, all while being incredibly wholesome. This isn’t just any brownie; it’s a fudgy, rich, and decadent masterpiece that comes together in a single skillet and is ready to eat in under 20 minutes, including baking time!
Life can be busy, and the need for a quick, satisfying dessert is real. Whether you’re navigating a demanding schedule or simply want a sweet escape without the fuss, these skillet brownies are your answer. They’re designed for convenience without sacrificing that deep, comforting chocolate experience we all crave. Prepare to fall in love with your new favorite go-to treat.
Why Are These Skillet Brownies a Healthier Choice?
Beyond being naturally gluten-free, these brownies embody a “clean eating” philosophy. They’re packed with beneficial ingredients that nourish your body while satisfying your sweet tooth. Here’s a closer look at what makes this recipe a healthier alternative to traditional brownies:
- Protein Powerhouse: We swap out flour for creamy peanut butter (or almond butter, if you prefer), which not only contributes to the fudgy texture but also adds a significant boost of protein. This helps keep you feeling full and satisfied, making it a more balanced treat.
- Zero Refined Sugars: Say goodbye to white sugar! This recipe relies on natural sweeteners like ripe bananas and just a touch of honey. Bananas provide moisture and sweetness without an overpowering banana flavor (I promise, you won’t even taste it!), while honey offers a gentle, complex sweetness.
- Nutrient-Dense Ingredients: Each component is chosen for its health benefits. Coconut oil offers healthy fats, cocoa powder is rich in antioxidants, and even the optional espresso powder adds a depth of flavor without guilt. You’re getting good-for-you nutrients in every bite.
- Quick & Easy: Healthier eating shouldn’t be complicated. This one-bowl recipe minimizes cleanup and maximizes enjoyment, proving that wholesome desserts can be both delicious and convenient.
With such a fantastic nutritional profile, you could almost justify eating this for breakfast! The hint of espresso powder even provides a little coffee fix, making it the perfect start or end to your day. Enjoy it warm, straight from the skillet, or topped with your favorite healthy additions.
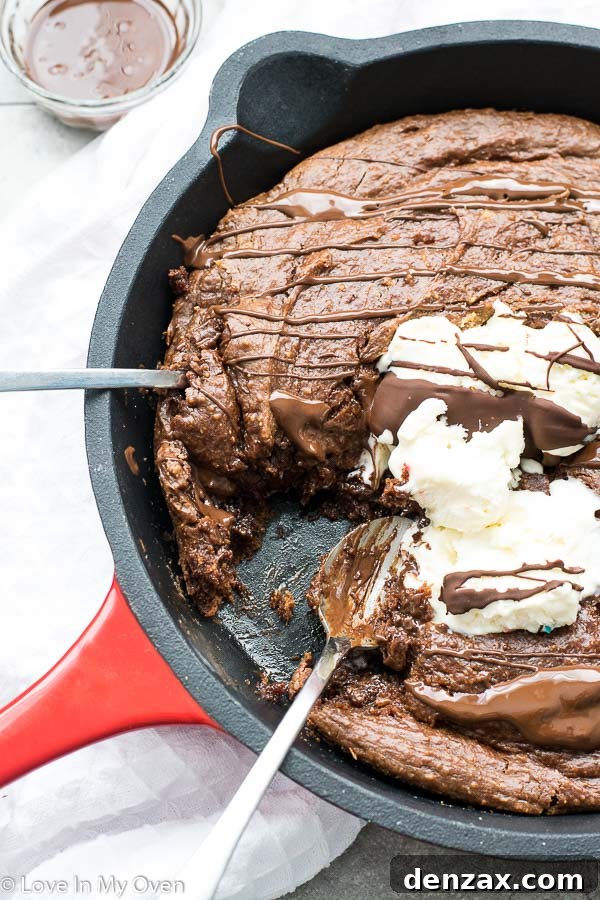
I love taking our skillet brownie to the next level with a drizzle of homemade salted caramel sauce and a scoop of creamy ice cream. For a dairy-free option, coconut whipped cream is a fantastic substitute. Or, embrace the pure chocolate goodness and enjoy it as is – it’s perfect either way! I’m currently perfecting another no-churn ice cream recipe that would be divine with this brownie, so keep an eye out for that too!
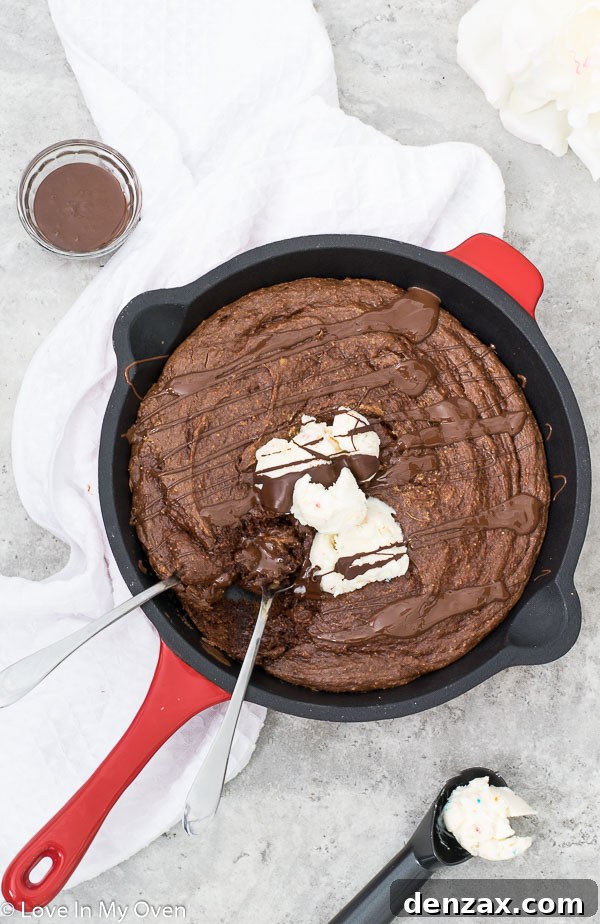
Follow on Instagram for more delicious recipes and behind-the-scenes!
Follow @loveinmyoven
Essential Ingredients for Your Perfect Skillet Brownie
Creating these healthier skillet brownies requires a simple list of pantry staples. Each ingredient plays a crucial role in achieving the ideal taste and texture:
- Ripe Banana: The riper your banana, the better! Overripe bananas are naturally sweeter and mash more easily, providing excellent moisture and sweetness. Don’t worry, the banana flavor is subtle and won’t overpower the chocolate.
- Creamy Peanut Butter: Opt for natural, unsweetened creamy peanut butter with minimal ingredients (just peanuts and perhaps salt). This is crucial for both flavor and texture. Avoid brands with added sugars or hydrogenated oils. Almond butter or cashew butter are also fantastic alternatives.
- Honey: A wonderful natural sweetener that contributes to the brownies’ fudgy texture. Maple syrup is an excellent vegan-friendly substitute.
- Egg: Acts as a binder and helps with the structure of the brownie. For a vegan version, a flax egg (1 tbsp ground flaxseed meal mixed with 3 tbsp water, let sit for 5 minutes) works perfectly.
- Melted Coconut Oil: Adds richness and helps achieve that delightful chewiness. If you’re not a fan of coconut flavor or don’t have it on hand, avocado oil or melted butter are suitable substitutes.
- Pure Vanilla Extract: A splash of vanilla enhances all the other flavors, particularly the chocolate. Don’t skip it!
- Unsweetened Cocoa Powder: The star of the show! Use good quality cocoa powder for the best chocolate flavor.
- Baking Powder: Provides just enough lift to create a tender, not cakey, brownie.
- Instant Espresso Powder (Optional): This secret ingredient doesn’t make your brownies taste like coffee, but rather intensifies and deepens the chocolate flavor. It’s a trick many bakers use in chocolate desserts, and it truly makes a difference. You can certainly leave it out, and your brownies will still be delicious.
Ingredient Spotlight: Understanding Your Choices
- Banana: I know some people hesitate at the mention of banana in baked goods, especially if they’re not huge banana fans. However, in this recipe, the ripe banana is primarily for texture and natural sweetness. Its flavor is incredibly subtle and beautifully blends with the chocolate, creating a moist and fudgy result without a strong banana taste.
- Peanut Butter: The quality of your peanut butter matters here. I always recommend using a natural, unsweetened variety where peanuts are the only ingredient (or peanuts and salt). Highly processed peanut butters with added sugars and oils can alter the texture and sweetness balance of the brownies.
- Coconut Oil: While coconut oil offers unique benefits and a pleasant richness, it’s easily replaceable. If you prefer a neutral flavor, unrefined coconut oil has a milder taste than virgin coconut oil, or you can opt for avocado oil or even melted unsalted butter for a classic richness.
- Espresso Powder: As mentioned, this is a game-changer for chocolate lovers. Coffee or espresso powder enhances the deep, dark notes of cocoa, making the chocolate flavor more pronounced and complex. It’s truly a baker’s secret weapon for intensifying chocolate.
Simple Steps for Your One-Bowl Gluten-Free Skillet Brownies
This recipe is a true “one-bowl wonder,” making prep and cleanup a breeze. Follow these straightforward steps to create your perfect fudgy brownies:
- Prepare Your Oven and Skillet: Begin by preheating your oven to 350°F (175°C). Lightly grease a 10-inch or 12-inch cast iron skillet with coconut oil or a non-stick cooking spray. A well-greased skillet ensures your brownie won’t stick and makes serving easier.
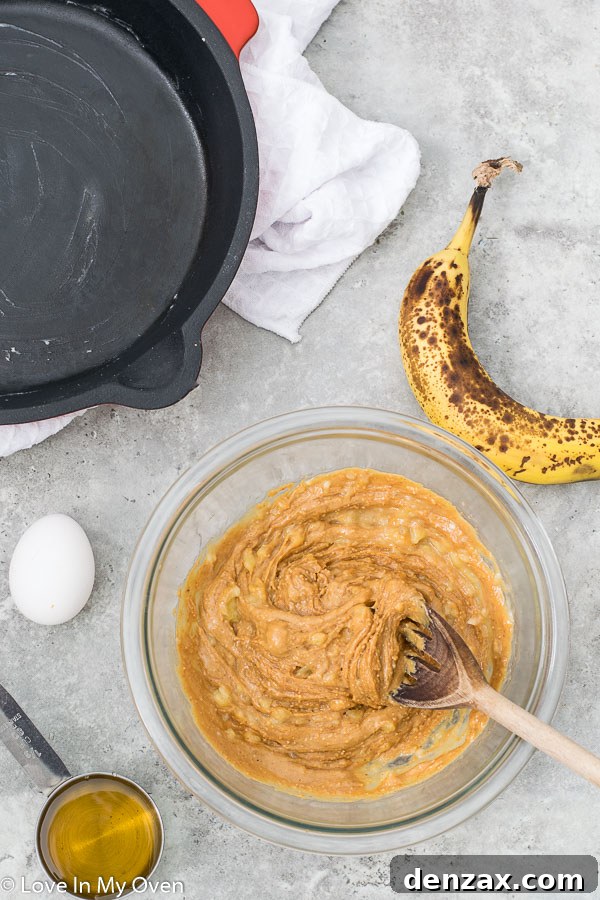
- Mash the Banana: In a large mixing bowl, thoroughly mash the ripe banana with a fork or potato masher until no significant chunks remain. The smoother the banana, the more uniform your batter will be.
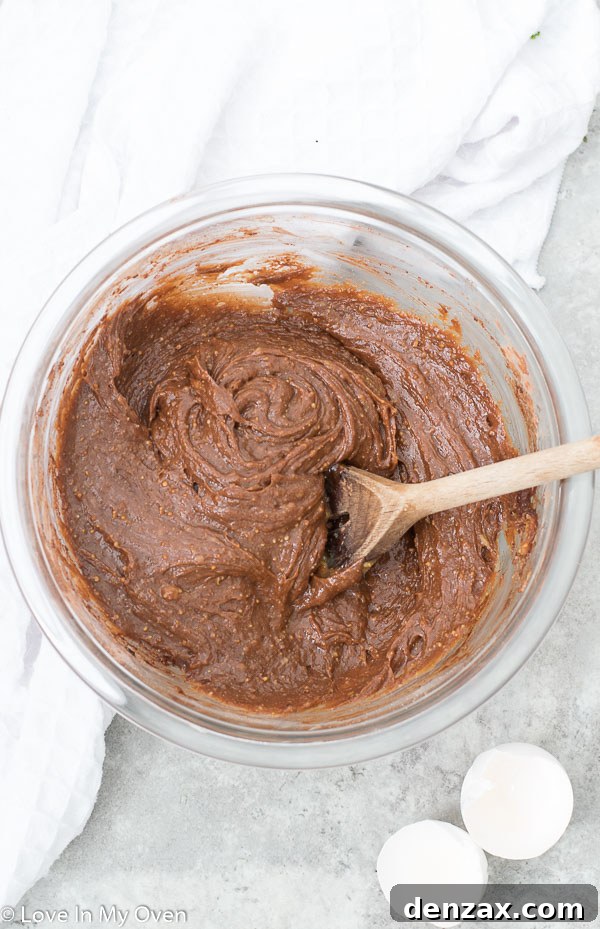
- Combine Wet Ingredients: Add the creamy peanut butter to the mashed banana and mix well with a large wooden spoon or spatula until fully combined. Next, incorporate the honey, egg, melted coconut oil, and pure vanilla extract. Stir everything together until the mixture is smooth and cohesive.
- Incorporate Dry Ingredients: Sift in the cocoa powder, baking powder, and instant espresso powder (if using). Gently fold these dry ingredients into the wet mixture until just combined. Be careful not to overmix; overmixing can lead to a tougher brownie. The batter will be quite thick, which is exactly what you want for a fudgy texture.
- Spread and Bake: Evenly spread the thick brownie batter into your prepared cast iron skillet. Use the back of your spoon or a spatula to ensure it’s spread from edge to edge.
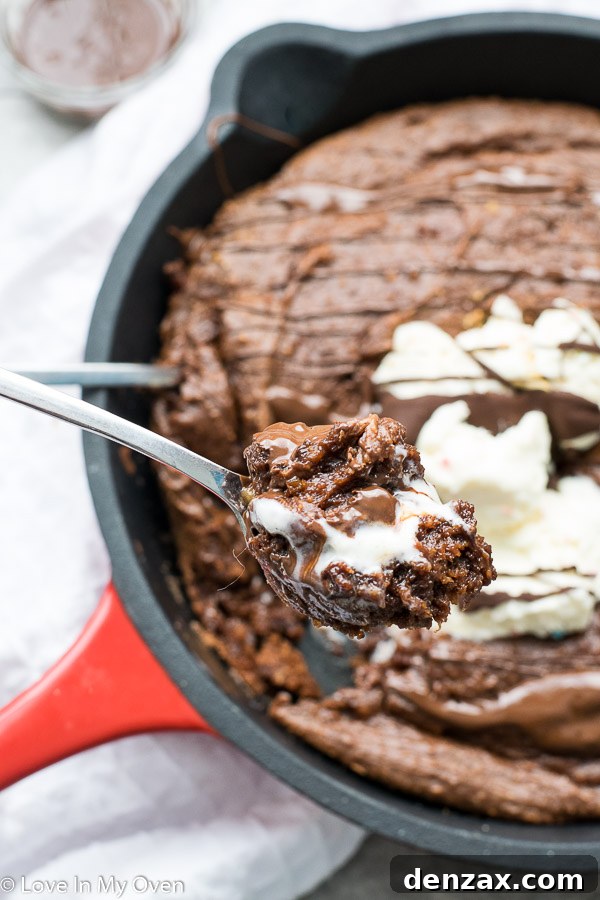
- Bake to Perfection: Bake for 12-13 minutes. To test for doneness, insert a toothpick into the center of the brownie. If it comes out with moist crumbs, your brownie is perfectly fudgy. If you prefer a gooier brownie, it’s absolutely okay for the toothpick to be slightly wet. Be careful not to overbake, as this can result in a dry brownie.
- Serve Immediately: The best way to enjoy these skillet brownies is warm, straight from the oven! Top with a scoop of your favorite ice cream and a drizzle of salted caramel sauce for an ultimate dessert experience.
Leftovers, if there are any, can be carefully removed from the skillet once cooled and stored in an airtight container at room temperature for 1-2 days. Reheat gently in the microwave for a few seconds to restore that warm, gooey texture.
Helpful Substitutions and Pro Tips for Your Brownies
Experimenting in the kitchen can be fun, and these brownies are quite versatile! Here are some tried-and-true substitutions and tips to ensure your brownies are always a success:
- Nut Butter Variations: While peanut butter yields a classic flavor, I’ve had fantastic results using almond butter too. Both create a rich, dense, and fudgy texture. I haven’t personally tried sunflower butter or other nut-free alternatives, but if you do, please share your experience!
- Sweetener Swap: Honey can easily be replaced with an equal amount of pure maple syrup, making this recipe suitable for those preferring a vegan option. Both sweeteners contribute a lovely depth of flavor.
- Make it Vegan: To convert this recipe to be fully vegan, simply use maple syrup instead of honey and substitute the chicken egg with a flax egg. For a flax egg, combine 1 tablespoon of ground flaxseed meal with 3 tablespoons of water, stir, and let it sit for about 5 minutes until it thickens into a gel-like consistency.
- Achieving Ultimate Gooeyness: For an exceptionally gooey brownie, I recommend slightly undercooking them. A baking time of 12-13 minutes proved perfect for my oven, resulting in a brownie that’s moist and tender with a perfectly gooey center. Keep a close eye on your oven, as baking times can vary.
- Storage & Reheating: If you happen to have any leftovers, store them in an airtight container at room temperature for up to 2 days. For longer storage, they can be refrigerated for up to 5 days. To enjoy that fresh-baked warmth and gooey texture, simply pop a slice in the microwave for 15-30 seconds.
- Topping Ideas: Beyond ice cream and caramel, consider a dusting of powdered sugar, a sprinkle of sea salt to enhance the chocolate, a dollop of fresh whipped cream (or coconut whipped cream), or even a handful of fresh berries for a touch of tartness. Chocolate chips can also be folded into the batter before baking for extra chocolatey goodness!
Whew! I’m so glad to finally get this post out and share this beloved recipe. It’s been a little treasure I’ve been sitting on, and I hope it brings as much joy to your kitchen as it does to mine. Be sure to keep an eye on my Instagram stories for any new recipe developments or updates! Fingers crossed for many more delicious creations!
PS – Don’t wait! Make these incredible skillet brownies this weekend. You deserve this treat!
More Wholesome & Delicious Gluten-Free Desserts to Explore
If you’ve enjoyed these healthier skillet brownies, you’ll love exploring some of my other favorite gluten-free and healthier sweet treats on the blog. Here are a few to get you started on your delicious, guilt-free baking journey:
- Gluten-Free Chocolate Coconut Tart – A rich and creamy tart that’s surprisingly easy to make.
- Grain-Free Chocolate Chia Pudding Pie – A superfood-packed pie that’s both indulgent and nutritious.
- Chocolate “Nice” Cream Pie – A naturally sweetened, refreshing, and dairy-free dessert perfect for warm days.
- Gluten-Free Banana Cake – A moist and flavorful cake that uses ripe bananas for natural sweetness.
Print Recipe

Gluten-Free Skillet Brownies
Rating: 4.5 from 2 reviews
- Author: Katherine
- Total Time: 25 minutes
- Yield: 1 skillet brownie
- Diet: Gluten Free
Description
This rich, chocolatey, gluten-free brownie recipe is almost too good to be true! This healthier skillet brownie is made with wholesome nut butter and zero refined sugars, and it’s ready to enjoy in just 15 minutes!
Ingredients
- 1 ripe banana
- 1 cup creamy natural peanut butter (or almond butter)
- 1/3 cup honey (or maple syrup for vegan)
- 1 egg (or flax egg for vegan)
- 1 tbsp coconut oil, melted
- 2 tsp pure vanilla extract
- 1/4 cup unsweetened cocoa powder
- 2 tsp baking powder
- 1/2 tsp instant espresso powder (optional, enhances chocolate flavor)
Instructions
- Preheat the oven to 350°F (175°C) and lightly grease a 10-inch oven-safe skillet with coconut oil or non-stick spray.
- In a large bowl, mash the banana until no large chunks remain. Add the peanut butter and combine thoroughly with a large wooden spoon. Stir in the honey, egg, melted coconut oil, and vanilla extract until well combined. Add the cocoa powder, baking powder, and instant espresso powder (if using). Stir until the batter is uniform and very thick.
- Spread the thick batter evenly into the prepared skillet. Bake for 12-13 minutes. To check for doneness, insert a toothpick into the center of the brownie; it’s okay if it comes out with moist crumbs for a fudgy texture, or slightly wet for a gooier brownie. Serve immediately, topped with ice cream and salted caramel sauce if desired.
Leftovers can be removed from the skillet and stored in an airtight container at room temperature for 1-2 days.
Notes
- You can substitute peanut butter for almond butter if you prefer. Always use natural, unsweetened nut butter.
- The espresso powder is completely optional, but it significantly enhances the chocolate flavor without adding a coffee taste.
- Prep Time: 10 minutes
- Cook Time: 15 minutes
- Category: Desserts
- Method: Oven
- Cuisine: American
*Please note:* This post was originally published in 2018. I’ve since updated the text and added a video, but the core recipe remains the same delicious treat.