
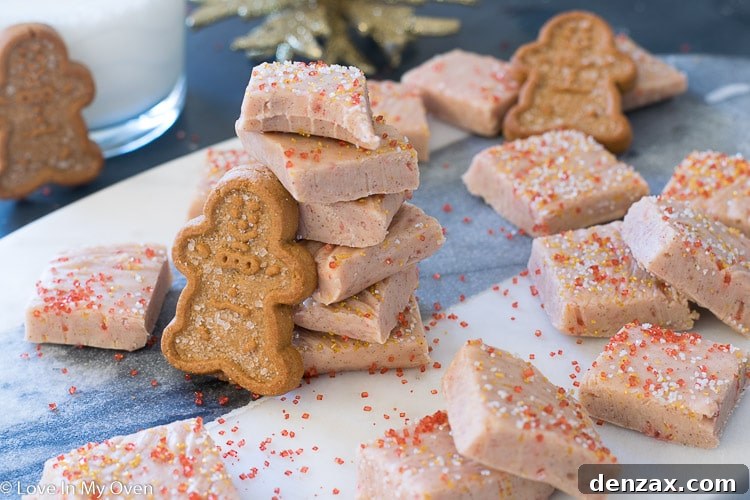
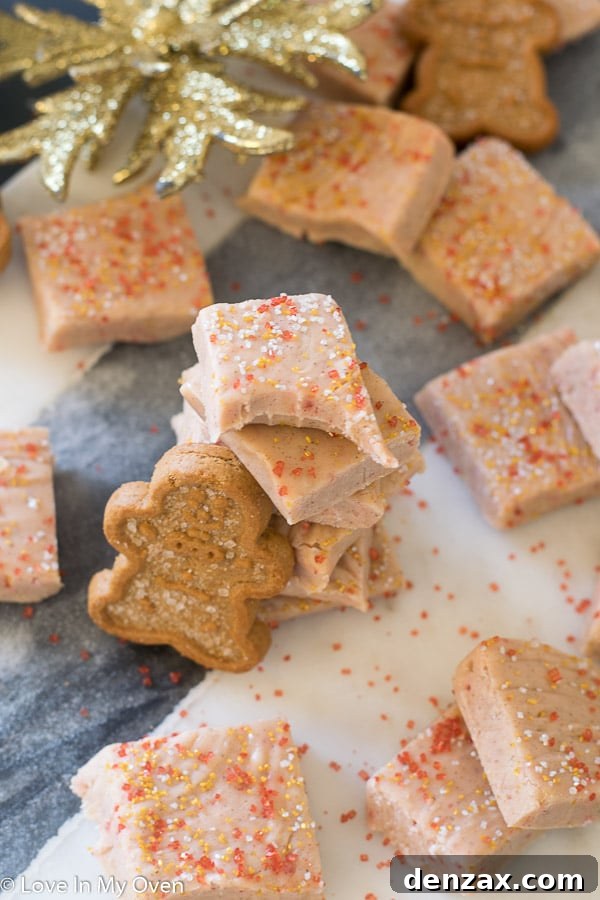
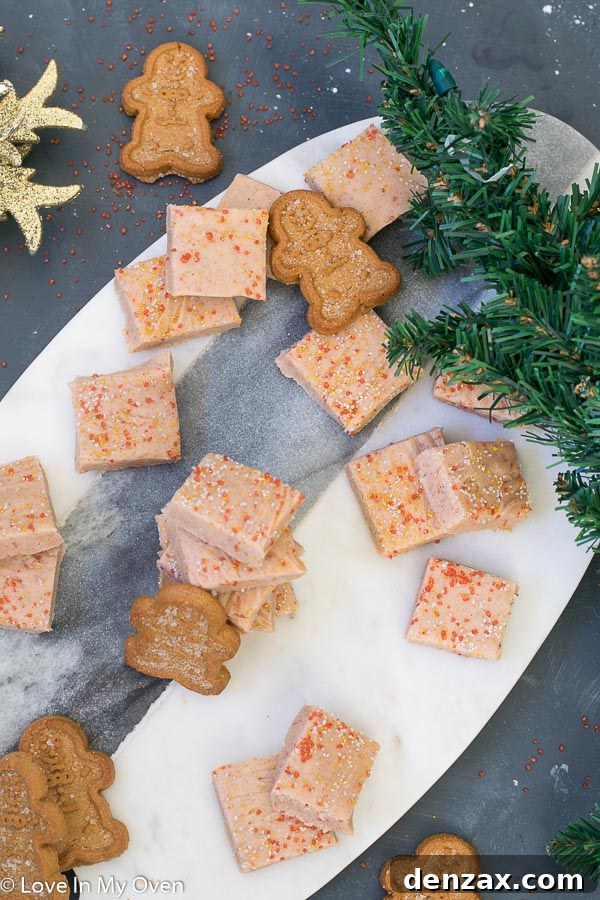
Perfect for the holiday season, this gingerbread fudge is a 3-ingredient microwave fudge. In terms of fudge flavors, this easy Christmas fudge is at the top of the list for quick and delicious festive treats!
Please note: This post contains affiliate links. As an Amazon Associate, I earn from qualifying purchases, which helps support this blog at no extra cost to you.
Effortless Holiday Magic: The 3-Minute Microwave Gingerbread Fudge You Need This Season
Picture this: you glance at your calendar, and a sudden wave of panic washes over you as you realize a holiday gathering or event is just hours away. Even worse, you distinctly remember promising to bring a homemade treat! Sound familiar? We’ve all been caught in this festive frenzy, but what if there was a recipe that could turn that panic into pure delight in mere minutes? Look no further than this incredibly simple, 3-ingredient microwave gingerbread fudge.
This isn’t just a recipe; it’s your secret weapon for stress-free holiday entertaining and spontaneous sweet cravings. This gingerbread fudge is so easy, you can literally whip it up in about three minutes of active preparation time. Yes, for real! I first created this gingerbread fudge last year as a contribution to my friends’ annual cookie exchange, where it was a resounding success among more traditional cookies. I wasn’t in a huge rush then, but I certainly was another time when this recipe became my absolute lifesaver!
Now, let’s be clear: this isn’t your grandma’s traditional fudge, which often requires a candy thermometer, precise temperatures, and a fair bit of time and attention. So, if you consider yourself a fudge connoisseur who prefers the old-fashioned method, this might not be for you. However, if you’re a busy individual who appreciates delicious, homemade treats and doesn’t mind a shortcut to get there, then you’ve come to the right place. Get ready to discover the easiest, most flavorful gingerbread fudge that will earn you rave reviews with minimal effort!
Why Microwave Fudge? The Ultimate Shortcut for Holiday Sweetness
The concept of “microwave fudge” might sound too good to be true, but it’s a legitimate, time-saving technique that delivers fantastic results. Traditional fudge-making can be intimidating, often involving stages of heating, cooling, and beating to achieve the perfect consistency. The microwave method, however, bypasses much of this complexity, relying on the magic of sweetened condensed milk and good quality chocolate to create a rich, smooth, and perfectly set fudge.
This approach is particularly advantageous during the busy holiday season when every minute counts. Instead of hovering over a hot stove, you can effortlessly melt your ingredients in the microwave, freeing up your time for other festive preparations. The simplicity means less cleanup, fewer specialized tools, and a much lower chance of culinary mishaps. It’s a fool-proof way to satisfy your sweet tooth or provide a wonderful gift without any added stress.
The Essential Ingredients: Unpacking the “Magic Three” (Plus Spices!)
Achieving delicious gingerbread fudge with minimal ingredients is all about selecting the right components that work together harmoniously. While we tout it as a “3-ingredient” fudge, we’re focusing on the core building blocks that create its base, elevated by classic gingerbread spices and a touch of vanilla for that unmistakable festive flavor.
1. Sweetened Condensed Milk: The Foundation of No-Bake Fudge
- Sweetened condensed milk is a thick, syrupy dairy product made by heating cow’s milk until much of its water content evaporates, and then adding a significant amount of sugar. This combination is crucial for the fudge’s success, providing both the necessary sweetness and a unique creaminess that allows it to set without traditional cooking. It acts as a binder and a flavor enhancer, creating a luxurious base for our gingerbread flavors.
- **A Critical Distinction:** It’s absolutely vital not to confuse sweetened condensed milk with evaporated milk. Evaporated milk is unsweetened and much thinner, and it will not allow your fudge to set. Always double-check the label to ensure you’re using the “sweetened condensed” variety. While I’ve exclusively tested this recipe with full-fat sweetened condensed milk, “light” versions might work, but results may vary slightly in texture and firmness.
2. High-Quality White Chocolate: For Smoothness and Structure
- The white chocolate in this recipe is not just for flavor; it’s the primary ingredient that gives the fudge its structure and helps it firm up. Because white chocolate is the dominant flavor, opting for a good quality brand is paramount. Choose white chocolate that you genuinely enjoy eating on its own – its smooth melt and rich flavor will shine through in the final product.
- **Chips vs. Chunks:** You can use either white chocolate chips or finely chopped white chocolate bars. Chips are often more convenient and designed to melt evenly. For exceptional results, I highly recommend using premium baking chips like Ghirardelli baking chips, which are known for their superior melting properties and delicious taste.
3. The Soul of Gingerbread: Spices and Vanilla Extract
- This is where our fudge truly transforms into a festive gingerbread delight. The blend of warming spices is what gives gingerbread its iconic aroma and taste. My preferred “usual suspects” include:
- **Ground Cinnamon:** Provides a comforting, sweet, and slightly woody flavor that is a cornerstone of holiday baking.
- **Ground Allspice:** This single spice miraculously captures the flavors of cinnamon, cloves, and nutmeg, offering a complex aromatic profile without needing multiple jars.
- **Ground Ginger:** The star player, delivering that essential warm, pungent, and slightly peppery kick characteristic of classic gingerbread.
- **Vanilla Extract:** A splash of pure vanilla extract acts as a flavor enhancer, rounding out the bold spices and adding a subtle depth and sweetness that elevates the entire profile of the fudge.
- **Optional Additions:** For an even more complex gingerbread flavor, you could consider adding a tiny pinch of ground cloves or nutmeg, but the core three spices, combined with vanilla, are perfectly sufficient to create a delectable treat.
Your Step-by-Step Guide to Perfect 3-Minute Gingerbread Fudge
Making this fudge is astonishingly simple. Whether you prefer the speed of the microwave or the steady control of the stovetop, both methods will yield the same wonderfully smooth and flavorful results.
Step 1: Prepare Your Baking Pan
- **Line with Aluminum Foil:** Take an 8×8 inch baking dish and generously line it with aluminum foil. Make sure the foil extends up and over the sides of the pan, creating “handles.” These will be incredibly useful for lifting the set fudge out later, making cutting a breeze. Set the prepared pan aside.
- **Why Foil is Best:** Based on my testing, aluminum foil is superior to parchment paper for this recipe. While parchment works for many baking tasks, it sometimes prevents this particular fudge from setting correctly, resulting in a softer, less firm texture. Stick to foil for guaranteed success!
Step 2: Melt the Base Ingredients
Choose your preferred melting method:
- **The Microwave Method (3 Minutes!):**
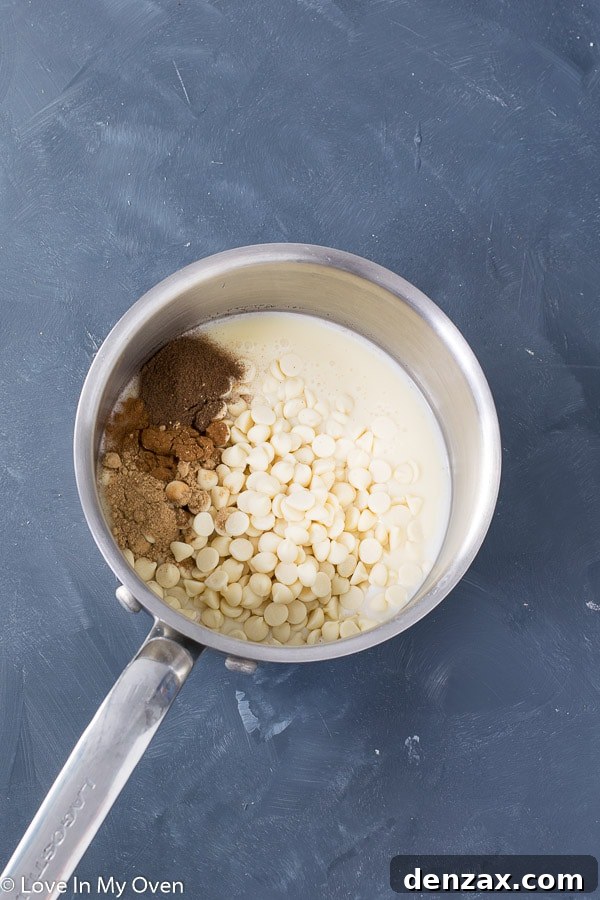
In a large, microwave-safe bowl, combine the entire can of sweetened condensed milk with the white chocolate chips (or chopped white chocolate). Place the bowl in the microwave and heat on high power in 30-second intervals. After each interval, remove the bowl and stir the mixture vigorously. Continue this process for a total of 2 to 3 minutes, or until the white chocolate is completely melted and the mixture is smooth, glossy, and free of lumps. Be vigilant not to overheat the white chocolate, as it can seize and become grainy.
- **The Stovetop Method:**
If you prefer using the stovetop, combine the white chocolate and sweetened condensed milk in a medium-sized saucepan. Place the saucepan over medium-low heat. Stir constantly, or at least every 30-60 seconds, to prevent scorching and ensure even melting. Continue stirring until the white chocolate is fully melted and the mixture achieves a smooth, uniform consistency. This method offers a bit more control over the melting process.
Step 3: Infuse with Festive Spices
- **Add Spices and Vanilla:** Once your base mixture is perfectly smooth and melted (whether from the microwave or stovetop), remove it from the heat. Stir in the ground cinnamon, ground allspice, ground ginger, and pure vanilla extract. Mix thoroughly until all the spices are fully incorporated and evenly distributed, ensuring every bite of fudge is bursting with delicious gingerbread flavor.
Step 4: Pour, Chill, and Cut
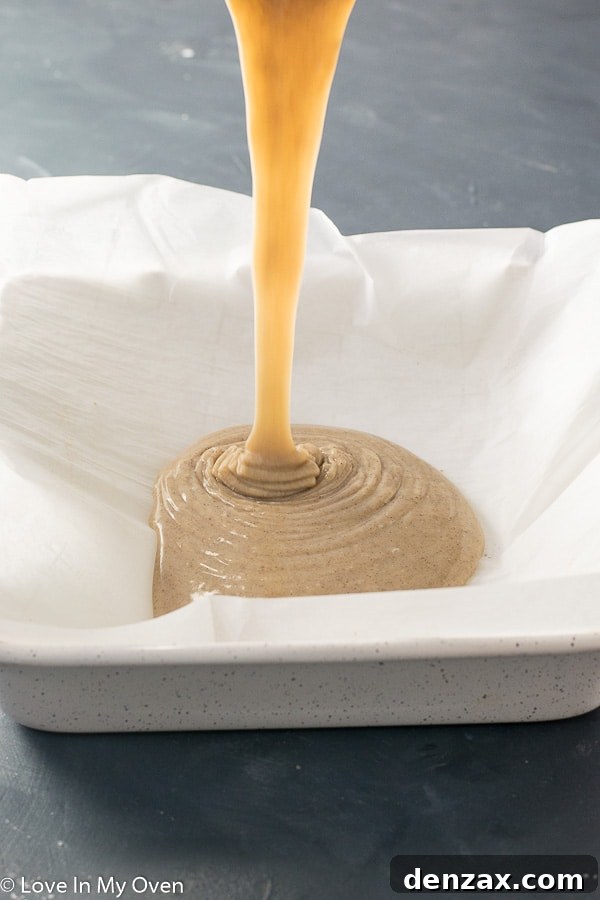
- **Pour into Pan:** Immediately pour the warm, spiced fudge mixture into your foil-lined 8×8 inch baking pan. Use the back of a spoon or a small offset spatula to spread and smooth the top surface evenly.
- **Optional Decorations:** If you’re planning to use festive sprinkles or other decorations, sprinkle them over the fudge now, while it’s still soft. Gently press them down with your fingers to ensure they adhere nicely.
- **Chill Until Firm:** Place the pan of fudge in the refrigerator to chill for at least 3-4 hours. For the best, firmest results, I often recommend chilling it overnight. A well-chilled fudge is much easier to cut cleanly.
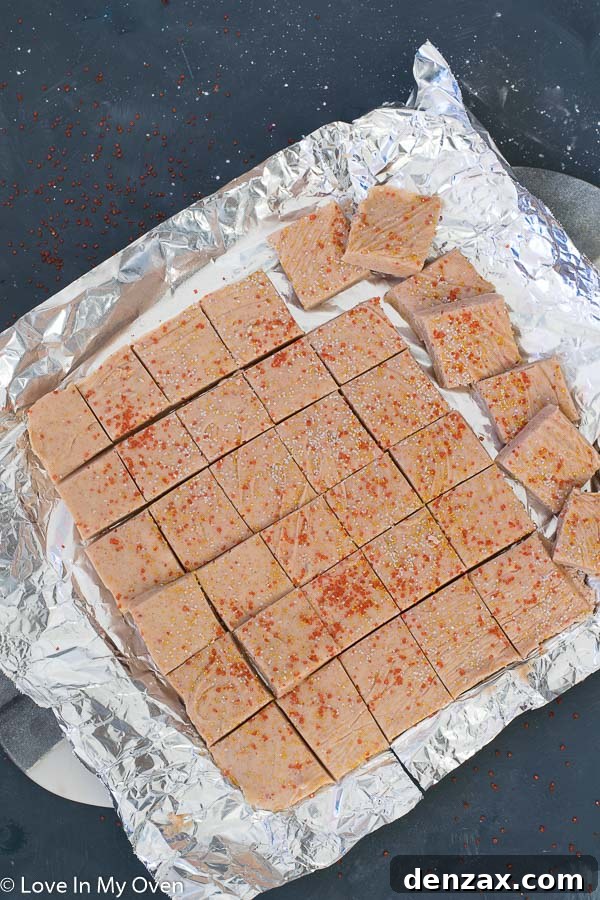
- **Cut and Serve:** Once the fudge is thoroughly firm, use the foil overhang as handles to lift the entire slab out of the pan and place it on a cutting board. Using a sharp knife (warming it slightly under hot water and wiping dry between cuts can help prevent sticking), cut the fudge into 36 small squares. You can, of course, make larger squares if you prefer.
Storage Tips & Troubleshooting for Your Gingerbread Fudge
How Long Does Gingerbread Fudge Take to Set?
The setting time is crucial for achieving that perfect fudge texture. I recommend chilling your gingerbread fudge in the refrigerator for a minimum of 3-4 hours. However, if time allows, an overnight chill is even better and will ensure a perfectly firm and sliceable fudge. If you pull it out of the fridge and it still seems a bit soft, simply pop it back in for another hour or two. Factors like the exact temperature of your fridge or minor variations in ingredient ratios can sometimes extend the setting time slightly.
The Foil vs. Parchment Paper Dilemma: A Crucial Insight
As mentioned in the instructions, using aluminum foil to line your baking pan is a non-negotiable step for this recipe. During my recipe development, I had one batch that stubbornly refused to set to the desired firm consistency. It was still tasty, but too soft for classic fudge squares. The only difference in that particular batch was that I had lined the pan with parchment paper instead of aluminum foil.
While I can’t provide a definitive scientific explanation – it could be related to heat transfer, moisture retention, or simply a fluke – the consistent success with aluminum foil makes it my absolute recommendation. To avoid any disappointment, always reach for the foil!
Storing Your Delicious Gingerbread Fudge
Once your gingerbread fudge is perfectly set and cut, proper storage will keep it fresh and delightful:
- **Room Temperature:** The fudge can remain at room temperature in an airtight container for up to 1-2 days, making it convenient for parties or short-term display.
- **Refrigerator:** For longer storage, transfer the fudge to an airtight container and keep it in the refrigerator. It will stay fresh for up to two weeks, maintaining its optimal texture and flavor.
- **Freezing:** Fudge freezes exceptionally well! Wrap individual pieces or blocks tightly in plastic wrap, then place them in a freezer-safe bag or container. It can be stored in the freezer for 2-3 months. To enjoy, simply thaw in the refrigerator overnight or at room temperature for a few hours.
Creative Customizations & Serving Ideas for Your Gingerbread Fudge
While this 3-ingredient microwave gingerbread fudge is fantastic on its own, it also serves as a wonderful canvas for creative customizations. Feel free to adapt it to your taste or for different occasions!
Spice It Up: Flavor Variations
- **Extra Ginger Kick:** For true ginger lovers, add a tablespoon of finely minced candied ginger into the mixture along with the ground spices.
- **Nutty Crunch:** Fold in half a cup of chopped pecans, walnuts, or almonds for a delightful textural contrast and nutty flavor.
- **Chocolate Drizzle:** Once the fudge has set, melt a small amount of dark or milk chocolate and drizzle it artfully over the top for an elegant finish.
- **Citrus Brightness:** A teaspoon of fresh orange or lemon zest can add a wonderful bright note that complements the warmth of the gingerbread spices.
Perfect for Gifting & Entertaining
This easy gingerbread fudge is not only a personal indulgence but also a fantastic option for sharing the holiday cheer:
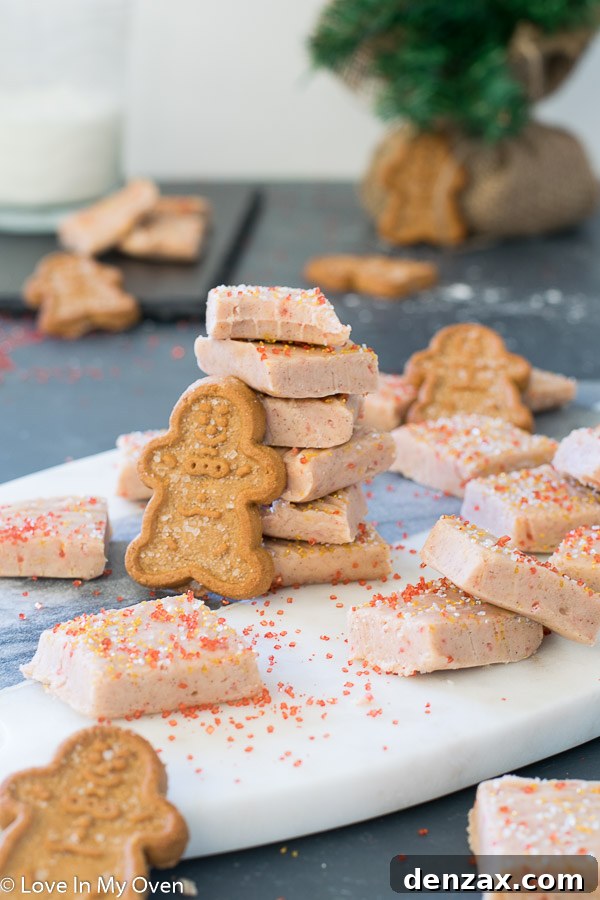
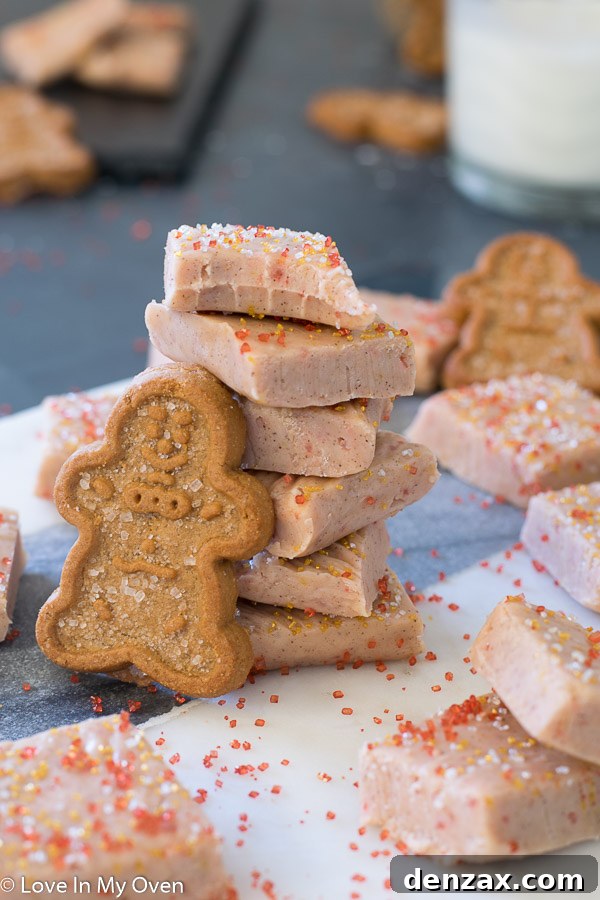
- **Festive Platters:** Arrange the cut fudge on a decorative platter alongside other holiday cookies, chocolates, and candies for an eye-catching dessert display.
- **Homemade Gifts:** Package small batches of fudge in cute cellophane bags, decorative tins, or small boxes. Tie with a festive ribbon and a homemade tag for a thoughtful, personal gift for friends, neighbors, teachers, or coworkers.
- **Coffee Break Companion:** Serve squares of fudge with hot coffee, rich hot cocoa, or a spiced chai tea for a cozy afternoon treat during the colder months.
- **Potlucks & Parties:** Its quick preparation and high yield make it an ideal dessert to bring to holiday potlucks or large family gatherings.
Frequently Asked Questions (FAQs) About Gingerbread Fudge
Here are answers to some common questions you might have when making this incredibly easy microwave gingerbread fudge:
Q: Can I use milk chocolate or dark chocolate instead of white chocolate?
A: Absolutely! While the recipe calls for white chocolate to best showcase the gingerbread spices, you can certainly experiment with other types of chocolate. Using milk chocolate will result in a sweeter, creamier fudge with a chocolate-gingerbread flavor, while dark chocolate will yield a richer, more intense, and slightly bitter chocolate taste with the spice notes. Ensure you use good quality baking chocolate, as the setting properties can be slightly different but generally work well.
Q: How long does this gingerbread fudge stay fresh?
A: When stored properly in an airtight container in the refrigerator, your gingerbread fudge will stay fresh and delicious for up to two weeks. If left at room temperature, it’s best consumed within 1-2 days to maintain its optimal texture and freshness.
Q: Can I freeze gingerbread fudge?
A: Yes, fudge freezes beautifully! To freeze, wrap individual pieces or a whole block of fudge tightly in plastic wrap, then place them in an airtight freezer-safe container or heavy-duty freezer bag. It can be stored in the freezer for up to 2-3 months. Thaw frozen fudge in the refrigerator overnight, or at room temperature for a few hours before serving.
Q: Why didn’t my fudge set properly?
A: The most common reasons for fudge failing to set are:
- **Wrong Milk:** Using evaporated milk instead of sweetened condensed milk is the primary culprit. They are not interchangeable!
- **Insufficient Chilling:** The fudge needs adequate time in the refrigerator (at least 3-4 hours, preferably longer) to firm up completely.
- **Pan Lining:** As emphasized in the instructions, using parchment paper instead of aluminum foil can sometimes hinder the setting process. Stick to foil!
- **Chocolate Quality:** Low-quality white chocolate might not have the correct cocoa butter content to set firmly. Ensure you’re using good baking chocolate.
- **Overheating:** While rare with this recipe, extreme overheating of white chocolate can sometimes affect its ability to set correctly.
Q: Can I make this fudge dairy-free or vegan?
A: Yes, it is possible to adapt this recipe for dairy-free or vegan diets. You would need to substitute the sweetened condensed milk with a dairy-free sweetened condensed milk alternative (such as coconut or oat-based versions, widely available in specialty stores or online). Additionally, you’ll need to use high-quality dairy-free or vegan white chocolate chips. The spices and vanilla extract are naturally vegan. Keep in mind that the final texture might vary slightly from the traditional dairy version.
Ready to Bake (or Microwave!) This Holiday Season?
Even though I’m currently enjoying warmer climes, I’m eagerly anticipating returning home to dive into my annual Christmas baking traditions! This gingerbread fudge is always at the top of my list because it delivers maximum holiday cheer with minimum fuss. It’s the perfect treat to share, gift, or simply enjoy yourself.
I have plenty more delicious holiday goodies planned for you throughout December, so keep your eyes peeled for upcoming recipes!
Now, stop reading and start making this fudge. It’ll take you just 3 minutes of active time, and you’ll be rewarded with a truly irresistible taste of the holidays!

Gingerbread Fudge
5 Stars
4 Stars
3 Stars
2 Stars
1 Star
5 from 16 reviews
- Author: Katherine | Love In My Oven
Total Time: 4 hours
Yield: 36 pieces 1x
Description
Perfect for the holiday season, this gingerbread fudge is a 3-ingredient microwave fudge. In terms of fudge flavors, this easy Christmas fudge is at the top of the list!
Ingredients
- 1 – 300mL can sweetened condensed milk
- 16 oz white chocolate chips/chunks
- 1 tsp ground cinnamon
- 1 1/2 tsp ground ginger
- 1 1/2 tsp all-spice
- 1 tsp pure vanilla extract
- optional: sprinkles for decorating
Instructions
- Line an 8×8 pan with aluminum foil* and set aside.
- Microwave: In a microwave-safe bowl, combine the condensed milk and white chocolate chips. Place the mixture in the microwave and heat on high, heating in 30 second increments for 3 minutes, stirring in between, until smooth.
- For stovetop: In a medium-sized saucepan over medium heat, combine the white chocolate and condensed milk, stirring every minute or so until the chips are melted and the mixture is smooth.
- Add the spices and vanilla extract to the melted mixture stirring to combine thoroughly. Pour the mixture into the lined baking pan, smoothing out the top with the back of a spoon. Add sprinkles immediately after (if using) and gently press down on them with your fingers. Place the fudge in the fridge for 3-4 hours to chill, before removing and cutting with a sharp knife, into 36 pieces.
Notes
*See the blog post above for why you should use aluminum foil vs parchment paper to line the pan.
- Prep Time: 3 minutes
- Cook Time: 3 minutes
- Category: holiday desserts
- Method: microwave
- Cuisine: holiday