
No-Bake Key Lime Pie in a Jar: Your Perfect Individual Dessert Solution
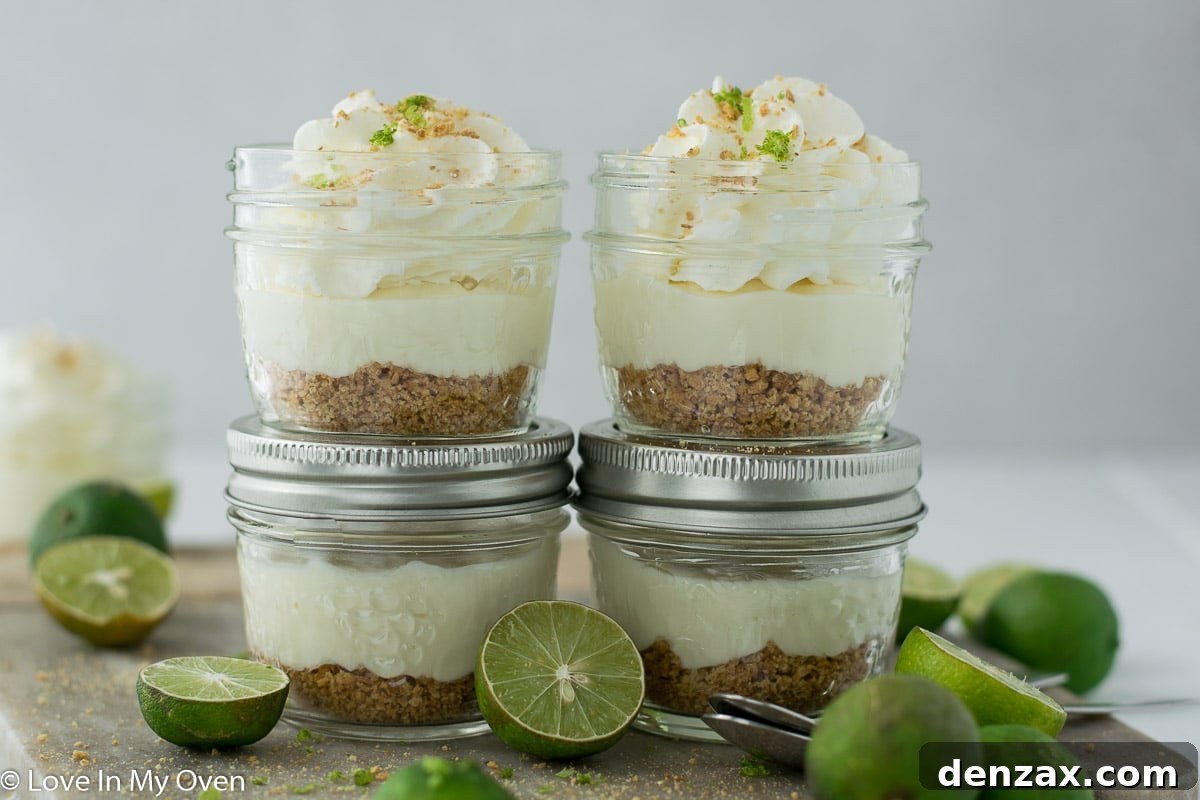
Indulge in the vibrant tang and creamy sweetness of key lime pie, perfectly portioned and effortlessly delicious, all without turning on your oven. This no-bake key lime pie in a jar is the ultimate dessert for any occasion, from intimate dinner parties to festive summer gatherings!
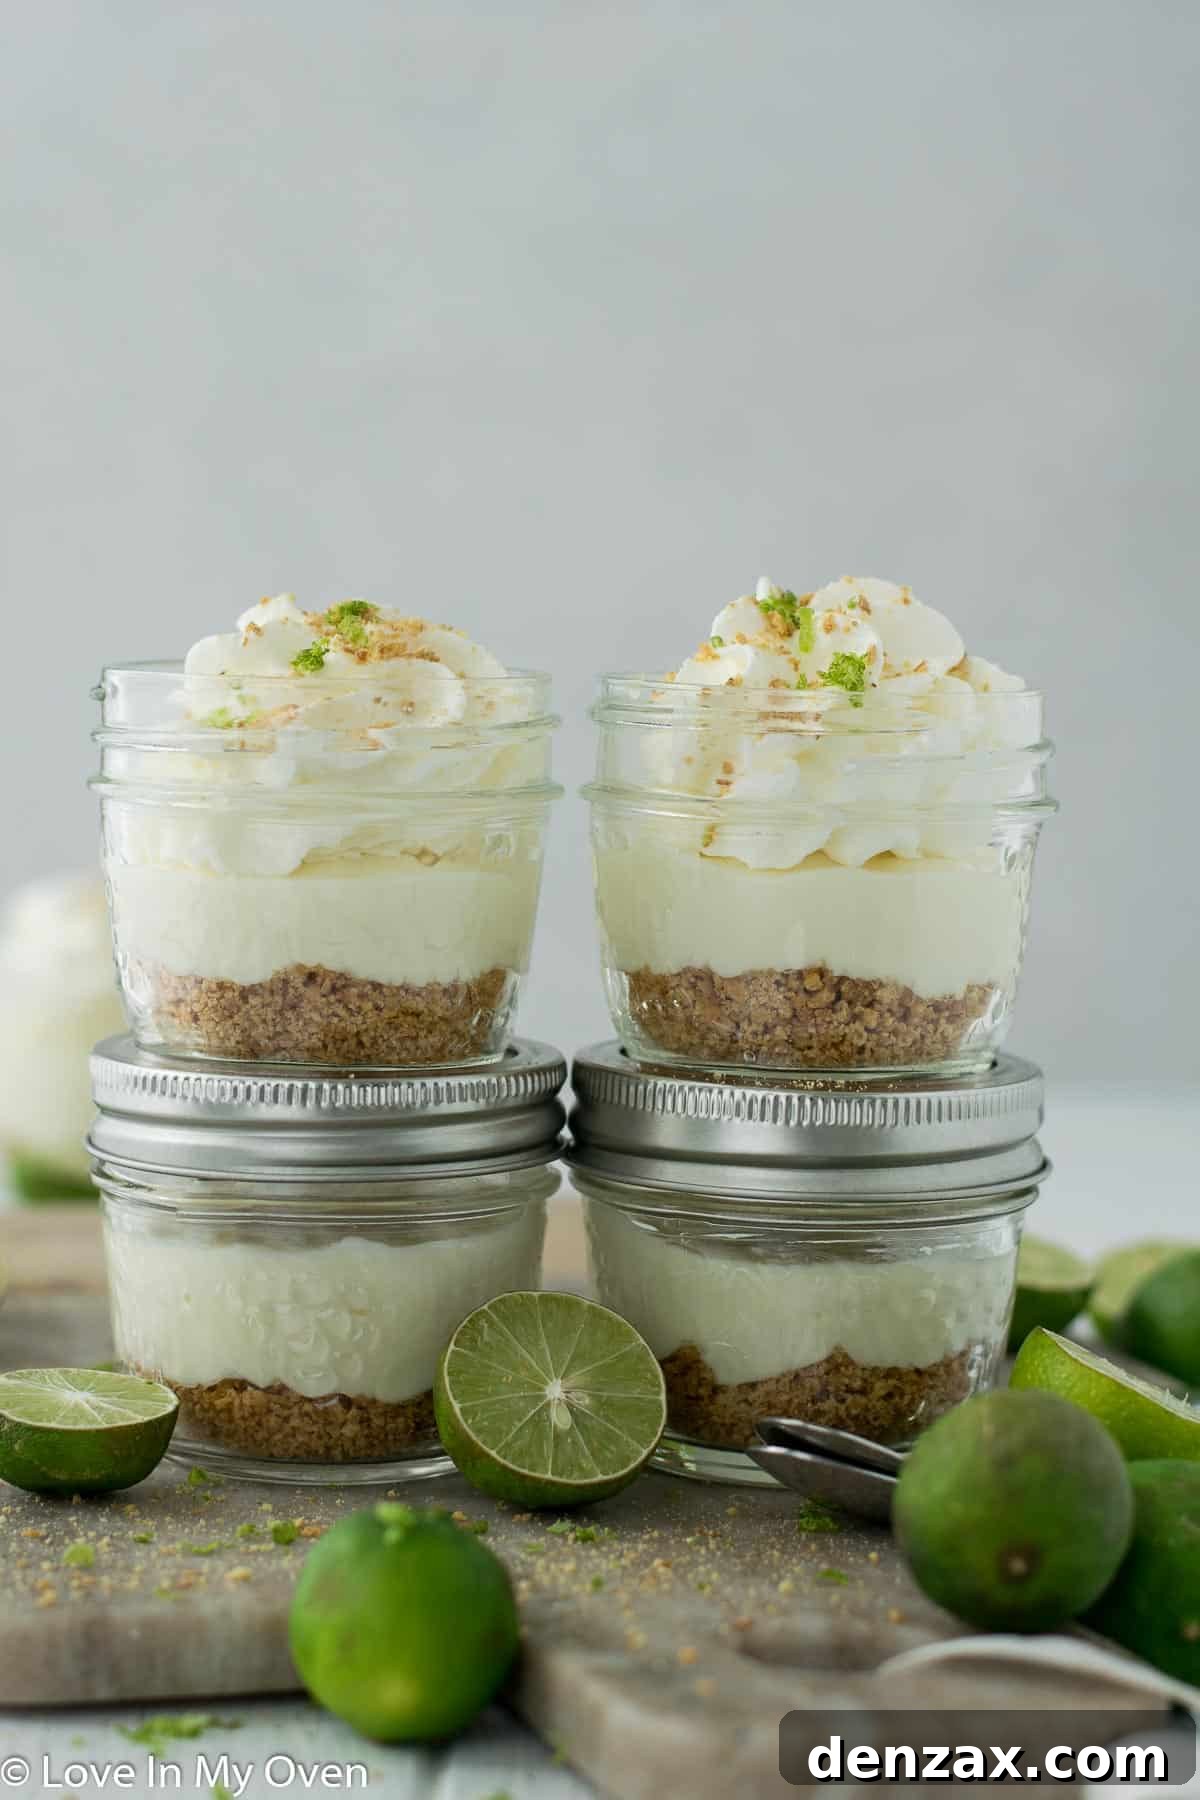
There’s an undeniable charm that comes with desserts served in jars. Far beyond mere convenience, individual jar desserts offer a delightful personal touch, making each guest feel special with their very own sweet treat. They elegantly simplify portion control, present beautifully, and are incredibly versatile for transport. Forget the hassle of slicing and serving a traditional pie; these adorable mini key lime pies ensure everyone gets a perfect, pristine serving every single time. And let’s be honest, who wouldn’t be tempted by the idea of a personal, ready-to-enjoy dessert that requires absolutely no baking?
My recent obsession with key lime flavor continues, and for good reason! After sharing those incredibly soft and flavorful key lime pie cookies, I simply had to bring that zesty, refreshing taste into a creamy cheesecake format. This recipe takes all the beloved notes of a classic key lime pie – the tartness, the sweetness, the crisp crust – and transforms them into a luscious, no-bake cheesecake experience, perfectly contained within a cute little jar. It’s a sophisticated twist on a timeless favorite, offering both familiarity and a touch of modern flair.
Crafting Your Key Lime Dream: A Simple Guide to No-Bake Key Lime Pie in a Jar
Creating these delightful key lime pies in a jar is a surprisingly straightforward process, making it an ideal recipe for both seasoned bakers and novice dessert enthusiasts. The magic lies in minimal effort for maximum flavor, all culminating in a dessert that tastes like it took hours, but only requires minutes of active prep time. Let’s gather our ingredients and dive into the delicious details.
Before you begin mixing, ensure all your ingredients are prepped and ready. The key limes are, naturally, the star here. You’ll need to juice about 4-6 small key limes to yield roughly 2 tablespoons of that precious, tangy liquid. Key limes are smaller and typically more aromatic and tart than their larger Persian counterparts, offering a distinct flavor profile that is essential for an authentic key lime pie experience.
Crucially, don’t discard those zesty peels after juicing! You’ll need to finely zest your key limes until you have about 1 teaspoon of zest, plus a little extra for a beautiful garnish on top. The zest contains concentrated citrus oils, adding an incredible depth of flavor and a burst of fresh aroma to your pie filling. Finally, for that ultra-smooth, velvety filling, make sure your cream cheese is at room temperature. This is a non-negotiable step, as cold cream cheese will result in a lumpy, inconsistent texture, no matter how much you whip it.
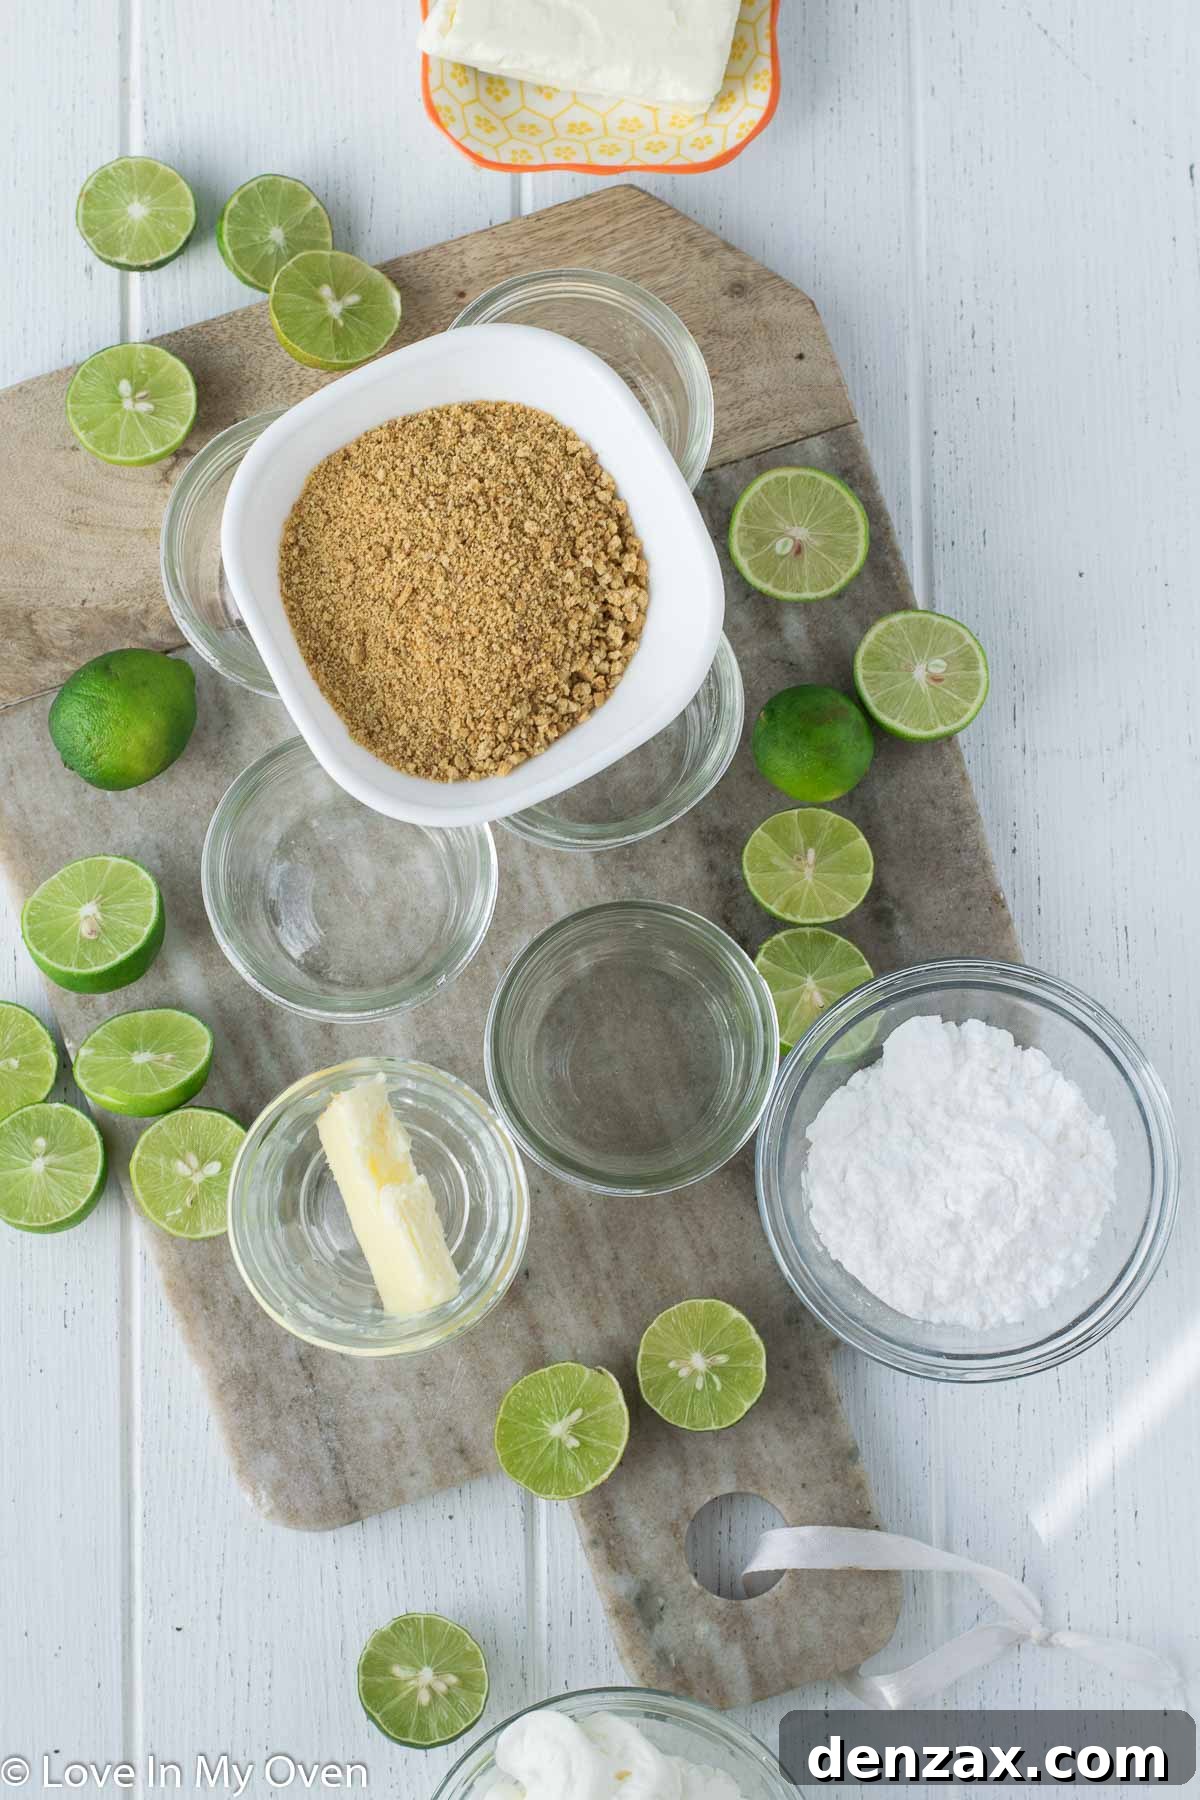
For this effortlessly elegant dessert, you’ll need these simple ingredients:
- Fresh Key Limes: The star of the show, providing that signature zesty tang.
- Cream Cheese: Full-fat, softened to room temperature for a smooth, rich filling.
- Graham Cracker Crumbs: Forming the sweet, buttery base of our pie.
- Unsalted Butter: To bind the graham cracker crumbs into a perfect crust.
- Powdered Sugar: For delicate sweetness in both the filling and whipped cream.
- Heavy Whipping Cream: Creating a light, airy texture and a fluffy topping.
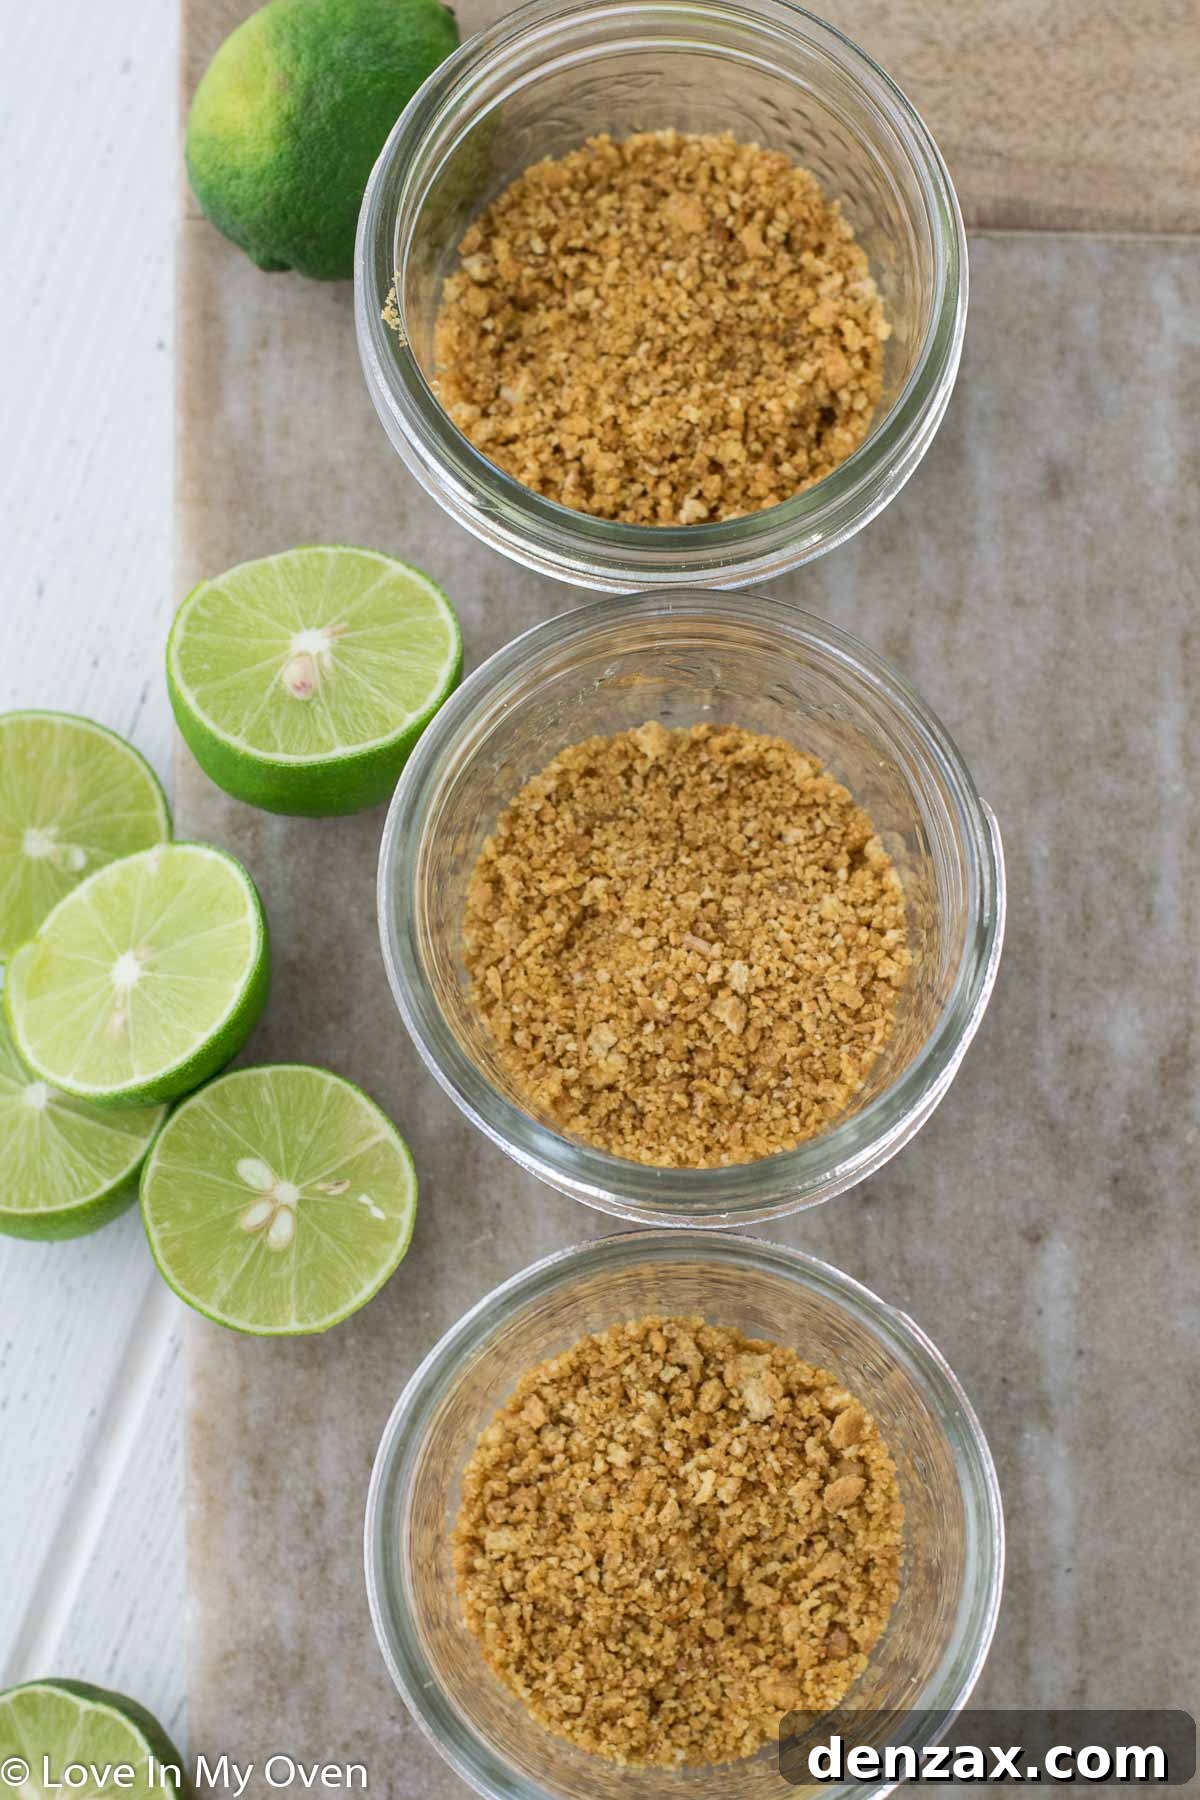
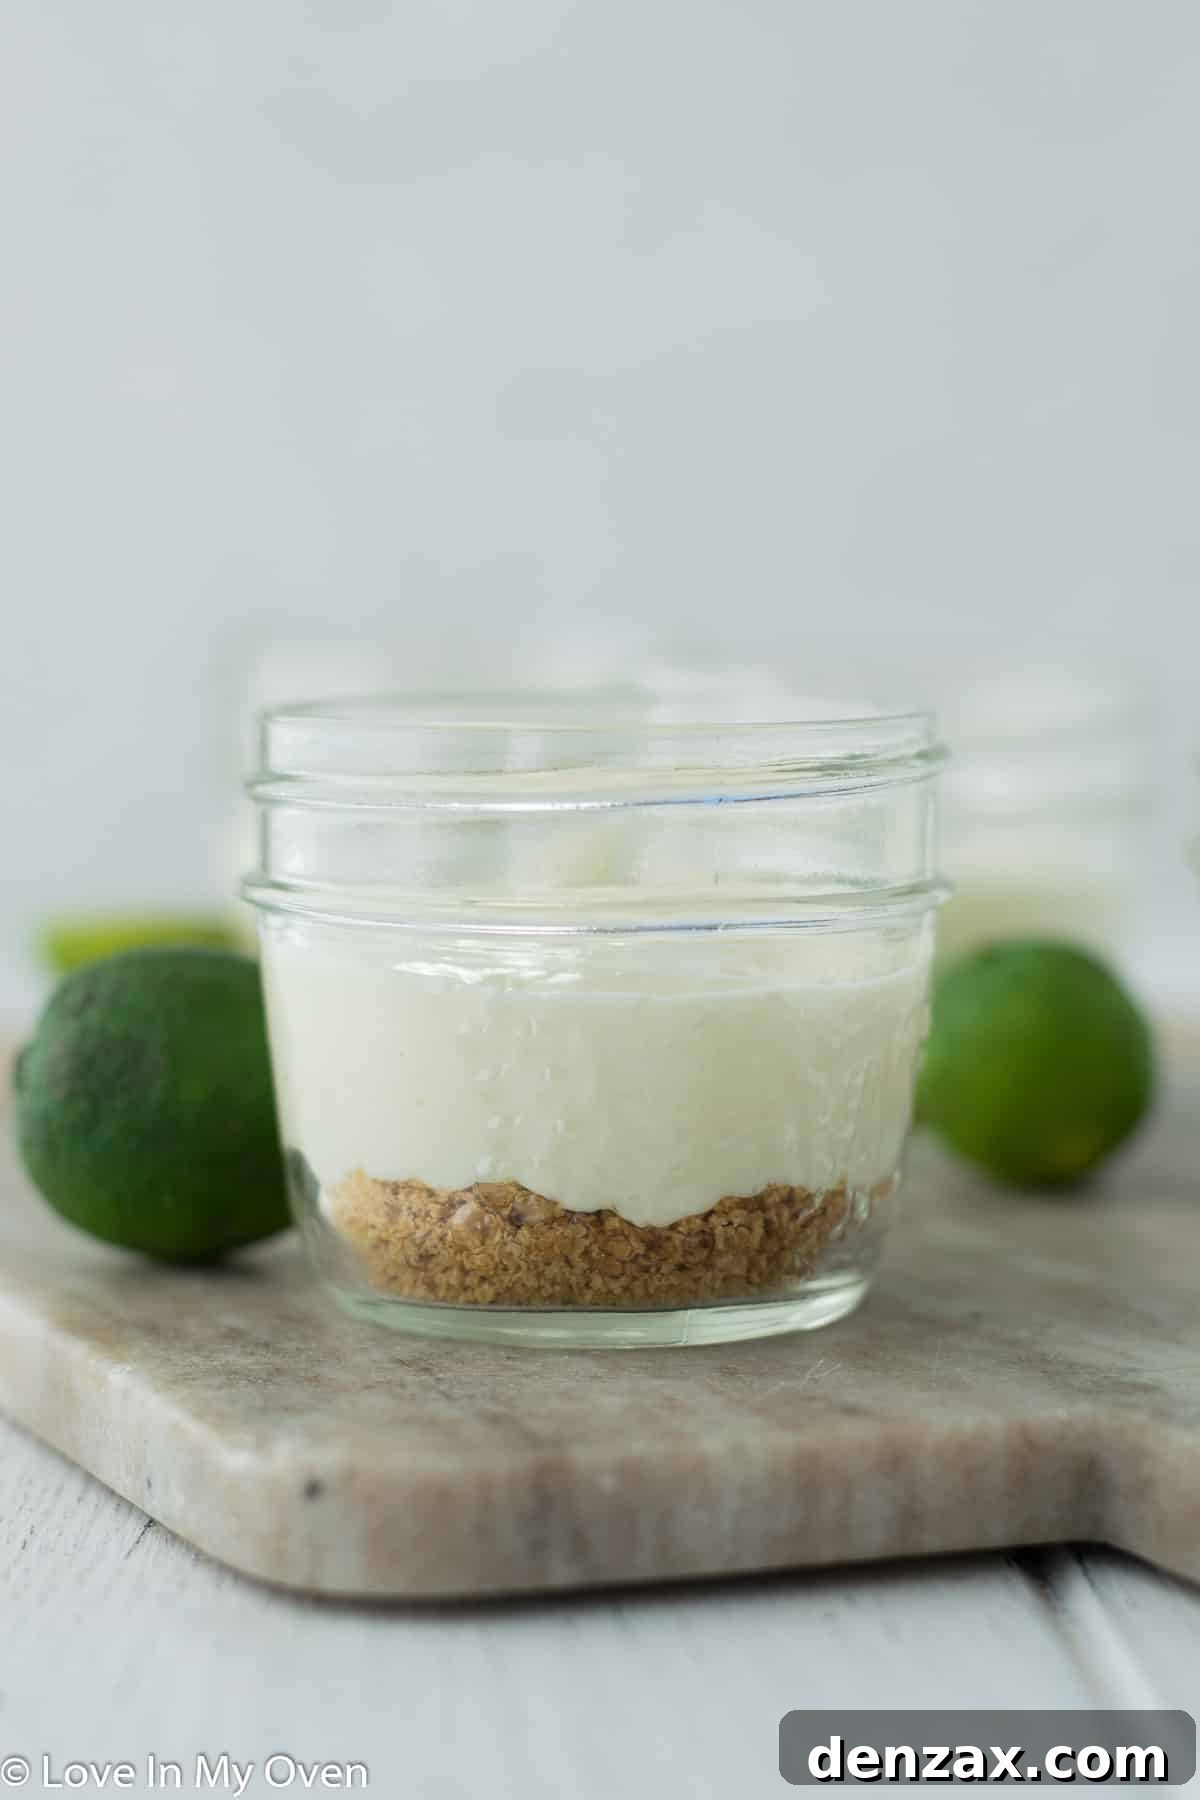
Now, let’s get to the fun part – assembly! Begin by preparing the crust directly in your jars. In a small bowl, combine the melted butter with your graham cracker crumbs. The butter acts as a binder, creating a firm, flavorful base. Once thoroughly mixed, press this crumb mixture firmly into the bottom of about 5-6 mini mason jars, typically 4-ounce jars are perfect for single servings. Aim for a crust that’s approximately 1 inch high; this provides a sturdy and satisfying foundation for your creamy filling.
Next, we prepare the luscious whipped cream component. Using a stand mixer fitted with a whisk attachment, or a reliable electric handheld mixer, whip the heavy cream on high speed. After about a minute, gradually add the powdered sugar. Continue whipping for approximately 3-4 minutes, or until distinct stiff peaks begin to form. Stiff peaks indicate that your whipped cream is stable and will hold its shape beautifully in the filling and as a topping. Carefully set this aside.
In a separate clean bowl of your stand mixer, using the paddle attachment, cream the softened, room-temperature cream cheese. Whip it for about 2 minutes until it becomes exceptionally smooth and free of any lumps. This step is crucial for a silky filling. Then, slowly pour in the measured key lime juice, continuing to whip until everything is well incorporated and creamy. Finally, using a spatula, gently fold in the reserved whipped cream and the fragrant key lime zest. The folding technique is important here; it helps to maintain the airiness of the whipped cream, ensuring a light and fluffy filling rather than a dense one.
Divide this vibrant, creamy mixture evenly among your prepared jars, spooning it over the graham cracker crusts. Smooth the tops gently. The visual appeal of these layered desserts is part of their charm! Once filled, cover the jars (either with their lids or plastic wrap) and transfer them to the refrigerator to chill. This chilling period is vital, not just for setting the dessert but also for allowing the flavors to meld and deepen.
The Art of Patience: How Long to Chill Your Key Lime Pie in a Jar for Perfection
The chilling process is perhaps the most critical, yet often underestimated, step in creating a flawless no-bake key lime pie in a jar. After all the careful mixing and layering, it can be tempting to dive right in, but patience truly is a virtue here. For optimal texture and flavor, these delightful jars require a minimum of 4 hours in the refrigerator. This extended chilling period allows the cream cheese filling to fully set and firm up, transforming from a soft mixture into a rich, dense, and perfectly scoopable consistency. Beyond structure, chilling also gives the vibrant key lime flavors a chance to meld and deepen, resulting in a more harmonious and pronounced taste that truly sings on your palate.
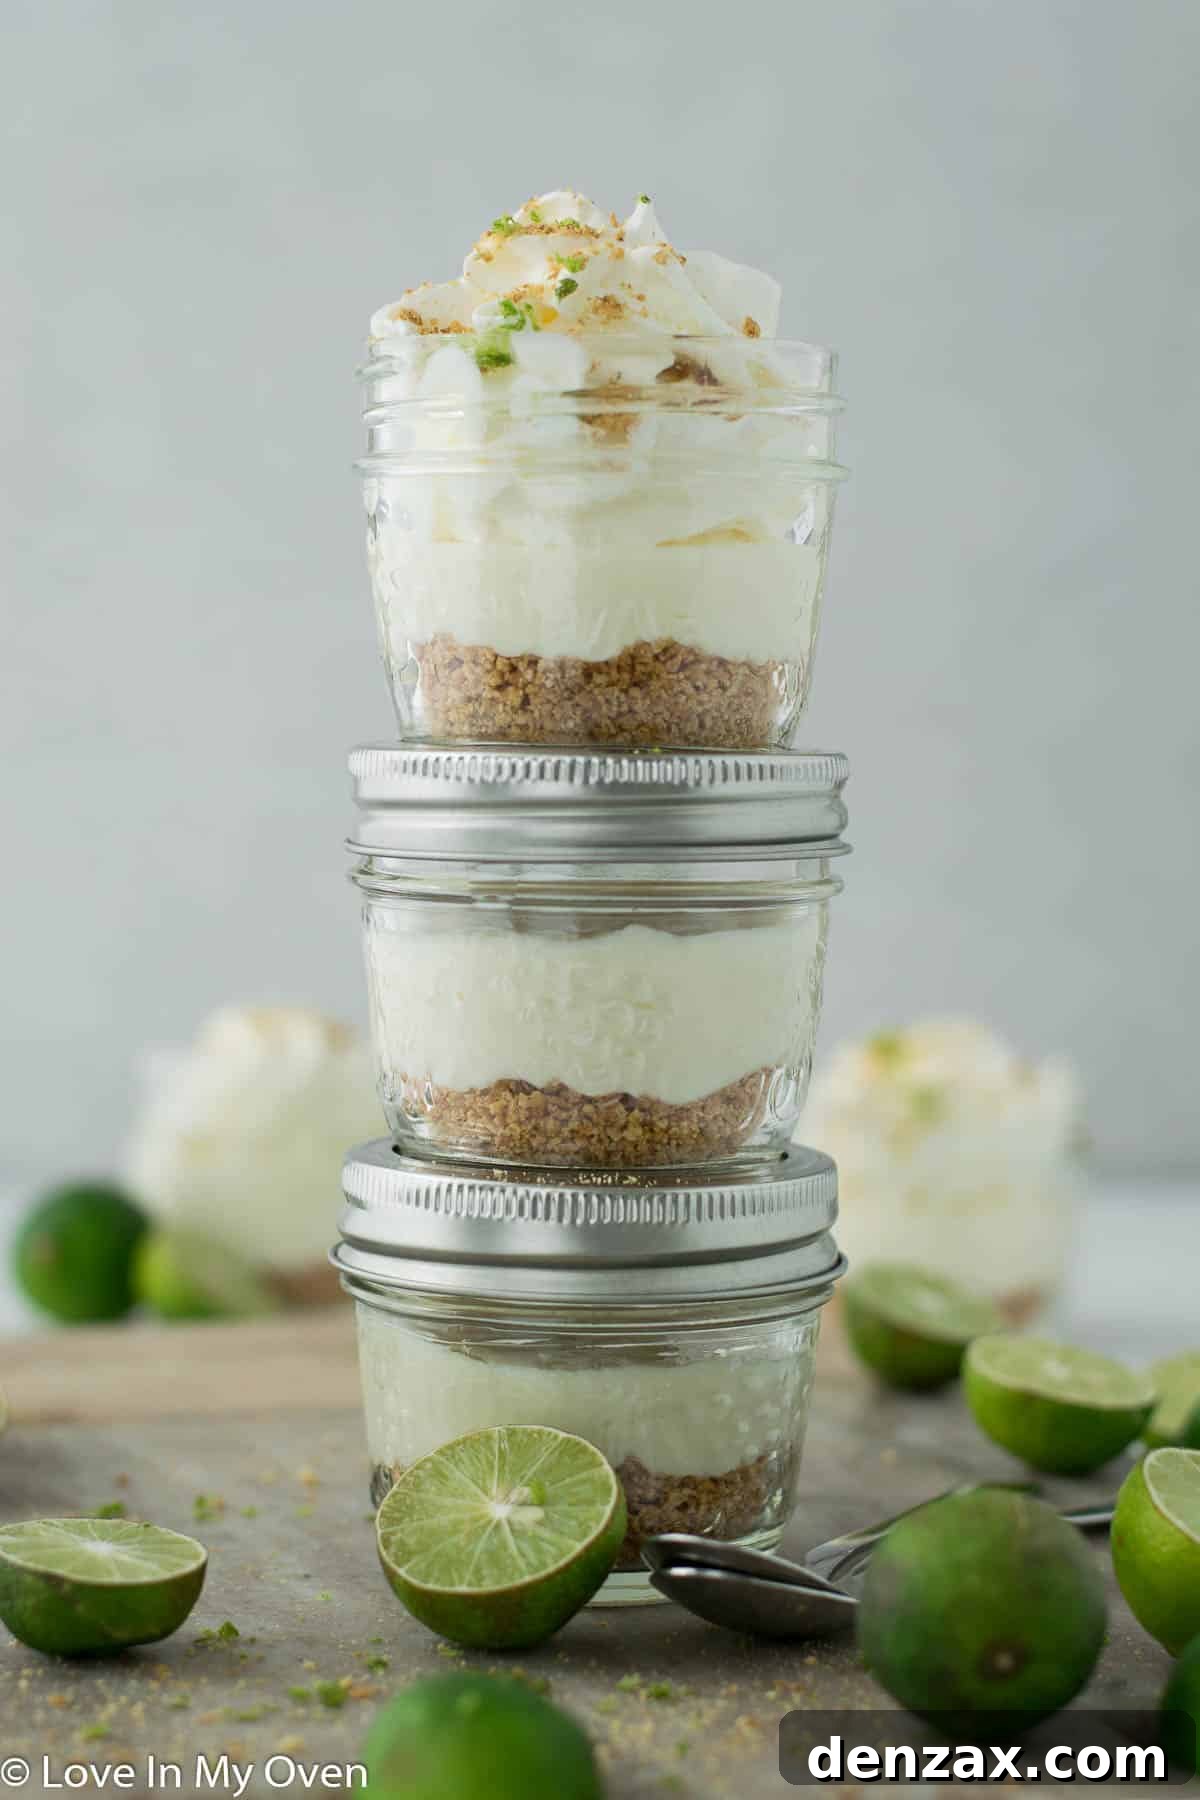
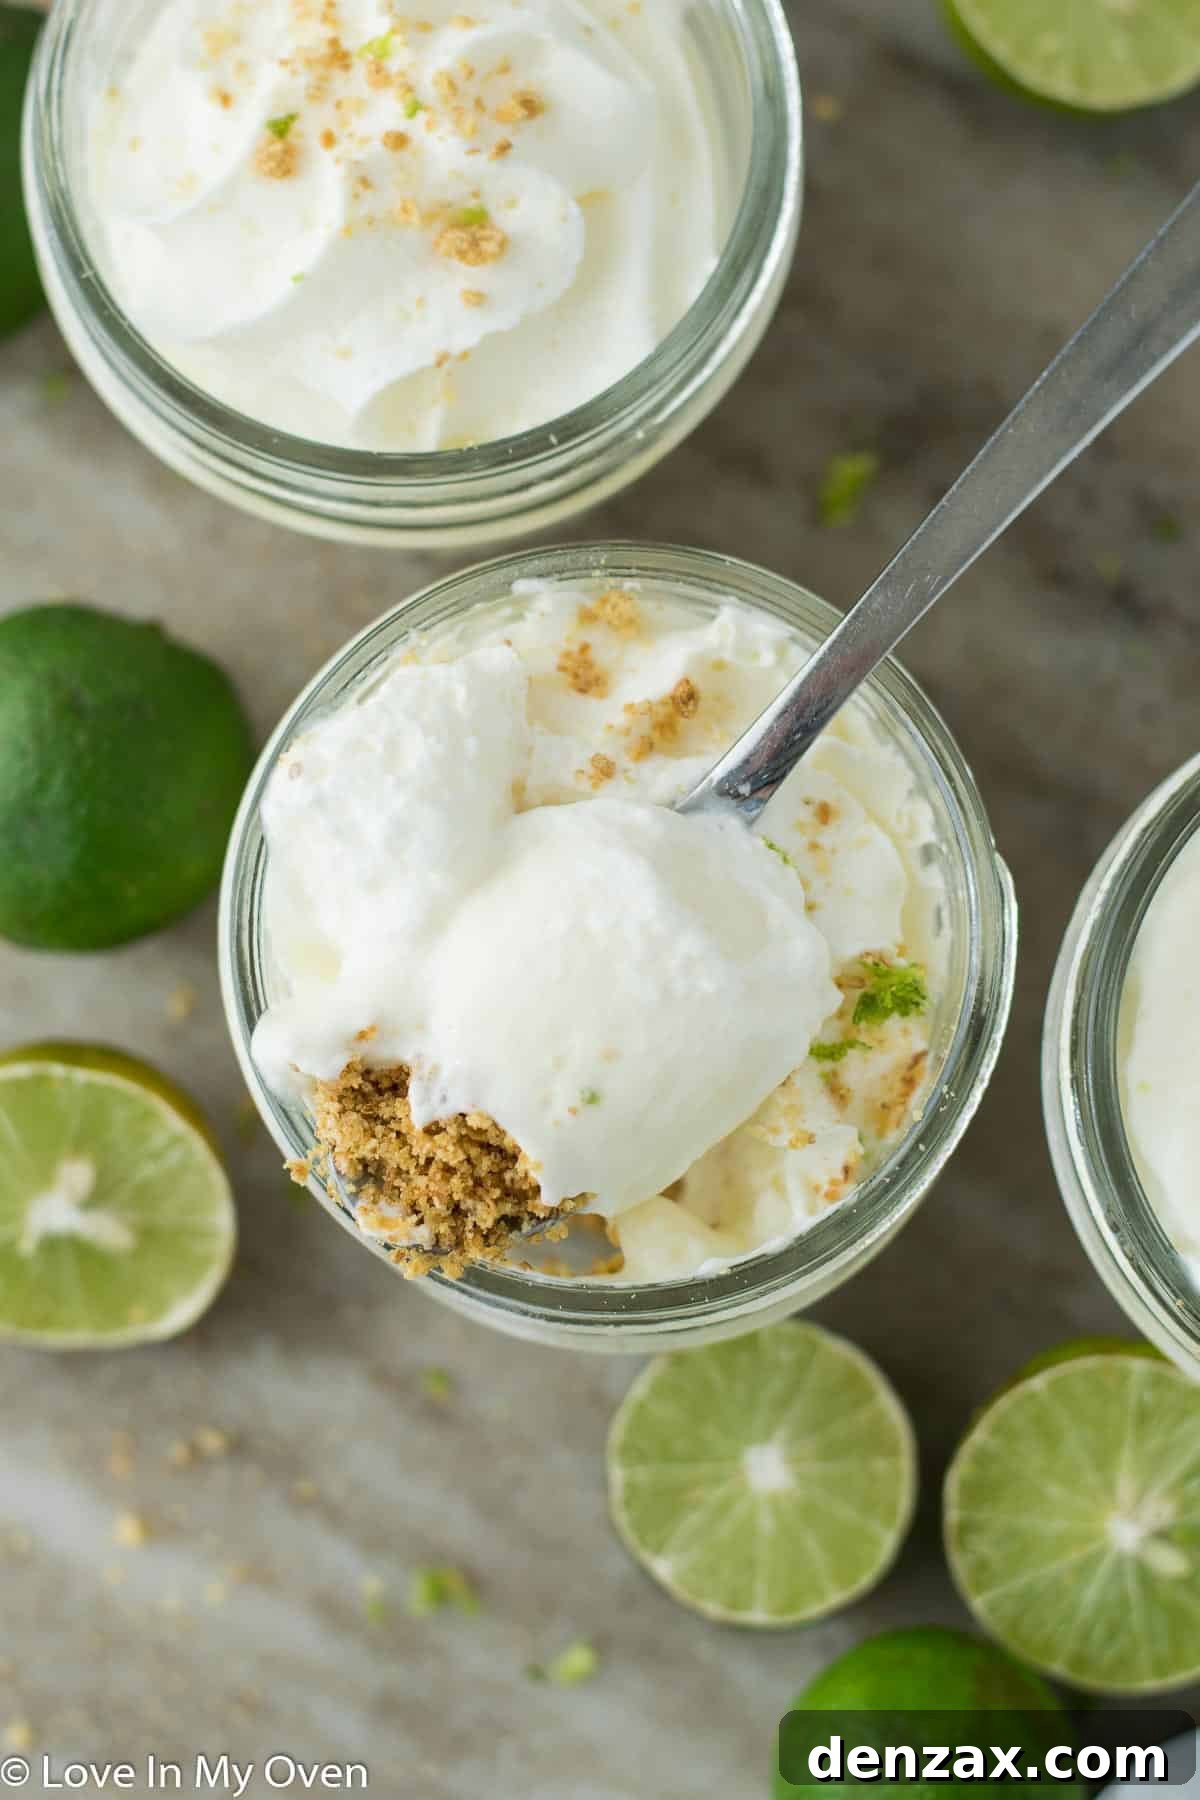
When ready to serve, elevate your dessert with a final flourish! I always recommend topping each jar with an extra dollop of freshly whipped cream. For an added burst of color and aroma, sprinkle a little more key lime zest over the cream. A few extra graham cracker crumbs can also provide a delightful textural contrast and visual appeal. These simple garnishes not only make your pies look professional but also enhance the overall sensory experience.
Key Limes vs. Regular Limes: Understanding the Flavor Nuances for Your Pie
The question of substituting regular limes for key limes is a common one, and while the short answer is “yes, you can,” it’s important to understand the delicious nuances you might be sacrificing. Key limes, also known as Mexican or West Indian limes, are smaller, more yellowish, and possess a distinctly aromatic, intensely tart, and floral flavor profile that is quite unique. They offer a brighter, more complex acidity compared to the more commonly available Persian (or regular) limes.
If you’re accustomed to the signature taste of a traditional key lime pie, you would indeed notice a difference if using regular limes. Persian limes are larger, greener, and tend to be less tart with a slightly bolder, sometimes bitter, flavor. While using them will still yield a delicious citrusy dessert, it won’t have that classic, unmistakable “key lime” character that enthusiasts adore. So, if authenticity is your goal, stick to key limes. But if you’re simply craving a refreshing lime dessert and regular limes are all you have, go for it! The pie will still be wonderfully tasty, just with a slightly different flavor profile.
Scaling Up Your Sweet Success: Doubling or Tripling Your Key Lime Pie Recipe
Absolutely! One of the fantastic advantages of this no-bake key lime pie in a jar recipe is its incredible versatility and ease of scalability. Whether you’re hosting a small family dinner or preparing for a large gathering, you can effortlessly double or even triple the recipe to accommodate your needs. Most recipe cards, including the one in this post, offer convenient scaling buttons (often 2x or 3x) that automatically adjust ingredient quantities for you, simplifying the process immensely.
If you’re catering to a crowd and prefer a more traditional presentation rather than individual jars, this recipe adapts beautifully to a large pan. Simply double the ingredients as instructed and press the graham cracker crust into an 8×8-inch baking pan. Then, spread the key lime filling evenly over the crust. Chill as directed, and once set, you can slice it into bars or squares, making it perfect for potlucks, BBQs, or larger dessert spreads. This flexibility ensures you can enjoy the amazing taste of key lime pie in whatever format best suits your occasion.
This dessert is truly a simple pleasure, delivering an incredible burst of flavor with minimal fuss. Its no-bake nature makes it an absolute lifesaver during warmer months, allowing you to enjoy a cool, refreshing treat without ever needing to turn on your oven. It’s the quintessential summer dessert, but delightful any time of year!
Tips for Achieving Key Lime Pie Perfection Every Time
- Use Fresh Key Lime Juice and Zest: Bottled lime juice simply doesn’t compare to the vibrant, aromatic tang of fresh key limes. The zest also adds essential oils that amplify the flavor.
- Room Temperature Cream Cheese: This is paramount for a smooth, lump-free filling. Cold cream cheese will resist blending and result in a grainy texture.
- Don’t Overmix the Cream Cheese: Once smooth, avoid over-whipping the cream cheese as it can incorporate too much air, leading to a less dense and potentially unstable filling.
- Whip Cream to Stiff Peaks: Ensure your heavy cream is very cold, and whip it until it forms stiff, stable peaks. This provides the necessary structure for the filling.
- Gentle Folding: When combining the whipped cream and lime zest with the cream cheese mixture, fold gently with a spatula. This retains the air in the whipped cream, ensuring a light and airy texture.
- Adequate Chilling Time: Do not skimp on the 4-hour chilling period. This allows the filling to firm up completely and the flavors to fully develop, resulting in the best possible texture and taste.
- Creative Garnishing: Elevate presentation with a swirl of extra whipped cream, a sprinkle of fresh key lime zest, or a few coarse graham cracker crumbs right before serving. A thin lime slice or a mint sprig can also add a gourmet touch.
Storing Your Delightful Key Lime Pie Jars
These individual key lime pie jars are not only delicious but also convenient for make-ahead preparation and storage. Once fully chilled, ensure each jar is tightly covered. You can use the original mason jar lids or simply cover them with plastic wrap, pressing it gently onto the surface of the filling to prevent a skin from forming. Stored properly in the refrigerator, these pies will maintain their freshness, creamy texture, and vibrant flavor for 3 to 4 days. They are perfect for preparing a day or two in advance for parties, reducing stress on the day of your event. For best enjoyment, serve them directly from the fridge while still perfectly chilled.
Explore More Irresistible No-Bake Desserts from Our Blog!
If you loved the ease and deliciousness of these no-bake key lime pies, you’re in for a treat! Our blog is brimming with a variety of other effortless desserts that require no oven time, perfect for satisfying your sweet tooth any time of year, especially during those warm summer months. Explore these other fantastic recipes that are sure to become new favorites:
- No-Bake Cheesecake Bars
- Giant Peanut Butter Cup
- Vegan Lemon Curd Tart

Key Lime Pie in a Jar
5 from 3 reviews
- Author: Katherine | Love In My Oven
- Total Time: 20 minutes (plus 4 hours chilling)
- Yield: 5–6 servings
Description
Why make a whole pie when you can just have a key lime pie in a jar? This super simple, no-bake dessert is perfect for a dinner party or any time you crave a refreshing, individual treat!
Ingredients
- 1 tbsp unsalted butter, melted
- 1/2 cup graham cracker crumbs
- 6 key limes (for 2 tbsp juice and 1 tsp zest + extra for garnish)
- 1 cup heavy cream for whipping (plus more for topping)
- 1/2 cup powdered sugar
- 8 oz full-fat cream cheese, room temperature
Instructions
- In a small bowl, combine the melted butter with the graham cracker crumbs. Divide the mixture evenly amongst 5-6 mini mason jars (approx. 4 oz each). Press firmly to create a crust about 1 inch high.
- Zest the key limes until you have 1 teaspoon of zest (plus extra for garnish). Then, juice the key limes into a measuring cup until you have 2 tablespoons of juice.
- In the bowl of a stand mixer fitted with the paddle attachment, or using an electric handheld mixer, whip the heavy cream on high speed. After about a minute, gradually add the powdered sugar. Continue whipping for 3-4 minutes until stiff peaks form. Set the whipped cream aside.
- In a separate clean bowl, whip the softened cream cheese for about 1-2 minutes until completely smooth and lump-free. Add the 2 tablespoons of key lime juice and continue to whip until well incorporated. Using a spatula, gently fold in the prepared whipped cream and 1 teaspoon of key lime zest until the mixture is smooth and evenly combined.
- Divide the key lime filling mixture evenly amongst the jars, spreading it on top of the graham cracker crusts.
- Cover the jars and place them in the refrigerator to chill for at least 4 hours, or ideally overnight, allowing the pie to set completely.
- Before serving, top with additional whipped cream, a sprinkle of fresh key lime zest, or a few extra graham cracker crumbs for garnish.
Leftovers will keep well in the fridge for 3-4 days, covered tightly.
Notes
Refer to the blog post above for detailed substitutions (like regular limes) and tips on doubling or tripling the recipe for larger crowds, or making it in a pan instead of individual jars.
- Prep Time: 20 minutes
- Category: dessert
- Method: no bake
- Cuisine: american