
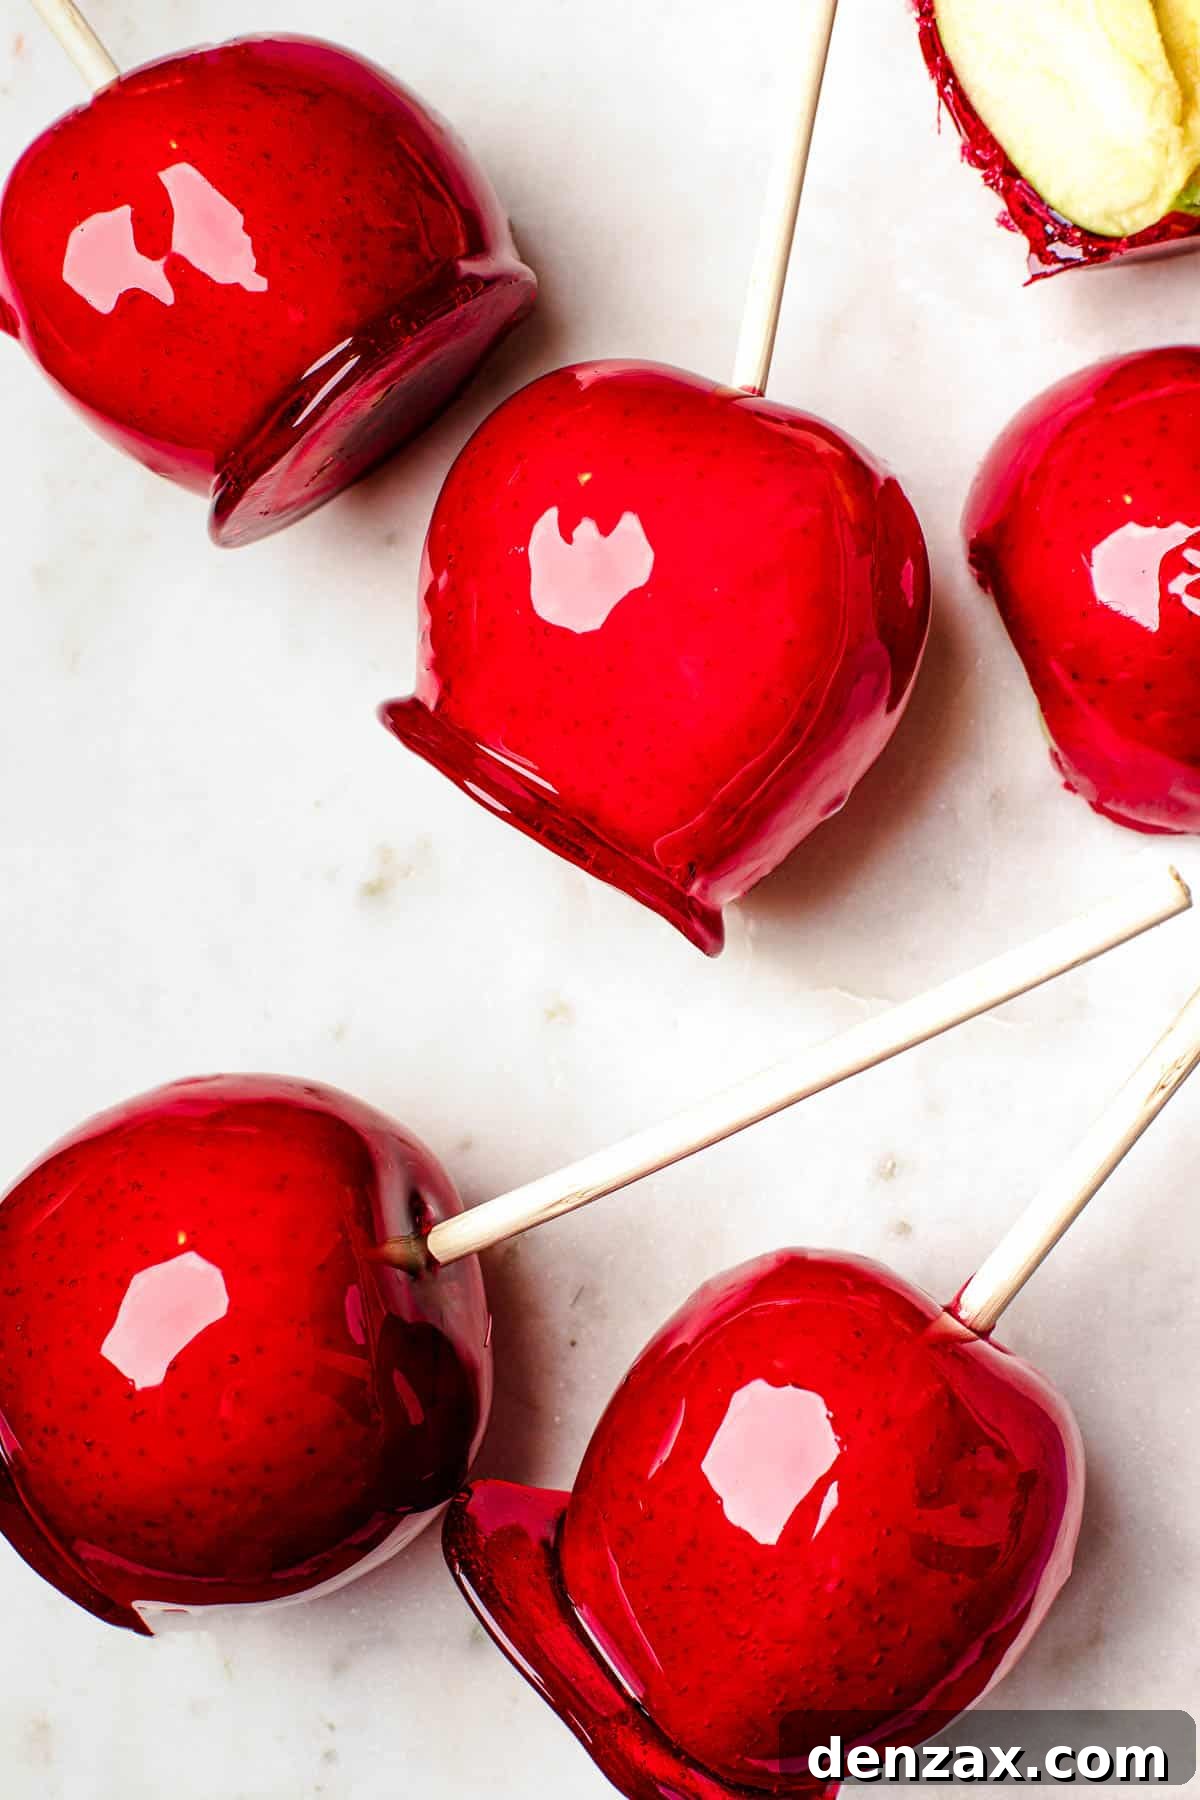
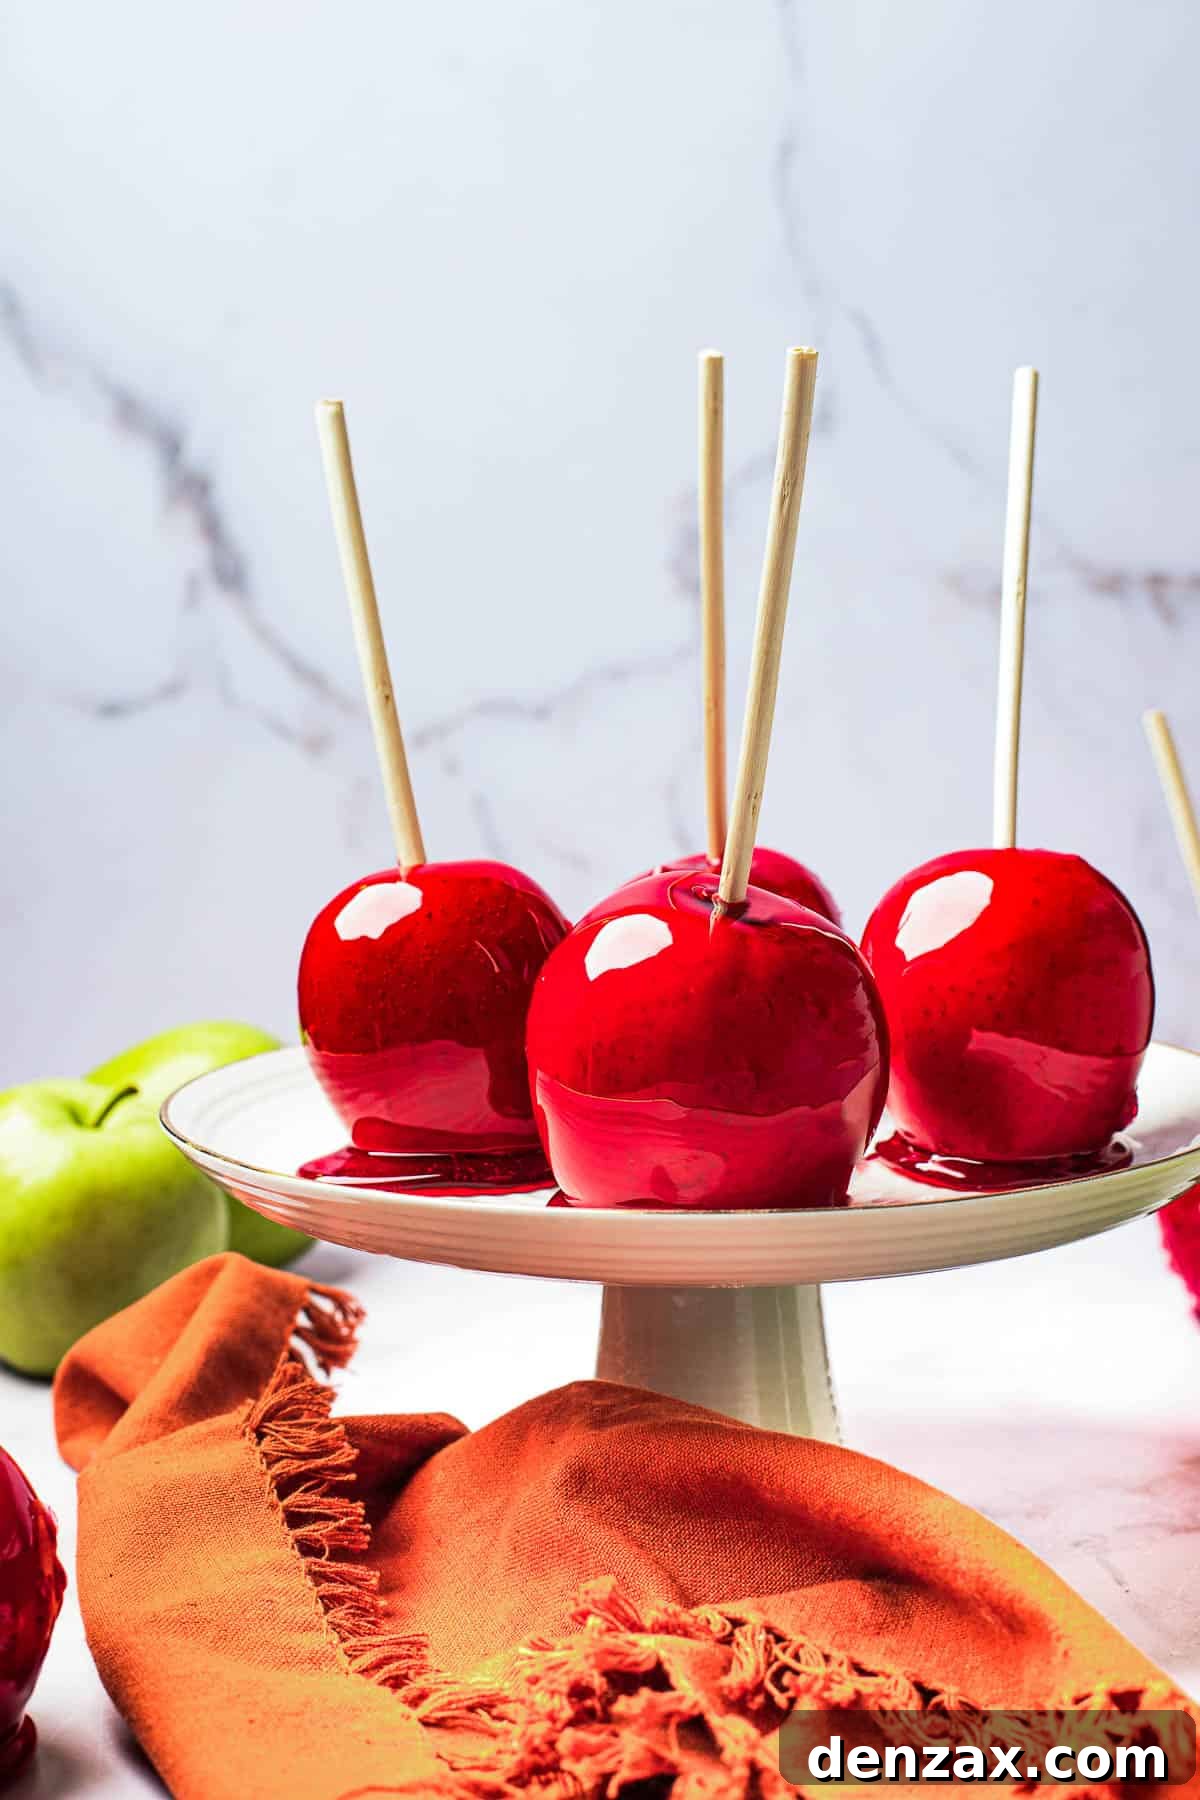
Ruby-red Homemade Candy Apples are more than just a treat; they’re a symbol of festive seasons, cherished memories, and simple culinary magic. Crafted with crisp, tart Granny Smith apples enveloped in a glistening, thin layer of homemade sugar candy, these old-fashioned delights are the quintessential sweet for fall gatherings, winter holidays, and any occasion calling for a touch of nostalgic charm.
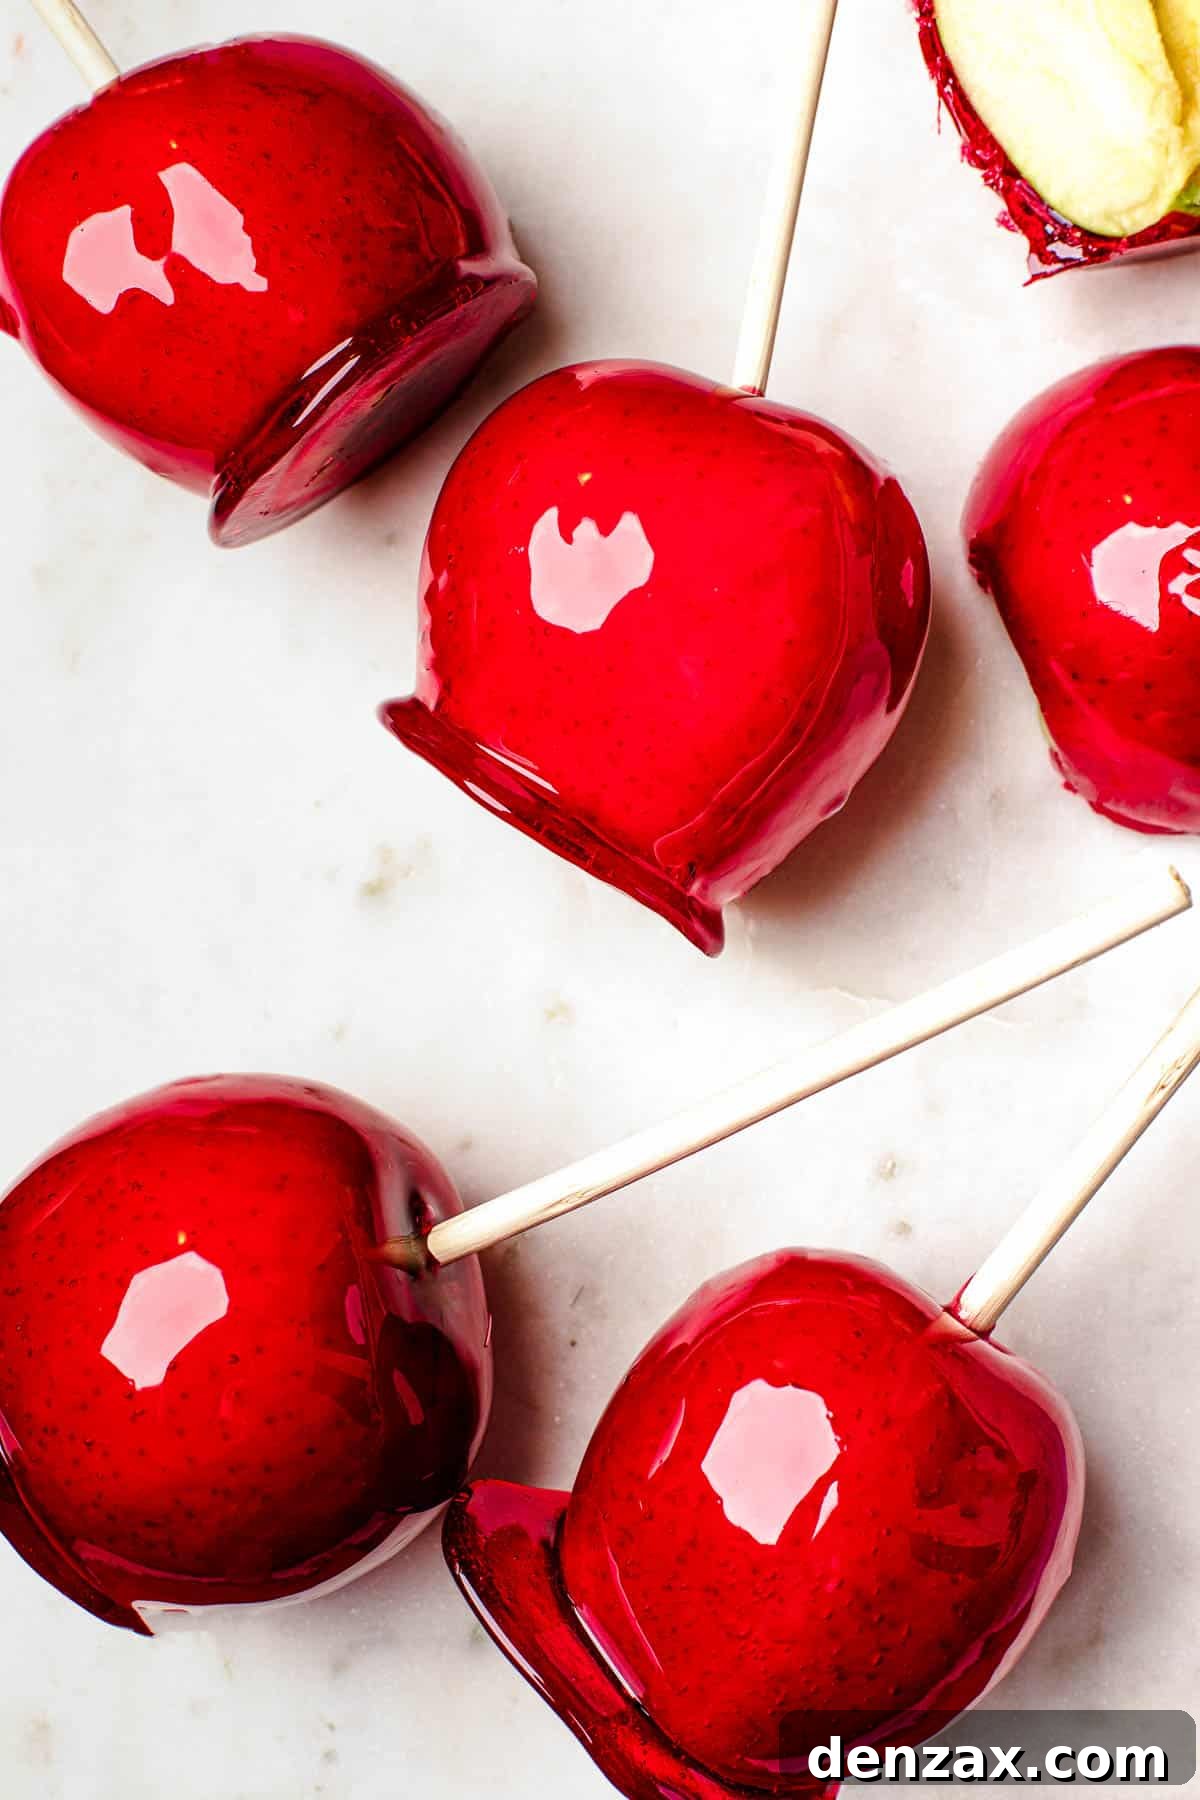
The Timeless Allure of Crisp and Crunchy Red Candy Apples
Few treats capture the essence of an American classic quite like candy apples. Imagine biting into a vibrant, ruby-red shell that shatters with a satisfying crunch, revealing the juicy, tart freshness of a real apple inside. They are, in essence, supersized lollipops with a wholesome fruit heart, making them an irresistible indulgence for all ages. Their striking, glossy red hue makes them particularly enchanting during the festive Christmas season, adding a vibrant splash of color to any holiday spread.
While children absolutely adore these sweet apple delights, making them can be a wonderful family activity, perfect for crafting personalized gifts or a special dessert for family game night. However, it’s crucial for parents to handle the sugar mixture with extreme caution. The molten sugar reaches incredibly high temperatures and can cause severe burns. We strongly advise that adults undertake the actual cooking process, utilizing heatproof gloves and ensuring children are kept at a safe distance from the stovetop. Safety should always be your top priority when working with hot sugar.
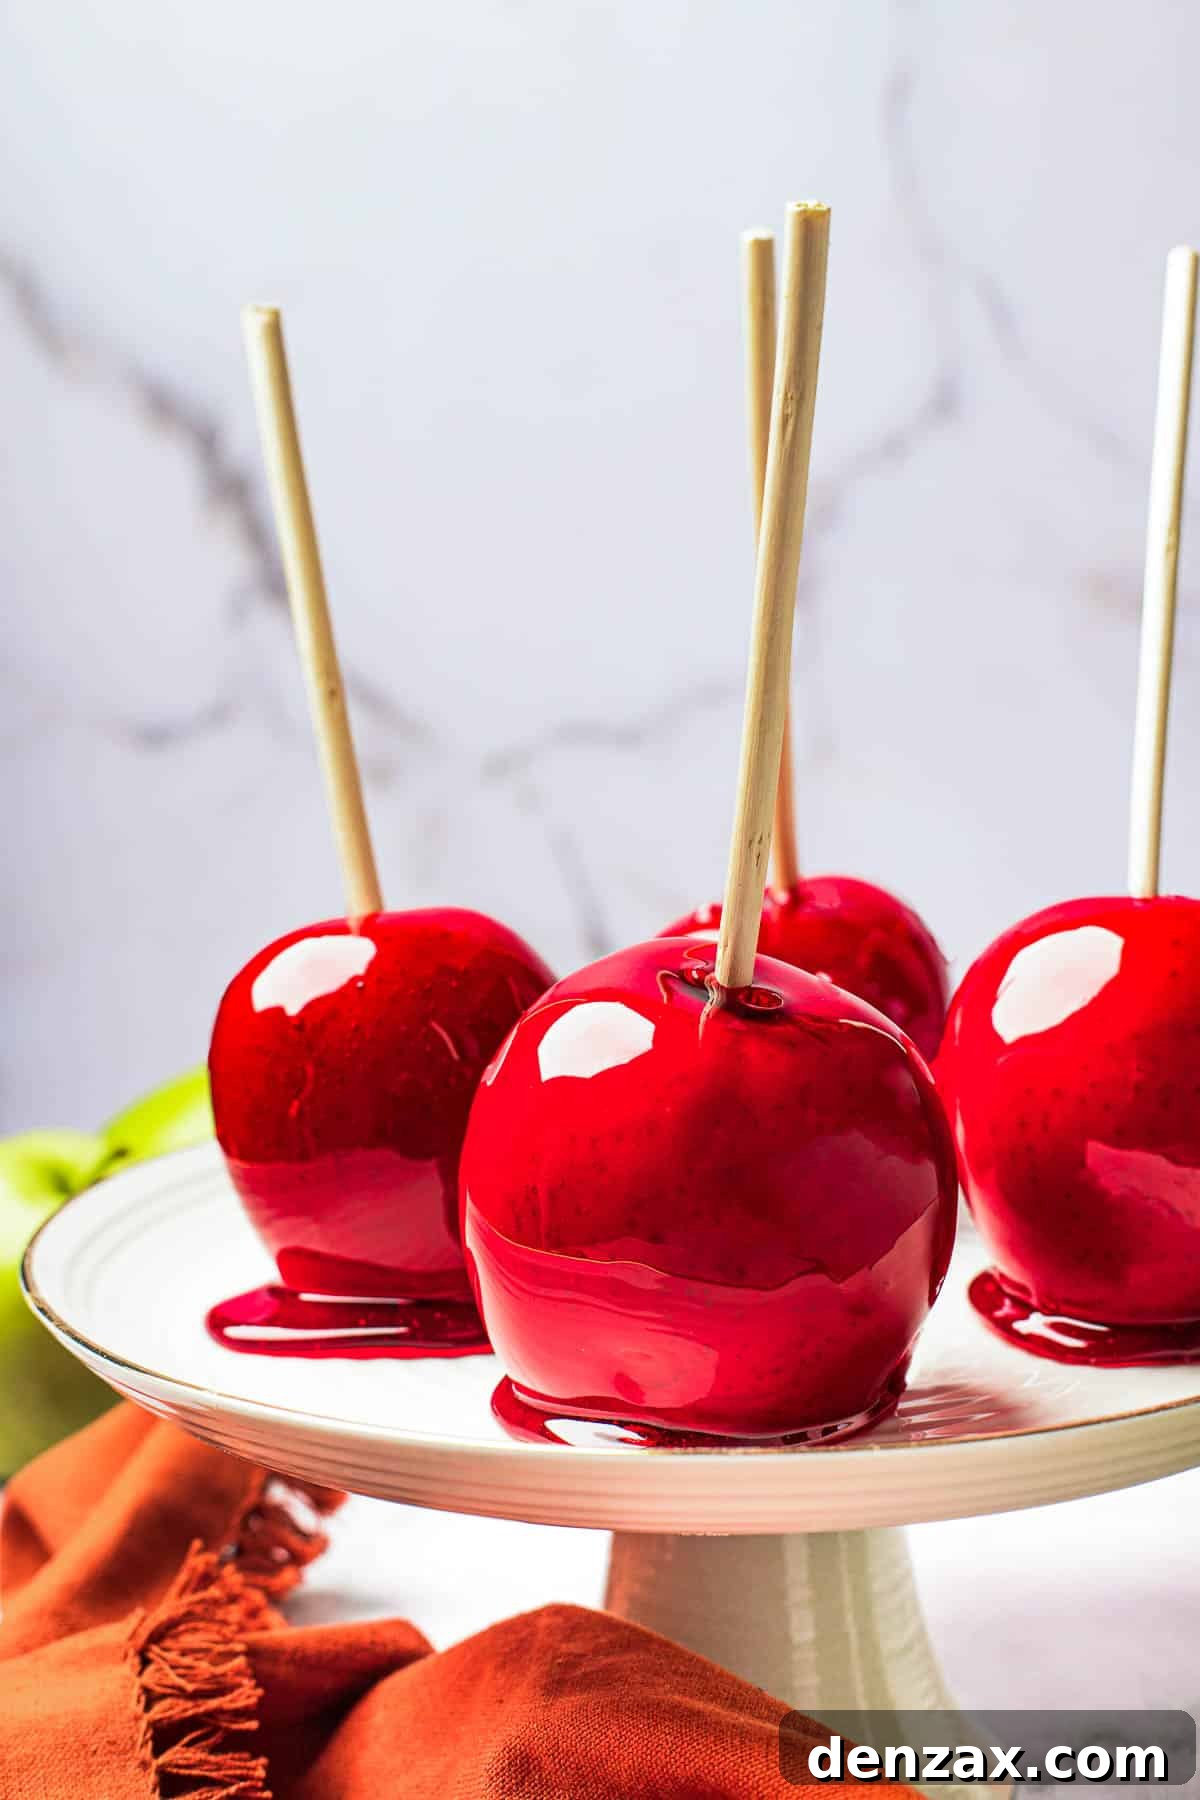
What You’ll Need: Ingredients and Equipment
Crafting your own batch of perfect homemade candy apples requires a handful of straightforward ingredients, a key piece of equipment, and some essential tools. The beauty of this recipe lies in its simplicity, relying on common pantry staples to create an extraordinary treat.
- Apples: The foundation of our treat! While you can use any firm apple you enjoy, tart varieties are generally preferred as their tang provides a delightful contrast to the sweet candy coating. Granny Smith apples are a classic choice for a reason. Their crisp texture holds up well under the warm candy, and their acidity cuts through the sweetness beautifully.
- Granulated Sugar: This forms the base of your candy coating, providing the essential sweetness and structure. Plain granulated sugar works perfectly to create a clear, hard shell. While you could technically substitute some or all for brown sugar, it would alter the traditional clear, ruby-red appearance and introduce a different flavor profile.
- Water: Used to dissolve the sugar and honey, forming a syrup that will then be cooked down to its perfect candy consistency. The water evaporates during boiling, leaving behind concentrated sugar.
- Honey: A crucial ingredient that not only adds a delicate flavor but also plays an important role in the texture of the candy. Honey acts as an invert sugar, helping to prevent sugar crystallization, ensuring your candy coating remains smooth, clear, and doesn’t become grainy. If honey is unavailable or you prefer, light corn syrup can be used as an alternative for its similar anti-crystallization properties.
- Red Food Coloring: To achieve that iconic, brilliant ruby-red hue that makes candy apples so visually appealing. A small amount of liquid or gel food coloring goes a long way in transforming the clear sugar syrup into a visually stunning coating. You can adjust the amount for a lighter or deeper red.
Essential Tools for Success:
- Candy Thermometer: Absolutely indispensable for this recipe! Achieving the precise “hard crack” temperature (300°F or 149°C) is critical for the candy to harden correctly. Without one, you risk a coating that is either too soft and sticky or too brittle and prone to burning.
- Heavy-Bottomed Saucepan: Essential for even heat distribution, which prevents the sugar from scorching or burning in spots. A saucepan with a lid is also necessary for the initial stages of syrup preparation to prevent sugar crystal formation on the sides.
- Popsicle Sticks or Lollipop Sticks: For easy handling and serving of your candy apples. Ensure they are sturdy enough to support the apple’s weight once coated.
- Parchment Paper or Silicone Baking Mat: For lining your baking tray. This non-stick surface is crucial for preventing the hot candy apples from adhering to the tray as they cool and harden.
- Heatproof Gloves: Highly recommended for safely dipping the apples into the extremely hot sugar syrup. These provide a barrier against accidental splashes and drips, significantly reducing the risk of severe burns.
What Kind of Apples Are Best for Candy Apples?
The secret to an exceptional candy apple lies in selecting the right fruit. The most suitable apples for candying possess a tart flavor, a firm texture, and hold their shape well under the hot candy coating. A slight tartness is key, as it provides a delightful contrast to the intense sweetness of the sugar shell, creating a balanced flavor profile. Granny Smith apples are undeniably the gold standard due to their vibrant tartness and inherent crispness, which gracefully counterbalance the intense sweetness of the candy. Their firm flesh also resists becoming mushy during the dipping process.
Other excellent choices that offer a great balance of flavor and texture include Lady Alice, Pink Lady, Honeycrisp, Braeburn, and Jonathan apples. When selecting your apples, look for ones that are medium-sized, unblemished, and feel heavy for their size, indicating juiciness. Ultimately, choose a variety that you personally love, as long as it’s firm, offers a pleasant tartness, and is free of major imperfections.
-

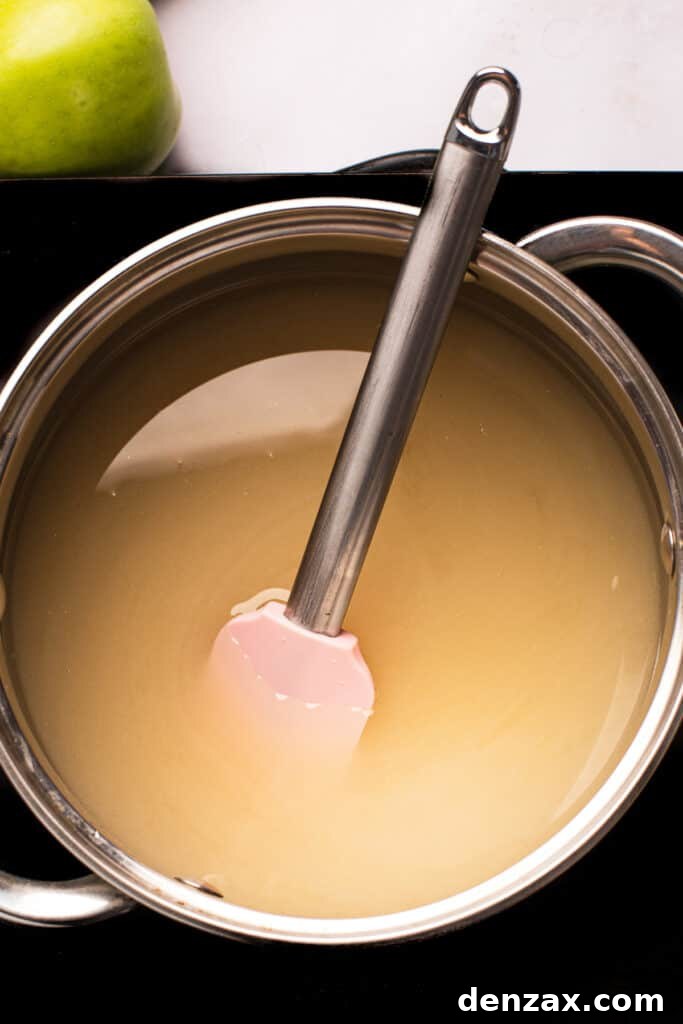
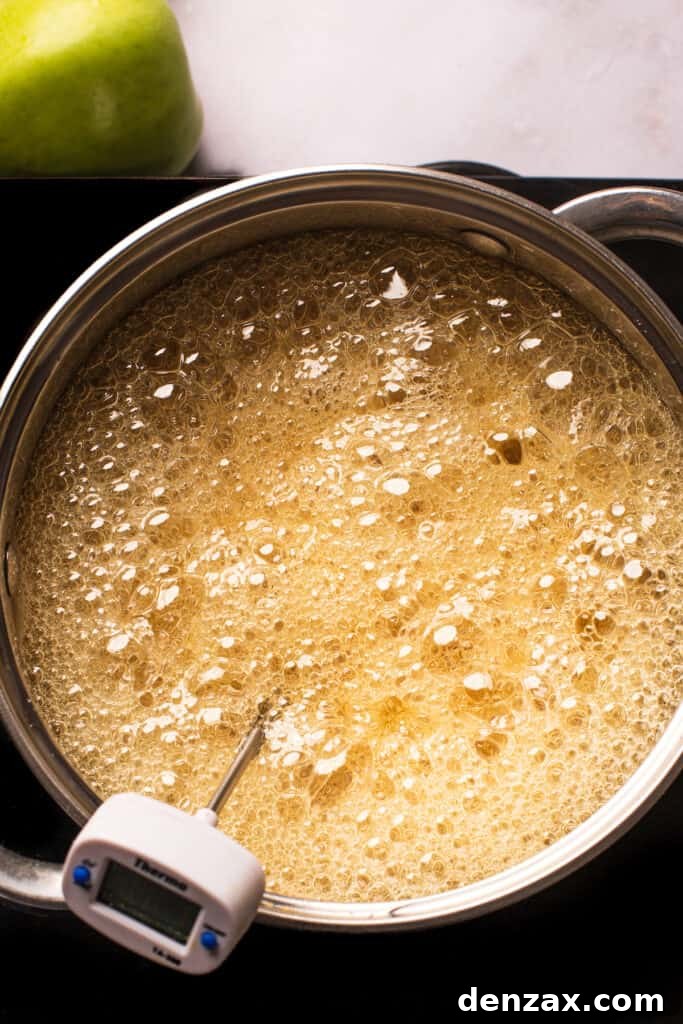
Preparing the sugar candy mixture. -
The syrup coming to a boil. -
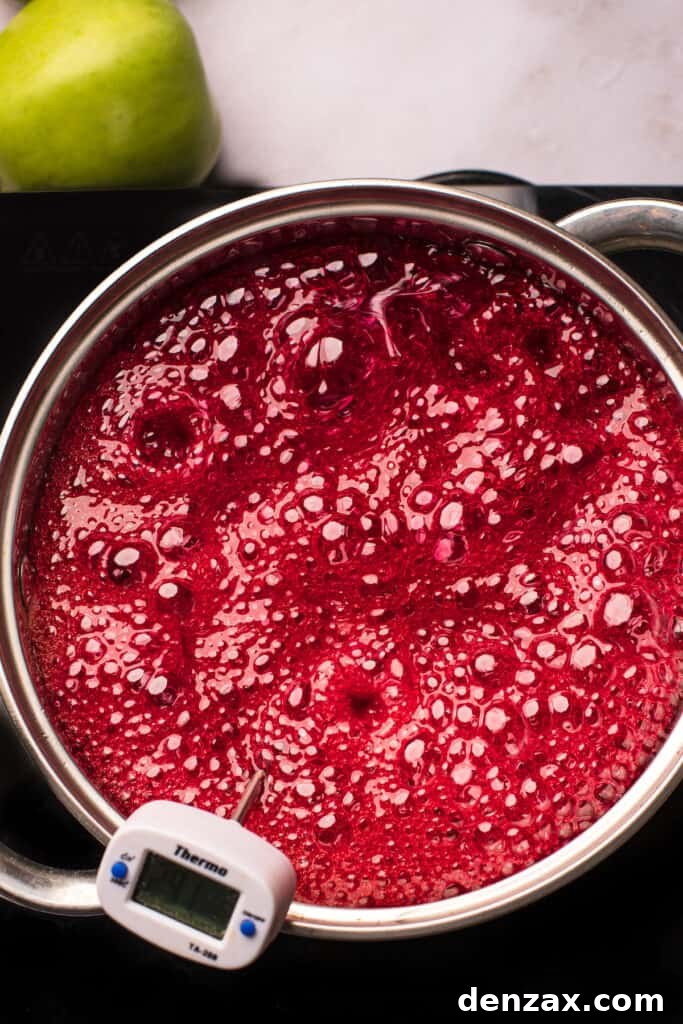
Adding the vibrant red food coloring.
How to Make Homemade Candy Apples: A Detailed Guide
Creating these dazzling treats is a rewarding process, but precision and safety are paramount. A candy thermometer is your best friend here, ensuring the sugar mixture reaches the exact hard crack stage needed for a perfectly crunchy coating. As we’ve emphasized, exercise extreme caution when dealing with hot sugar candy; it can inflict severe burns. We highly recommend wearing heatproof gloves throughout the dipping process to protect your hands.
- Prepare the Apples and Cooling Surface: Begin by setting out a sturdy baking tray and lining it generously with parchment paper or a silicone baking mat. This prepared surface will be essential for cooling your candy apples without them sticking. Next, thoroughly wash your apples under hot running water. This step is critical for removing any waxy coating that might prevent the candy from adhering properly. Waxy residue can create a barrier, causing the candy to slip off. After washing, dry each apple meticulously with paper towels or a clean tea towel. Any residual moisture can interfere with the candy setting. Gently twist off the stems from the apples, as the sticks will be inserted where the stem was. Finally, place the cleaned and dried apples in the refrigerator to chill while you prepare the candy syrup. Chilling the apples helps the hot candy coating set more quickly and evenly, resulting in a firmer, crisper shell.
- Craft the Ruby-Red Syrup: In a heavy-bottomed saucepan (preferably one with a tight-fitting lid to aid in preventing crystallization), combine the granulated sugar, honey (or light corn syrup if using), and water. Stir or whisk these ingredients together until they are well combined and the sugar begins to dissolve. Cover the saucepan with the lid and bring the mixture to a vigorous boil over medium-high heat. Covering the pan in the initial stages creates steam, which washes down any sugar crystals that may have splashed onto the sides of the pan, preventing premature crystallization that could ruin the texture of your candy. Once the mixture is boiling well and producing large, active bubbles, remove the lid.
- Precision Boiling – First Stage (290°F): Carefully attach your candy thermometer to the side of the saucepan, ensuring the tip does not touch the bottom of the pan. This ensures an accurate temperature reading. Allow the candy mixture to continue boiling, undisturbed, until it reaches a temperature of 290°F (143°C). During this “soft crack” stage, much of the water will evaporate, concentrating the sugar. This process typically takes between twenty and thirty minutes, depending on your stovetop’s heat and the size of your saucepan. Once the candy reaches 290°F, carefully add the red food coloring. Be prepared, as this addition can cause the mixture to bubble even more intensely for a moment due to the sudden temperature change and agitation. Stir gently and quickly to incorporate the color evenly throughout the syrup.
- Reach 300°F (Hard Crack Stage): Continue to boil the candy mixture, closely monitoring the thermometer, until it reaches precisely 300°F (149°C). This is the critical “hard crack” stage, where the sugar concentration is high enough for the candy to become brittle and shatter when cooled, creating that perfect crunchy coating for your apples. Immediately when it hits 300°F, carefully remove the saucepan from the heat. This timing is crucial to prevent burning the sugar. Stir the candy gently one last time to ensure uniform consistency, and allow it to cool slightly for just a minute or two. This brief cooling period can help prevent the coating from being too thin or running off the apples too quickly during dipping.
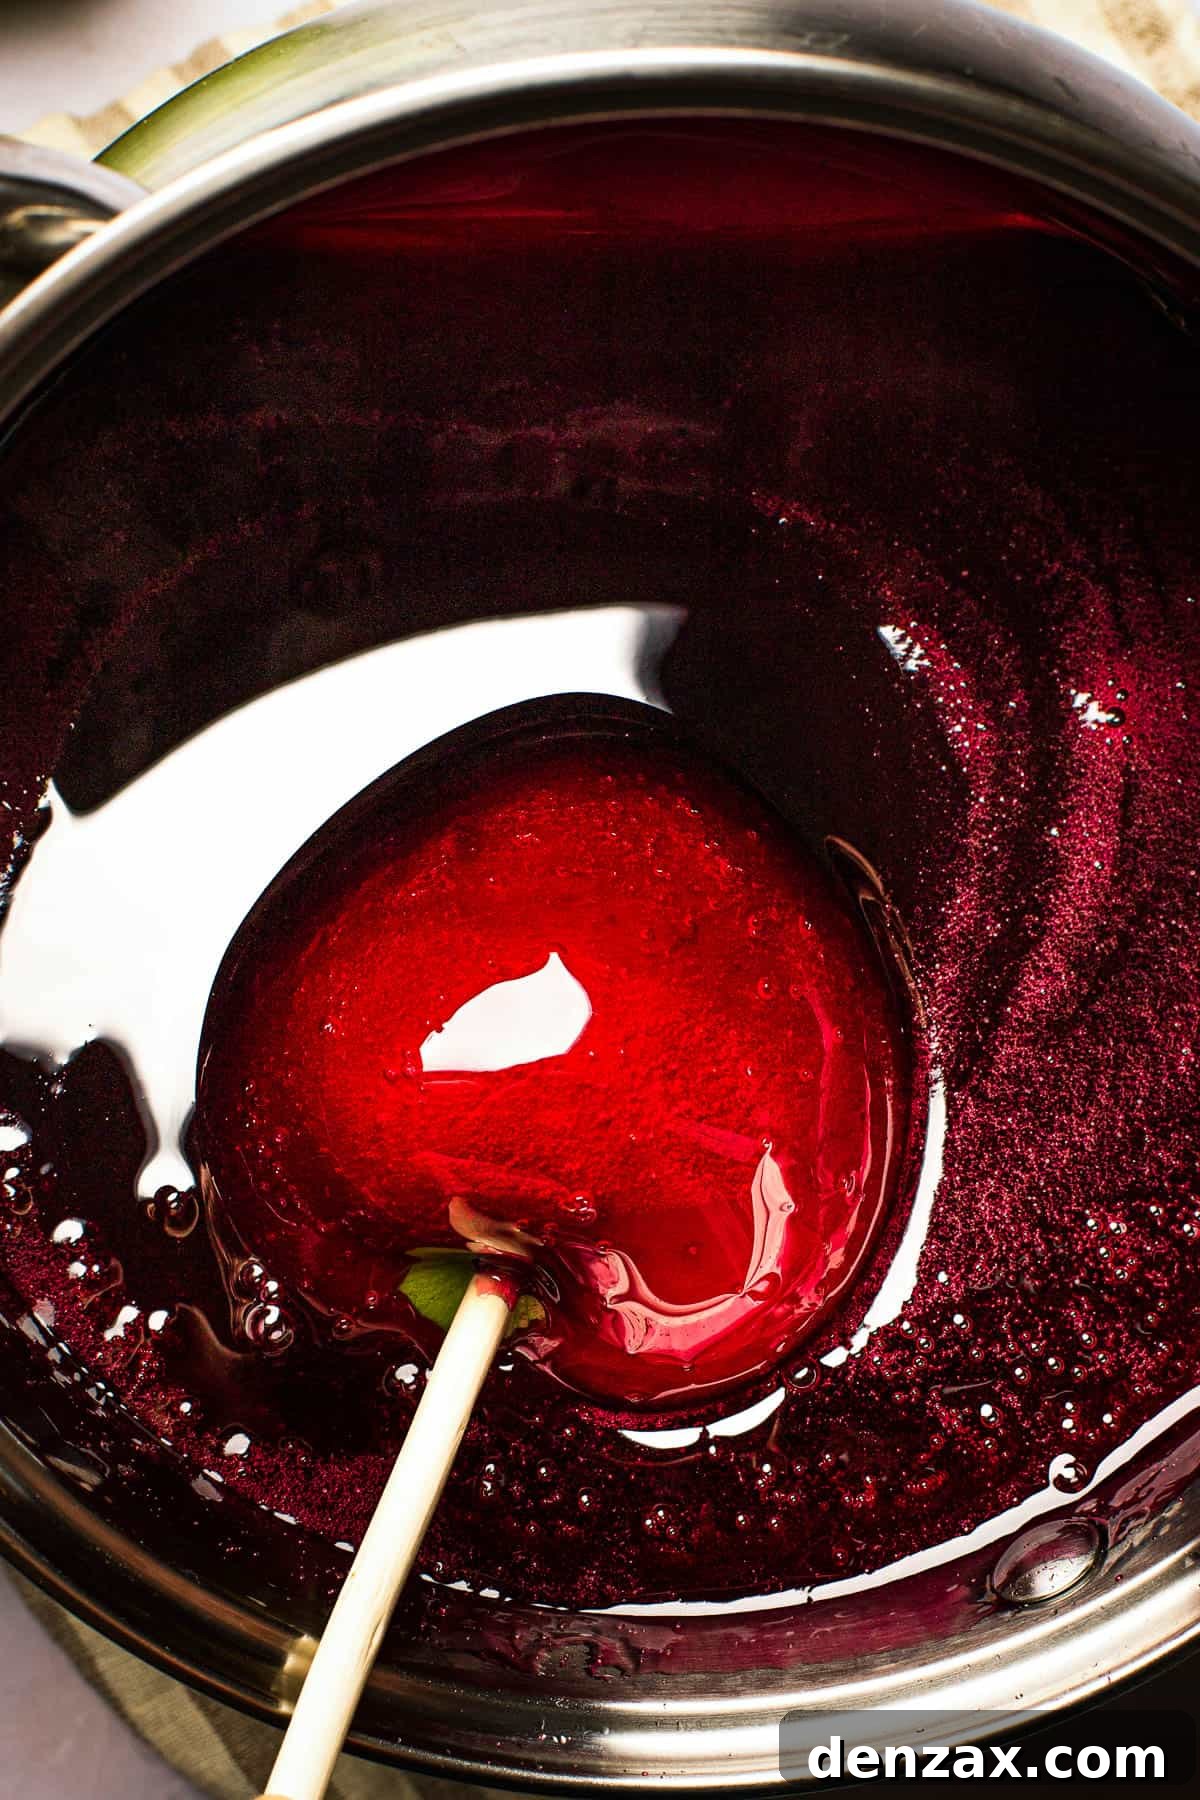
- Insert Sticks and Coat Apples: Retrieve your chilled apples from the refrigerator. Firmly push a popsicle stick or lollipop stick into the stem end of each apple. The stick should go in deep enough to provide a stable handle. Now, put on your heatproof gloves for absolute safety. Carefully tilt the saucepan slightly to gather the candy mixture in one area, creating a deeper pool for dipping. Dip each apple one by one into the hot candy, rolling it smoothly to ensure the entire surface up to the stick is evenly coated. Lift the apple slowly, allowing any excess candy mixture to drip back into the saucepan. A thin, even coating is ideal – avoid overly thick layers, as they become very difficult to bite through.
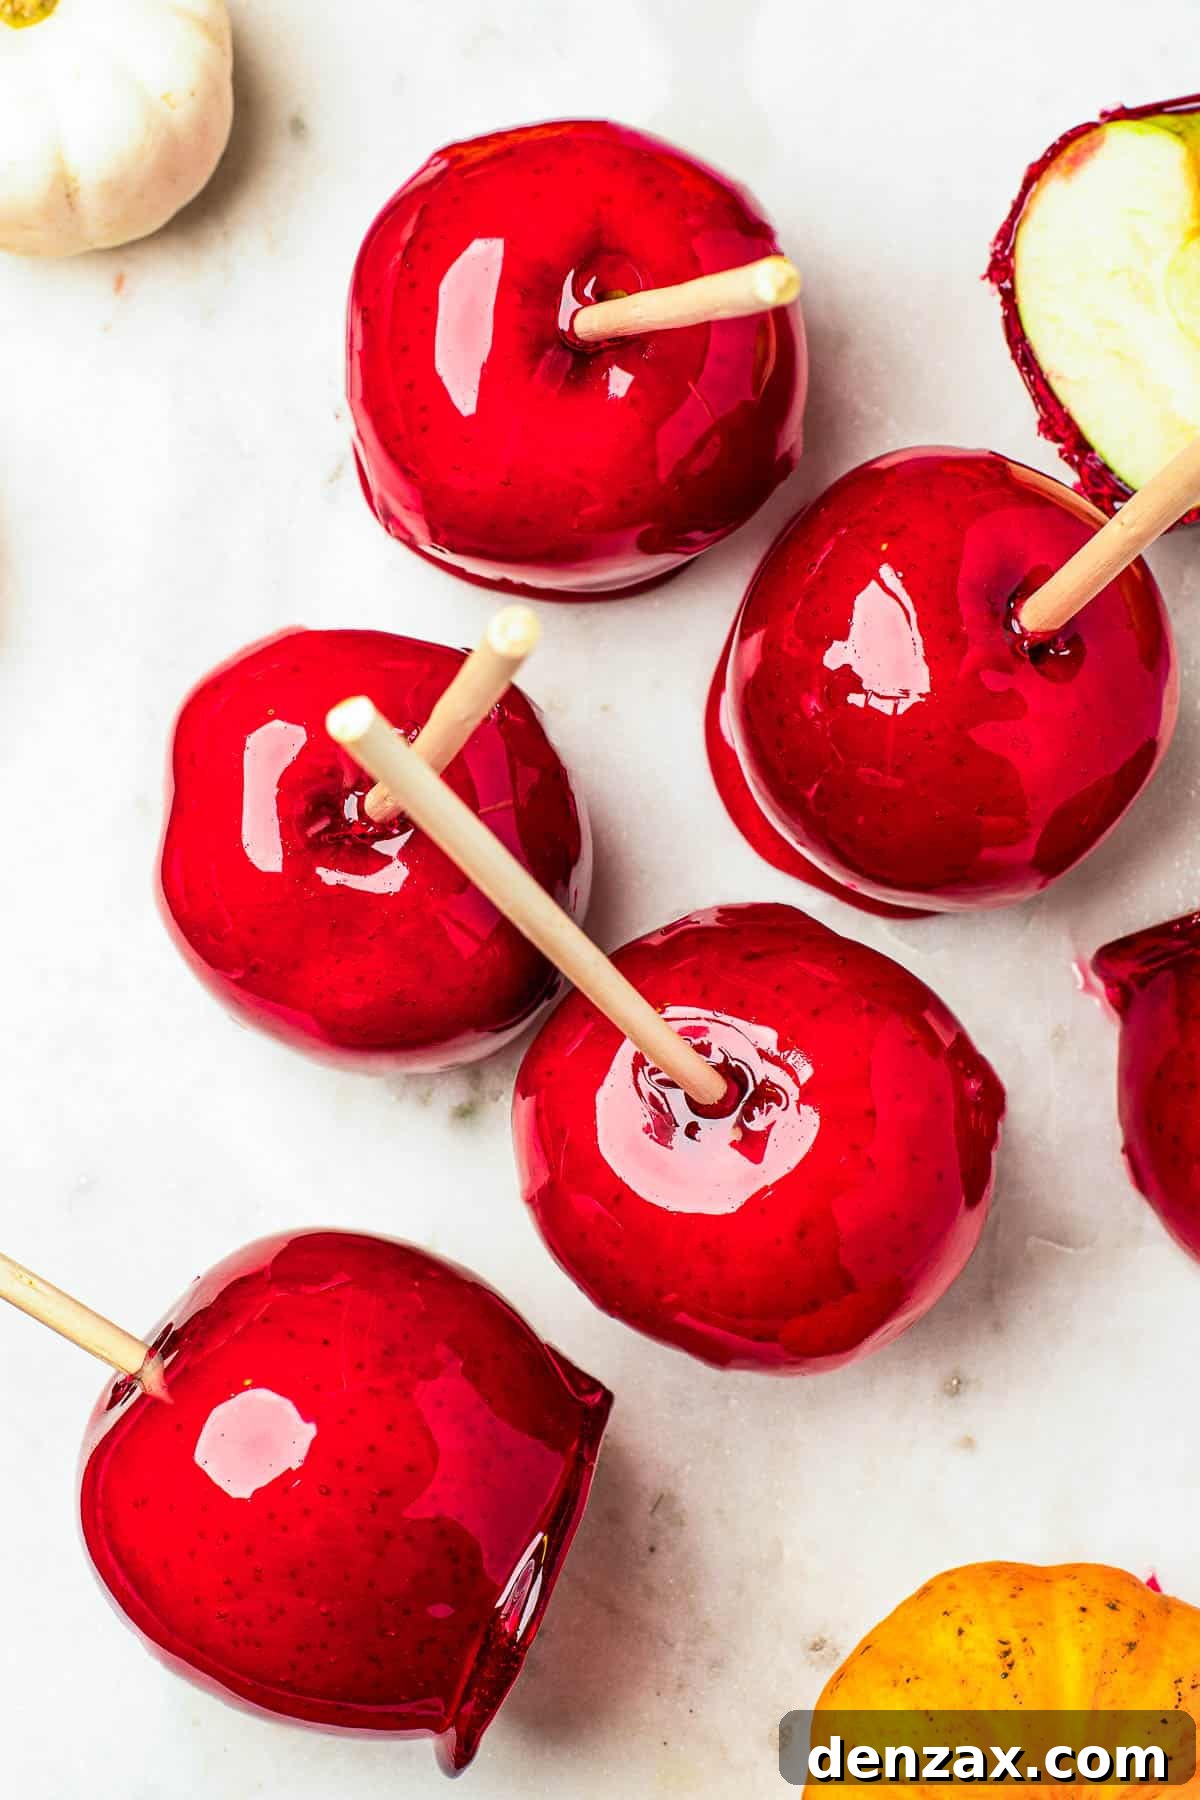
- Cool and Enjoy: As each apple is coated and excess candy drips off, place it immediately onto your prepared parchment-lined or silicone-mat-lined baking tray. Ensure there is adequate space between apples to prevent them from touching as they cool and potentially sticking together. Allow the candy apples to cool completely and harden at room temperature. This will take some time, typically at least 30-60 minutes, depending on the ambient temperature and humidity in your kitchen. Once fully hardened and the candy is firm and brittle to the touch, your homemade candy apples are ready to be savored!
Expert Tips for Flawless Homemade Candy Apples
While the process is straightforward, a few expert tips can elevate your homemade candy apples from good to absolutely spectacular. These insights will help you achieve that perfect crisp shell and delightful flavor every time, ensuring your efforts are rewarded with perfectly polished treats.
- Humidity is Your Foe: Candy apples are highly sensitive to humidity. A humid environment can cause the candy coating to become sticky, tacky, and even melt, losing its signature crunch. Choose a dry day to make your candy apples, and ensure your kitchen isn’t overly steamy from other cooking. If it’s a humid day, consider running a dehumidifier or air conditioning to create an optimal setting for candy making.
- Spice It Up for Seasonal Flair: For an extra layer of seasonal flair and warmth, consider adding a pinch of ground cinnamon, a touch of nutmeg, or even a hint of apple pie spice to your sugar syrup along with the food coloring. These additions can introduce a delightful aromatic dimension to your candy apples, making them even more inviting for fall and winter holidays.
- Customize the Color and Flavor: Don’t limit yourself to traditional red! Experiment with different food colorings to create a festive array of apples for various occasions. Imagine vibrant purple for a whimsical touch, emerald green for St. Patrick’s Day, spooky black for Halloween, or even elegant blue apples for a unique look. Remember that the natural color of the apple will subtly influence the final shade. You can also try adding a few drops of food-grade extract (like vanilla, almond, or cherry) after removing the syrup from the heat for an extra flavor boost.
- Embrace a Thin Coating for Enjoyment: The ideal candy apple features a relatively thin, shatteringly crisp candy shell, not a thick, hard-to-eat layer. A thick coating can be challenging to bite through and might even pull away from the apple. As you dip the apples, make sure to let most of the excess candy mixture drip off back into the saucepan. Tilt and rotate the apple gently to achieve a uniform, thin coating before placing it on the prepared tray to cool. This ensures a delightful balance of apple and candy in every bite.
- Serve Them Sliced for Convenience: For easier eating, especially for children or when serving at a party, consider cutting your cooled candied apples into slices using a large, sharp knife. While some of the candy may shatter and crumble during this process, this is perfectly normal and still utterly delicious. Sliced candy apples are much more manageable, less messy, and easier for everyone to enjoy.
- Always Prioritize Absolute Safety: We cannot stress this enough – be exceptionally careful when working with hot sugar. If it splashes or drips onto your skin, it can cause very severe, third-degree burns. Always wear heatproof gloves during the dipping phase, keep a bowl of ice water nearby for immediate (though limited) relief in case of minor splashes, and ensure young children and pets are kept completely away from the cooking area during the entire candy-making process. Your safety is paramount.
How to Store Homemade Candy Apples
Proper storage is essential to maintain the crispness, shine, and integrity of your homemade candy apples. A sticky or soft candy coating can quickly diminish the enjoyment of these otherwise delightful treats.
- Container Choice: Store candy apples individually in tall, airtight containers. This prevents them from touching each other, which could cause sticking or damage to the delicate candy shell. Airtight containers also protect the candy coating from physical damage and exposure to humid air.
- Temperature and Environment: Keep them in a cool, dry place, ideally at stable room temperature. Avoid direct sunlight or warm environments like near a stove.
- Avoid Refrigeration: While it might seem counterintuitive for freshness, avoid storing candy apples in the refrigerator. The high humidity inside a refrigerator can cause the candy layer to “sweat,” becoming sticky, gummy, and eventually dissolving, leading to a very messy and unpleasant eating experience.
- Shelf Life: When stored correctly, homemade candy apples can maintain their optimal quality and crispness for up to 3 days. Beyond this, the natural moisture from the apple will gradually start to seep out, which can begin to break down the candy coating, even under ideal storage conditions. It’s best to enjoy them fresh!

Rating: 5 stars from 6 votes
Homemade Candy Apples Recipe
by Katerina | Easy Weeknight Recipes
Ruby-red candy apples are made with a sweet sugar candy coating, and crisp, tart Granny Smith apples. They are a classic treat that’s perfect for fall and winter!
Prep Time: 15 minutes
Cook Time: 30 minutes
Total Time: 45 minutes
Servings: 8
Pin Recipe | Print Recipe
Ingredients
- 8 Granny Smith apples, or any firm, tart apples
- 3 cups granulated sugar (find granulated sugar on Amazon)
- 1 ½ cups water
- ½ cup honey (find honey on Amazon)
- ¼ teaspoon red food coloring (find red food coloring on Amazon)
Instructions
- Wash the apples thoroughly under hot water to remove any wax from the apple skin. Dry the apples completely, remove their stems, and refrigerate them while you prepare the candy syrup.
- In a heavy-bottomed saucepan, combine the sugar, honey, and water. Stir well to ensure the ingredients are fully mixed.
- Cover the saucepan with a lid and bring the mixture to a rolling boil over medium-high heat. Once the candy is vigorously bubbling, remove the lid.
- Attach a candy thermometer to the side of the saucepan. Allow the candy to boil until it reaches 290°F (143°C), at which point a significant amount of water will have evaporated. This step usually takes between 20 and 30 minutes.
- When the candy reaches 290°F, carefully add the red food coloring. Be cautious as the addition may cause the mixture to bubble more intensely for a moment. Stir gently to distribute the color evenly.
- Continue boiling until the mixture reaches 300°F (149°C). Immediately remove the saucepan from the heat. Stir the candy mixture gently and let it cool slightly for a minute or two before dipping.
- Take the chilled apples from the refrigerator and firmly insert a popsicle or lollipop stick into the stem end of each apple.
- Wearing heatproof gloves for safety, tilt the saucepan at an angle to pool the candy mixture. Dip each apple one by one, rolling it to ensure a complete and even coating all the way up to the stick.
- Lift the apple and allow any excess candy to drip back into the saucepan, aiming for a thin, even candy shell. Place the coated apples onto the prepared tray lined with parchment paper or a silicone baking mat.
- Allow the candy apples to cool completely at room temperature until the coating is hard and brittle. Once fully set, serve and enjoy your delightful homemade treats!
Nutrition Information (Estimated)
- Serving: 1 candied apple
- Calories: 449 kcal
- Carbohydrates: 118g
- Protein: 1g
- Fat: 1g
- Saturated Fat: 1g
- Polyunsaturated Fat: 1g
- Monounsaturated Fat: 1g
- Sodium: 6mg
- Potassium: 207mg
- Fiber: 4g
- Sugar: 111g
- Vitamin A: 98 IU
- Vitamin C: 8mg
- Calcium: 14mg
- Iron: 1mg
Nutritional information provided is an estimate and for informational purposes only. Values may vary based on specific ingredients, preparation methods, and portion sizes. Please consult your preferred nutritional calculator for precise details.
Did you make this recipe? Leave a rating and comment!
More Fun Holiday and Seasonal Treats
If you’ve enjoyed crafting these delightful candy apples, you might be looking for more sweet inspirations to brighten your holidays and special occasions. Here are a few more festive recipes that are sure to bring joy and deliciousness to your table:
- Churros with Chocolate Dipping Sauce: Indulge in warm, crispy churros perfect for dipping into a rich, decadent chocolate sauce.
- Candy Cane Cookies: These festive and delicious cookies are a holiday staple, visually appealing and delightfully peppermint-flavored.
- Pumpkin Cheesecake Crescent Rolls: A delightful fall treat combining flaky, buttery pastry with a creamy, spiced pumpkin cheesecake filling.
Making homemade candy apples is a wonderful way to embrace the joy of seasonal baking and create unforgettable moments with loved ones. With their stunning appearance and satisfying crunch, they are guaranteed to be a hit at any gathering or a special treat to simply enjoy at home. So gather your ingredients, follow these steps carefully, and prepare to delight your taste buds with these timeless, ruby-red masterpieces!