
The Ultimate Guide to Oven-Baked Grilled Cheese Sandwiches
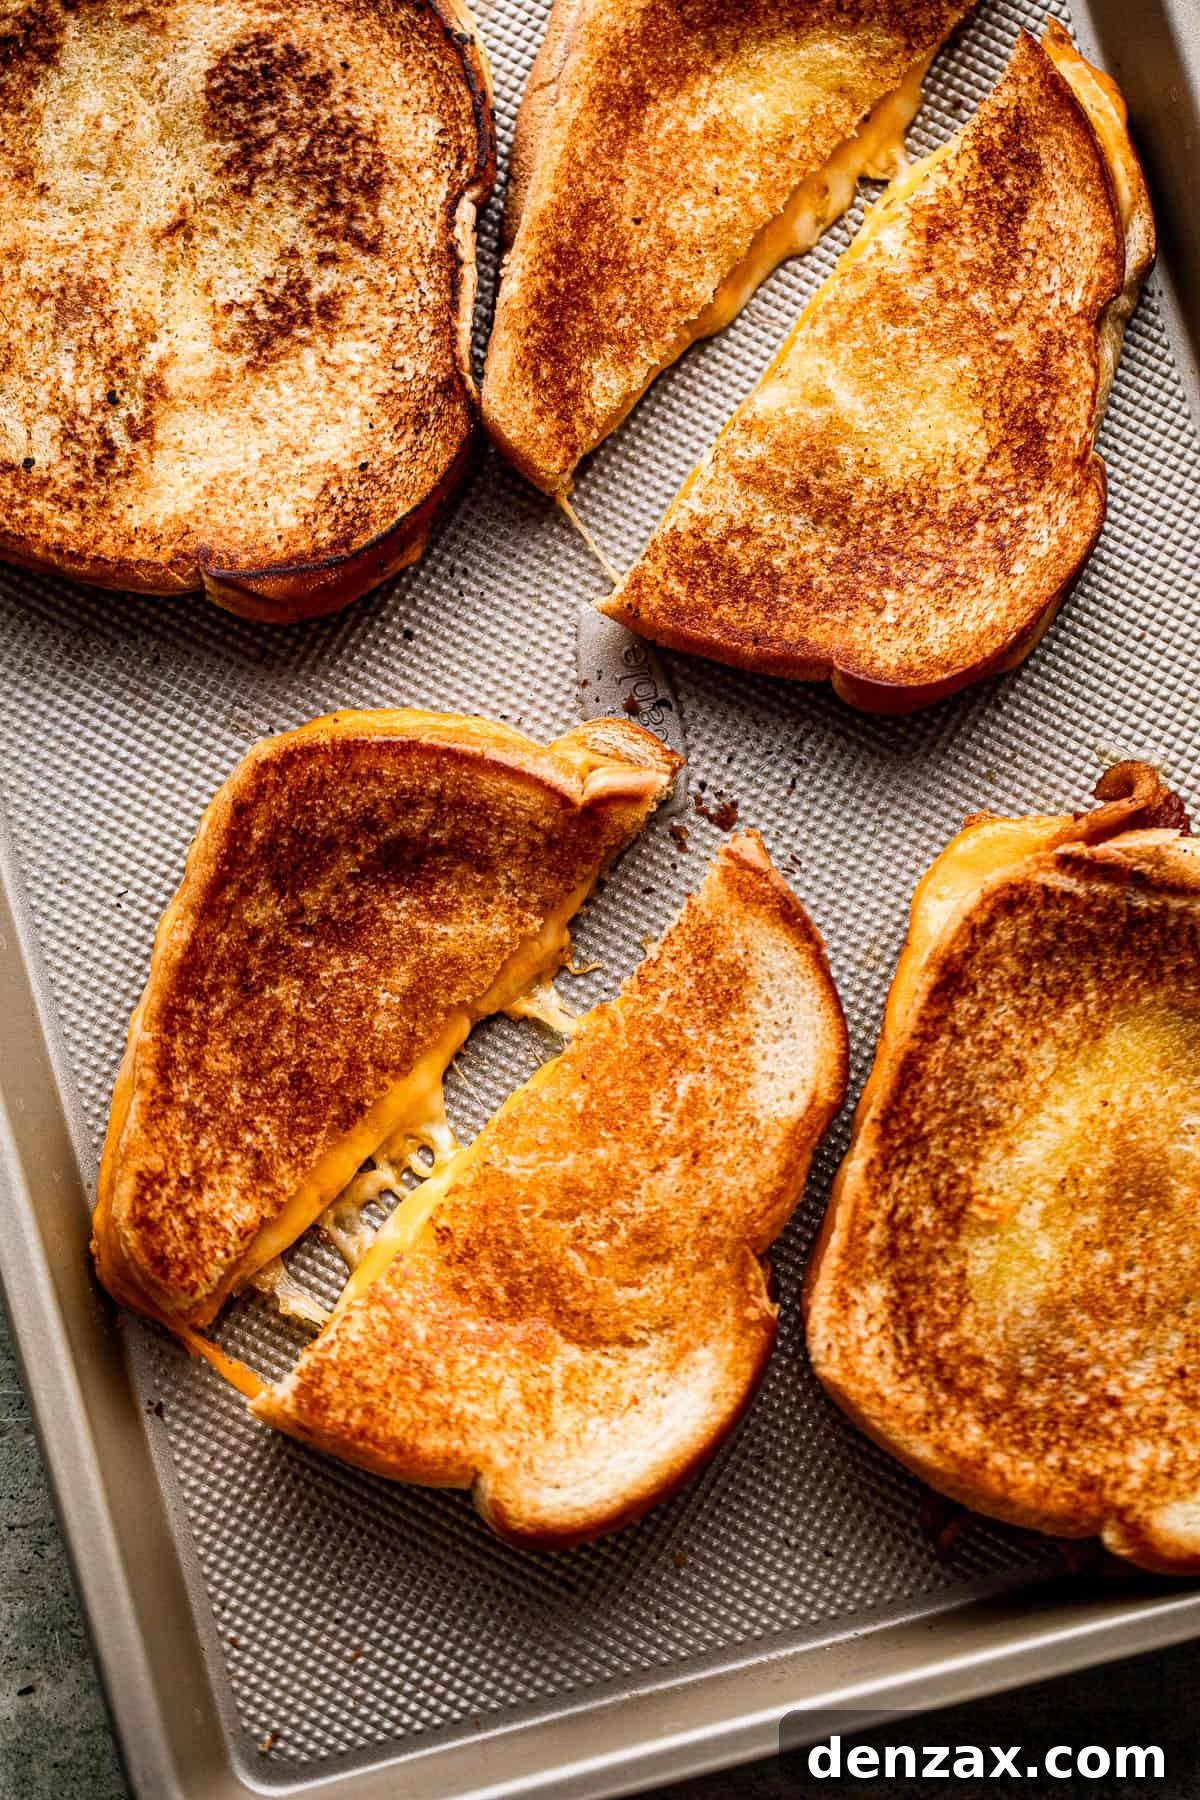
Golden, perfectly toasted, and filled with luscious melted cheese, these hearty Baked Grilled Cheese Sandwiches are a comforting dinner that’s super quick and incredibly delicious! Your favorite easy sandwich just got even easier and more convenient, perfect for a hassle-free meal any day of the week.
Why Oven-Baked Grilled Cheese is a Game-Changer
If there were an Olympic-level competition of family-friendly food, grilled cheese would undoubtedly be a strong contender, right up there with pizza and chicken nuggets! There’s nothing quite like a buttery, crispy grilled cheese sandwich, whether you’re a toddler almost ready for a nap, a hungry teenager needing more fuel for studying, or a tired parent craving a quick comfort meal. It’s a timeless classic loved by all ages.
However, the traditional method of making grilled cheese on a stovetop, one sandwich at a time, can be a real time-sink, especially when you’re feeding a family or a group. Standing over a hot stove, flipping sandwiches individually, can feel more like a chore than a quick dinner solution. Who has the time for that?
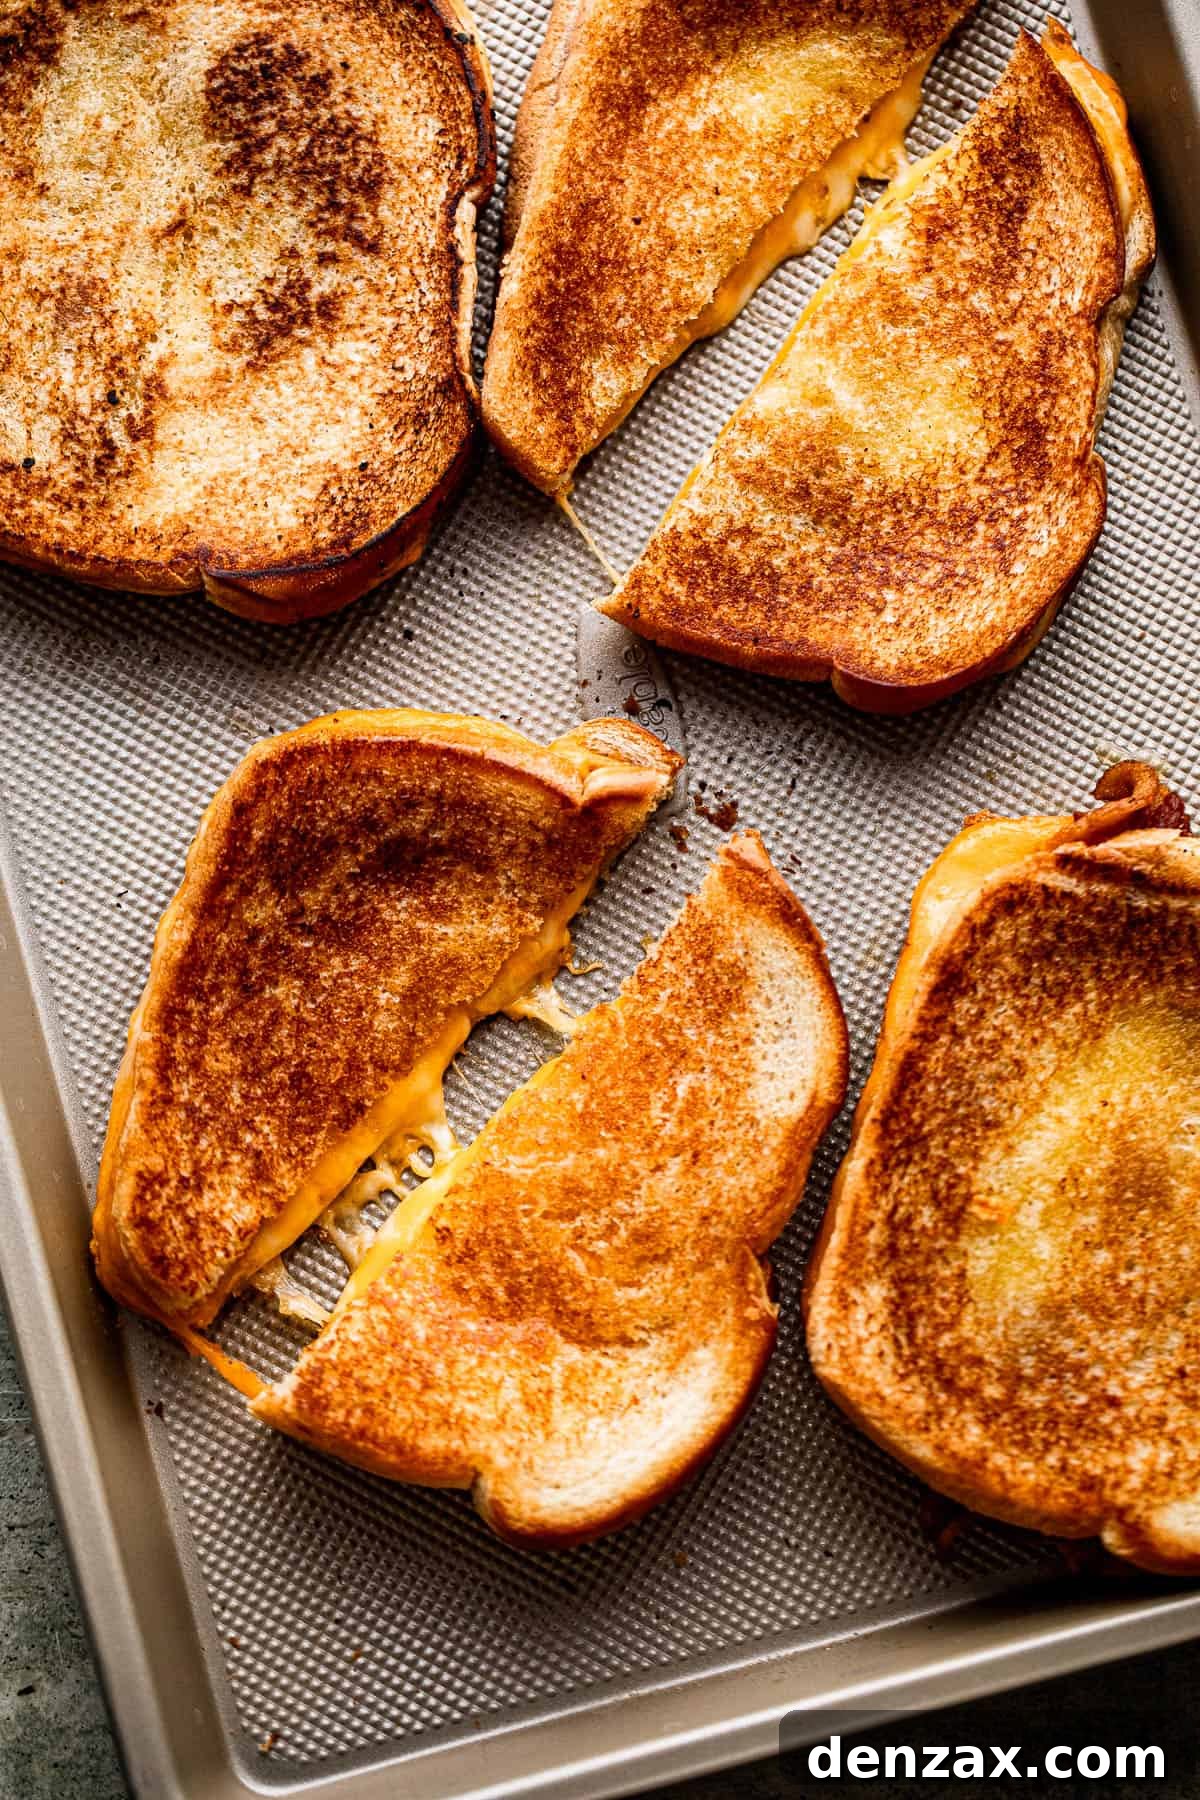
That’s precisely why the oven method for making grilled cheese is an absolute revelation. It transforms the single-serving effort into a delightful batch-cooking experience. Imagine prepping multiple sandwiches all at once, sliding them into the oven, and then pulling out a tray of uniformly golden, buttery, and perfectly melty sandwiches, ready to eat simultaneously! This hands-free approach means less time spent slaving over the stove and more quality time enjoying your meal. It’s truly a high-five moment for busy households.
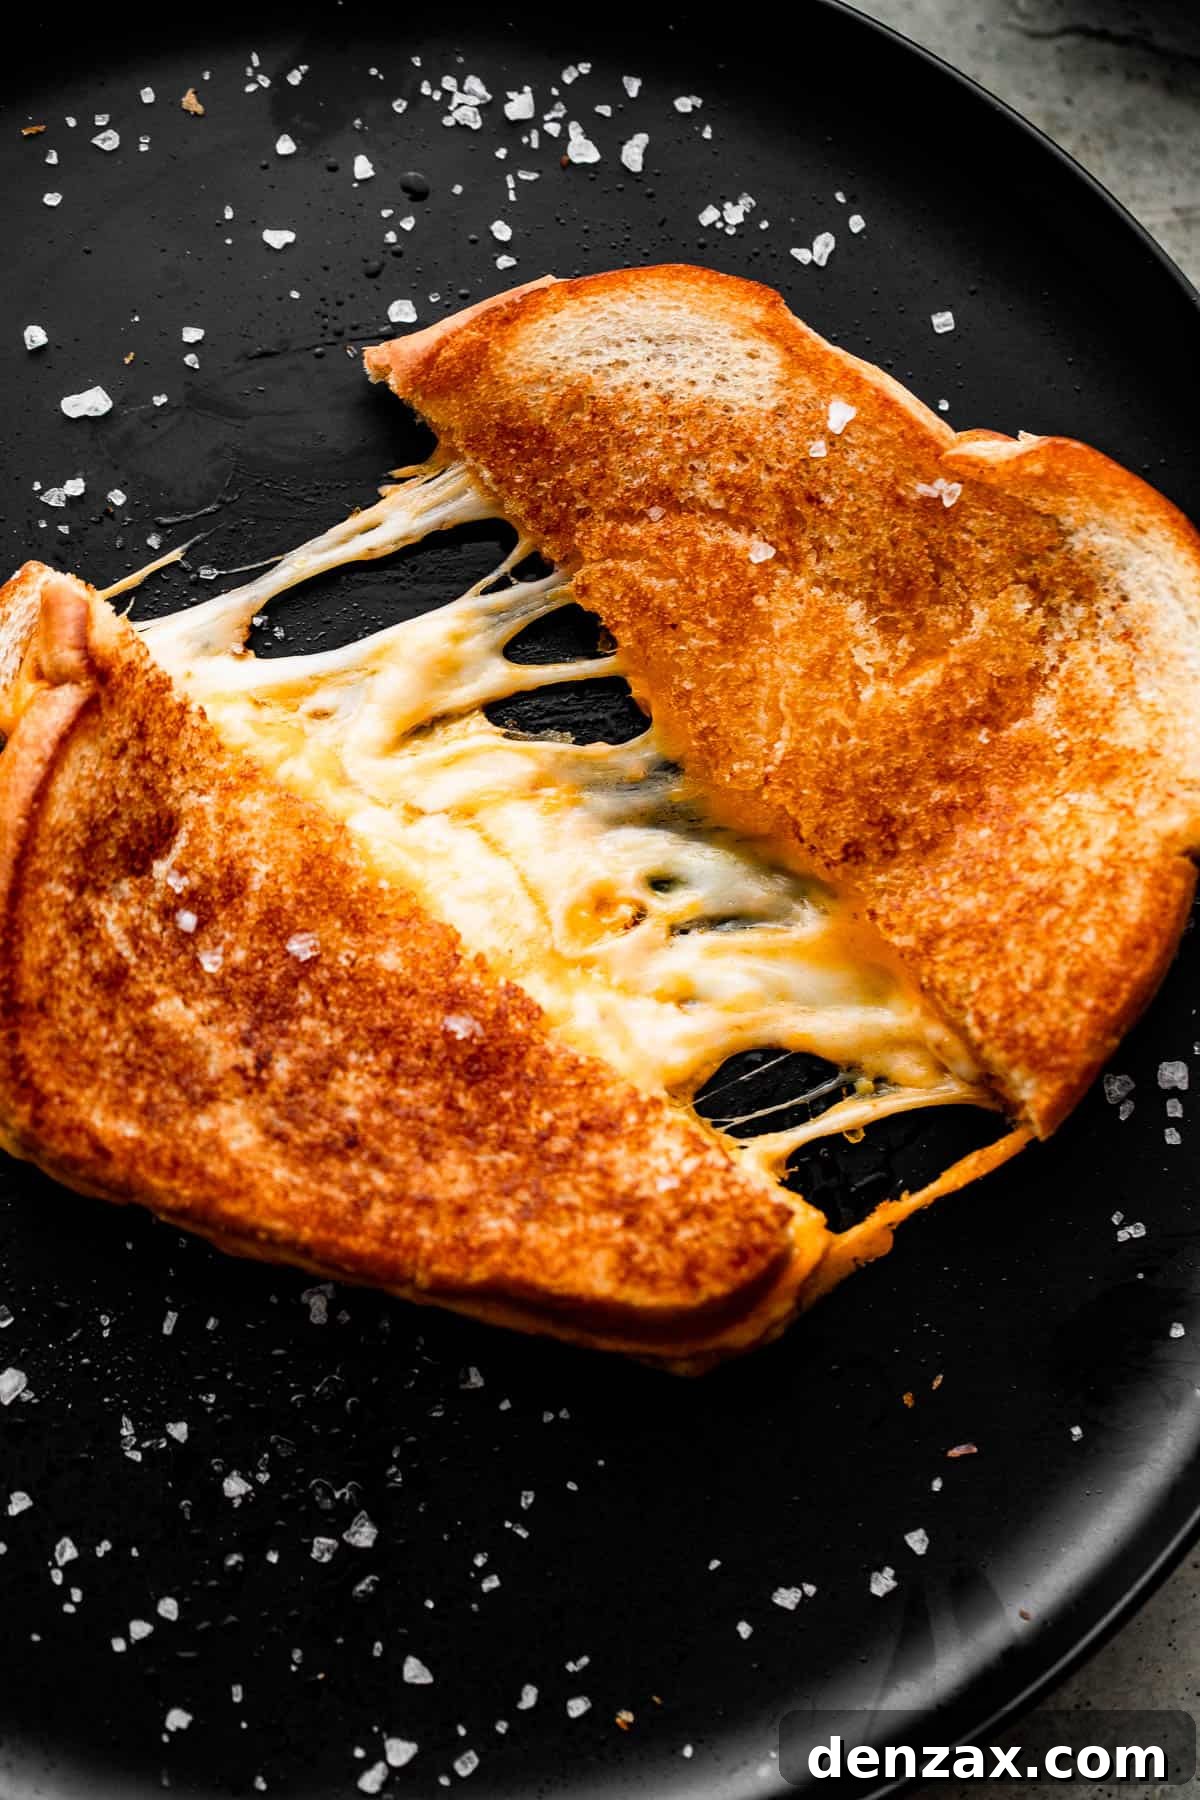
This method doesn’t compromise on taste or texture either. Each sandwich achieves that desirable crispy exterior and gooey, warm interior that makes grilled cheese so irresistible. It’s perfect for a quick and easy dinner, especially when paired with a steaming cup of your favorite soup on a chilly evening.
Essential Ingredients for the Perfect Baked Grilled Cheese
You’ll only need a few simple, high-quality ingredients to create baked grilled cheese sandwiches that are truly out of this world. The beauty of this recipe lies in its flexibility, allowing you to easily customize the types of cheese and bread to perfectly suit your family’s preferences. Here’s a closer look at what you’ll need:
- Bread: I highly recommend sourdough bread for grilled cheese! Its distinct tangy flavor adds an extra layer of complexity, and its sturdy texture holds up beautifully to the cheese and baking process, resulting in a wonderfully crispy crust. However, don’t limit yourself – explore other options.
- Mayonnaise: For an incredible boost of flavor and a touch of richness on the inside of your sandwiches, we’ll spread them with a thin layer of mayonnaise. This not only enhances the taste but also contributes to a tender interior.
- Dijon Mustard: Complementing the mayonnaise, Dijon mustard brings a sophisticated, wine-like flavor that elevates the sandwich beyond basic. If Dijon isn’t your preference, feel free to experiment with yellow mustard for a classic kick, spicy mustard for a zing, coarse grain mustard for texture, or even honey mustard for a touch of sweetness.
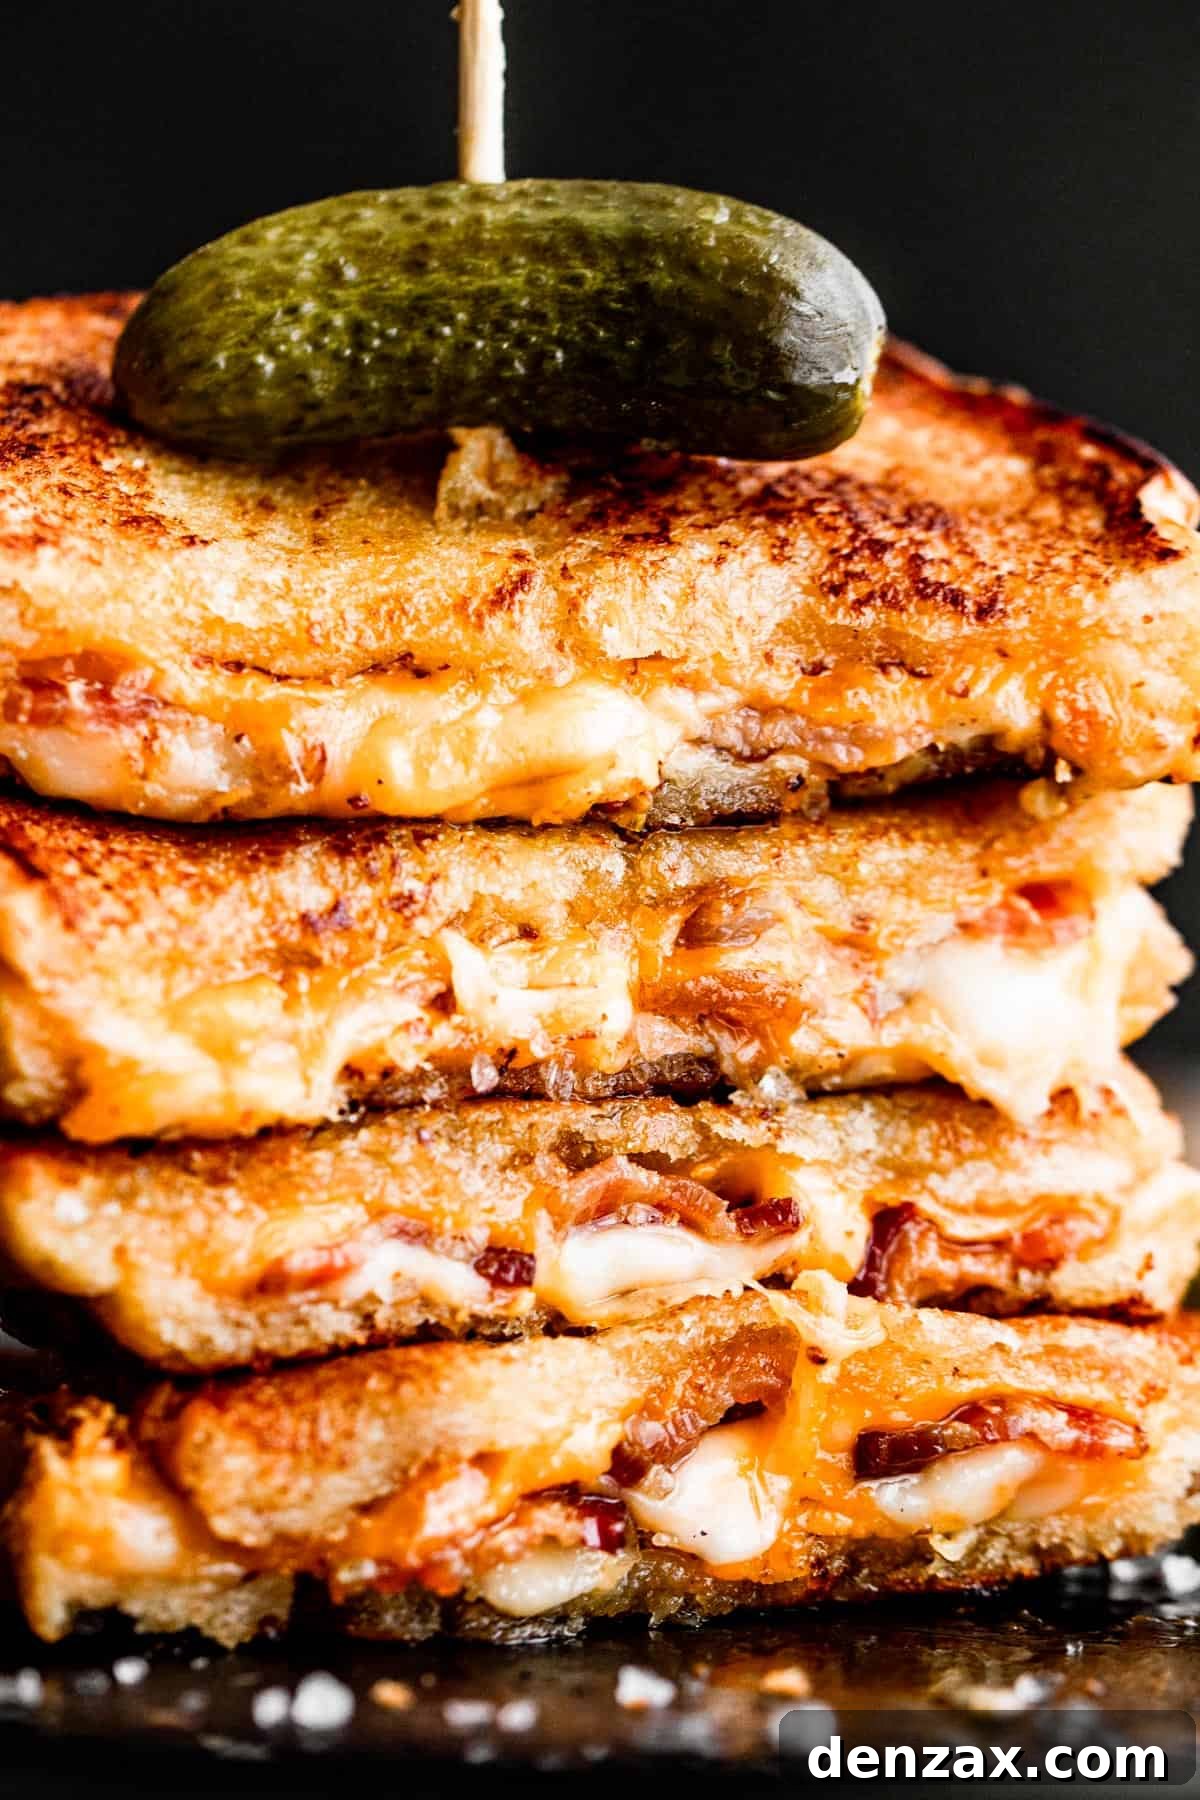
- Cheese: The heart of any great grilled cheese! A combination of creamy mozzarella and sharp cheddar is my go-to. Mozzarella offers an unparalleled gooey stretch, while sharp cheddar provides a rich, tangy depth of flavor. This duo ensures a perfectly balanced, irresistibly cheesy texture and taste. Don’t hesitate to try other cheeses like Gruyère, Colby Jack, or even a smoked Gouda for different flavor profiles.
- Butter: Crucial for achieving that coveted golden-brown, crispy exterior. Ensure your butter is softened to room temperature for effortless spreading across the bread slices. This even coating is key to perfect browning.
What is the Best Bread for Grilled Cheese?
This is a great question, and as a longtime grilled cheese aficionado, I can confidently say the “best” bread is truly whatever you love most! The choice of bread plays a significant role in the final texture and flavor of your sandwich. You can craft an absolutely awesome grilled cheese using almost any type of bread available.
Consider options like:
- Sourdough: My personal favorite, offering a delightful tang and a firm crumb that toasts beautifully.
- White Bread: The classic choice for a reason – it creates a wonderfully soft interior and crispy exterior.
- Whole Wheat: Adds a nutty flavor and more fiber, making for a heartier sandwich.
- Rye or Pumpernickel: For those who enjoy a more robust, savory flavor profile.
- Brioche or Challah: If you’re feeling indulgent, these rich, slightly sweet breads create a decadent grilled cheese.
- Ciabatta or Focaccia: Crusty breads like these will yield a more rustic, panini-style sandwich with a chewy texture.
- Homemade Bread: Nothing beats the freshness and flavor of homemade loaves for an extra special touch.
Each bread type will contribute a unique characteristic, from a classic soft, square sandwich with a crispy exterior to a more rustic, artisan-style treat. Experiment to discover your perfect match!
Can You Substitute Mayo for Butter on Grilled Cheese?
Yes, absolutely! Many grilled cheese enthusiasts swear by using mayonnaise on the outside of the bread instead of butter, especially when cooking in a skillet. Mayonnaise has a higher smoke point than butter, which can prevent the bread from scorching and instead create a beautifully golden and crispy crust. Its oil content also ensures a wonderfully even toast.
However, for this baked grilled cheese recipe, I prefer using softened butter on the outside. Since the sandwiches are baked in the oven at a consistent temperature, the risk of scorching is much lower, and butter imparts a distinct rich, savory flavor that is hard to beat. The oven’s dry heat, combined with butter, helps achieve that perfect, even crispness all around. For the internal spread, the combination of mayo and mustard is highly recommended for moisture and flavor.
How to Make Grilled Cheese in the Oven: Step-by-Step
Making these oven-baked grilled cheese sandwiches is so incredibly easy, you’ll want to incorporate them into your weekly meal rotation! Follow these simple steps for perfectly golden and gooey results every time:
- Preheat Your Oven: Begin by preheating your oven to a robust 450°F (232°C). A hot oven is key to achieving that desirable crispy crust quickly, preventing the bread from drying out before the cheese melts.
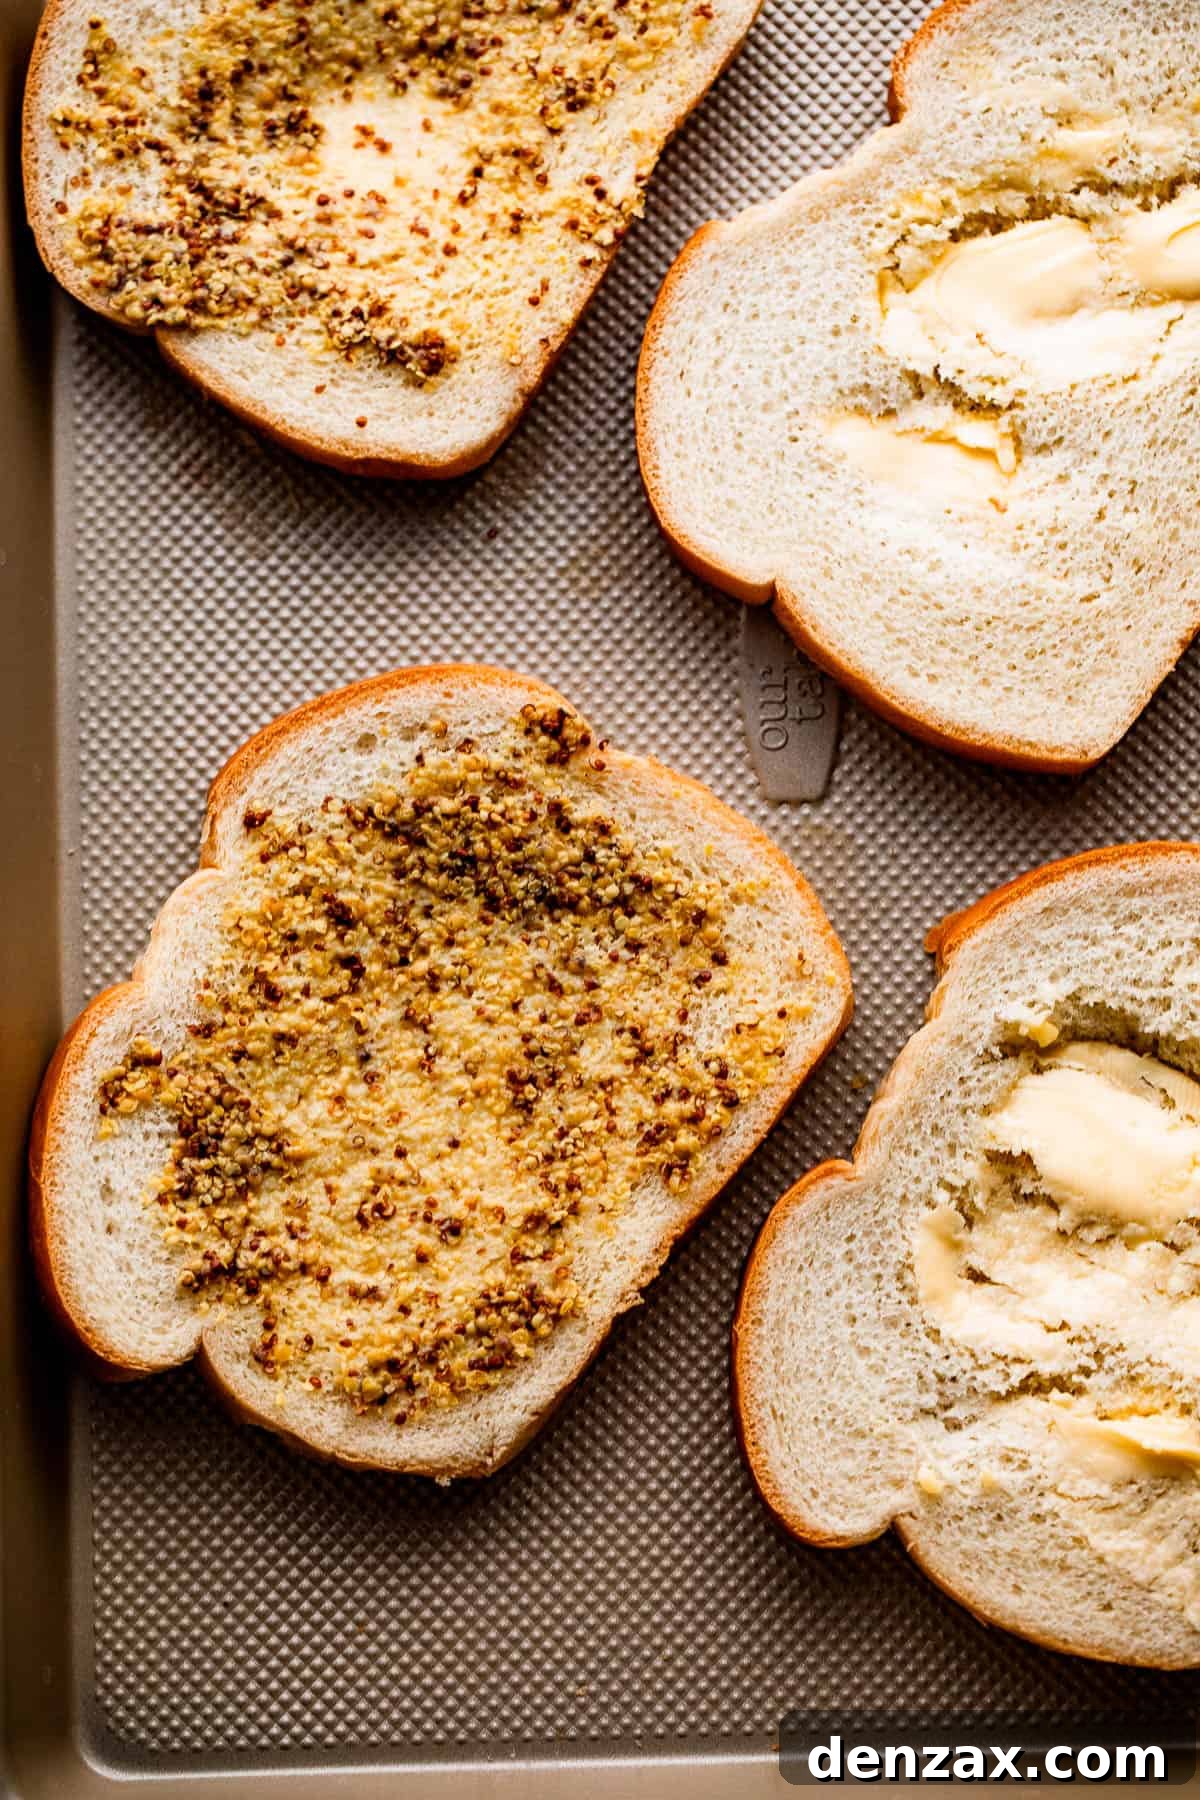
- Prepare the Bread with Butter: Take each slice of bread and lightly butter one side. It’s important not to over-butter, as this can make the sandwiches greasy. A thin, even layer is all you need for a golden finish. Once buttered, lay the bread slices, buttered side down, onto a large baking sheet. Consider lining the baking sheet with parchment paper for easier cleanup.
- Craft the Flavorful Spread: In a small bowl, combine the mayonnaise and Dijon mustard. Mix these two ingredients thoroughly until you have a smooth, well-incorporated spread. This mixture will add a delightful tang and richness to the interior of your sandwiches.
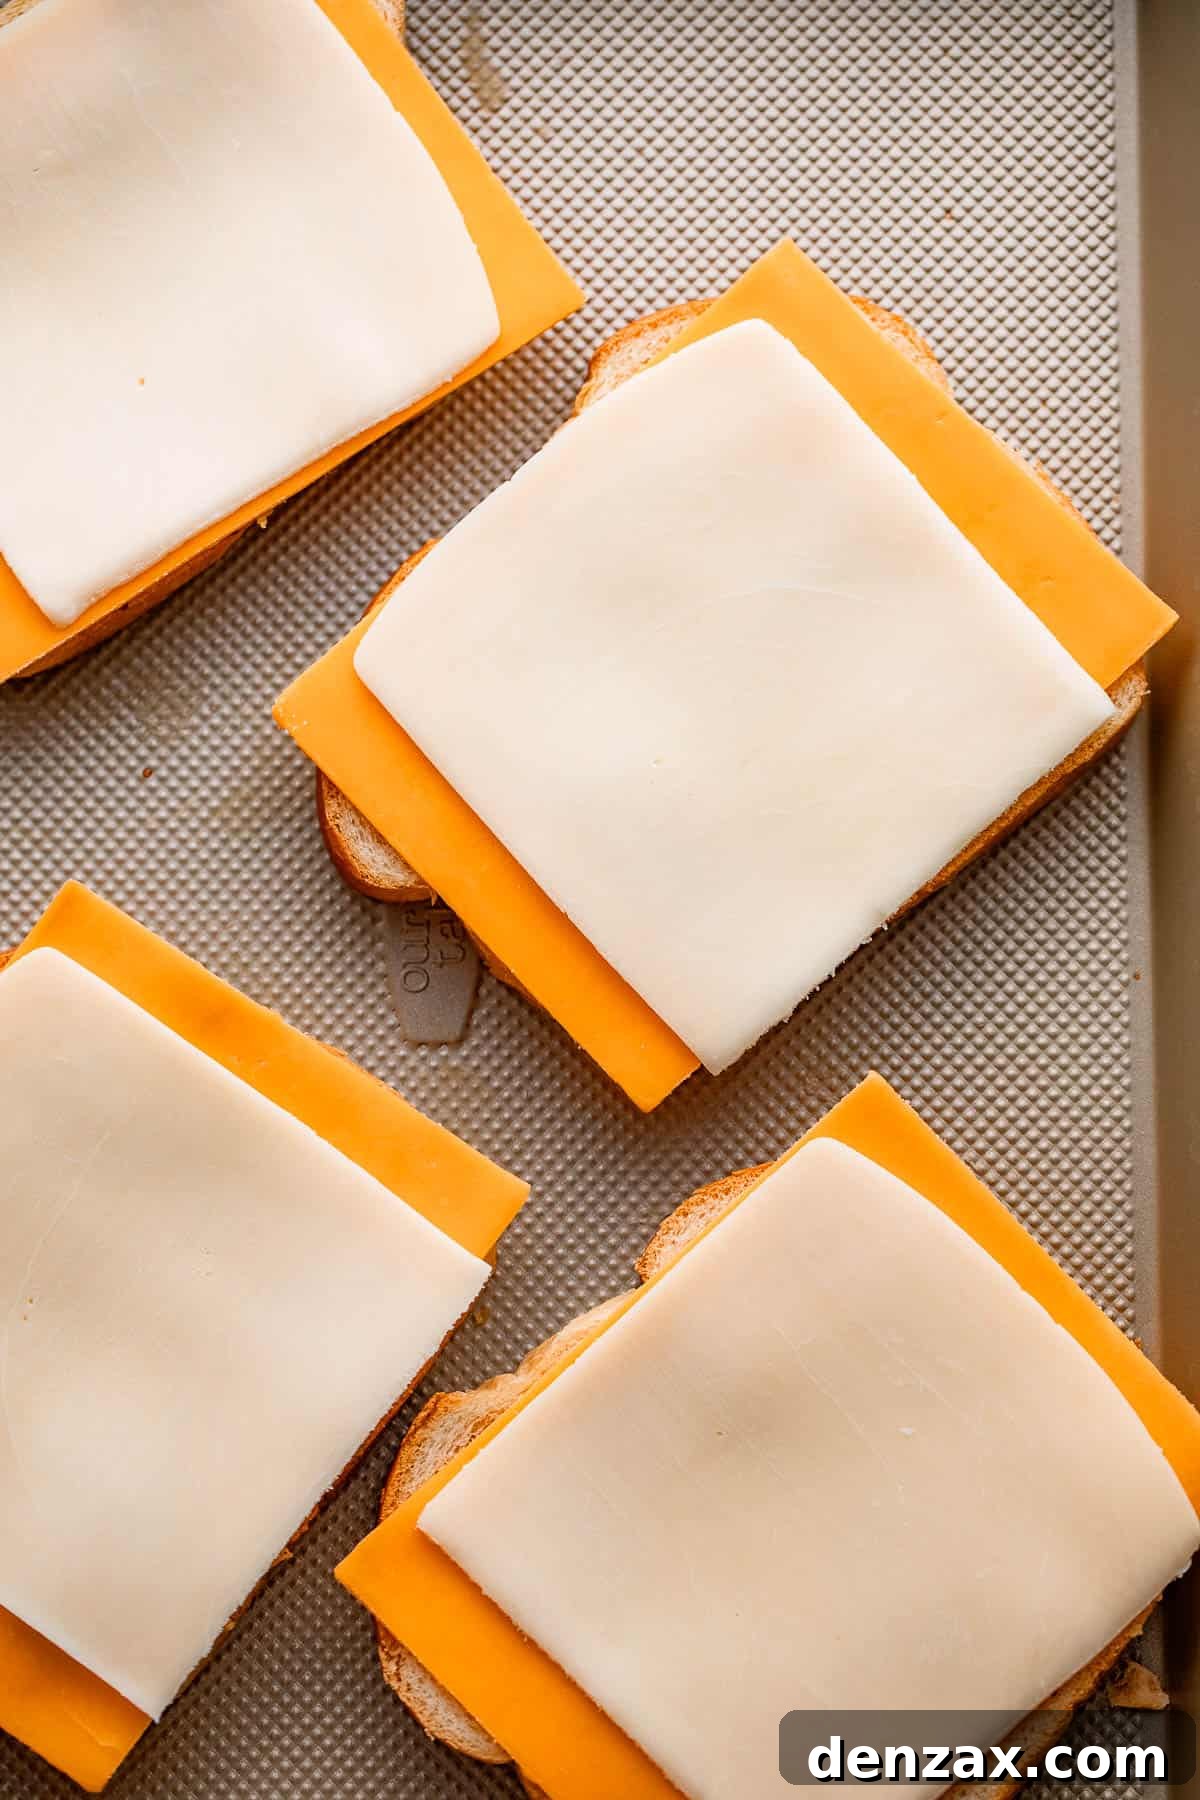
- Spread and Layer the Cheese: Generously spread the mayonnaise-mustard mixture over the unbuttered side of each bread slice on the baking sheet. Then, take your cheese slices—two slices of mozzarella and two slices of sharp cheddar per sandwich are ideal—and arrange them evenly over half of the bread slices. This ensures a rich, melty core.
- Assemble and Bake: Carefully place the remaining bread slices (with the mayo-mustard spread) on top of the cheese-layered slices, buttered side facing up, to form your sandwiches. You should now have four beautifully assembled sandwiches. Slide the baking sheet into your preheated oven and bake for 4 minutes.
- Flip and Finish Baking: After 4 minutes, the buttered side on the bottom should be golden. Carefully flip each sandwich using a spatula. Return the baking sheet to the oven and continue to bake for another 3 to 4 minutes, or until the second side is also golden brown and the cheese is beautifully melted and bubbling.
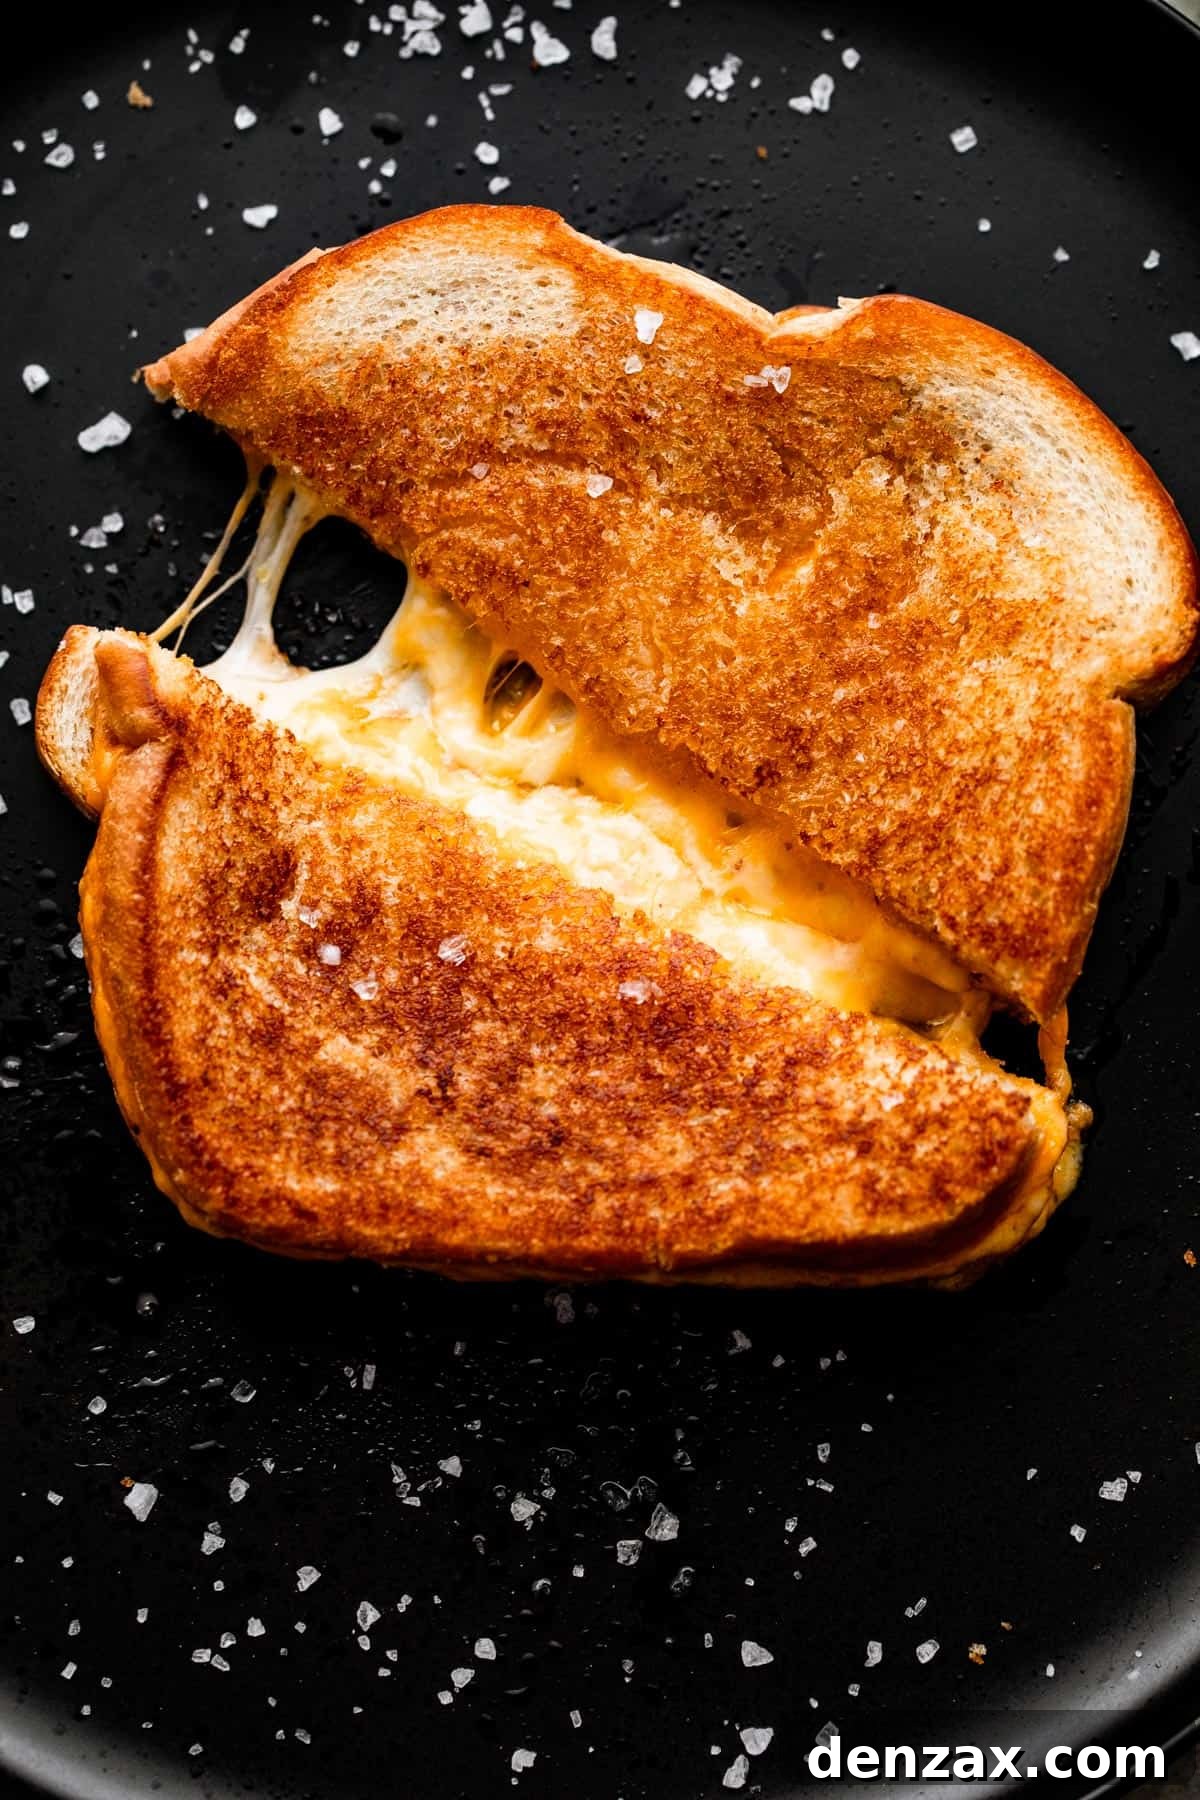
- Serve Immediately: Once your sandwiches are perfectly golden and the cheese is lusciously melty, remove them from the oven. Transfer them to a cutting board, cut each sandwich diagonally in half (the classic way!), and serve them warm. There’s nothing quite like a freshly baked grilled cheese!
Tips for Success and Delicious Variations
While making baked grilled cheese is inherently simple, a few extra tips can ensure your sandwiches turn out perfectly every time. Plus, don’t be afraid to get creative with variations!
- Keep an Eye on the Bread: Oven temperatures can vary, so it’s essential to monitor your sandwiches closely. Begin checking after the initial 3 minutes on each side. You want a lovely golden-brown crust, not a burnt one! If they’re browning too quickly, you can slightly reduce the oven temperature or move them to a lower rack.
- Preheat the Baking Sheet (Optional): For an extra crispy crust, place your baking sheet in the oven while it preheats. Once hot, carefully add your buttered bread slices. This initial contact with a hot surface gives an excellent sear.
- The Butter Battle: Softened butter is key for easy, even spreading. If your butter is too cold, it will tear the bread. If you’re in a hurry, place a stick of butter in its wrapper in a bowl of warm water for 5-10 minutes. Alternatively, microwave on medium heat for 5-8 seconds at a time, being careful not to melt it completely (butter melts from the inside out!).
- Endless Topping Possibilities: This recipe provides a fantastic base for customization. Elevate your grilled cheese with additional fillings:
- Meats: Add a slice or two of deli ham, turkey, crispy bacon, or even thinly sliced pepperoni.
- Veggies: Sautéed mushrooms with parsley, caramelized onions, roasted red peppers, spinach, or thinly sliced tomatoes (add these towards the end of baking to prevent sogginess).
- Spices & Herbs: A pinch of garlic powder, onion powder, dried oregano, or fresh chives mixed into the mayo spread can add extra zest.
- Spice It Up: A dash of hot sauce or a sprinkle of red pepper flakes inside for those who like a kick.
- Don’t Overcrowd the Pan: Ensure there’s enough space between each sandwich on the baking sheet for even air circulation. This helps achieve uniform browning and crispiness.
Perfect Pairings: Serving Ideas for Grilled Cheese
While a grilled cheese sandwich is delicious on its own with a simple side of chips, pickles, or fresh fruit, there’s nothing quite as iconic and comforting as pairing it with a warm bowl of soup. Here are some of my favorite soup recipes that perfectly complement a cheesy, crispy grilled cheese:
- Classic Tomato Soup: This timeless combination is a match made in culinary heaven. The bright, acidic notes of tomato soup perfectly cut through the richness of the cheese. With this easy recipe for Roasted Tomato Basil Soup, you’ll never go back to store-bought!
- Hearty Butternut Squash Soup: For a more substantial and earthy pairing, a creamy butternut squash soup is a fantastic choice. Its slightly sweet and nutty flavor profile harmonizes beautifully with sharp cheddar. This rustic recipe for Italian Sausage Butternut Squash Soup is perfect for getting through the last days of winter, offering a cozy and filling meal alongside your sandwich.
- Velvety Leek and Potato Soup: Creamy and wonderfully comforting, Classic Leek and Potato Soup is a family favorite. Its velvety texture and mild, yet savory taste provide a delightful contrast to the crispy, cheesy sandwich. It’s a sophisticated yet simple pairing that will satisfy everyone.
- Other Sides: Don’t forget classic sides like a fresh green salad for a lighter option, crispy tater tots or french fries for a diner feel, or even apple slices for a sweet and crunchy contrast.
Storing and Reheating Leftover Grilled Cheese Sandwiches
If by some miracle you happen to have any leftovers, don’t worry! Grilled cheese sandwiches, though melty, aren’t overly moist, making them relatively easy to store and reheat. While best enjoyed fresh, they can still be delicious the next day.
- Storing: Allow any leftover sandwiches to cool completely to room temperature. Then, place them in airtight baggies or an airtight container and refrigerate for up to 2 days. Storing them properly prevents them from becoming soggy.
- Reheating in a Skillet: The best way to reheat is in a skillet. Melt a small amount of butter or a neutral oil (like olive oil) over medium-low heat. Place the sandwich in the skillet and cook for 2-3 minutes per side, or until the bread is crispy again and the cheese is melted through. This method helps restore the original crispness.
- Reheating in a Toaster Oven or Regular Oven: For crispy results, you can also reheat your sandwiches in a toaster oven or a regular oven preheated to 350°F (175°C). Place the sandwiches directly on the oven rack or on a baking sheet and heat for 5-10 minutes, or until the cheese is gooey and the bread is toasted. Avoid microwaving, as this can make the bread rubbery.
- Air Fryer Reheating: An air fryer is another excellent option. Preheat your air fryer to 350°F (175°C) and cook the sandwich for 3-5 minutes, flipping halfway through, until crispy and hot.
Baked Grilled Cheese Sandwiches Recipe
This recipe for oven-baked grilled cheese is designed for convenience without sacrificing flavor or that perfect gooey center. It’s ideal for feeding a crowd or simply making dinner a breeze.
Ingredients
- 8 slices sourdough bread (or your preferred bread like white bread)
- ½ cup mayonnaise (adjust to your preference)
- 2 tablespoons Dijon mustard
- 8 slices mozzarella cheese
- 8 slices sharp cheddar cheese
- 4 tablespoons butter, softened to room temperature
Instructions
- Preheat oven to 450°F (232°C).
- Lightly butter one side of each slice of bread. Avoid over-buttering to prevent greasiness.
- Arrange bread slices, buttered side down, on a large baking sheet.
- In a small bowl, combine mayonnaise and Dijon mustard; mix until well incorporated.
- Spread the mayo-mustard mixture evenly over the unbuttered side of the bread slices. You can add more if you like a richer flavor.
- Place 2 slices of cheese (one mozzarella, one cheddar) on four of the bread slices.
- Carefully place the remaining four bread slices on top to form four sandwiches, ensuring the buttered side is facing up.
- Pop the baking sheet with the assembled sandwiches into the preheated oven for 4 minutes.
- After 4 minutes, carefully flip each sandwich. Continue to cook for 3 to 4 more minutes, or until both sides are golden brown and the cheese is wonderfully melty and bubbling.
- Remove the sandwiches from the oven and transfer them to a cutting board.
- Cut each sandwich in half diagonally and serve warm immediately for the best experience.
Nutrition (Estimated Per Serving)
- Calories: 412 kcal
- Carbohydrates: 14g
- Protein: 16g
- Fat: 33g
- Saturated Fat: 15g
- Polyunsaturated Fat: 7g
- Monounsaturated Fat: 9g
- Trans Fat: 1g
- Cholesterol: 73mg
- Sodium: 656mg
- Potassium: 87mg
- Fiber: 1g
- Sugar: 2g
- Vitamin A: 659 IU
- Vitamin C: 1mg
- Calcium: 415mg
- Iron: 1mg
Nutritional information is an estimate and provided as a courtesy. Values may vary according to the ingredients and tools used. Please use your preferred nutritional calculator for more detailed information.
Frequently Asked Questions About Baked Grilled Cheese
Can I make grilled cheese ahead of time?
While grilled cheese is best enjoyed fresh, you can prep the sandwiches a little ahead of time. Assemble the sandwiches (butter, mayo/mustard, cheese) and keep them refrigerated for up to a few hours before baking. This helps cut down on immediate prep time. Bake them just before serving for the crispiest results.
What other cheeses can I use?
The possibilities are endless! Experiment with:
- Provolone: Offers a mild, slightly sharp flavor and excellent melt.
- Colby Jack: A blend that provides both good melt and a mellow, creamy taste.
- Gruyère: For a more sophisticated, nutty, and savory flavor.
- Smoked Gouda: Adds a delightful smoky depth.
- Pepper Jack: If you like a little heat.
Combining two or three types of cheese often yields the best flavor and texture.
My grilled cheese isn’t getting crispy enough in the oven. What’s wrong?
Several factors could be at play:
- Oven Temperature: Ensure your oven is fully preheated to 450°F. If your oven runs cool, you might need to increase the temperature slightly.
- Butter: Make sure you’ve buttered the outside of the bread thoroughly and evenly. Butter is crucial for browning.
- Baking Sheet: A darker baking sheet can sometimes conduct heat better for crisping. Also, ensure the baking sheet isn’t overcrowded, allowing heat to circulate.
- Baking Time: You might need an extra minute or two on each side, depending on your oven and bread thickness. Keep an eye on it!
More Classic Sandwich Recipes to Try
If you loved this easy oven-baked method, you’ll definitely want to explore these other fantastic sandwich recipes that are perfect for any meal:
- Tuna Grilled Cheese Sandwich: A delightful twist on two comfort food favorites.
- Classic Patty Melts: The ultimate diner classic, reimagined for easy home cooking.
- Ham and Swiss Cheese Sliders: Perfect for parties, appetizers, or a fun family dinner.