
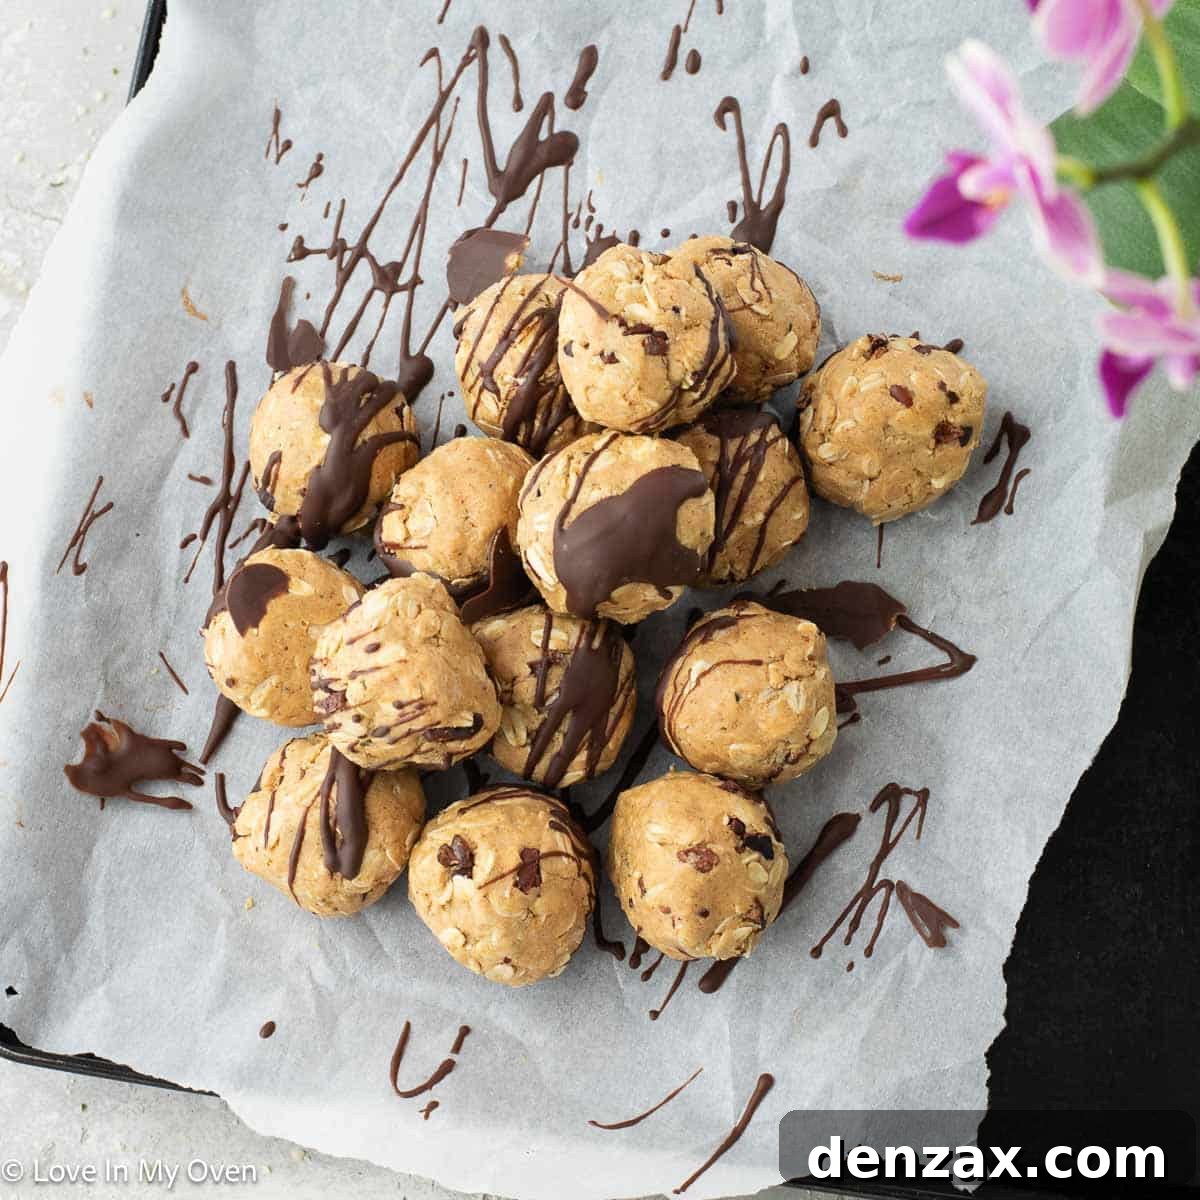
These peanut butter protein balls are the ultimate grab-and-go snack or a fantastic way to kickstart your day! They also make an ideal protein-packed addition to any lunchbox, offering a burst of energy when you need it most.
In a world bustling with activity, finding quick, healthy, and satisfying snacks can be a challenge. That’s where these delightful peanut butter protein balls come in. They are not just incredibly easy to make but also packed with nutrients to keep you fueled and focused. Whether you’re a busy parent, a fitness enthusiast, or simply someone looking for a better snack option, this recipe is designed to fit seamlessly into your lifestyle.
If you’re seeking more effortless and wholesome snack ideas, you might also appreciate my cottage cheese protein cookies, naturally sweetened peanut butter snack balls, or my satisfying granola cookies. Each recipe offers a unique blend of flavors and health benefits, ensuring you always have a delicious option at hand.

Why You’ll Absolutely Adore This Recipe
The nutritional landscape has seen a significant shift towards high-protein snacks, and for good reason. Protein is essential for muscle repair, satiety, and sustained energy. This recipe for peanut butter protein balls aligns perfectly with this trend, offering a natural and potent source of protein that will keep you feeling full and energized throughout your day.
One of the primary protein contributors in these delectable bites is, of course, the peanut butter itself. Not only does it provide a rich, creamy texture and a comforting flavor, but it also delivers healthy fats and a substantial amount of plant-based protein. To further boost the protein content, we’ve incorporated hemp hearts. These tiny nutritional powerhouses are incredible; just three tablespoons of hemp hearts pack an impressive 10 grams of protein, along with beneficial omega-3 fatty acids and essential minerals.
Beyond the natural protein sources, this recipe includes a generous half-cup of protein powder. This makes these small snack balls an ideal post-workout recovery treat, helping to replenish energy stores and aid in muscle repair. They are equally perfect as a pre-workout boost or a quick, nourishing breakfast on those hectic mornings. If you’re not concerned about nut-free requirements, these balls are also a fantastic, wholesome addition to any lunchbox, providing sustained energy for school or work.
What makes these protein balls even more appealing is their incredible versatility and convenience. They are designed to freeze exceptionally well, meaning you can easily whip up a large batch and store them for future enjoyment. This makes them a perfect option for meal prepping, ensuring you always have a healthy snack ready to go, saving you time and preventing unhealthy choices when hunger strikes. Embrace the power of homemade protein snacks with this simple, delicious, and highly beneficial recipe.
Essential Ingredients for Your Protein Balls
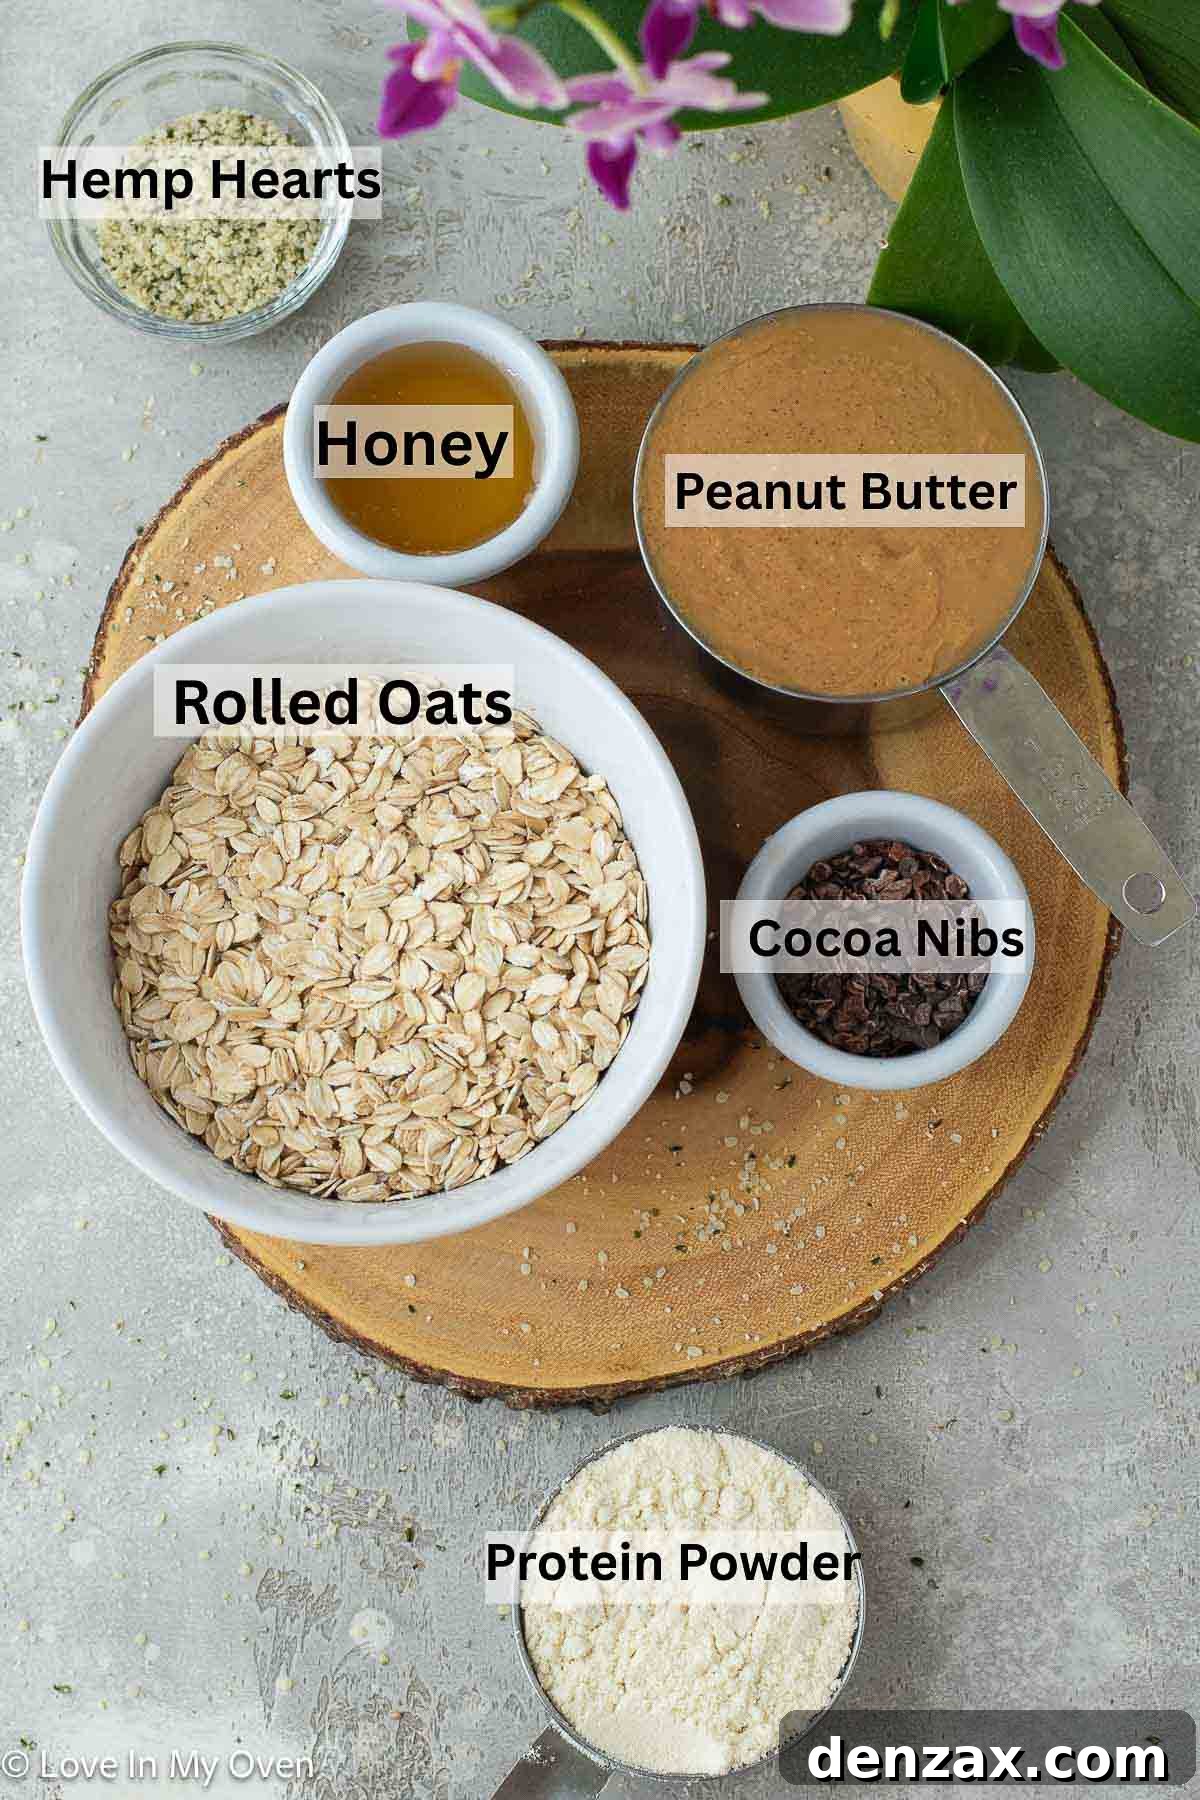
This recipe prides itself on its simplicity, utilizing readily available ingredients that come together to create a truly delicious and nutritious snack. Here’s a closer look at what you’ll need:
- Peanut Butter: For the best results and a purer flavor profile, I consistently opt for all-natural, smooth peanut butter in my recipes. This type typically contains only peanuts and sometimes a touch of salt, avoiding added sugars and oils. However, if a more processed, sweetened variety is what you have on hand, it will still work beautifully and may even add an extra layer of sweetness to your protein balls. Experiment with different nut butters like almond or cashew butter for unique flavor twists and varying nutritional benefits.
- Rolled Oats: The foundation of these protein balls comes from large flake, rolled oats. These oats provide essential fiber, helping with digestion and promoting satiety. They also contribute to the perfect chewy texture. I often purchase large bags of rolled oats from bulk stores like Costco for cost-effectiveness and convenience. Ensure you use rolled oats, not instant or quick-cooking oats, as they absorb liquid differently and may alter the texture.
- Hemp Hearts: While an optional addition, I highly recommend including hemp hearts. They are a true superfood, contributing a significant amount of plant-based protein (10 grams in just 3 tablespoons!), healthy fats (omega-3 and omega-6), and a pleasant, slightly nutty texture and crunch. They effortlessly blend into the mixture, boosting the nutritional value without overpowering the flavor.
- Honey: Honey serves a dual purpose in this recipe: it provides the perfect amount of natural sweetness and acts as a powerful binder, ensuring all the ingredients stick together cohesively. Its natural stickiness is key to forming firm, stable balls. If you’re not a fan of honey or prefer a vegan alternative, pure maple syrup is an excellent substitute, offering a similar sweetness and binding quality.
- Cocoa Nibs: I’m a big advocate for cocoa nibs! These unsweetened, crushed cocoa beans are rich in minerals, antioxidants, and fiber, and they deliver a deep, intense chocolate flavor without the added sugar found in traditional chocolate chips. They add a sophisticated bitterness and a delightful crunch. However, if their intense flavor isn’t to your liking, feel free to swap them for mini chocolate chips for a sweeter, more classic chocolate experience.
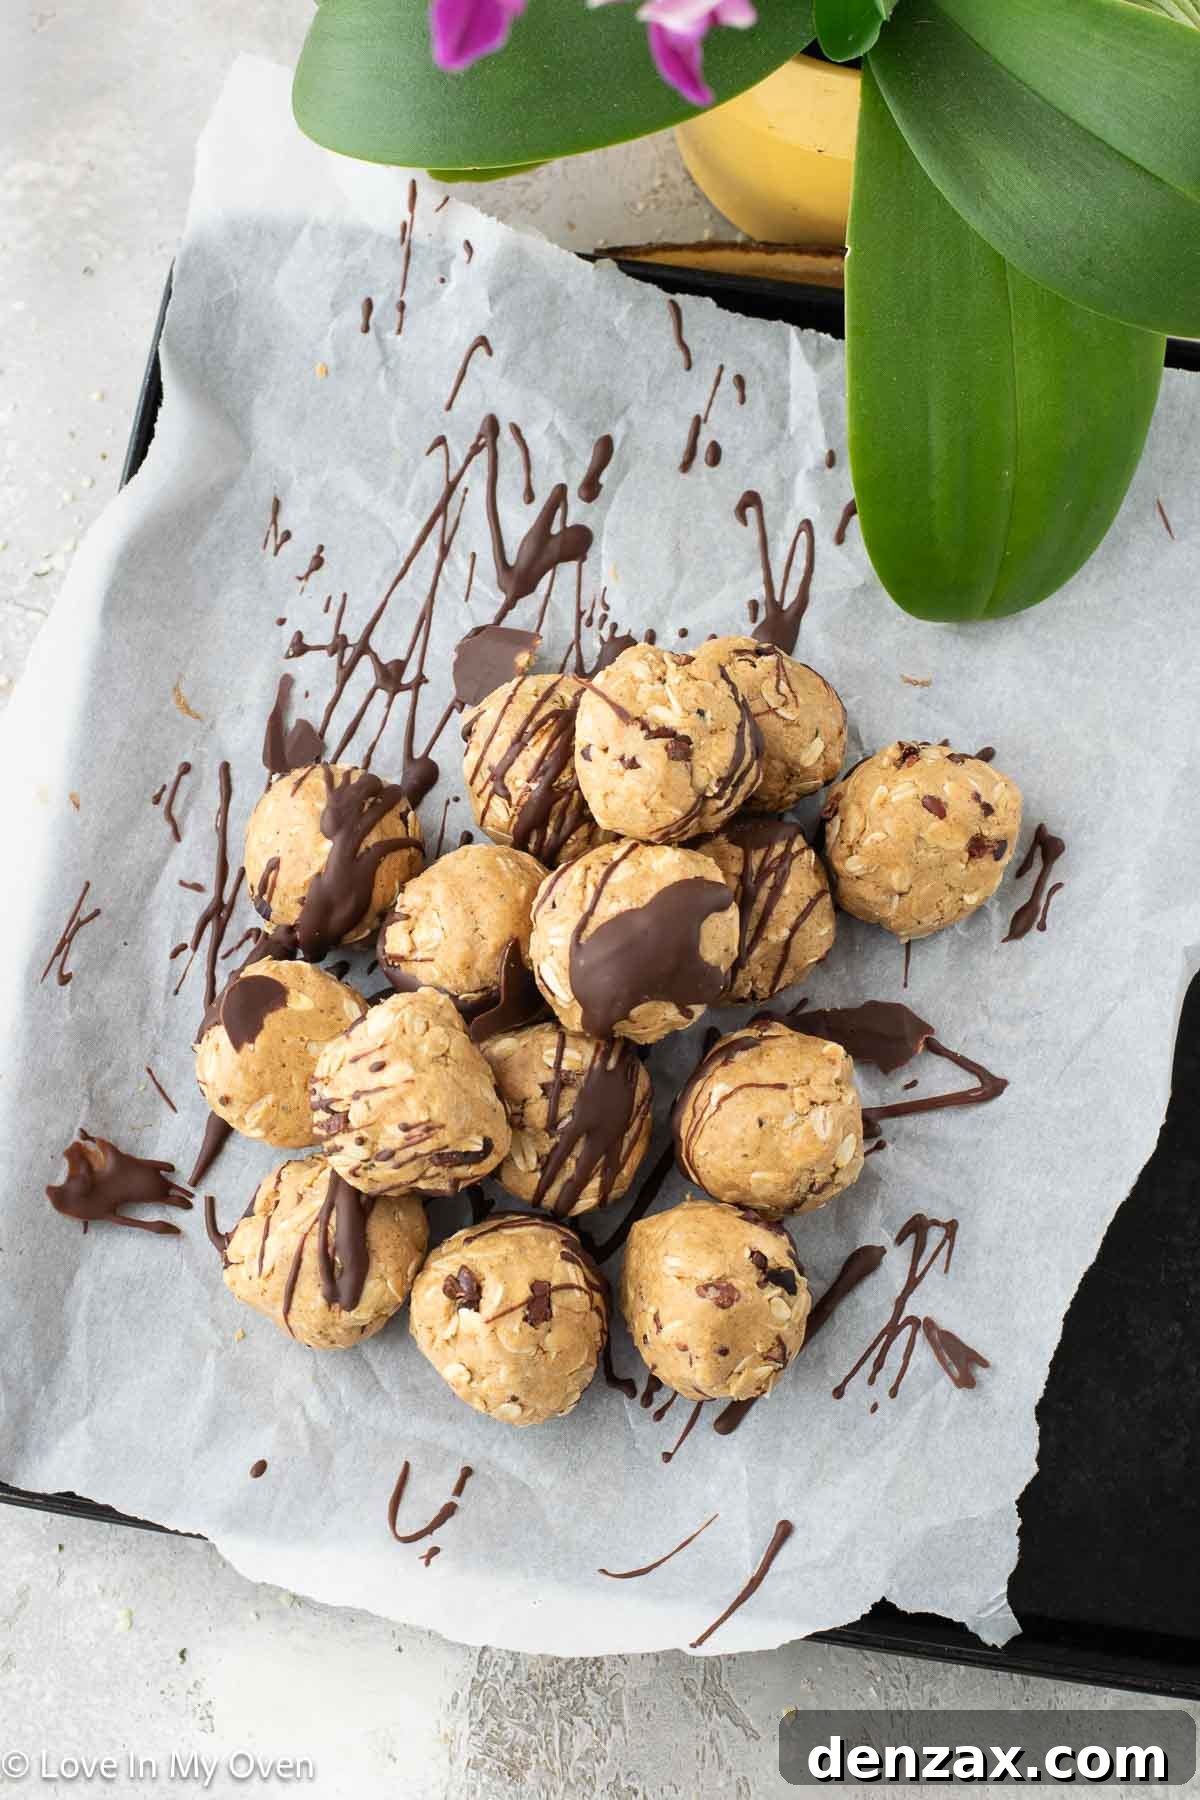
Optional Topping: For an extra touch of indulgence, consider adding a luscious chocolate drizzle over your finished protein balls. This optional step requires just a couple of tablespoons of your favorite chocolate chips melted with half a teaspoon of coconut oil, creating a smooth, glossy topping that hardens slightly upon chilling.
Expert Tips and Tricks for Perfect Protein Balls
- Measure Everything First: A crucial step for any baking or no-bake recipe is to measure all your ingredients accurately before you begin mixing. This practice, known as “mise en place,” ensures a smooth and efficient cooking process, preventing last-minute rushes and potential errors, especially when dealing with sticky ingredients.
- Embrace the Effort with a Sturdy Spoon: The mixture for these protein balls will be wonderfully thick and sticky, which is exactly what you want for a good binding consistency. Don’t be shy – use a large, sturdy wooden spoon to thoroughly combine all the ingredients. You’ll need to put in a bit of effort to ensure everything is evenly incorporated, but the results are well worth it.
- Customize with Protein Powder Flavors: One of the easiest ways to change the flavor profile of your protein balls is by experimenting with different protein powder flavors. Vanilla is a classic choice, but consider chocolate, peanut butter, or even unflavored options to blend seamlessly with other ingredients. This allows for endless variations to suit your taste preferences.
- Explore Nut-Free or Alternative Butters: For a nut-free version, simply swap out the peanut butter for your favorite seed butter, such as sunflower seed butter. If you’re looking for a different flavor profile while keeping it in the nut family, almond butter or cashew butter are fantastic alternatives that offer a unique taste and texture. Always check labels for any hidden allergens if strict dietary restrictions are in place.
- Adjust Consistency with Water (If Needed): If you find your mixture is too dry, crumbly, or isn’t coming together well, don’t panic. Add a small amount of water, about half to one teaspoon at a time, and continue stirring. The goal is to reach a consistency that is pliable and sticks together nicely when pressed, without being overly wet. This step is key to achieving perfectly formed balls.
- Rolling for Uniformity: For uniform protein balls that look professionally made, consider using a cookie scoop. This ensures each ball is roughly the same size, which is helpful for consistent serving sizes and even chilling. After scooping, roll the mixture firmly between your hands to create a compact, smooth ball, ensuring all ingredients are well-bound.
Simple Steps to Craft Your Peanut Butter Protein Balls
Creating these wholesome and energizing peanut butter protein balls is incredibly straightforward. While a detailed recipe card provides exact measurements, here’s a simplified overview of the quick and easy directions:
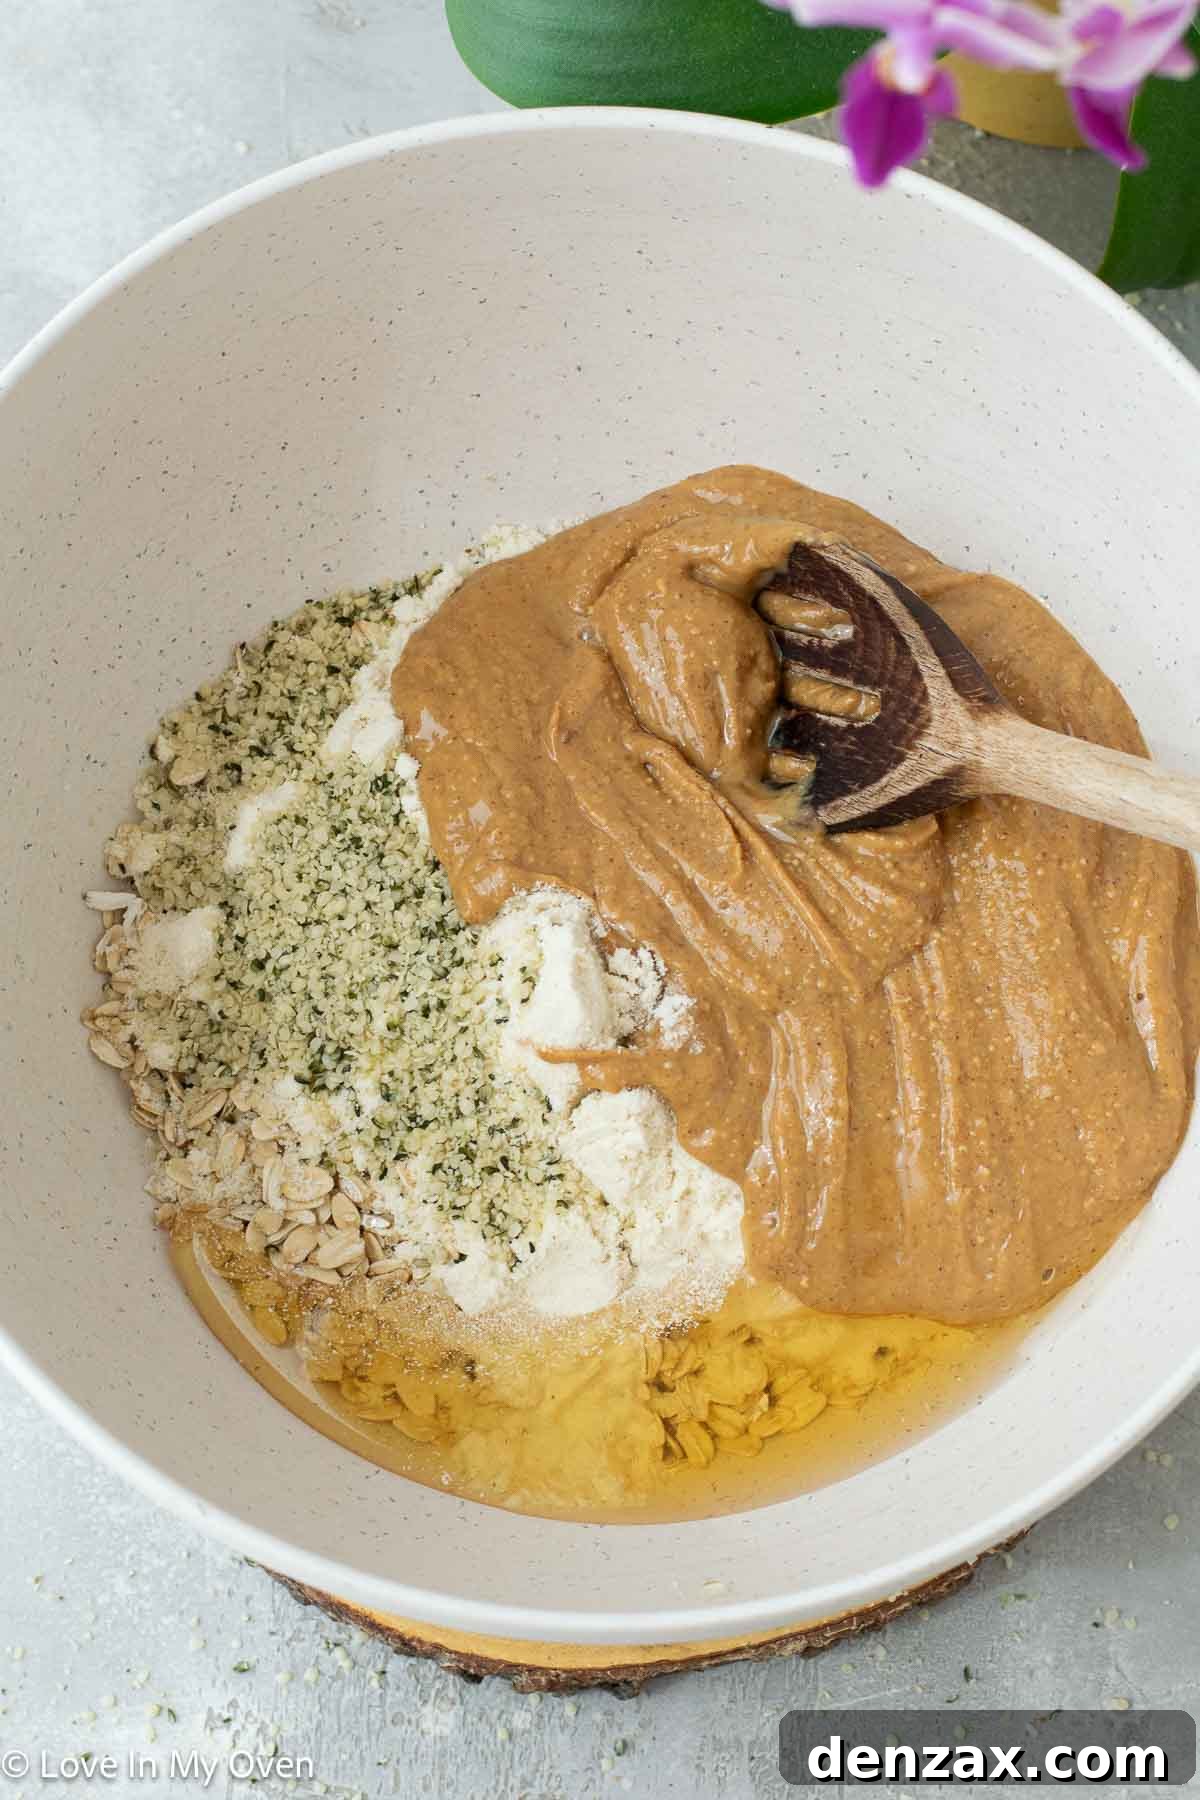
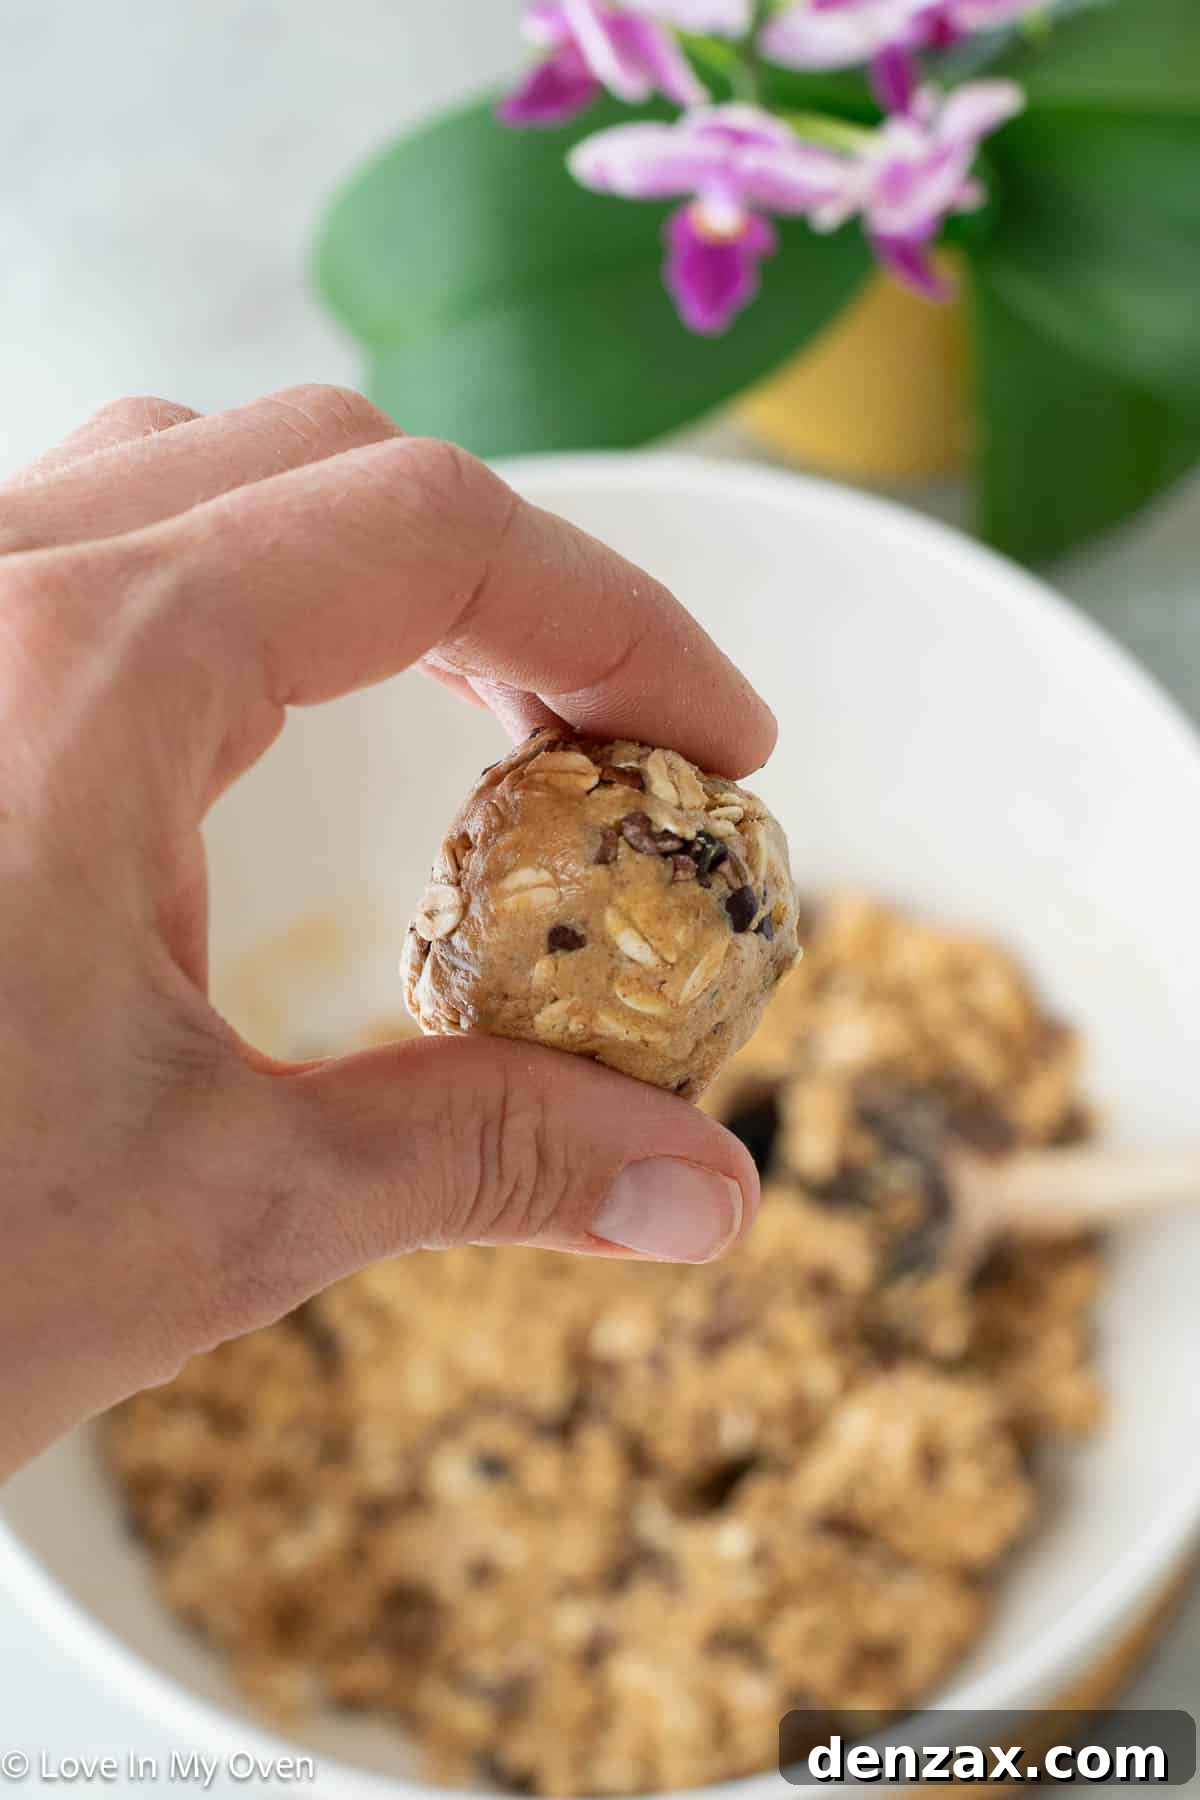
- Combine Wet and Dry Ingredients: In a large mixing bowl, start by combining all the main ingredients except for the cocoa nibs (or chocolate chips). Add the large flake oats, protein powder, natural smooth peanut butter, honey (or maple syrup), and hemp hearts. Use a sturdy wooden spoon to mix everything together vigorously until the mixture is completely combined and appears smooth and uniform. This might require a little arm strength as the mixture will be quite thick and sticky.
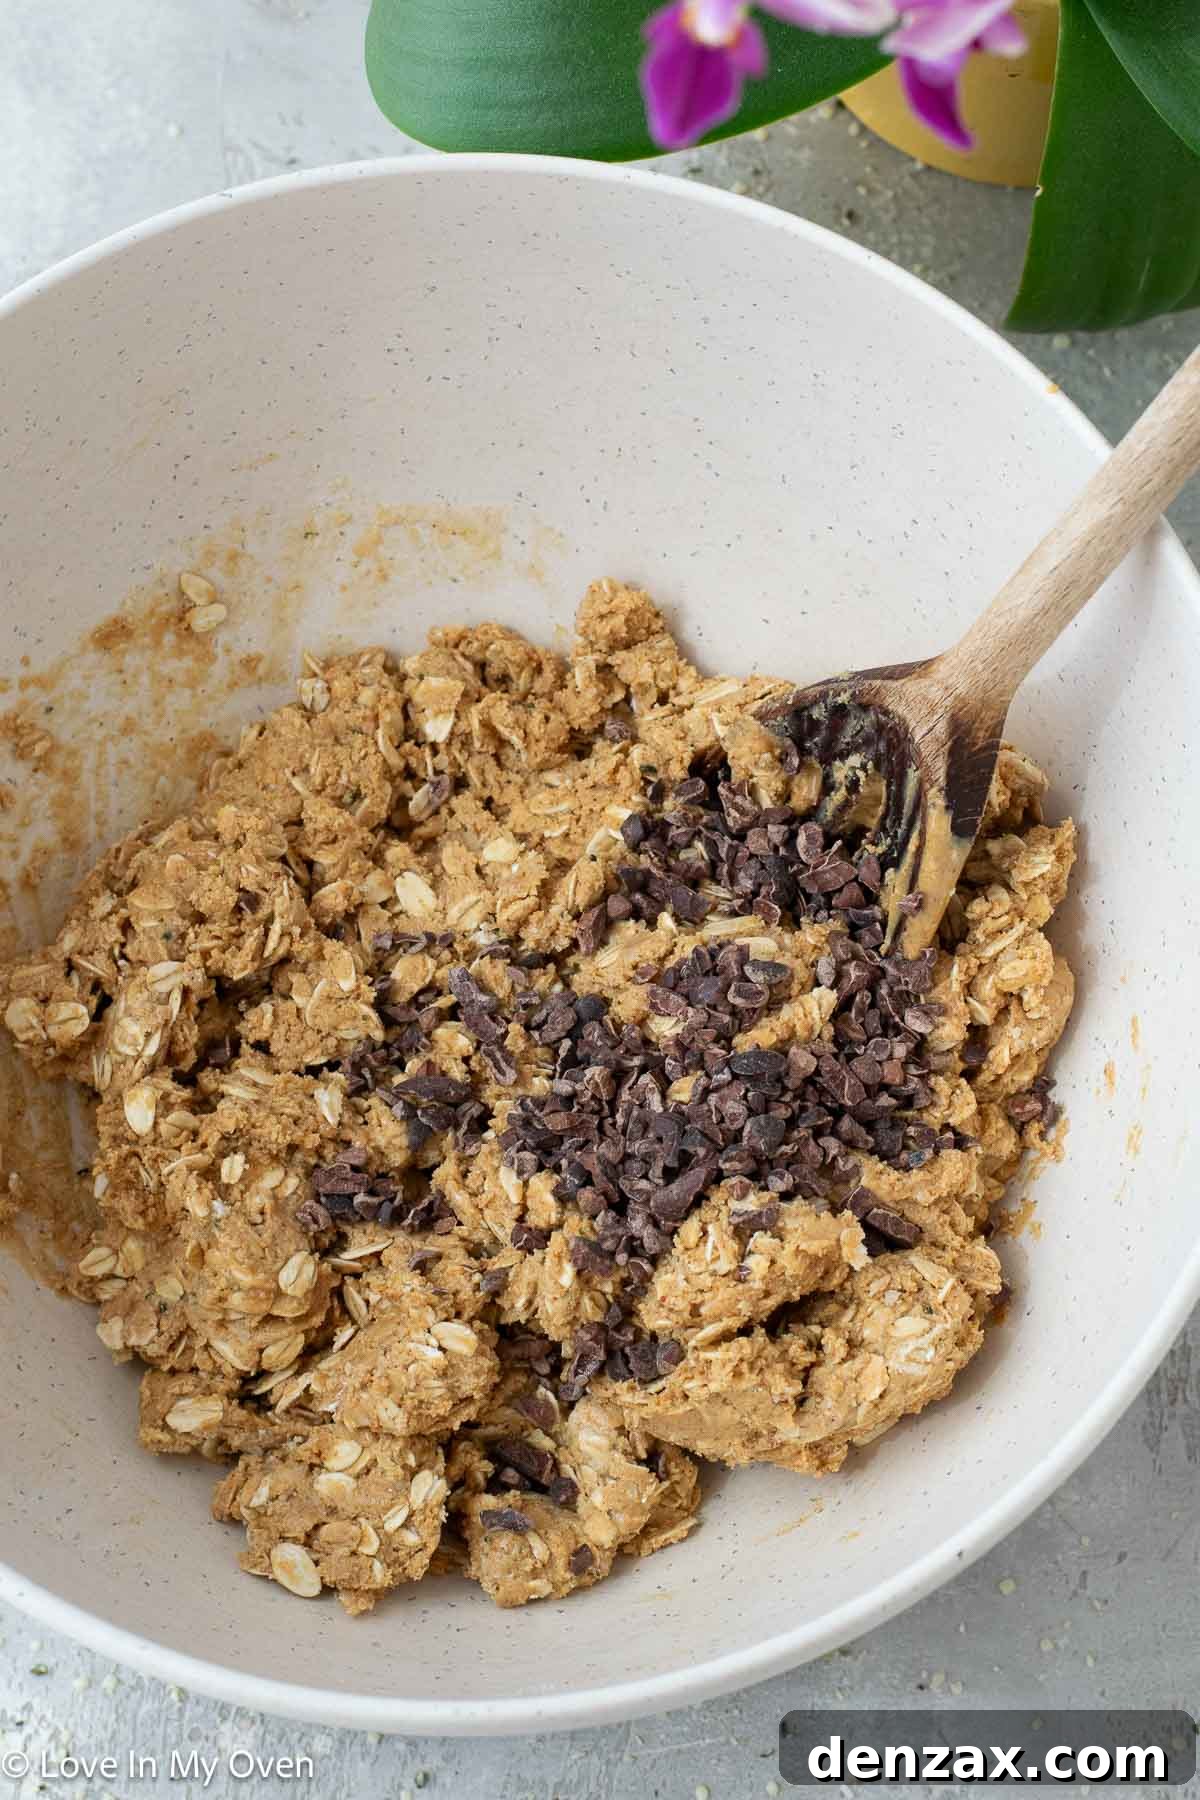
- Incorporate Cocoa Nibs and Adjust Consistency: Once the base mixture is well combined, fold in the cocoa nibs (or chocolate chips). Stir them in until they are evenly distributed throughout the mixture. At this stage, assess the consistency. If it appears too dry or crumbly and isn’t holding together well, add one teaspoon of water. Stir again to combine. If it’s still too dry, add another teaspoon of water, mixing until the desired sticky but firm consistency is achieved. The mixture should be pliable enough to roll without falling apart.
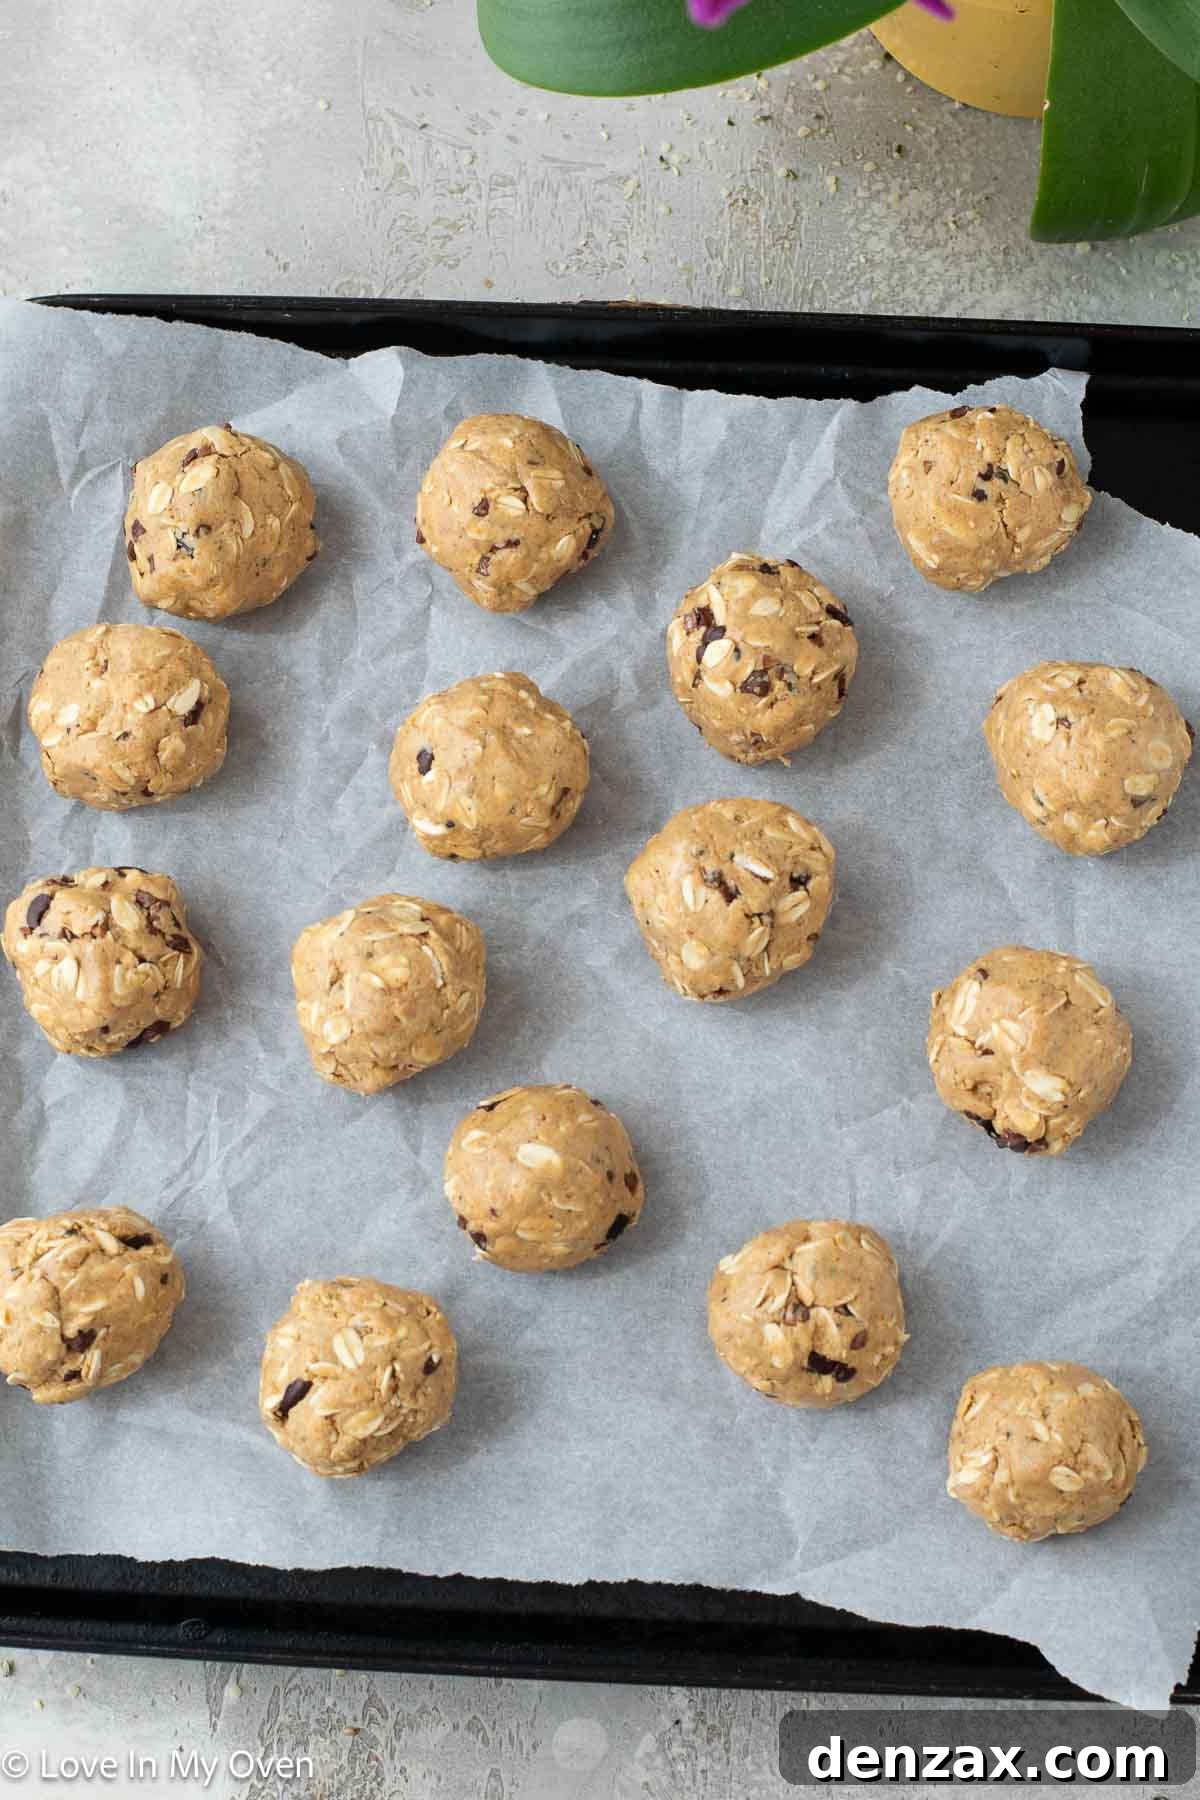
- Form the Protein Balls: Using a large cookie scoop or a tablespoon, portion out the mixture. Roll each portion firmly between the palms of your hands to form compact, round balls. This firm rolling ensures the ingredients are well compressed and will hold their shape. Place the newly formed balls onto a baking sheet that has been lined with parchment paper. The parchment paper will prevent sticking and make for easy removal.
- Chill or Drizzle (Optional Topping): You can either chill the protein balls as they are for a simple, delicious snack, or you can prepare the optional chocolate drizzle. To do this, melt the chocolate chips and coconut oil together in a microwave-safe bowl for about 30-40 seconds, stirring until the mixture is smooth and glossy. Using a small spoon or fork, drizzle the melted chocolate over the tops of the chilled protein balls on the parchment-lined baking sheet.
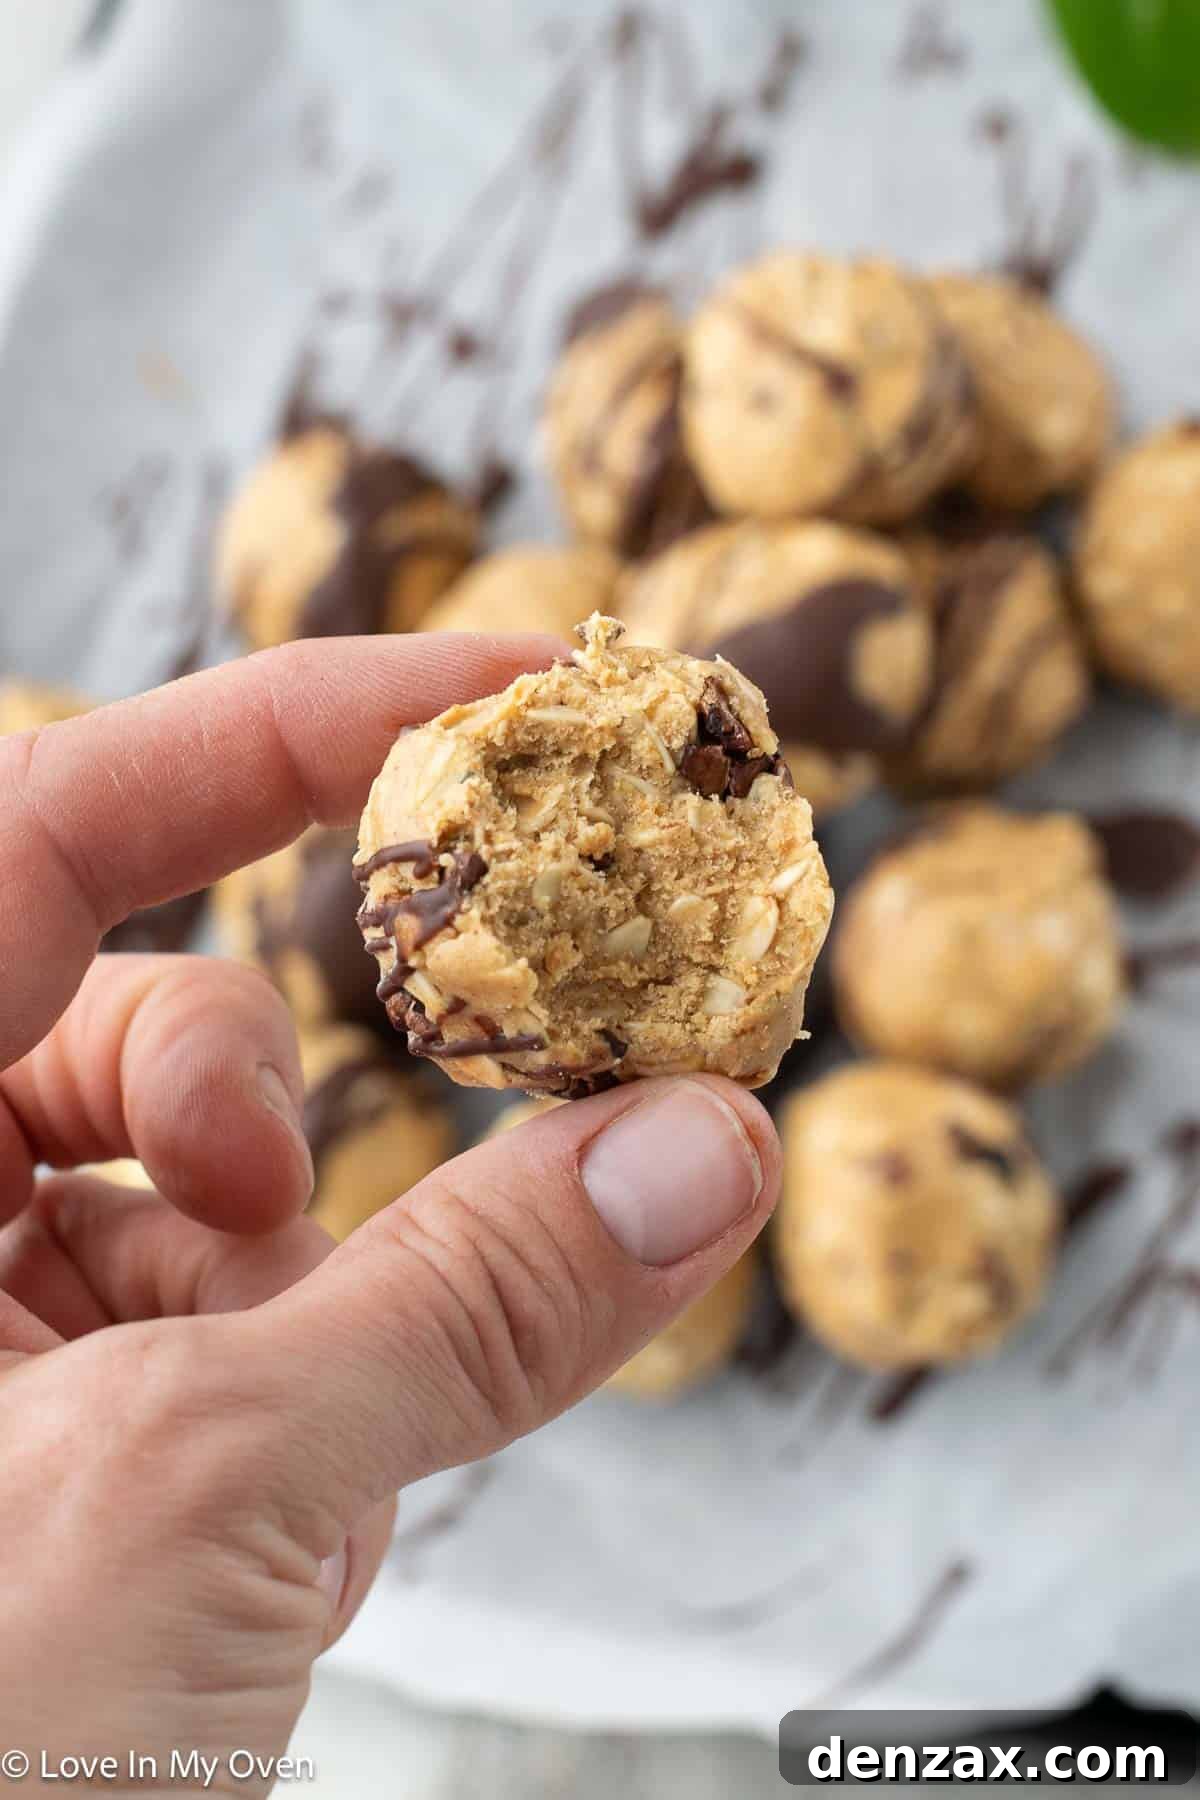
- Final Chill: For the best texture and to allow the flavors to meld (and the chocolate drizzle to set, if using), place the baking sheet with the protein balls into the refrigerator for 1-2 hours. This chilling period will firm them up, making them even more enjoyable.
Optimizing Storage for Freshness
Proper storage is key to extending the life and freshness of your homemade peanut butter protein balls, making them an excellent choice for meal prepping and busy schedules. Here’s how to best store them:
For immediate enjoyment or short-term storage, always keep these peanut butter protein balls in an airtight container in the refrigerator. In this environment, they will maintain their freshness, texture, and flavor for a solid 2-3 weeks. While they can be left on the counter in an airtight container for 1-2 weeks, refrigeration is recommended for optimal quality and to prevent any ingredients from spoiling, especially if your kitchen is warm.
If you’ve made a generous batch or don’t anticipate consuming them quickly, the freezer is your best friend. These protein balls freeze exceptionally well, preserving their deliciousness for an extended period. Stored in an airtight container or freezer-safe bag, they will remain perfectly fine in the freezer for 3-4 months. When freezing, you might consider laying them in a single layer on a parchment-lined baking sheet first until firm, then transferring them to a container to prevent them from sticking together.
A smart strategy for busy mornings is to store them in the freezer and simply grab one or two to pop into a lunchbox. They will gradually thaw throughout the morning, reaching a perfect ready-to-eat consistency by lunchtime. This ensures you always have a nutritious, homemade snack at your fingertips without any extra effort each day.
Frequently Asked Questions About Protein Balls
Many people have questions about making and storing protein balls. Here are some of the most common inquiries:
Are these protein balls suitable for a vegan diet?
To make these protein balls vegan, you would need to replace the honey with maple syrup or agave nectar. Additionally, ensure your protein powder is plant-based (e.g., pea protein, rice protein) and that your chocolate chips (if using for the topping) are dairy-free. With these simple substitutions, you can easily enjoy a delicious vegan version!
Can I make these peanut butter protein balls nut-free?
Absolutely! If you need a nut-free option due to allergies, simply substitute the peanut butter with an equal amount of sunflower seed butter (like SunButter) or another seed butter of your choice. Always double-check all other ingredient labels to ensure they are certified nut-free if severe allergies are a concern.
What if my mixture is too sticky to roll?
If your mixture is excessively sticky, try chilling it in the refrigerator for 15-30 minutes before attempting to roll the balls. A slightly colder mixture is often easier to handle. You can also lightly moisten your hands with water or a tiny bit of oil before rolling, which helps prevent sticking.
How can I increase the fiber content?
To boost the fiber, you can add chia seeds or ground flaxseed meal to the mixture. These additions also contribute healthy fats and further improve the binding qualities of the balls. Start with 1-2 tablespoons and adjust to your preference.
Can children eat these protein balls?
Yes, these protein balls make a fantastic and healthy snack for children! They are packed with wholesome ingredients and provide sustained energy. However, if serving to very young children, ensure there is no choking hazard from larger cocoa nibs or chocolate chips. As always, consider any allergies your child may have.
How long does it take for them to firm up in the fridge?
Typically, these peanut butter protein balls will firm up sufficiently after 1-2 hours in the refrigerator. This chilling time allows the fats from the peanut butter and the honey to set, resulting in a firm, chewy texture that holds its shape well.
Discover More Effortless Snack Recipes
Who doesn’t appreciate easy and delicious snack options? Expanding your repertoire of go-to healthy bites is a fantastic way to maintain a balanced diet and keep cravings at bay. Here are some of my favorite simple snack recipes from the blog that I believe you’ll absolutely love:
- Cottage Cheese Protein Cookies: A surprisingly delicious and protein-rich cookie that’s perfect for a guilt-free treat.
- 4-Ingredient Oatmeal Cookies: Incredible simplicity meets classic comfort in these wholesome cookies.
- Healthy Granola Cookies: Packed with wholesome grains and natural sweetness, these are a delightful and energizing option.
- Healthy Candied Walnuts: A crunchy, sweet, and satisfying snack that’s perfect for sprinkling on salads or enjoying on its own.
- Homemade Coconut Peanut Butter: Elevate your peanut butter experience with this easy-to-make, flavorful spread.

Peanut Butter Protein Balls
5 Stars 4 Stars 3 Stars 2 Stars 1 Star
No reviews
- Author: Katherine | Love In My Oven
- Total Time: 10 minutes
- Yield: 14–15 balls
Ingredients
- 1 cup large flake oats
- 1/2 cup vanilla protein powder
- 1 cup natural, smooth peanut butter
- 2 tbsp honey
- 1 tbsp hemp hearts
- 2 tbsp cocoa nibs
- optional: 1-2 teaspoons water
Optional Chocolate Topping
- 1/2 tsp coconut oil
- 2 tbsp semi sweet chocolate chips
Instructions
- In a large mixing bowl, add together the large flake oats, protein powder, peanut butter, honey and hemp hearts. Use a large wooden spoon to stir everything together until smooth.
- Add in the cocoa nibs, and if the mixture seems dry and crumbly, add 1 teaspoon of water to the mixture and stir together. Add another teaspoon of water if necessary.
- Using a large cookie scoop or large tablespoon, create balls and roll between your hands to ensure everything is stuck together. Place the balls on a baking sheet lined with parchment paper.
- Optional Topping: In a microwave safe bowl, melt the coconut oil and chocolate chips together for 30-40 seconds, stirring until smooth. Use a teaspoon to drizzle the chocolate topping over the tops of the protein balls.
- Place the peanut butter protein balls in the fridge for 1-2 hours to firm up.
Protein balls can be stored in an airtight container at room temperature for 1-2 weeks, in the fridge for 2-3 weeks or in the freezer for 3-4 months.
- Prep Time: 10 minutes
- Cook Time: 0 minutes
- Category: snacks
- Method: no bake
- Cuisine: american