
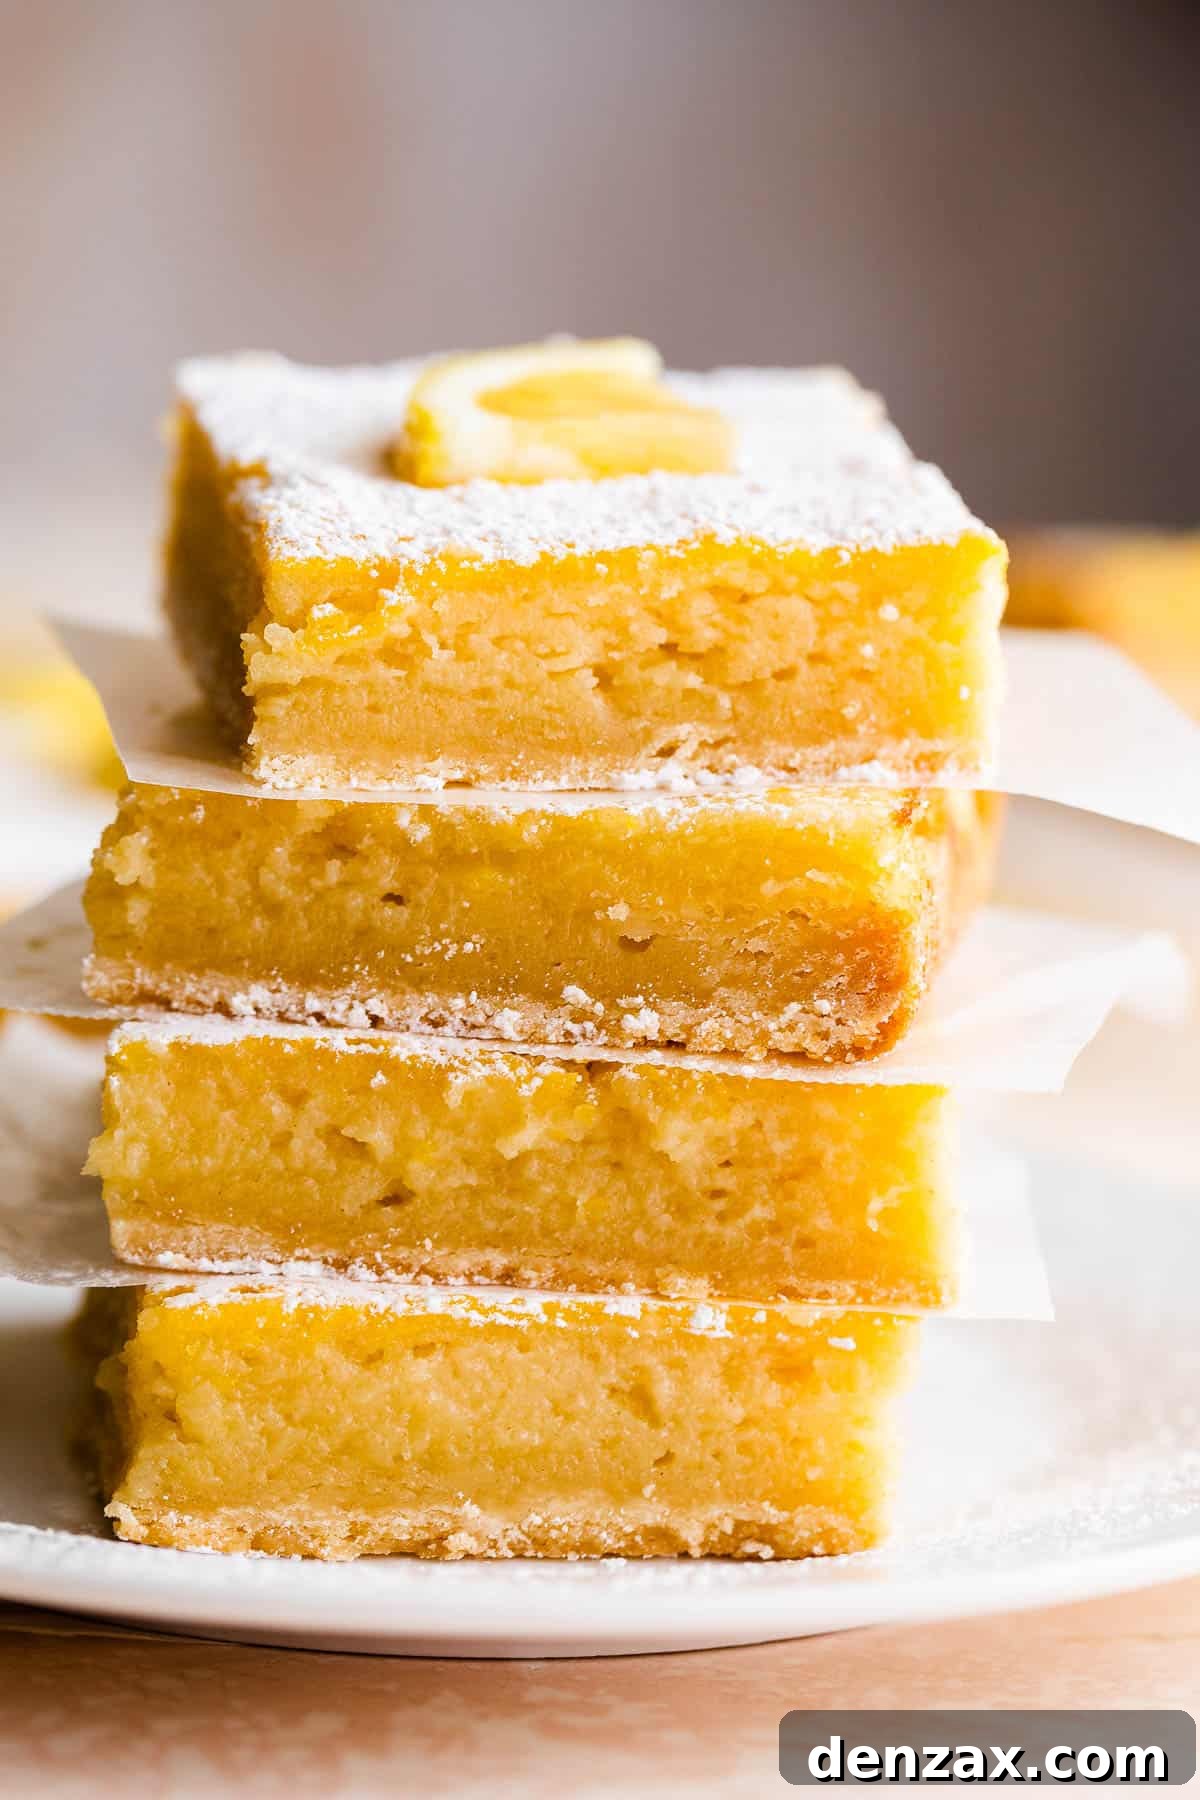
Welcome to the ultimate guide for crafting the most exquisite Classic Lemon Bars! These delightful treats feature a vibrant, sweet-tart lemon filling nestled atop a rich, buttery shortbread crust, all culminating in a beautiful pastel yellow hue. They are undeniably the perfect addition to any spring menu, brightening up gatherings from Easter brunches to Mother’s Day celebrations, or simply serving as a cheerful pick-me-up on a sunny afternoon.
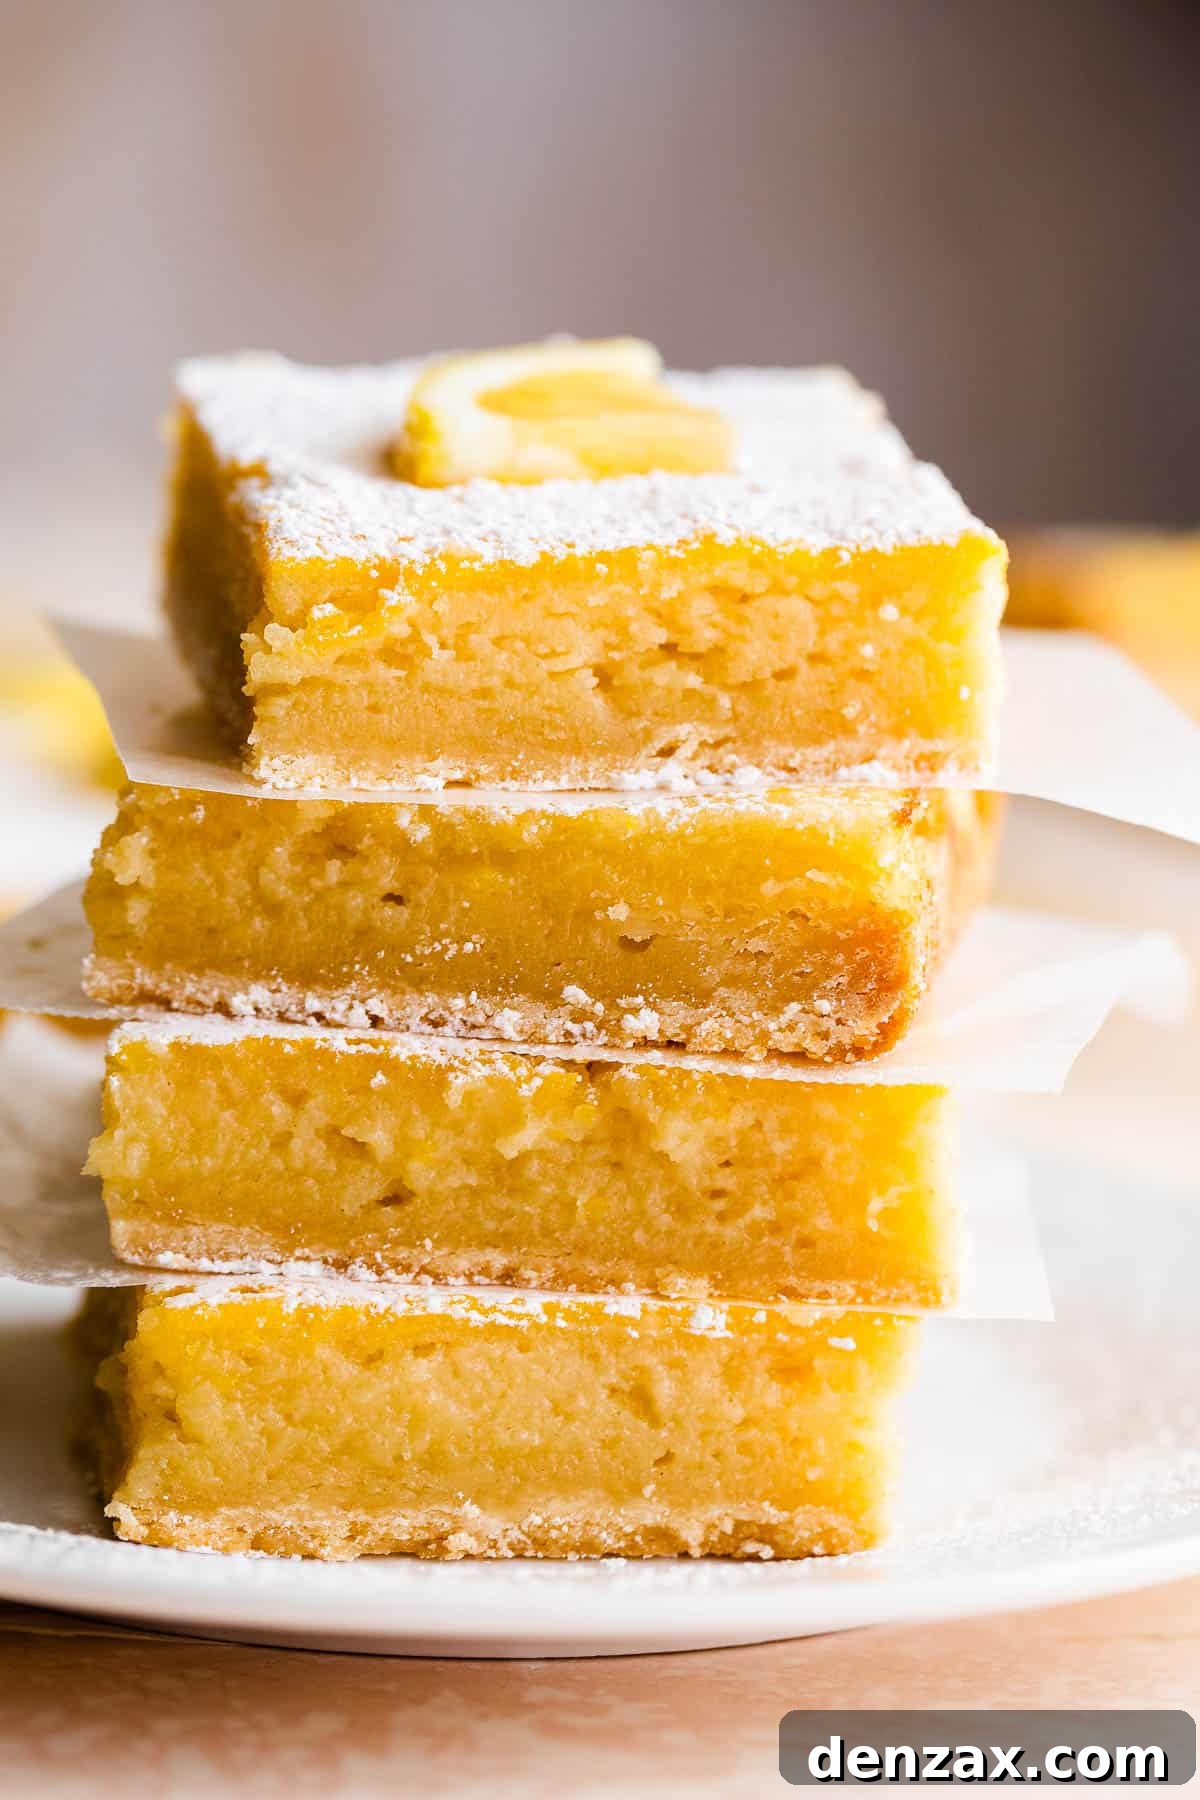
Why These Lemon Bars Are Simply Irresistible
There’s something truly magical about a well-made lemon bar. For me, it’s the sublime contrast between the crisp, crumbly cookie-like crust and the luscious, smooth lemon curd-inspired filling that makes them utterly addictive. Every bite offers a harmonious balance of tangy citrus and sweet indulgence, making these bars a timeless favorite that captivates both palate and eye.
While autumn and winter invite us to indulge in spices, chocolates, and pumpkin-infused delights, spring beckons with promises of freshness and bright flavors. Our easy lemon bars recipe answers that call with its pure, invigorating citrus essence. Their soft, daffodil-yellow color perfectly mirrors the cheerful blossoms of the season, instantly evoking feelings of warmth and renewal. They’re not just a dessert; they’re a celebration of spring in every square.
Beyond being a fantastic treat for your own enjoyment, these lemon bars also make a thoughtful and delicious gift. When preparing them for gifting, I always make sure to dust them generously with powdered sugar. This not only adds an elegant finish but also helps prevent them from sticking together. A thoughtful wrapping in patterned wax paper, tied with a lovely ribbon, transforms them into a beautiful, homemade present that is sure to impress.
The Enchanting Appeal of Lemon Desserts
Lemon, with its bright acidity and refreshing aroma, holds a special place in the world of desserts. Unlike other fruits that offer a singular sweet note, lemon brings a complex profile that can cut through richness, brighten flavors, and leave a clean, zesty finish. This unique characteristic is precisely what makes sweet-tart lemon desserts so beloved.
From a light lemon meringue pie to a decadent lemon cheesecake, the versatility of lemon knows no bounds. In these classic lemon bars, the citrus acts as the star, perfectly balancing the sweetness of the sugar and the richness of the butter and eggs. It’s this refreshing tang that keeps you reaching for another square, proving that sometimes, the simplest flavors are the most profound.
Essential Ingredients for Your Perfect Lemon Bars
Creating truly exceptional lemon bars starts with understanding the role of each ingredient. This recipe is divided into two main components: the rich, buttery crust and the smooth, intensely lemony filling. Let’s dive into what you’ll need to gather:
For the Buttery Crust
- Unsalted Butter: You’ll need one full cup (two sticks) of softened unsalted butter. Using unsalted butter allows you to control the overall saltiness of the crust, ensuring a perfectly balanced flavor profile. The butter is crucial for creating that melt-in-your-mouth texture reminiscent of a sugar cookie or shortbread.
- Granulated Sugar: Half a cup of granulated sugar provides just the right amount of sweetness for the crust without making it overly cloying, letting the butter and vanilla shine through.
- Pure Vanilla Extract: One teaspoon of good quality pure vanilla extract adds a warm, subtly honeyed undertone to the crust, enhancing its overall flavor complexity and complementing the bright lemon.
- Salt: A pinch of salt (½ teaspoon) is essential. It balances the sweetness, deepens the buttery flavor, and brings all the elements of the crust together harmoniously.
- All-Purpose Flour: Two and a quarter cups of all-purpose flour form the structure of our crumbly yet firm crust. It’s important to measure it correctly for the ideal texture.
For the Zesty Lemon Filling
- Granulated Sugar: Two cups of granulated sugar provide the necessary sweetness to balance the intense tartness of the lemon juice, creating that signature sweet-tart profile.
- All-Purpose Flour: Just a quarter cup of all-purpose flour plays a vital role in thickening the lemon filling, giving it that wonderfully smooth, almost custard-like texture without being overly gelatinous.
- Large Eggs: Six large eggs are the cornerstone of the filling, providing richness, structure, and contributing to the silken consistency of the lemon curd. Their protein helps the filling set beautifully.
- Fresh Lemon Juice: Three-quarters of a cup of lemon juice is what gives these bars their distinctive vibrant flavor. While bottled lemon juice can work in a pinch, freshly squeezed lemon juice (from about 6 whole lemons) will always yield the most superior and bright citrus taste. Its natural acidity is key to the filling’s tang.
For the Elegant Garnish
- Lemon Slices: Thinly slicing one lemon provides an optional but beautiful and fresh garnish that hints at the delightful flavor within.
- Powdered Sugar: A dusting of powdered sugar is also optional but highly recommended. It adds a touch of sweetness, a beautiful presentation, and a delicate finish to the bars.
Crafting the Best Classic Lemon Bars: A Step-by-Step Guide
Making these homemade lemon bars is surprisingly straightforward, yielding impressive results with minimal effort. The key to perfection lies in carefully following each step and, most importantly, allowing ample time for cooling and chilling to achieve the ideal set texture.
- Prepare Your Oven and Baking Dish: Begin by preheating your oven to 350˚F (175˚C). Line a 9×13-inch baking pan with parchment paper, ensuring there’s an overhang on the sides. This thoughtful step creates “handles” that will make lifting the cooled, baked bars out of the pan significantly easier. Set the prepared pan aside.
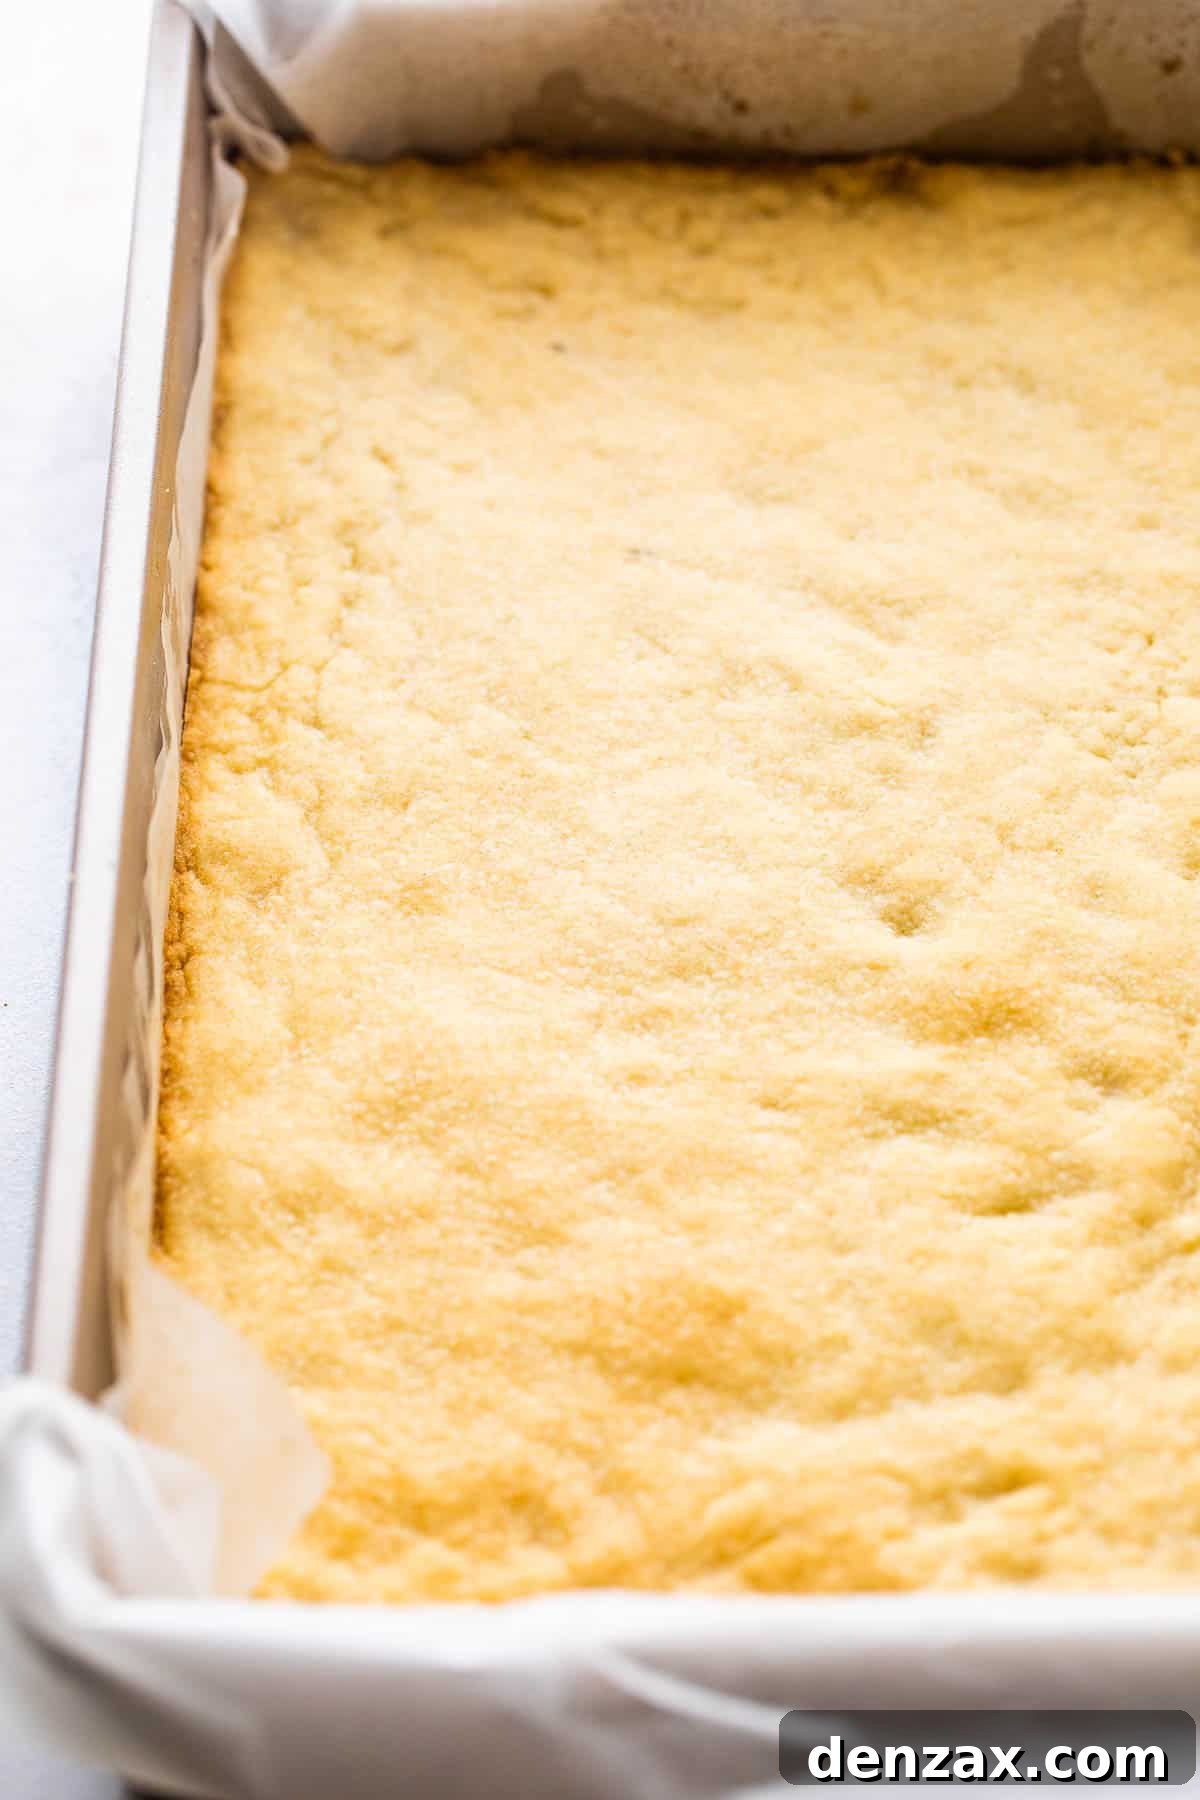
- Assemble the Buttery Crust: In a large mixing bowl, combine the softened butter and granulated sugar. Using an electric mixer, cream these two ingredients together for approximately 2 to 3 minutes, until the mixture becomes visibly light, pale, and fluffy. Next, incorporate the vanilla extract and salt, beating until they are just combined. Gradually add the all-purpose flour, about ¼ cup at a time, continuing to mix until a smooth, cohesive dough forms. Press this dough evenly and firmly into the bottom of your prepared baking dish.
- Bake the Crust to Golden Perfection: Place the pan with the pressed crust into the preheated oven and bake for 20 to 23 minutes. You’re looking for a crust that is lightly golden brown around the edges and firm to the touch. Once baked, remove the crust from the oven and set it aside to cool completely for at least 30 minutes. A fully cooled crust prevents the warm filling from soaking in too much.
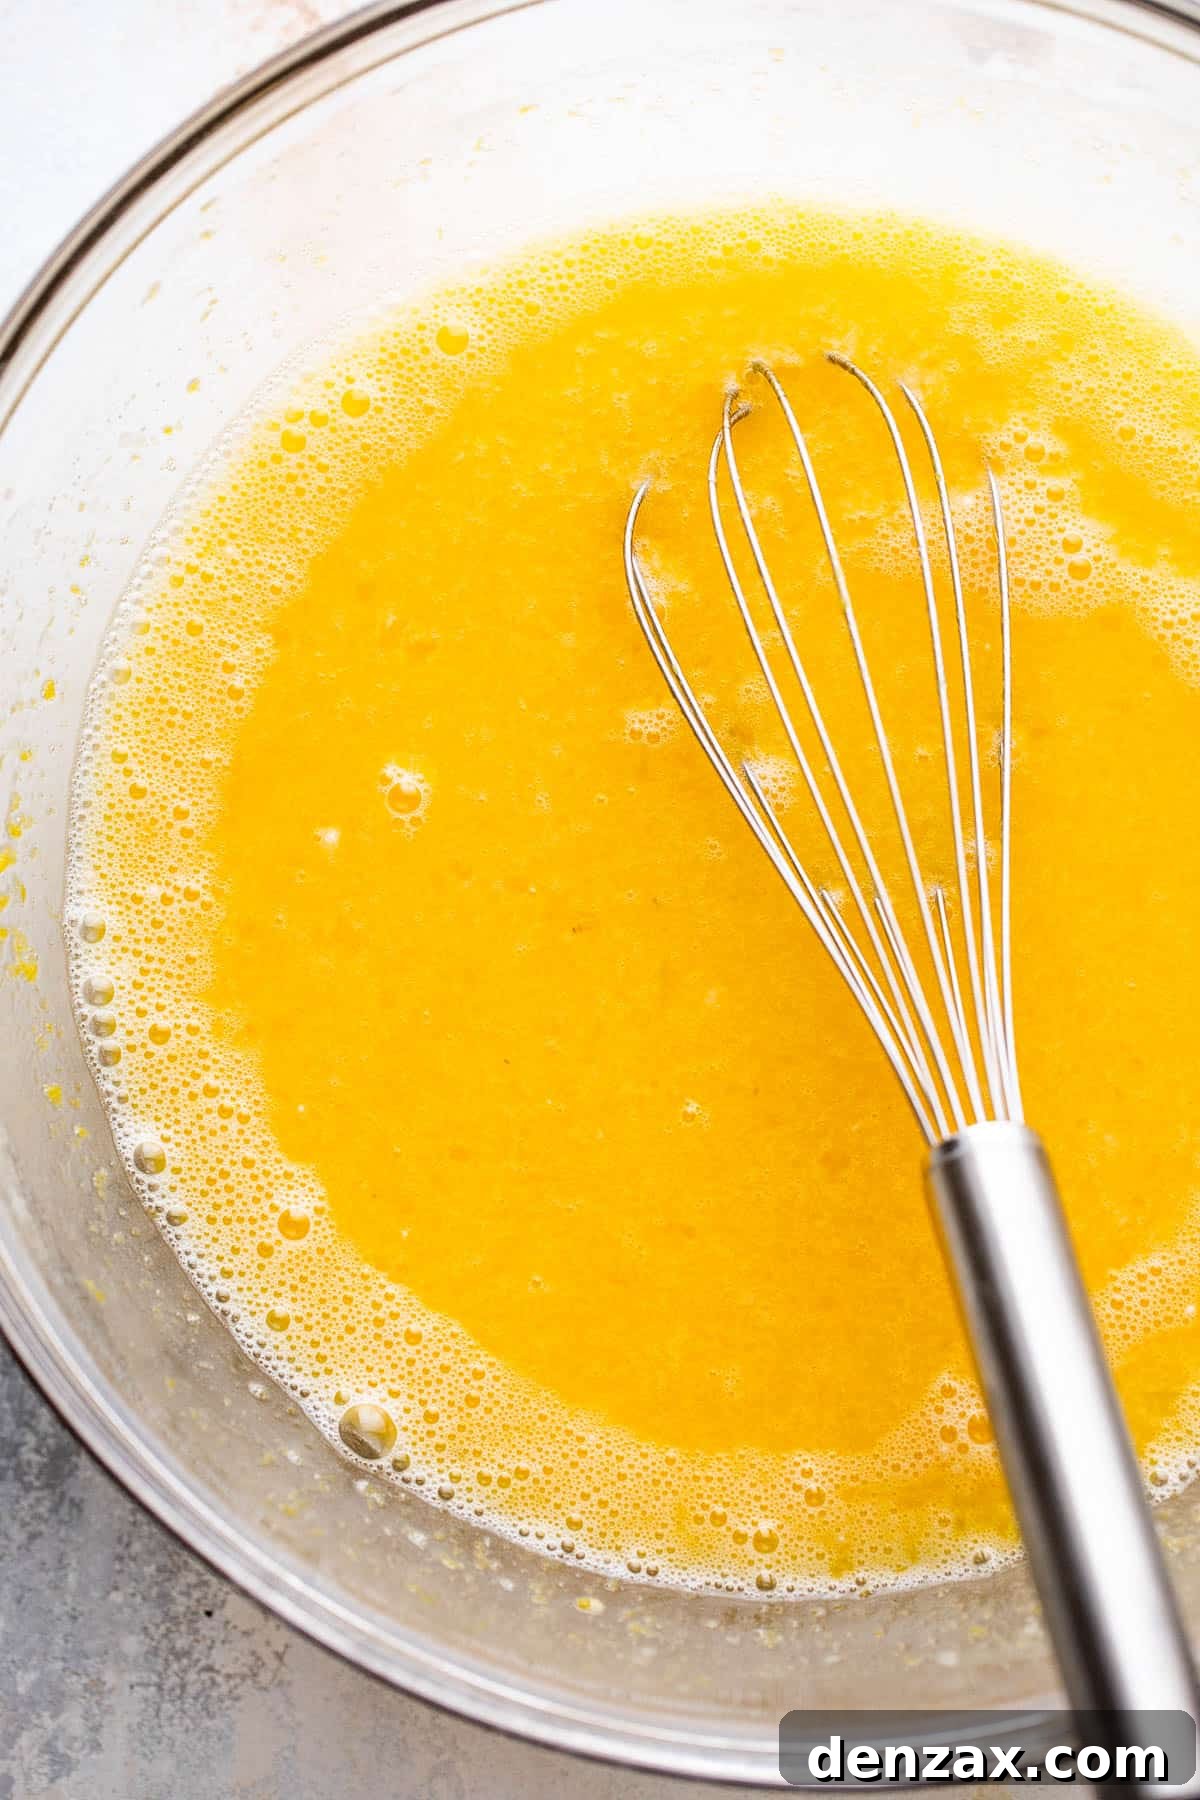
- Whip Up the Zesty Filling: While the crust is cooling, turn your attention to the filling. In another large mixing bowl, combine the granulated sugar, all-purpose flour, large eggs, and lemon juice. Whisk these ingredients vigorously until they are thoroughly incorporated and the mixture is smooth and uniform. This ensures a lump-free, silky filling.
- Combine and Bake the Bars: Carefully pour the prepared lemon filling evenly over the *completely cooled* crust. Return the baking pan to the oven and bake for an additional 23 to 25 minutes. The lemon bars are done when the filling appears firm and set, with perhaps a slight jiggle in the very center.
- Cool and Chill for Optimal Texture: Once baked, remove the lemon bars from the oven. Let them cool at room temperature for at least 1 hour. This initial cooling allows the filling to begin setting further. For the best possible texture and ease of cutting, transfer the room-temperature bars to the refrigerator and chill them for a minimum of 3 to 4 hours. Ideally, chilling them overnight yields the firmest, most perfect bars.
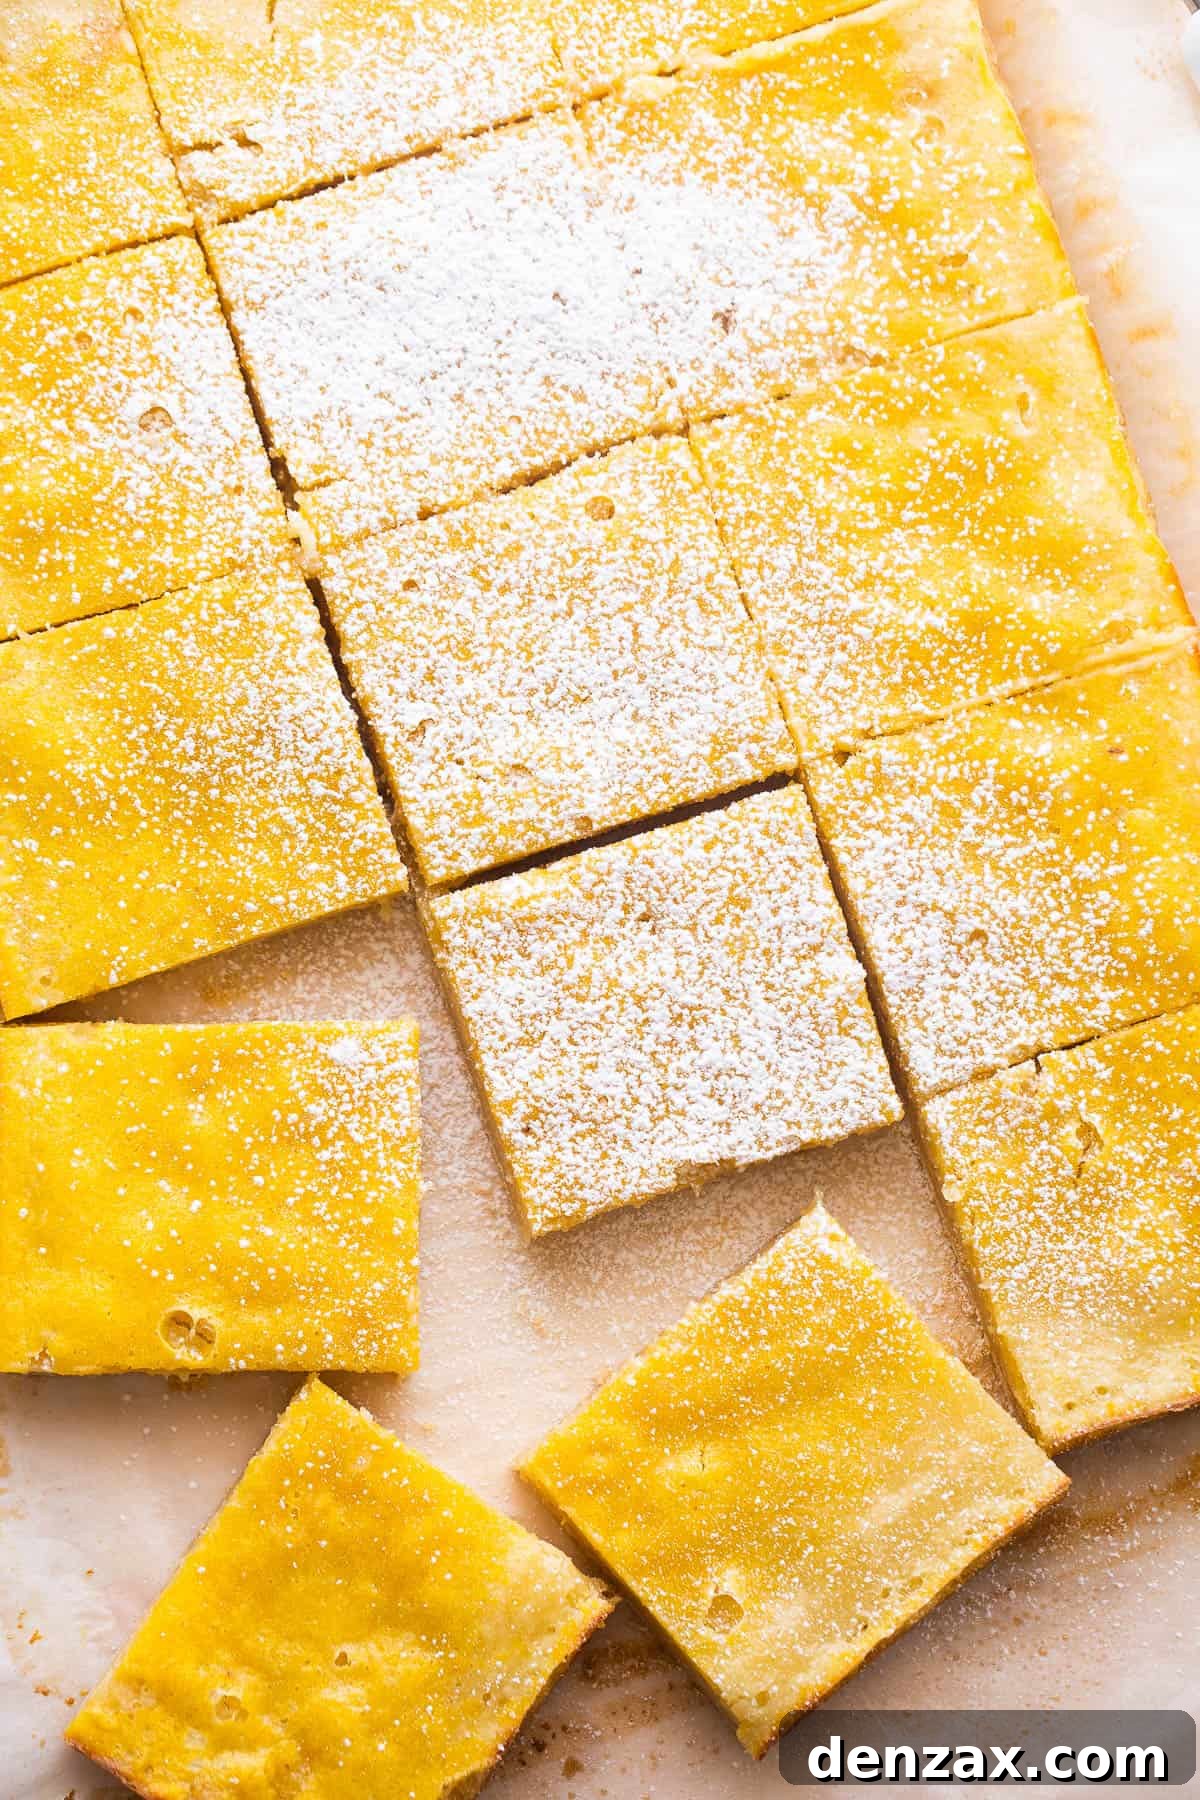
- Slice and Serve: After chilling, use the parchment paper overhang to carefully lift the entire slab of lemon bars out of the pan and transfer it to a clean cutting board. For clean, neat slices, run a sharp knife under hot water and wipe it clean between each cut. Slice the large slab into 16 individual bars.
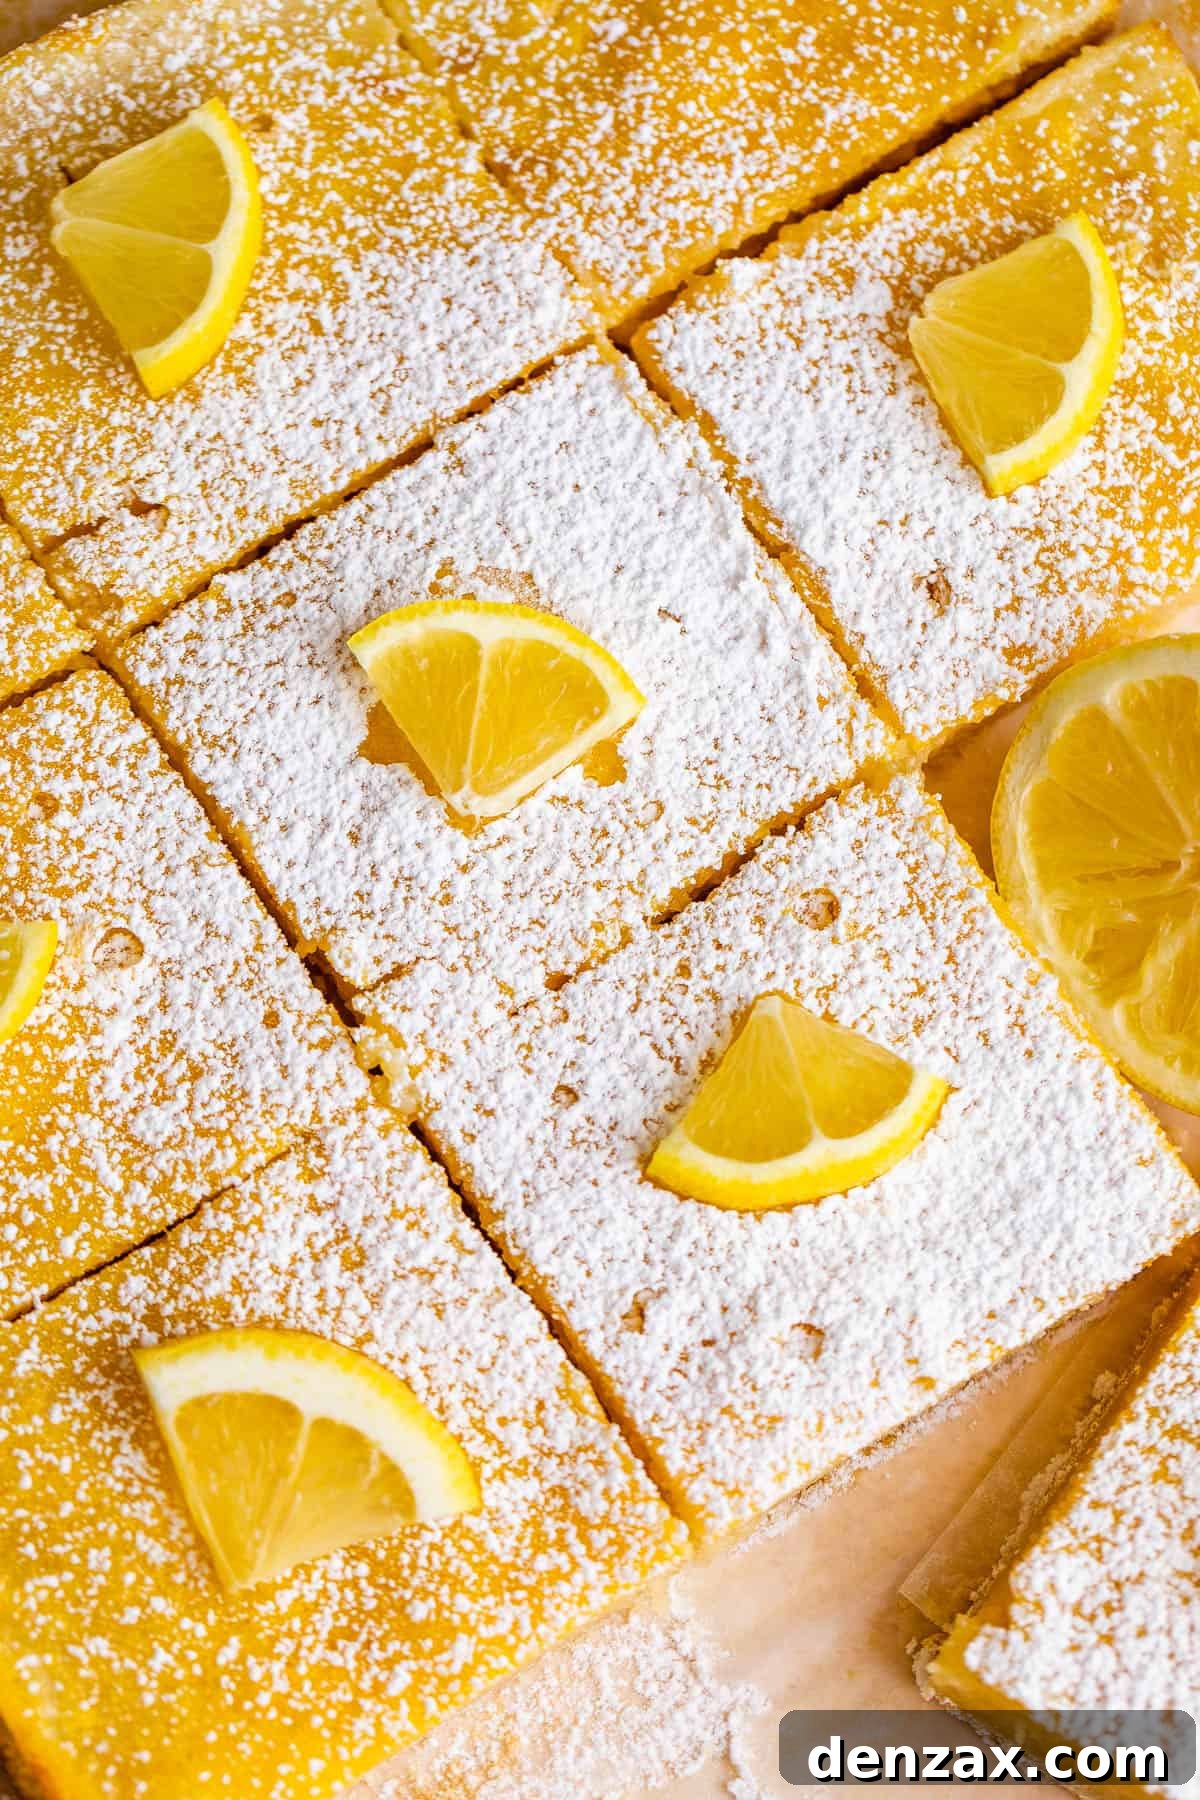
- Garnish and Enjoy!: Arrange your beautiful lemon bars on a serving platter. For an elegant finish, dust the tops generously with powdered sugar and adorn with thin lemon slices. Serve and savor these irresistible sweet-tart treats!
Expert Tips for Making Flawless Lemon Bars
Achieving bakery-quality lemon bars at home is easier than you think with a few simple tricks up your sleeve. These tips will help you create a dessert that’s not only delicious but also visually appealing.
- Press the Crust Firmly: When creating the base for your lemon bars, ensure you press the crust mixture very firmly and evenly into the pan. Think of it like forming a graham cracker crust for a cheesecake. A well-compacted crust will bake uniformly, hold its shape better, and provide a sturdy foundation for the rich filling.
- The Hot Knife Trick for Clean Cuts: To achieve perfectly clean, crisp edges on your lemon bars, dip your sharp knife into a cup of very hot water between each cut. Wipe the blade clean before the next slice. This technique melts a tiny amount of the sugar on the surface, allowing the knife to glide through smoothly without dragging or sticking to the filling.
- Zest for Extra Flavor: For an even more intense lemon flavor, consider adding a teaspoon or two of fresh lemon zest to your filling mixture. Zest contains essential oils that pack a powerful aromatic punch, elevating the citrus notes without adding extra liquid.
- Prevent Cracks in the Filling: To minimize the chances of your lemon filling cracking as it cools, avoid overbaking. The filling should still have a slight jiggle in the center when you remove it from the oven. Additionally, allow the bars to cool gradually at room temperature before transferring them to the refrigerator. Sudden temperature changes can sometimes cause cracking.
Exciting Recipe Variations to Try
While classic lemon bars are perfect as they are, don’t hesitate to experiment with variations to suit your taste or occasion:
- Zesty Key Lime Bars: For a delightful twist, try making these bars with key lime juice instead of lemon juice! Key limes offer a distinctively tart and slightly bitter, tropical flavor profile that makes for an incredibly yummy dessert, akin to a classic Key Lime Pie. You can even add a touch of green food coloring to the filling for a visually stunning effect.
- Orange or Grapefruit Bars: For a sweeter, less tart alternative, substitute the lemon juice with fresh orange juice. Or, for a sophisticated bitter-sweet flavor, try fresh grapefruit juice. Adjust sugar levels slightly to taste.
- Gluten-Free Crust: For a gluten-free option, you can easily adapt the crust by using a 1:1 gluten-free all-purpose flour blend. Ensure the blend contains xanthan gum for optimal texture.
- Coconut Crust: Enhance the crust by adding a quarter cup of shredded coconut to the dough. This adds a lovely texture and a subtle tropical flavor that pairs wonderfully with citrus.
Effortless Removal from the Pan
One of the common challenges with bar desserts is removing them neatly from the baking pan. Here’s a simple trick to ensure your lemon bars come out perfectly every time:
- While you can certainly make lemon bars in a greased baking dish without parchment paper, I highly recommend using parchment paper. The parchment acts as a sling, making it much easier to lift the entire batch of baked and chilled bars cleanly out of the pan.
- To create this parchment sling, cut your parchment paper pieces long enough so that they hang over the shorter edges of the pan by a couple of inches. This overhang provides the “handles” you’ll use to lift the bars once they’re cooled and firm.
Storing Your Delicious Lemon Bars
Proper storage is key to maintaining the freshness and exquisite texture of your homemade lemon bars.
- Lemon bars should always be stored in the refrigerator due to their custard-like filling. Place them in an airtight container or wrap individual bars tightly in plastic wrap before placing them in a resealable bag.
- When stored correctly in the refrigerator, these delightful treats will keep beautifully for up to 1 week. This makes them an excellent make-ahead dessert for entertaining or for enjoying throughout the week.

Can You Freeze Lemon Bars?
Absolutely! Lemon bars freeze exceptionally well, allowing you to enjoy this delightful dessert long after you’ve made them. They also thaw quickly, making them perfect for unexpected guests or a spontaneous craving.
- To freeze lemon bars, first ensure they are completely cooled and chilled. Then, wrap each individual bar tightly in a couple of layers of plastic wrap. This double layer helps prevent freezer burn and preserves their fresh flavor. Once wrapped, place the individual bars into a freezer-safe airtight container or a large resealable freezer bag.
- Stored this way, homemade lemon bars can be kept in the freezer for up to 3 months without compromising their quality.
- When you’re ready to enjoy them, simply remove the desired number of bars from the freezer. Allow them to thaw at room temperature for approximately 30 minutes to an hour before serving. You can also transfer them to the refrigerator to thaw overnight for a perfectly chilled treat.
Frequently Asked Questions About Lemon Bars
Here are answers to some common questions to help you master your lemon bar baking:
- What kind of lemons are best for lemon bars?
Fresh, ripe lemons with thin skins and plenty of juice are ideal. Eureka or Lisbon lemons are common varieties that work well. Avoid lemons that feel overly soft or dry.
- Can I use bottled lemon juice?
While fresh-squeezed lemon juice is highly recommended for the best flavor, you can use good quality bottled lemon juice in a pinch. Just be aware that the flavor might not be as bright and vibrant as with fresh lemons.
- How do I know when the lemon filling is set?
The filling is set when the edges appear firm and golden, and the center still has a slight, subtle jiggle if you gently shake the pan. It will continue to set as it cools, especially during refrigeration.
- Why did my lemon bars crack?
Cracking often occurs if the bars are overbaked or if they cool too rapidly. To prevent this, remove them from the oven when they have that slight jiggle, and allow them to cool slowly at room temperature before chilling.
- Can I make these lemon bars ahead of time?
Absolutely! Lemon bars are an excellent make-ahead dessert. In fact, they taste even better the next day after the flavors have had a chance to meld and the filling has fully set. You can bake and chill them up to 2-3 days in advance.
- How do I get the perfect powdered sugar topping?
For a beautiful, even dusting, use a fine-mesh sieve or a small sifter. Dust the powdered sugar just before serving, as it can be absorbed into the filling over time in the refrigerator.
With these comprehensive instructions, tips, and insights, you are now fully equipped to bake a batch of the most delicious and visually appealing homemade Classic Lemon Bars. Whether you’re a seasoned baker or just starting out, this recipe promises a delightful experience and a truly satisfying dessert that will earn rave reviews.
More Delightful Spring Dessert Recipes
If you’re craving more sweet treats to celebrate the spring season, explore some of these other fantastic recipes that are perfect for sharing:
- Red Velvet Crinkle Cookies: Soft, chewy, and vibrant, these cookies are a festive addition to any dessert table.
- Fudgy Homemade Brownies: Indulge in rich, decadent brownies that are incredibly easy to make from scratch.
- Homemade Banana Pudding: A comforting classic, this creamy banana pudding is layered with vanilla wafers and fresh bananas.