
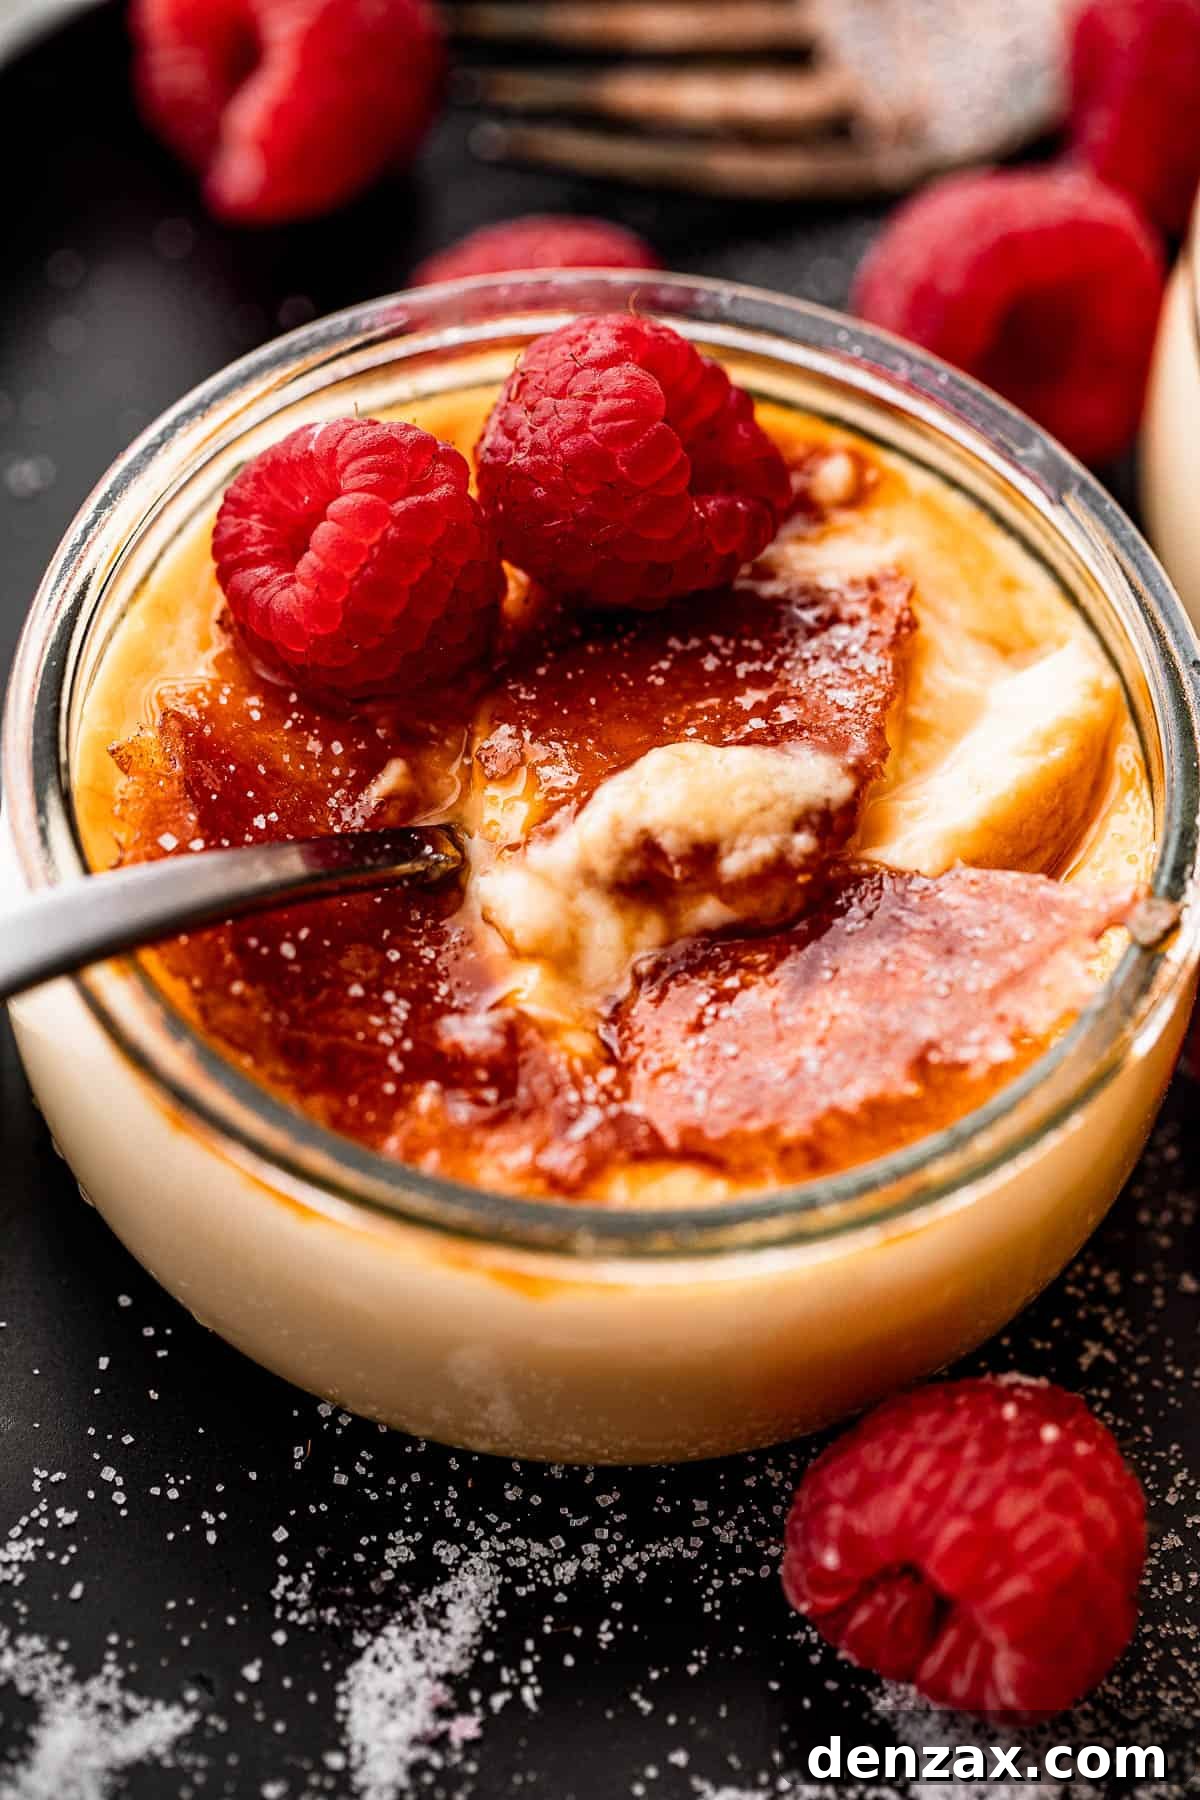
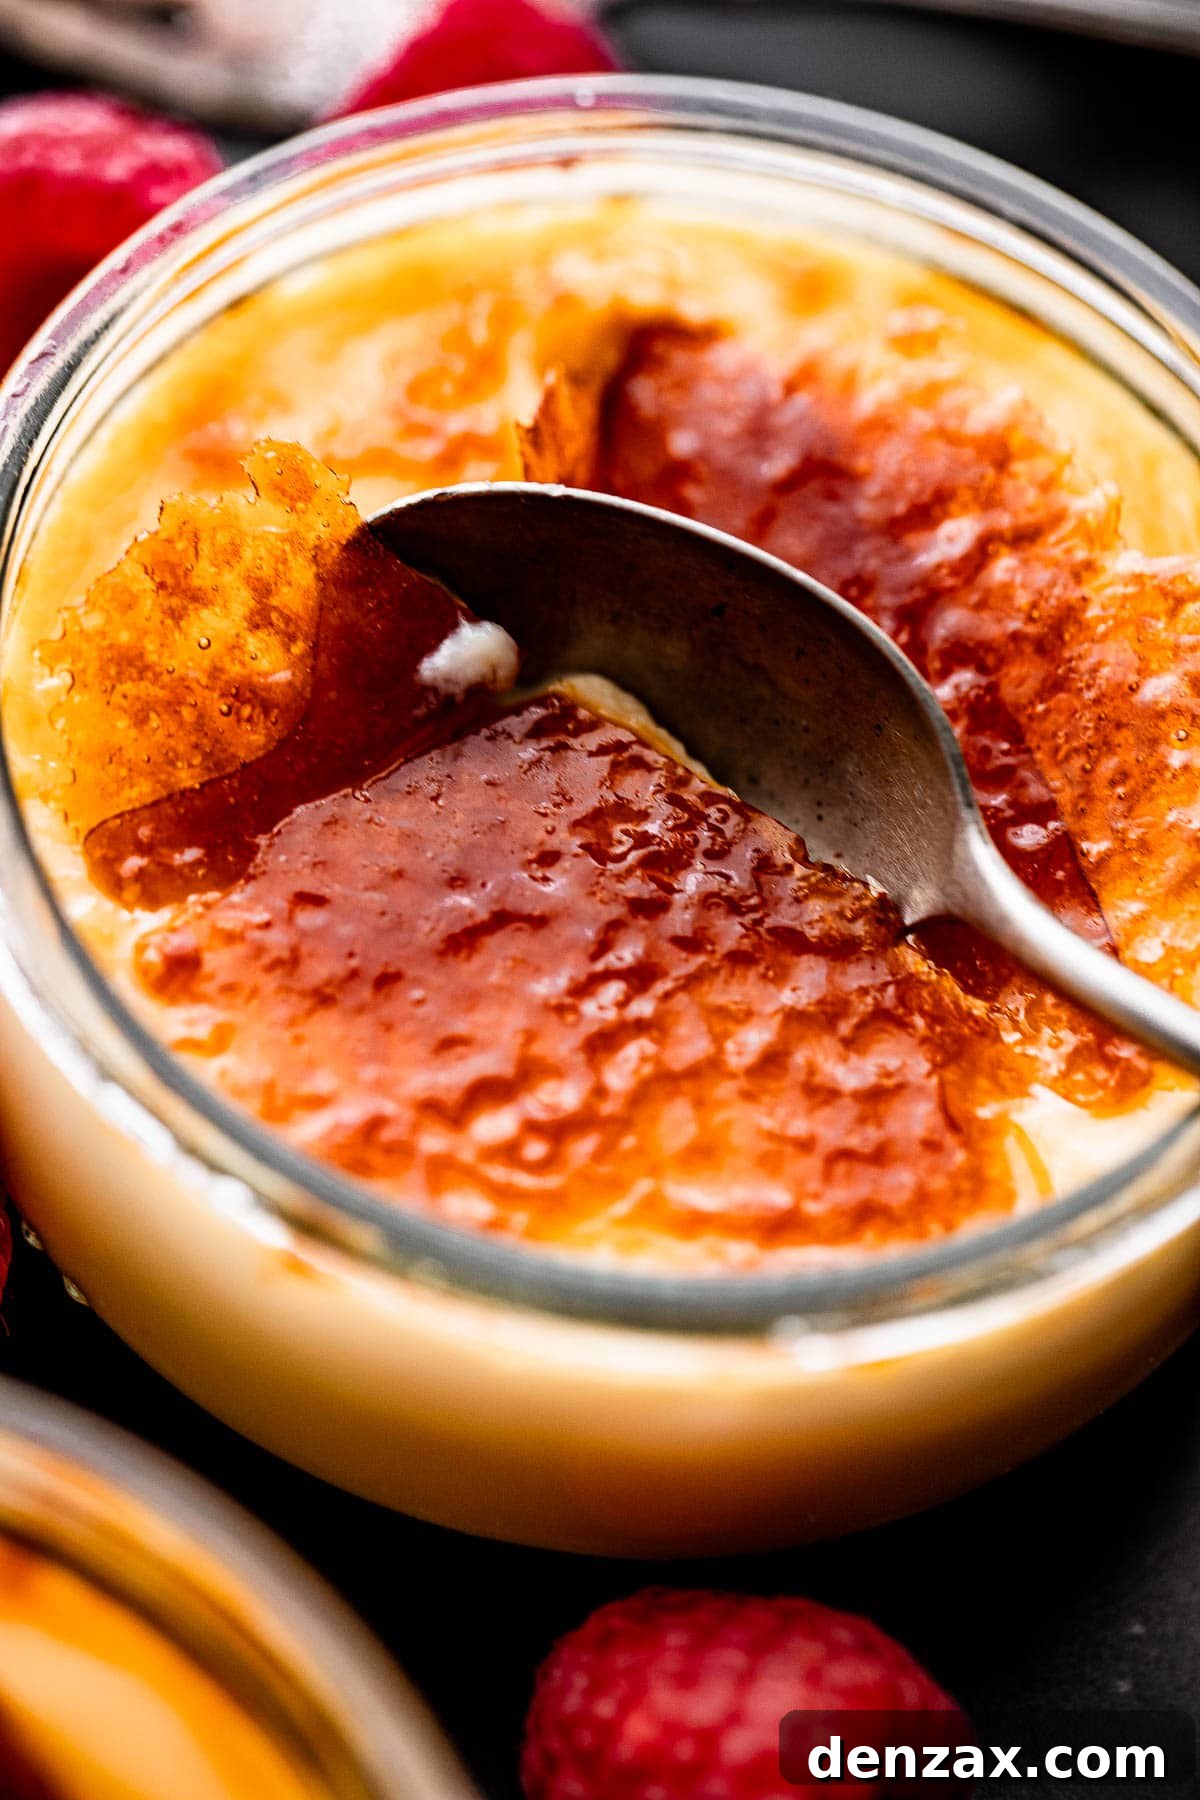
Creme Brulee stands as a testament to classic French elegance, a dessert renowned for its rich, velvety custard base crowned with a shatteringly crisp, caramelized sugar crust. Its luxurious appeal, often gracing menus in high-end restaurants worldwide, belies a surprising simplicity in preparation. This guide will demystify the process, empowering you to create this exquisite sweet indulgence right in your own kitchen.
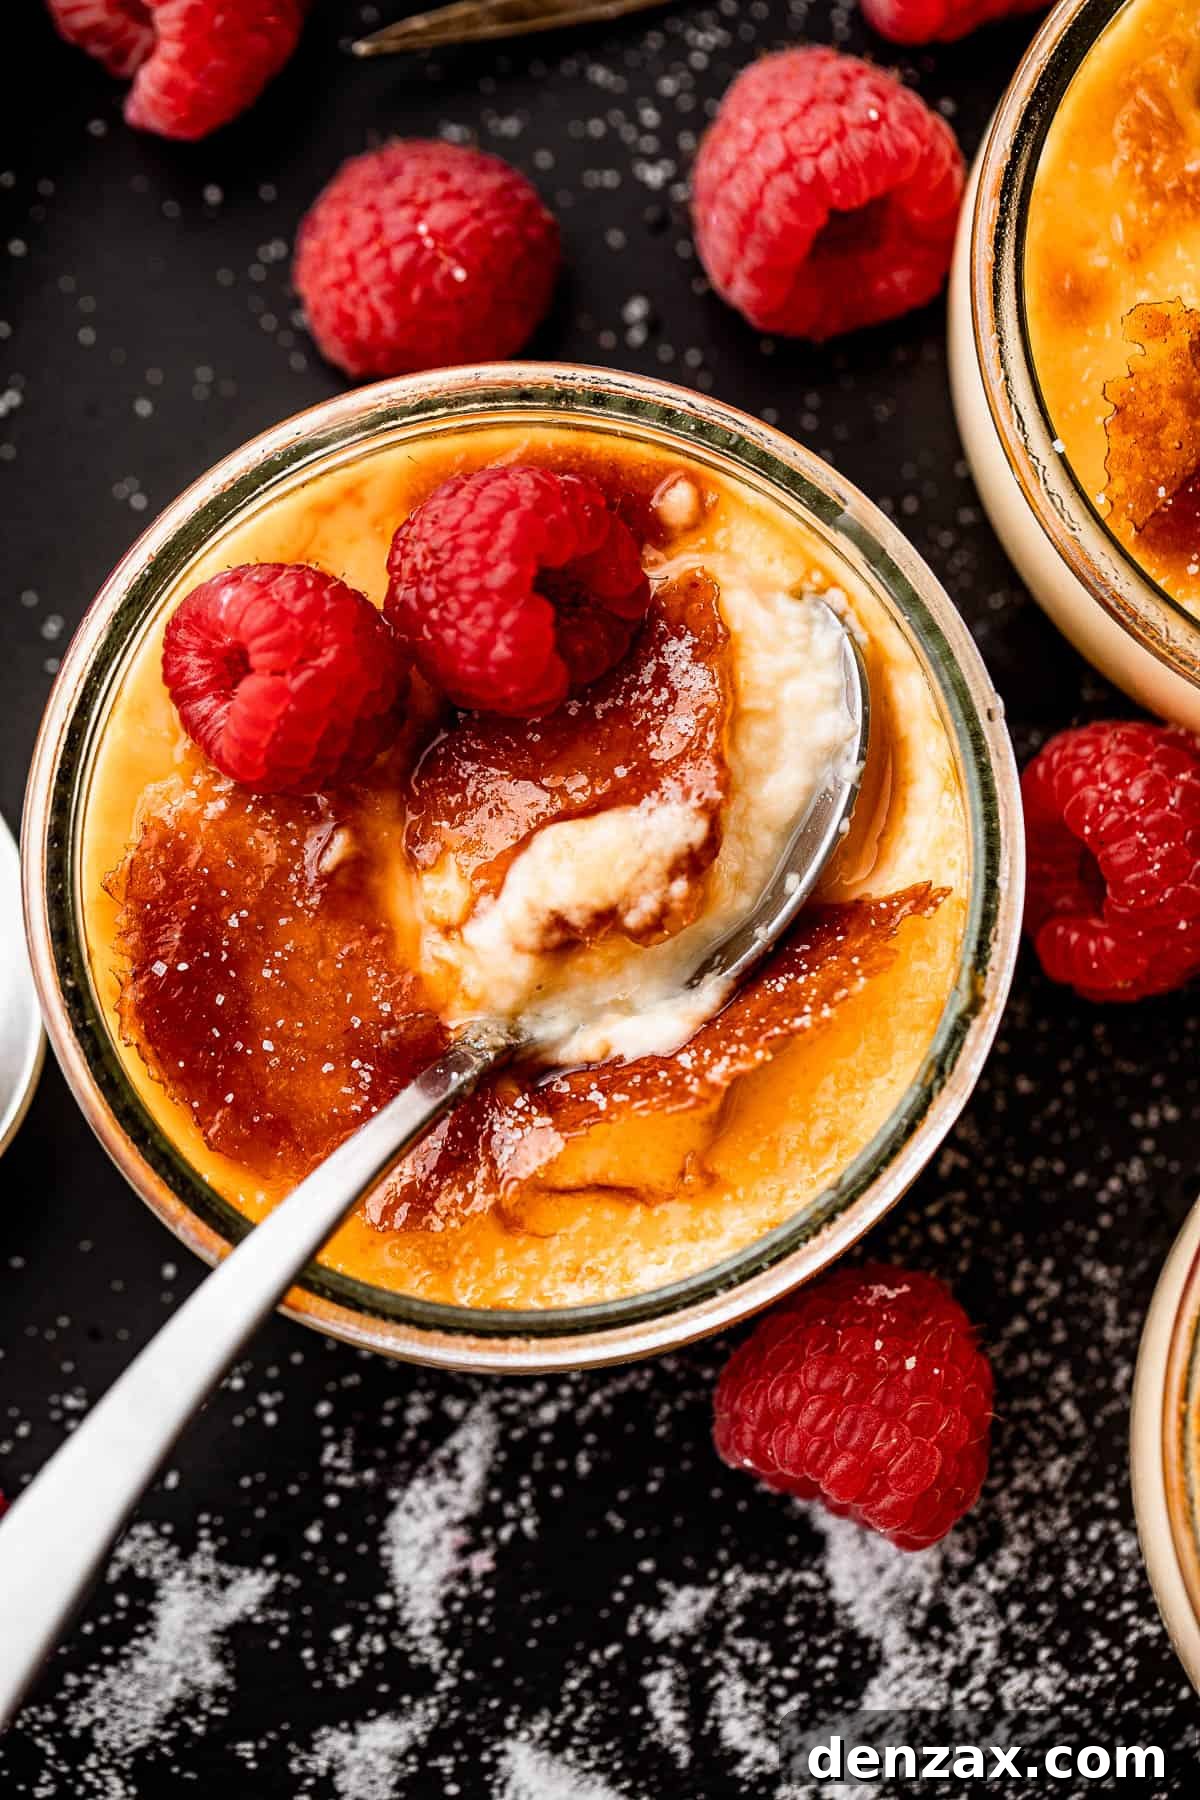
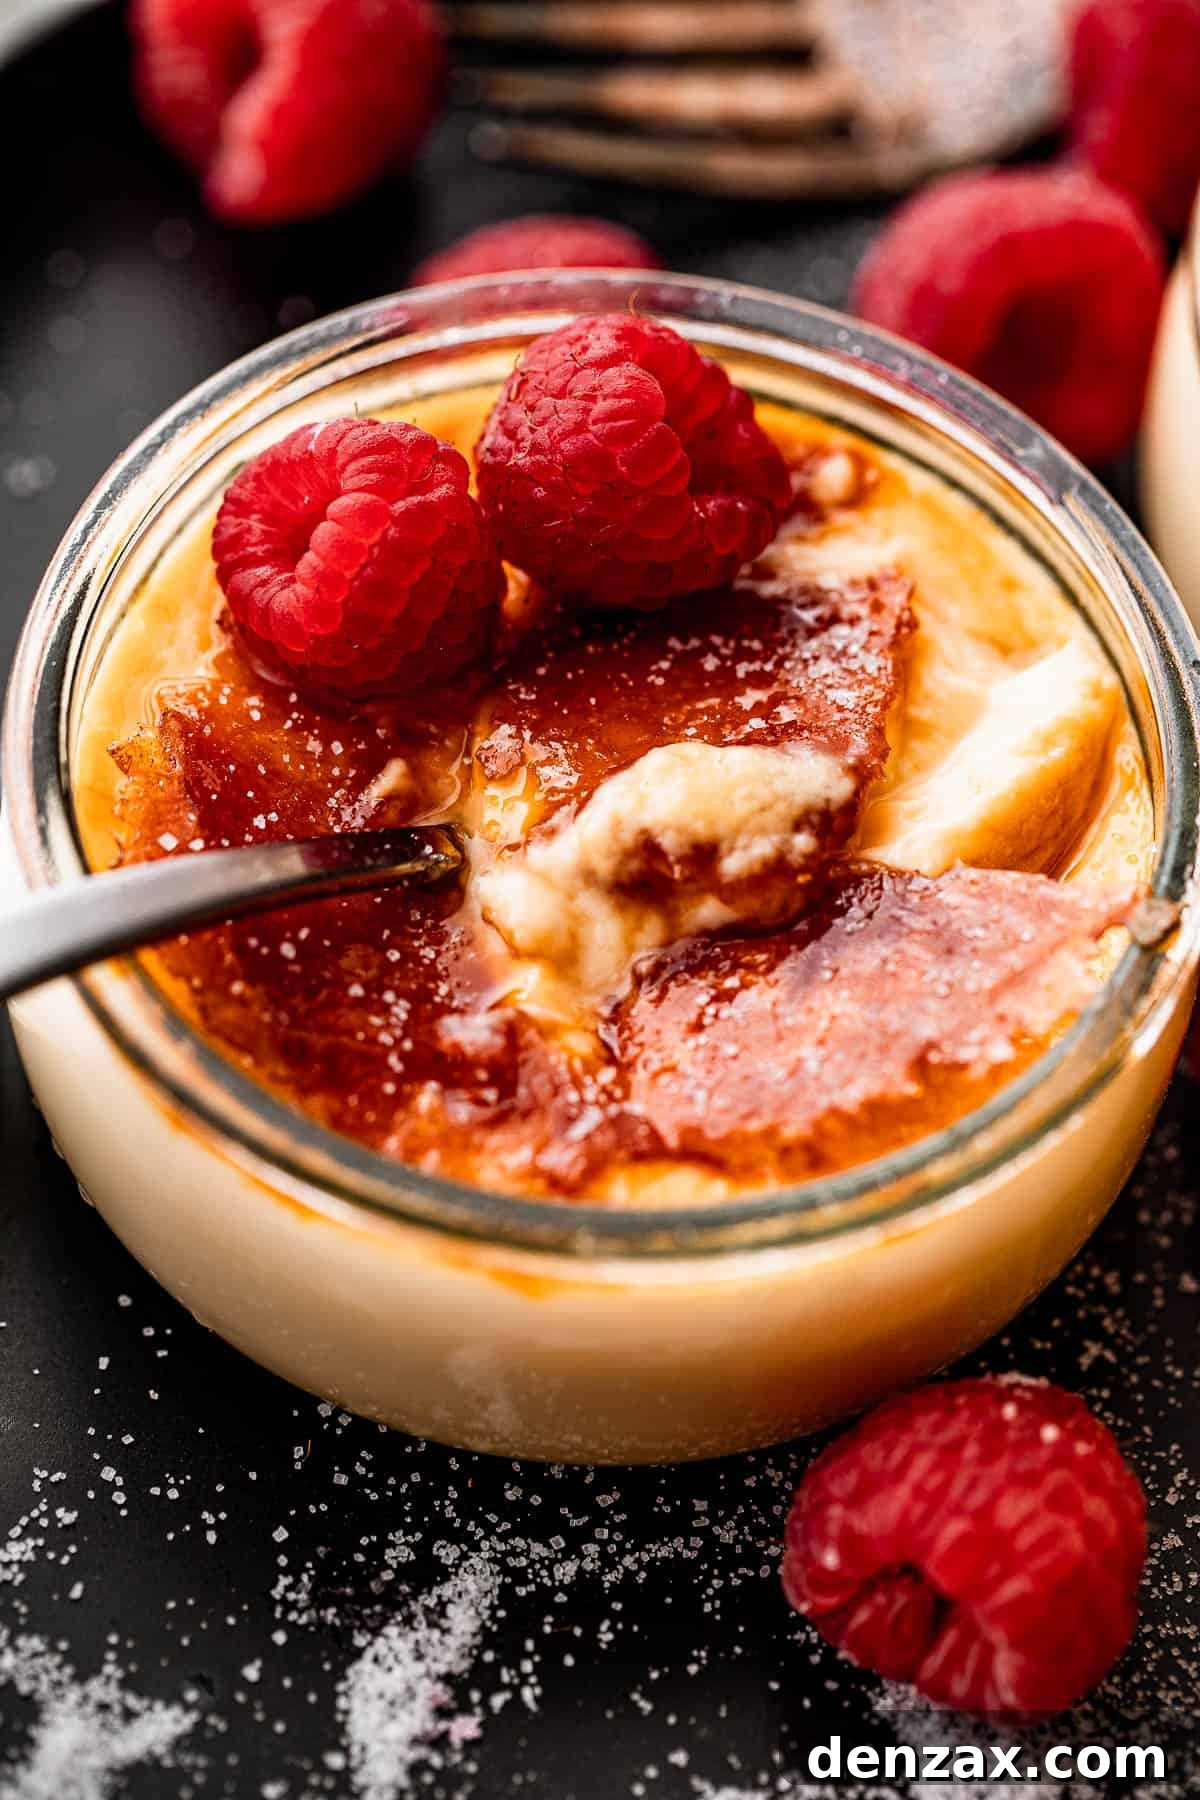
Beyond its elegant presentation, Creme Brulee is celebrated for a delightful textural interplay: the ultra-smooth, deeply satisfying custard provides a cool, creamy counterpoint to the warm, brittle layer of burnt sugar. This iconic contrast is what makes it a perpetually beloved finish to any meal, from a casual family dinner to a sophisticated gathering. Crafted using generous amounts of rich cream and vibrant egg yolks, the custard achieves a decadence that sets it apart from more traditional custards, promising an unparalleled melt-in-your-mouth experience.
The history of Creme Brulee is as rich as the dessert itself, with its origins debated between France, Spain, and England, dating back at least to the 17th century. What is undisputed is its enduring legacy. This classic recipe has delighted palates for centuries, appearing in ancient cookbooks and continuing to hold a coveted spot on dessert menus globally. Its timeless appeal lies in its perfect balance of simplicity and sophistication, proving that some culinary masterpieces truly stand the test of time.
The Essential Ingredients for Perfect Crème Brûlée
Crafting an impeccable Crème Brûlée requires just a few high-quality ingredients. Each component plays a crucial role in achieving that signature creamy texture and tantalizing caramelized crust. Here’s a detailed look at what you’ll need and why:
- Heavy Cream: This is the backbone of your custard. Using heavy cream (also known as whipping cream) is key to achieving that incredibly rich, velvety mouthfeel that Crème Brûlée is famous for. Its high-fat content ensures a luxurious, smooth texture. While some recipes suggest half-and-half for a lighter version, for a truly indulgent dessert, heavy cream is non-negotiable.
- Vanilla: Vanilla adds an aromatic depth that elevates the entire dessert. Pure vanilla extract is a convenient and effective choice. For an even more profound flavor, consider using one whole vanilla bean. Simply split it lengthwise, scrape out the tiny seeds, and add both the seeds and the pod to the cream while it heats. Remember to remove the bean pod before baking to prevent any bitterness and ensure a smooth custard.
- Salt: Just a pinch of salt is vital. It doesn’t make the custard salty, but rather enhances and balances the sweetness of the sugar and cream, bringing out the full complexity of the vanilla and rich dairy flavors.
- Egg Yolks: These are the emulsifying and thickening agents that transform the liquid cream into a luscious custard. The protein in the yolks coagulates gently during baking, creating the smooth, set texture. Using only yolks (and no egg whites) contributes significantly to the dessert’s richness and golden hue.
- Granulated Sugar: You’ll need sugar for two distinct purposes. First, a portion will be whisked into the egg yolks to sweeten the custard base and give it structure. Second, a spoonful of sugar will be sprinkled on top of each chilled custard just before serving, to be caramelized into that signature crunchy crust. Granulated sugar works best for both applications, melting evenly and caramelizing beautifully.
- Boiling Water (for the Bain-Marie): This is an essential, often overlooked, ingredient for perfectly baked custard. The ramekins containing your Crème Brûlée will sit in a larger pan filled with hot water, known as a bain-marie or water bath. This humid environment ensures that the custard bakes gently and evenly, preventing it from cooking too quickly, curdling, or cracking on the surface. It also helps achieve that desirable silky-smooth texture.
Essential Equipment You’ll Need
To ensure a smooth Crème Brûlée making experience, gather the following kitchen tools:
- Ramekins: Individual oven-safe ceramic dishes, typically 4-6 ounce capacity. These are crucial for portioning and achieving the ideal custard thickness.
- Baking Dish: A larger oven-safe dish (like a 9×13-inch pan) to hold the ramekins for the water bath.
- Saucepan: For scalding the cream mixture.
- Whisks (Balloon and Flat): Essential for combining ingredients smoothly, especially for tempering eggs.
- Fine-Mesh Sieve: To strain the custard mixture, ensuring a perfectly smooth, lump-free result.
- Kitchen Torch: While a broiler can work, a kitchen torch offers superior control for achieving that perfect, even caramelized sugar crust.
How to Make Crème Brûlée: A Detailed Guide
Making Crème Brûlée is a process that combines simple steps with a touch of finesse. Follow these instructions carefully to achieve a restaurant-quality dessert at home.
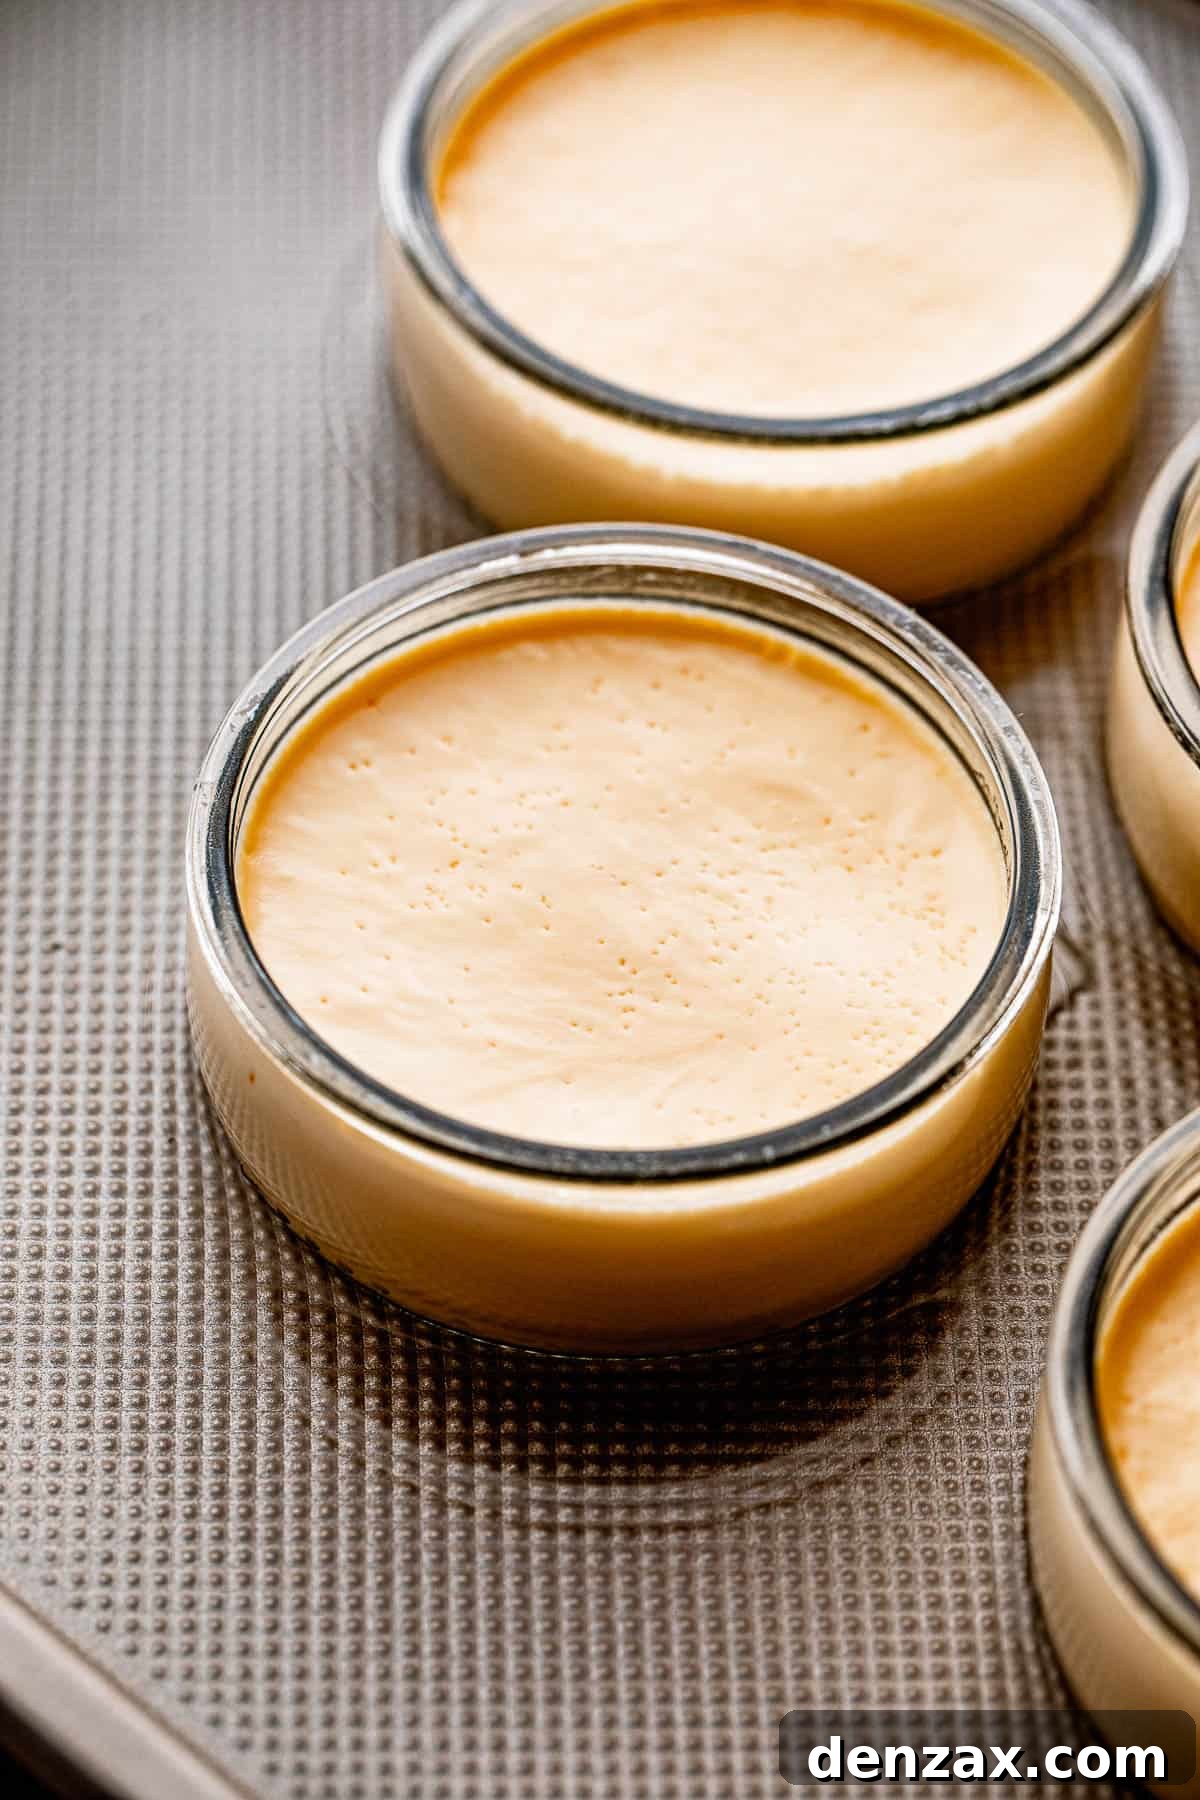
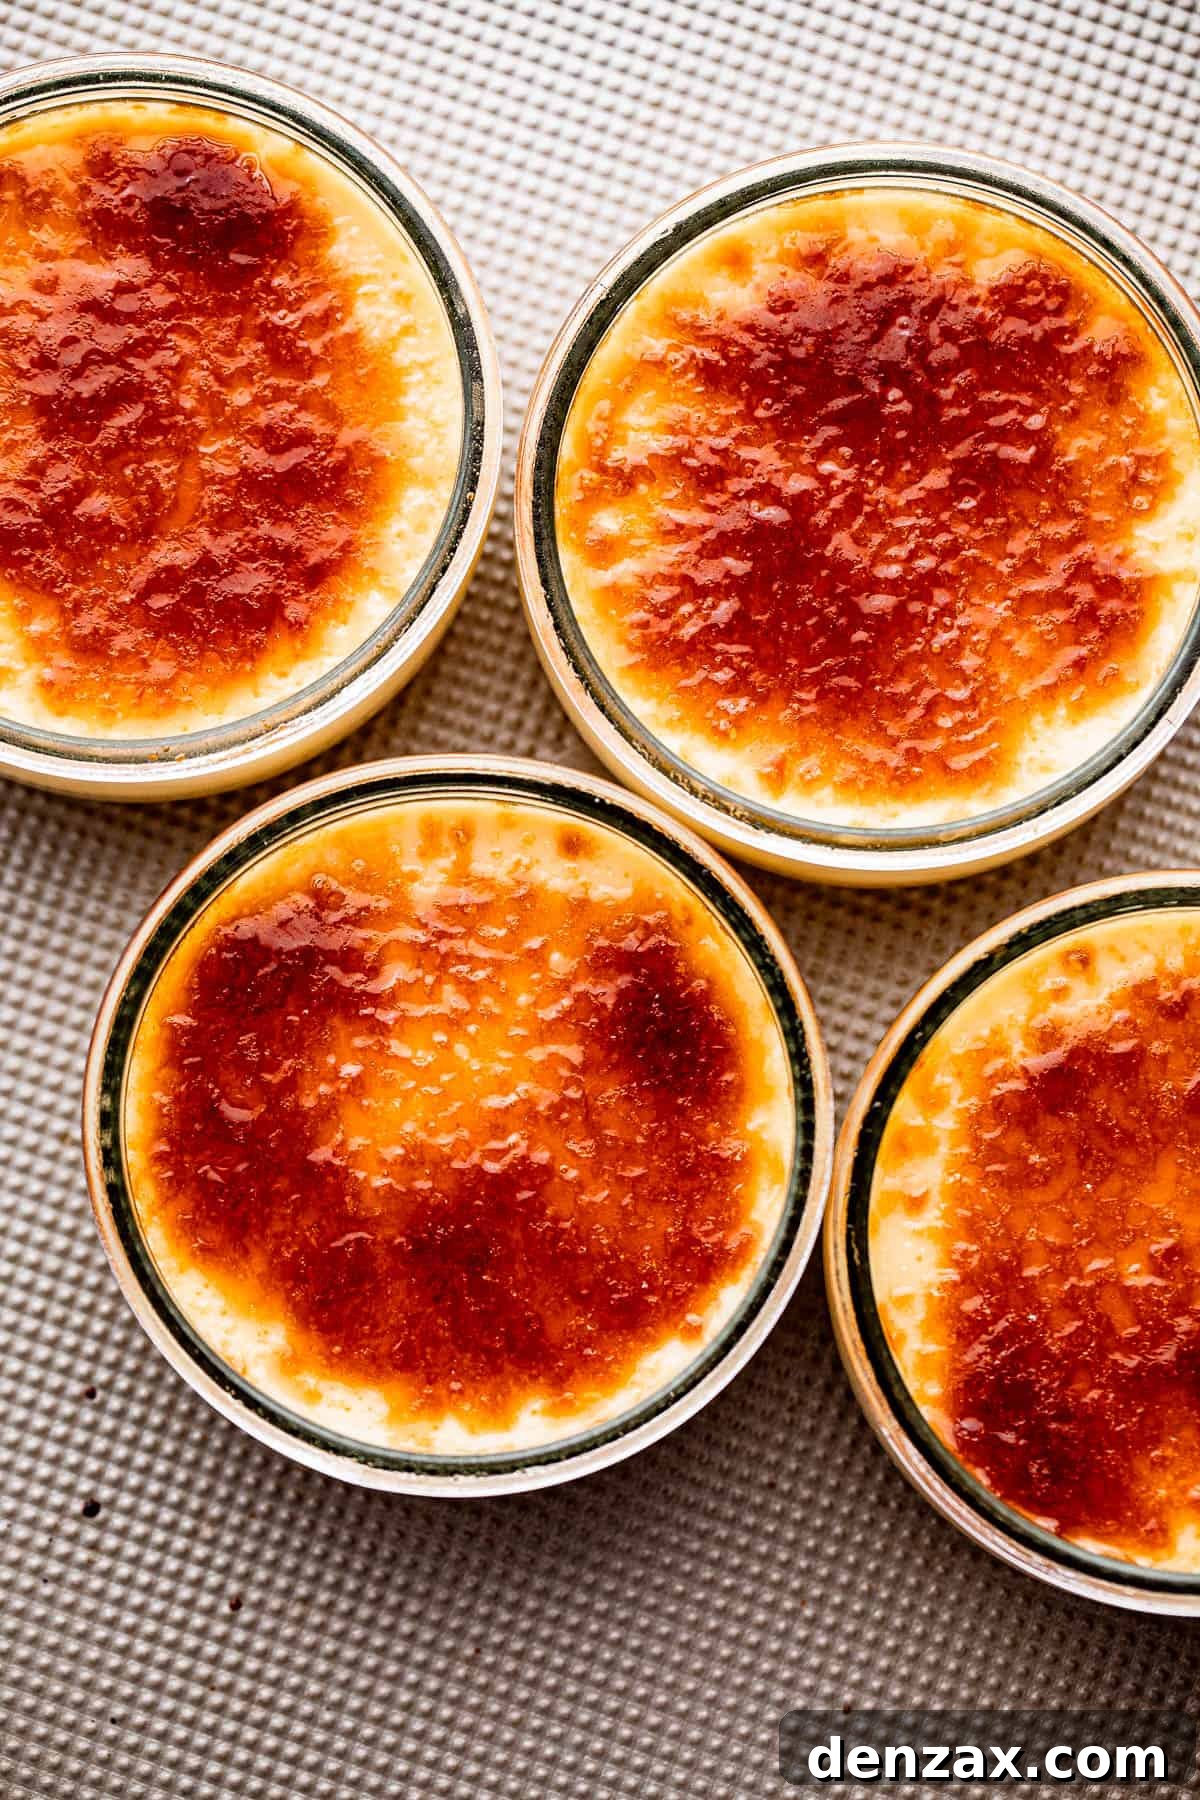
- Prepare Your Baking Setup: Begin by preheating your oven to 325˚F (160˚C). Arrange four to six 6-ounce ramekins (or six 4-ounce ramekins for smaller portions) within a larger 13×9 inch baking dish. This setup is crucial for creating the essential water bath (bain-marie). Set it aside for now.
- Infuse and Scald the Cream: In a medium saucepan, combine the heavy cream, vanilla extract (or vanilla bean and scraped seeds), and a pinch of salt. Place the saucepan over low heat. Gently warm the mixture, stirring occasionally, until you see small bubbles forming around the edges and it’s just about to steam, but do not let it come to a full boil. Scalding the cream helps infuse the vanilla flavor and makes it easier to temper the eggs. Once scalded, remove the pan from the heat and allow it to cool for about three minutes. This slight cooling prevents the eggs from scrambling instantly.
- Whisk Eggs and Sugar: While the cream mixture is cooling slightly, take a separate medium-sized bowl. Add the egg yolks and granulated sugar. Whisk them together vigorously until the mixture becomes light in color, thick, and creamy. This step incorporates air and dissolves some of the sugar, creating a stable base for your custard.
- Temper the Egg Mixture: This is a critical step to prevent your eggs from cooking into scrambled bits. Slowly, in a thin, steady drizzle, add about ¼ cup of the warm cream mixture into the egg yolk and sugar mixture, whisking continuously and rapidly. This gradual addition slowly raises the temperature of the egg yolks without shocking them. Once the eggs are tempered, you can then pour the entire tempered egg mixture back into the remaining warm cream in the saucepan. Continue whisking gently until everything is thoroughly combined and smooth. For an extra smooth custard, you can pour the entire mixture through a fine-mesh strainer at this point to catch any small lumps or cooked egg bits.
- Bake in a Water Bath: Carefully pour the crème brûlée custard mixture evenly into your prepared ramekins. Now, boil enough water to fill your baking dish. Carefully pour the boiling water into the baking dish around the ramekins, ensuring it comes halfway up the sides of each ramekin. This creates the bain-marie. Gently transfer the baking dish to your preheated oven. Bake for approximately 30 to 40 minutes, or until the edges of the custard are set, but the center still has a slight jiggle, similar to gelatin. Overbaking will result in a grainy texture.
- Cool and Chill Thoroughly: Once baked, carefully remove the baking dish from the oven. Allow the ramekins to cool completely to room temperature while still in the water bath. This gradual cooling further helps prevent cracking. Once cooled, carefully remove the ramekins from the water bath, cover each with plastic wrap, and transfer them to the refrigerator. Chill for a minimum of 4 hours, or ideally overnight. Proper chilling is essential for the custard to set fully and develop its firm yet creamy consistency. They can be stored chilled for up to two days before serving.
- Create the Signature Sugar Topping: Just before serving, uncover each chilled crème brûlée. Sprinkle a single teaspoon of granulated sugar evenly over the entire surface of each custard, ensuring a thin, uniform layer. To caramelize the sugar, you have two options:
- Using a Broiler: Place the ramekins on a baking sheet and slide them under a preheated broiler. Keep a very close eye on them, as sugar can burn quickly. Broil for just 1-3 minutes, or until the sugar melts, bubbles, and transforms into a deep golden-brown, amber crust.
- Using a Kitchen Torch: This is the preferred method for optimal control. Holding the torch a few inches above the sugar, move the flame slowly and evenly across the surface until the sugar melts and caramelizes into a glossy, hard crust. This usually takes less than a minute per ramekin.
Allow the caramelized crust to cool and harden for a minute or two before serving. The contrast of the warm, crisp topping and the cold, creamy custard is heavenly!
Expert Tips for Crème Brûlée Perfection
Achieving a truly perfect Crème Brûlée is within reach with a few insider tricks and careful attention to detail.
- Mastering Egg Tempering: Tempering eggs can feel daunting, but it’s crucial. If you find it challenging to whisk rapidly while pouring, a clever trick is to use a small ladle or a measuring cup. Use your non-dominant hand to slowly drizzle the hot cream into the egg mixture in a very thin stream, while your dominant hand continuously and vigorously whisks. This allows for precise control and prevents the eggs from scrambling.
- Strain for Silky Smoothness: Even with careful tempering, sometimes tiny bits of egg can slightly cook. If your custard appears slightly lumpy after combining, don’t worry! Simply pour the entire custard mixture through a fine-mesh strainer directly into your ramekins. This will remove any “scrambled egg” bits, ensuring your Crème Brûlée has that coveted, impeccably smooth texture.
- Ensure Even Baking with Precise Pouring: For uniform baking and consistent results across all your desserts, it’s vital that each ramekin contains an equal amount of custard. To achieve this, consider using a small kitchen scale. Place each empty ramekin on the scale, tare it to zero, and then pour the custard until they all reach the same weight. This meticulous step guarantees that all custards cook at the same rate, preventing some from being overcooked while others are still too jiggly.
- Avoid Cracks: Cracks on the surface of your custard often indicate that it was baked too quickly or at too high a temperature, or that it cooled too rapidly. The water bath helps immensely by insulating the custard and providing a moist environment. Ensure your oven temperature is accurate and avoid opening the oven door too frequently. Allow the custards to cool gradually in the water bath before moving them to the refrigerator.
- Don’t Overbake: Overbaking is a common culprit for grainy Crème Brûlée. The custard should still have a slight wobble in the center when you remove it from the oven – it will continue to set as it cools.
- The Importance of Chilling: While 4 hours is the minimum, chilling your Crème Brûlée overnight yields the best results. This extended chilling time allows the custard to firm up completely and deepen its flavor profile, leading to a superior final product.
Creative Variations & Flavor Enhancements
Once you’ve mastered the classic recipe, feel free to experiment with these delightful twists:
- Adding Espresso: For a sophisticated coffee-flavored treat, replace a small amount (about ¼ cup) of the heavy cream with a shot of cooled, strong espresso. This creates a subtle yet delightful café au lait Crème Brûlée.
- Citrus Zest Infusion: Add a strip of orange or lemon zest to the cream while it’s scalding. Remove the zest before tempering the eggs for a bright, aromatic undertone.
- Chocolate Crème Brûlée: Whisk 2-3 tablespoons of cocoa powder into the cream mixture or melt in a few ounces of good quality dark chocolate for a rich, decadent version.
- Liqueur Infusion: A splash of Grand Marnier, Amaretto, or rum can be added to the custard mixture after tempering for an adult twist.
- Spice It Up: Infuse the cream with a cinnamon stick, star anise, or cardamom pods for an exotic flavor profile. Remove spices before baking.
- Edible Gold Leaf for a Special Touch: For an truly extravagant and visually stunning presentation, decorate the finished dessert with a few tiny flakes of edible gold leaf. Apply gently with tweezers after the sugar crust has set.
Storing and Serving Crème Brûlée
Crème Brûlée is a fantastic make-ahead dessert, making it ideal for entertaining. Proper storage ensures its delicate flavors and textures are preserved.
Leftover Crème Brûlée should be stored in the refrigerator, well-covered with plastic wrap, for 2 to 3 days. It is crucial to store the custards without the caramelized topping. The sugar crust is best applied just before serving, as it can soften and lose its delightful crunch when refrigerated. For longer storage, you can freeze individual custards (without the sugar topping) in airtight containers for up to 3 months. Thaw overnight in the refrigerator before caramelizing and serving.
Frequently Asked Questions About Crème Brûlée
- What is the difference between Crème Brûlée and Crème Caramel?
While both are custard desserts, the key difference lies in the topping. Crème Brûlée features a rich custard with a hard, caramelized sugar crust applied and torched just before serving. Crème Caramel (also known as flan) has a liquid caramel sauce that is cooked *underneath* the custard and then inverted before serving, so the sauce drips over the top.
- Can I make Crème Brûlée without a kitchen torch?
Yes, you can use your oven’s broiler. Place the sugared ramekins on a baking sheet and put them under a preheated broiler. Watch them very carefully, rotating as needed, until the sugar melts and caramelizes. This method requires more vigilance as it can go from perfect to burnt in seconds.
- Why did my Crème Brûlée curdle?
Curdling is usually a sign of overcooked eggs. This can happen if the cream mixture was too hot when added to the eggs during tempering, or if the custard was baked at too high a temperature or for too long. Ensure slow, steady tempering and bake in a bain-marie at a lower temperature.
- How long does Crème Brûlée last in the refrigerator?
Un-caramelized Crème Brûlée can be stored in the refrigerator, covered, for 2 to 3 days. It’s always best to caramelize the sugar right before serving for the freshest crunch.
- Can Crème Brûlée be frozen?
Yes, un-caramelized custards can be frozen for up to 3 months. Wrap them tightly in plastic wrap and then in foil, or place in an airtight container. Thaw them overnight in the refrigerator before adding the sugar topping and caramelizing.
- What size ramekins should I use for Crème Brûlée?
Typically, 4 to 6-ounce ramekins are ideal. Larger ramekins will require a longer baking time, while smaller ones will cook faster. Ensure they are oven-safe.
More Indulgent Dessert Recipes
If you’re looking for more ways to satisfy your sweet tooth or impress guests, consider these other delectable dessert options:
- Easy Chocolate Cake
- Red Velvet Cheesecake with Oreo Crust
- Chocolate Eclair Cake
- Easy Tres Leches Cake
- Sopapilla Cheesecake

★★★★★
Easy Crème Brûlée
Katerina | Easy Weeknight Recipes
Lush and luxurious, this classic recipe for Crème Brûlée is the ultimate sweet indulgence. The burnt-sugar topping is a gorgeous contrast to the creamiest custard ever.
10 minutes
55 minutes
4 hours
5 hours
6
Ingredients
- 2 cups heavy cream (or Half & Half for a lighter option)
- 1 teaspoon pure vanilla extract
- ⅛ teaspoon salt
- 5 large egg yolks
- ½ cup granulated sugar, plus more for topping
- Boiling water (for water bath)
Instructions
- Preheat oven to 325˚F (160˚C).
- Prepare four 6-ounce ramekins (or six 4-ounce ramekins) in a 9×13 baking dish. Set aside.
- In a saucepan, combine the cream, vanilla extract, and salt.
- Heat over low heat until hot and small bubbles form around the edges, but do not boil.
- Remove from heat and let sit for 3 minutes to cool slightly.
- In a separate bowl, whisk the egg yolks and sugar until light and creamy.
- Slowly whisk about ¼-cup of the warm cream mixture into the egg yolk mixture to temper the eggs.
- Pour the tempered egg mixture into the remaining cream mixture in the saucepan; stir until combined.
- Pour the custard mixture evenly into the prepared ramekins.
- Carefully pour boiling water into the baking dish, around the ramekins, until it comes halfway up their sides.
- Bake for 30 to 40 minutes, or until the edges are set but the center still slightly jiggles.
- Remove from oven and let cool completely at room temperature.
- Refrigerate, covered, for at least 4 hours, or overnight, up to 2-3 days.
- When ready to serve, sprinkle each Crème Brûlée with about a teaspoon of granulated sugar.
- Caramelize the sugar using a kitchen torch or by placing ramekins under a broiler until golden brown and bubbly.
- Allow the crust to cool and harden for a minute or two, then serve immediately.
Video
Watch this video to see how easily you can make Crème Brûlée at home!
Nutrition
Calories: 388kcal | Carbohydrates: 20g | Protein: 4g | Fat: 33g | Saturated Fat: 20g | Polyunsaturated Fat: 2g | Monounsaturated Fat: 10g | Cholesterol: 271mg | Sodium: 86mg | Potassium: 77mg | Sugar: 17g | Vitamin A: 1383IU | Vitamin C: 1mg | Calcium: 71mg | Iron: 1mg
Nutritional info is an estimate and provided as courtesy. Values may vary according to the ingredients and tools used. Please use your preferred nutritional calculator for more detailed info.
Did you make a recipe? Leave a rating
We’d love to hear your thoughts and see your creations!