
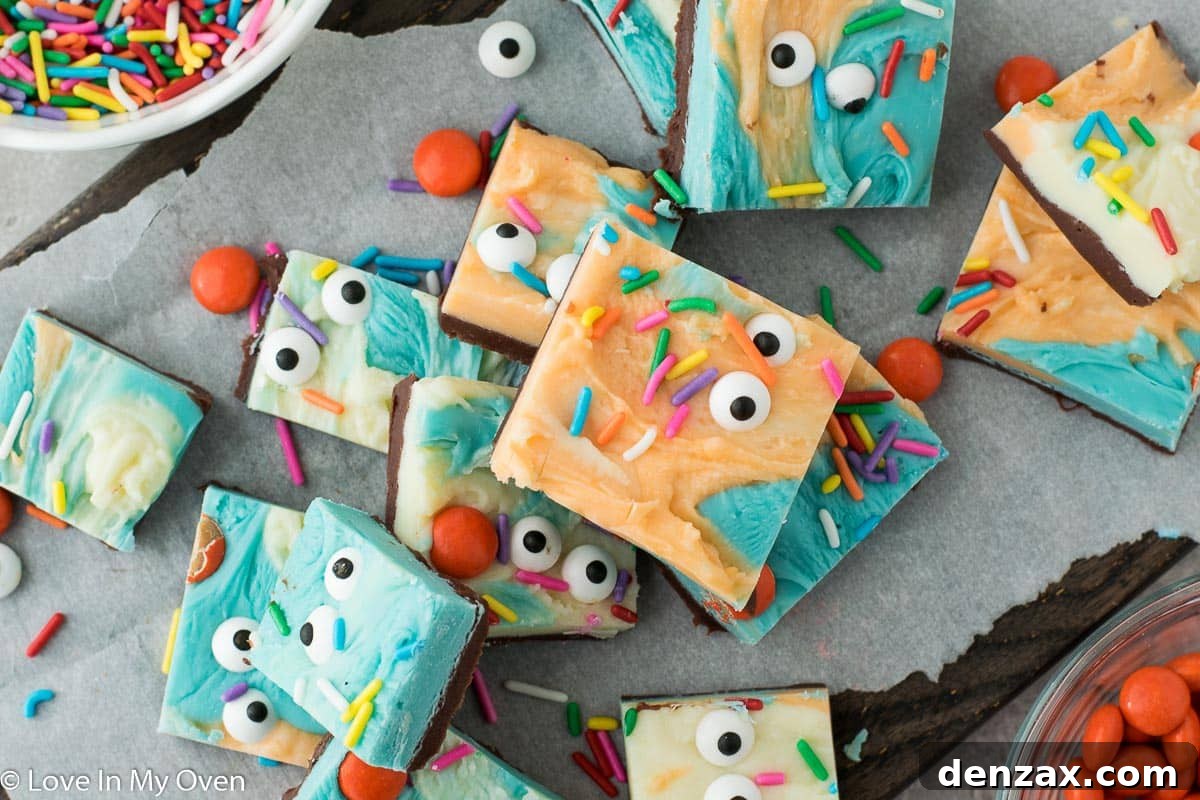
As the leaves turn and a chill fills the air, it’s time to conjure up some magic in the kitchen! This incredibly easy Halloween fudge recipe is destined to become a festive favorite. Forget complicated baking; with just a few simple ingredients and a dash of creativity, you can whip up a batch of spooky, delicious fudge that’s perfect for all your ghoulish gatherings. It’s truly one of the most delightful Halloween dessert recipes you’ll find, ideal for adding a sweet, homemade touch to your holiday celebrations.
Halloween is lurking just around the corner, and the excitement for all things spooky and sweet is palpable! Knowing how much everyone enjoys hassle-free holiday treats, I’ve crafted another fun, kid-friendly recipe that’s sure to be a hit. My collection of easy Halloween treats for kids has been incredibly popular, a clear sign that simple, delightful recipes are exactly what you’re craving for your little monsters! This vibrant, multi-layered fudge is designed to be as straightforward as it is delicious, making it accessible for even beginner confectioners.
This captivating Halloween fudge draws its inspiration from my collection of super-easy microwaveable fudge recipes. The fundamental magic of fudge often boils down to just two core ingredients: sweetened condensed milk and chocolate chips. For this particular spooky rendition, we’re elevating the classic base with a burst of festive color. We’ll be utilizing creamy white chocolate chips for a bright canvas, rich semi-sweet chocolate chips for a deep, decadent layer, and vivid blue candy melts to bring in those signature Halloween hues. The beauty of this recipe lies in its simplicity and versatility, allowing you to create impressive treats without the fuss.
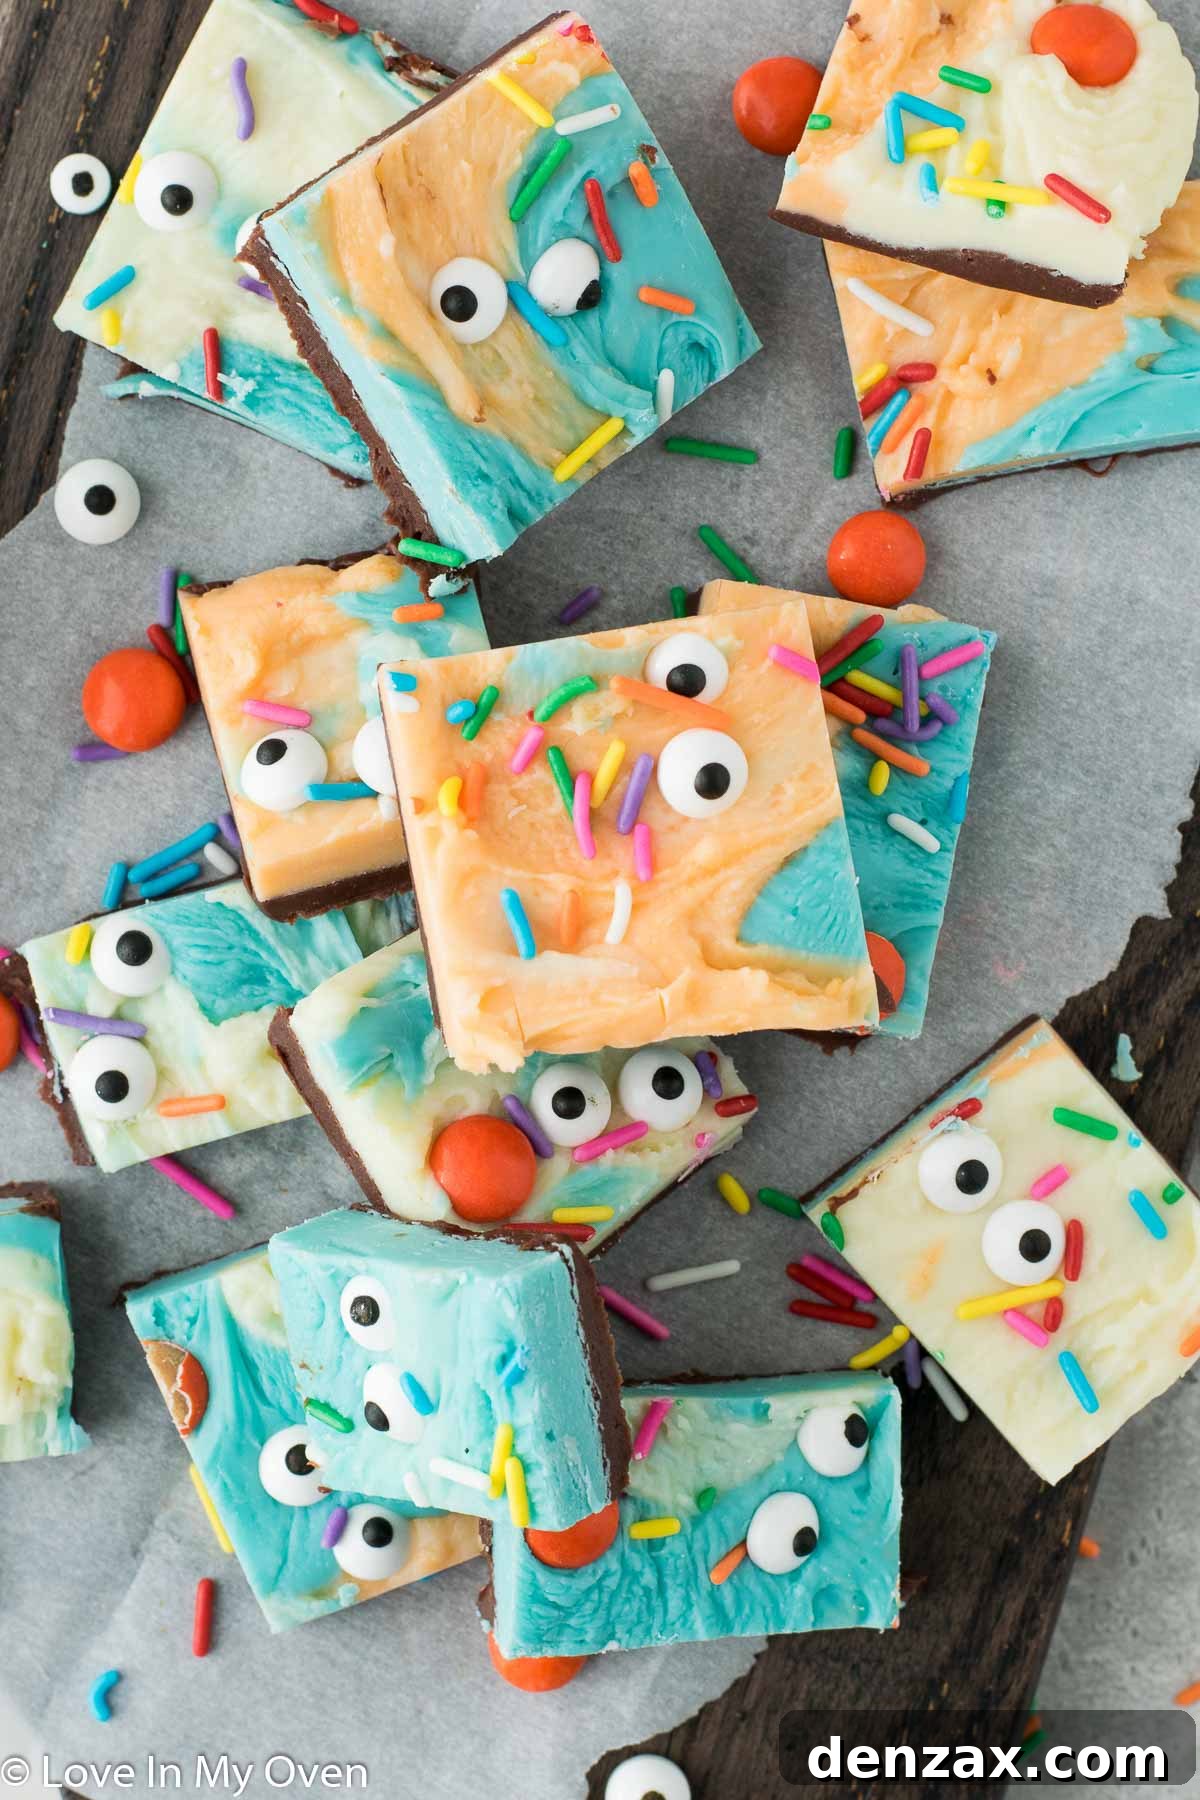
Creating Your Easy Halloween Fudge: A Step-by-Step Guide
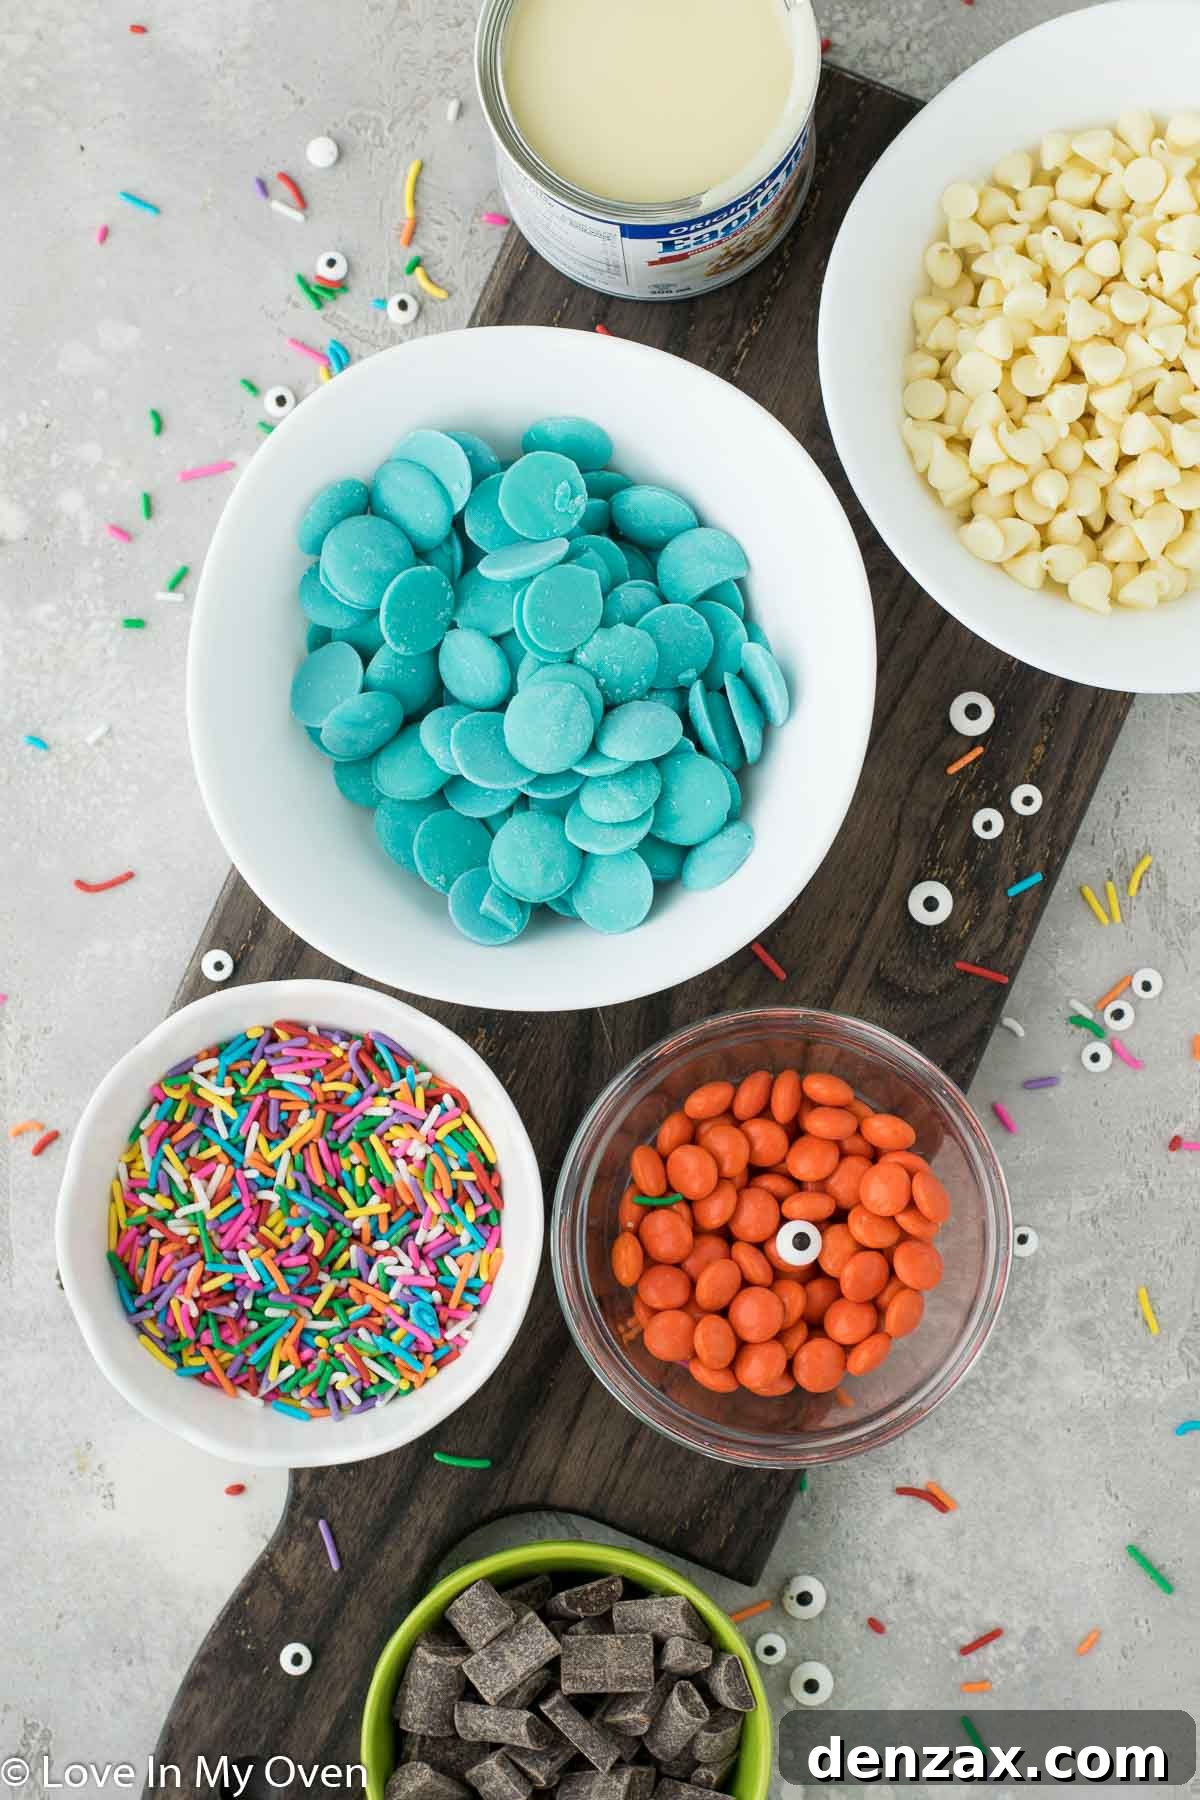
Embarking on your fudge-making adventure is simple when you’re prepared. Before you begin the melting and mixing, gather all your ingredients, measure them out, and have them ready on your counter. This “mise en place” approach will ensure a smooth and speedy process, crucial for perfect fudge. You’ll need:
- Sweetened condensed milk (the key to creamy, smooth fudge)
- White chocolate chips (for vibrant colors)
- Semi-sweet chocolate chips (for a classic chocolate base)
- Blue candy melts (to add a bold Halloween color)
- Orange food coloring (for another festive layer)
- Assorted sprinkles (to add texture and whimsy)
- Candy eyes (for that irresistible spooky charm)
- Reese’s pieces (for extra crunch and color)
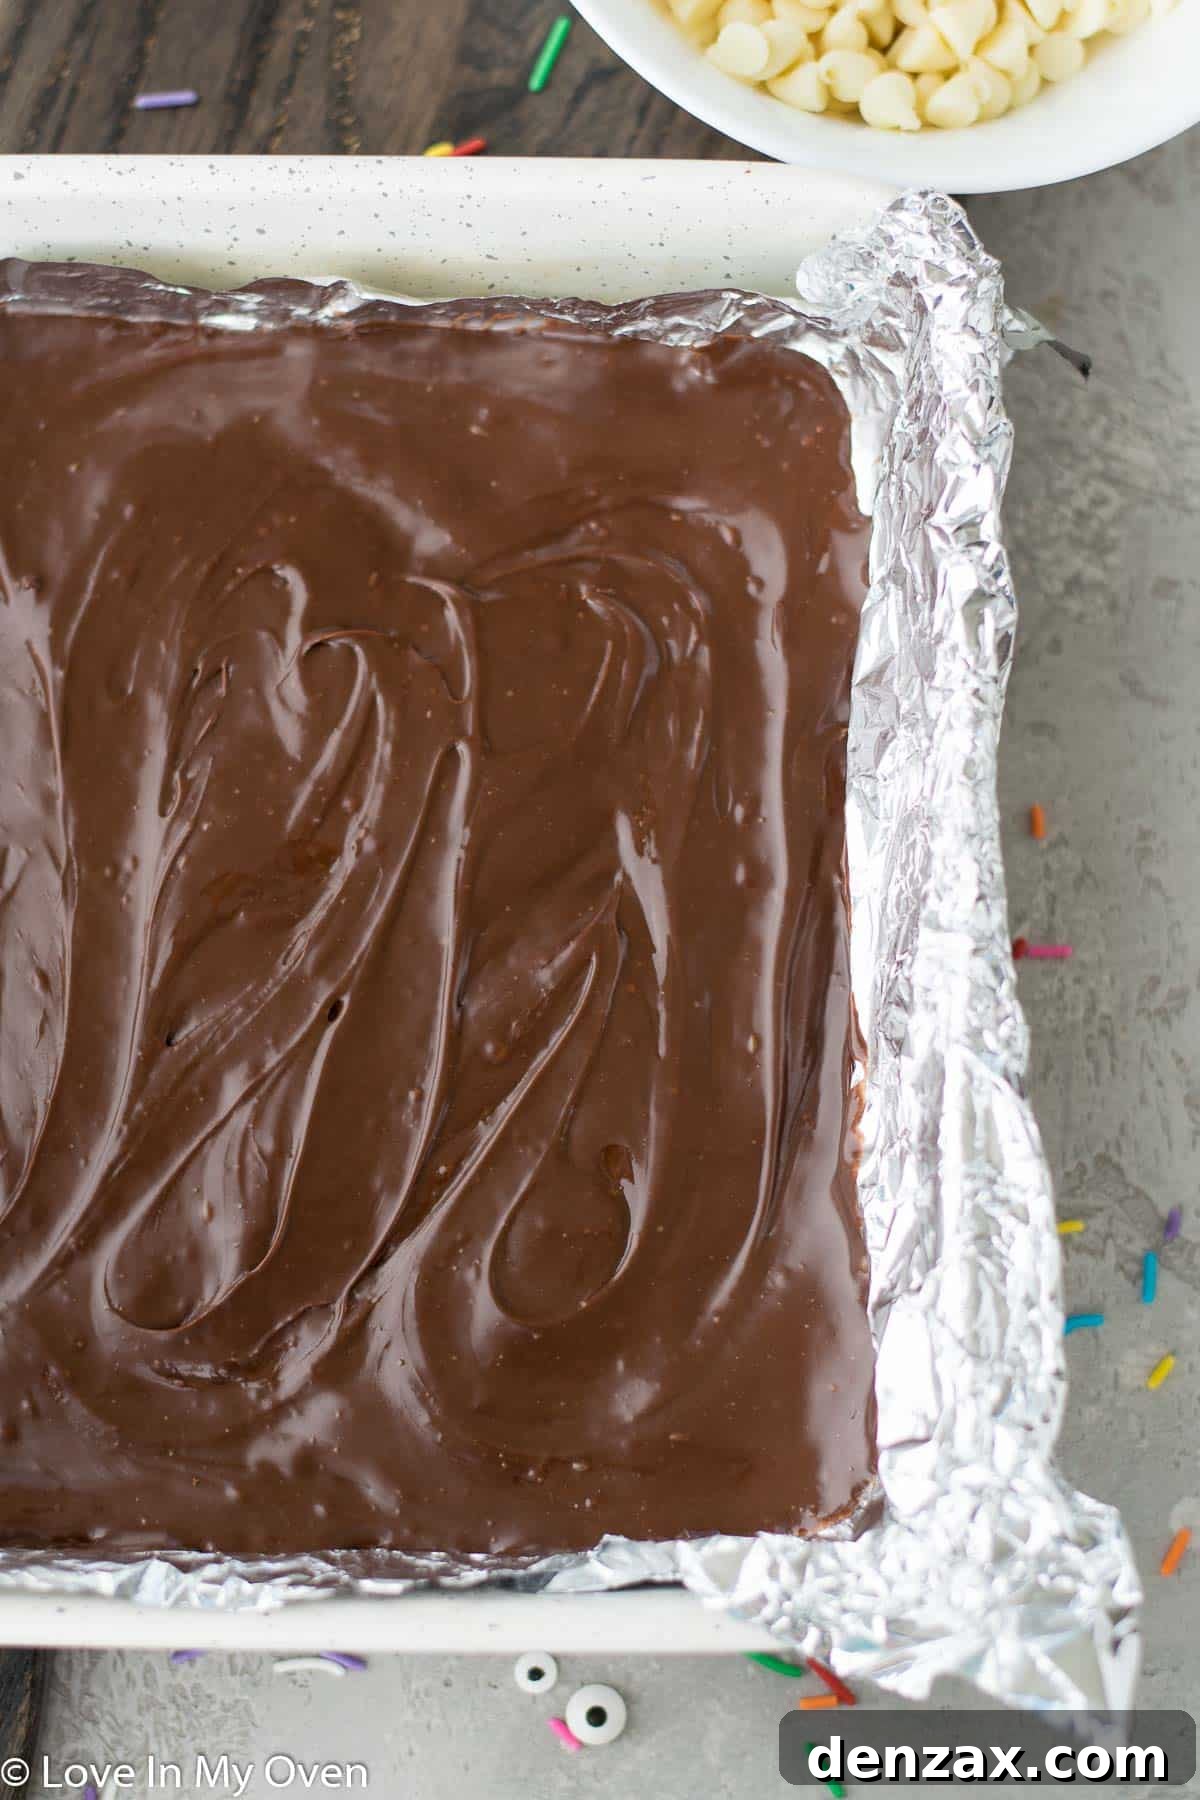
**1. Prepare Your Pan and First Layer:** Begin by meticulously lining an 8×8 inch square baking pan with aluminum foil. Ensure the foil extends over the sides, creating “handles” that will make lifting the finished fudge effortless. Lightly spray the foil with a nonstick cooking spray to guarantee easy removal. In a microwave-safe bowl, combine approximately one-third of the can of sweetened condensed milk with your semi-sweet chocolate chips. Microwave this mixture on high for 30-40 seconds. Remove the bowl and stir continuously until the chocolate is completely melted and the mixture is smooth and glossy. Promptly spread this dark chocolate layer evenly into the bottom of your prepared, foil-lined pan. Immediately place this layer in the refrigerator to chill and set while you prepare the remaining vibrant colors.
**Pro Tip for Success:** The secret to crafting perfect multi-layered fudge is to work swiftly, especially once your chocolate and condensed milk mixtures are melted. These mixtures will begin to firm up quite rapidly as they cool. Having all your ingredients pre-measured and bowls ready will help you pour and spread each layer quickly before it becomes too stiff to work with. Think of it as a delicious race against time!
**2. Prepare Your Colorful Layers:** Now, move on to the more vibrant layers. In two separate, clean microwave-safe bowls, you will prepare the white and blue fudge. Combine one-third of the *remaining* sweetened condensed milk with the white chocolate chips in the first bowl. In the second bowl, mix the final one-third of the condensed milk with the blue candy melts. If you plan to incorporate an orange layer, make sure you have an additional clean bowl and your orange food coloring readily available. Precision in measurements here ensures consistent texture across all your colorful layers.
**3. Melt and Color:** One at a time, microwave the white chocolate chip mixture for 30-40 seconds, stirring until it’s perfectly smooth and free of lumps. Repeat this process with the blue candy melt mixture, ensuring it’s equally smooth. To create your orange layer, quickly take about half of the melted white fudge mixture and transfer it to your spare bowl. Immediately add a drop or two of orange food coloring, stirring vigorously until the color is evenly distributed and vibrant. Speed is key here to prevent the fudge from setting prematurely.
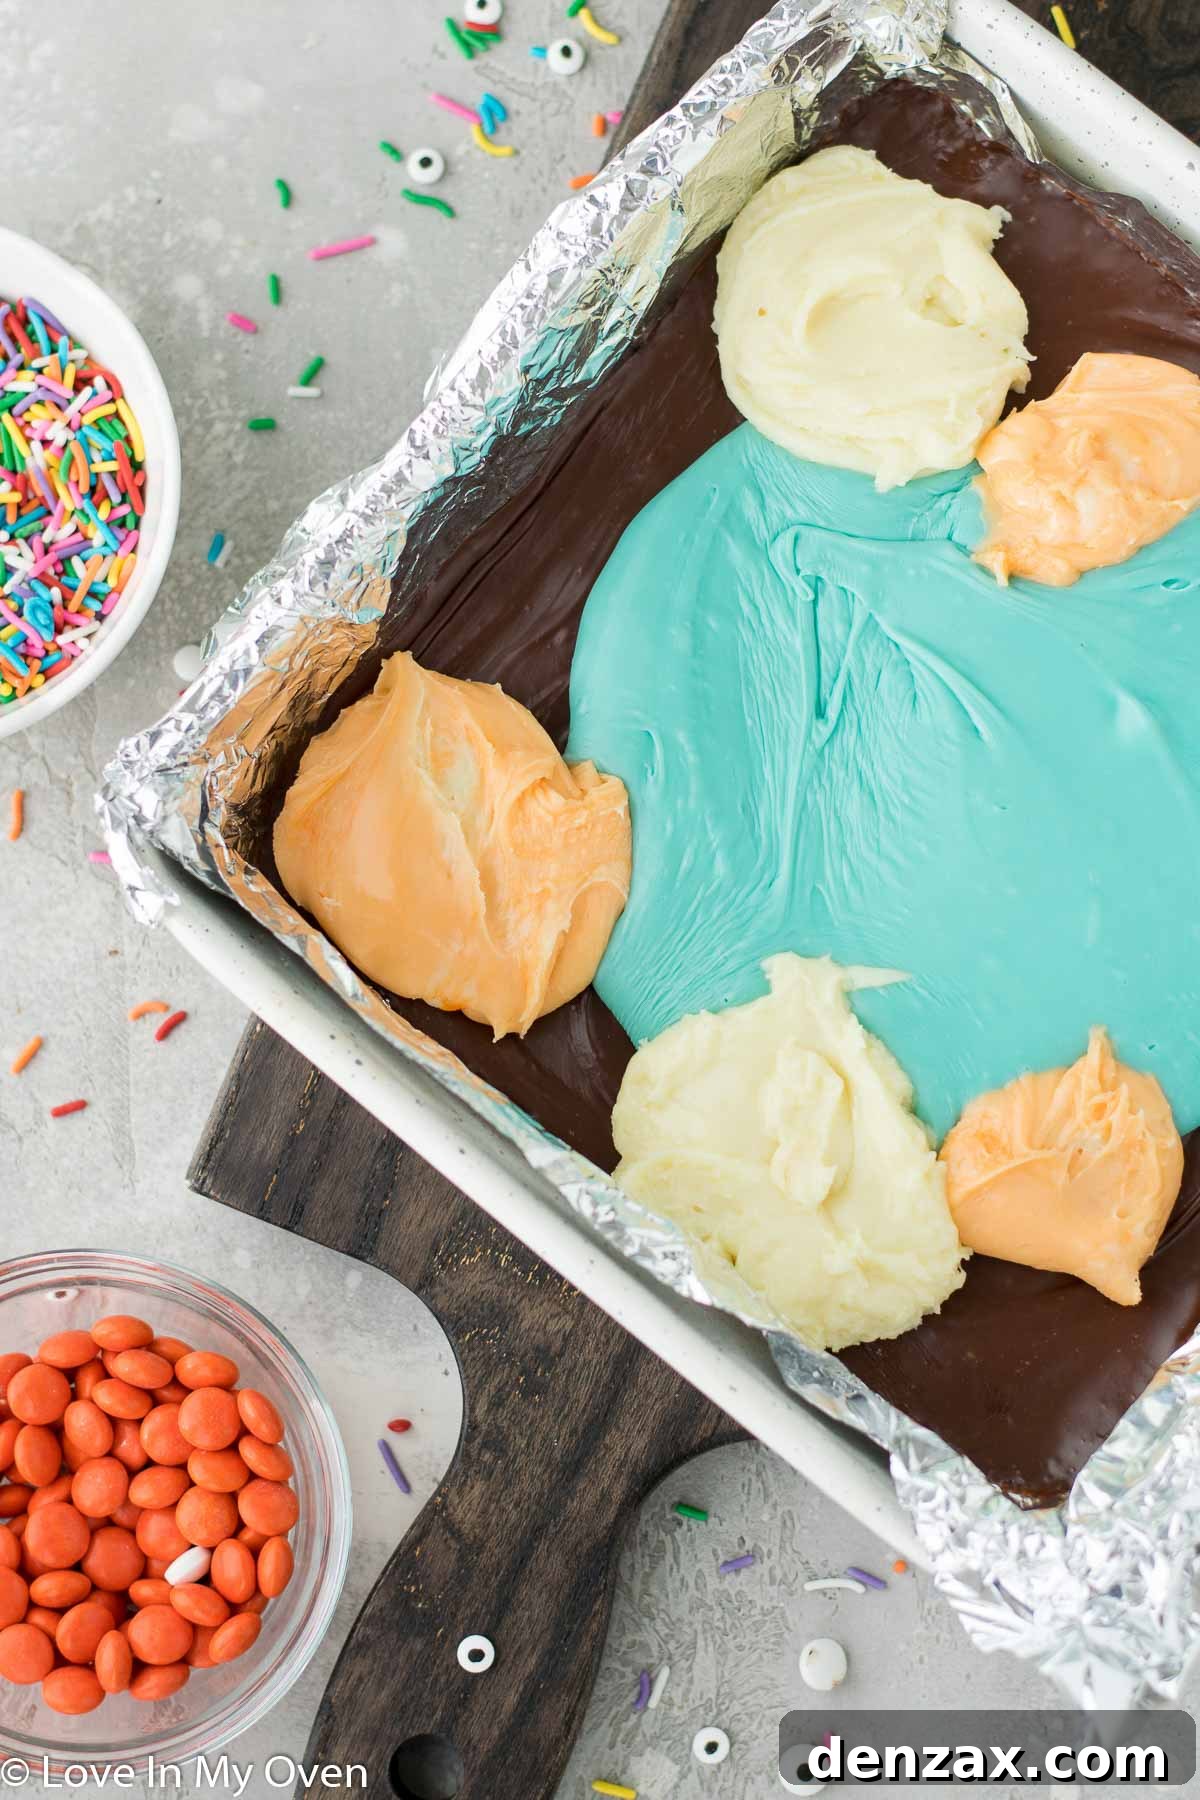
**4. Layer and Swirl:** Retrieve your semi-sweet fudge layer from the refrigerator. Using a spoon, carefully drop spoonfuls of the prepared colored fudge (white, blue, and orange) on top of the dark fudge layer in the pan. Don’t worry about perfect placement at this stage; the beauty of this fudge is its marbled, festive appearance. Once all the colors are added, gently use the back of your spoon or a small offset spatula to spread and swirl the colors, creating a captivating Halloween design. Avoid over-mixing to keep the colors distinct yet blended.
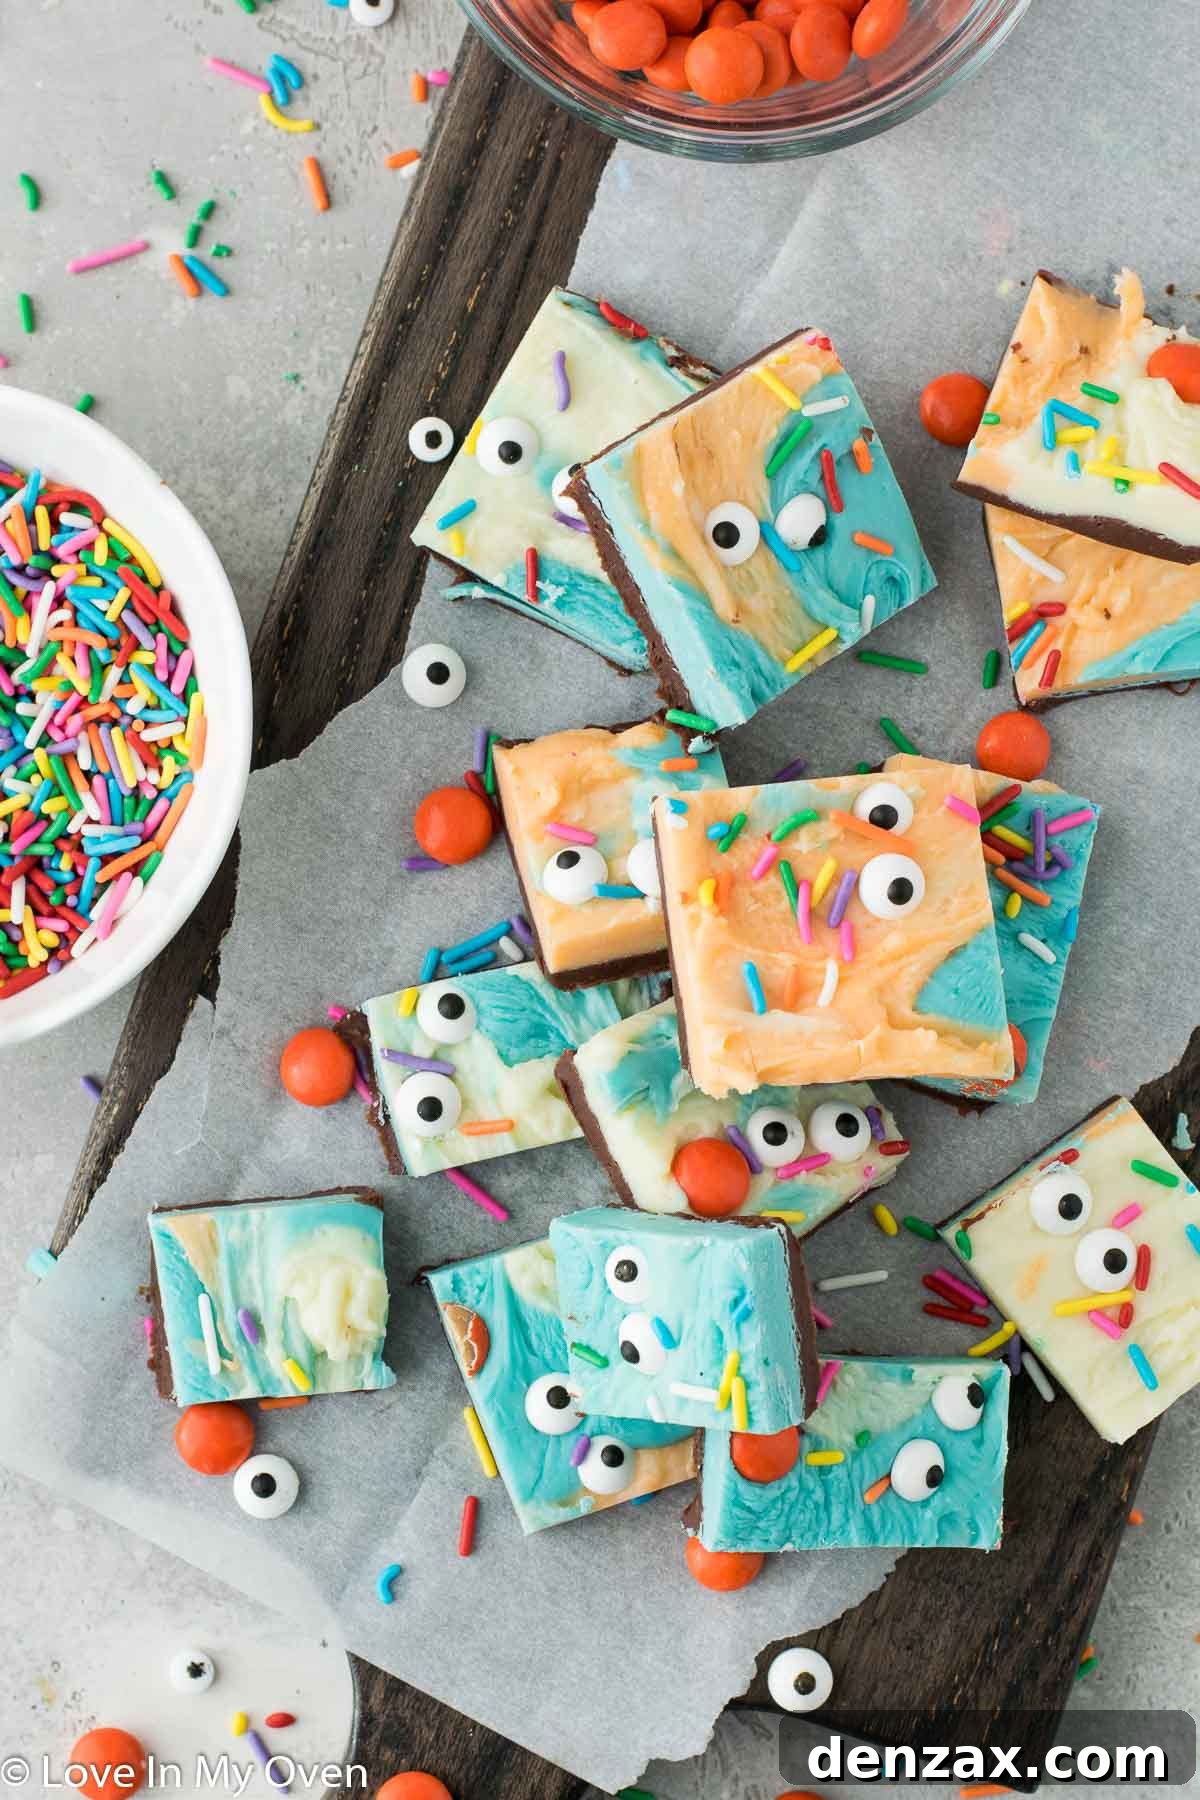
**5. Decorate and Chill:** While the fudge is still soft and pliable, generously scatter your chosen Halloween sprinkles, candy eyeballs, and Reese’s pieces over the top. Gently press them lightly into the fudge to ensure they adhere and don’t fall off once hardened. This step adds both visual appeal and delightful texture. Once decorated, place the entire pan back into the refrigerator for at least 4 hours, though preferably overnight. Chilling allows the fudge to firm up completely, making it easier to cut into neat pieces.
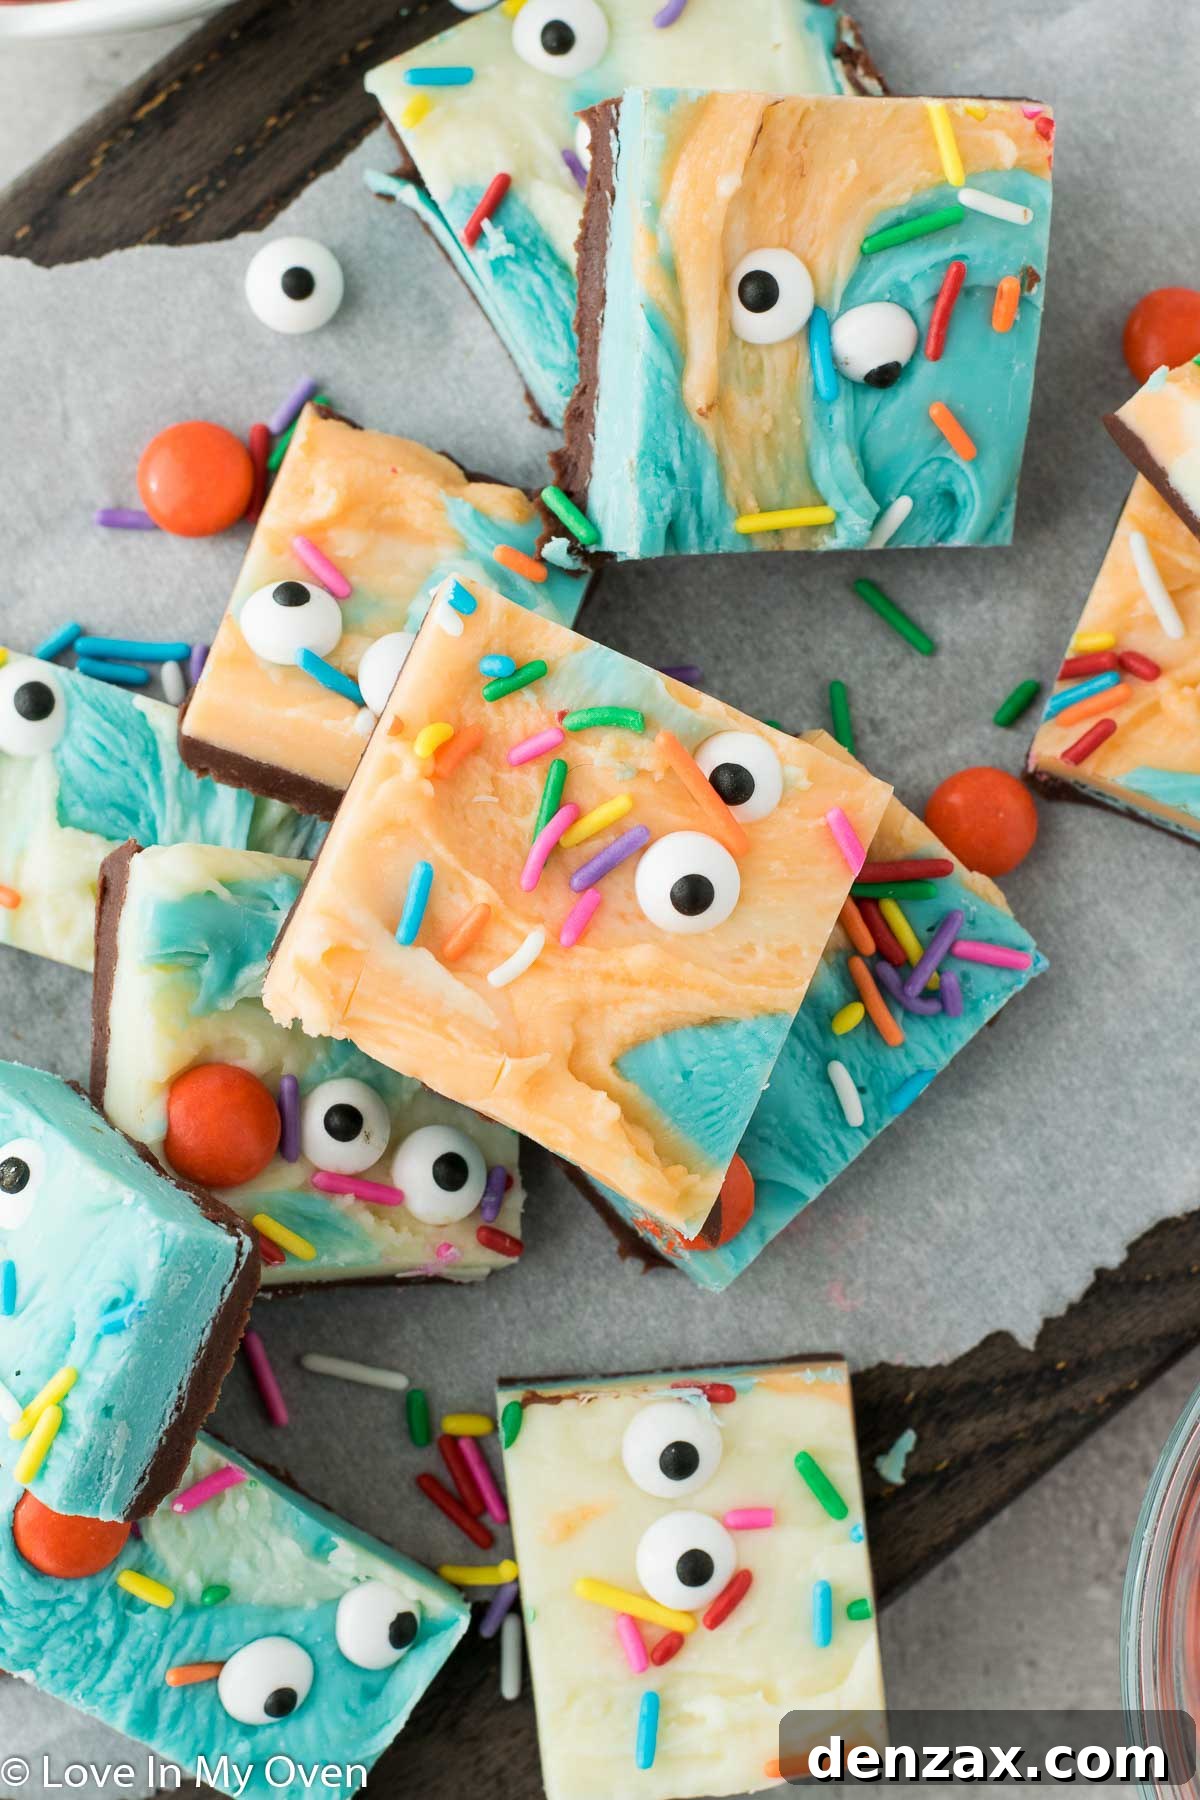
**6. Cut and Store:** Once fully chilled and firm, use the foil “handles” to carefully lift the entire slab of fudge out of the pan and transfer it onto a clean cutting board. Using a sharp knife, cut the fudge into 36 uniform pieces, or get creative with random sizes and shapes for a more whimsical look. Store your magnificent Halloween fudge in an airtight container in the refrigerator for up to two weeks, ensuring it remains fresh and delicious for all your Halloween festivities.

Can You Customize the Colors for Your Halloween Fudge?
Absolutely! The beauty of this easy fudge recipe lies in its incredible adaptability when it comes to color. Feel free to unleash your creativity and experiment with a spectrum of hues to match any Halloween theme or personal preference. While classic dark, white, blue, and orange offer a traditional spooky palette, you can certainly go wild with other options. Using a variety of colored candy melts is an excellent way to introduce new shades without needing additional food coloring. Imagine spooky greens, vampy purples, or even blood-red swirls for a truly eerie treat! Just remember to maintain the approximate ratio of about 1/3 can of sweetened condensed milk (roughly 100 mL) to 1 cup of chocolate chips or candy melts for each colored portion to ensure the correct consistency. This consistent ratio is key for perfectly setting fudge.
Can You Make This Halloween Fudge Vegan or Dairy-Free?
Yes, you can absolutely adapt this Halloween fudge recipe to be vegan or dairy-free, ensuring everyone can enjoy these festive treats! I’ve successfully experimented with several fudge recipes using plant-based alternatives, and the results have been consistently delicious. To make this fudge dairy-free, simply substitute traditional sweetened condensed milk with a coconut-based sweetened condensed milk. These alternatives are widely available in most grocery stores and health food markets. For the chocolate components, opt for high-quality vegan chocolate chips and dairy-free candy melts. The key is to maintain the same ratios of condensed milk to chocolate as indicated in the original recipe. The texture and flavor will be remarkably similar, providing a rich and creamy fudge that caters to dietary needs without compromising on taste or fun.
Do You Have to Use the Microwave for This Fudge?
While the microwave method is praised for its speed and convenience, it’s certainly not the only way to make this delectable Halloween fudge. You can absolutely achieve the same smooth, rich results using a stovetop. If you opt for the stovetop, place your condensed milk and chocolate chips in a heavy-bottomed pot over very low heat. The trick here is constant stirring. Chocolate can scorch easily, so maintain a gentle heat and stir continuously until the chocolate is fully melted and smoothly incorporated with the condensed milk.
A double boiler setup is an even safer option, as it provides indirect heat, preventing the chocolate from burning. If you’re making multiple colored layers, you might need a few separate pots or be prepared to clean your pot quickly between colors. This ensures that colors remain distinct and don’t muddy. While the stovetop might take slightly longer and require more attention, it yields equally fantastic fudge. Just be sure to keep stirring until the mixture is beautifully smooth before spreading each layer.
Tips for Perfect Halloween Fudge
- **Mise en Place is Your Friend:** As mentioned, having all ingredients measured and bowls ready significantly speeds up the process, crucial for fudge that sets quickly.
- **Quality Ingredients:** While simple, the quality of your chocolate chips and condensed milk will impact the final taste and texture. Opt for brands you trust.
- **Don’t Overcook:** Overheating chocolate can make it seize or become grainy. Stick to the recommended microwave times and stir thoroughly off the heat.
- **Even Spreading:** For neat layers, use an offset spatula or the back of a spoon to spread each fudge layer evenly in the pan.
- **Clean Cuts:** For clean, professional-looking squares, use a sharp, warm knife. You can run your knife under hot water and wipe it clean between cuts.
Serving and Gifting Your Spooky Treats
This Halloween fudge is incredibly versatile. Serve it on a festive platter at your Halloween party, or cut it into smaller, bite-sized pieces for trick-or-treaters (if you’re feeling generous!). You can also get creative with cookie cutters to make spooky shapes like ghosts, pumpkins, or bats. Package individual pieces in clear cellophane bags tied with orange and black ribbons for charming homemade gifts. It’s a delightful addition to any Halloween dessert table, offering a rich, chocolatey indulgence with a playful, festive twist. The vibrant colors and fun toppings make it a standout treat that guests of all ages will adore.
Explore More Sweet Creations: Other Favorite Fudge Recipes and Easy Treats
If you loved creating this easy Halloween fudge, you’ll be thrilled to discover more delightful and simple recipes from the blog. From comforting classics to inventive holiday treats, there’s always something new to whip up. Expand your baking repertoire with these other tried-and-true favorites:
- Maple Walnut Fudge
- Gingerbread Fudge
- 3-Ingredient Oreo Truffles
- Easy Halloween Treats to Make with Kids
- Halloween Cake Pops

Halloween Fudge
5 from 1 review
- Author: Katherine | Love In My Oven
- Total Time: 30 minutes
- Yield: 36 pieces 1x
Description
Since there aren’t enough sweet treats for Halloween already, why not make this easy Halloween fudge? It’s one of my favorite Halloween dessert recipes!
Ingredients
Scale
- 1 can (300 mL) sweetened condensed milk
- 1 cup semi-sweet chocolate chips
- 1 cup white chocolate chips
- 1 cup blue candy melts
- 1–2 drops orange food coloring
- 1/8 cup candy eyes
- 1/8 cup sprinkles
- 1/8 cup Reese’s pieces
Instructions
- Line an 8×8 pan with aluminum foil, extending the foil to create “handles” over the sides. Spray it with nonstick spray and set aside. In a microwave-safe bowl, combine 1/3 of the can of condensed milk with the semi-sweet chocolate chips. Microwave on high for 30-40 seconds, then remove and stir until completely smooth.
- Promptly spread the dark chocolate mixture into the bottom of the foil-lined pan. Immediately place it in the fridge to set while you prepare the remaining colors. Remember to work quickly, as the fudge will harden fast.
- In two more separate, clean bowls, combine 1/3 of the remaining condensed milk with the white chocolate chips in one, and the final 1/3 condensed milk with the blue candy melts in the other. Have an additional clean bowl and orange dye ready if creating an orange portion.
- One after the other, microwave the white chocolate mixture for 30-40 seconds, stirring until smooth. Repeat for the blue candy melts mixture, stirring until smooth. Transfer half of the melted white mixture to the spare bowl, add a drop or two of orange food coloring, and stir immediately until combined.
- Retrieve the dark fudge layer from the fridge. Drop spoonfuls of the prepared colored fudge (white, blue, and orange) on top of the dark fudge in the pan. Gently use the back of a spoon to spread and swirl the colors.
- Liberally add sprinkles, candy eyeballs, and Reese’s pieces on top of the fudge, pressing them lightly into the surface to secure them.
- Place the fudge in the fridge for at least 4 hours (preferably overnight) to firm up completely. Use the foil handles to lift the fudge from the pan onto a cutting board. Cut into 36 pieces (or desired sizes) and store in an airtight container in the fridge.
Store the fudge in the fridge for up to 2 weeks, in an airtight container for optimal freshness and texture.
- Prep Time: 20 minutes
- Cook Time: 10 minutes
- Category: Fudge, Halloween Desserts
- Method: Microwave, No-Bake
- Cuisine: American