
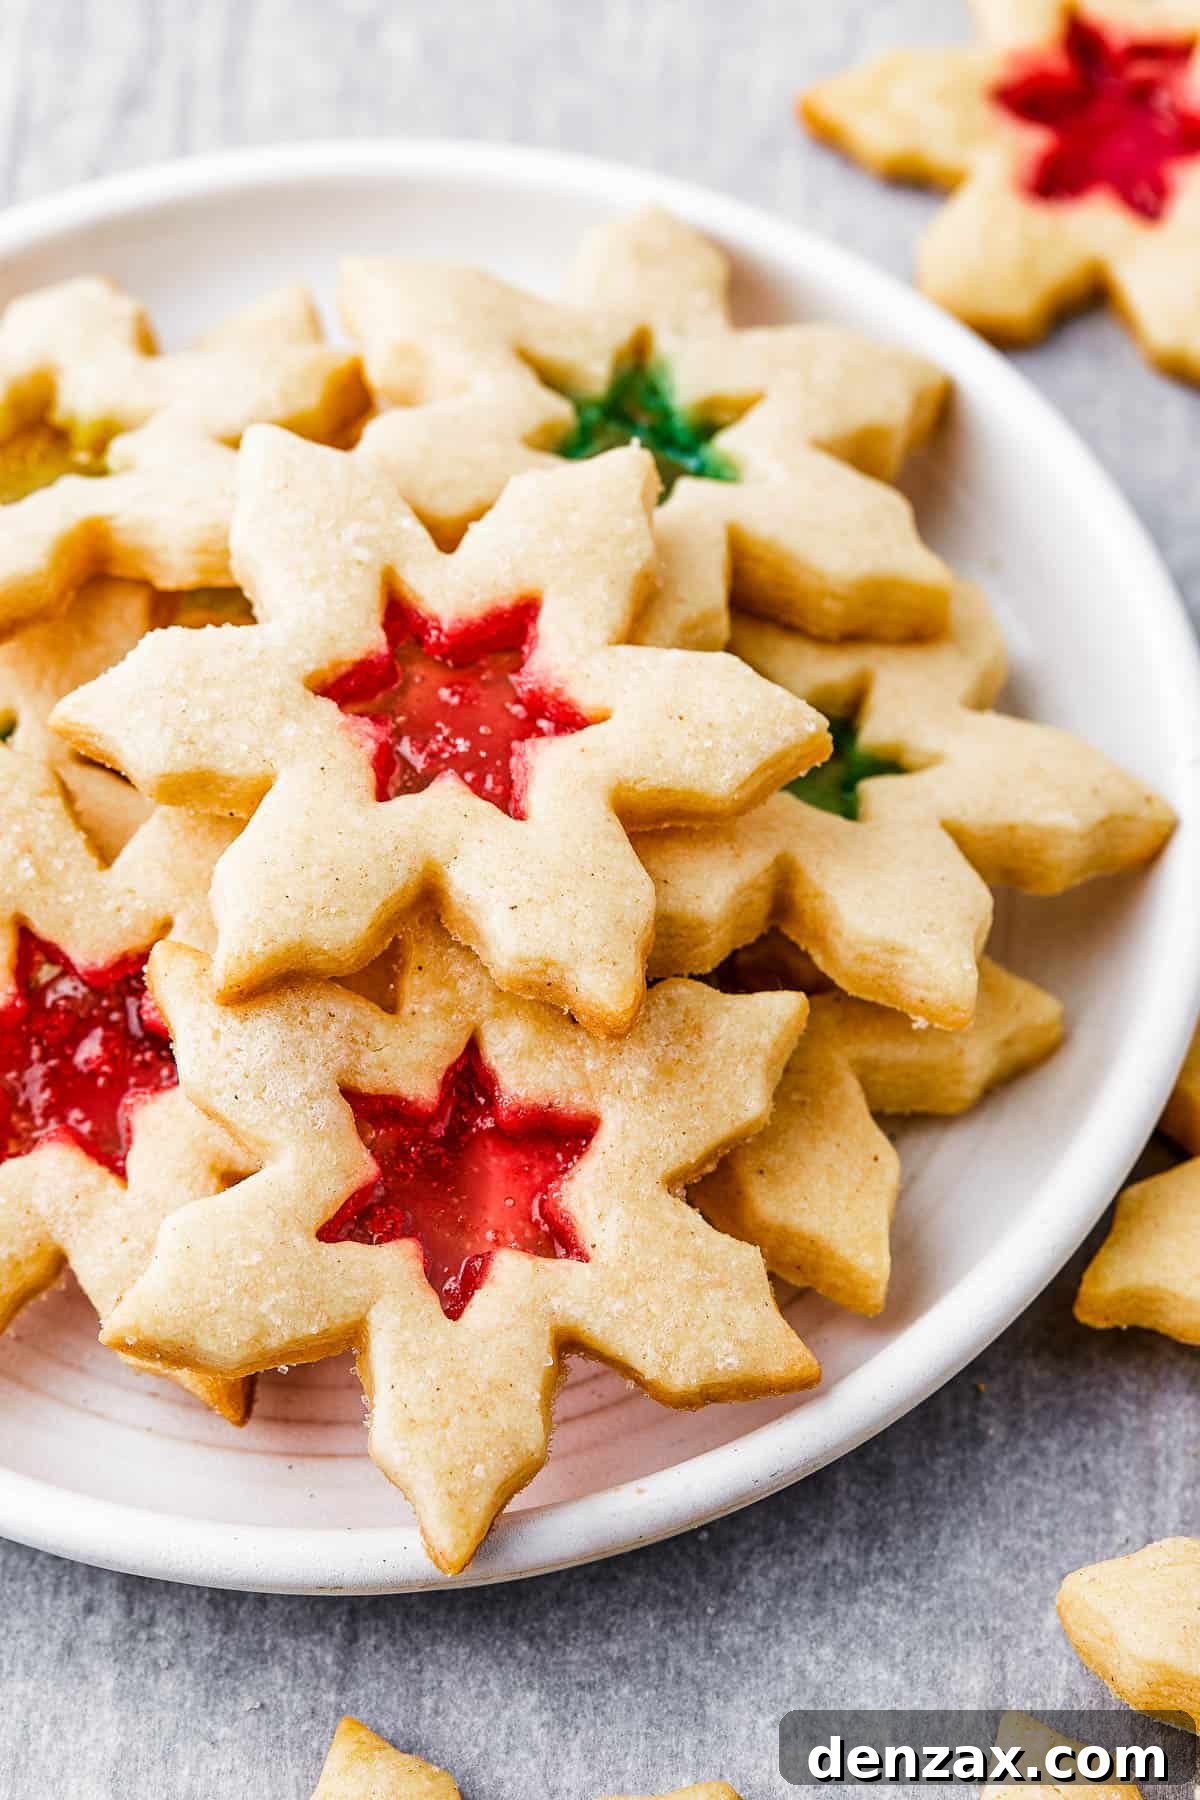
Transform your holiday baking into a dazzling display with these enchanting Stained Glass Cookies. A true showstopper, this classic recipe marries the rich, buttery goodness of traditional sugar cookie dough with the vibrant, translucent beauty of crushed hard candy. Prepare to captivate your guests with their gorgeous presentation and utterly scrumptious taste, making them an unforgettable addition to any festive occasion.
Unveiling the Magic: Why These Stained Glass Cookies Are a Must-Bake
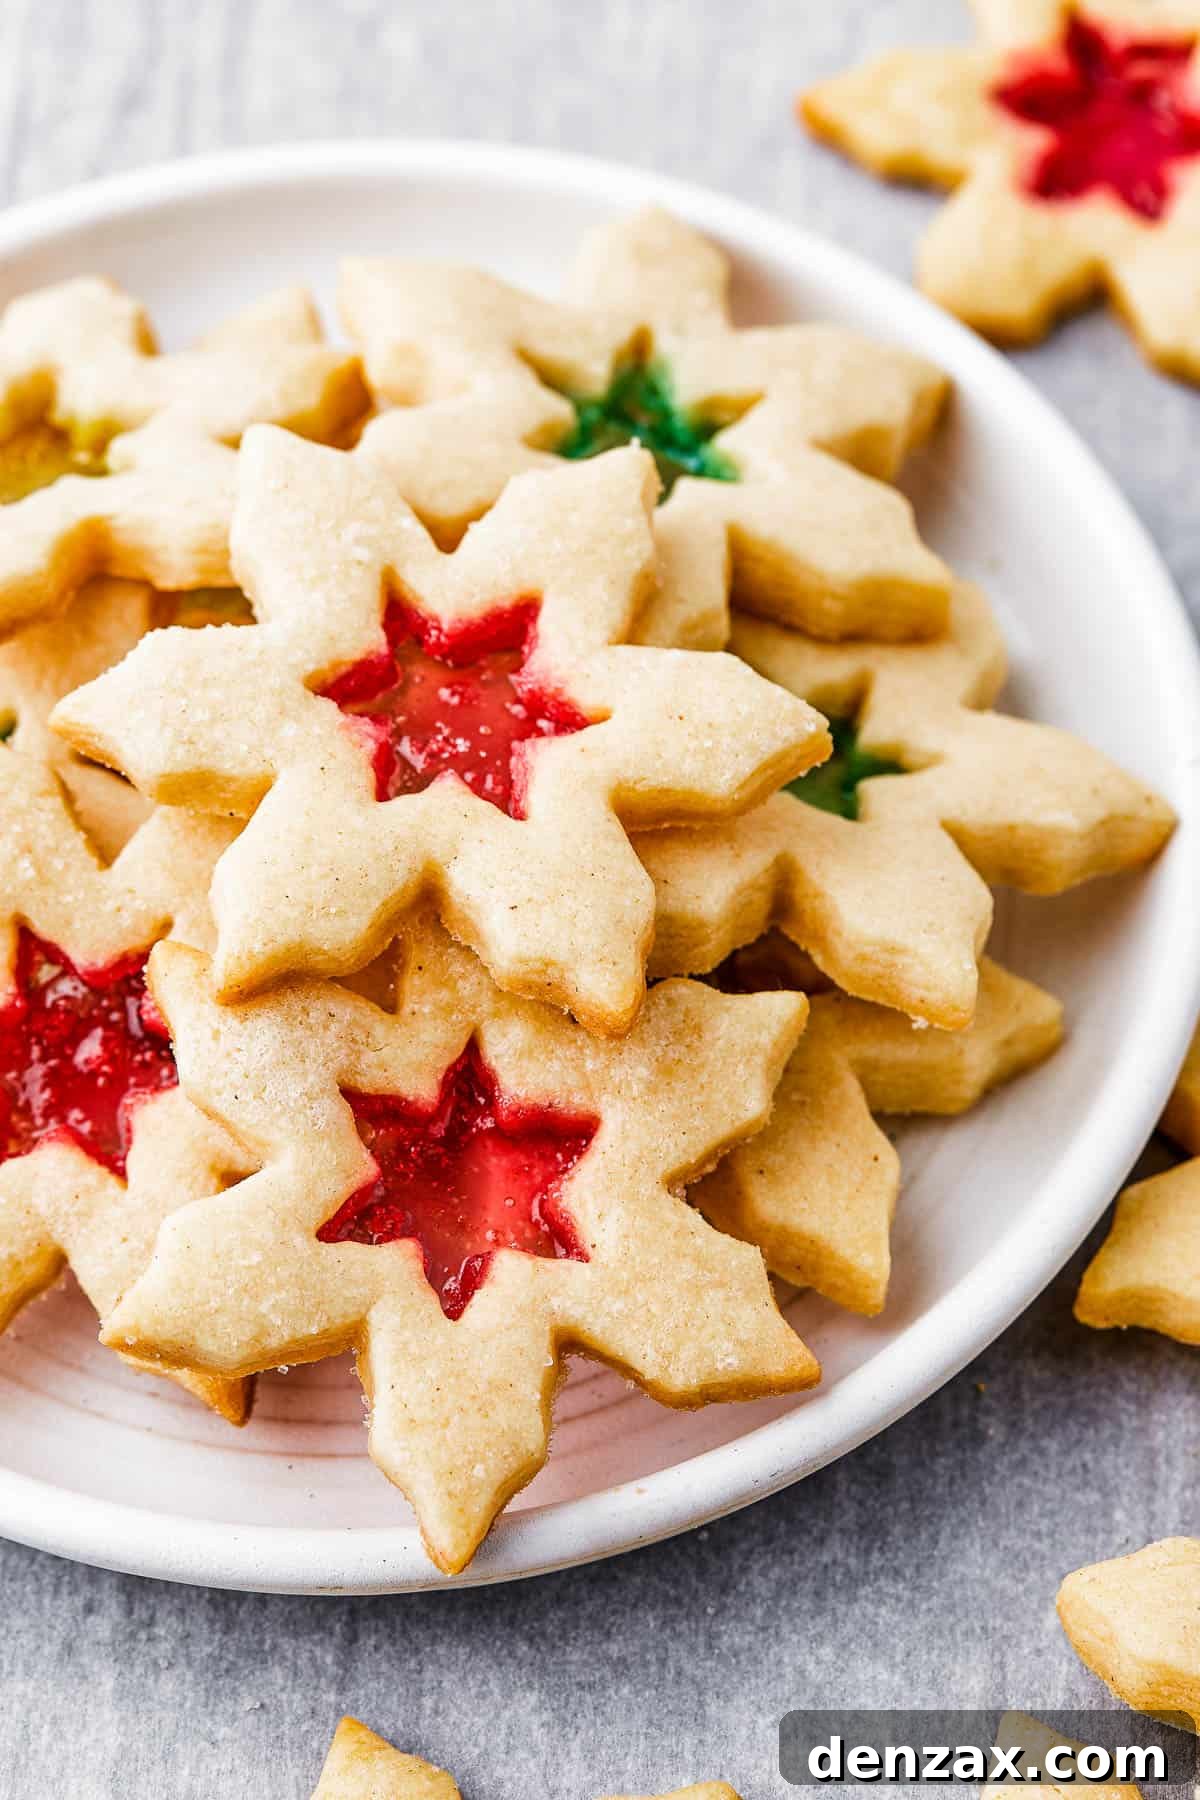
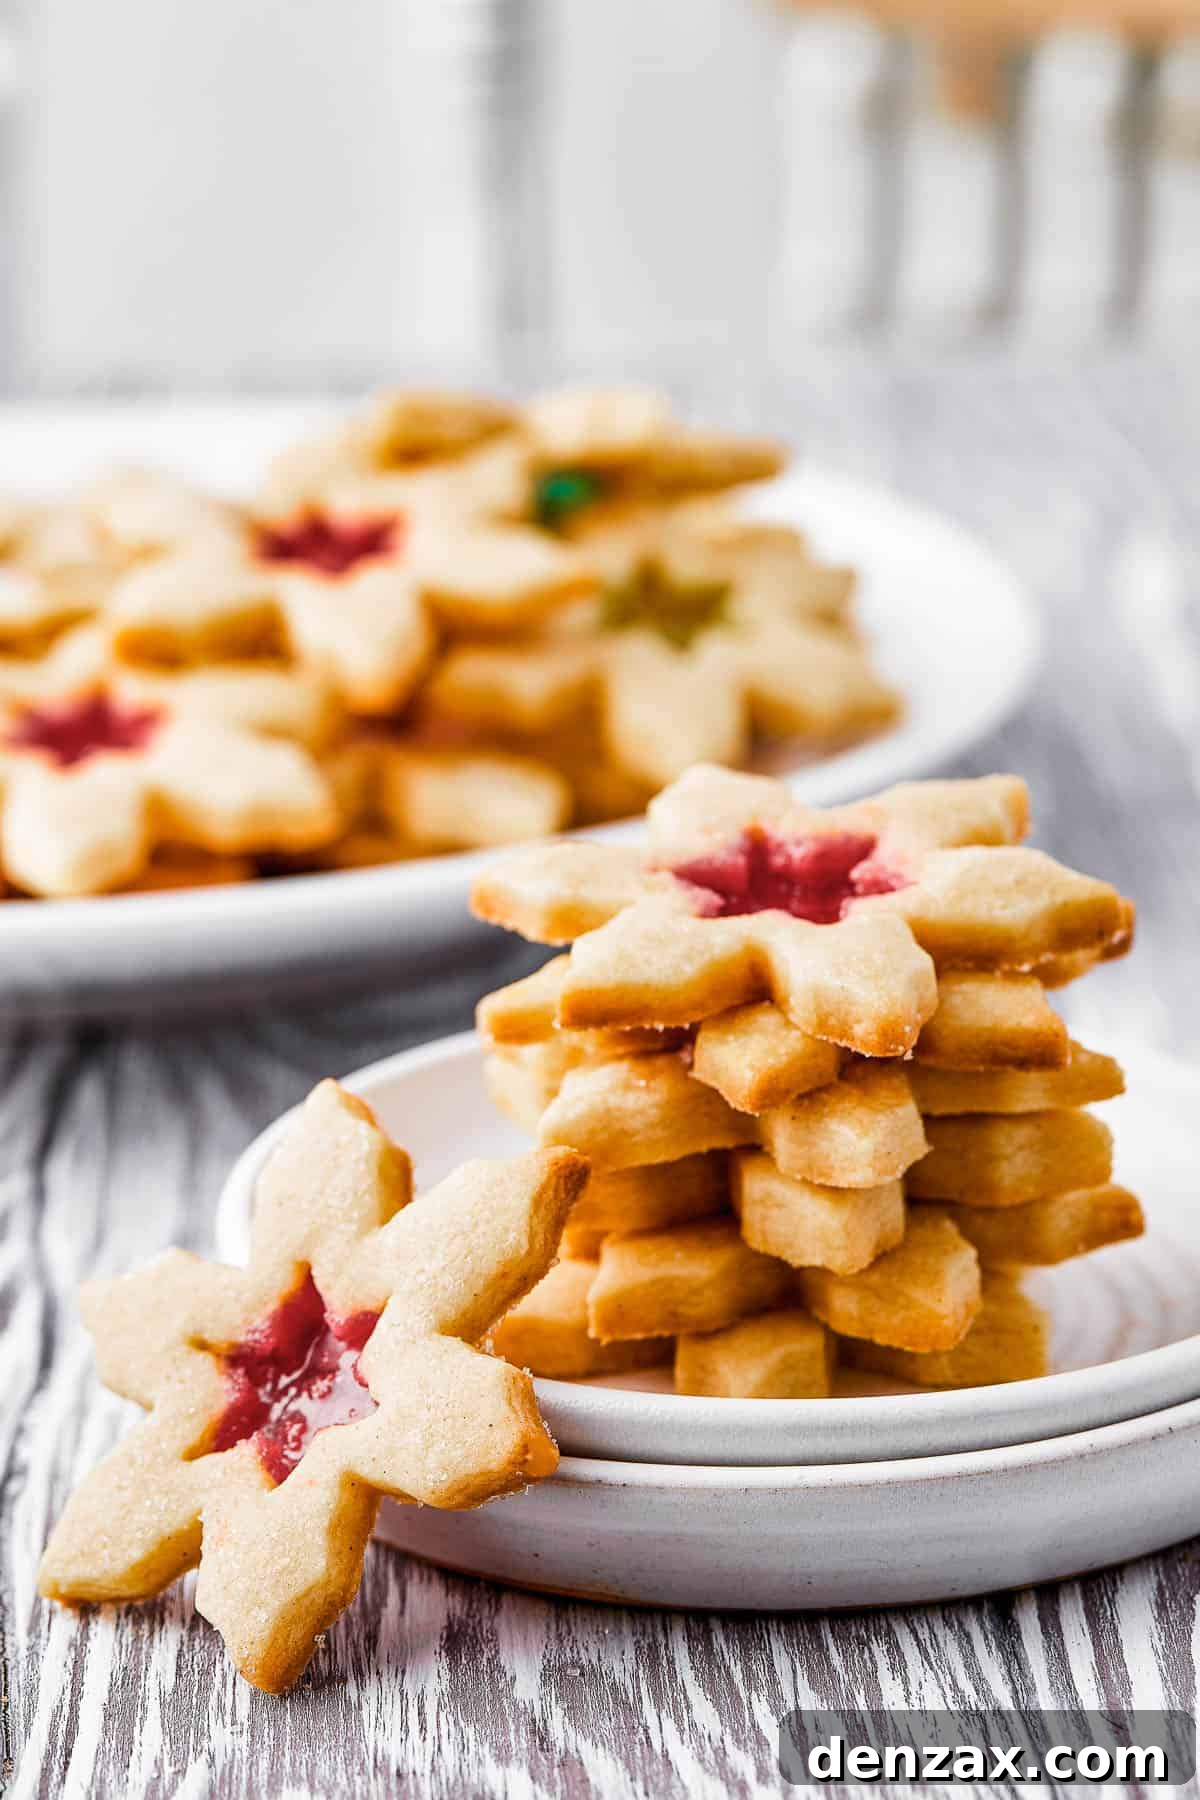
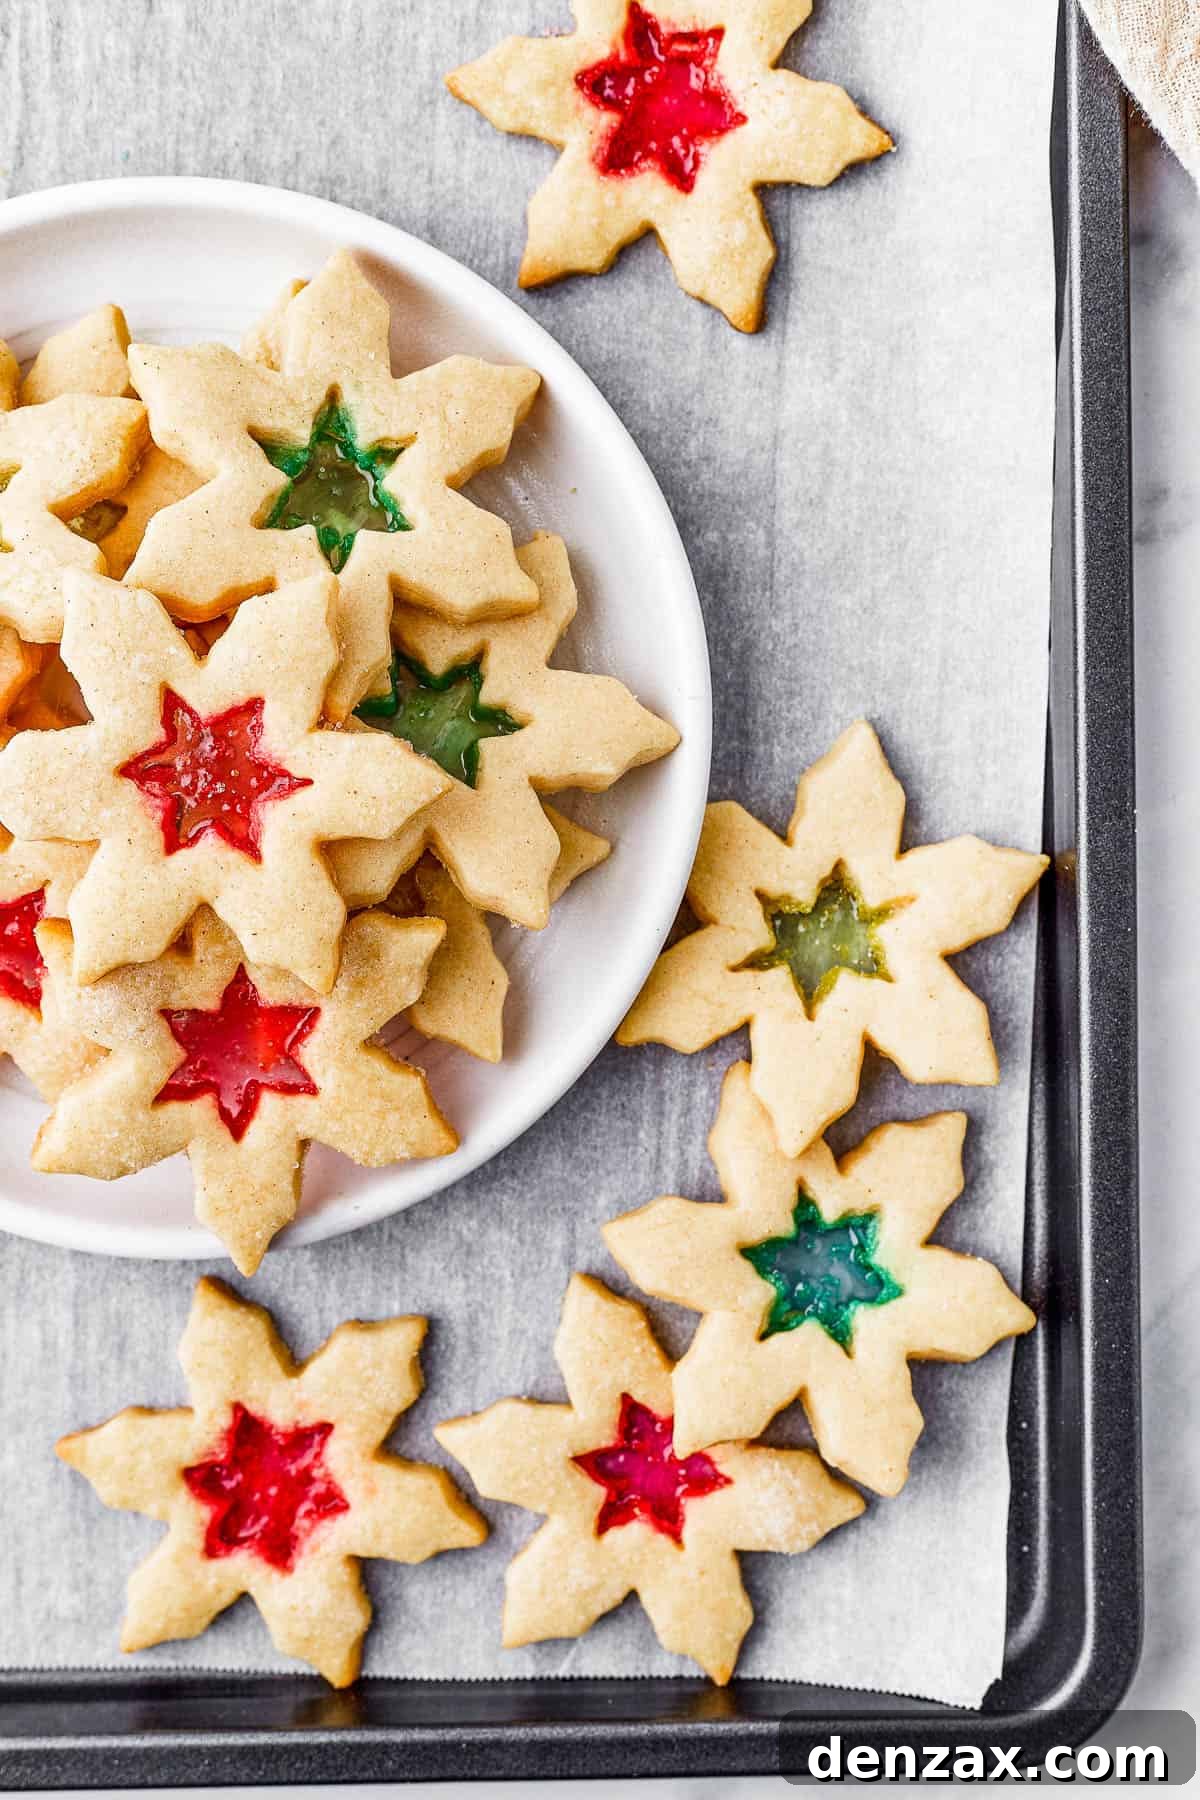
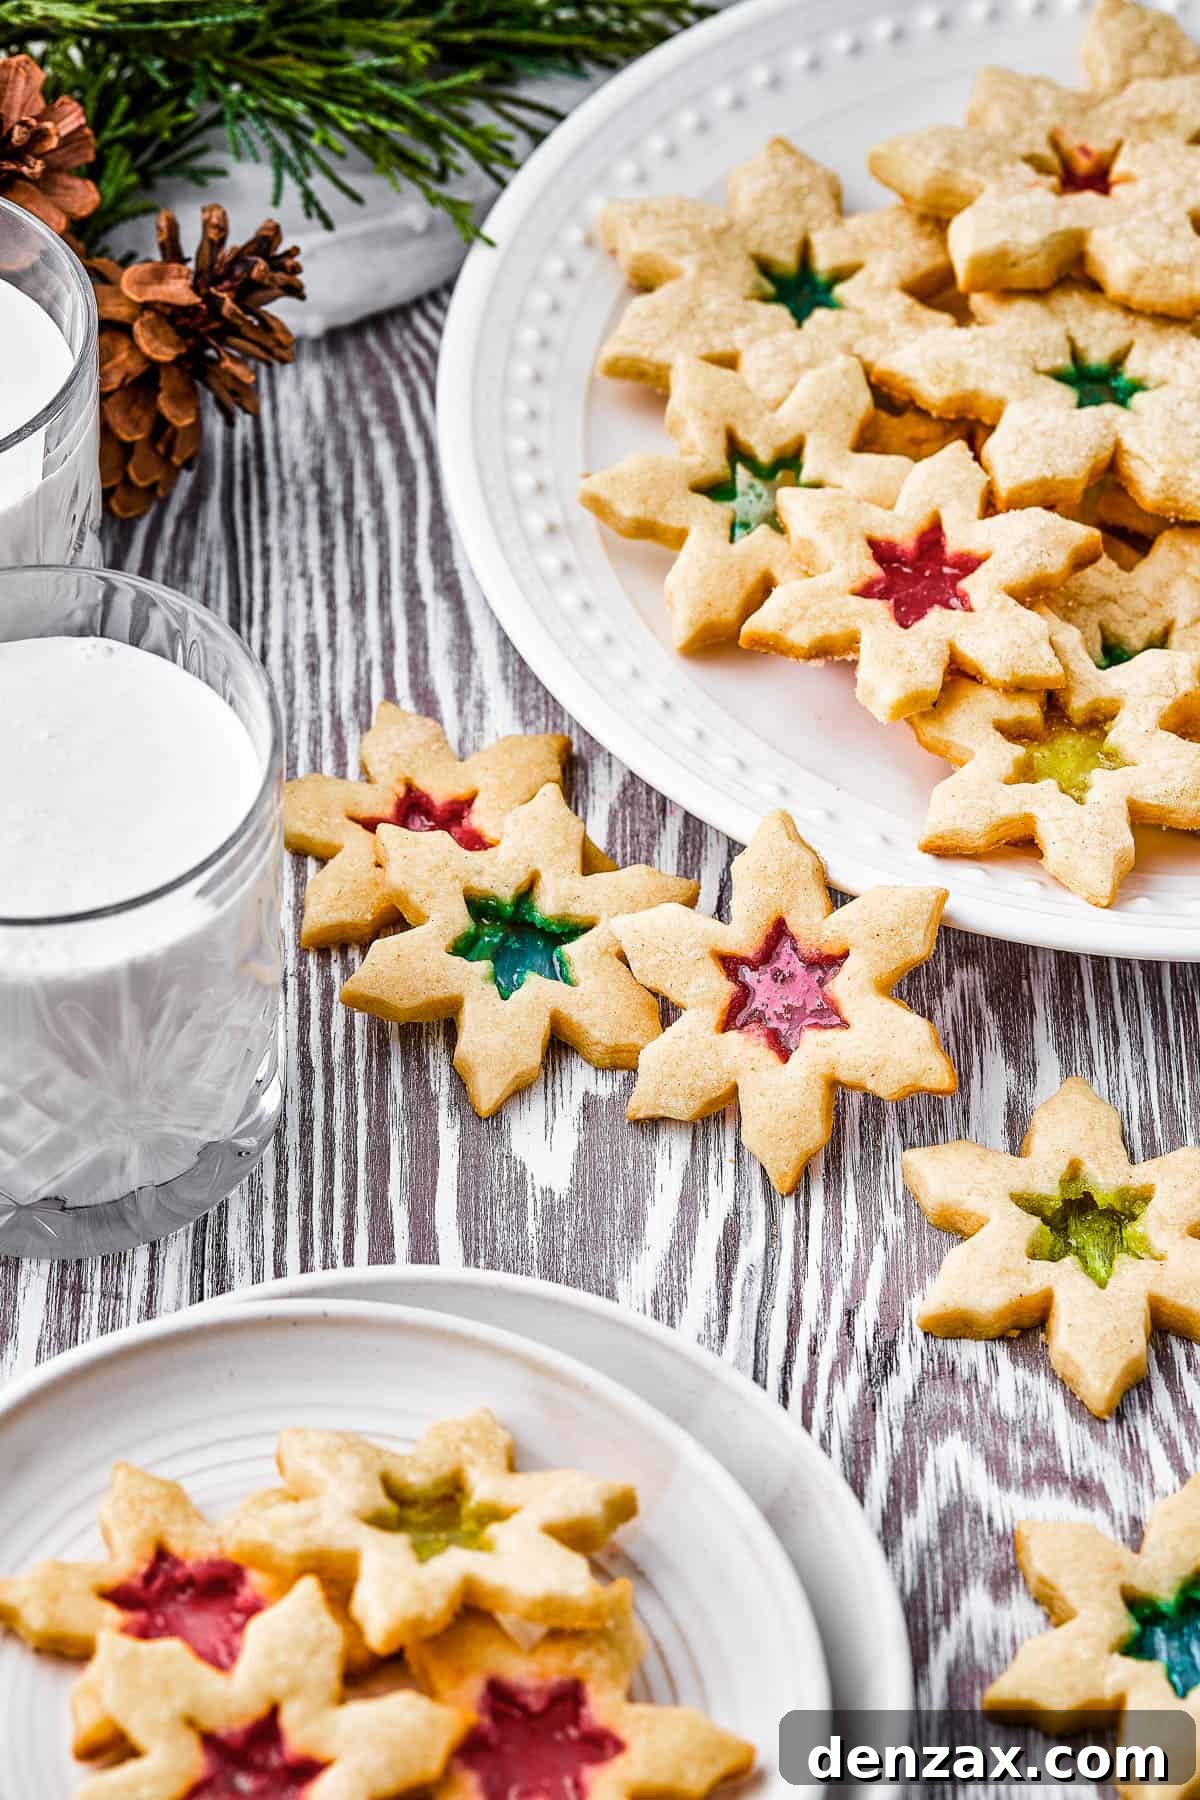
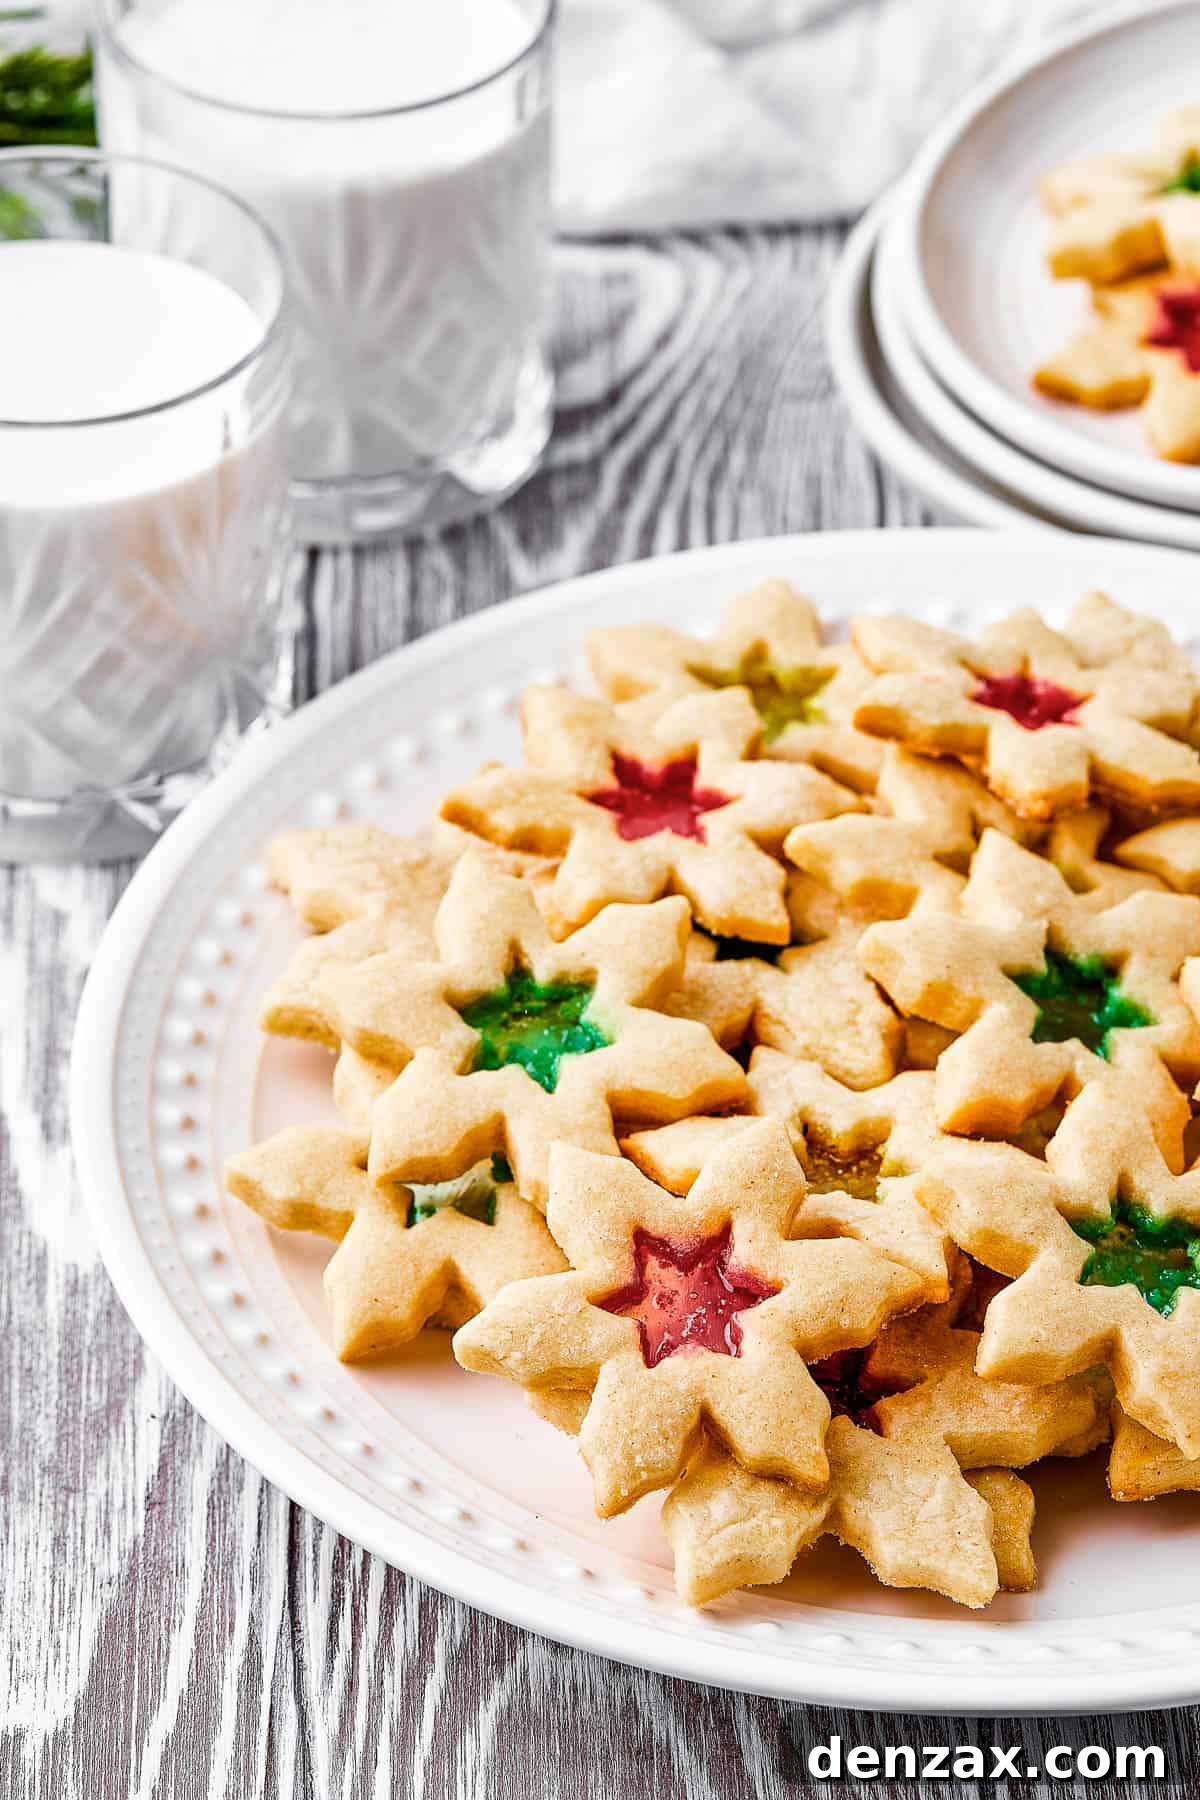
When the festive season arrives, there’s every reason to elevate your baking, and these Stained Glass Cookies offer the perfect blend of spectacular beauty and surprising simplicity. As a busy individual, I understand the value of time, and this recipe delivers maximum impact with minimal fuss. Each golden-brown cookie boasts a meticulously cut-out “window” in its center, filled with a jewel-bright pane of melted hard candy that glows when held to the light. The melted candy creates a delightful, chewy texture that melts in your mouth, perfectly complementing the cookie’s buttery crispness – a delightful cross between a soft sugar cookie and a classic shortbread.
Imagine the “oohs” and “aahs” as you present a platter of these shimmering treats! They don’t just taste wonderful; they are miniature works of art that add an undeniable touch of magic to any Christmas party, cookie exchange, or quiet evening by the fireplace. Their vibrant colors and unique visual appeal make them ideal for gifting, sure to impress friends and family alike. Get ready to create a truly enchanting edible experience that will be remembered long after the last crumb is gone.
Gather Your Tools: Essential Ingredients for Stained Glass Magic
Crafting these stunning Stained Glass Cookies starts with a base of delicious, versatile sugar cookie dough. While fundamentally a sugar cookie, we elevate its flavor profile with a delicate touch of almond extract and a whisper of cinnamon, adding a warm, complex, and distinctly Christmas-y taste. The true artistry comes alive with the choice of hard candies, which transform into the radiant, translucent “windowpanes.” Below is a comprehensive list of what you’ll need, along with tips for best results.
- All-Purpose Flour: The foundation of our cookie dough. For best results, always measure flour by lightly spooning it into your measuring cup and leveling it off. You can also successfully substitute a high-quality 1:1 gluten-free all-purpose flour blend if catering to dietary needs, ensuring everyone can enjoy these festive treats.
- Baking Powder: A small amount of baking powder helps to give the cookies a slight lift and a tender crumb, preventing them from being too dense.
- Cinnamon: This warm spice adds an inviting, festive aroma and flavor that perfectly complements the holiday season. While highly recommended for that classic Christmas taste, you can certainly omit it if you prefer a more traditional, pure sugar cookie profile.
- Salt: Just a pinch of salt is essential for balancing the sweetness and enhancing all the other flavors in the cookie dough, bringing out its richness.
- Unsalted Butter: Always use unsalted butter to control the total salt content in your baking. It’s crucial that your butter is at room temperature. This ensures it creams properly with the sugar, creating a light and fluffy base for your dough, which is key for a tender cookie texture.
- Granulated Sugar: Standard granulated sugar provides the sweetness and helps create the crisp edges. For a slightly different texture and rustic appeal, you can substitute raw sugar if you prefer.
- Large Egg: The egg acts as a binder, adding structure and richness to the dough. Like butter, ensure your egg is at room temperature for better emulsification with the other ingredients, leading to a smoother, more uniform dough.
- Pure Vanilla Extract: A baking staple, pure vanilla extract provides a foundational warmth and depth of flavor. Always opt for pure extracts over artificial ones for the best taste.
- Pure Almond Extract: This ingredient is a game-changer, adding a sophisticated, slightly nutty, and aromatic complexity that truly elevates the cookies beyond a simple sugar cookie. If you prefer a more classic vanilla flavor or have an almond allergy, you can easily omit it and increase the vanilla extract by an additional half teaspoon.
- Hard Candies: You’ll need approximately 8 to 10 colorful hard candies to create the stunning “stained glass” effect. Brands like Jolly Ranchers, Lifesavers, or even crushed candy canes work wonderfully. The key is to choose translucent candies that will melt clear and vibrant.
- Egg White (Optional): If you desire an extra touch of sparkle and a professional finish, one whisked egg white can be brushed onto the cookies before baking.
- White Crystal Sprinkles or Coarse Sugar (Optional): Paired with the egg white, these toppings add a beautiful, shimmering border that enhances the festive look. You can find excellent crystal sprinkles online or at baking supply stores. Even without them, the cookies are absolutely delicious, so this step is purely for aesthetic enhancement.
Selecting the Perfect Hard Candies for Your Windows
The type of hard candy you choose is critical to achieving that breathtaking stained-glass effect. Almost any hard candy can be used, including festive candy canes for a peppermint twist! However, some candies will yield brighter, more translucent results than others. Experimentation can be fun, but a general rule of thumb is to select candies that are already translucent in their solid form. These are the ones that will melt down into beautiful, gem-like panes that truly mimic stained glass.
Avoid opaque or creamy candies, as they will not achieve the desired windowpane effect and will remain solid and cloudy after baking. For vibrant, distinct colors, separate your candies by hue before crushing them. This allows you to create multicolored windows within a single cookie or stick to specific color themes, such as festive reds and greens, or a kaleidoscope of brilliant shades. Consider the flavor of the candies too – fruity flavors will infuse a subtle taste into the cookie, complementing the almond and vanilla notes.
Step-by-Step Guide: Crafting Your Stained Glass Masterpieces
Embark on the enjoyable and surprisingly artistic journey of making these gorgeous Stained Glass Cookies right in your own kitchen! This process is perfect for an afternoon of holiday baking, whether you’re alone or with little helpers. Follow these detailed steps to create your edible masterpieces:
- Prepare Dry Ingredients: In a spacious mixing bowl, sift together the all-purpose flour, baking powder, cinnamon, and salt. Sifting is crucial here as it removes any lumps and ensures these dry ingredients are thoroughly combined and evenly distributed, leading to a consistent cookie texture. Once sifted, set this mixture aside.
- Cream Wet Ingredients: Using a stand mixer equipped with the paddle attachment, cream together the softened unsalted butter and granulated sugar. Beat on medium-high speed until the mixture becomes wonderfully light, fluffy, and pale in color. This process incorporates air, contributing to the cookie’s tender texture. Remember to periodically stop the mixer and scrape down the sides of the bowl with a spatula to ensure everything is evenly combined.
- Add Egg and Extracts: To the creamed butter and sugar, add the room-temperature egg, pure vanilla extract, and pure almond extract. Increase the mixer speed to high and continue mixing until all these wet ingredients are fully incorporated and the mixture is smooth and cohesive.
- Combine Wet and Dry: Gradually add the sifted dry ingredients into the butter mixture in the stand mixer bowl. Mix on a low speed, just until the dough comes together and is soft and smooth. Be careful not to overmix, as this can develop the gluten in the flour too much, resulting in tough cookies. If you find the dough is still too sticky to handle easily, add additional flour in very small increments (about ½ tablespoon at a time), mixing briefly after each addition until the dough reaches a manageable consistency.
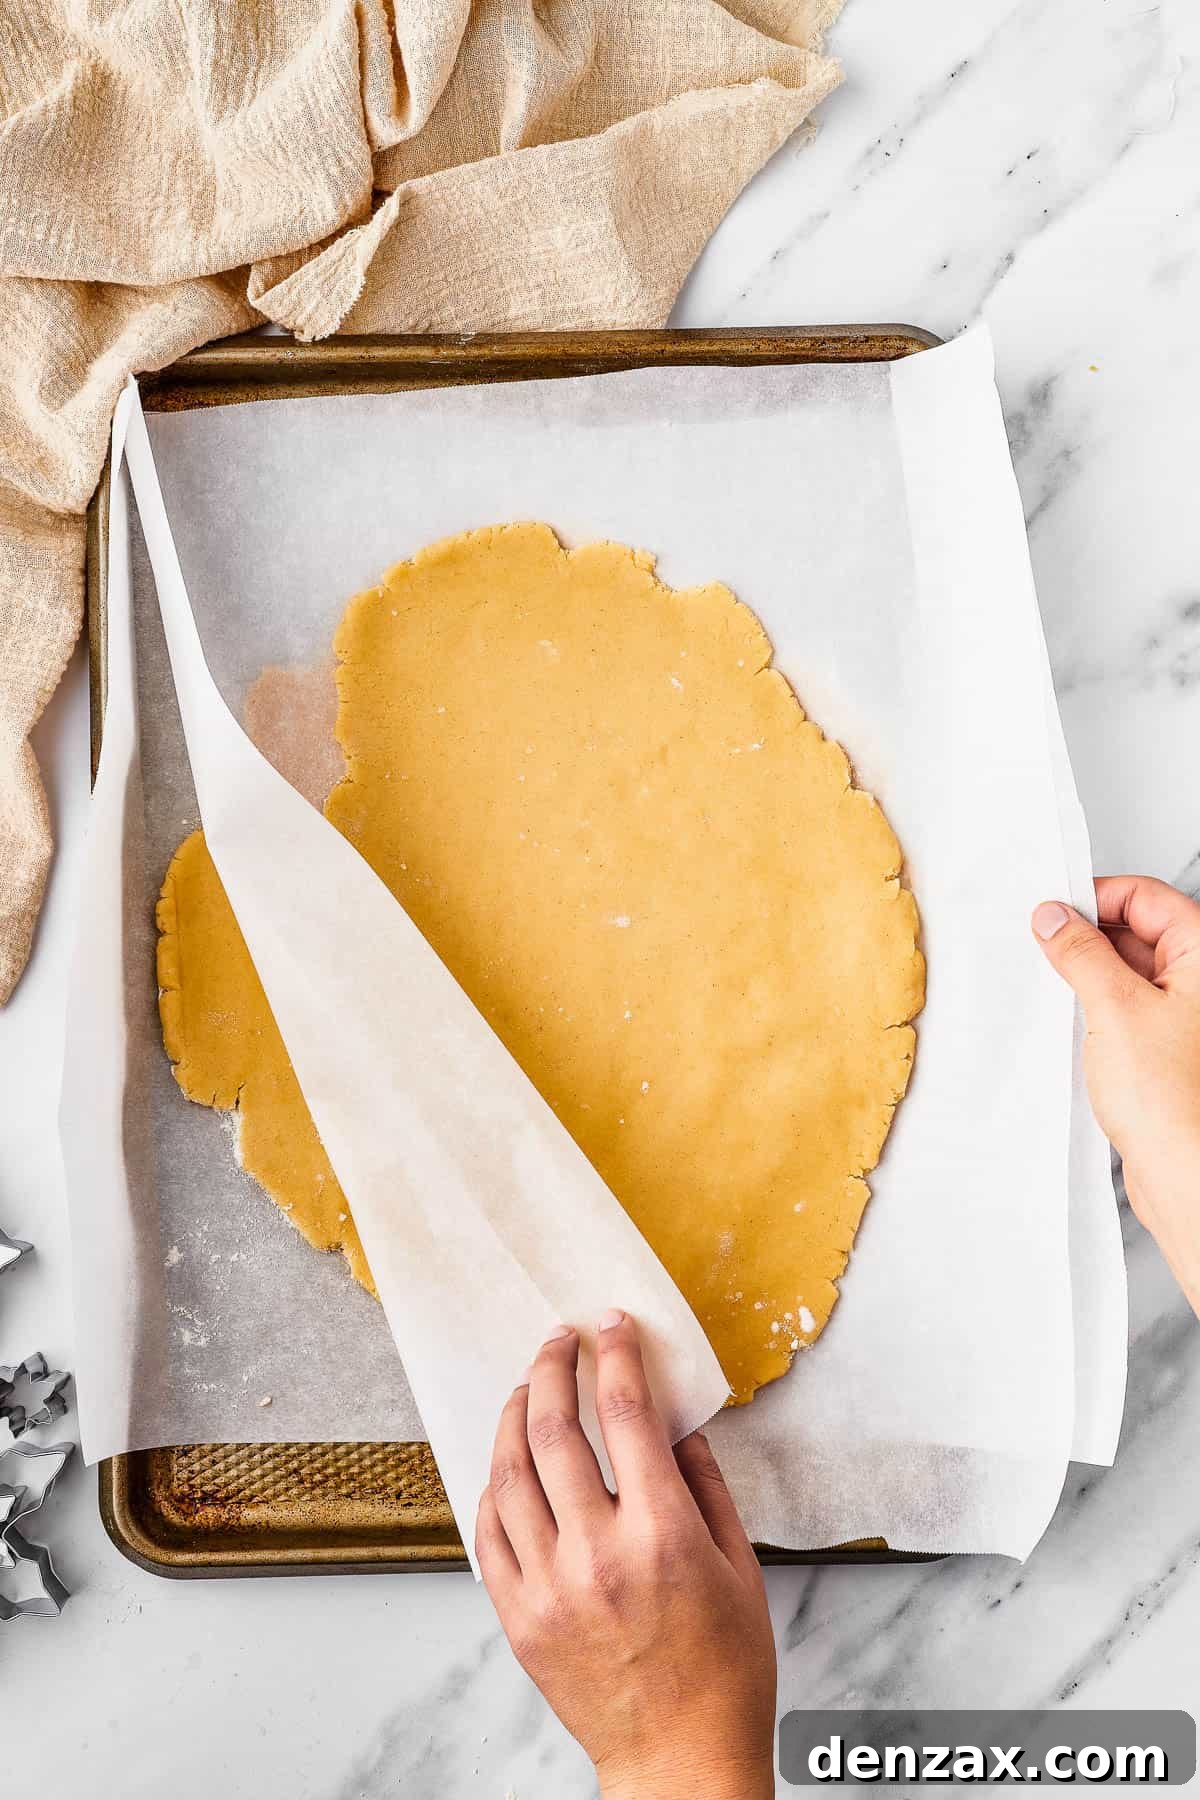
- Chill the Dough: Remove the dough from the mixer and divide it into two equal portions. On individual sheets of parchment paper, roll out each half of the dough to an even thickness of approximately ¼-inch. Transfer each parchment-lined dough sheet onto a separate baking tray. This crucial chilling step helps prevent the cookies from spreading excessively during baking, allowing them to retain their crisp edges and intricate shapes. Chill the trays in the refrigerator for a minimum of three hours, or ideally, overnight.
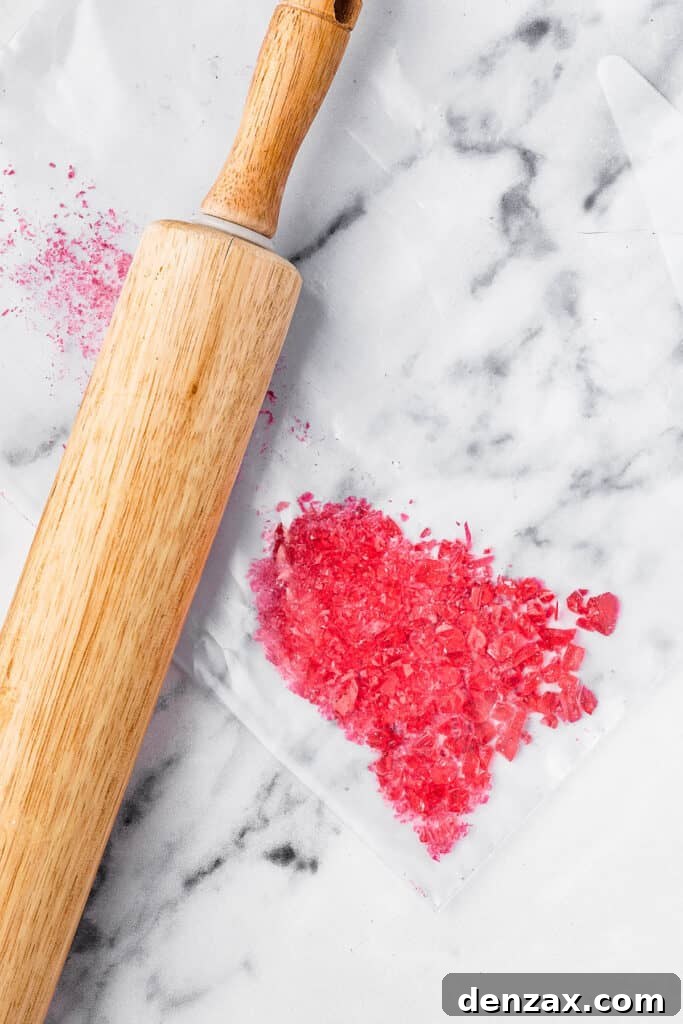
- Crush the Candies: While the dough chills (or when you’re almost ready to bake), prepare your hard candies. Separate them by color into individual plastic baggies. Using a meat mallet, the flat side of a rolling pin, or even a heavy-bottomed pan, finely crush the candies into small, irregular bits. The goal is not a powder, but rather small, crystal-like pieces that will melt smoothly into the “stained glass” windows.
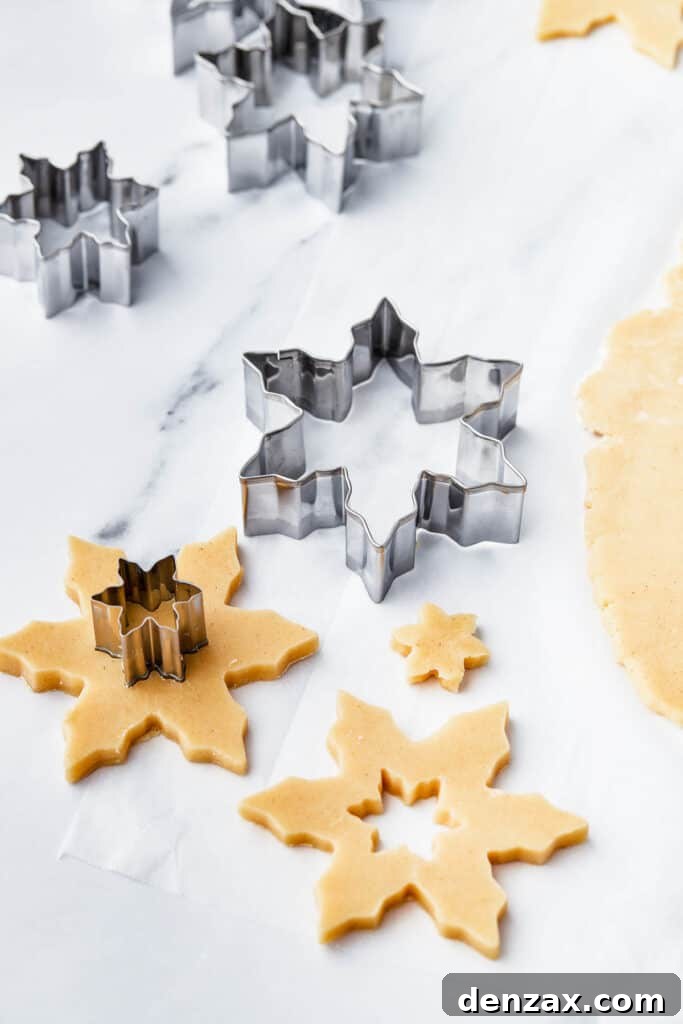
- Cut Out the Cookies: Once the dough is thoroughly chilled, preheat your oven to 375°F (190°C). Begin cutting out your cookies. First, use a larger cookie cutter to create the overall shape of the cookie. Then, using a smaller cookie cutter (or a small, sharp knife), carefully cut out a “window” from the center of each large cookie. Gently place each cutout cookie onto a baking sheet lined with fresh parchment paper, leaving about 2-3 inches between them. Gather all the dough scraps, gently combine them into a ball, re-roll, and continue cutting out more cookies until all the dough is used. If the dough becomes too warm and sticky during this process, simply place it back into the refrigerator for 10-15 minutes to firm up before continuing.
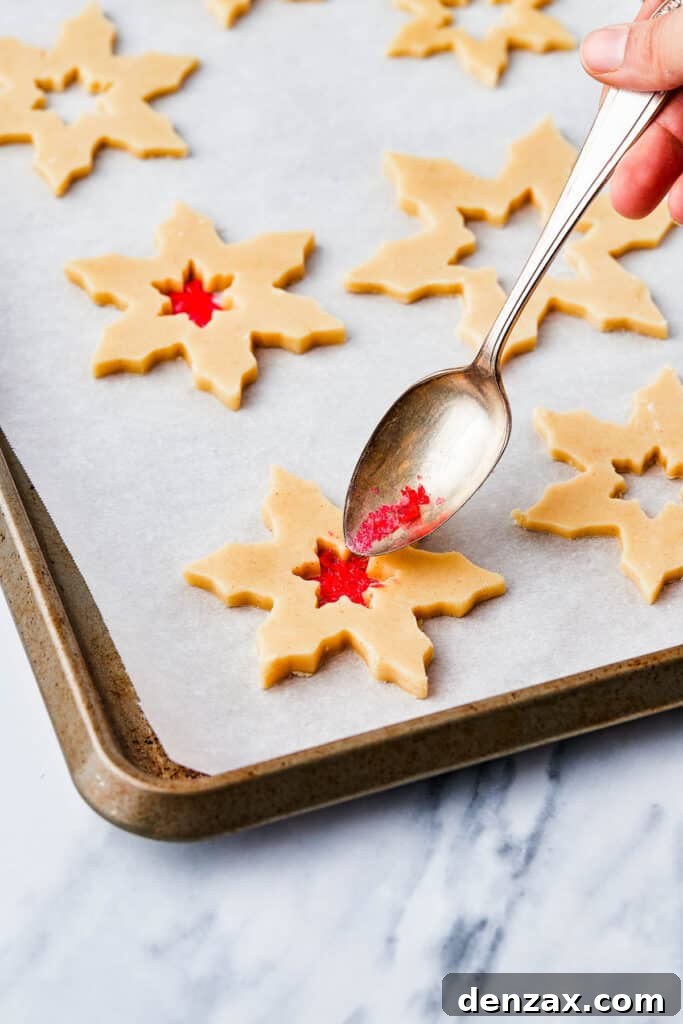
- Fill the Windows: With your cut-out cookies arranged on the baking sheets, it’s time to create the stained glass effect. Using a small spoon, carefully fill each cookie’s “window” with your crushed candies. Aim to fill them approximately 75% full. The candies will melt and spread to fill the entire cavity, so overfilling can lead to bubbling over the edges.
- Optional Sprinkles: If you’re opting for extra sparkle, gently brush the tops of each cookie with the whisked egg white, then immediately sprinkle with white crystal sprinkles or coarse sugar before baking.
- Bake and Cool: Bake the cookies for 8 to 10 minutes, or until their edges turn a light, golden brown. The candy centers should be fully melted and appear smooth and translucent. Remove the baking sheets from the oven and allow the cookies to cool completely on the baking sheet for 10 to 15 minutes. This is crucial for the candy centers to set and harden properly. Once set, use a thin spatula to carefully lift the cookies from the parchment paper and transfer them to a wire cooling rack to cool for another 5 minutes before serving. Enjoy your magnificent, edible works of art!
Expert Baking Tips for Flawless Stained Glass Cookies
Achieving perfectly beautiful Stained Glass Cookies is incredibly rewarding, and a few expert tips can make all the difference. These helpful tricks will ensure your cookies are not just delicious, but also visually stunning masterpieces that truly stand out.
- Precision Cutting for Windows: To create the crisp, clean “window” in each cookie, it’s easiest to use two cookie cutters of different sizes. Choose a larger one for the overall cookie shape and a smaller one for the inner cutout. Ensure your cutters are sharp for clean edges. If you don’t have perfectly sized cutters, a small, sharp paring knife can be used to carefully cut out the center, though this requires a bit more steady hand and patience.
- Optimal Candy Filling: Resist the urge to overfill the cookie windows with crushed candy. You only need to fill each cavity about 75% full. As the cookies bake, the candy will melt, liquify, and spread to form a smooth, thin, vibrant layer. If you add too much candy, it can bubble excessively, overflow the edges of the cookie, and create a messy, less aesthetically pleasing result. A small spoon or even a piping bag (without a tip, just a cut corner) can help you precisely distribute the crushed candy.
- The Importance of Chilling: This is perhaps the most critical step for success. Chilling the cookie dough for the recommended three hours (or even overnight) is non-negotiable. Without adequate chilling, the butter in the dough will soften too quickly in the oven, causing the cookies to spread excessively and lose their intricate shapes and defined windows. Plan your baking schedule to account for this essential chilling time – patience here truly pays off!
- Avoid Over-Baking: Keep a close eye on your cookies during the last few minutes of baking. They are done when the edges just begin to turn a light golden brown. Over-baking can cause the cookies to become too crisp and the candy centers to darken or even burn, diminishing their vibrant color.
- Gentle Handling: Once out of the oven, the melted candy centers will be very hot and liquid. Allow the cookies to cool completely on the baking sheet until the candy has fully hardened. Trying to move them too soon will result in broken cookies or distorted candy windows. A thin metal spatula is your best tool for carefully transferring the cooled, set cookies to a wire rack.
Creative Variations: Customizing Your Stained Glass Cookies
The beauty of these Stained Glass Cookies lies not only in their stunning appearance but also in their adaptability. You can easily customize this recipe in numerous ways, primarily by experimenting with different cookie doughs or varying your candy choices. Here are some of my favorite ideas to inspire your creativity and make these cookies uniquely yours:
- Dough Delights: While a classic sugar cookie dough is fantastic, this stained glass technique works beautifully with most sturdy, roll-and-cut cookie doughs. Consider using a rich gingerbread dough for a spicier, more aromatic cookie base, often seen in elaborate gingerbread house windows. Shortbread dough also makes an excellent, crumbly, and buttery alternative, providing a delightful contrast to the chewy candy center. Even a chocolate cookie dough can create a striking contrast with brightly colored candy windows!
- Flavorful Additions: Beyond cinnamon, explore other warming spices like a pinch of nutmeg, cardamom, or even a touch of ground ginger in your cookie dough for added complexity. For a brighter, zesty flavor, incorporate finely grated citrus zest (lemon, orange, or lime) into the dough – it pairs wonderfully with fruity hard candies.
- Butterscotch Bliss: For a sunny yellow window and a distinctly sweet, caramel-like flavor, try using crushed butterscotch hard candies. The buttery notes of the candy perfectly complement the cookie dough, creating a warm, inviting treat.
- Cinnamon Sweetness Accent: As mentioned, a little bit of cinnamon added to the cookie dough imparts a subtle warmth and slightly sweeter profile, enhancing the overall festive taste. Don’t underestimate the power of this simple addition!
- Pure Vanilla Elegance: The almond extract provides a unique, sophisticated nutty flavor that truly elevates the cookie’s profile. However, if you prefer a more traditional, straightforward sugar cookie taste, simply omit the almond extract and use an additional half teaspoon of pure vanilla extract instead.
- Theme and Shape Exploration: Beyond traditional Christmas shapes like snowflakes and stars, consider tailoring your cookie shapes and candy colors for other holidays or occasions. Use heart-shaped cutters with red candies for Valentine’s Day, or mix pastel candies with flower shapes for spring. The possibilities are endless!
- Decorative Flair: In addition to crystal sprinkles, consider using edible glitter for an extra shimmer on the cookie edges, or even finely chopped nuts pressed into the dough before baking (if the dough is sturdy enough).
Planning Ahead: Make-Ahead Strategies for Stress-Free Baking
Absolutely! These Stained Glass Cookies are perfect for making in advance, whether you want to prepare the dough or store baked cookies until you’re ready to serve. This flexibility makes them an ideal choice for busy holiday schedules. You can prepare the cookie dough ahead of time and freeze it in airtight freezer bags for up to one month. When you’re ready to bake, simply transfer the frozen dough to the refrigerator overnight to thaw, and it will be perfectly ready to roll out and cut the next day, saving you valuable time on baking day.
Storage Solutions for Lasting Freshness and Beauty
Proper storage is key to maintaining the delicious flavor and beautiful appearance of your Stained Glass Cookies. These guidelines will help you keep them fresh for as long as possible:
- Room Temperature Storage: Once completely cooled, store your cookies in an airtight container at room temperature for 5 to 7 days. Ensure they are placed in a single layer or separated by parchment or wax paper to prevent sticking and preserve their delicate candy windows.
- Refrigeration: For extended freshness, you can refrigerate the cookies in airtight containers or zip-top bags for up to 10 days. Bring them to room temperature before serving for the best texture and flavor.
- Freezing for Long-Term: To freeze Stained Glass Cookies, stack them carefully in airtight containers with sheets of wax paper or parchment paper placed between each layer. This prevents them from sticking together and protects the candy centers. They can be frozen for up to three months. Thaw frozen cookies at room temperature for several hours or overnight in the refrigerator before enjoying.
Stained Glass Cookies
Katerina | Easy Weeknight Recipes
30
10
3
20
4
30
Cookies
Ingredients
- 3 cups all-purpose flour
- ¾ teaspoon baking powder
- ½ teaspoon cinnamon
- ¼ teaspoon salt
- 1 cup unsalted butter, room temperature
- 1 cup granulated sugar
- 1 large egg, room temperature
- 1 teaspoon vanilla extract
- ½ teaspoon almond extract
- 8 to 10 colorful hard candies, such as Jolly Ranchers
- 1 egg white, whisked, for brushing onto the cookies (optional)
- White crystal sprinkles or coarse sugar, optional
Instructions
-
Sift the flour, baking powder, cinnamon, and salt into a large bowl. Set aside.
-
In a stand mixer fitted with a paddle attachment, beat the butter and sugar together until light and fluffy, stopping and scraping the sides of the bowl as needed, about 3 minutes.
-
Add egg, vanilla extract, and almond extract. Mix on high speed until fully incorporated, about 1 minute.
-
Add the sifted dry ingredients to the mixer, and mix on low speed until combined, about 2 to 3 minutes. The dough should be soft, but not sticky or unmanageable. If the dough is too sticky to roll, add more flour in ½ tablespoon increments.
-
Remove the dough from the mixer, and divide it into two equal portions. On a piece of lightly-floured parchment paper, roll out one portion of the dough to ¼-inch thickness. Transfer both the parchment and dough to a large baking tray. Repeat with the remaining dough. Place both trays of rolled dough in the refrigerator, and chill at least three hours, or overnight.
-
While the dough is chilling, prepare the candies. Separate them by color, and place them into plastic bags. Roughly crush them into small (not powdery or fine) crystals, with a meat mallet or the side of your rolling pin.
-
After the dough has chilled, preheat the oven to 375˚F degrees and begin cutting the cookies. First, cut out a cookie with the larger cookie cutter. Then, cut out the center of the cookie using a smaller cookie cutter, to create a window. Re-roll the dough and continue cutting cookies until you have used all of the dough. If the dough becomes too soft or sticky, roll it and place it in the refrigerator to chill for 10 to 15 minutes.
-
Carefully transfer the cookies to a baking sheet lined with parchment, paper, keeping them about 2 to 3 inches apart.
-
Using a small spoon, fill the centers of the cookies with crushed candy, about 75% full.
-
Brush the tops of the cookies with whisked egg white, and sprinkle with white crystal sprinkles or coarse sugar (if using).
-
Bake for 8 to 10 minutes, or until the edges turn a light golden brown.
-
Remove the cookies from the oven, and let cool on the baking sheet for 10 to 15 minutes, or until the candy centers have set.
-
Once the cookies have cooled, use a spatula to carefully remove them from the baking sheet, and transfer them to a cooling rack. Cool for another 5 minutes, and serve.
Nutrition
Calories: 161kcal | Carbohydrates: 25g | Protein: 2g | Fat: 6g | Saturated Fat: 4g | Polyunsaturated Fat: 1g | Monounsaturated Fat: 2g | Trans Fat: 1g | Cholesterol: 22mg | Sodium: 35mg | Potassium: 19mg | Fiber: 1g | Sugar: 13g | Vitamin A: 197IU | Vitamin C: 1mg | Calcium: 11mg | Iron: 1mg
Nutritional info is an estimate and provided as courtesy. Values may vary according to the ingredients and tools used. Please use your preferred nutritional calculator for more detailed info.
More Holiday Cookie Inspiration
If these Stained Glass Cookies have sparked your holiday baking spirit, you’ll love exploring these other festive cookie recipes. Each one is designed to bring joy and deliciousness to your celebration:
- Red Velvet Crinkle Cookies: Rich, fudgy, and beautiful with their powdered sugar coating.
- Hot Chocolate Sugar Cookies: A cozy classic reimagined, perfect with a mug of cocoa.
- Candy Cane Cookies: Whimsical and wonderfully peppermint-flavored, a true holiday favorite.
Whether you’re baking for family, friends, or a holiday gathering, these Stained Glass Cookies offer a unique blend of elegance and simplicity. Their shimmering centers and buttery taste make them an undeniable highlight of any festive spread. Happy baking, and may your holidays be filled with joy and delicious treats!