
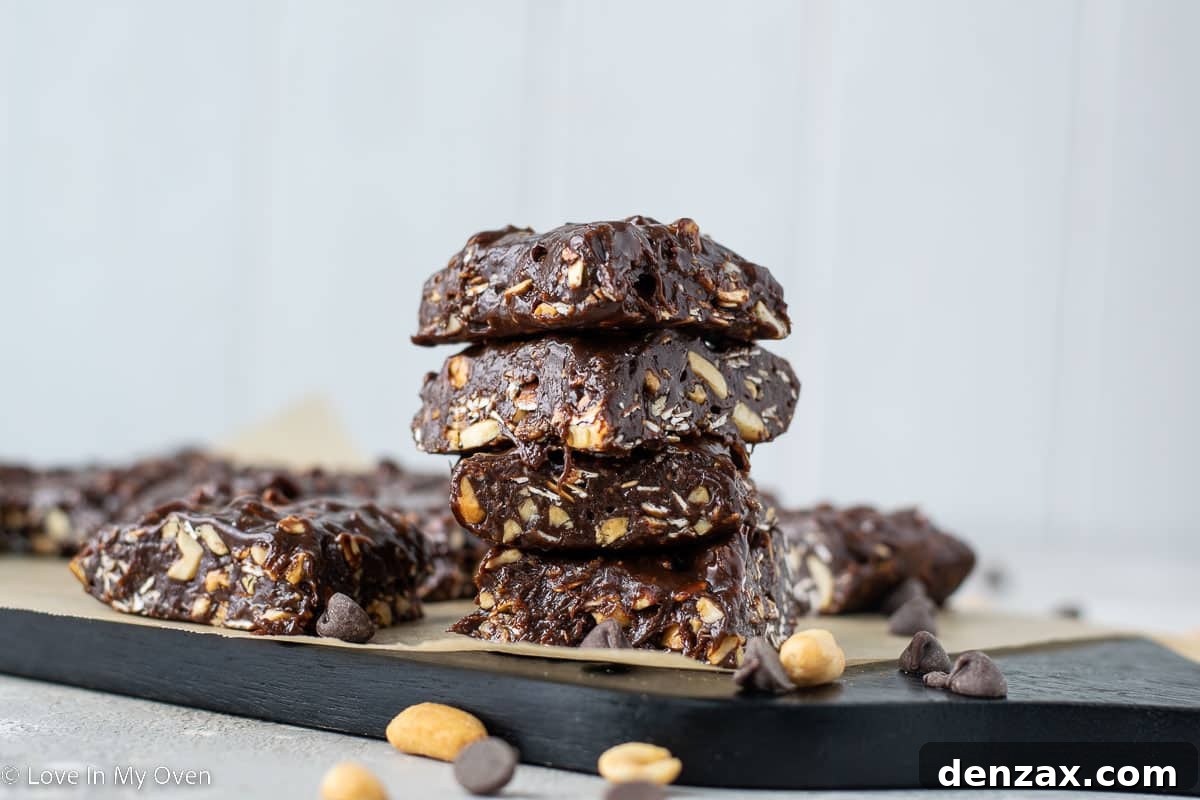
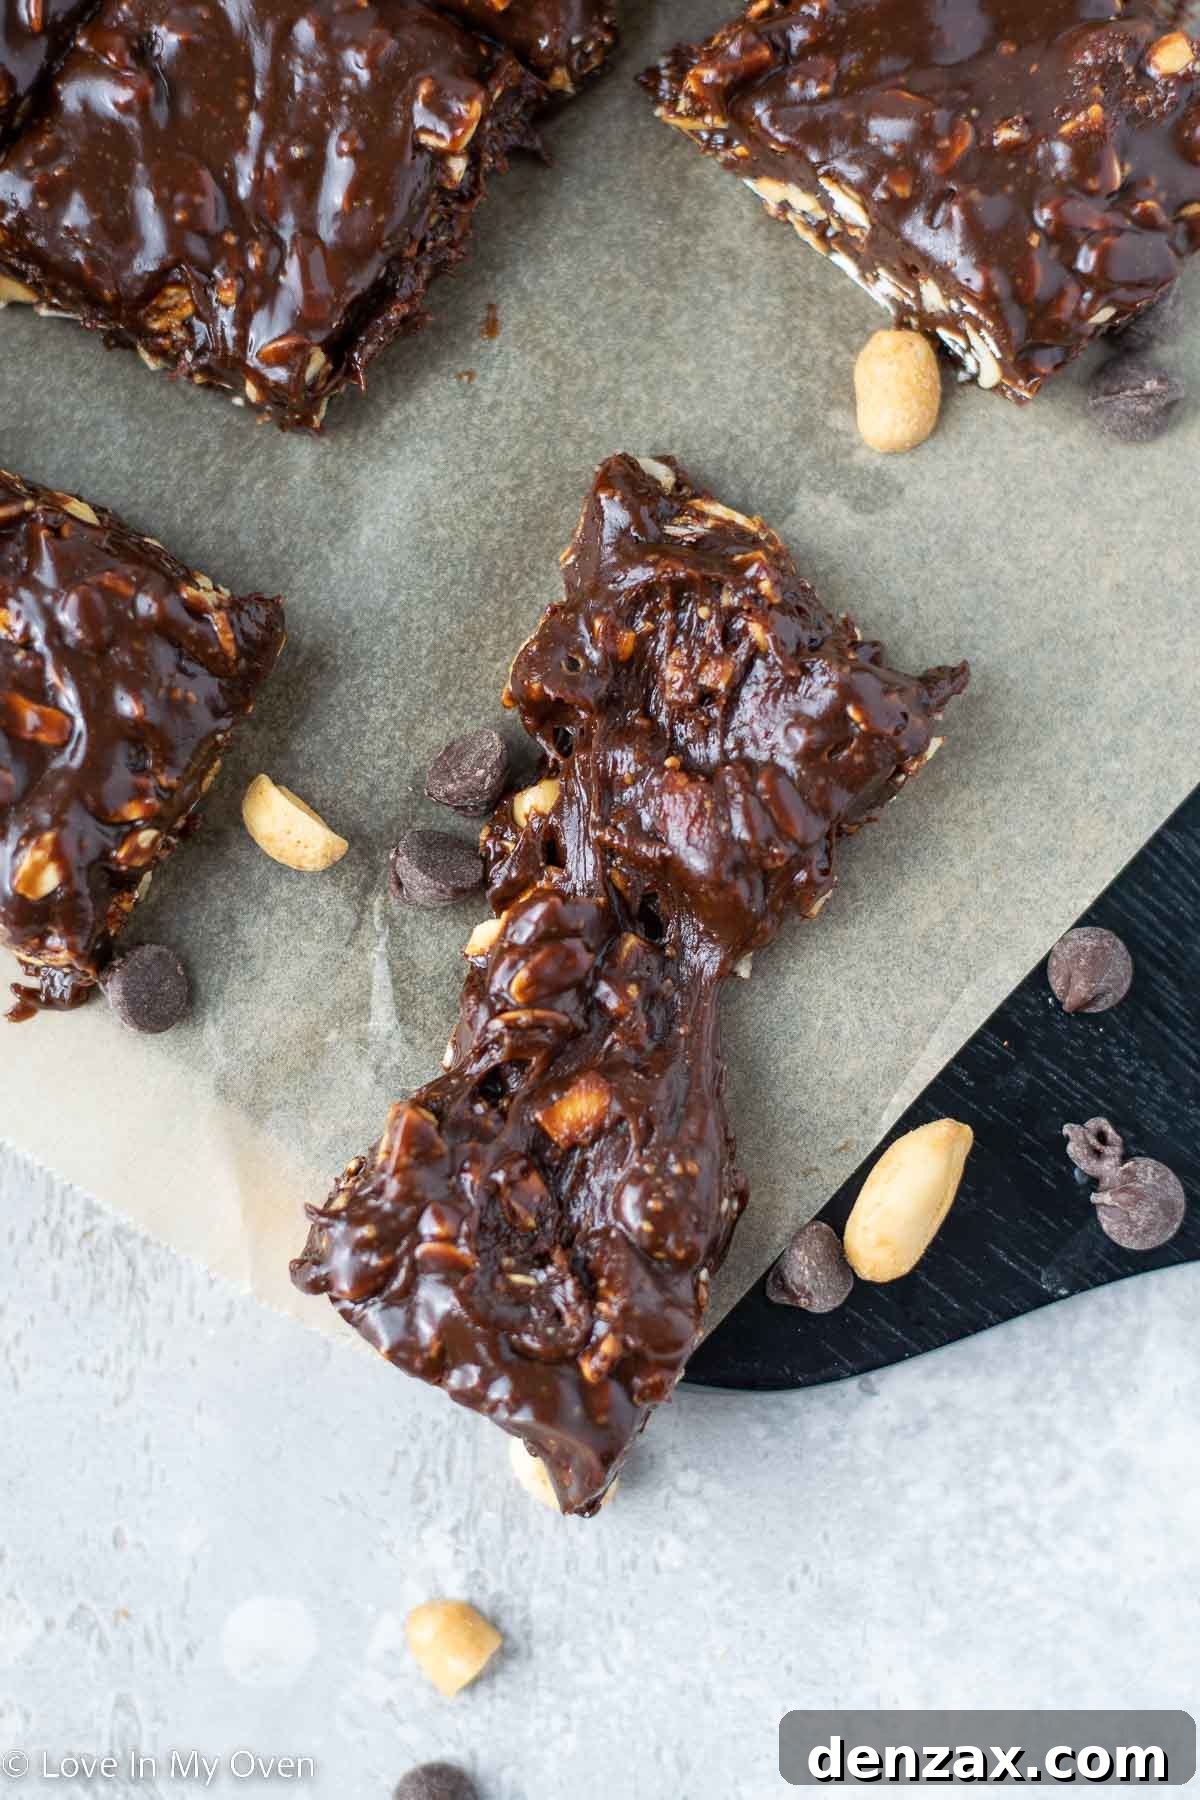
Indulge in the sweet and salty bliss of these homemade Eat-more bars, crafted with wholesome date syrup for a healthier twist! Chewy, nutty, and utterly irresistible, this recipe promises to become a cherished family favorite, bringing a delightful taste of nostalgia right into your kitchen.
Do you remember the distinctive taste of an original Eat-more bar? For many in Canada, these iconic Hershey’s creations evoke a sense of nostalgic comfort, yet they remain somewhat of a hidden gem for our friends south of the border. Known as a “dark chocolate toffee chew,” these bars are celebrated for their unique blend of rich, dark chocolate, sweet, sticky toffee, and crunchy peanuts, all combined into a deliciously chewy texture that’s genuinely addictive. It’s that perfect harmony of sweet, salty, and chewy that makes them so incredibly satisfying.
As an avid home baker and experimenter, one of my greatest joys is taking beloved classic treats and reimagining them in a homemade format. This pursuit often comes with a delightful challenge: how to enhance their nutritional profile without compromising an ounce of that cherished flavor. This particular quest led me to develop a recipe for homemade Eat-more bars that not only captures the essence of the original but also offers a slightly healthier spin, making them an even more guilt-free indulgence.
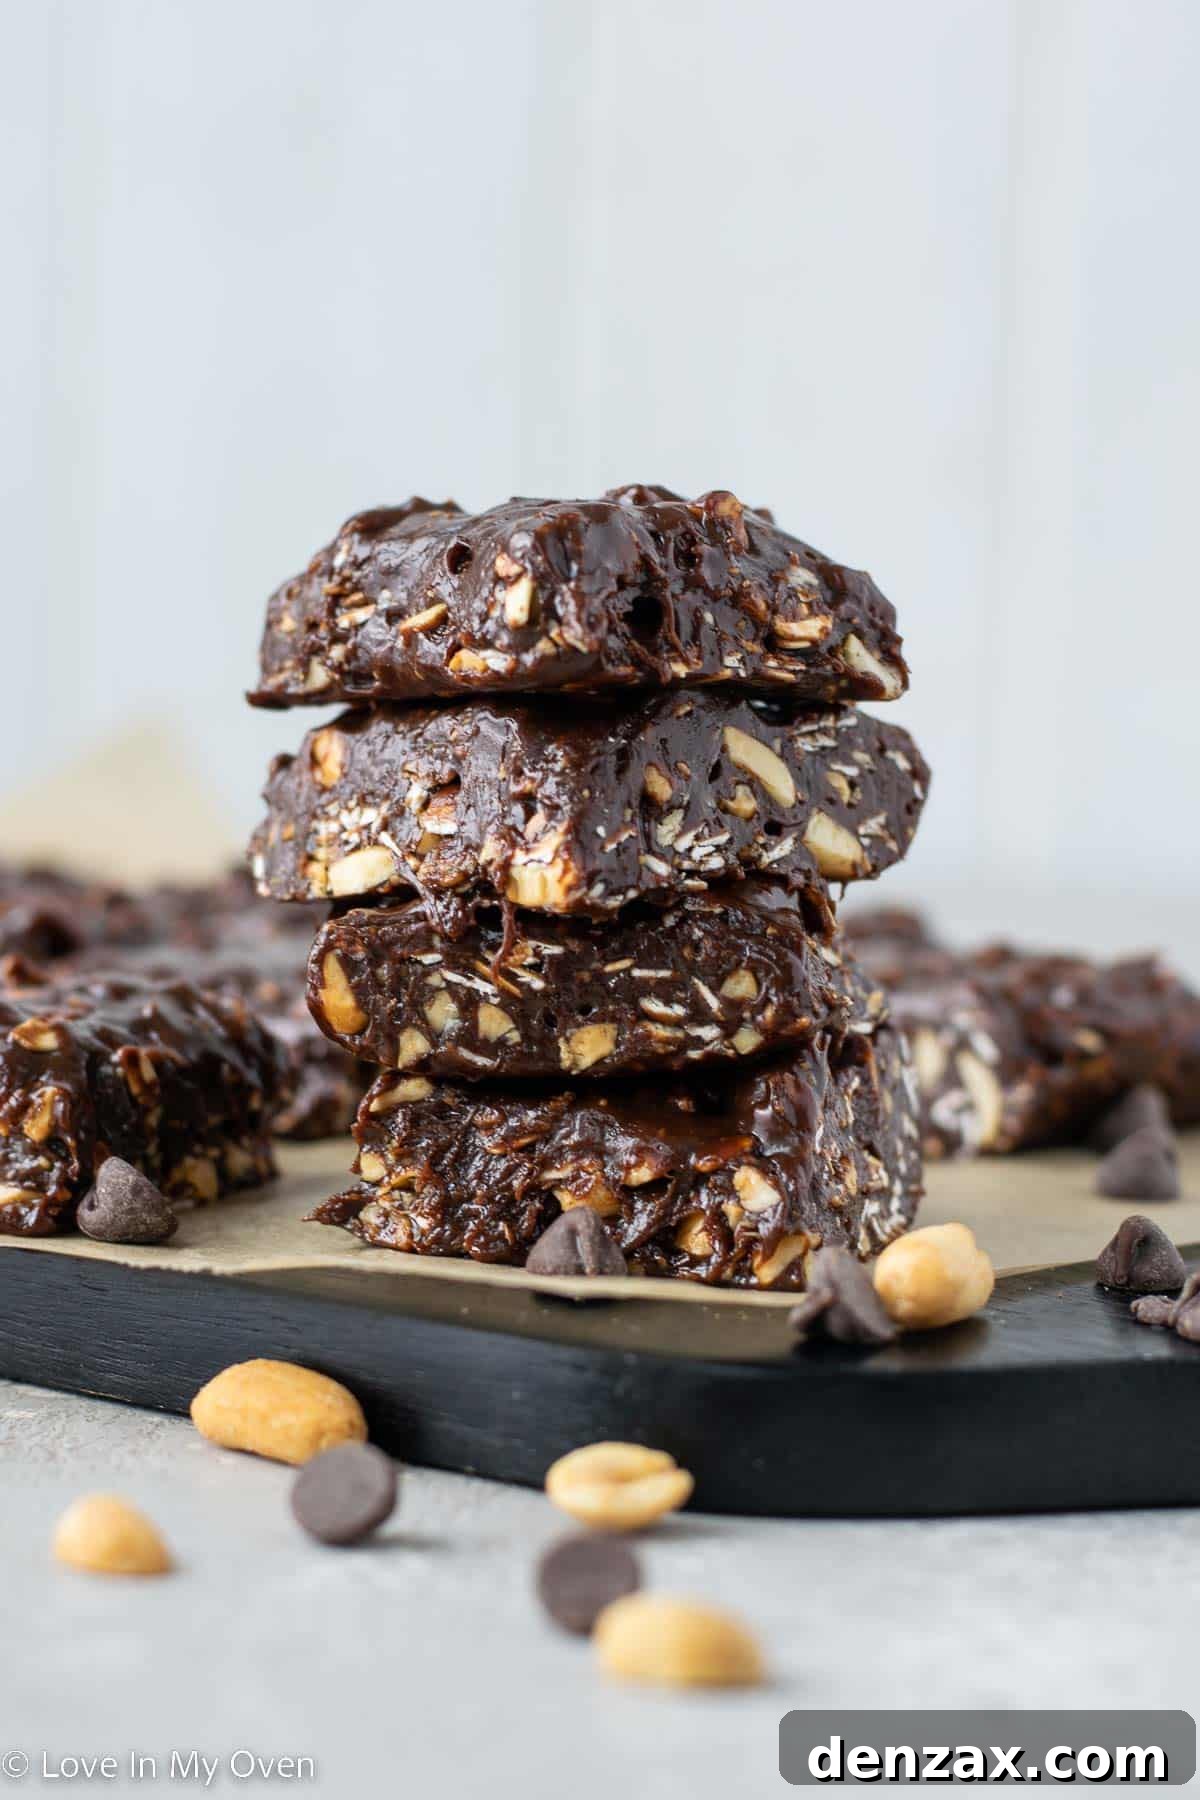
What Makes These Homemade Eat-more Bars a Healthier Choice?
Beyond the inherent benefits of any homemade treat – primarily the absence of artificial additives, obscure preservatives, and unnecessary fillers commonly found in commercial products – these healthier Eat-more bars incorporate a few thoughtful substitutions that significantly elevate their nutritional value. When you make treats from scratch, you gain complete control over the quality and type of ingredients, which is the first step towards a healthier indulgence.
The two primary ingredient swaps that make a big difference in this recipe are:
- Date Syrup: Replaces traditional corn syrup. Date syrup is a natural sweetener derived entirely from dates, offering a rich, caramel-like flavor along with natural fiber, vitamins, and minerals. Unlike corn syrup, which is often highly processed and devoid of nutrients, date syrup provides a healthier, unrefined alternative that contributes to a more balanced sweetness and even offers some antioxidant benefits.
- All-Natural Smooth Peanut Butter: Opting for all-natural peanut butter ensures you’re getting a product with minimal ingredients, typically just peanuts and perhaps a touch of salt. This avoids the added sugars, hydrogenated oils, and artificial emulsifiers often present in conventional peanut butter brands, which can contribute to unhealthy fats and unnecessary calorie intake. Natural peanut butter provides healthy monounsaturated fats, protein, and dietary fiber, making it a much more wholesome base for these bars.
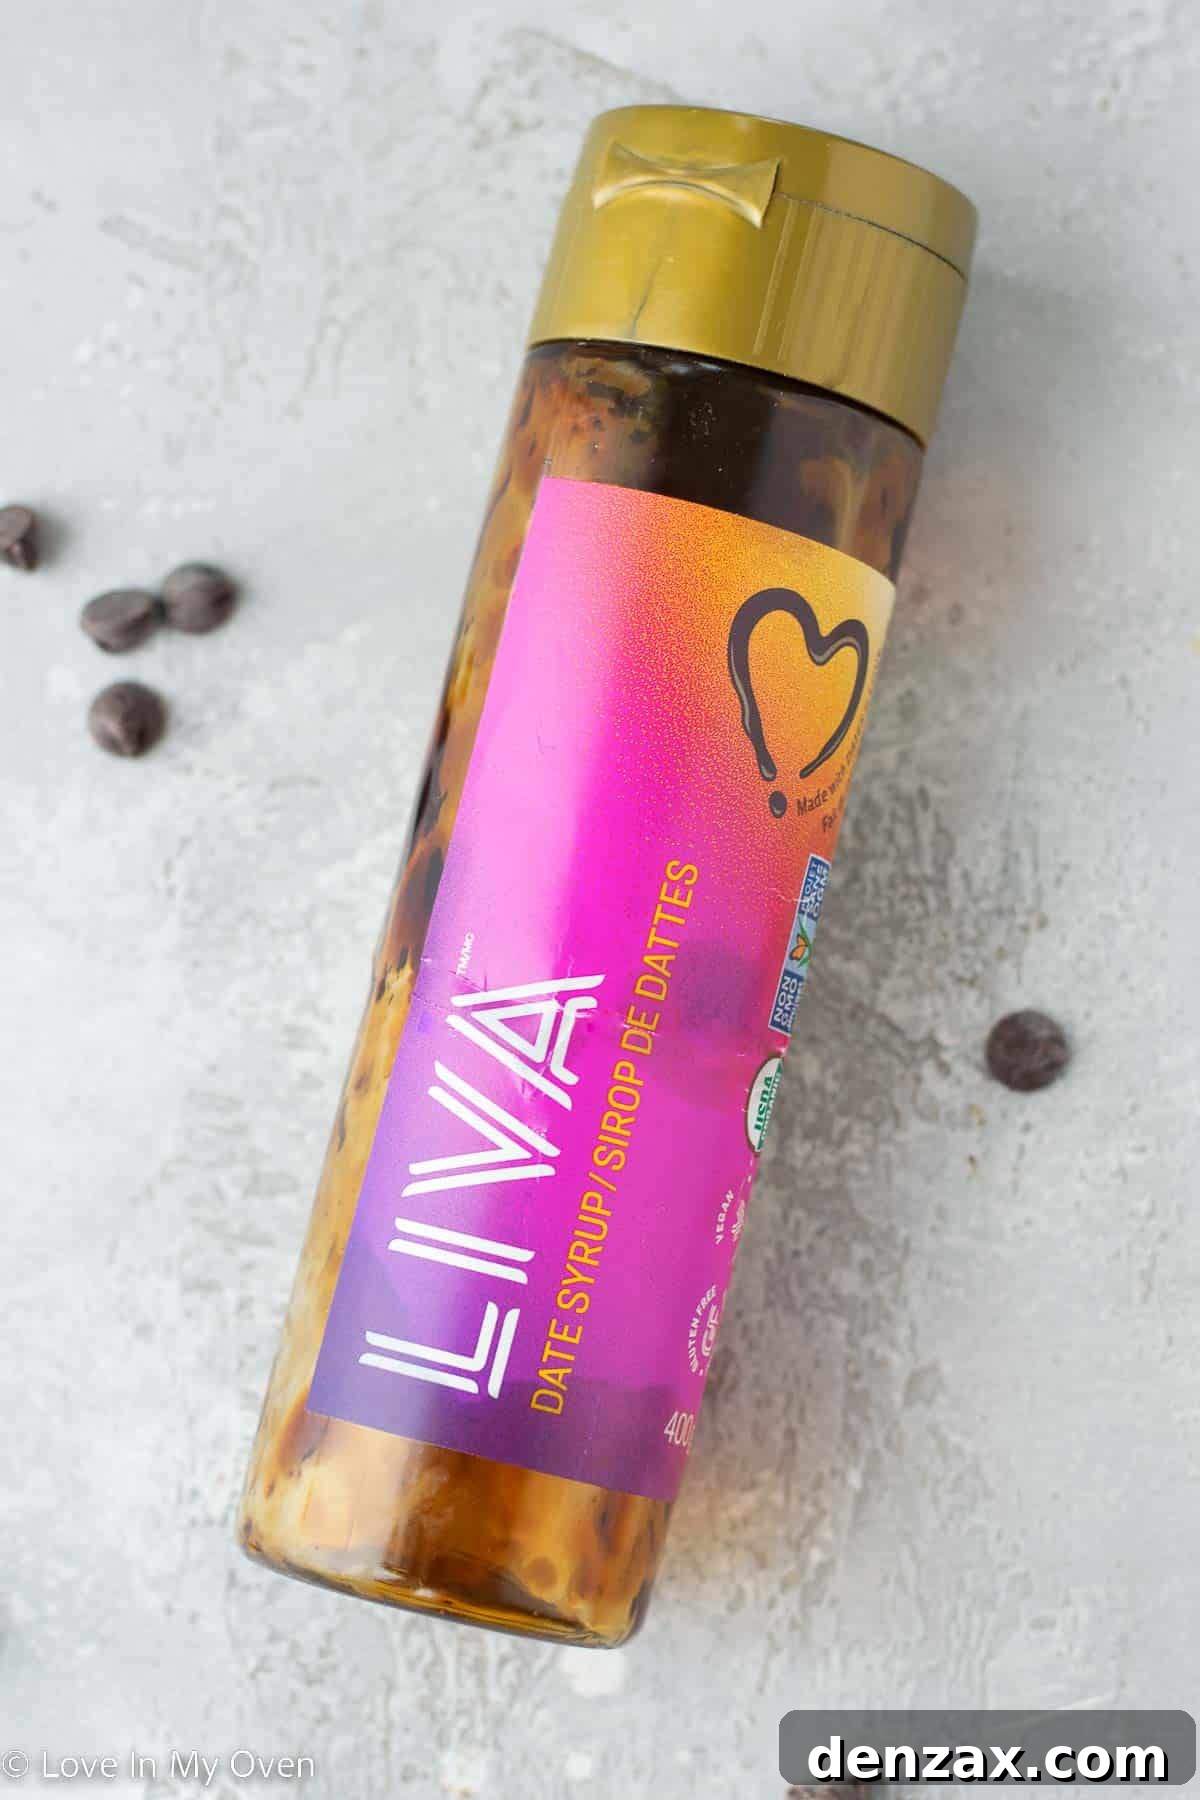
My personal favorite brand for date syrup is LIVA. While a relatively newer company, they are rapidly gaining recognition for their high-quality, all-natural products. Date syrup is not only vegan and naturally nut-free but also often contains less sugar by volume than honey, making it an excellent, naturally derived sweetener. Its unique flavor profile complements the chocolate and peanut butter beautifully, adding depth and richness without being overly sweet.
Essential Ingredients for These Irresistible Homemade Bars
You’ll be delighted to discover that crafting these healthier homemade Eat-more bars requires only a handful of simple, readily available ingredients. Forget the lengthy, unpronounceable lists found on store-bought candy wrappers; this recipe focuses on quality and simplicity, ensuring a delicious outcome with minimal fuss.
- Chocolate Chips: The foundation of any good chocolate bar! You can choose between semi-sweet, dark chocolate, or even milk chocolate chips depending on your preference. Using a high-quality chocolate will significantly impact the overall flavor. For a truly rich experience, opt for dark chocolate chips with a higher cocoa content.
- Date Syrup: As highlighted, this is our star healthy sweetener. Its natural caramel notes and chewy texture are essential for mimicking the toffee chew of an Eat-more bar. Ensure you’re using pure date syrup for the best results.
- All-Natural Peanut Butter: The smoother, the better for consistency in this no-bake recipe. Look for brands where peanuts are the only ingredient, or perhaps peanuts and salt. The natural oils and rich flavor are crucial.
- Rolled Oats: These provide a fantastic chewy texture and some added fiber. Quick oats can also work, but rolled oats give a more substantial bite. Make sure to use certified gluten-free rolled oats if you need the bars to be entirely gluten-free.
- Chopped Peanuts: These add that essential nutty crunch and salty contrast that makes Eat-more bars so satisfying. Freshly chopped, unsalted peanuts allow you to control the saltiness of the final product.
- Pure Vanilla Extract: A splash of pure vanilla extract enhances all the other flavors, adding warmth and complexity to the chocolate and peanut butter base. Don’t underestimate its power to elevate your homemade treats!
For those aiming to keep this recipe entirely vegan, it’s incredibly simple to adapt. Just ensure you select dairy-free chocolate chips. Many excellent vegan chocolate chip options are available in most grocery stores now, making this a versatile treat for various dietary needs.
Step-by-Step Guide: Crafting Your Homemade Eat-more Bars
Making these healthier Eat-more bars is surprisingly straightforward, requiring no baking and just a few simple steps. The key is gentle heat and thorough mixing to achieve that signature chewy, cohesive texture. Follow these instructions for a perfect batch every time:
-
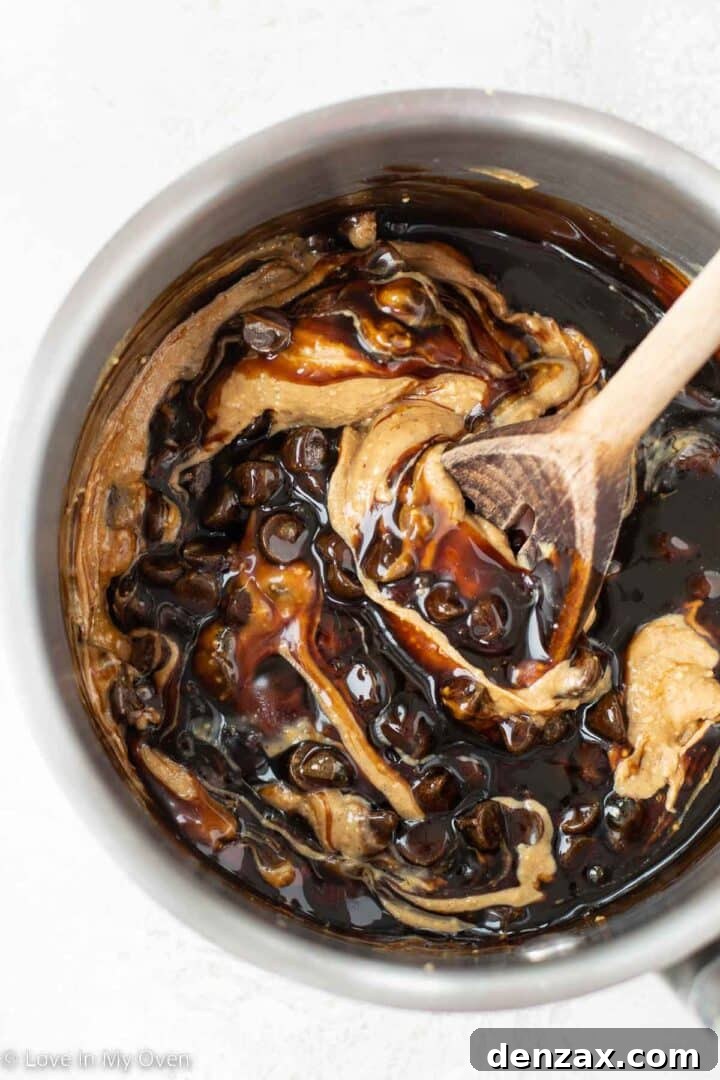
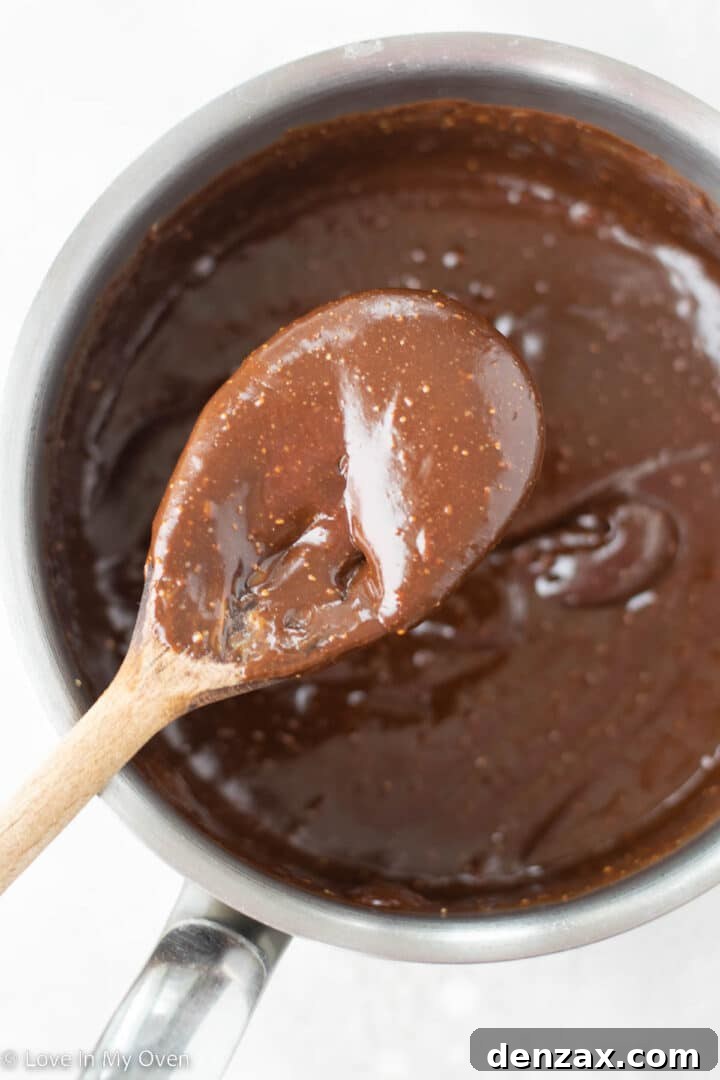
Prepare Your Pan and Melt the Base: Begin by lining an 8×8 inch (20×20 cm) baking pan with parchment paper. Ensure the parchment paper hangs over the sides slightly; this will create “handles” to easily lift the finished bars out of the pan later. In a small, heavy-bottomed saucepan, combine the chocolate chips, date syrup, and all-natural peanut butter. Place the saucepan over low to medium-low heat on your stovetop. It’s crucial to use gentle heat to prevent the chocolate from seizing or burning. Stir the mixture continuously with a spatula or wooden spoon until all the chocolate chips are thoroughly melted and the ingredients are smoothly incorporated into a uniform, glossy paste. Once melted and smooth, immediately remove the saucepan from the heat.
-
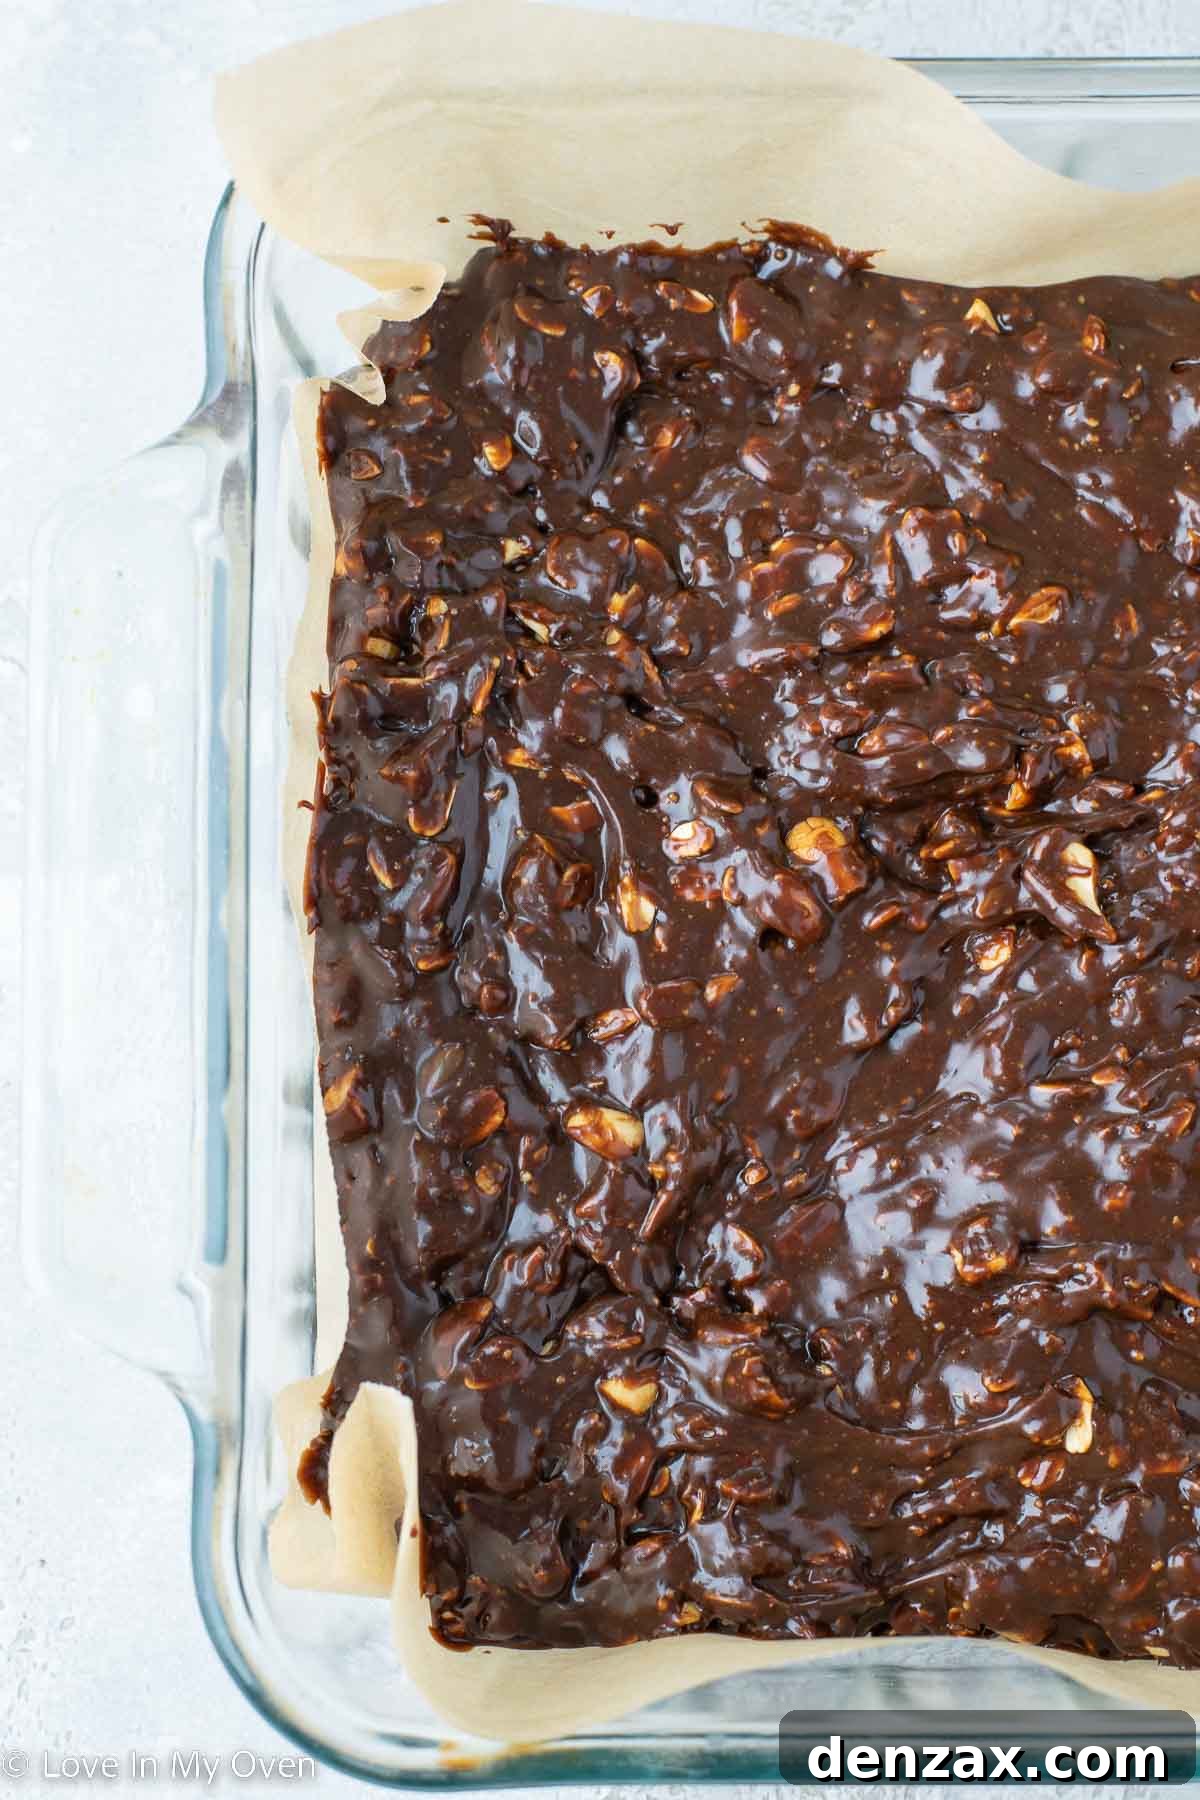
Incorporate Dry Ingredients and Press into Pan: With the chocolate mixture removed from the heat, quickly stir in the rolled oats, chopped peanuts, and pure vanilla extract. Mix thoroughly until all the dry ingredients are evenly coated and distributed throughout the sticky chocolate base. This mixture will be thick and quite sticky, which is exactly what we want for that chewy Eat-more bar texture. Transfer the entire mixture into your prepared 8×8 inch pan. Using the back of a spoon, a spatula, or even lightly greased hands, press the mixture down firmly and evenly into the pan, ensuring it fills the corners and is as smooth and compact as possible. This step is key for achieving uniform bars. Once pressed, place the pan in the refrigerator for a minimum of 4-5 hours, or until the bars are completely firm and set. Adequate chilling time is essential for easy cutting and a stable bar.
-
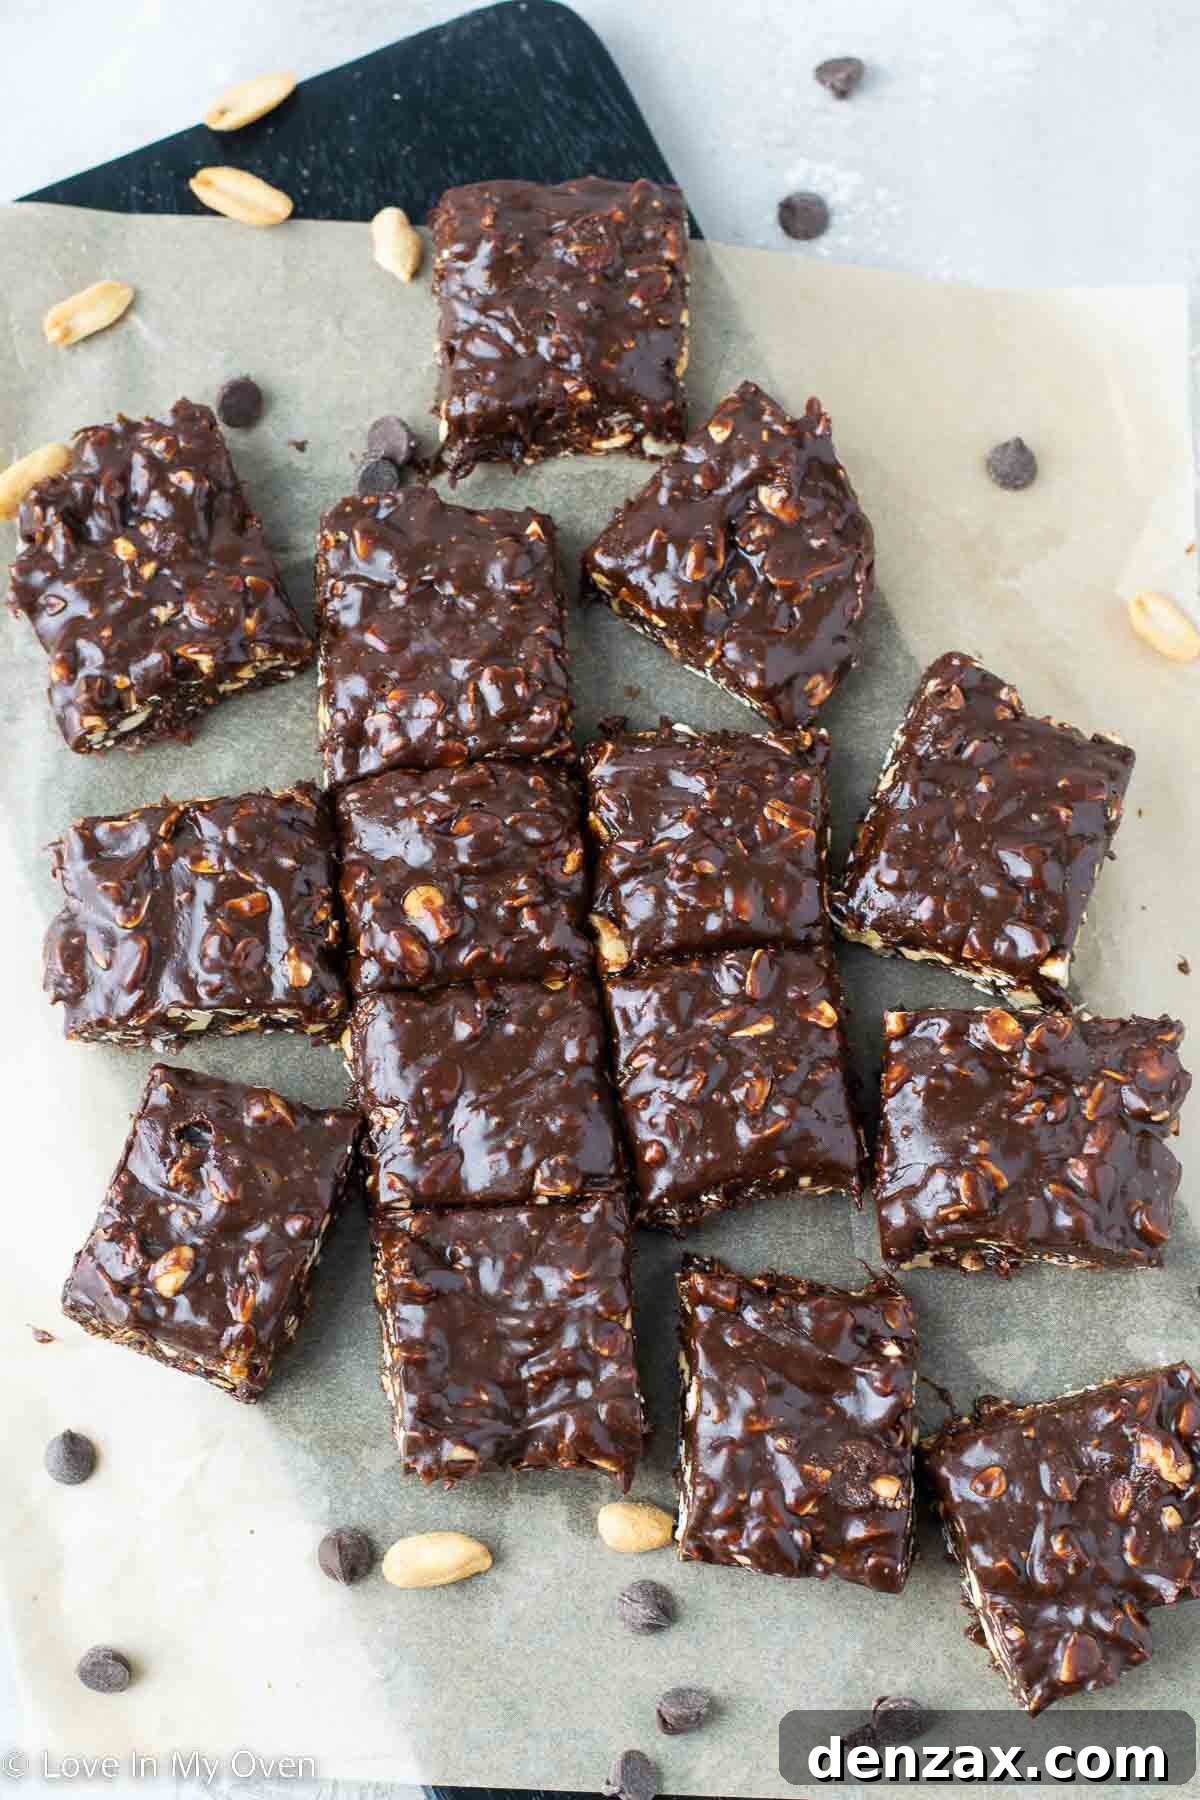
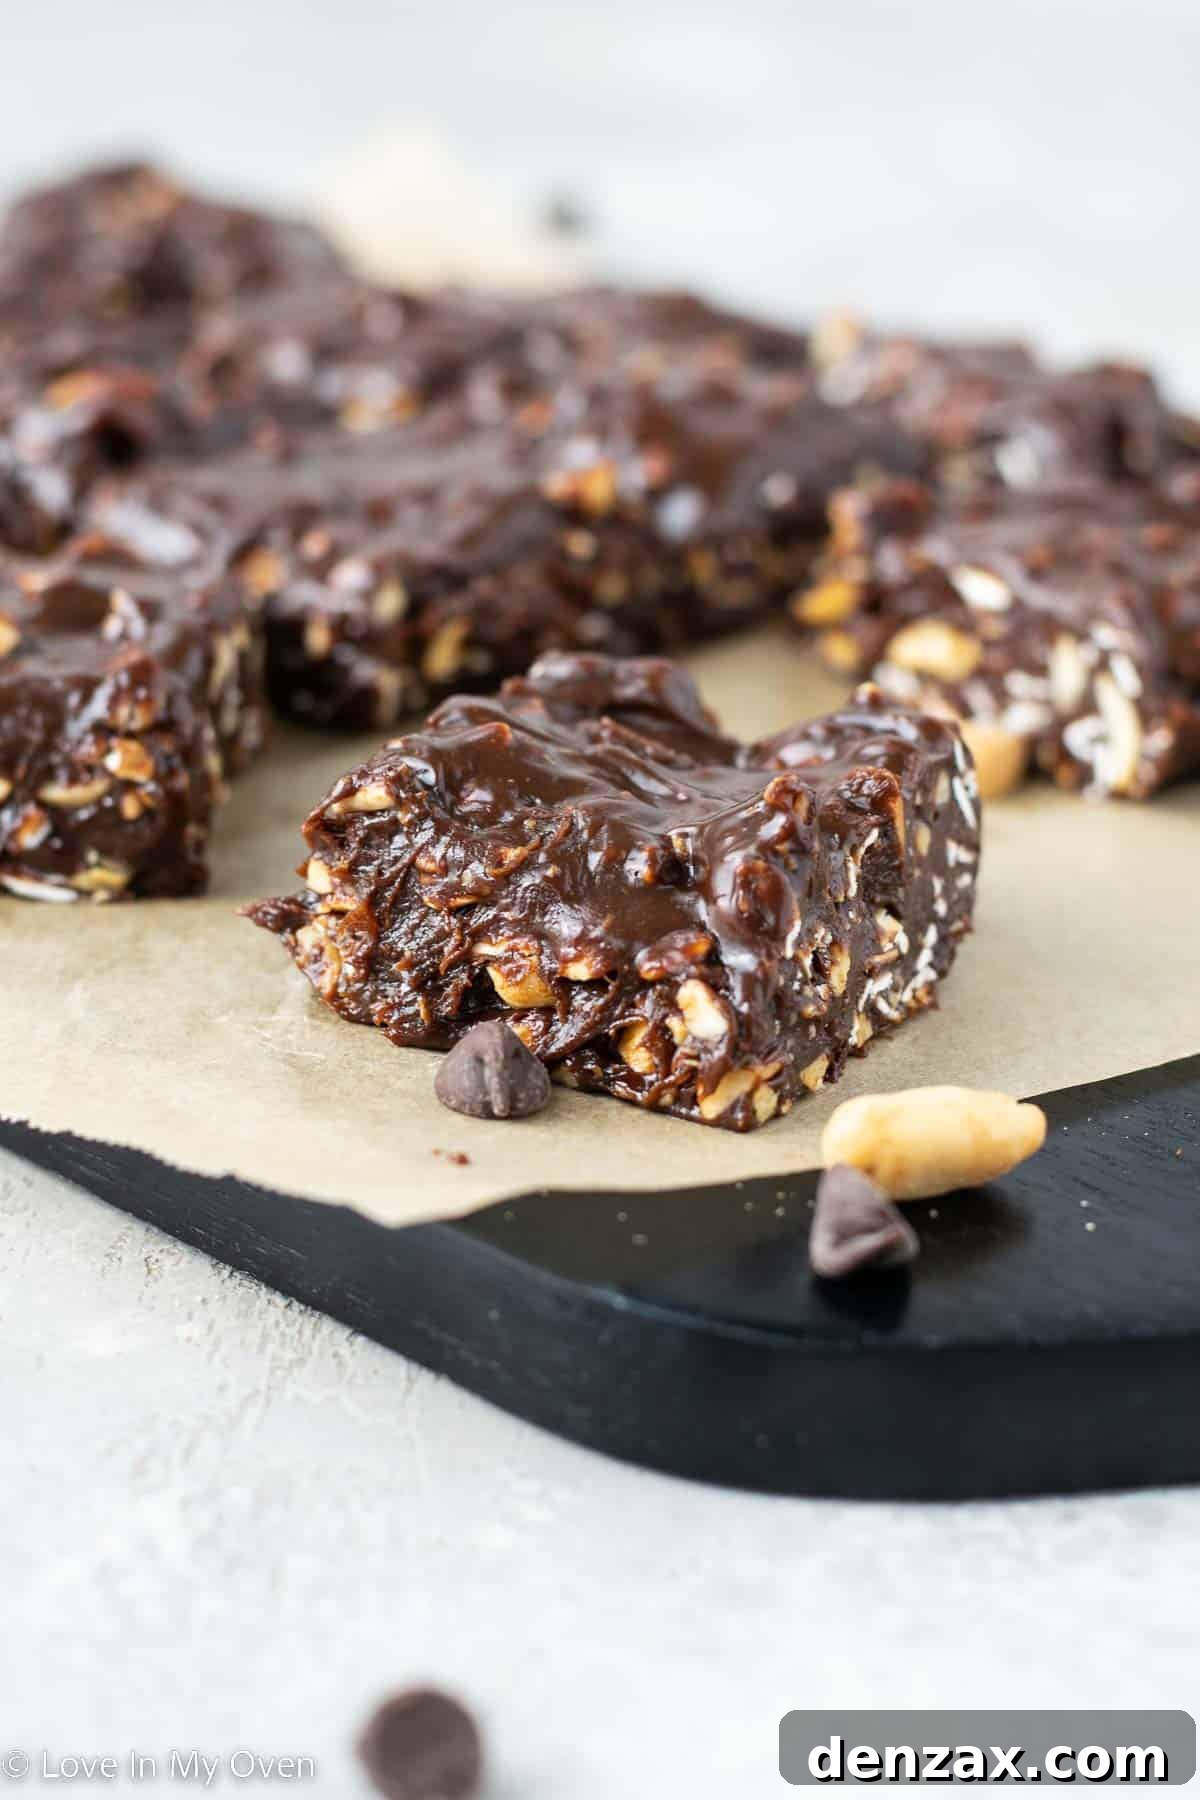
Slice and Serve: After the bars have fully chilled and firmed up in the refrigerator, carefully lift them out of the pan using the parchment paper “handles.” Place the large slab onto a clean cutting board. Using a sharp knife (you might find it helpful to warm the knife under hot water and wipe it dry between cuts for cleaner edges), cut the slab into 16 equal squares. The size can be adjusted to your preference, but 16 squares offer a good portion size. These bars are now ready to be enjoyed!
Storage Guidelines for Your Homemade Eat-more Bars
To maintain their optimal chewy texture and freshness, these delightful homemade Eat-more bars require proper storage. Due to their no-bake nature and ingredients, they are best kept cool.
You must store these bars in the refrigerator within an airtight container. This will prevent them from becoming too soft and help preserve their texture and flavor. When stored correctly, they will remain fresh and delicious for up to 2 weeks in the fridge. If you plan to stack the bars, it’s a good practice to place small pieces of parchment paper in between the layers to prevent them from sticking together.
For longer-term storage, these bars freeze exceptionally well! Place them in an airtight, freezer-safe container, again with parchment paper between layers if stacking. They will keep beautifully in the freezer for up to 2 months. When you’re ready to enjoy one from the freezer, simply transfer it to the refrigerator to thaw overnight. An insider tip: these bars are actually fantastic when enjoyed straight from the freezer too, offering a firmer, more intense chew!
Are These Homemade Eat-more Bars Suitable for Gluten-Free and Vegan Diets?
Absolutely! This recipe is a fantastic choice for those with various dietary preferences and needs, making it an inclusive treat everyone can enjoy. Hooray for delicious flexibility!
These homemade Eat-more bars are naturally **gluten-free**. While oats are inherently gluten-free, it’s important to choose certified gluten-free rolled oats to avoid any cross-contamination that can occur during processing. As long as your oats are certified GF, the rest of the ingredients (chocolate chips, peanut butter, date syrup, vanilla extract, and peanuts) are typically gluten-free, making these bars a safe and delightful option for individuals avoiding gluten.
Furthermore, this recipe can be very easily adapted to be completely **vegan**. The only ingredient you need to consider for a vegan modification is the chocolate chips. Simply opt for your favorite dairy-free chocolate chips, which are widely available in most grocery stores today. All other ingredients—date syrup, natural peanut butter, rolled oats, chopped peanuts, and vanilla extract—are plant-based, making these bars a perfect vegan dessert or snack. This makes them an excellent recipe to share with friends and family who have food intolerances or specific dietary requirements, ensuring no one misses out on this incredible treat!
Exploring Substitutions for Date Syrup in Your Eat-more Bars
While date syrup is highly recommended for its unique flavor, nutritional benefits, and perfect sticky texture that mimics toffee, it can sometimes be a bit challenging to find in all grocery stores. If you find yourself in a pinch and don’t have date syrup on hand, there are a couple of alternative sweeteners you can use, though it’s important to understand how they might alter the final product.
You can absolutely substitute **corn syrup** in place of the date syrup in this recipe. Corn syrup will provide the necessary stickiness and sweetness. However, personally, I am not a big fan of corn syrup due to its highly processed nature and lack of nutritional value, which goes against the “healthier” ethos of this particular recipe. If you do use corn syrup, the bars will likely be very similar in texture to the original candy bar.
Another potential substitute is **honey**. Honey is a natural sweetener with a distinct flavor that many people love. If you opt for honey, keep in mind that it is generally sweeter than date syrup, so you might consider slightly reducing the amount to prevent the bars from becoming overwhelmingly sweet. Additionally, honey has a slightly different chemical composition than corn or date syrup, which could affect the texture of your finished bars. They might not be quite as firm or as perfectly chewy as they would be with corn syrup or date syrup. They may also set up a bit softer, so extended chilling time might be beneficial.
When considering substitutes, always remember that each sweetener brings its own unique flavor profile and textural properties. While the recipe is designed around date syrup for its specific advantages, these alternatives can still yield a delicious homemade treat, albeit with slight variations. Experimentation is part of the fun of home baking!
Discover More Irresistible Homemade Candy Creations!
If you’ve fallen in love with the simplicity and deliciousness of these homemade Eat-more bars, you’re in for a treat! My kitchen is a playground for recreating beloved candy classics, often with a healthier or more accessible twist. These candy recipes are all incredibly simple to make and promise to satisfy your sweet tooth with wholesome ingredients and incredible flavor. Expand your homemade candy repertoire with some of these other delightful confections:
- Homemade Bounty Bars: Recreate the tropical indulgence of coconut and chocolate with a simple, fresh approach.
- Dark Chocolate Mini Peanut Butter Cups: A timeless combination, elevated with rich dark chocolate and natural peanut butter for a bite-sized delight.
- Homemade Chocolate and Strawberry Marshmallows: Light, fluffy, and bursting with natural fruit flavor, these marshmallows are a gourmet twist on a classic.
Each recipe offers a unique journey into the world of homemade sweets, proving that you don’t need fancy equipment or complex techniques to create truly spectacular treats. Happy candy making!
Print Recipe

Healthier Homemade Eat-more Bars
5 Stars
4 Stars
3 Stars
2 Stars
1 Star
No reviews
-
Author:
Katherine | Love In My Oven -
Total Time:
15 minutes -
Yield:
16 bars
1x
Description
Using healthier date syrup as a sweetener, this homemade Eat-more bar recipe is the one you’ve been looking for! It’s sweet, salty, and chewy – a truly addictive combination. Perfect for satisfying those nostalgic cravings with a wholesome twist, these no-bake bars are simple to prepare and offer all the beloved flavors and textures of the classic “dark chocolate toffee chew” bar.
Ingredients
Scale
- 1 1/4 cups chocolate chips (dark or semi-sweet recommended for rich flavor)
- 3/4 cup date syrup* (provides natural sweetness and the signature chewy texture)
- 1/2 cup natural peanut butter (smooth, made only from peanuts and salt)
- 1/2 cup rolled oats (certified gluten-free if needed)
- 1 cup chopped peanuts (unsalted, for optimal crunch and flavor balance)
- 1 tsp pure vanilla extract (enhances overall taste)
Instructions
- Line an 8×8 inch (20×20 cm) baking pan with parchment paper, allowing the paper to overhang on two sides for easy removal, and set aside. In a small, heavy-bottomed saucepan, add the chocolate chips, date syrup, and peanut butter. Heat the mixture over low to medium-low heat on the stovetop, stirring continuously with a spatula or wooden spoon until the chocolate is completely melted and the mixture is smooth, glossy, and well combined. Be careful not to scorch the chocolate. Remove the saucepan from the heat once smooth.
- To the melted chocolate mixture, quickly stir in the rolled oats, chopped peanuts, and pure vanilla extract. Mix vigorously until all the dry ingredients are thoroughly coated and evenly distributed throughout the sticky chocolate base. This mixture will be thick and quite cohesive. Transfer the entire mixture into the prepared pan and, using the back of a spoon or a lightly greased spatula, press it down firmly and evenly into all corners of the pan. Ensure the surface is as smooth and compact as possible. Place the pan in the refrigerator for 4-5 hours to allow the bars to chill completely and set firm.
- Once thoroughly chilled and firm, use the parchment paper overhangs to lift the bars out of the pan and onto a clean cutting board. With a sharp knife, cut the large slab into 16 equal squares. For cleaner cuts, you can briefly warm your knife under hot water and wipe it dry between slices.
Store the finished bars in the fridge, in an airtight container, for up to 2 weeks. If you are stacking the bars, place small sheets of parchment paper between layers to prevent them from sticking together.
For longer preservation, these bars can be stored in the freezer, in an airtight container, for up to 2 months. To thaw, simply place them in the refrigerator overnight. They are also incredibly delicious eaten straight from the freezer for a firmer chew!
Notes
*If date syrup is unavailable, you can substitute it with an equal amount of corn syrup for a similar texture, or honey for a natural alternative (though honey may result in a slightly softer bar and a different flavor profile). Always use certified gluten-free oats if you require a strictly gluten-free recipe.
-
Prep Time:
10 minutes -
Cook Time:
5 minutes -
Category:
candy, dessert, snack -
Method:
stovetop, no-bake -
Cuisine:
Canadian, American