
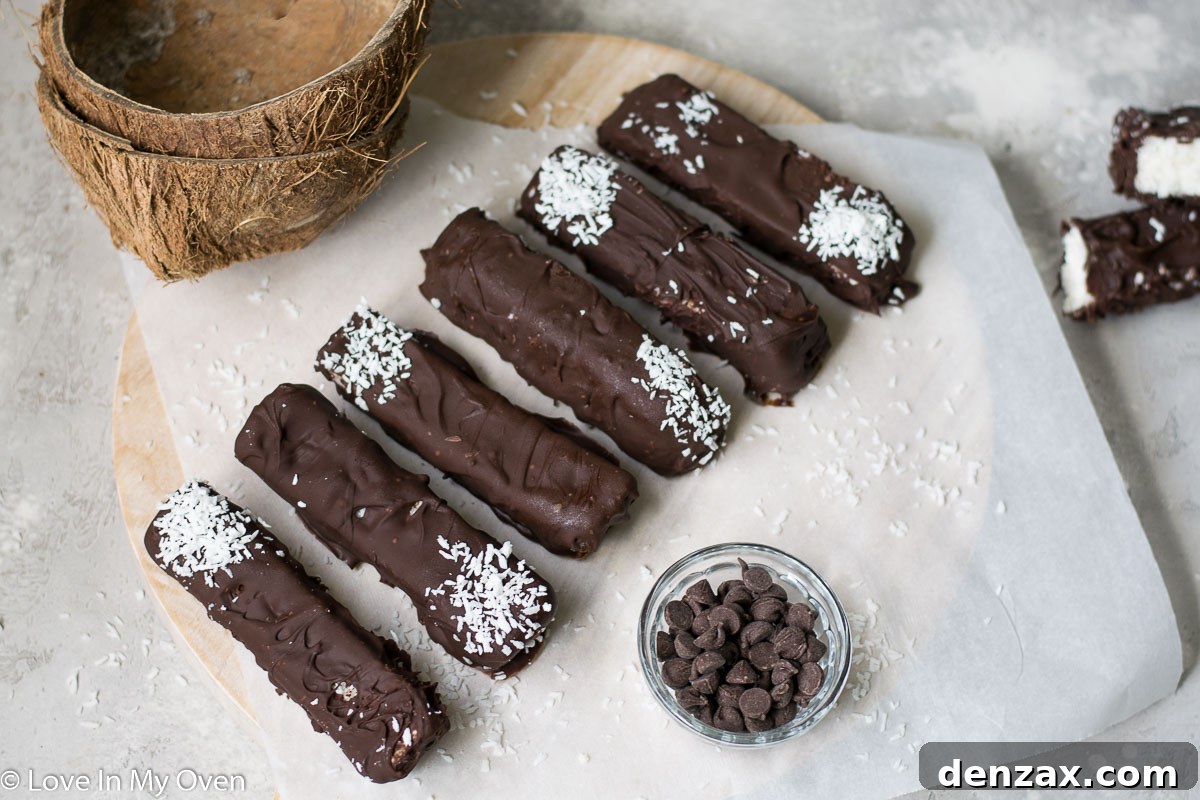
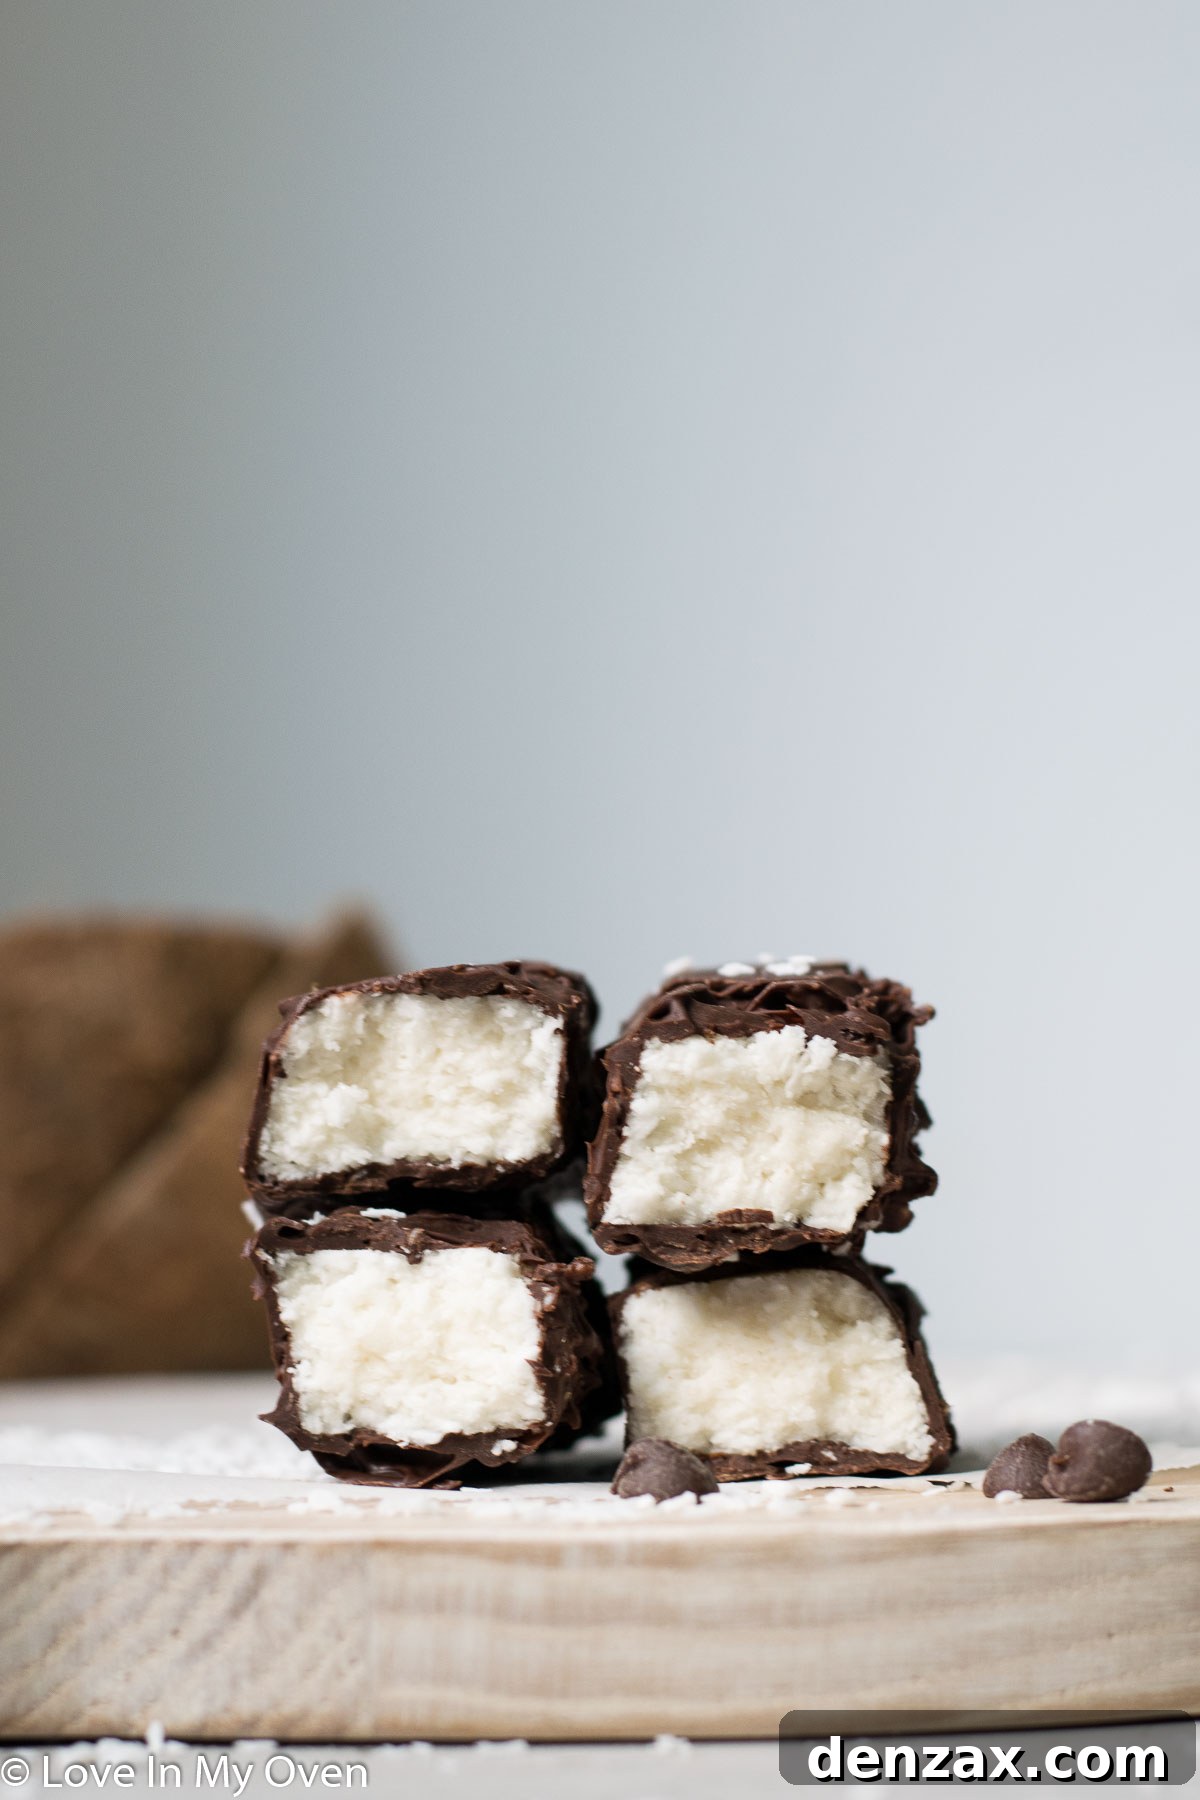
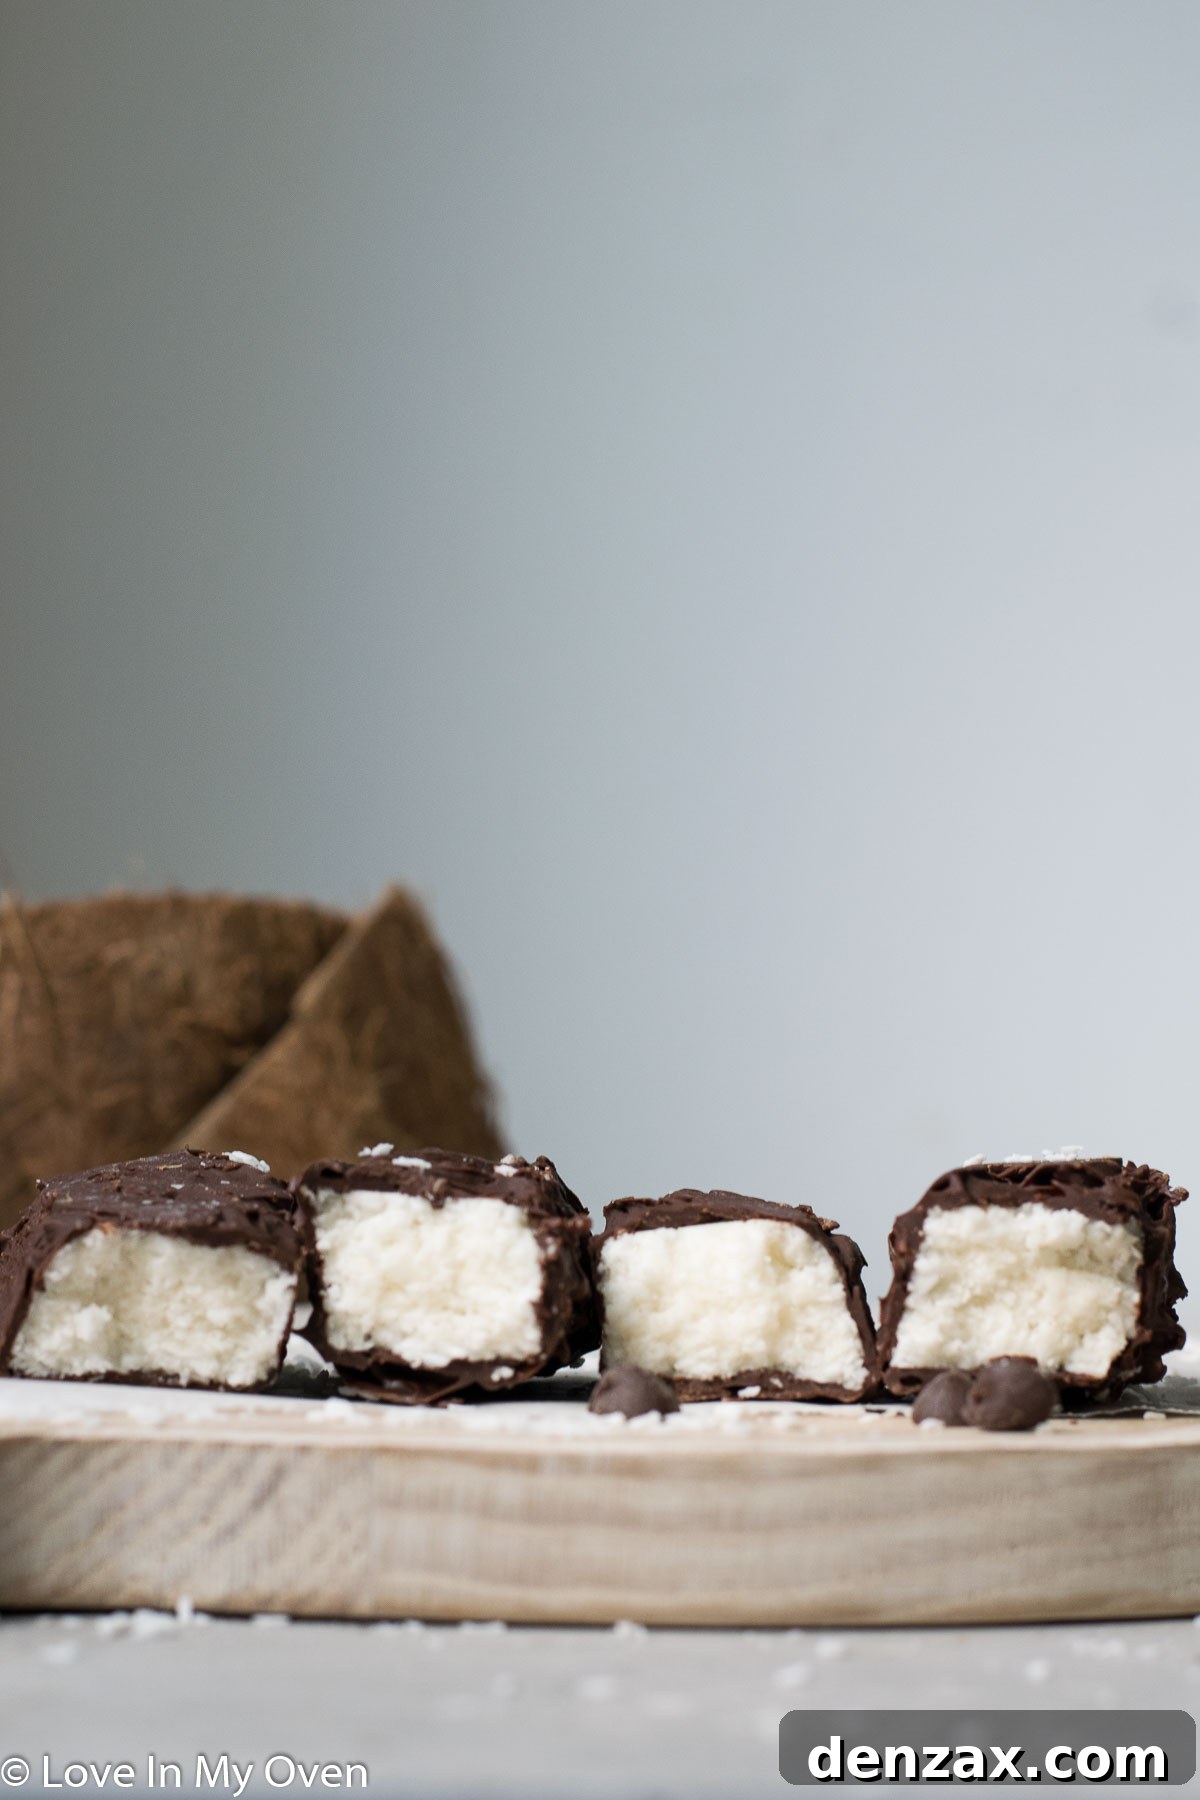
Get ready to elevate your dessert game! These homemade Bounty bars are so irresistibly delicious and surprisingly easy to make, you’ll wonder why you ever bought them from a store. With a delightful refined sugar-free filling and rich chocolate coating, they are a treat that truly satisfies.
*Please note: This post may contain affiliate links, meaning I earn a small commission at no extra cost to you if you make a purchase.
The moment you’ve been waiting for is finally here! A few weeks ago, I shared a tantalizing sneak peek of these incredible homemade Bounty bars on Instagram, and the response was overwhelming. My inbox was flooded with requests for the final recipe, and I’m thrilled to deliver! I spent some time experimenting with various sweeteners, debating whether to go the low-carb/keto route. After a quick poll on Instagram, the consensus was clear: a refined sugar-free version was the winner.
So, here they are, sweetened naturally with honey, and I can confidently say, they are absolutely phenomenal!
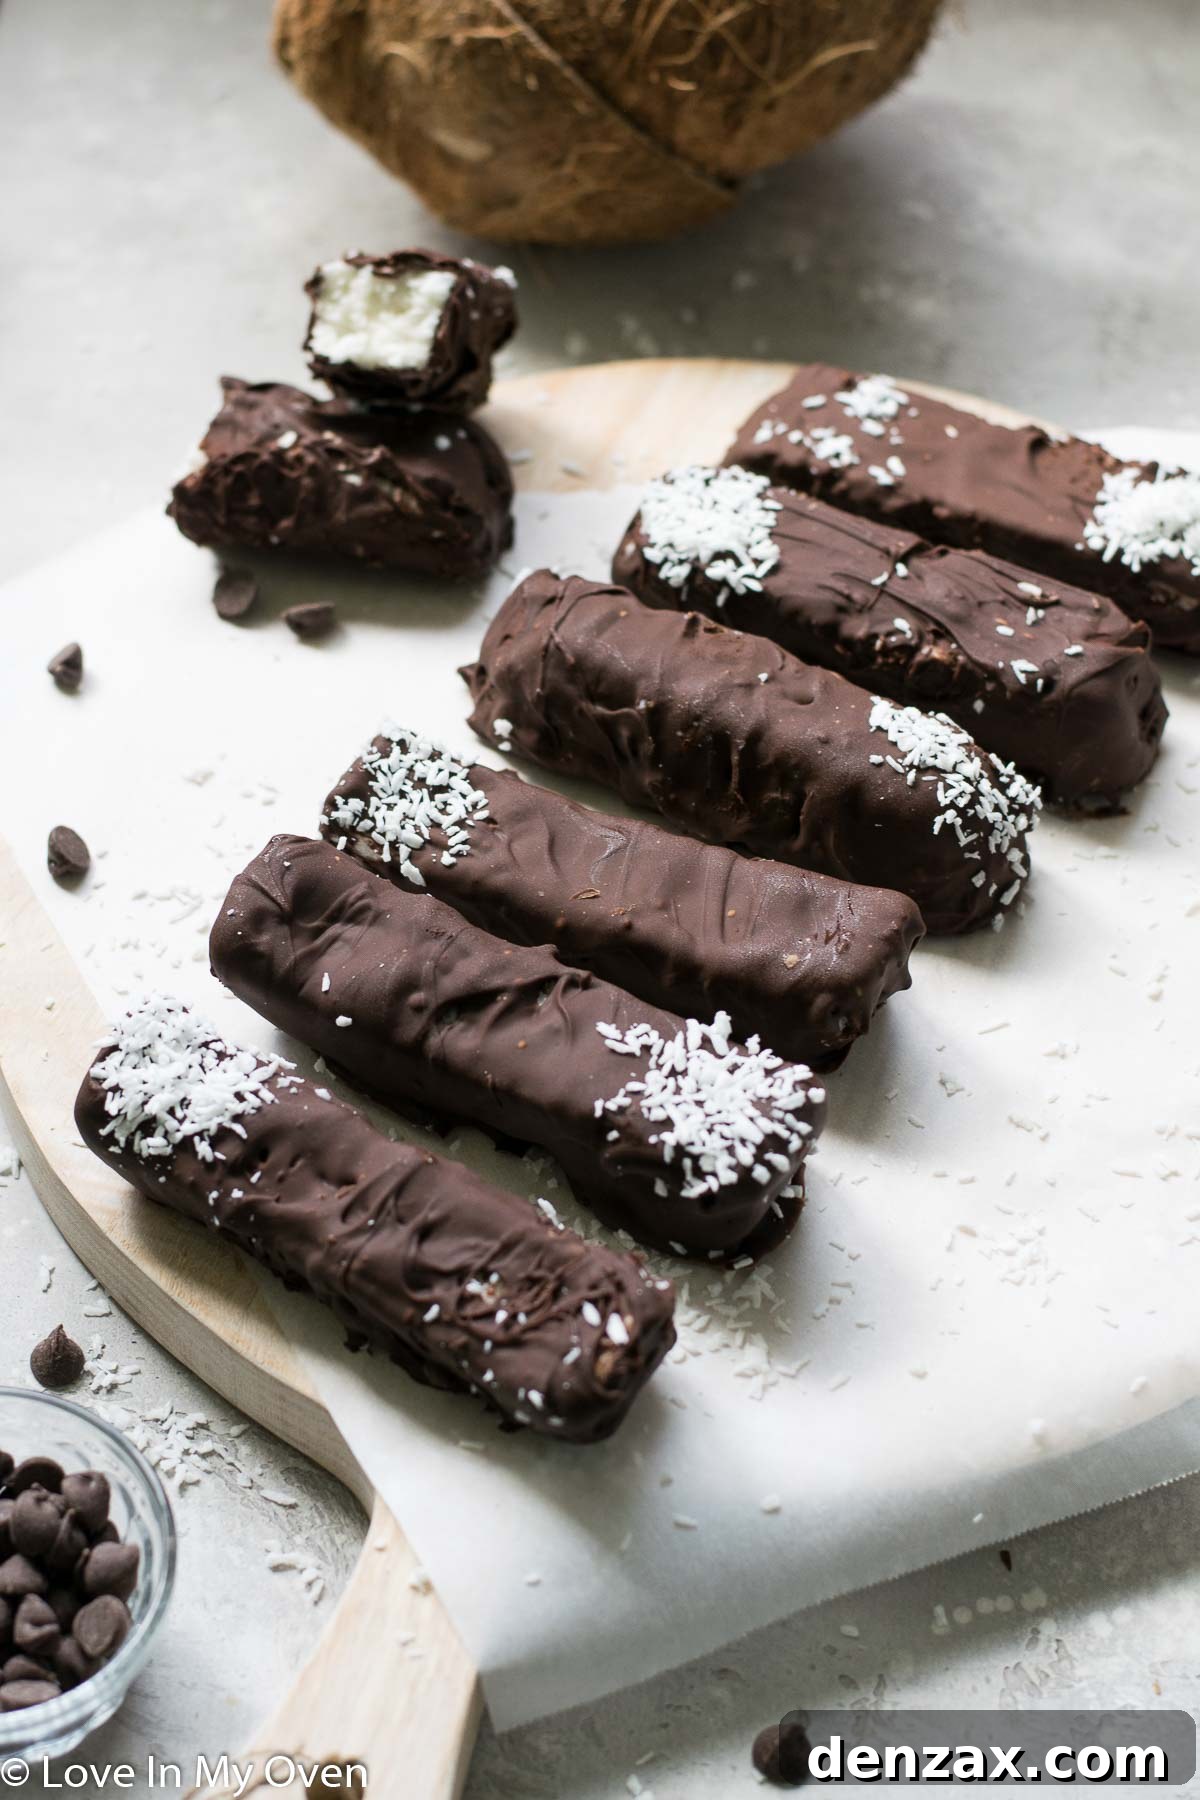
What Exactly is a Bounty Bar?
For those in Canada and many other parts of the world, the Bounty bar is a beloved classic – a true testament to the perfect marriage of chocolate and coconut. I vividly recall my 18th birthday, walking through a snowstorm with my dad to the grocery store. As we paid, he told me to pick any chocolate bar, and though it wasn’t my usual choice, I reached for a Bounty. From that day on, I was utterly hooked on its unique taste and texture.
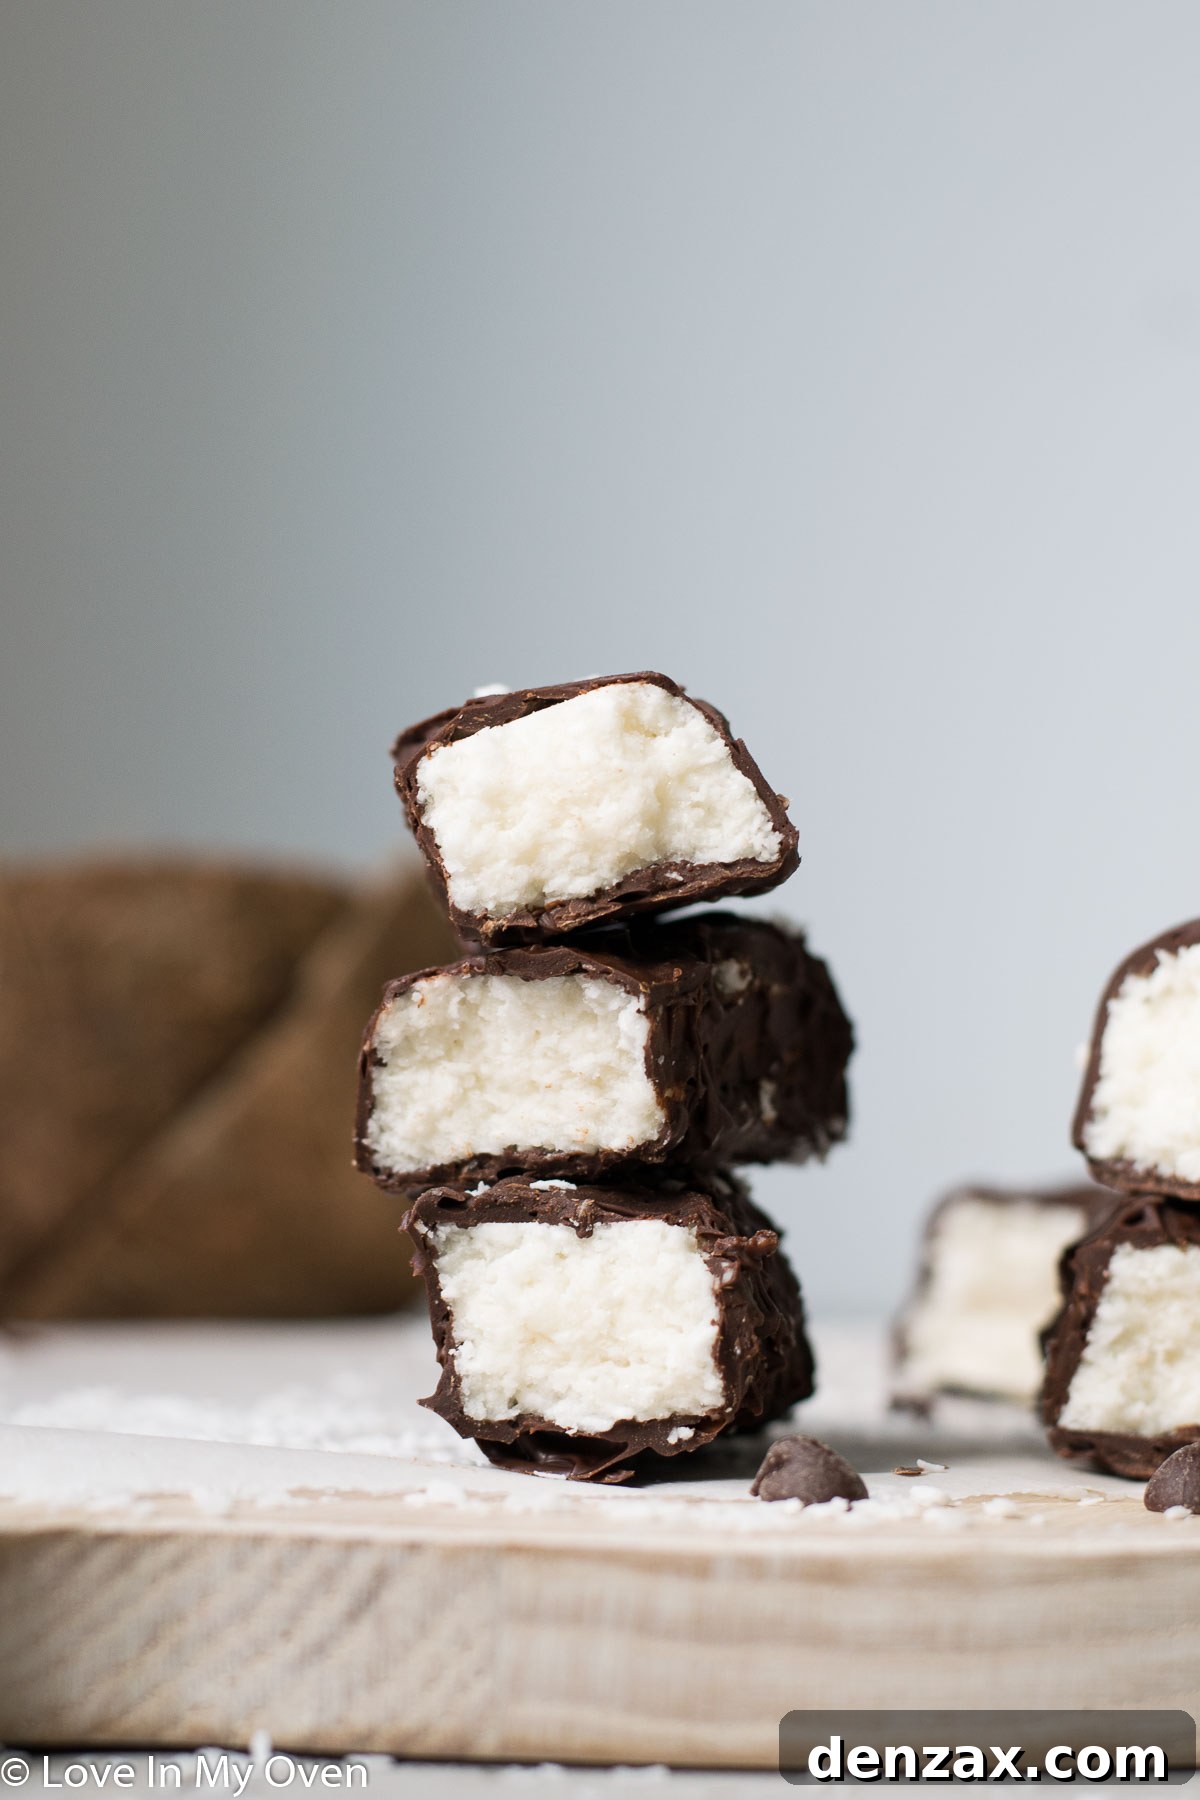
If you’re in the United States and aren’t familiar with a “Bounty bar,” you might know its American counterpart: the Mounds bar. Essentially, they are the same delightful confection, featuring a moist, sweet coconut filling enrobed in a generous layer of milk or dark chocolate. The Bounty bar often comes in two variations: milk chocolate (the most common) and dark chocolate. This recipe focuses on creating that rich dark chocolate experience, but you can easily adapt it with your preferred chocolate.
Why Make Your Own Bounty Bars at Home?
Beyond the sheer joy of creating something delicious from scratch, there are several compelling reasons to whip up your own batch of Bounty bars:
- Ingredient Control: When you make treats at home, you have complete control over what goes into them. This means choosing high-quality ingredients and avoiding artificial flavors, preservatives, and excessive processed sugars often found in store-bought versions.
- Refined Sugar-Free Goodness: Our recipe specifically uses honey, offering a natural sweetness without the refined sugars that many try to avoid. This makes them a healthier indulgence for you and your family.
- Customizable to Your Taste: Love dark chocolate? Prefer milk chocolate? Want to add a hint of vanilla or a sprinkle of sea salt? Homemade allows for endless customization. You can adjust the sweetness, the thickness of the chocolate coating, and even the type of coconut used.
- Dietary Adaptability: As you’ll see, this recipe is incredibly versatile. With simple swaps, these bars can be made vegan or low-carb/keto-friendly, catering to a wider range of dietary needs and preferences.
- Cost-Effective: While specialized ingredients can sometimes add up, making a large batch of these bars yourself is often more economical than regularly purchasing individual store-bought bars, especially if you already have common pantry staples.
- The Joy of Creation: There’s immense satisfaction in biting into a treat you’ve crafted with your own hands. Plus, they make fantastic homemade gifts!
Key Ingredients for the Perfect Homemade Bounty Bars
These bars are not just easy; they require only a handful of readily available ingredients. Let’s break down why each one is essential:
- Shredded Coconut: This is the heart of your Bounty bar. Opt for unsweetened shredded coconut to control the overall sweetness of your bars. Finely shredded coconut will give you a smoother texture, while medium shredded provides a bit more chew.
- Coconut Oil (Solid): Crucial for binding the coconut filling together and helping it set firmly in the freezer. When solid, it adds structure, and when melted, it helps create that smooth chocolate coating. Make sure to use unrefined coconut oil for a more pronounced coconut flavor, or refined for a neutral taste.
- Liquid Honey: Our chosen refined sugar-free sweetener. Honey provides a wonderful depth of flavor and a natural stickiness that helps the filling hold its shape. Its liquid form blends seamlessly into the mixture.
- Canned Coconut Cream: The secret to that rich, creamy texture. Coconut cream (the thick part from the top of a can of full-fat coconut milk, chilled overnight) adds moisture and richness, making the filling incredibly luxurious and reminiscent of the original candy bar.
- Chopped Dark Chocolate: For the decadent outer shell. While any dark chocolate will work, a good quality chocolate with a higher cocoa percentage (e.g., 70% or more) will offer a more intense flavor that perfectly complements the sweet coconut. Chopping it finely helps it melt more evenly.
- Melted Coconut Oil (for coating): A small amount added to the melting chocolate makes it smoother, thinner, and easier to dip, ensuring a beautifully even and glossy coating on your bars.
Crafting Your Homemade Bounty Bars: A Step-by-Step Guide
Making these bars is incredibly straightforward and doesn’t require any baking. You’ll need a food processor or a high-powered blender like a Vitamix to achieve the perfect coconut filling texture. Follow these simple steps for a truly rewarding experience:
Step 1: Prepare the Coconut Filling
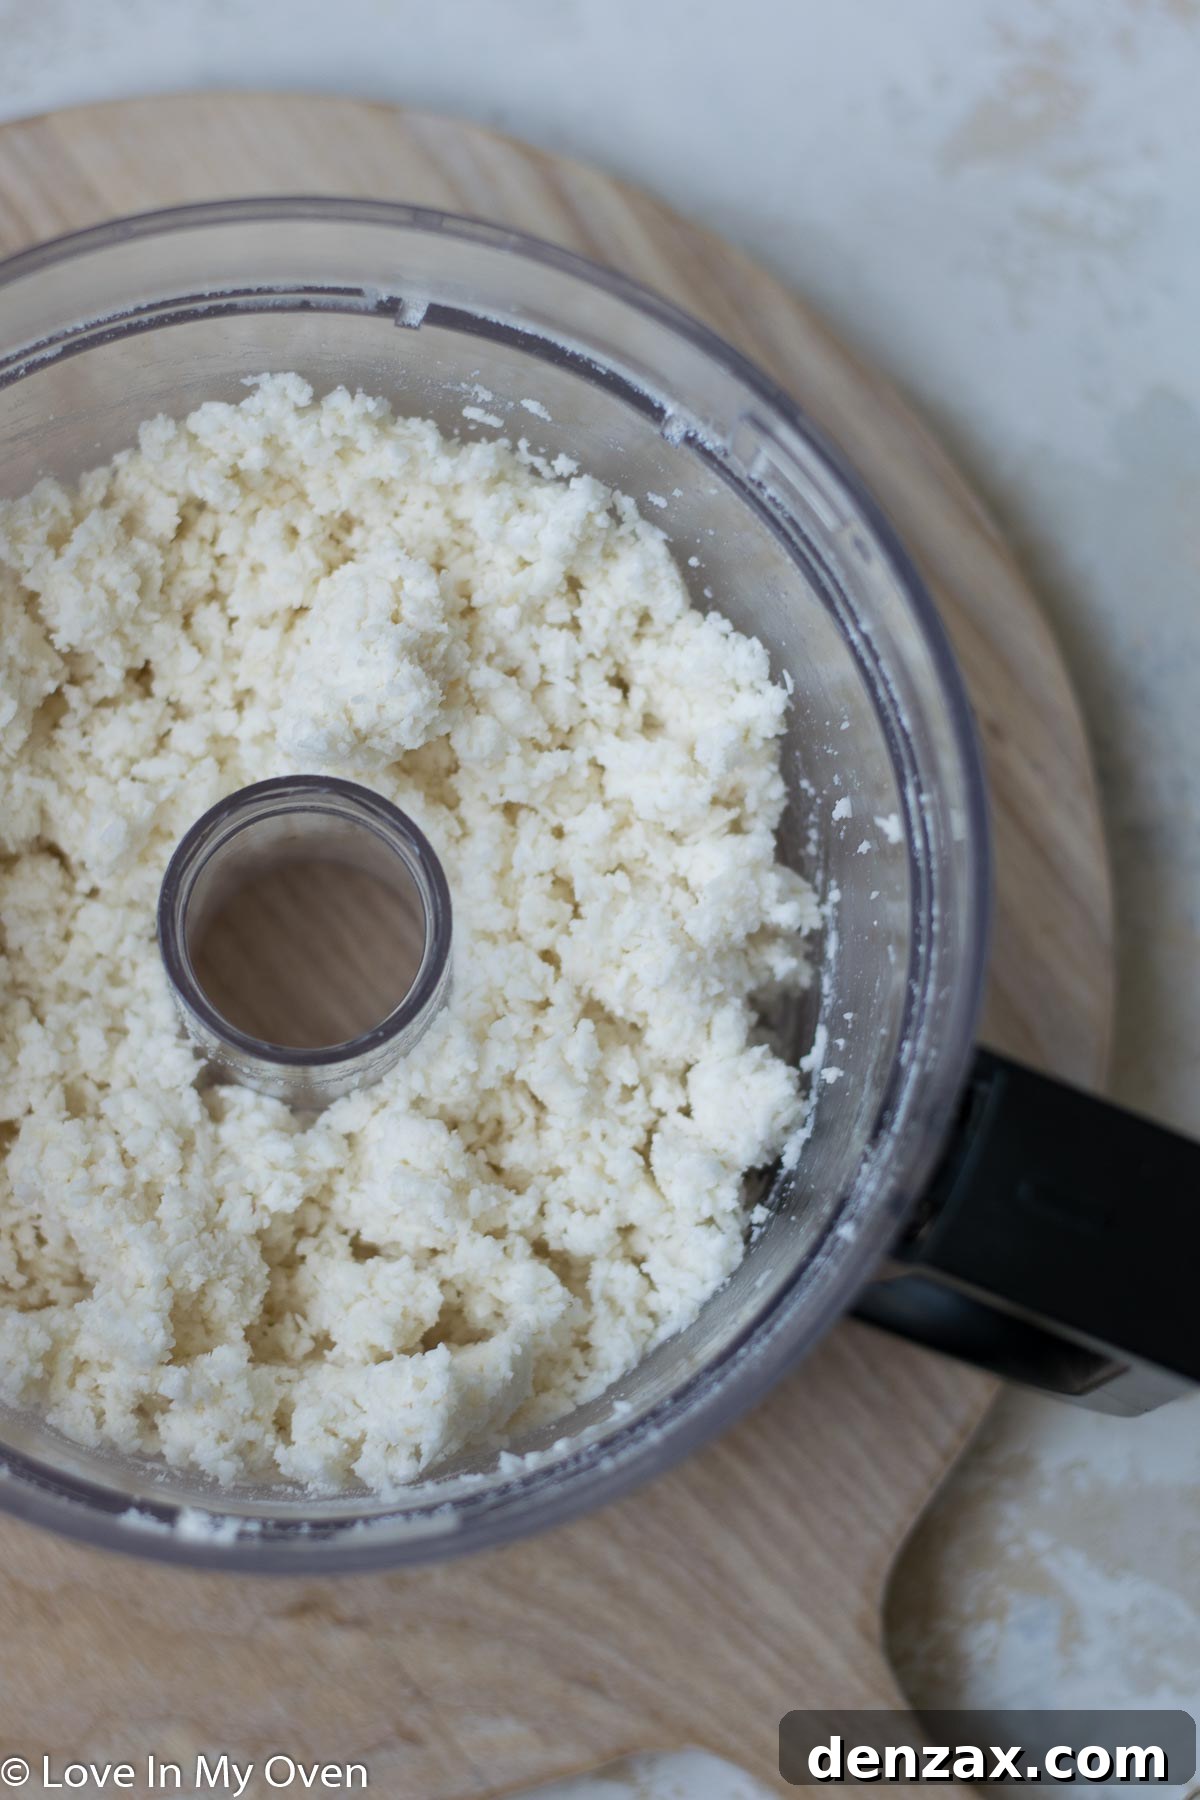
In your food processor, combine the shredded coconut, solid coconut oil, liquid honey, and canned coconut cream. Pulse the ingredients together until a crumbly mixture forms. Continue pulsing and scraping down the sides until the mixture starts to come together and stick when pressed between your fingers. It should resemble a thick, moldable dough.
Step 2: Form and Chill the Coconut Base
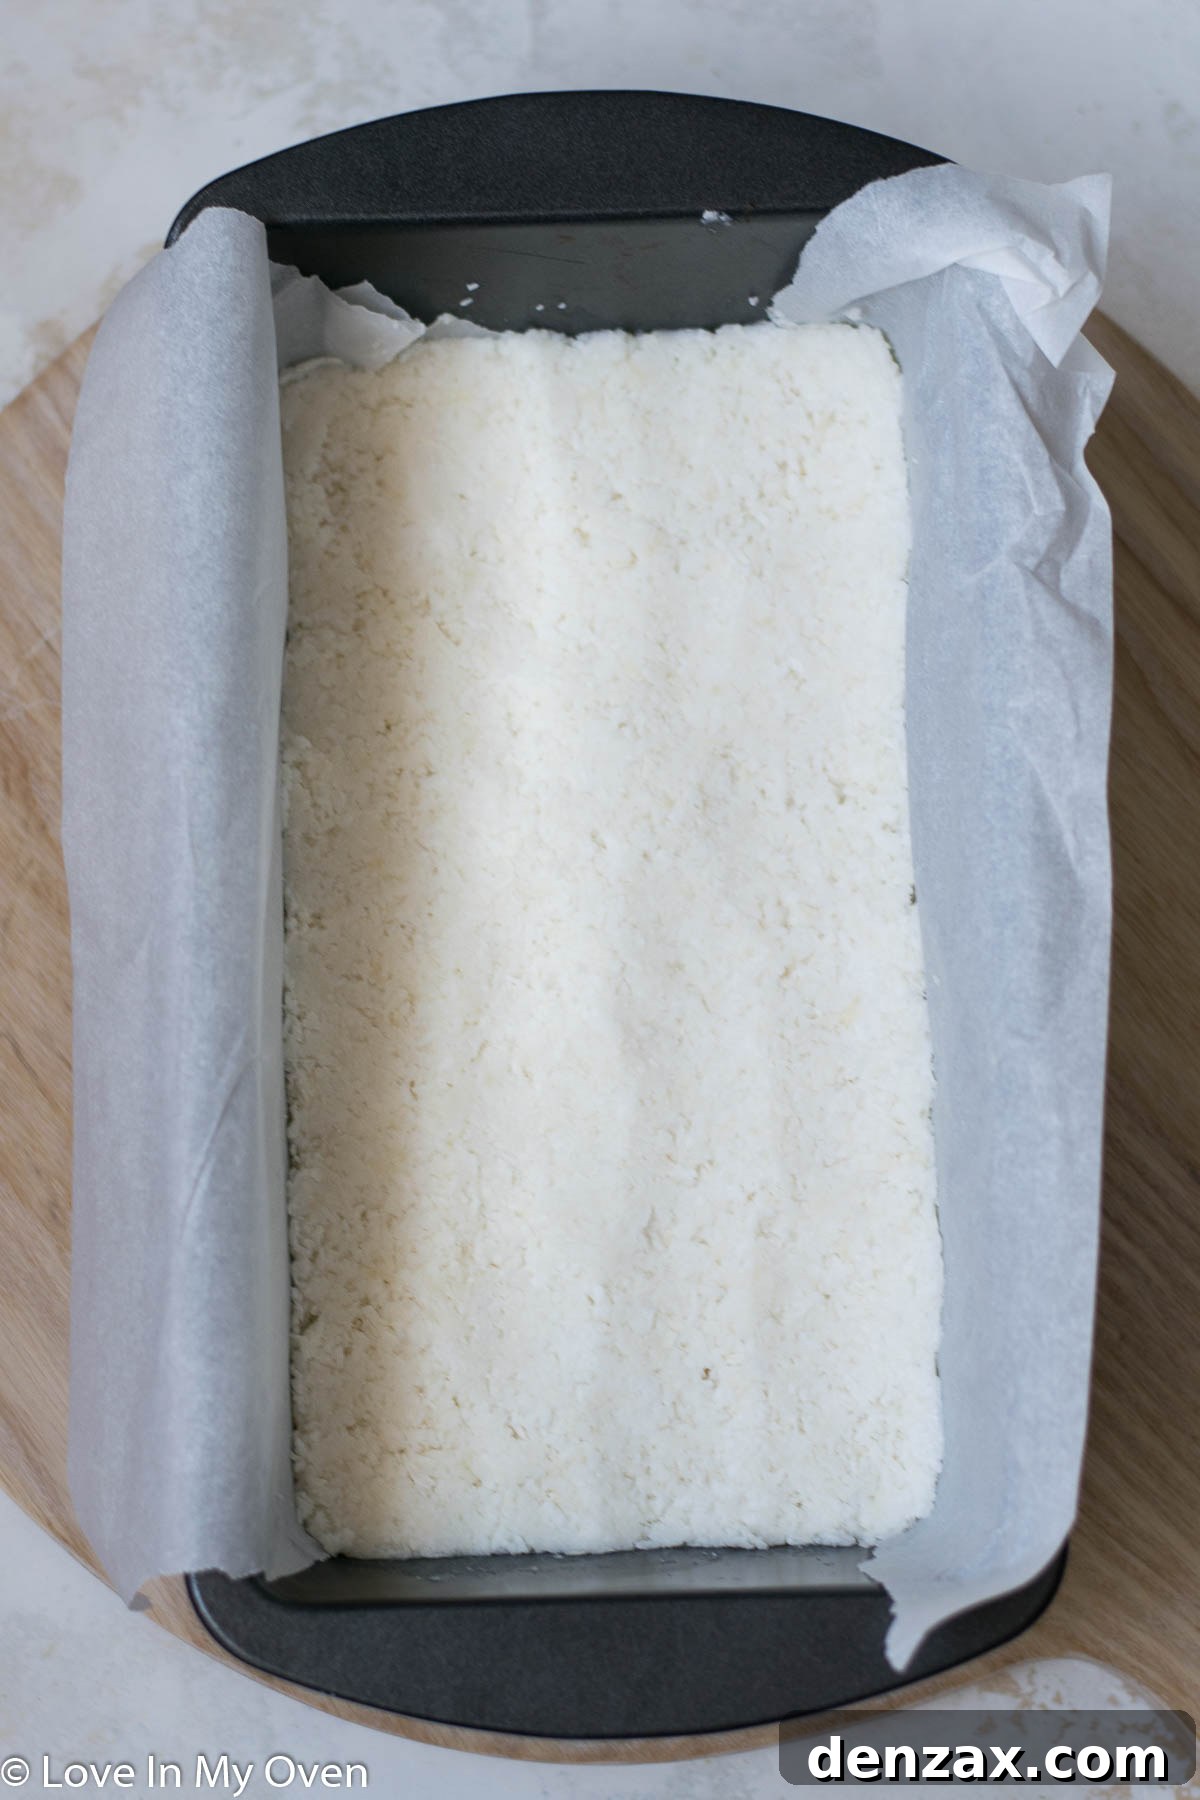
Line a standard-sized loaf pan with parchment paper, ensuring there’s a generous overhang on the edges. This overhang will act as handles for easy removal later. Transfer the coconut mixture into the prepared pan and press it down as firmly and evenly as possible using the back of a spoon or your hands. The firmer you pack it, the less likely your bars will crumble. Place the pan into the freezer for at least 20 minutes to allow the mixture to harden and set.
Step 3: Slice the Bars
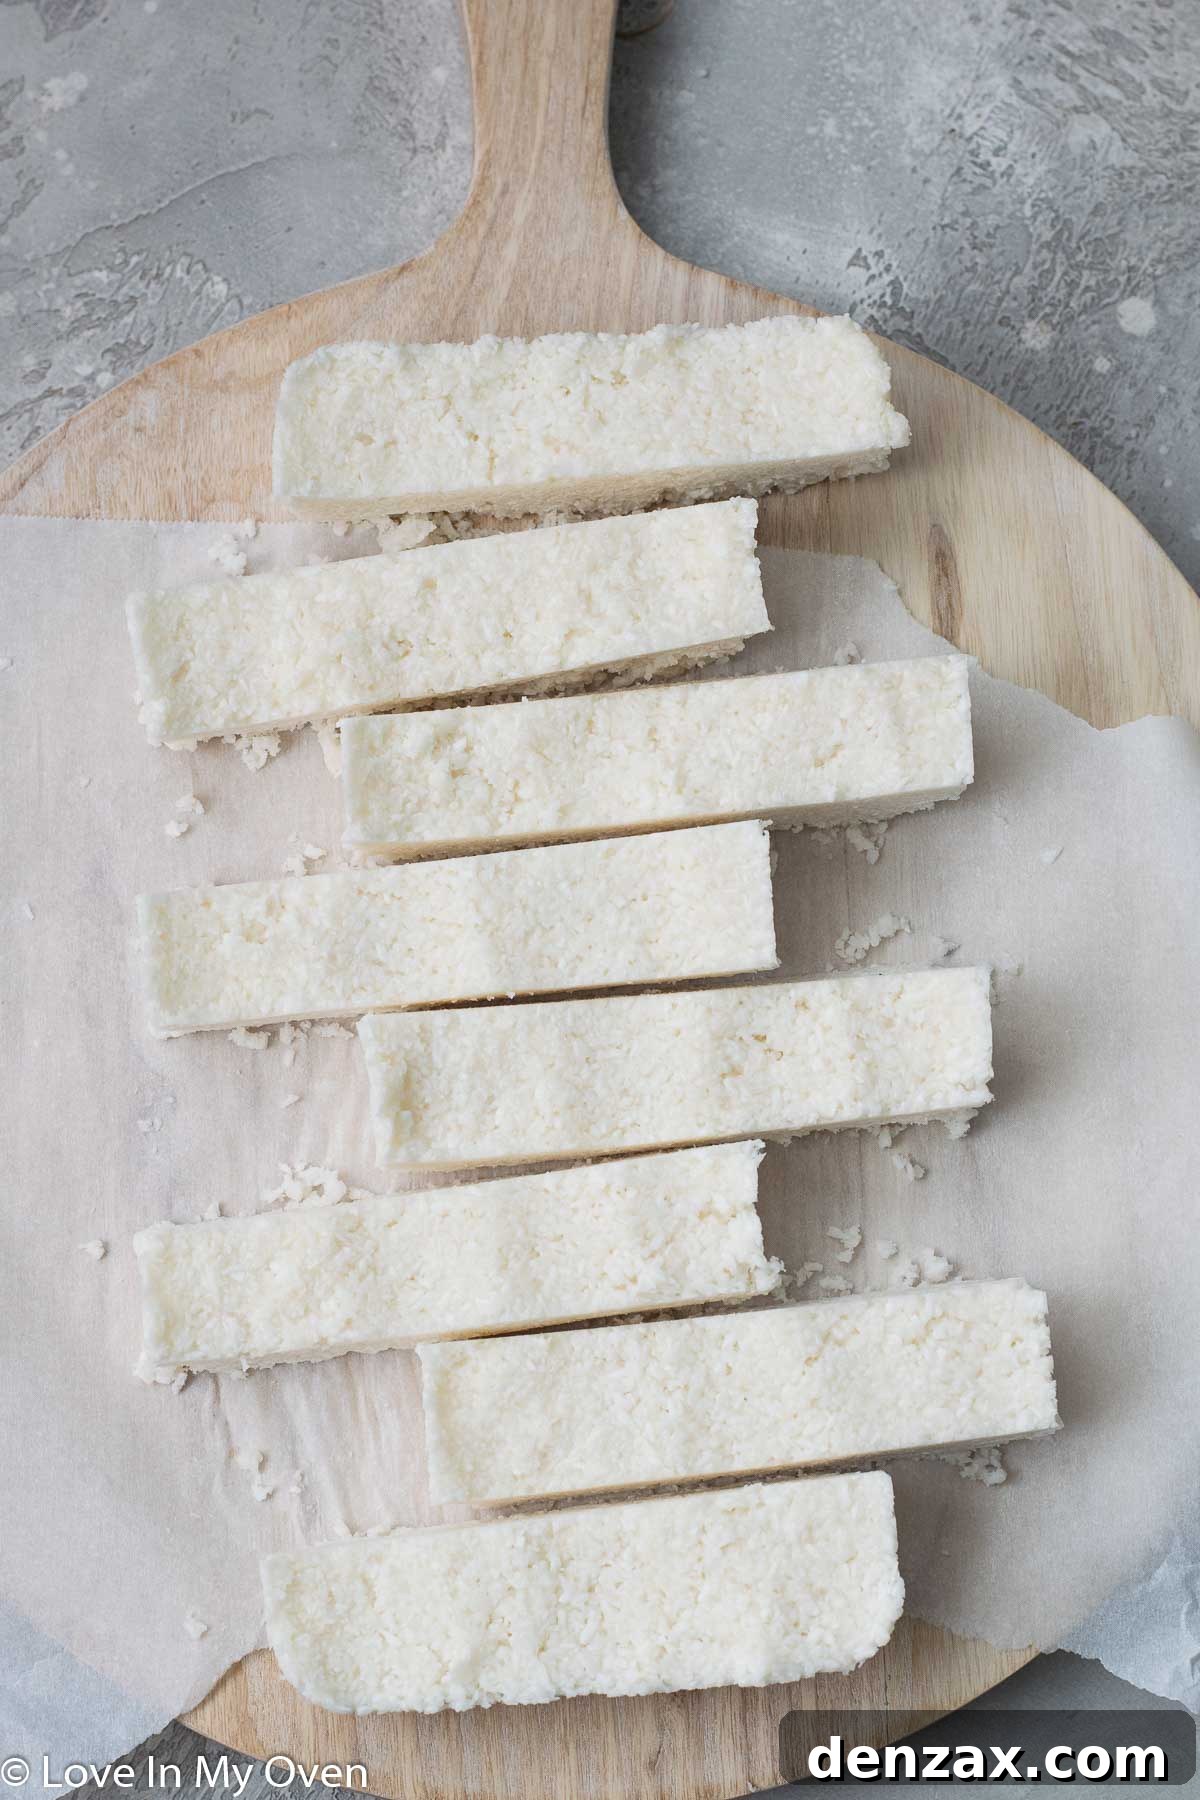
Once the coconut mixture is firm, remove the pan from the freezer. Gently lift the parchment paper by its edges to release the entire slab of coconut. Transfer it to a cutting board. Carefully slice the slab into 8 even-sized bars. For smaller, bite-sized treats, you can slice them into 16 pieces. I personally love cutting them into 8 larger pieces, as they mimic the classic Bounty bar shape and size perfectly. Return these individual bars to the parchment-lined baking tray and place them back into the freezer for another 1-2 hours, or until they are very firm. This crucial step prevents them from falling apart when dipped in chocolate.
Step 4: Prepare the Chocolate Coating
While the bars are chilling for their final set, it’s time to prepare your chocolate coating. Combine the chopped dark chocolate with a teaspoon of melted coconut oil in a microwave-safe bowl. Microwave the mixture in 30-second increments on high power, stirring thoroughly after each interval, until the chocolate is completely melted, smooth, and runny. Alternatively, you can melt the chocolate using a double boiler method for more gentle heat control.
Step 5: Dip and Set the Bars
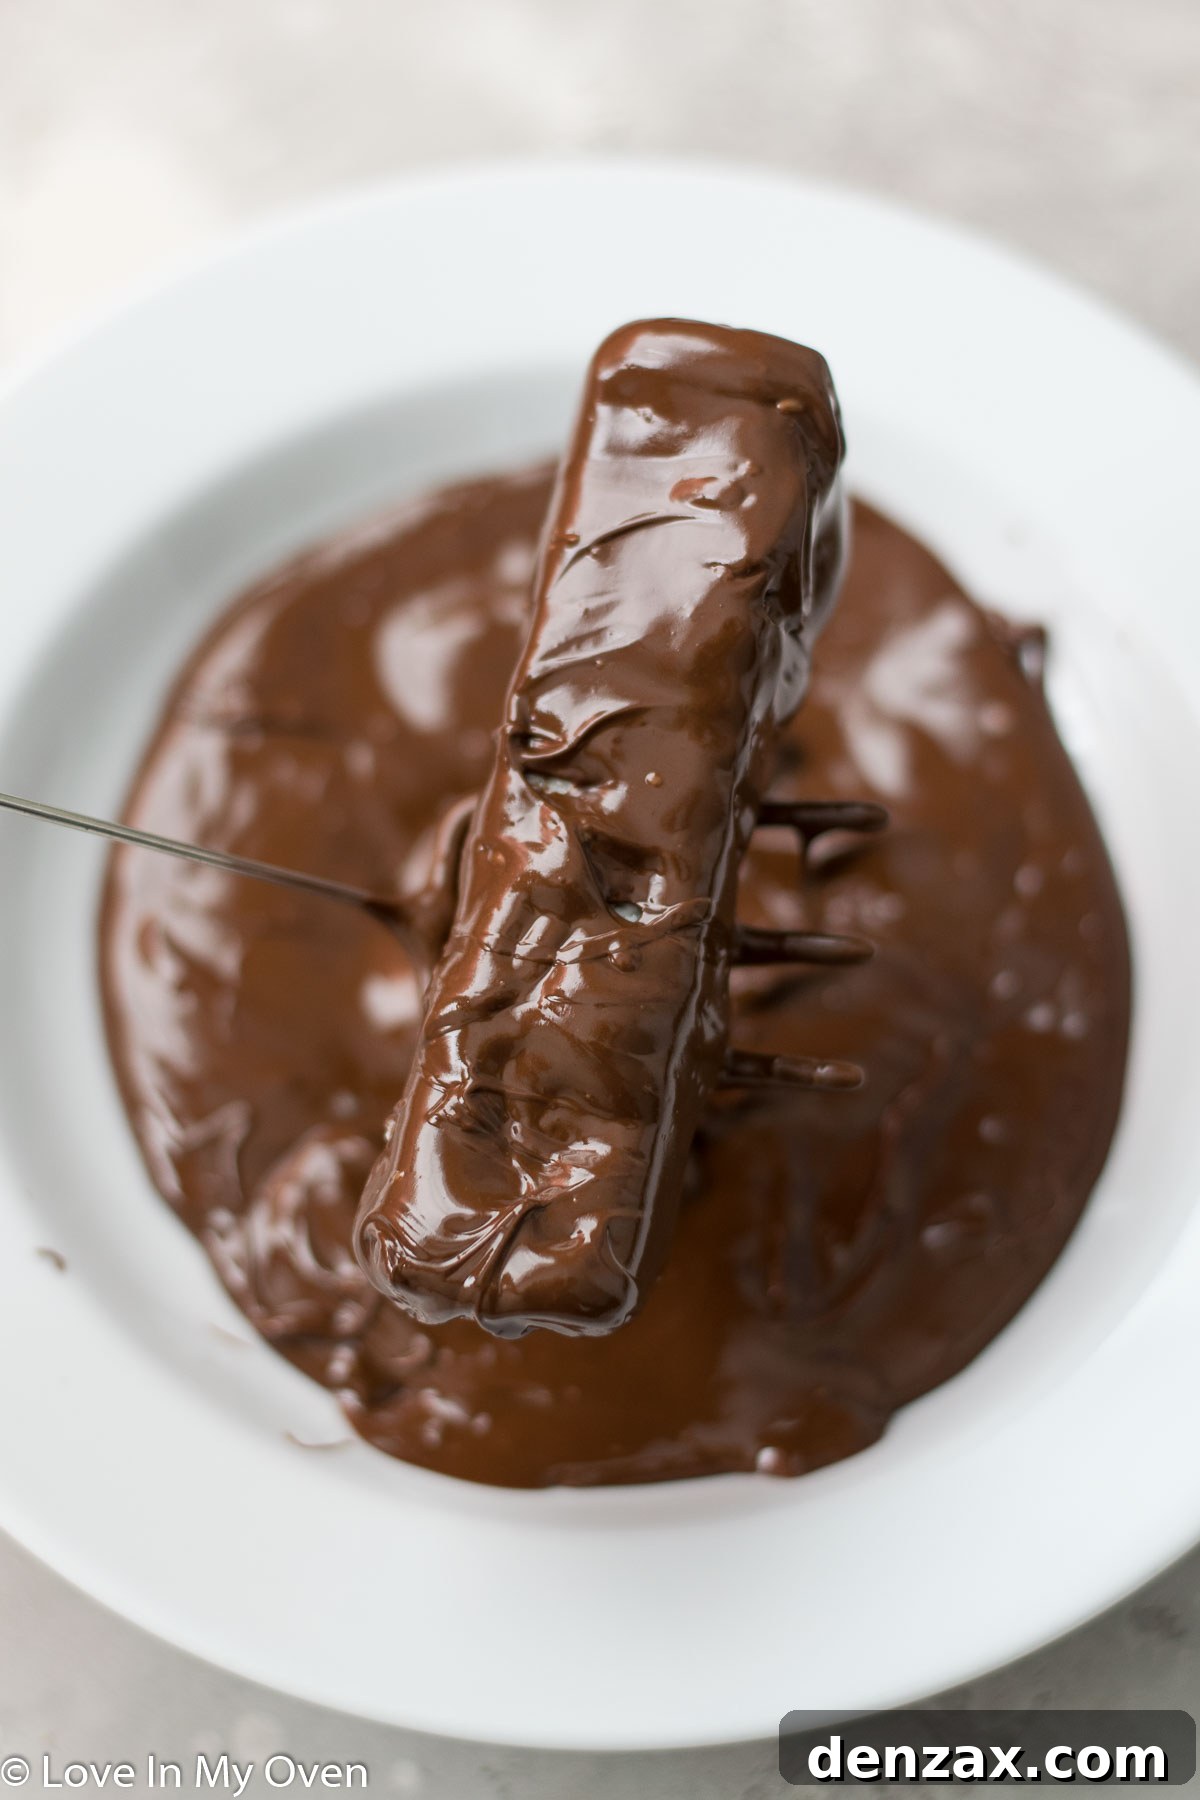
Working quickly, remove one frozen coconut bar at a time from the freezer. Using a fork or a chocolate dipping tool, fully immerse the bar into the melted chocolate, ensuring it’s completely coated on all sides. Gently lift the bar, allowing any excess chocolate to drip off, then place it back onto the parchment-lined baking tray. Repeat this process for all remaining bars. Once all bars are dipped, return the baking tray to the freezer or fridge for about 15 minutes, or until the chocolate coating is firm and set.
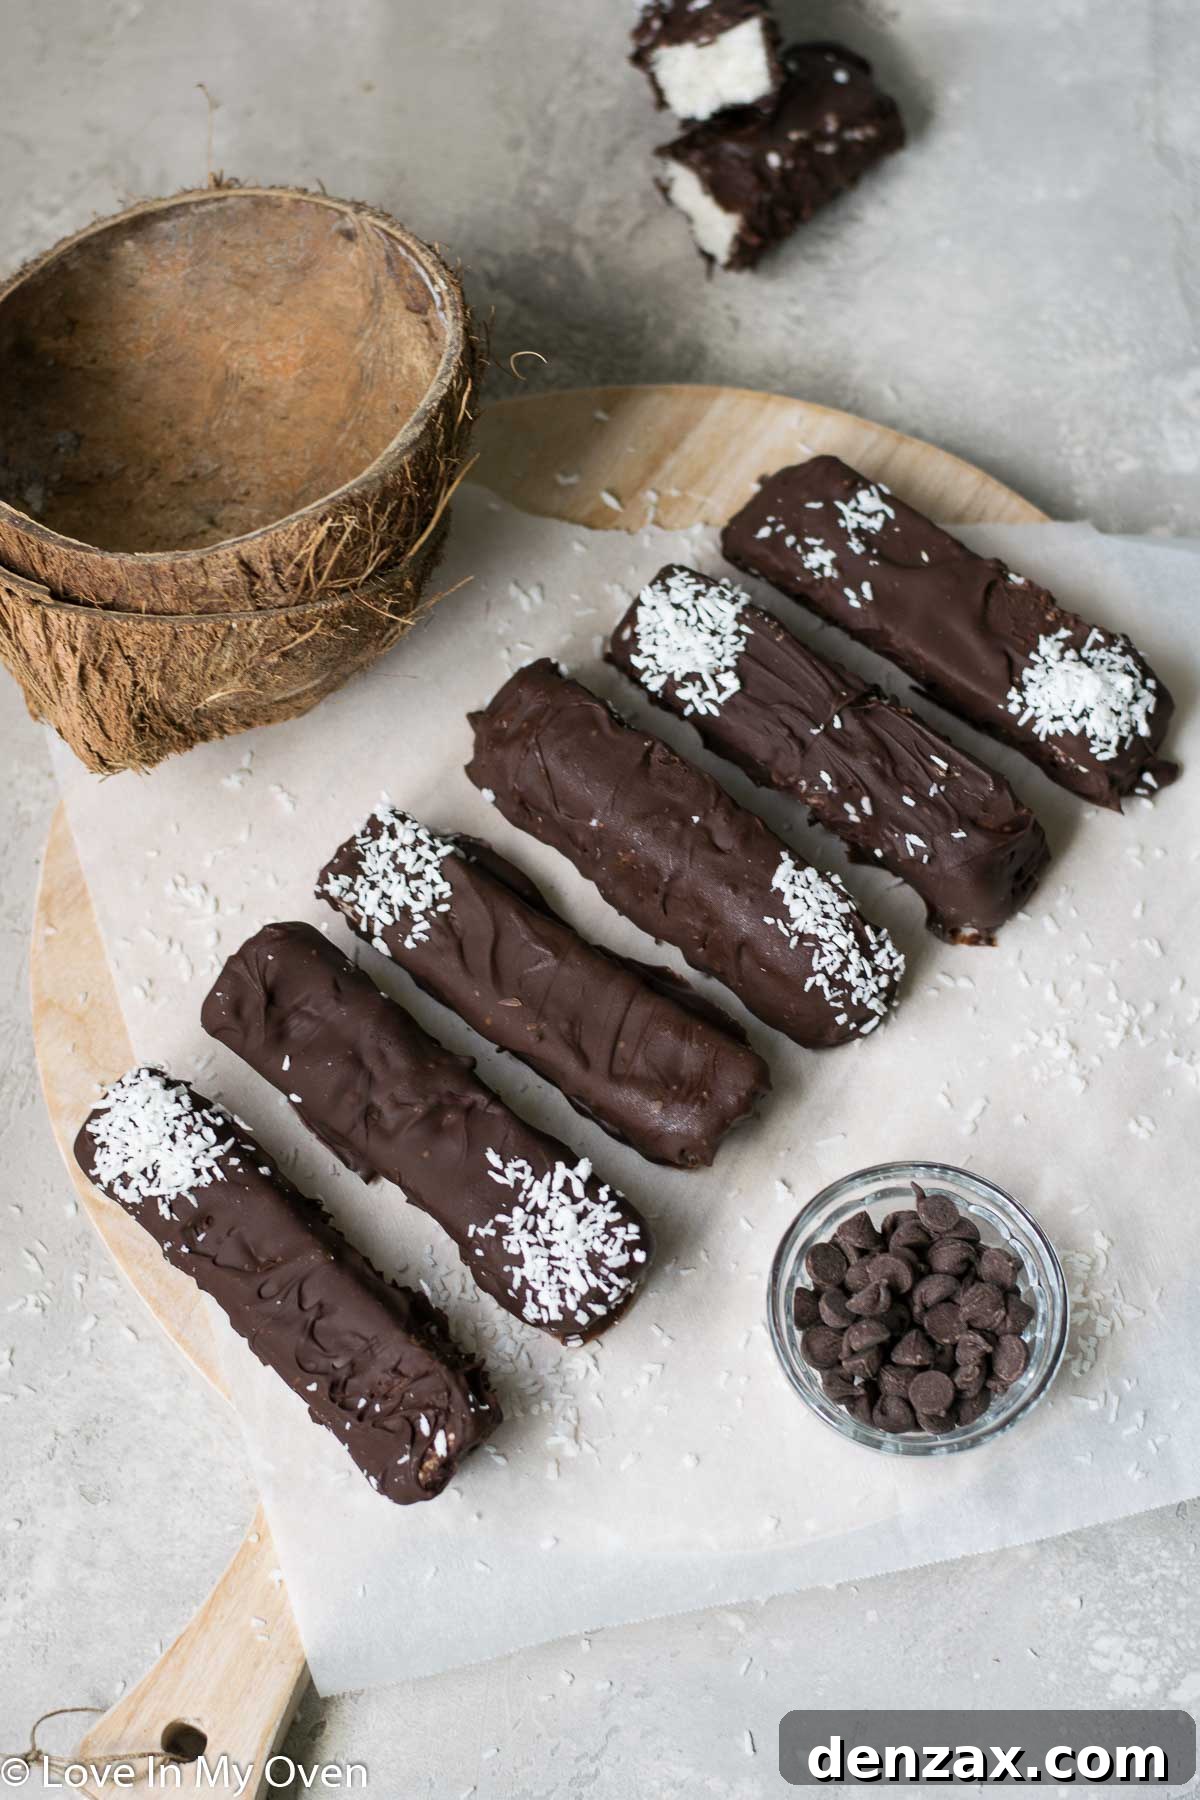
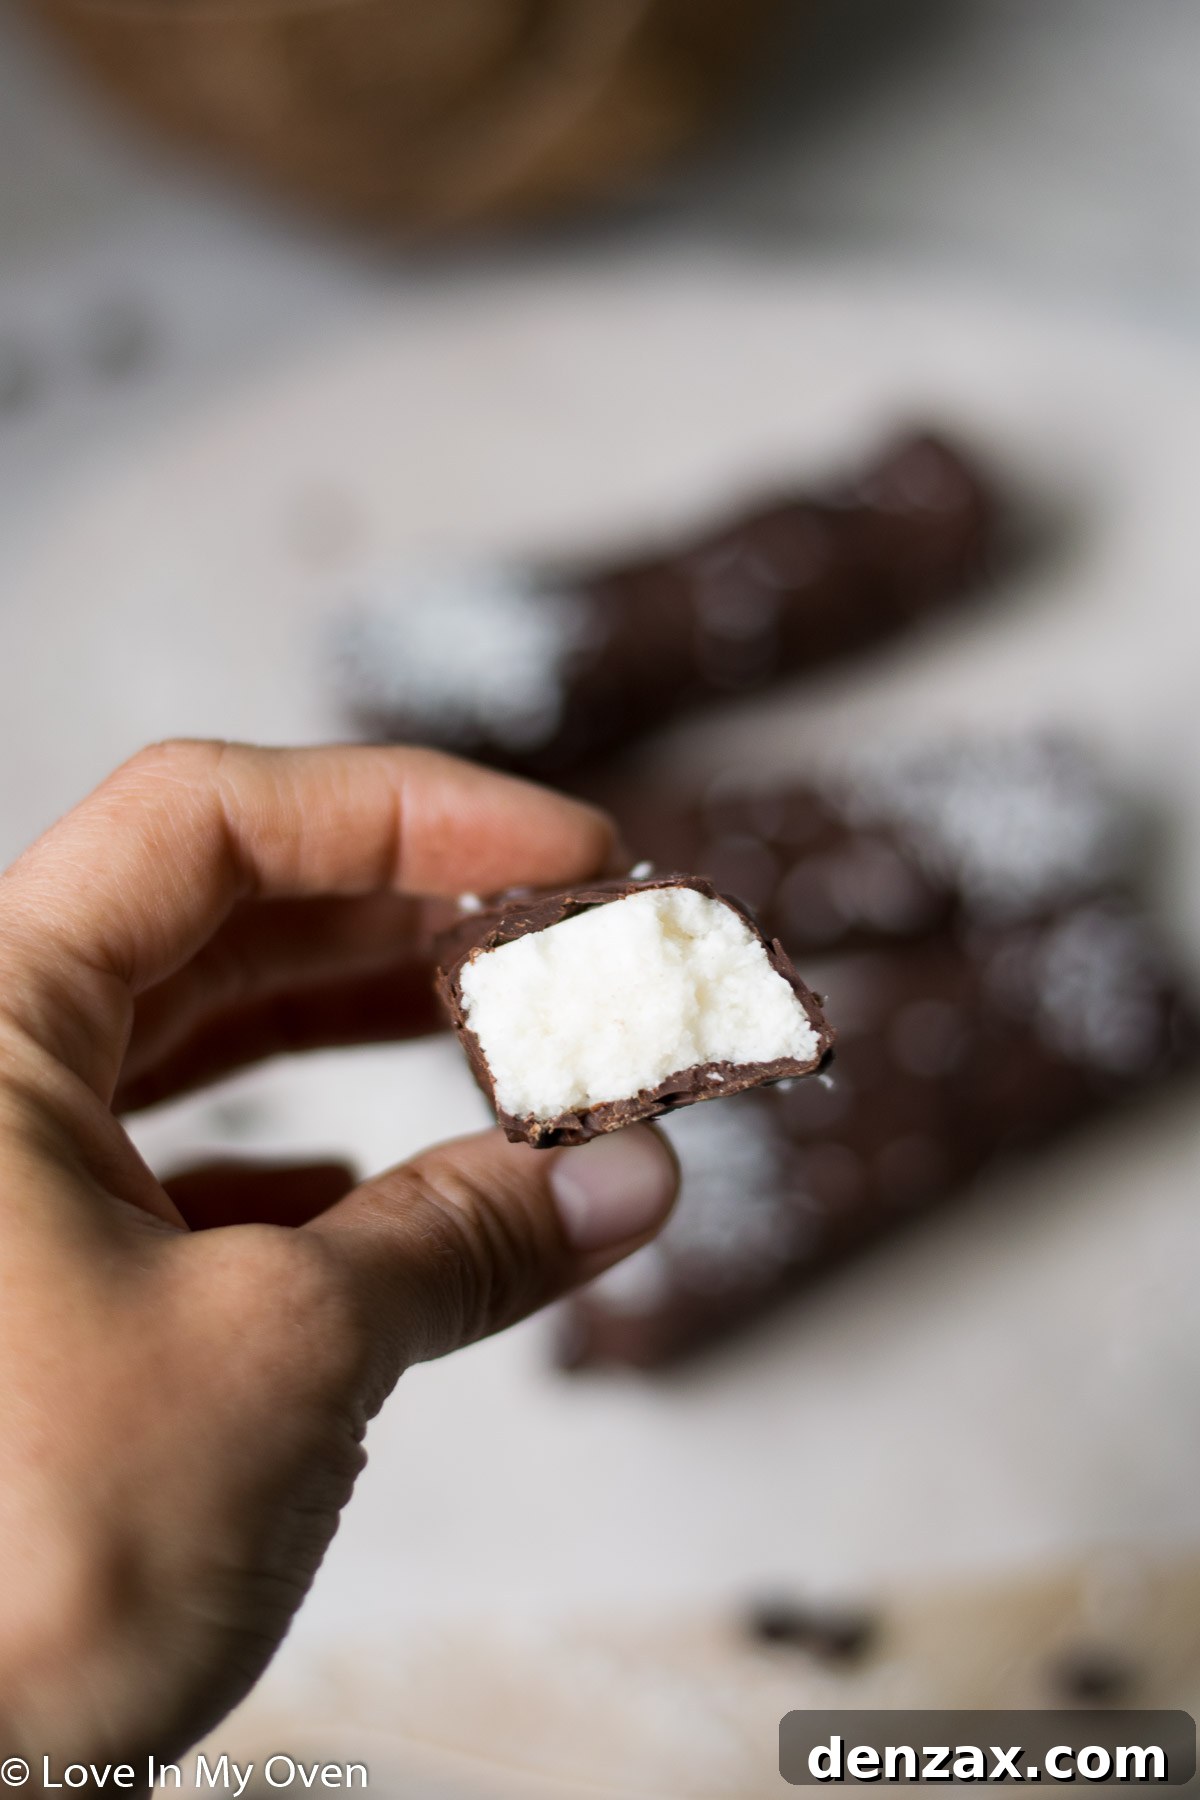
Now your irresistible homemade Bounty bars are ready to be enjoyed! Keep them chilled and grab one whenever you crave a sweet, chocolate-coconut delight.
Storage and Longevity of Your Homemade Bounty Bars
These homemade Bounty bars are best enjoyed cold, and proper storage is key to maintaining their texture and freshness. Here’s how to keep them at their best:
- Refrigerator: Store the bars in an airtight container in the fridge for up to 2 weeks. They remain firm and delicious, perfect for a quick snack or dessert.
- Freezer: For longer storage, you can keep them in an airtight container in the freezer for up to 2 months. They are surprisingly delicious straight from the freezer, offering a chewier texture. If you prefer them slightly softer, simply remove them to the fridge to thaw for a bit overnight or at room temperature for 15-20 minutes before serving.
- Room Temperature: While tempting, these bars will soften significantly after about an hour at room temperature due to the coconut oil content, and may start to fall apart. For optimal enjoyment and structural integrity, it’s best to keep them chilled.
Customization and Dietary Variations
One of the best aspects of making your own treats is the ability to adapt them to various dietary preferences without sacrificing flavor. These homemade Bounty bars are incredibly versatile:
Can You Make These Bars Vegan?
Absolutely! The original recipe uses honey, which isn’t vegan. To make these bars entirely plant-based, simply swap out the honey for an equal amount of powdered sugar. Additionally, increase the amount of solid coconut oil by 1 tablespoon to ensure the filling binds perfectly and maintains its rich texture. Ensure your dark chocolate is also certified vegan, as some brands may contain milk solids.
Can You Make These Homemade Bounty Bars Low-Carb/Keto?
Yes, you certainly can! Follow the same substitution principle as the vegan version, but instead of honey, use a powdered sweetener alternative suitable for low-carb or keto diets. Products like Swerve sweetener are excellent choices for replacing honey. For the chocolate coating, you’ll need to opt for a sugar-free dark chocolate alternative or use a very high percentage cocoa chocolate (90% or higher) to keep the carb count low. Always check the labels of your ingredients to ensure they align with your dietary goals.
If you’re a devoted fan of the classic chocolate and coconut combination, these homemade Bounty bars will undoubtedly become a new favorite in your repertoire. Their rich flavor and satisfying texture are truly unmatched!
Troubleshooting Common Issues
Even with simple recipes, sometimes things don’t go as planned. Here are a few tips for common issues:
- Filling Too Dry/Crumbly: If your coconut mixture isn’t coming together, add a tiny bit more coconut cream (half a tablespoon at a time) until it reaches a moldable consistency. The fat content in the cream helps bind it.
- Filling Too Sticky/Oily: This might happen if your coconut oil was too soft or you added too much cream. Try adding a little more shredded coconut, or chill the mixture in the fridge for 10-15 minutes before pressing it into the pan.
- Chocolate Seizing: If your chocolate becomes thick and grainy when melting, it likely came into contact with a tiny bit of water or was overheated. You might be able to salvage it by stirring in a teaspoon of coconut oil or vegetable oil to smooth it out, but sometimes a fresh batch is best.
- Chocolate Coating Too Thick: If the chocolate is too thick for dipping, stir in another half teaspoon of melted coconut oil until it reaches your desired consistency.
- Bars Breaking During Dipping: Ensure your coconut bars are thoroughly frozen (at least 1-2 hours) before dipping. The coldness helps them hold their shape when submerged in warm chocolate.
Serving Suggestions
These homemade Bounty bars are a versatile treat! Serve them:
- As a simple dessert: A perfect end to any meal, especially when you crave something sweet and satisfying.
- With coffee or tea: The rich flavors pair wonderfully with a hot beverage.
- Chilled or frozen: Enjoy them straight from the fridge for a classic texture, or from the freezer for a delightful, chewier, ice-cream-like experience.
- As a gift: Package them in a nice box or bag for a thoughtful, handmade present.
Whether you’re new to making homemade candy bars or a seasoned pro, this refined sugar-free Bounty bar recipe is a must-try. It’s simple, adaptable, and incredibly delicious – proof that homemade treats are always the best!
More Delicious Bar Recipes You’ll Love
If you’re a fan of these homemade delights, you’ll surely enjoy exploring some of my other favorite bar recipes:
- Coconut Caramel Bars
- 3-Ingredient Nutella Brownies
- No-Bake Cheesecake Bars
Homemade Bounty Bars
5 from 9 reviews
- Author: Katherine | Love In My Oven
- Total Time: 30 minutes
- Yield: 8 bars
Description
Once you try these homemade bounty bars you’ll never buy them again! The filling is refined sugar-free and full of flavor. They’re delicious!
Ingredients
- 3 cups shredded coconut
- 1/4 cup coconut oil, solid
- 1/4 cup canned coconut cream
- 1/4 cup liquid honey
- 1 cup chopped dark chocolate*
- 1 tsp melted coconut oil
Instructions
- Add the shredded coconut, coconut oil, coconut cream and honey to a food processor and mix together until combined. The mixture should stick together when you roll it into a ball.
- Line a standard-sized loaf pan with parchment paper so that there is an overhang on either side. Press the coconut mixture down flat into the loaf pan and place it into the freezer for 20 minutes to set and harden.
- Lift the slab out of the pan using the edges of the parchment paper and cut the coconut into 8 bars. Place the bars on to a parchment-lined baking tray and return them to the freezer until they are very firm and set, 1-2 hours.
- Place the chocolate into a microwave-safe bowl along with the coconut oil. Microwave the mixture in 30 second intervals, bringing it out to stir every 30 seconds until completely melted and smooth.
- Removing one bar from the freezer at a time, use a fork or chocolate dipping tool to dip each bar into the chocolate, and flip it over quickly so that its completely covered on all sides. Quickly return the bar to a parchment-lined baking tray. Repeat for the remaining 7 bars. Return the baking tray to the freezer or fridge to harden and set, about 15 minutes. Enjoy!
It’s best to keep the bars in the fridge for up to 2 weeks, and serve them cold, as they will soften up at room temperature after about an hour. You can also keep them in the freezer for up to 2 months.
Notes
*You can use a good quality chopped chocolate or chocolate chips
**See the blog post for keto and vegan variations of these bars!
- Prep Time: 10 minutes
- Category: candy
- Method: no bake
- Cuisine: canadian