
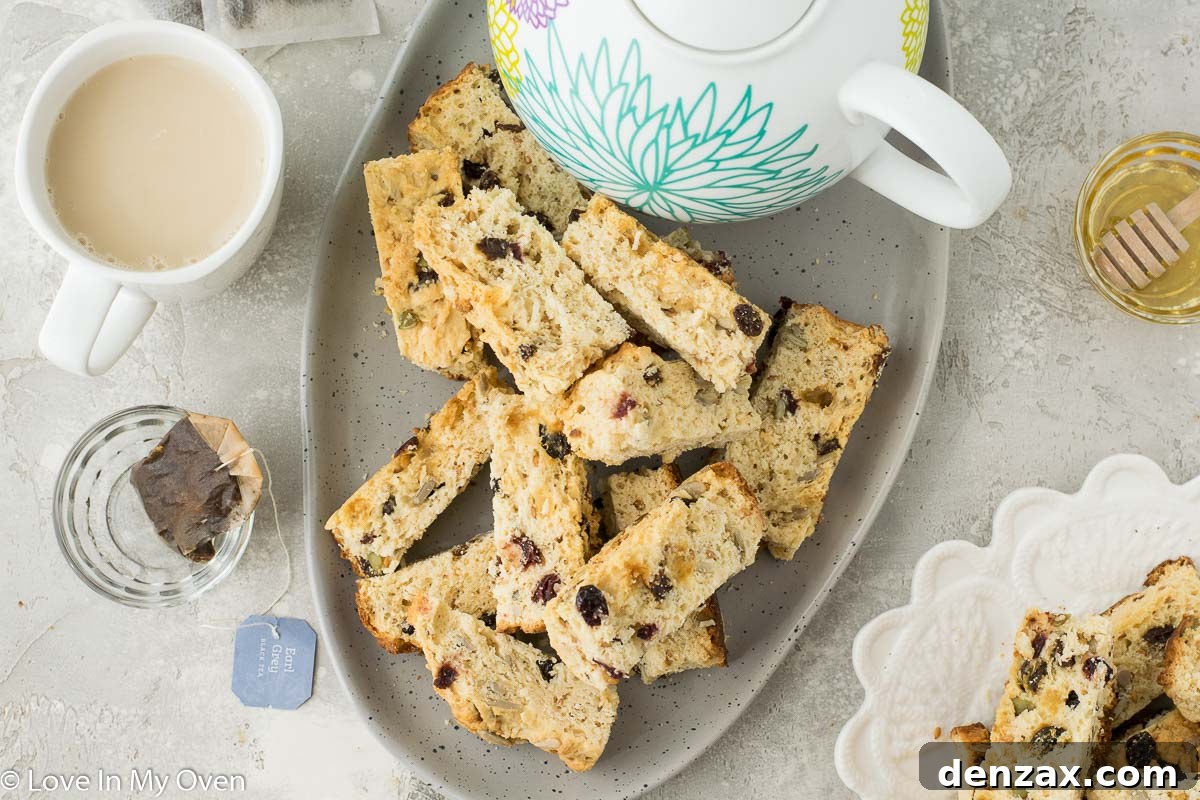
Indulge in the comforting taste of homemade South African Buttermilk Rusks – a traditional, satisfyingly crunchy treat perfect for dipping into your favorite hot beverage. This incredibly easy recipe offers delightful customization options, allowing you to create rusks that perfectly suit your palate. If you’ve been dreaming of baking your own authentic buttermilk rusks to dunk into your morning coffee or tea, your search ends here!
For those familiar with my culinary adventures, it comes as no surprise that my household often explores the vibrant flavors of South African cuisine. As the spouse of a proud South African, I’ve had the pleasure of discovering many traditional delights, and buttermilk rusks have long been on my list of recipes to master. While these beloved staples are ubiquitous in South Africa, readily available in every grocery store, they are a rare find here in Canada. This scarcity fueled my determination to perfect a homemade version, ensuring my husband and I can always enjoy these classic dunkable treats. After much experimentation, I’m thrilled to share this winning recipe that promises to bring the authentic taste of South Africa right to your kitchen.
What is a South African Rusk?
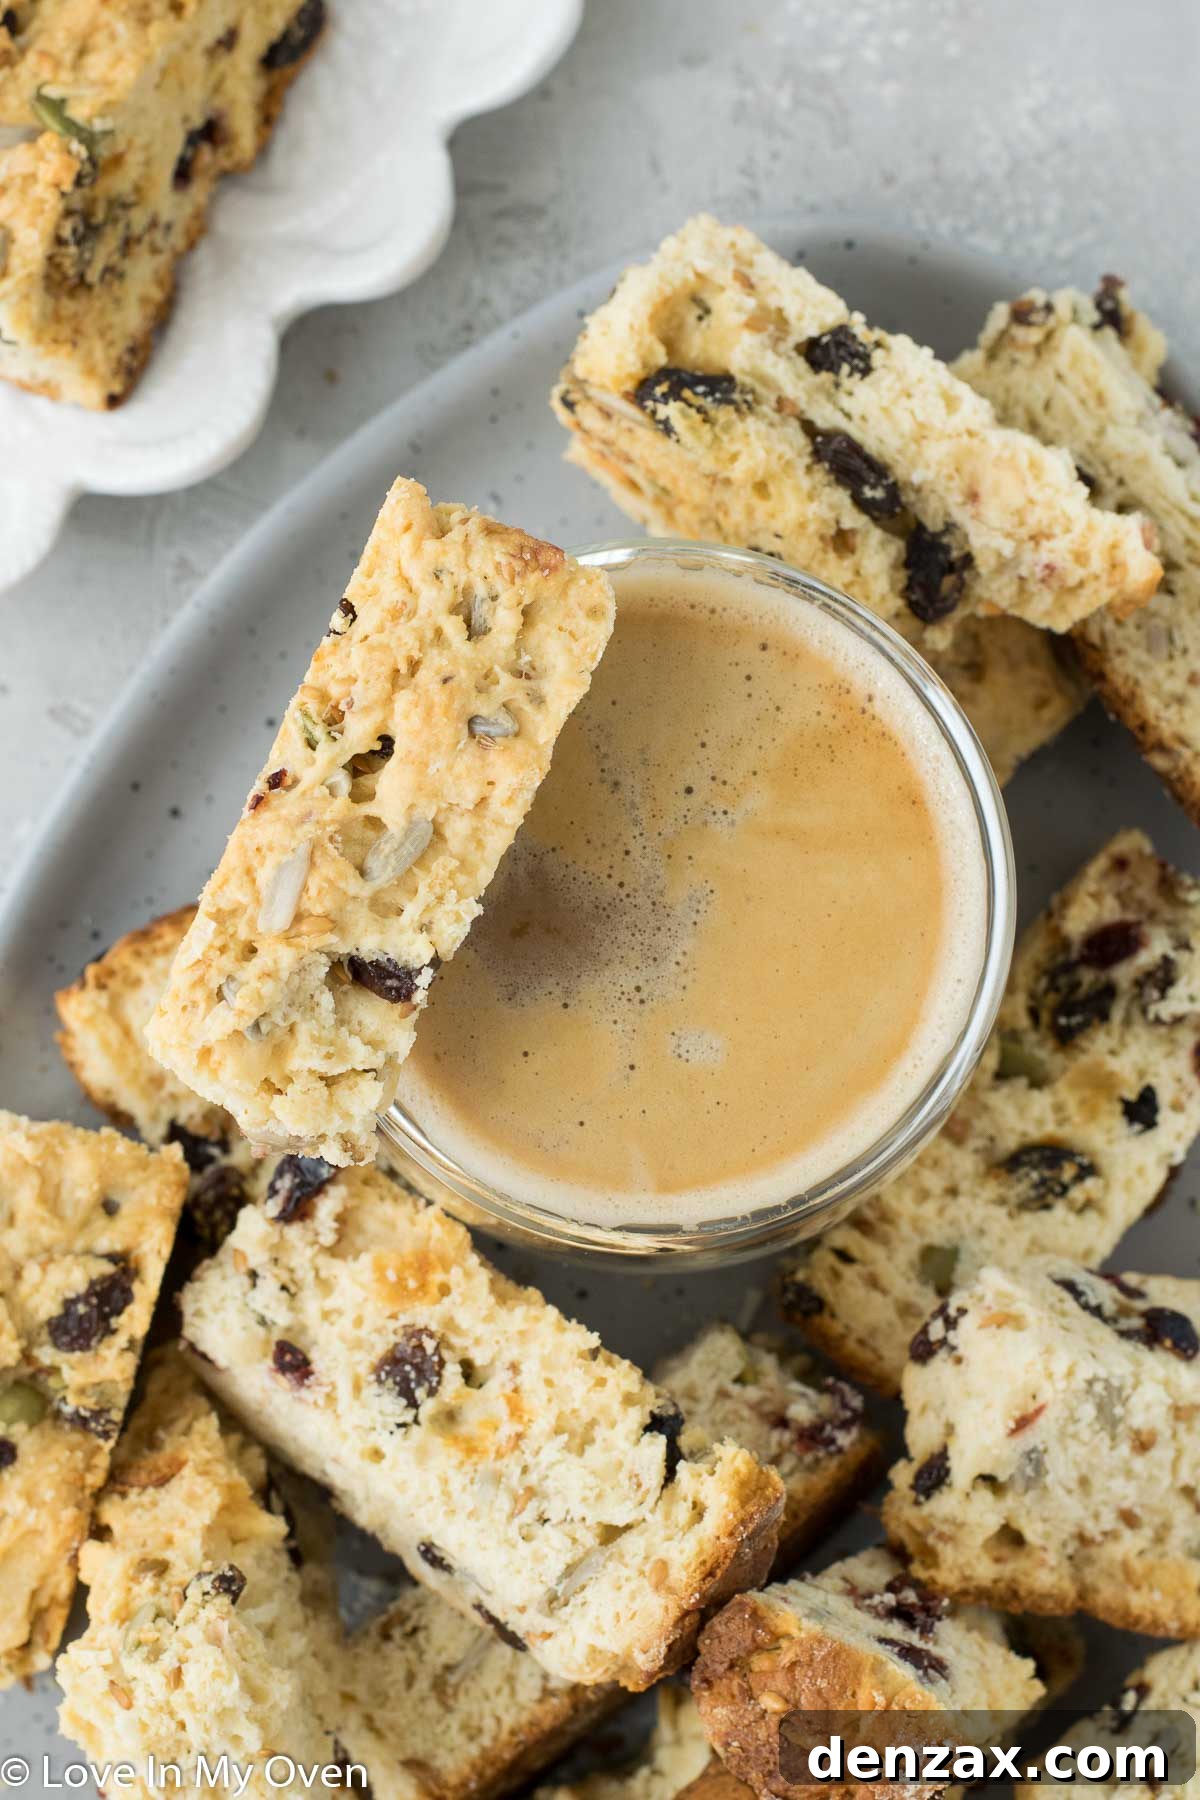
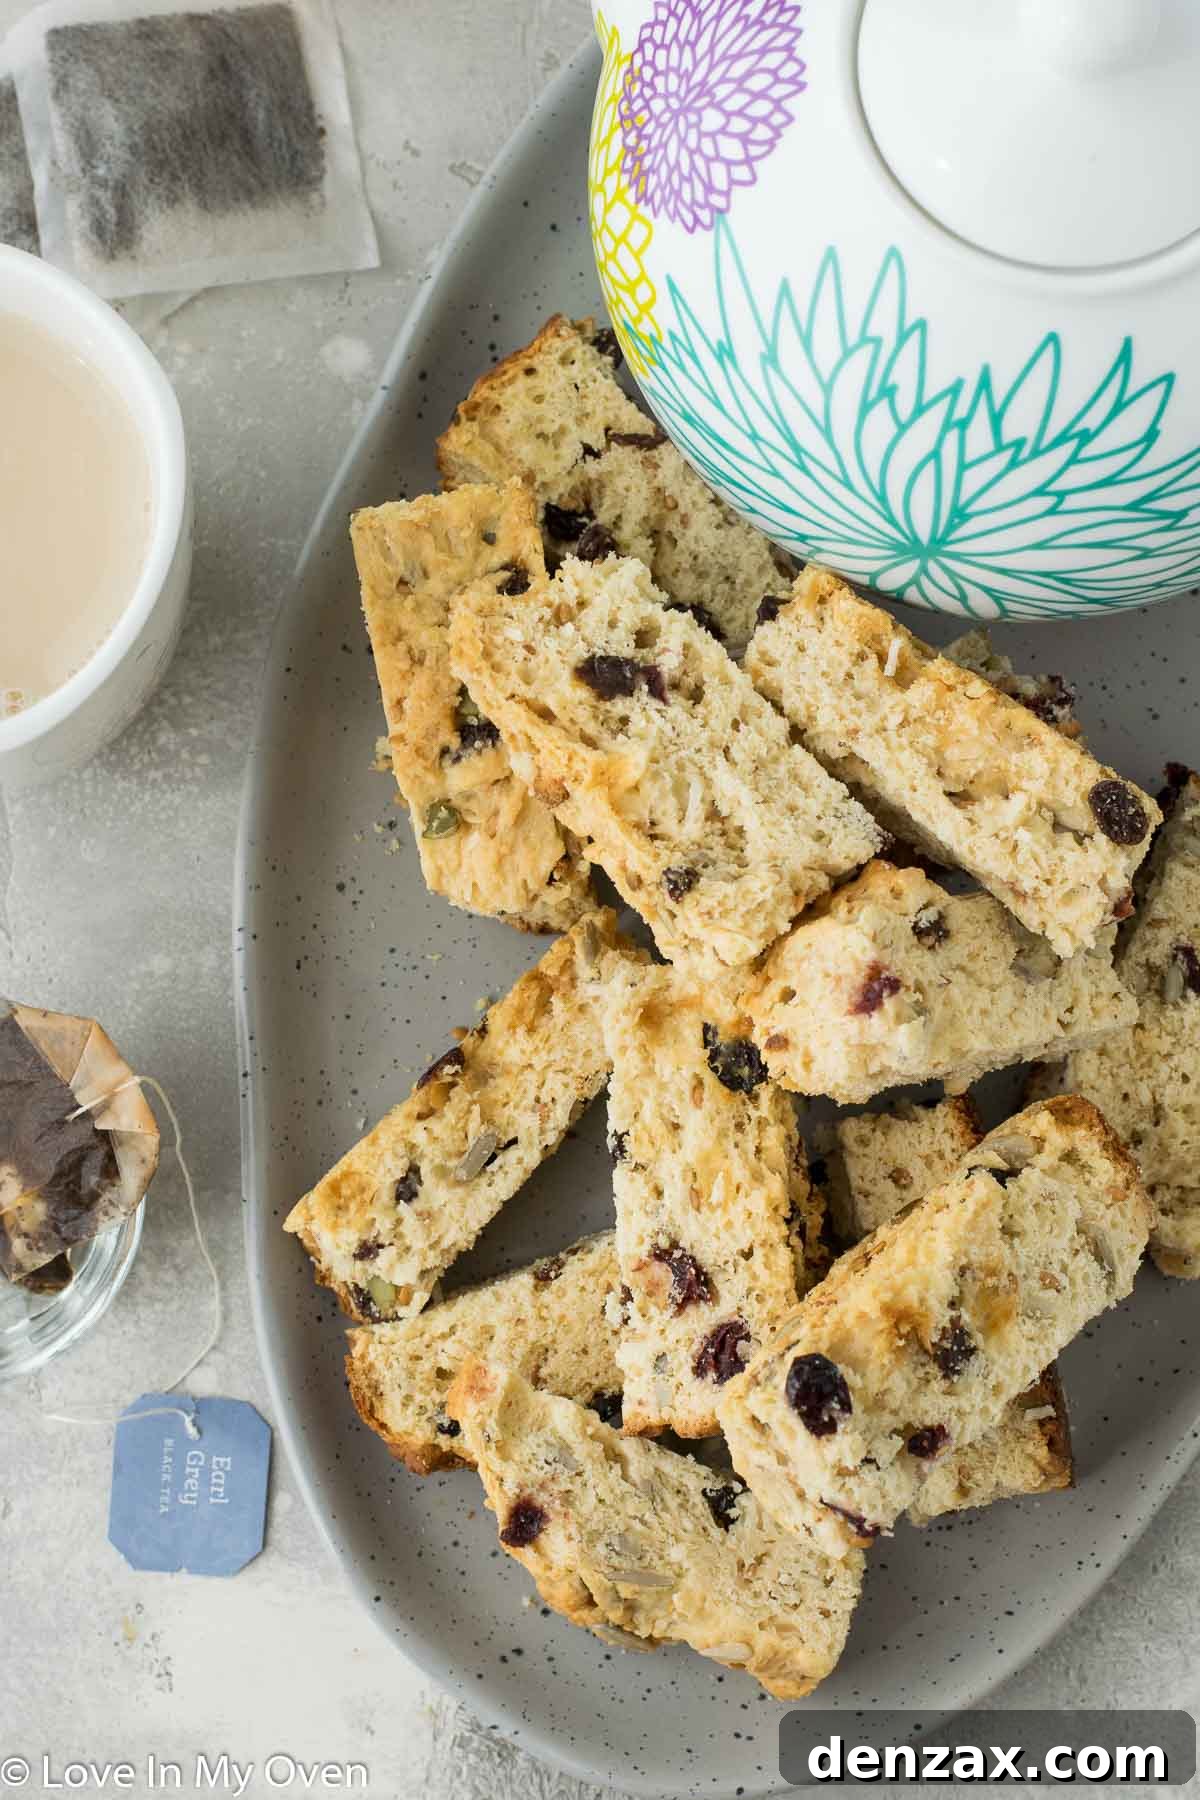
A South African rusk is a cherished national staple, deeply embedded in the country’s culinary heritage. At its heart, a rusk is a type of dried biscuit, often compared to biscotti due to its “twice-baked” nature. However, the process for rusks takes a unique turn: the second bake is a prolonged, low-temperature dehydration, lasting anywhere from 5 to 6 hours. This slow drying process is what gives rusks their characteristic hard, crunchy texture, making them ideal for dunking.
Unlike the typically uniform and elegant shape of biscotti, rusks are known for their more rustic, homey appearance. They are often thicker and shorter, cut into less precise, chunky pieces directly from a baked slab of dough. This unpretentious presentation is part of their charm, reflecting their origin as a practical and enduring snack designed for longevity, particularly for travelers and farmers in colonial South Africa. They are not merely a snack but a ritual, a comforting companion to a morning cup of coffee, tea, or even warm milk, perfect for softening and savoring every bite. The robust texture and rich, often subtly spiced flavor of a traditional rusk make it a truly unique and satisfying treat, perfectly crafted for soaking up your favorite hot beverage.
Why Make Your Own Buttermilk Rusks?
While the convenience of store-bought rusks is undeniable, there’s an unparalleled satisfaction in crafting your own batch from scratch. Making homemade buttermilk rusks allows for complete control over the ingredients, ensuring you use only the freshest and highest-quality components. This not only enhances the flavor but also means you can avoid any unwanted preservatives or artificial additives often found in commercial versions.
Beyond quality, customization is a major advantage. This recipe is designed to be highly adaptable, giving you the freedom to adjust the types and quantities of seeds, dried fruits, or spices to suit your personal preferences. Love more sunflower seeds? Go for it! Not a fan of craisins? Swap them out for dried apricots or omit them entirely. This level of personalization is simply not possible with pre-packaged rusks.
For those living outside South Africa, homemade rusks offer a taste of home that can be hard to find otherwise. It’s a wonderful way to connect with the culture and tradition, bringing an authentic South African experience into your kitchen, no matter where you are in the world. Plus, the aroma of rusks baking and dehydrating fills your home with an incredibly inviting, warm scent that store-bought options can never replicate. The process, while requiring patience for the slow bake, is simple and deeply rewarding, culminating in a batch of perfectly crunchy, flavorful rusks ready for your next dunking moment.
What Ingredients Do You Need for South African Buttermilk Rusks?
This recipe for South African buttermilk rusks boasts a surprisingly simple process, despite a seemingly extensive ingredient list. Each component plays a vital role in achieving the perfect texture and flavor. The beauty of this recipe lies in its flexibility; you can easily tailor the mix-ins to your liking. If certain seeds or dried fruits aren’t your favorites, feel free to substitute them with others you enjoy more, or simply double up on the ones you love! This adaptability ensures that every batch of rusks you make is uniquely yours.
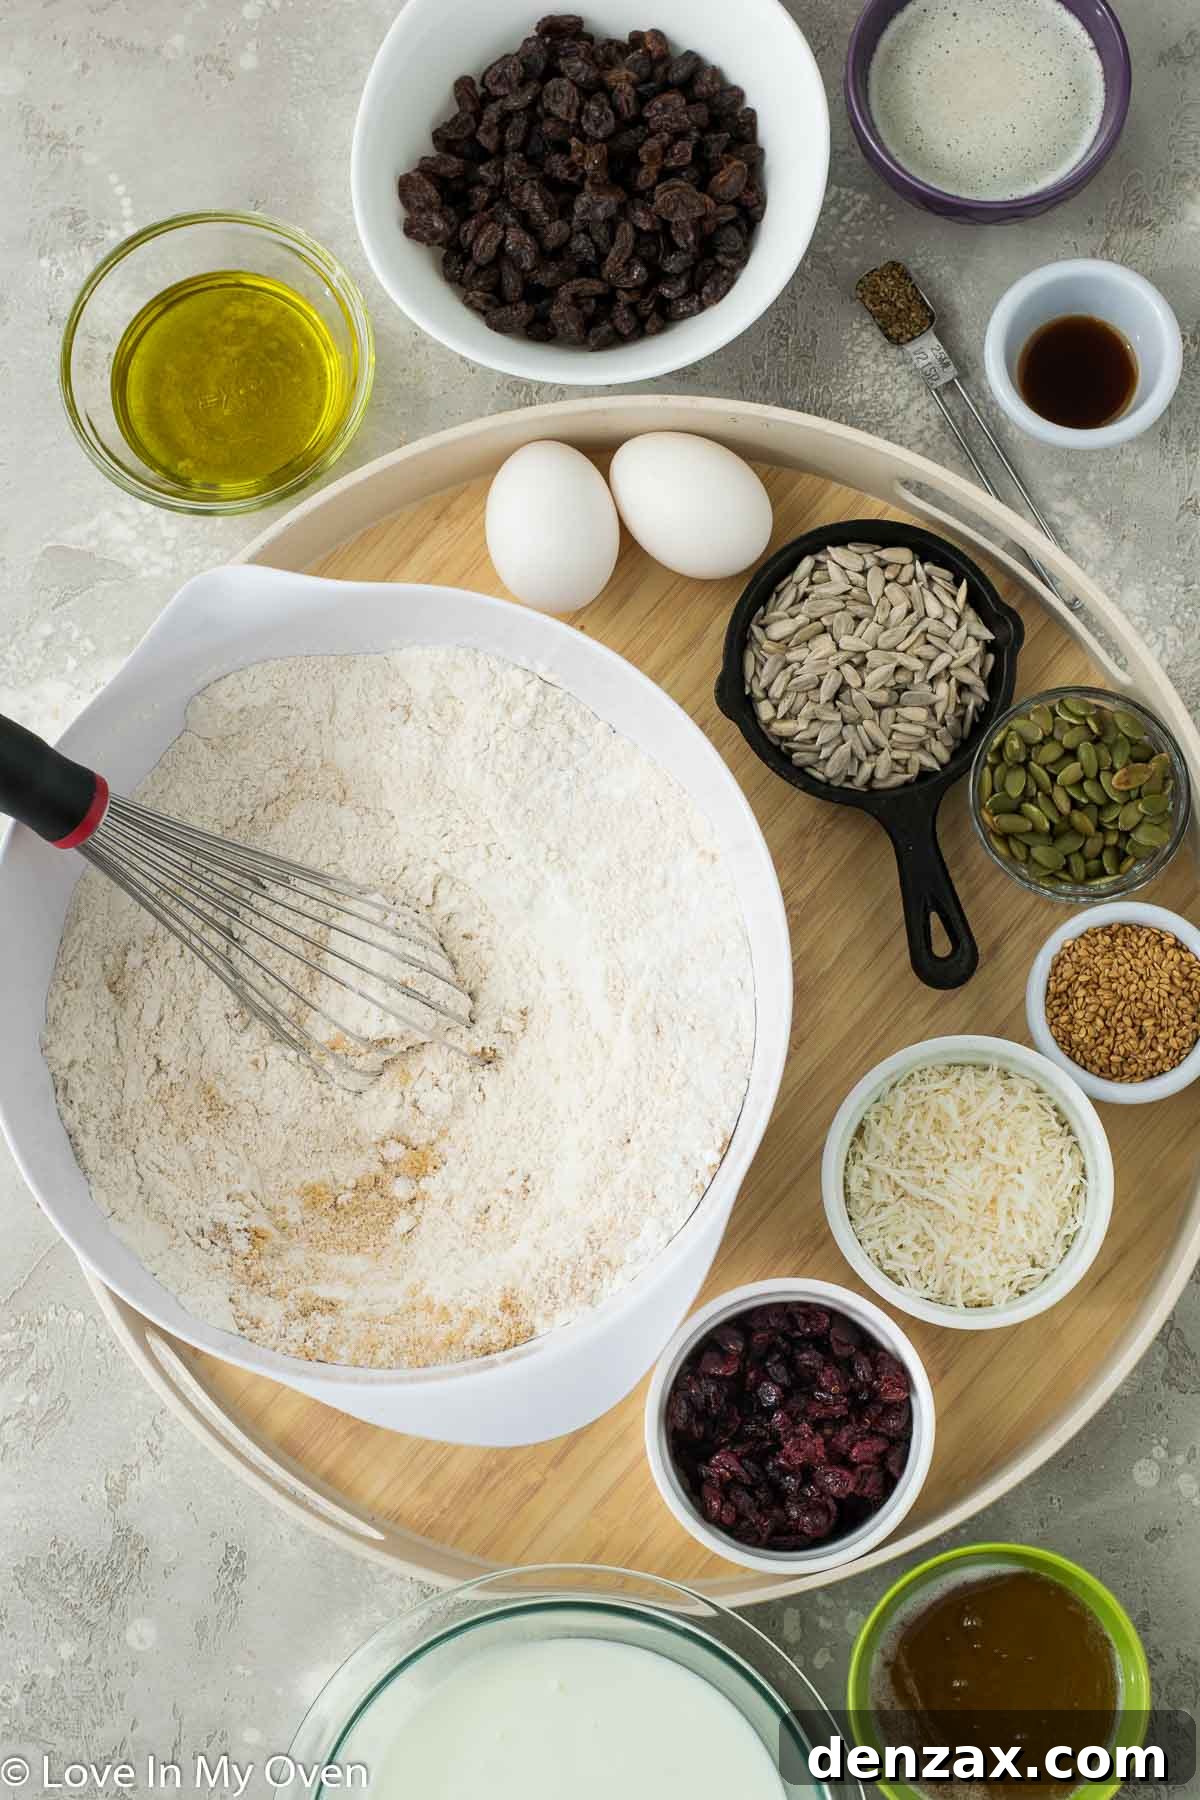
Essential Ingredient List:
- All-purpose flour: The foundation of our rusks, providing structure and body.
- Baking powder: Crucial for the initial rise and light texture before the dehydration process.
- Salt: Enhances all the other flavors, balancing the sweetness.
- Brown sugar: Adds a deep, caramelized sweetness and helps keep the rusks moist during the first bake.
- Anise seed: A classic South African spice that imparts a distinctive, aromatic flavor.
- Raisins: Offer bursts of natural sweetness and chewiness.
- Sunflower seeds: Contribute a nutty crunch and healthy fats.
- Shredded coconut: Adds a delicate sweetness and tropical note, along with texture.
- Flaxseeds: Provide a subtle nutty flavor and a boost of omega-3s.
- Pumpkin seeds: Another source of healthy fats and a satisfying crunch.
- Craisins (dried cranberries): Introduce a tart counterpoint to the sweetness of the other fruits.
- Melted butter: Adds richness and a tender crumb to the dough.
- Honey: Contributes to the complex sweetness and helps with browning.
- Eggs: Bind the ingredients together and add richness.
- Oil (avocado or vegetable): Ensures a moist interior and soft crumb before the drying process.
- Buttermilk: The star ingredient, providing a tender texture and a slight tang that is characteristic of traditional rusks.
- Vanilla extract: Enhances the overall sweet and comforting flavor profile.
How Do You Make Buttermilk Rusks?
Crafting these delicious buttermilk rusks involves a straightforward two-stage baking process. The key is to prepare the dough carefully and then allow sufficient time for the crucial dehydration step. Follow these steps for perfect homemade rusks:
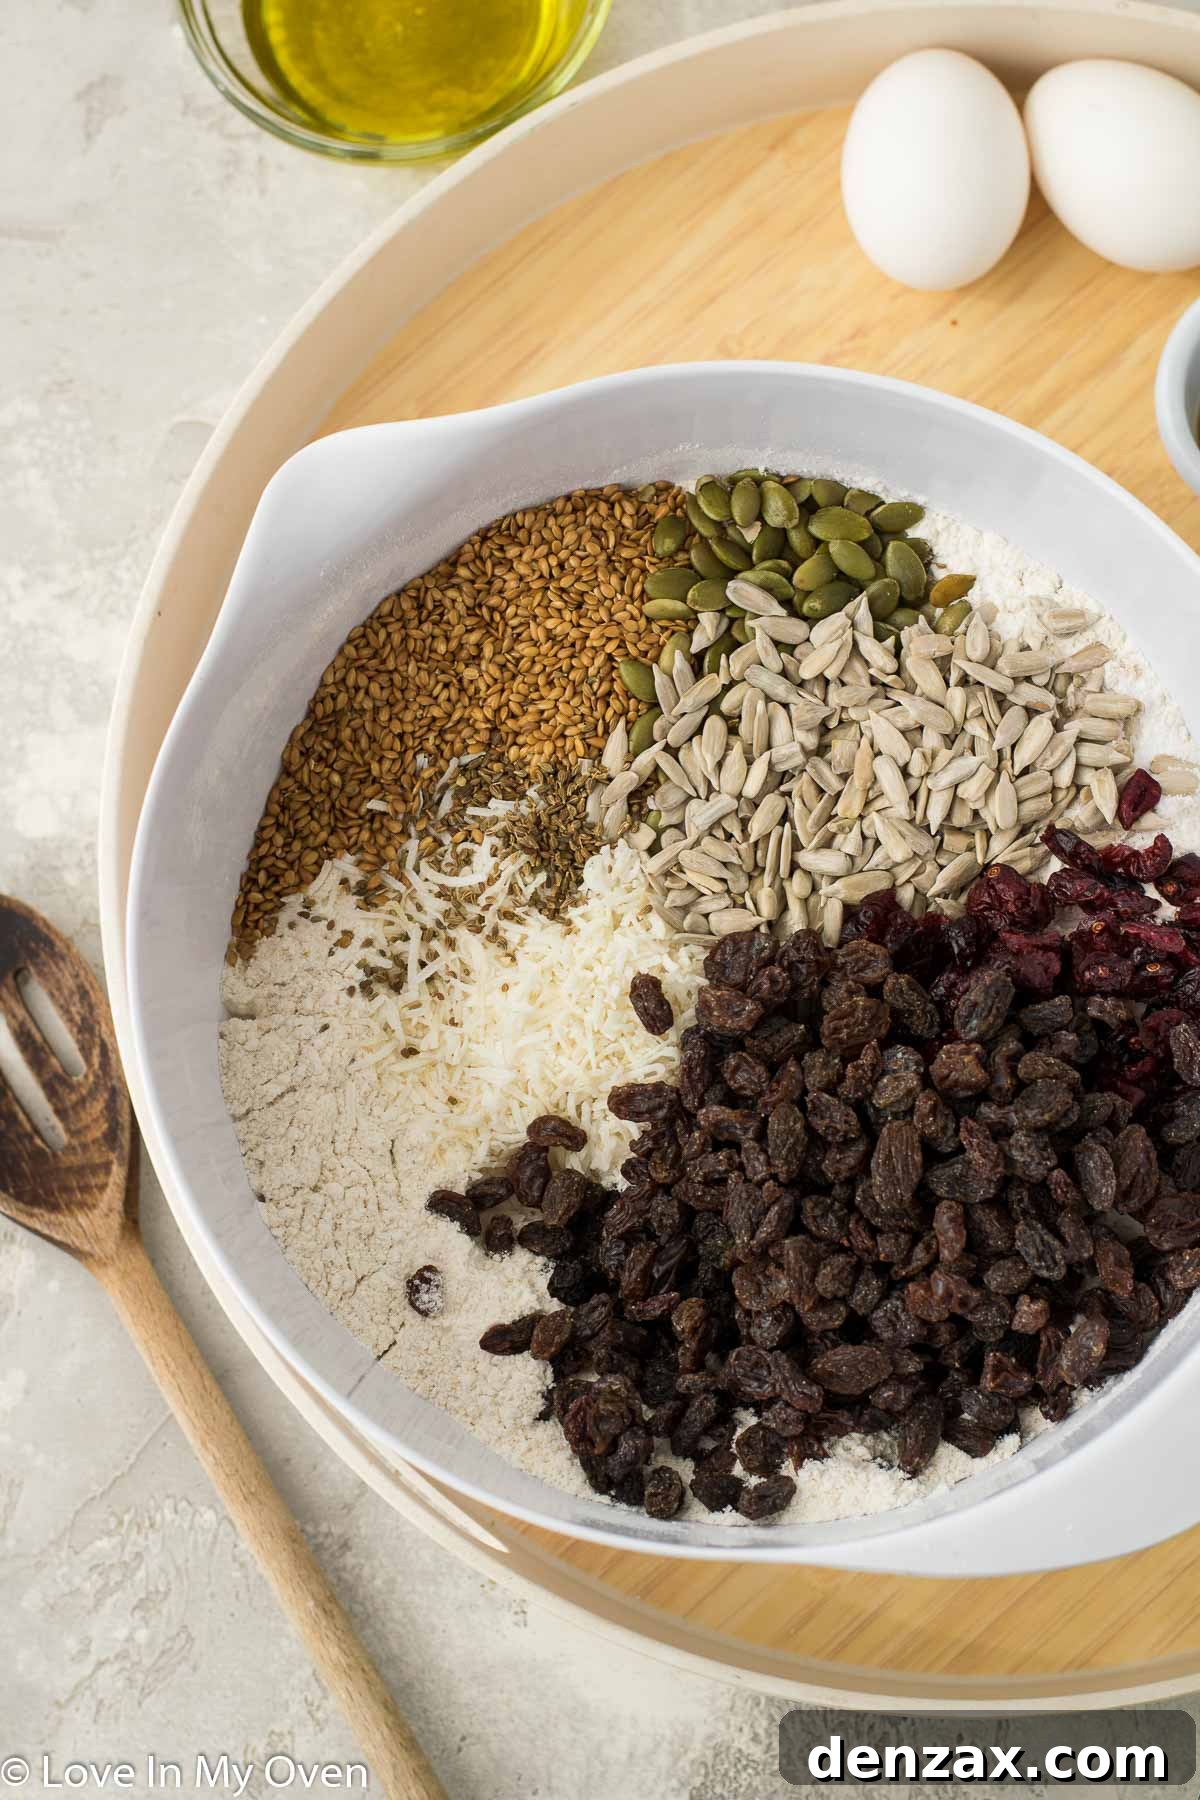
- **Prepare the Dry Ingredients:** In a large mixing bowl, begin by thoroughly whisking together the all-purpose flour, baking powder, salt, brown sugar, and anise seed. This ensures all the dry components are evenly distributed. Next, fold in your chosen mix-ins: the raisins, craisins, sunflower seeds, shredded coconut, flaxseeds, and pumpkin seeds. Stir everything well with a large wooden spoon until all the seeds and dried fruits are fully coated and uniformly mixed with the flour. This step prevents them from clumping together in the final product.
- **Combine the Wet Ingredients:** In a separate medium-sized bowl, whisk together the honey and eggs until they are well combined and slightly frothy. Gently incorporate the melted butter, making sure it’s cooled slightly to a lukewarm temperature to avoid scrambling the eggs. Follow this by adding the oil, buttermilk, and vanilla extract. Continue whisking until the mixture is completely smooth and homogenous, with no streaks of individual ingredients remaining.
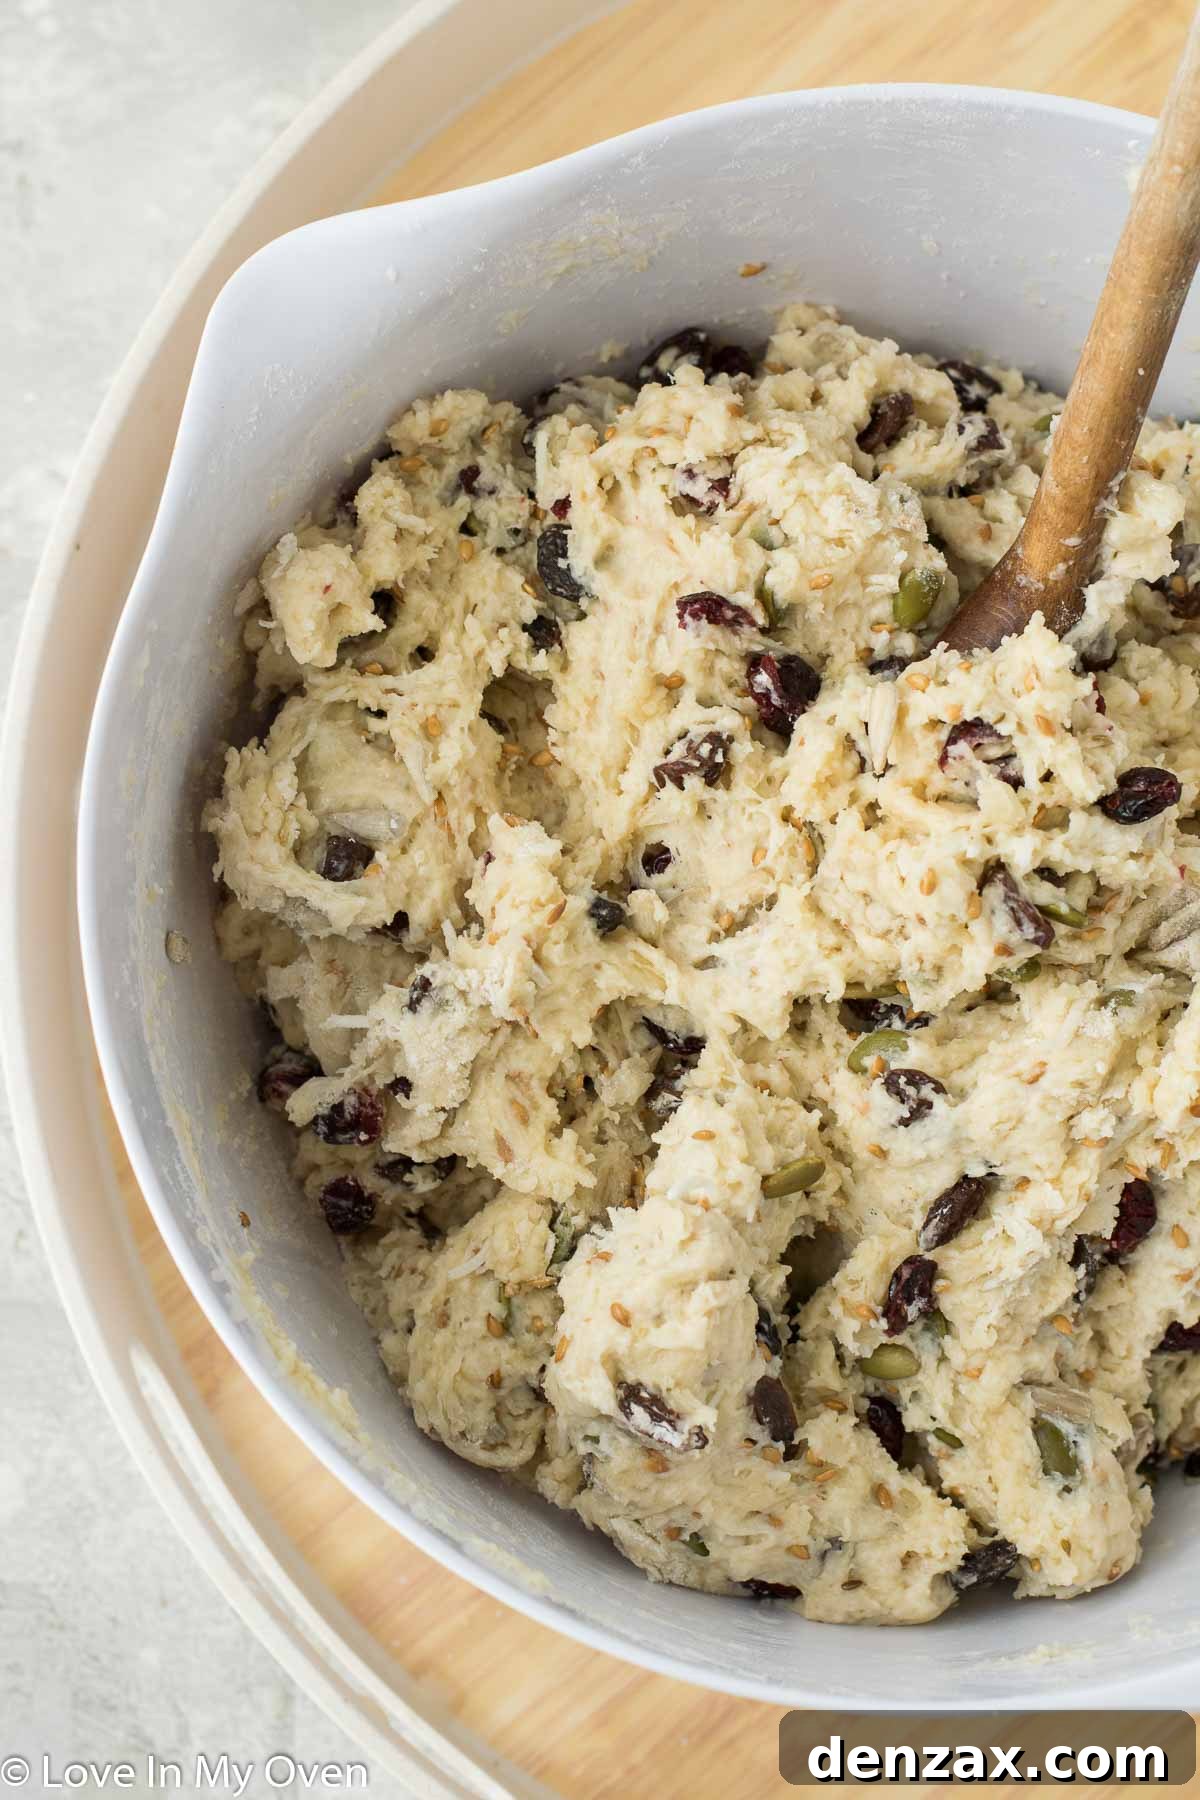
- **Mix Wet and Dry Components:** Gradually add the wet ingredients into the large bowl containing the prepared dry mixture. Using a sturdy wooden spoon or your hands, stir everything together until just combined. The dough will be noticeably thick and sticky – this is exactly the desired consistency for dense rusks. Ensure there are no pockets of dry flour left. Resist the urge to overmix, as rusks are meant to be robust and hearty. If, during mixing, the dough appears excessively dry and difficult to combine, add a very small amount of extra buttermilk (a tablespoon at a time) until all the dry flour is incorporated.
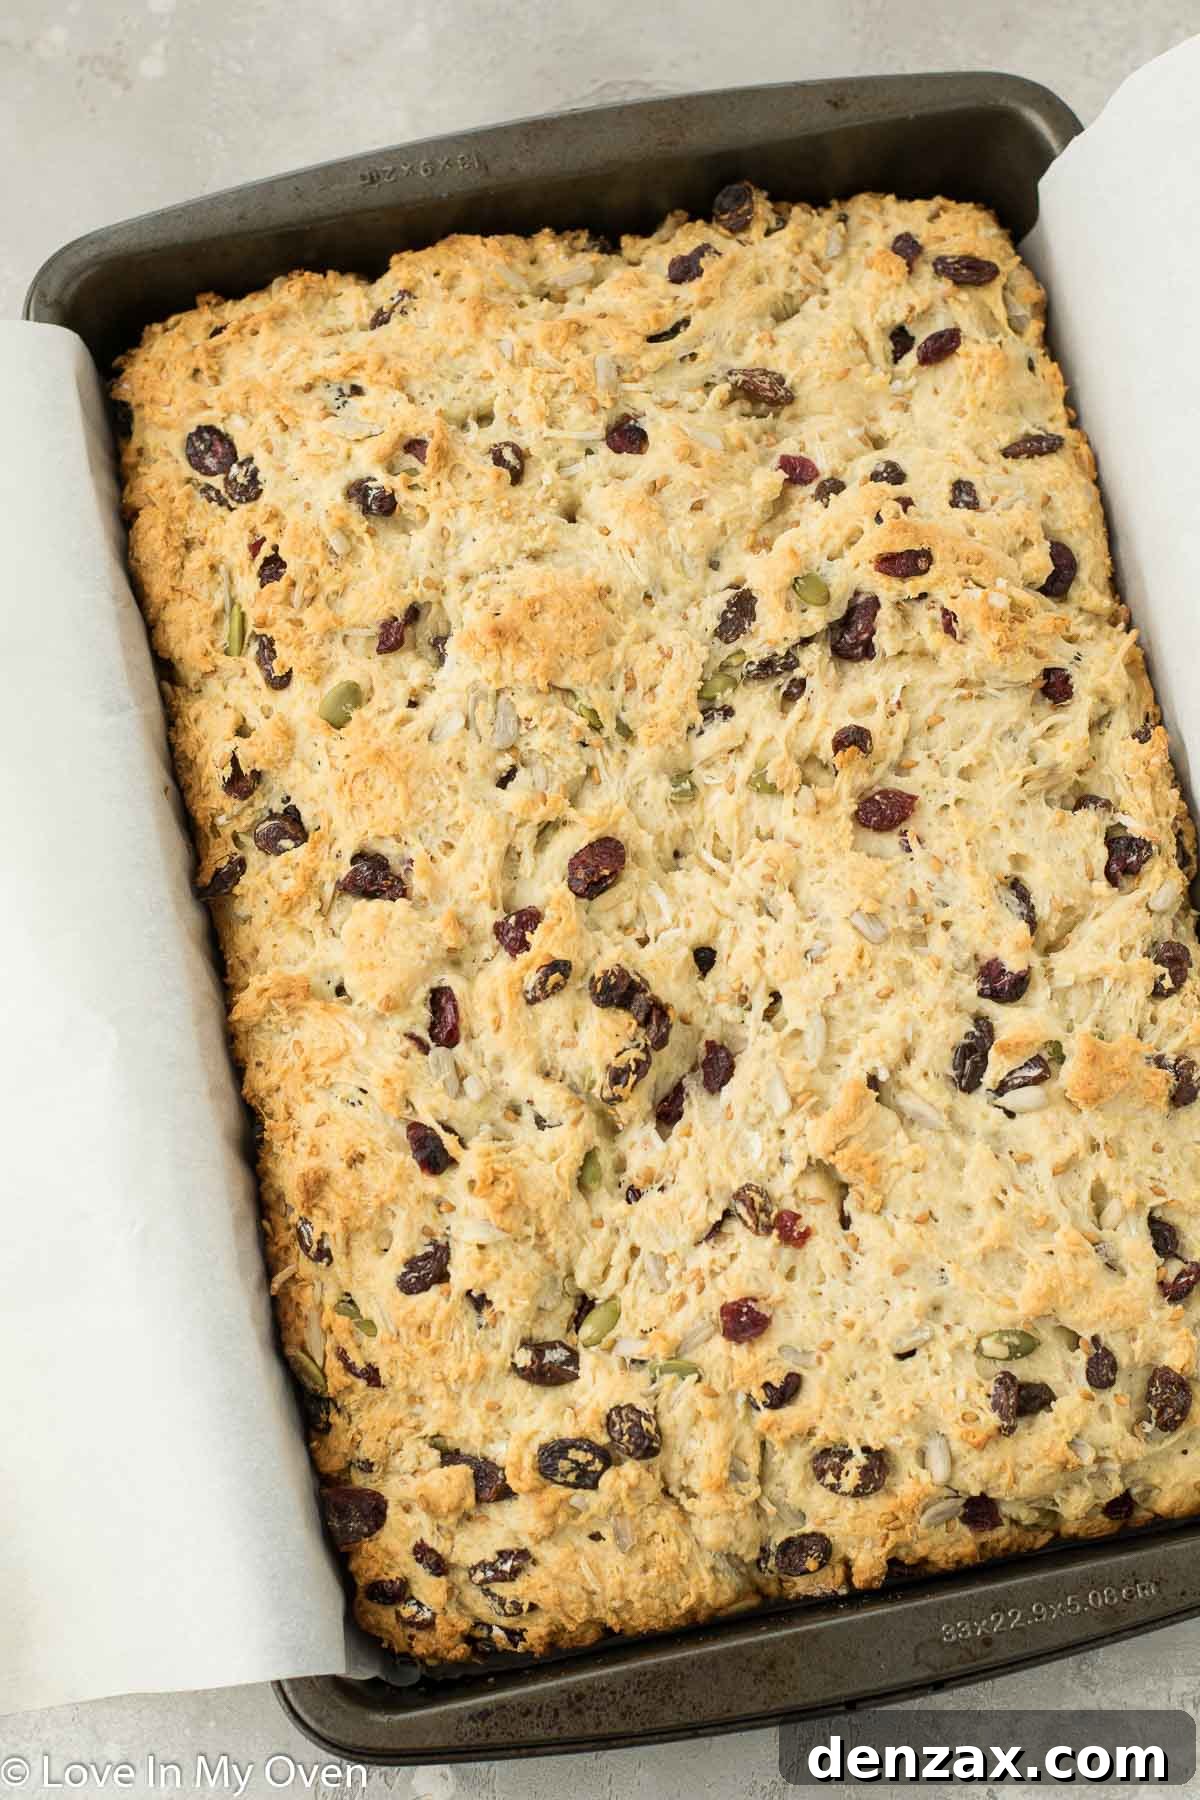
- **First Bake (The Slab):** Preheat your oven to 350°F (175°C). Line a 9×13-inch deep rectangular baking pan with parchment paper, leaving an overhang on the sides to easily lift the baked slab later. Transfer the thick, sticky dough into the prepared pan. Using a spatula or your dampened hands, gently spread and smooth the top of the dough as evenly as possible. Place the pan into the preheated oven and bake for approximately 40 minutes, or until the edges are lightly browned and a wooden skewer inserted into the center comes out mostly clean.
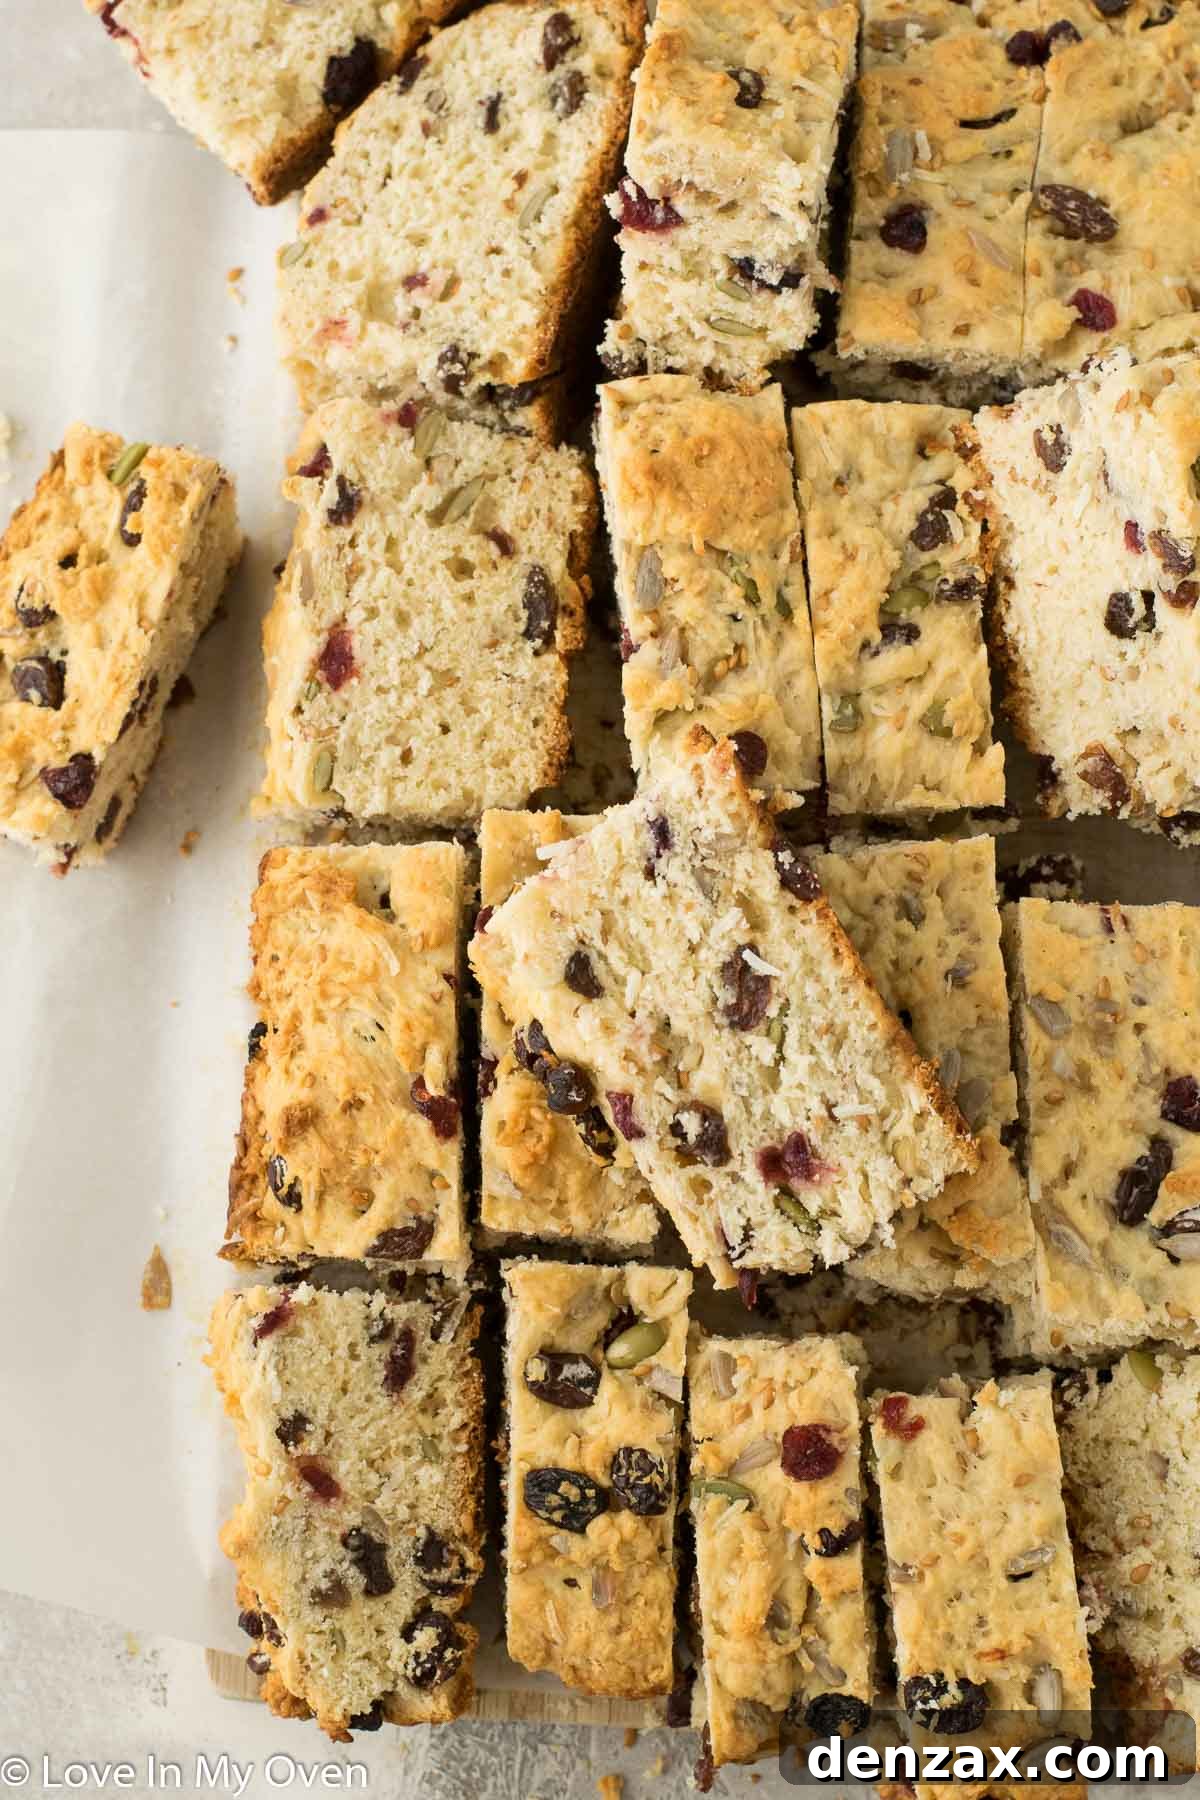
- **Cool and Cut:** Once the first bake is complete, remove the pan from the oven and allow the rusks to cool completely within the pan for about an hour. Patience is key here, as cooling ensures the slab firms up and is easier to handle. Once cooled, use the parchment paper overhangs to carefully lift the entire baked rusk slab out of the pan and transfer it to a cutting board. With a sharp knife, cut the slab into smaller, individual pieces. The cuts don’t need to be perfectly precise; a rustic appearance is part of the charm! Aim for roughly 24-25 pieces, but you can make them smaller or larger depending on your preference.
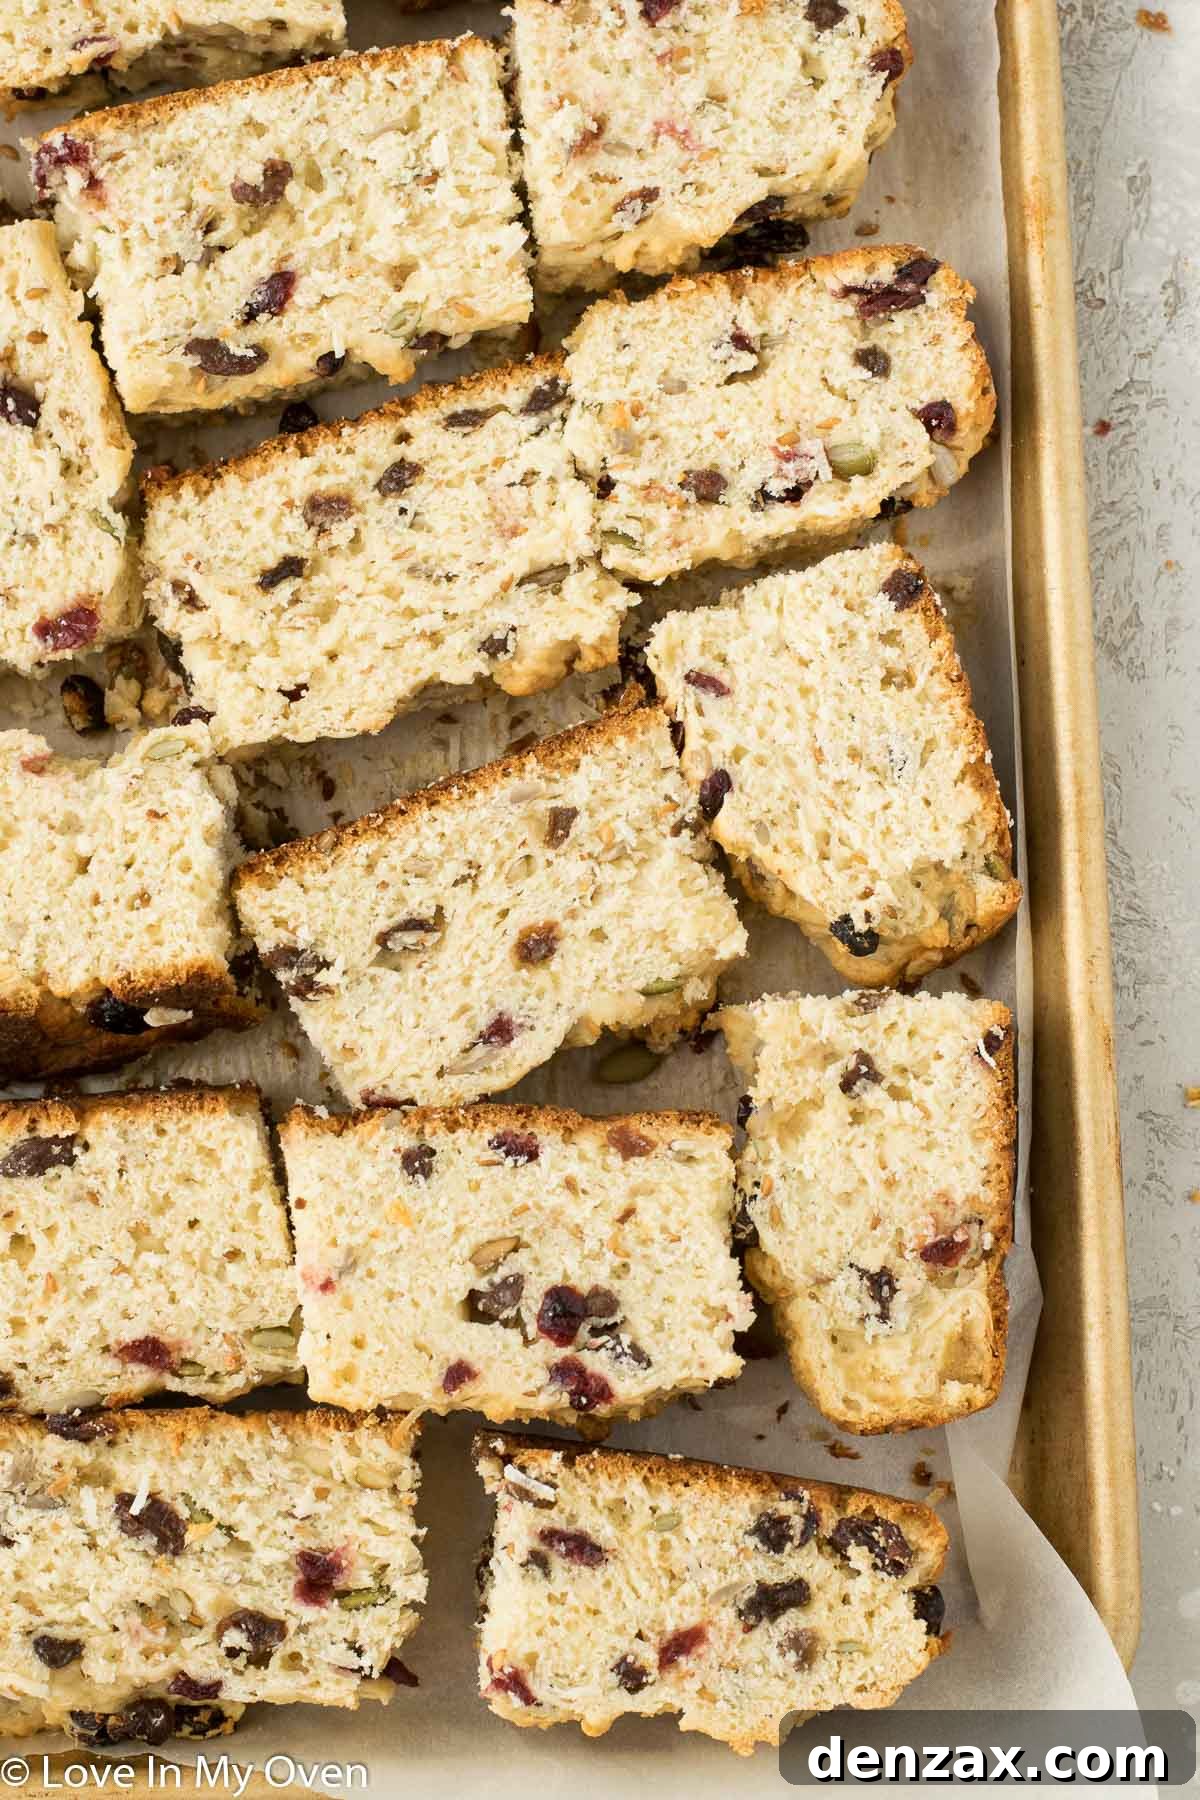
- **Second Bake (Dehydration):** Arrange the cut rusk pieces on their sides on another parchment-lined baking sheet. You can often reuse the same parchment from the first bake. It’s perfectly fine if the rusks touch each other slightly; they will not expand further. This stage is about drying them out, not baking them to rise.
- **Low and Slow Drying:** Reduce your oven temperature significantly to 175°F (80°C). Place the baking sheet with the rusks inside the oven. Allow them to dry for an extended period of 5-6 hours, or until they are completely crisp, hard, and thoroughly dried through. The goal is to remove all moisture, making them shelf-stable. Once fully dried, turn off the oven and let the rusks cool down completely inside the oven or on a wire rack before storing. This slow cooling helps prevent any condensation and keeps them extra crisp. Store the cooled rusks in an airtight container to maintain their crunchiness.
Tips for Perfect Buttermilk Rusks
Achieving that ideal crisp, dunkable rusk is simple with a few key considerations:
- **Don’t Overmix the Dough:** While rusks are dense, overmixing can develop the gluten too much, leading to a tougher texture. Mix just until no dry flour streaks remain.
- **Proper Cooling After First Bake:** Allow the baked slab to cool completely in the pan before cutting. This firms up the dough, making it much easier to cut into clean pieces without crumbling.
- **The Low and Slow Second Bake is Crucial:** This isn’t just baking; it’s a dehydration process. Resist the temptation to increase the oven temperature or shorten the drying time. A truly dry rusk will store well and have the perfect snap.
- **Experiment with Mix-ins:** While the recipe provides a fantastic base, feel free to adjust. Ensure your additions are dry (e.g., roasted nuts, dried fruit) to aid in the dehydration process.
- **Even Cutting for Even Drying:** While rustic cuts are fine, try to make pieces relatively uniform in thickness. This ensures they dry at a similar rate, preventing some from being too soft while others are perfectly crisp.
Customizing Your Rusks: Flavor Variations
One of the joys of making homemade rusks is the ability to customize them to your heart’s content. While the classic anise and mixed fruit combination is delicious, don’t hesitate to experiment with different flavor profiles:
- **Nutty Crunch:** Add a mix of chopped almonds, walnuts, pecans, or macadamia nuts for extra texture and rich flavor. Toasting them lightly before adding can enhance their nuttiness.
- **Spiced Rusks:** Beyond anise, consider adding a touch of cinnamon, cardamom, or ground ginger for a warmer, more complex spice blend. A pinch of nutmeg can also be delightful.
- **Citrus Zest:** For a brighter flavor, finely grate the zest of an orange or lemon into the wet ingredients. It adds a lovely aromatic lift.
- **Chocolate Chip Rusks:** For a sweeter, more indulgent treat, fold in some mini chocolate chips (dark, milk, or white). Be aware that chocolate can melt during the initial bake, so don’t overload.
- **Other Dried Fruits:** Swap craisins for chopped dried apricots, dates, figs, or even candied peel for different textures and sweetness levels.
Remember to keep the total quantity of mix-ins relatively consistent with the recipe to maintain the dough’s balance. These variations allow you to put your own unique spin on this classic South African delight.
How Long Do These Buttermilk Rusks Last?
Due to their twice-baked and thoroughly dried nature, buttermilk rusks boast an impressive shelf life, making them a perfect make-ahead snack. Once completely cooled, store your rusks in an airtight container at room temperature. They will happily remain fresh and crisp for several weeks, typically 3 to 4 weeks, though some claim they can last even longer if stored correctly. The key is to protect them from moisture, which can cause them to soften.
For even longer storage, these rusks are wonderfully freezer-friendly. You can freeze them in an airtight, freezer-safe container or bag for up to 3 months. When you’re ready to enjoy them, simply take them out of the freezer and let them thaw overnight on your kitchen counter. They’ll return to their original crunchy glory, ready to be dunked and savored as if they were freshly baked. Their excellent keeping qualities make them a fantastic gift or a convenient snack to have on hand for unexpected guests or daily coffee breaks.
Do You Have to Use Buttermilk for This Recipe?
While the recipe specifically calls for buttermilk, and it truly imparts a unique flavor and tender crumb that’s hard to replicate, you don’t necessarily have to have store-bought buttermilk on hand. Buttermilk adds a lovely tangy note and aids in the leavening process, contributing to the rusks’ rise during the initial bake. The acidity reacts with the baking powder, creating a lighter texture before the dehydration stage.
If you find yourself without buttermilk, you can easily create a homemade substitute using regular milk and an acidic agent. Simply combine 1 3/4 cups of regular milk (dairy or non-dairy works) with 1 1/2 tablespoons of either fresh lemon juice or white vinegar. Stir the mixture gently and let it sit for about 10 minutes. During this time, the milk will curdle slightly, thickening and developing an acidity similar to traditional buttermilk. Once it has visibly thickened and appears slightly clotted, it’s ready to be used in the recipe exactly as you would store-bought buttermilk. This simple trick ensures you can still achieve fantastic results without a special trip to the grocery store.
Can You Use a Different Shaped Pan for This Recipe?
Absolutely! While a standard 9×13-inch rectangular baking pan (ideally 2 inches deep) is recommended for its ability to produce a uniform slab for cutting, you can certainly adapt the recipe to other pan sizes you might have on hand. If you don’t own a 9×13-inch pan, an 8×8-inch square pan can also work, though it will yield a thicker slab, resulting in fewer but larger rusks.
Should you choose to use a larger pan than the recommended 9×13, such as a larger roasting pan, be mindful that the dough will spread thinner. In this case, you’ll need to reduce the initial baking time by about 5-10 minutes, checking for doneness around the 35-minute mark or when the edges are only lightly browned. Conversely, if you use a smaller pan, the dough will be thicker, potentially requiring a slightly longer initial bake time. Always rely on visual cues – lightly browned edges and a skewer that comes out mostly clean – to determine when the first bake is complete, regardless of the pan size.
What Do You Serve South African Rusks With?
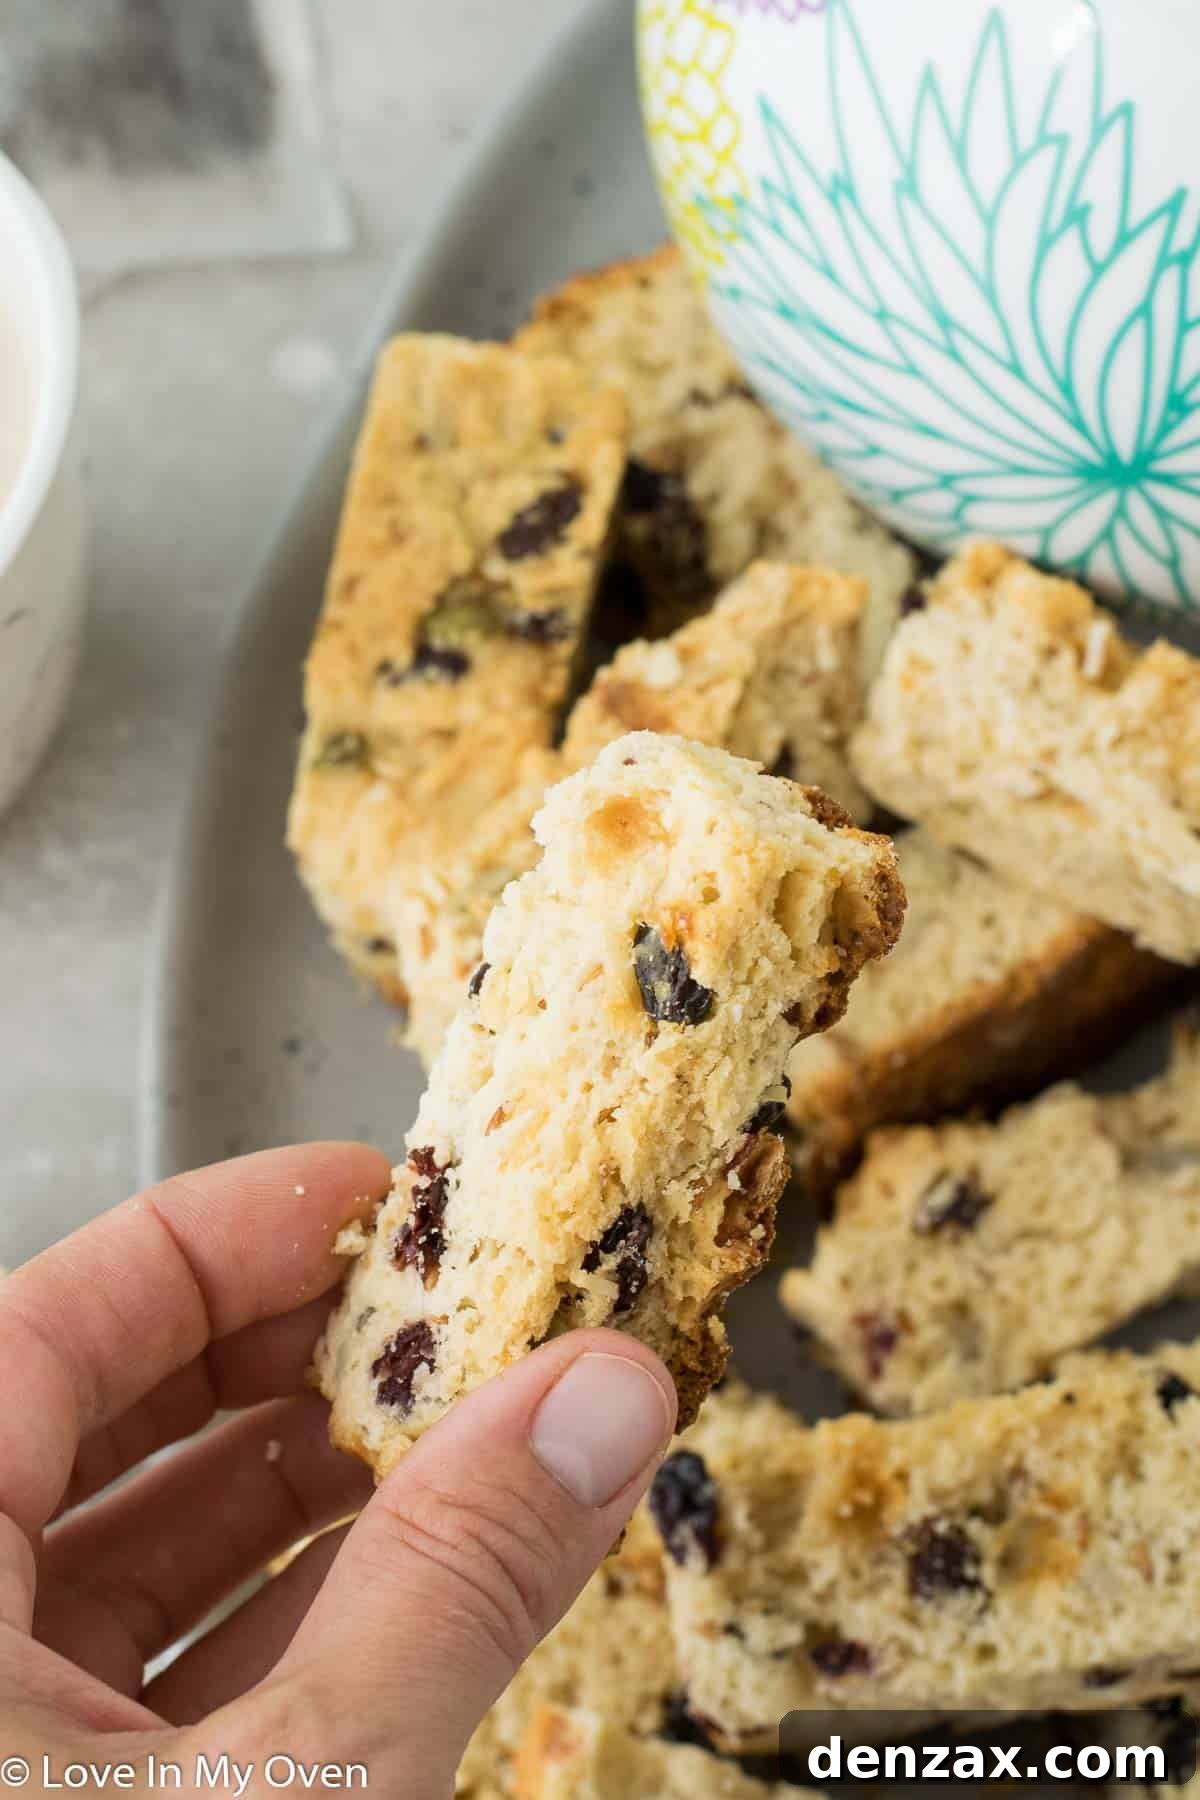
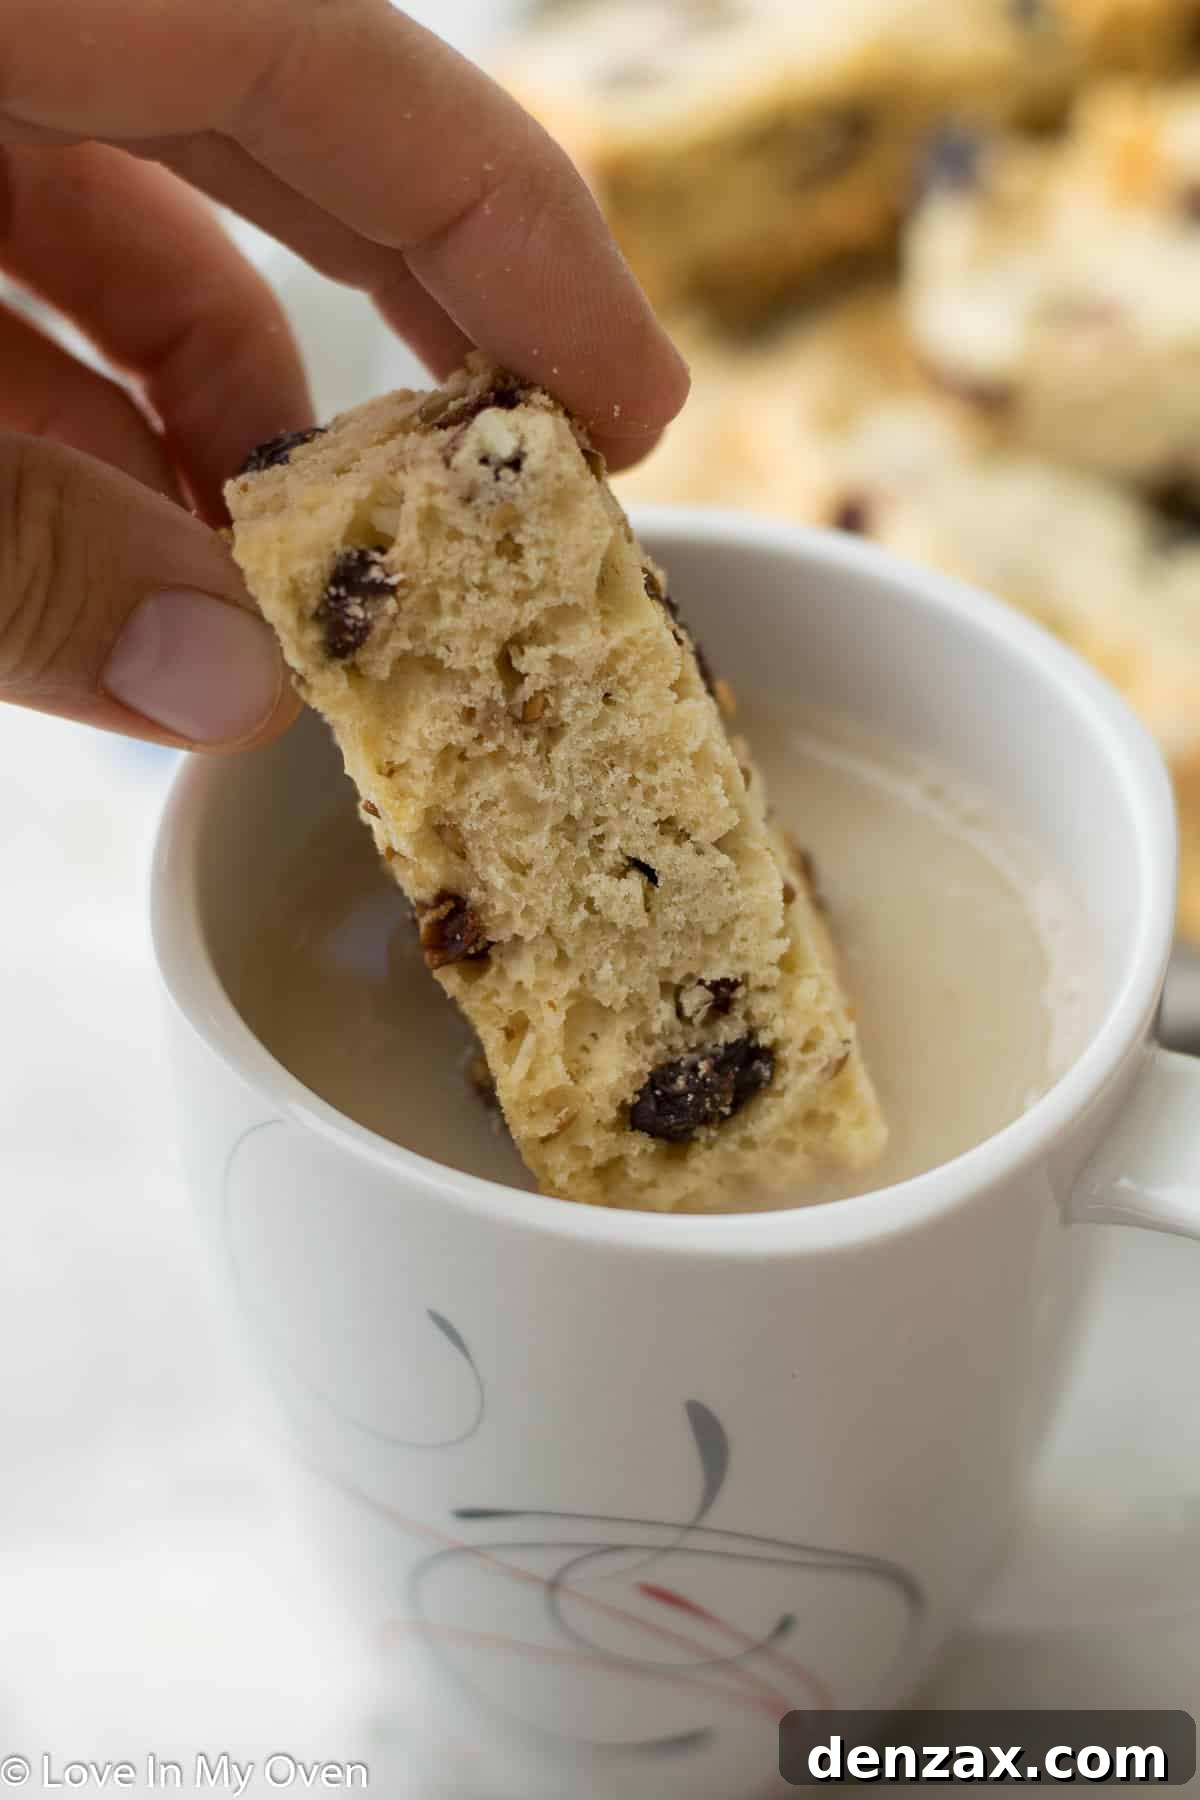
The beauty of South African rusks lies in their versatility as a dunkable treat. The classic and most beloved way to enjoy them, as my husband will attest, is to dip them into a steaming cup of coffee. The rich, robust flavors of the coffee perfectly complement the subtle sweetness and spice of the rusk, softening its crunchy texture into a delightful melt-in-your-mouth experience.
However, the possibilities extend far beyond coffee. They are equally delicious when dunked into a warm cup of tea, whether it’s a strong builder’s tea or a fragrant herbal blend. For a comforting, cozy treat, try them with warm milk. My children, in fact, prefer them dipped in cold milk, making them a wholesome and satisfying snack for any time of day. Beyond dipping, rusks are also wonderful to enjoy simply on their own, offering a satisfying crunch and a burst of flavor. They can even be crumbled over yogurt or ice cream for a unique textural addition, showcasing their adaptability in various culinary contexts.
Some of My Other Favorite Dunkable Cookies from the Blog:
- Lemon Poppy Seed Biscotti
- Double Chocolate Peppermint Biscotti
- Chocolate Dipped Almond Vanilla Biscotti

South African Buttermilk Rusks
5 from 1 review
- Author: Katherine | Love In My Oven
- Total Time: 6 hours
- Yield: 25 rusks
Description
These buttermilk South African rusks are a super easy recipe with customizable options! If you love dipping buttermilk rusks into your coffee but just want to make your own, look no further!
Ingredients
- 5 cups all-purpose flour
- 2 tbsp baking powder
- 1 1/4 tsp salt
- 1/2 cup brown sugar
- 1/2 tsp star anise
- 1 cup raisins
- 1/4 cup craisins
- 1/3 cup sunflower seeds
- 1/4 cup whole flaxseeds
- 1/4 cup pumpkin seeds
- 1/2 cup shredded coconut
- 2 eggs
- 1/2 cup honey
- 1/2 cup unsalted butter, melted and slightly cooled
- 1/3 cup avocado oil
- 1 3/4 cup buttermilk*
- 1 tsp pure vanilla extract
Instructions
- Preheat the oven to 350 F and line a 9 x 13 standard baking pan with parchment paper, leaving a bit of overhang on the sides. In a large mixing bowl, whisk together the flour, baking powder, salt, brown sugar and anise in a large bowl. Add in the raisins, craisins, sunflower seeds, flaxseeds, pumpkin seeds and shredded coconut. Stir to combine with a large wooden spoon.
- In a separate bowl, whisk together the eggs with the honey, then add the melted butter (ensure the butter is not too hot or it’ll cook the eggs). Add in the oil, buttermilk and then vanilla. Whisk until completely smooth.
- Slowly add the wet ingredients to the prepared dry ingredients. The dough will be very thick and sticky, but you should not have any remaining dry flour streaks once you’ve combined it all together. If the dough seems too dry, add a small amount of extra buttermilk until there is no remaining dry flour.
- Empty the dough into the prepared baking pan. Smooth out the top as best as you can, and then place the pan into the oven for about 40 minutes or until the edges are only slightly browned.
- Remove the pan from the oven to cool completely, about an hour. Then use the sides of the parchment to lift the rusks out of the pan and on to a cutting board. Use a sharp knife to cut into 24 or 25 smaller pieces. It does not have to be precise.
- Lay the cut rusks on their side on another parchment-lined baking sheet. I usually just use the same parchment I had used in the first bake. Don’t worry about the rusks touching one another.
- Turn the oven temperature way down to 175 F and then place the baking sheet inside. Keep the rusks inside the oven for 5-6 hours or until completely dried. Once completely dry, let the rusks cool down and then store them in an airtight container.
Rusks will keep at room temperature for 3-4 weeks in an airtight container, or up to 3 months in the freezer.
Notes
*See post above on how to make your own buttermilk
- Prep Time: 20 minutes
- Cook Time: 6 hours
- Category: Breakfast
- Method: Oven Bake
- Cuisine: South African