
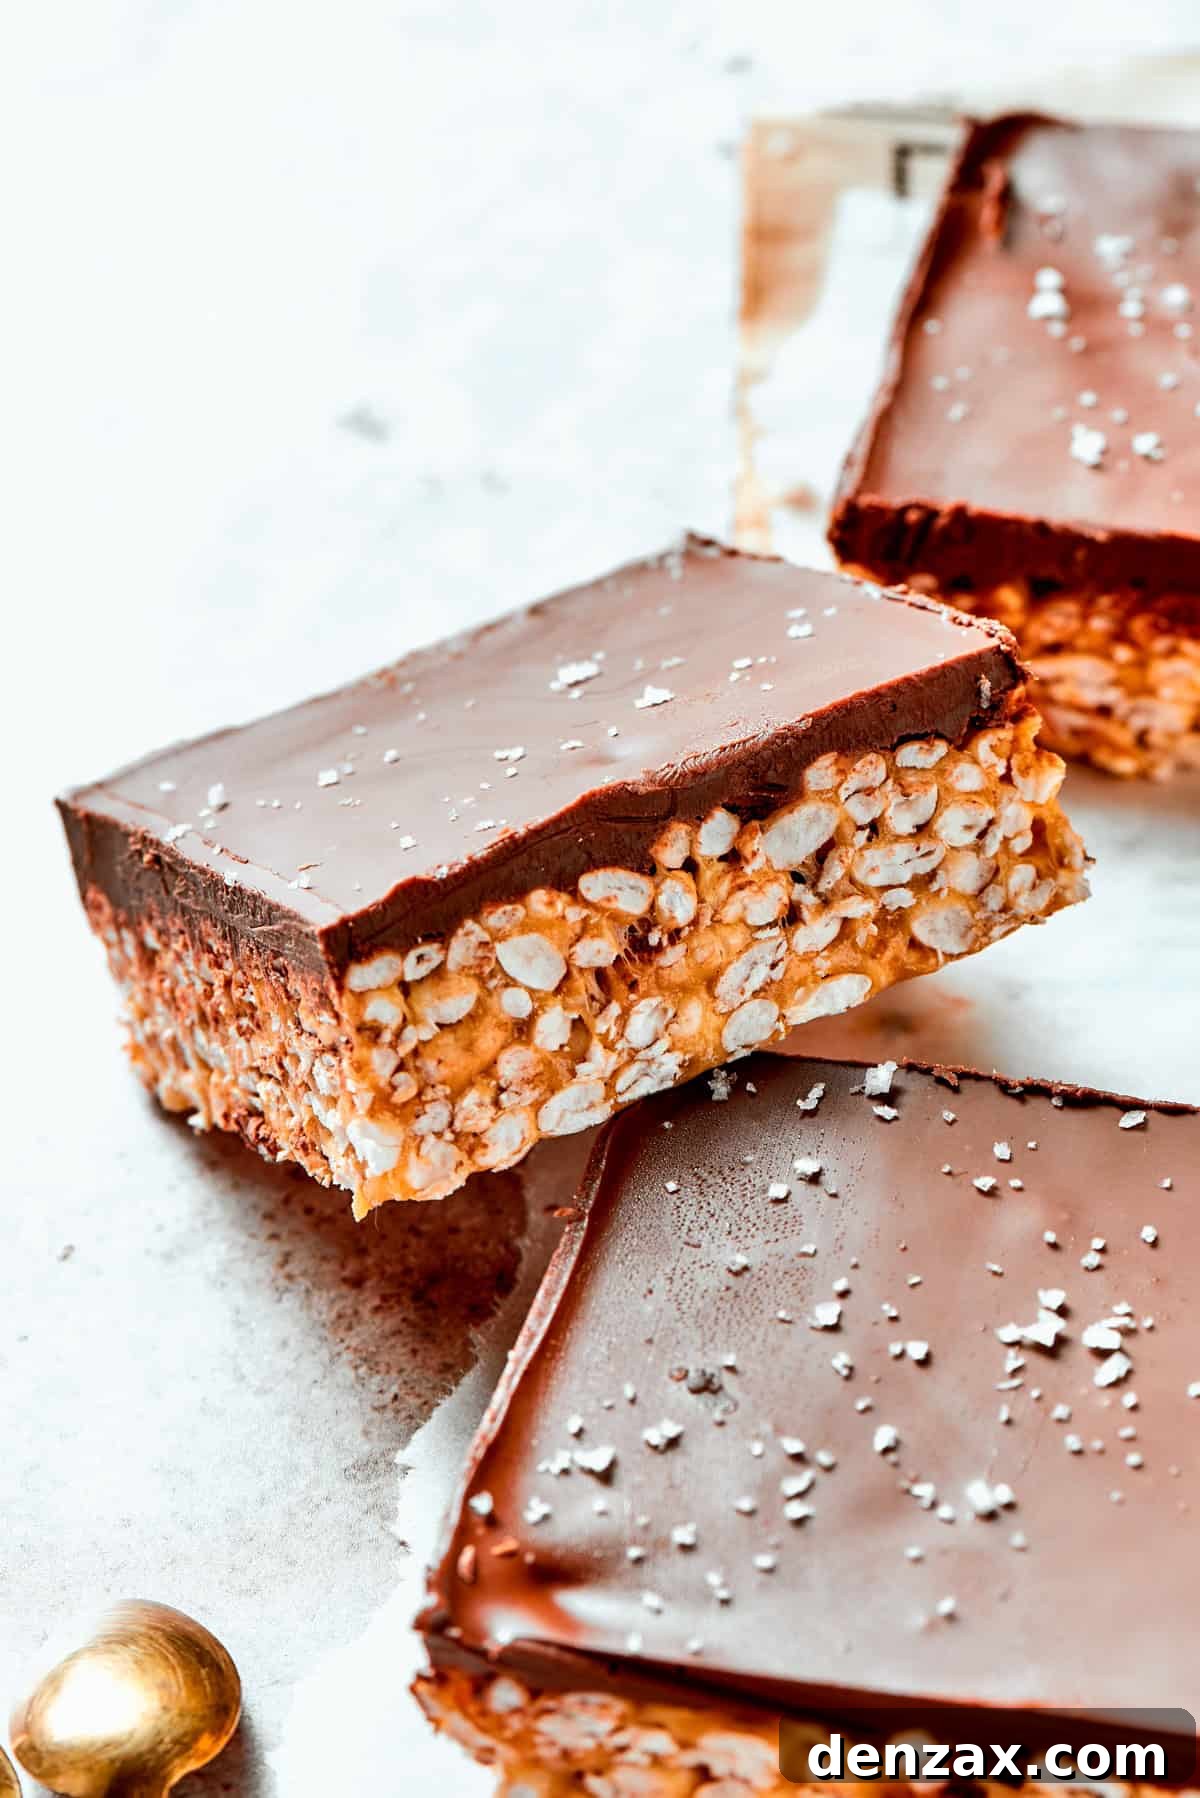
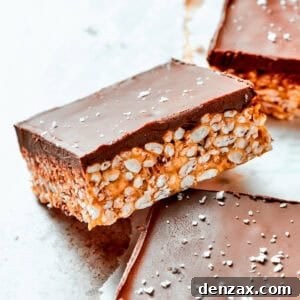
Indulge in the irresistible fusion of creamy peanut butter and rich milk chocolate with these delightful No-Bake Peanut Butter Rice Crispy Treats. A cherished classic gets a sensational upgrade, featuring a chewy, sweet base made with crisp rice cereal and an opulent layer of melted chocolate. These bars are incredibly easy to prepare, requiring no oven, making them the perfect dessert for any occasion, from casual family gatherings to festive parties.
If you’re a fan of effortless yet impressive dessert bars, you’ll love exploring other recipes like my vibrant Lemon Bars for a burst of zesty citrus, or the comforting richness of my Pumpkin Cheesecake Bars. For a sweet and tangy experience, don’t miss these charming Cherry Kuchen Bars. There truly is a perfect treat waiting for every palate and every craving.
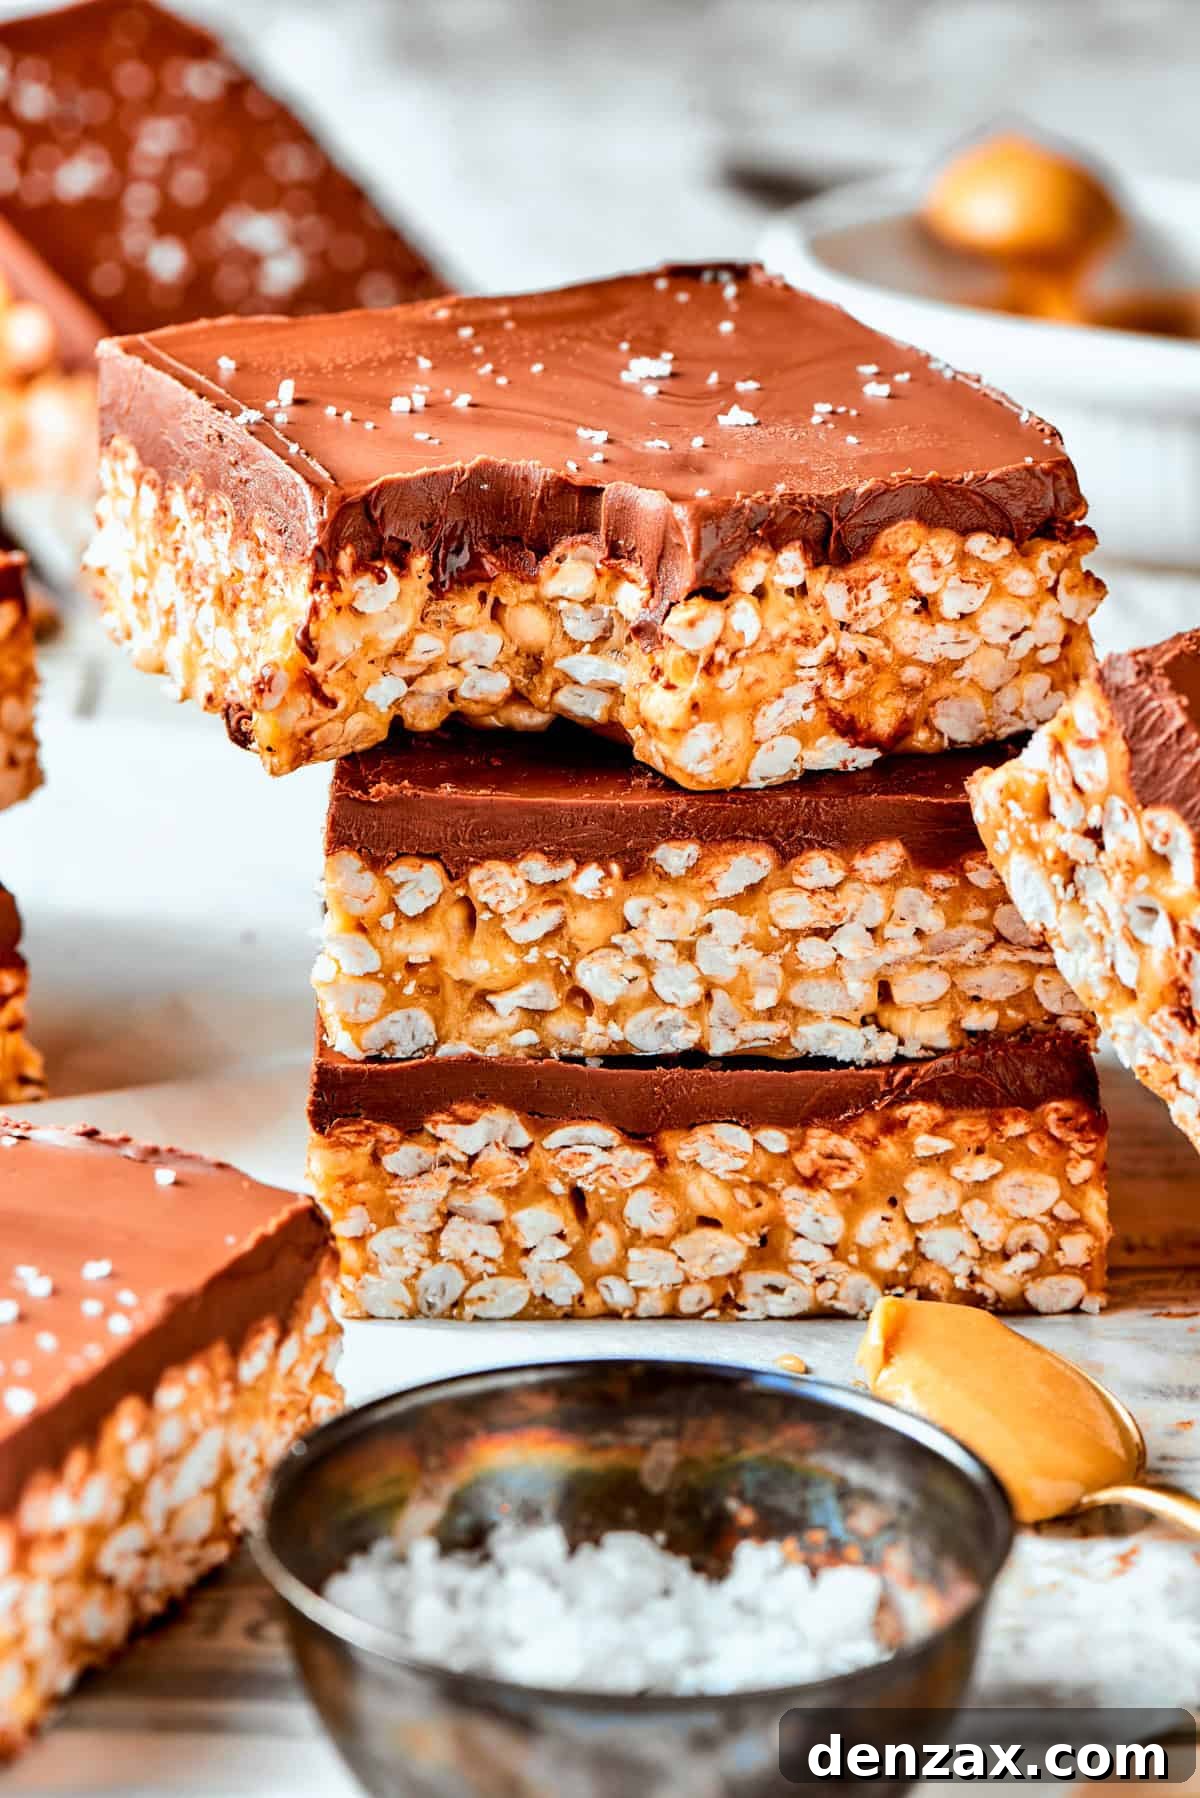
The timeless combination of peanut butter and chocolate reaches new heights in these chewy, no-bake dessert bars. This recipe takes the humble rice crispy treat and elevates it with generous amounts of smooth peanut butter, a touch of maple syrup for balanced sweetness, fluffy mini marshmallows, and crisp rice cereal. Each bar is then crowned with a lavish layer of decadent milk chocolate, creating a symphony of textures and flavors that will undoubtedly become a new family favorite. Prepare to be enchanted by this simple yet extraordinary rice crispy treats recipe!
Why You’ll Adore These Peanut Butter Rice Crispy Treats
These aren’t just any rice crispy treats; they are a truly special rendition that captures hearts with every bite. Here’s why this recipe stands out and why I, and so many others, absolutely love them:
- Effortlessly Easy & No-Bake: Forget turning on the oven! This recipe is the epitome of simplicity, making it perfect for novice bakers, busy parents, or anyone looking for a quick dessert fix. The process involves a few simple steps: melt, stir, press, and set. It’s a fantastic hands-on activity for kids too, with minimal mess and maximum fun. The minimal cooking time and hands-off setting time mean you can have a delicious treat ready to enjoy in under an hour.
- The Ultimate Flavor Duo: Peanut Butter & Chocolate: Is there a more iconic and beloved pairing than peanut butter and chocolate? I think not! The rich, nutty flavor of creamy peanut butter perfectly complements the sweet, melt-in-your-mouth milk chocolate. Each bite offers a harmonious balance that satisfies both sweet and savory cravings, creating an utterly addictive dessert experience. The saltiness in the peanut butter cuts through the sweetness of the marshmallows and chocolate, making these bars exceptionally well-balanced.
- A Delicious Twist on a Timeless Classic: Rice Krispies Treats are a cherished childhood memory for many, but sometimes the classic version can be a bit overwhelmingly sweet. My peanut butter variation introduces a delightful complexity. The natural saltiness and depth of flavor from the peanut butter beautifully mellow the sweetness of the marshmallows. A sprinkle of flaky sea salt on top of the chocolate layer further enhances this balance, creating a sophisticated yet comforting treat that’s familiar but wonderfully new. It’s a fresh take on a nostalgic favorite that truly elevates the experience.
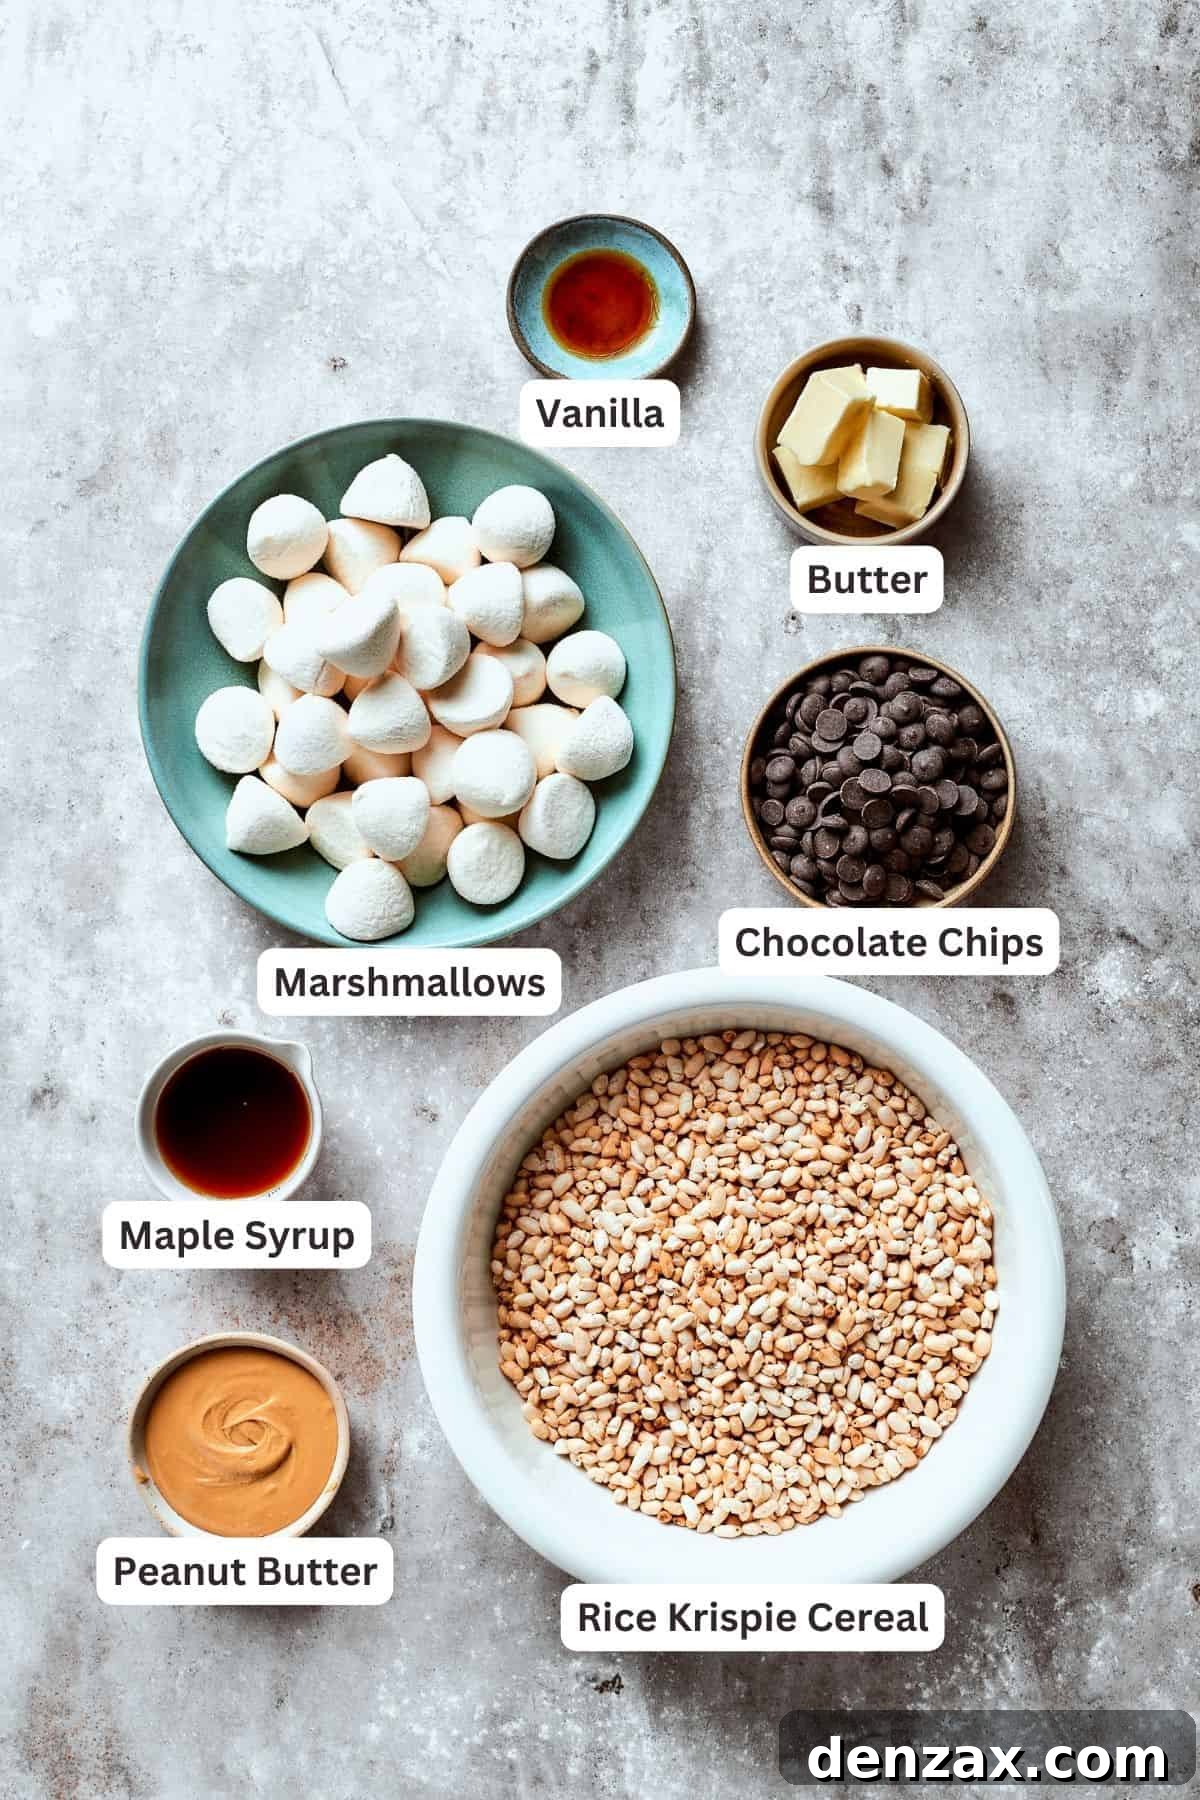
Essential Ingredients for Your No-Bake Masterpiece
Crafting these delectable chocolate peanut butter rice crispy treats requires a handful of common pantry staples. Each ingredient plays a crucial role in achieving the perfect texture and flavor. Below is a detailed look at what you’ll need. For precise measurements, please refer to the full recipe card at the end of this article.
- Unsalted Butter: Butter forms the essential base, helping to melt the marshmallows into a smooth, pliable mixture. I recommend unsalted butter to control the overall saltiness of the treats, especially if you plan to add a pinch of sea salt on top. If you only have salted butter, you can use it, but you might want to omit the extra sea salt garnish.
- Maple Syrup: This liquid sweetener adds a subtle depth of flavor and contributes to the chewy texture. Its natural richness complements the peanut butter beautifully. If pure maple syrup isn’t available, an equal amount of honey can be used as a substitute, though it will impart a slightly different flavor profile.
- Mini Marshmallows: The star binder of any classic crispy treat! Mini marshmallows melt quickly and evenly, creating that signature sticky, sweet, and chewy matrix that holds the cereal together. While mini marshmallows are ideal for faster melting, you can certainly use regular-sized marshmallows. Just ensure the total weight is 10 ounces, and be prepared for them to take a little longer to melt completely.
- Creamy Peanut Butter: This is where the magic happens! I highly recommend using a conventional creamy peanut butter (like Jif or Skippy) for the best results. Natural peanut butters, which often separate their oils, can lead to a greasier or less cohesive texture in this recipe. The smooth consistency of creamy peanut butter ensures it blends seamlessly into the marshmallow mixture, infusing every bite with its nutty goodness.
- Pure Vanilla Extract: A touch of vanilla extract is a non-negotiable flavor enhancer. It deepens the overall sweetness and aroma, bringing out the best in both the peanut butter and chocolate. Don’t skip this small but impactful addition!
- Rice Krispie Cereal: The crispy foundation of our treats! You can use the iconic Kellogg’s Rice Krispies or any preferred brand of puffed rice cereal. Just make sure it’s fresh and crispy to achieve that satisfying crunch. For a gluten-free version, simply opt for a certified gluten-free rice cereal.
- Milk Chocolate Chips: The luxurious topping that elevates these bars. Milk chocolate chips melt into a smooth, glossy layer that contrasts wonderfully with the chewy base. Their inherent sweetness and creamy texture are truly indulgent. If you prefer a slightly less sweet or more intense chocolate flavor, semi-sweet chocolate chips are an excellent alternative.
- Flaky Sea Salt (Optional Garnish): A sprinkle of flaky sea salt over the melted chocolate layer is highly recommended. It’s optional, but it provides a sophisticated counterpoint to the sweetness, enhancing all the flavors and adding a delightful textural crunch.
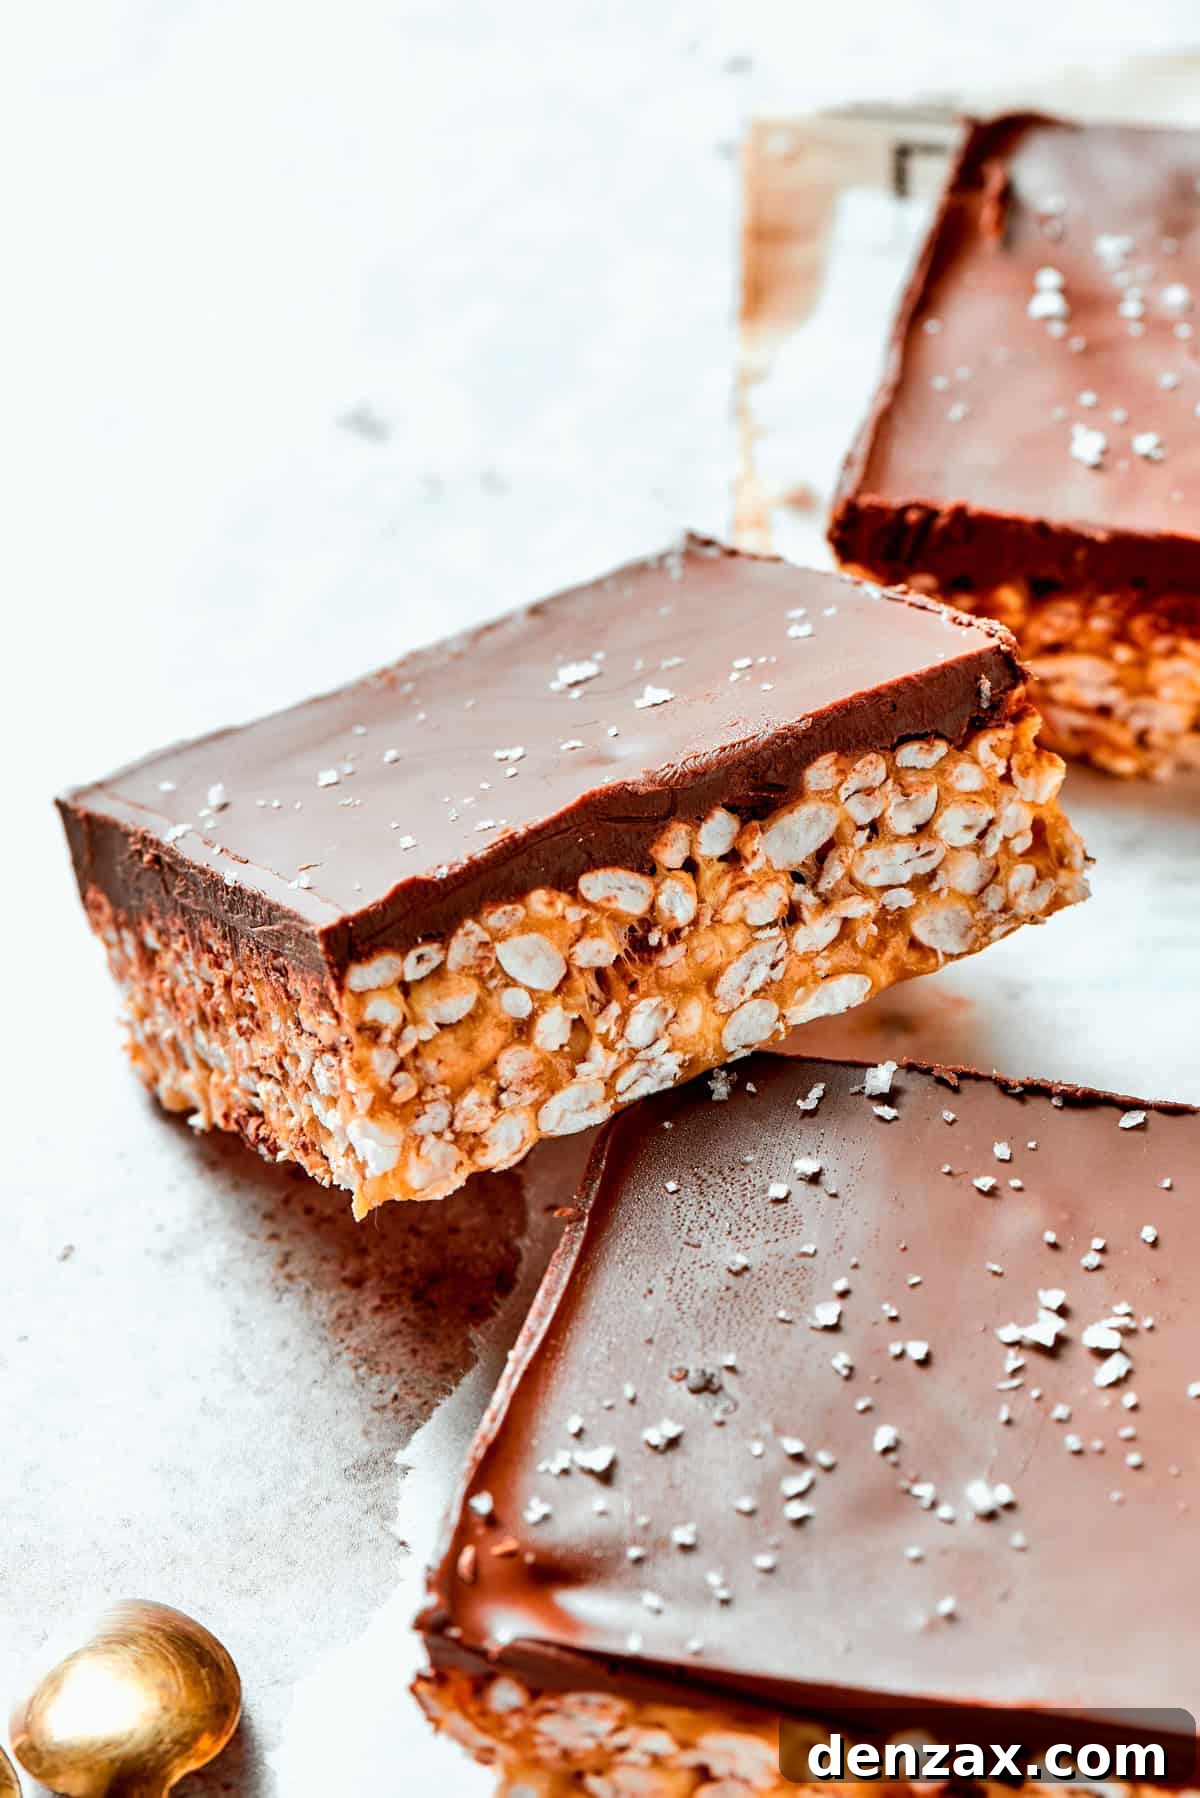
Crafting Your Chocolate Peanut Butter Rice Crispy Treats: A Step-by-Step Guide
These easy rice crispy treats are a dream to make, requiring just minutes of active preparation time. Follow these simple steps to create a batch of irresistible no-bake dessert bars that everyone will love.
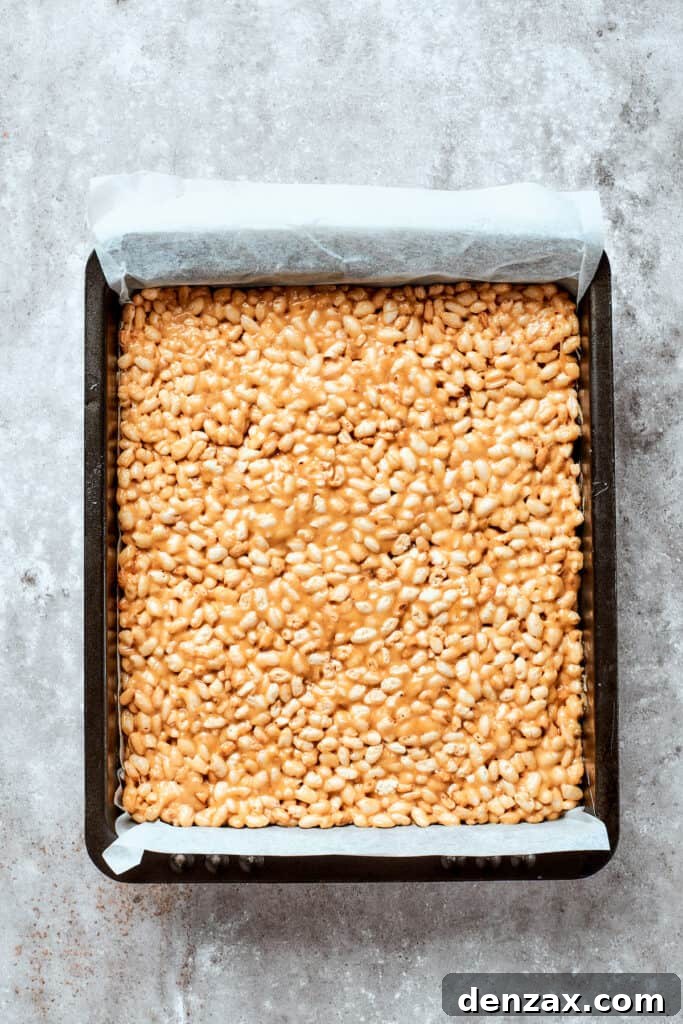
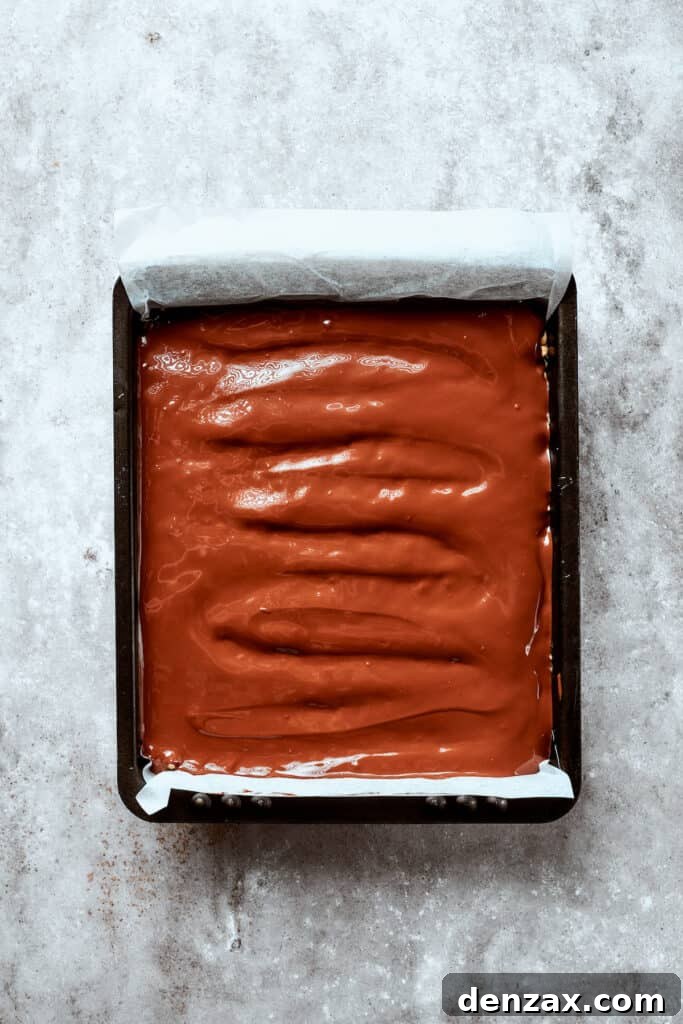
- Prepare Your Pan: Begin by lining a 9×13-inch baking dish with parchment paper. Ensure the parchment paper extends over the edges on two sides; these overhangs will serve as convenient handles to easily lift the finished treats out of the pan once they are set. This crucial step prevents sticking and ensures clean, effortless removal.
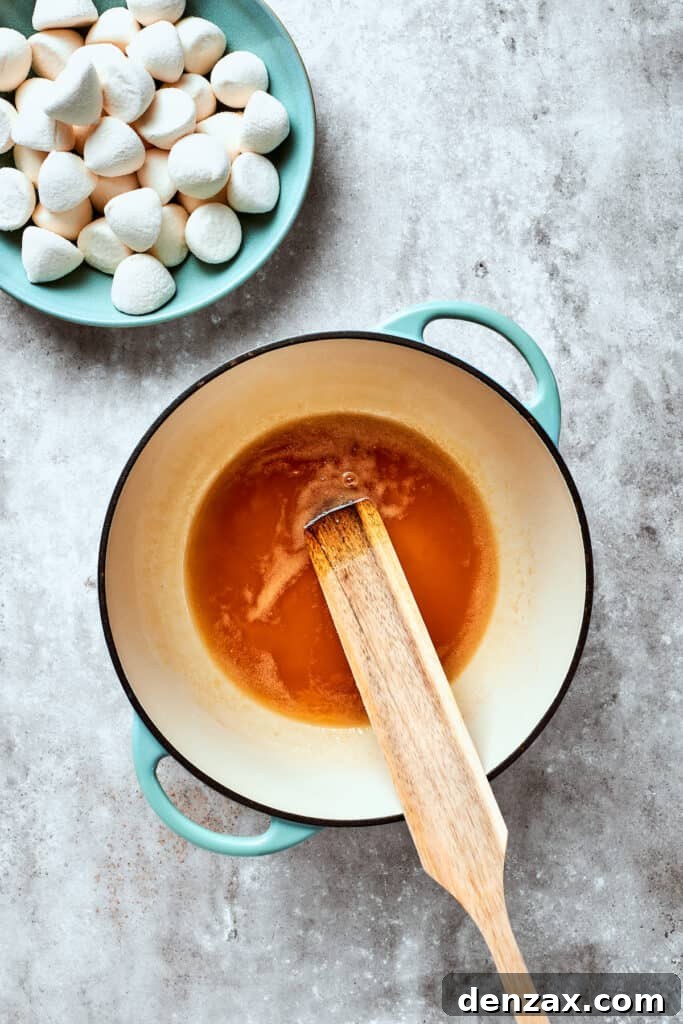
- Melt Butter and Syrup: In a large, heavy-bottomed saucepan, melt the unsalted butter over medium heat. Once the butter has melted, add the maple syrup to the pan. Stir gently to combine these two liquids. Continue to cook this mixture over medium heat, stirring occasionally, until the butter and syrup are completely melted and small bubbles begin to form around the edges of the pan.
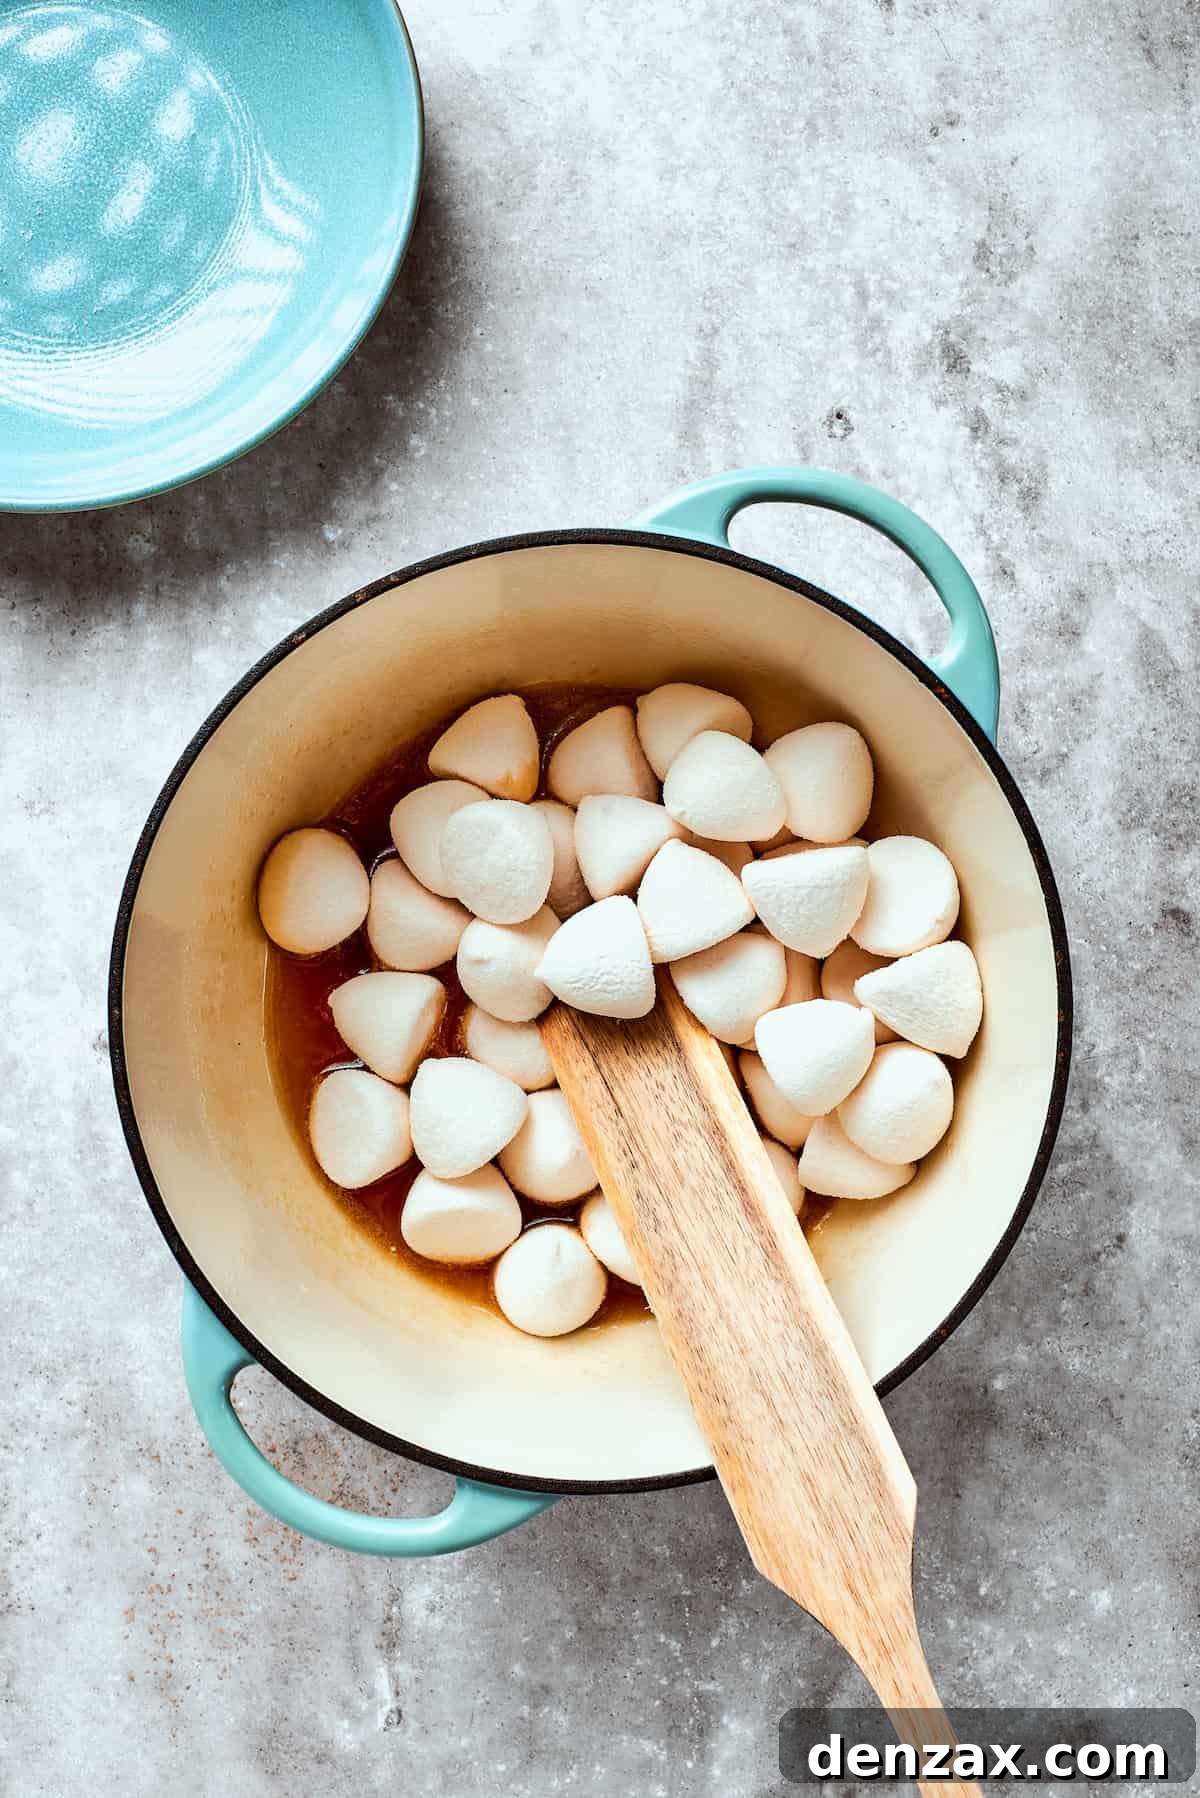
- Introduce Marshmallows: Reduce the heat to low. Add the mini marshmallows to the saucepan. Stir continuously with a spatula or wooden spoon. It’s important to stir constantly to prevent the marshmallows from burning on the bottom of the pan. Continue stirring until the marshmallows have completely melted and transformed into a smooth, glossy, and sticky mixture. Remove the pan from the heat immediately once fully melted.
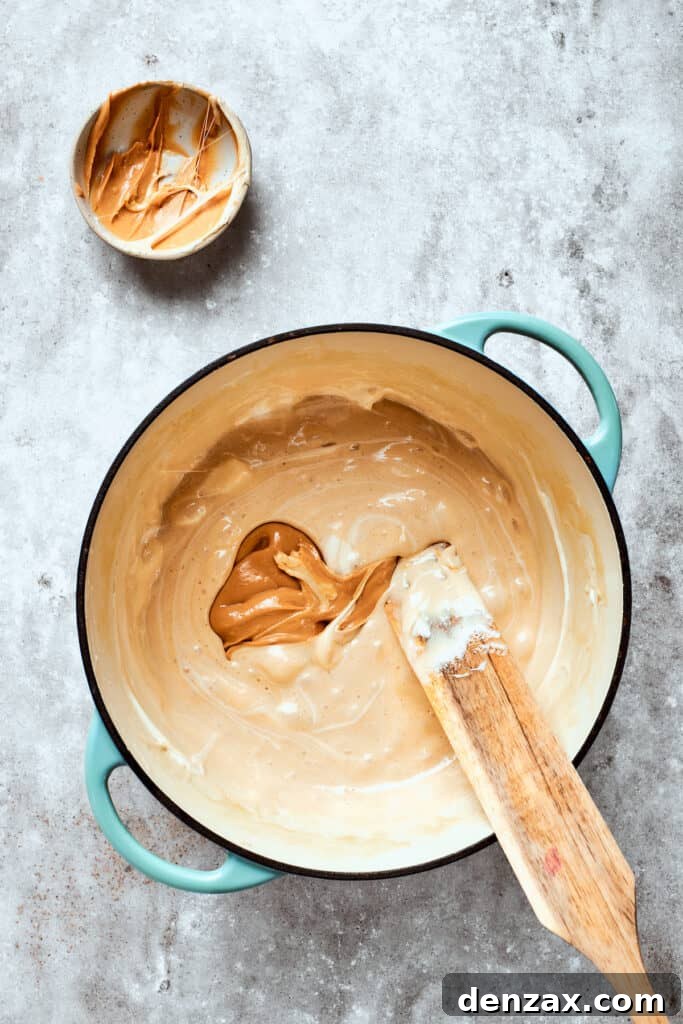
- Incorporate Peanut Butter and Vanilla: Into the melted marshmallow mixture, stir in the creamy peanut butter and vanilla extract. Mix vigorously until the peanut butter is thoroughly combined and uniformly distributed throughout the sticky marshmallow base. The mixture should be smooth and have a consistent peanut butter color.
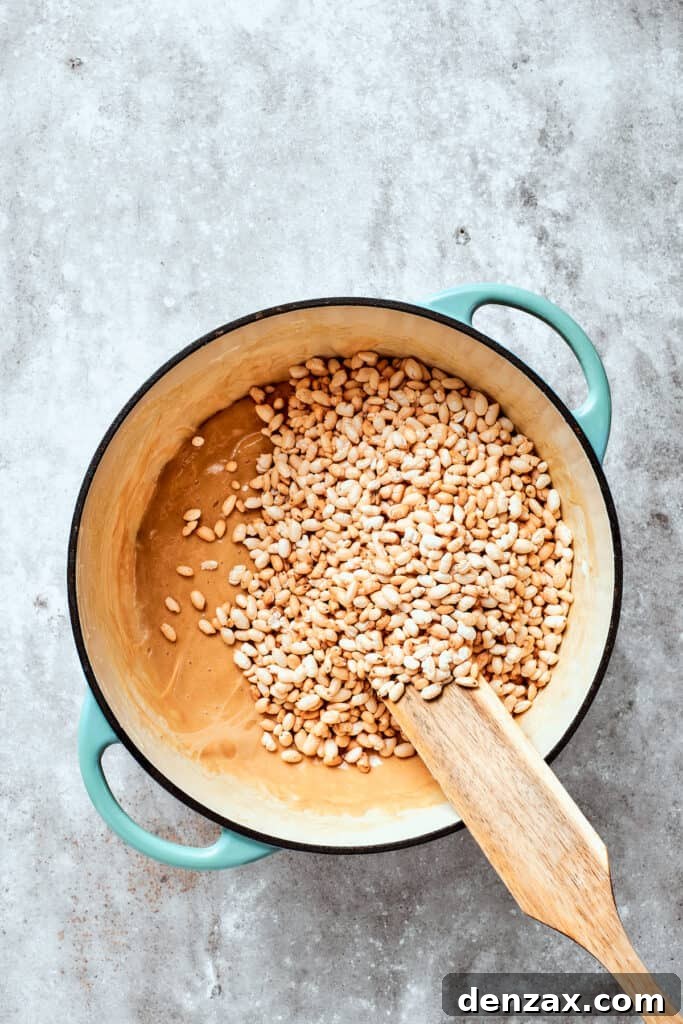
- Add Rice Cereal: Working quickly, add the Rice Krispie Cereal to the peanut butter-marshmallow mixture. Fold the cereal into the mixture using a large spoon or spatula. Ensure every piece of cereal is evenly coated. It’s important to work swiftly here, as the mixture will start to cool and stiffen as you stir.
- Press into Pan: Transfer the coated cereal mixture into your prepared 9×13-inch baking dish. Using a piece of wax paper, a lightly buttered spatula, or your hands (lightly greased with cooking spray), press the mixture firmly and evenly into the bottom of the pan. Compacting the mixture well will ensure your bars hold their shape perfectly once cut.
- Prepare Chocolate Topping: In a microwave-safe bowl, melt the milk chocolate chips. Heat them in 30-second intervals, stirring thoroughly after each interval, until the chocolate is smooth and completely melted. Alternatively, you can use a double boiler method: place the chocolate chips in a heatproof bowl set over a saucepan of simmering water, stirring until melted and glossy.
- Layer with Chocolate: Pour the warm, melted chocolate evenly over the pressed rice crispy mixture in the baking dish. Use an offset spatula or the back of a spoon to spread the chocolate from edge to edge, creating a smooth and uniform layer.
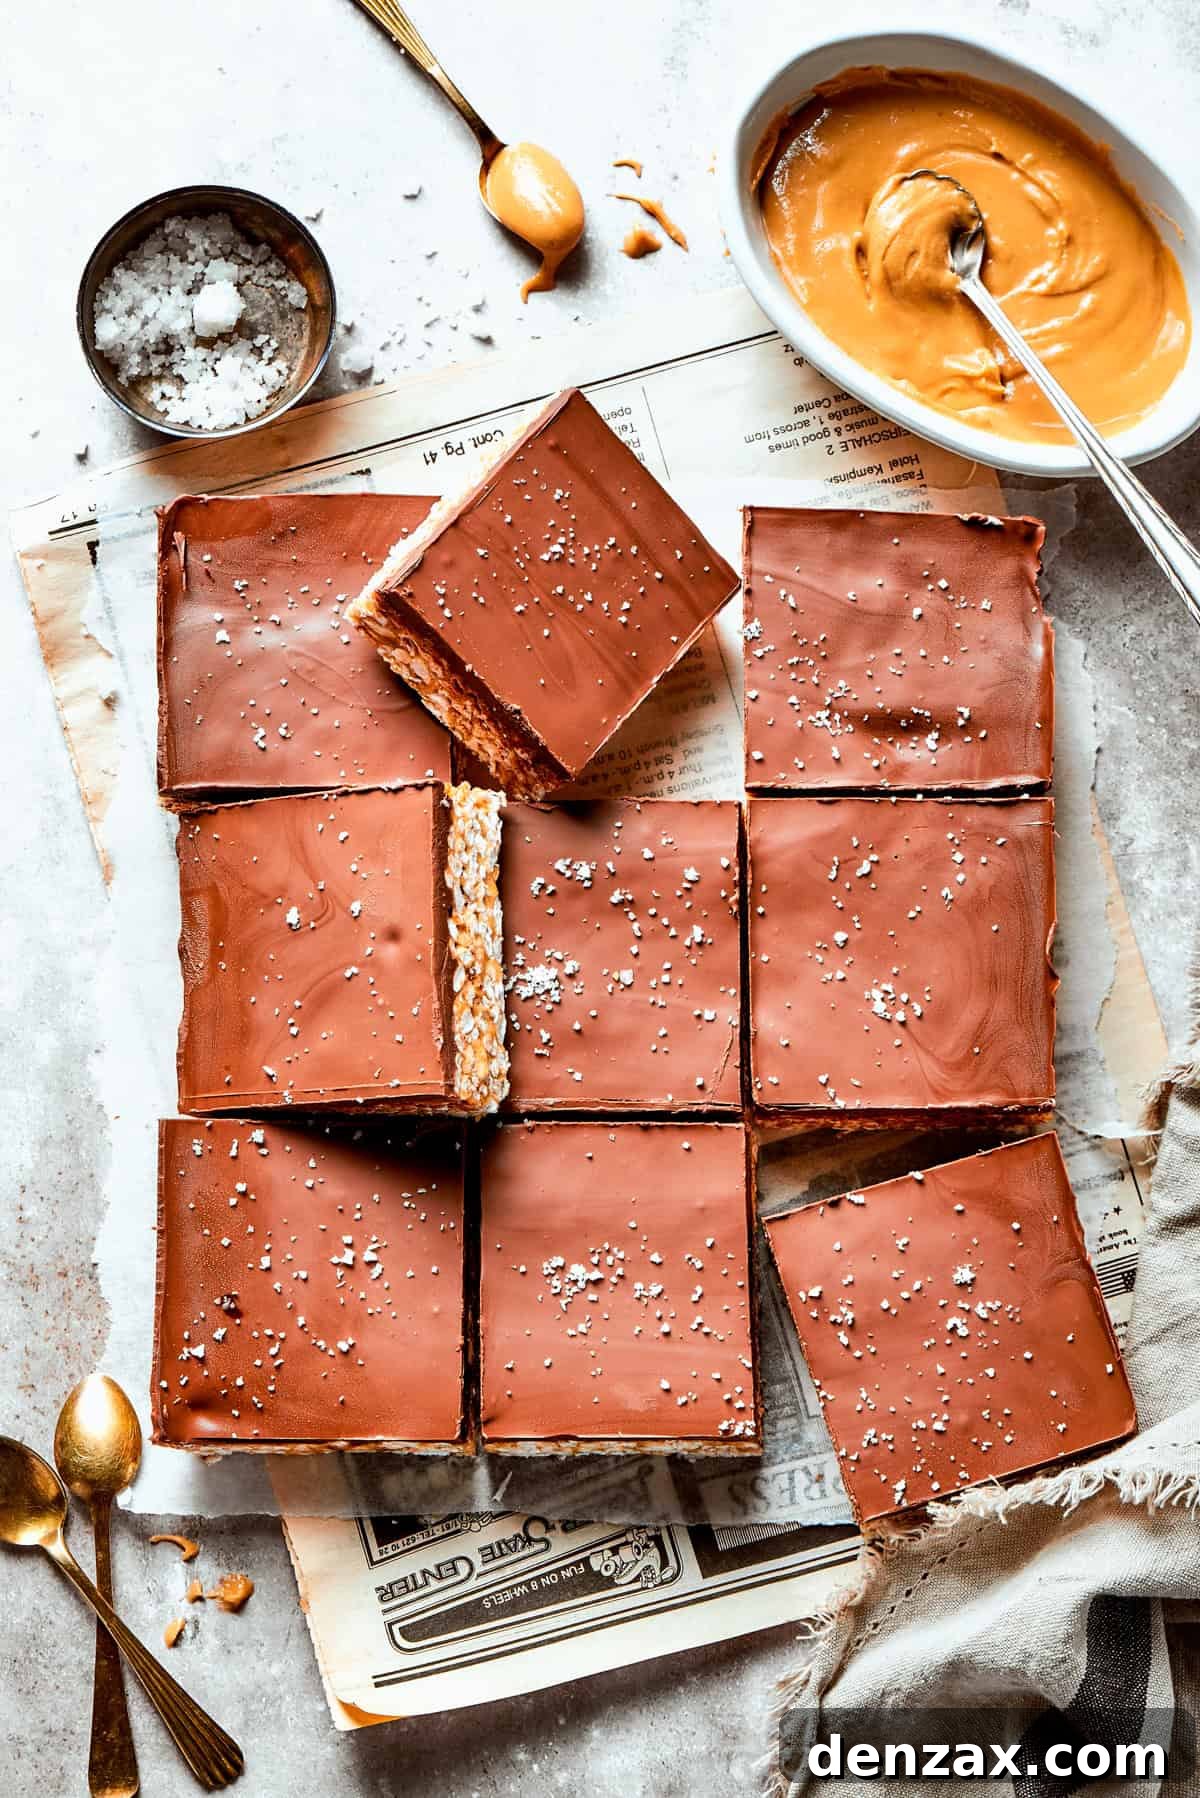
- Garnish and Set: For an extra touch of flavor and visual appeal, sprinkle a pinch of flaky sea salt evenly over the melted chocolate layer. Then, transfer the entire dish to the refrigerator. Allow the treats to chill for approximately 30 minutes, or until the chocolate topping is completely set and the bars are firm. This chilling time is crucial for easy cutting and handling.
- Slice and Serve: Once fully set, lift the treats out of the pan using the parchment paper overhangs. Place the block on a cutting board and use a sharp, warm knife to cut them into individual bars. Serve immediately and enjoy the delightful combination of flavors and textures!
Expert Tips and Creative Variations for Perfect Treats
Unlock the full potential of your Peanut Butter Rice Crispy Treats with these helpful tips and exciting variations:
- Make Them Gluten-Free: It’s incredibly simple to adapt this recipe for those with gluten sensitivities. Just ensure you use a certified gluten-free crisp rice cereal. Most major brands offer a gluten-free option, so check the labels carefully.
- Explore Other Nut Butters: While creamy peanut butter is a classic choice, don’t hesitate to experiment! Almond butter offers a slightly sweeter, milder nutty flavor, while cashew butter provides a buttery richness. For a nut-free alternative, sunflower seed butter (SunButter) works wonderfully, offering a similar creamy texture and earthy taste. Remember that the flavor profile will subtly change with different nut butters.
- The Role of Salted Butter: If you’re looking to extend the freshness of your treats slightly, or simply prefer a more pronounced salted caramel-like flavor, consider using salted butter in place of unsalted. The salt acts as a natural preservative and enhances the overall taste. If you opt for salted butter, you might want to skip or reduce the additional sprinkle of sea salt on top of the chocolate layer to avoid over-salting.
- Semisweet Chocolate for a Deeper Flavor: For those who appreciate a richer, slightly less sweet chocolate experience, swap the milk chocolate chips for semisweet chocolate chips. This will introduce a more intense, bittersweet cocoa flavor that beautifully balances the sweetness of the peanut butter and marshmallow base. Dark chocolate chips (60% or higher cocoa content) would also be an adventurous and delicious choice for serious chocolate lovers.
- Prevent Sticking: When pressing the cereal mixture into the pan, your hands or spatula can become quite sticky. A simple trick is to lightly grease your hands with cooking spray or butter, or use a piece of parchment paper or wax paper between your hands and the mixture. This ensures a smooth, even layer without a sticky mess.
- Don’t Overcook Marshmallows: Be careful not to overcook the marshmallows. Once they are melted and smooth, remove them from the heat immediately. Overcooking can lead to hard, brittle treats instead of the desired chewy texture.
- Room Temperature Ingredients (Except Chocolate): Ensure your peanut butter and butter are at room temperature. This helps them blend more smoothly and evenly into the melted marshmallow mixture, preventing lumps and ensuring a consistent texture. The chocolate chips should be melted separately and poured over the cooled, pressed base.
Storing Your Peanut Butter Rice Crispy Treats
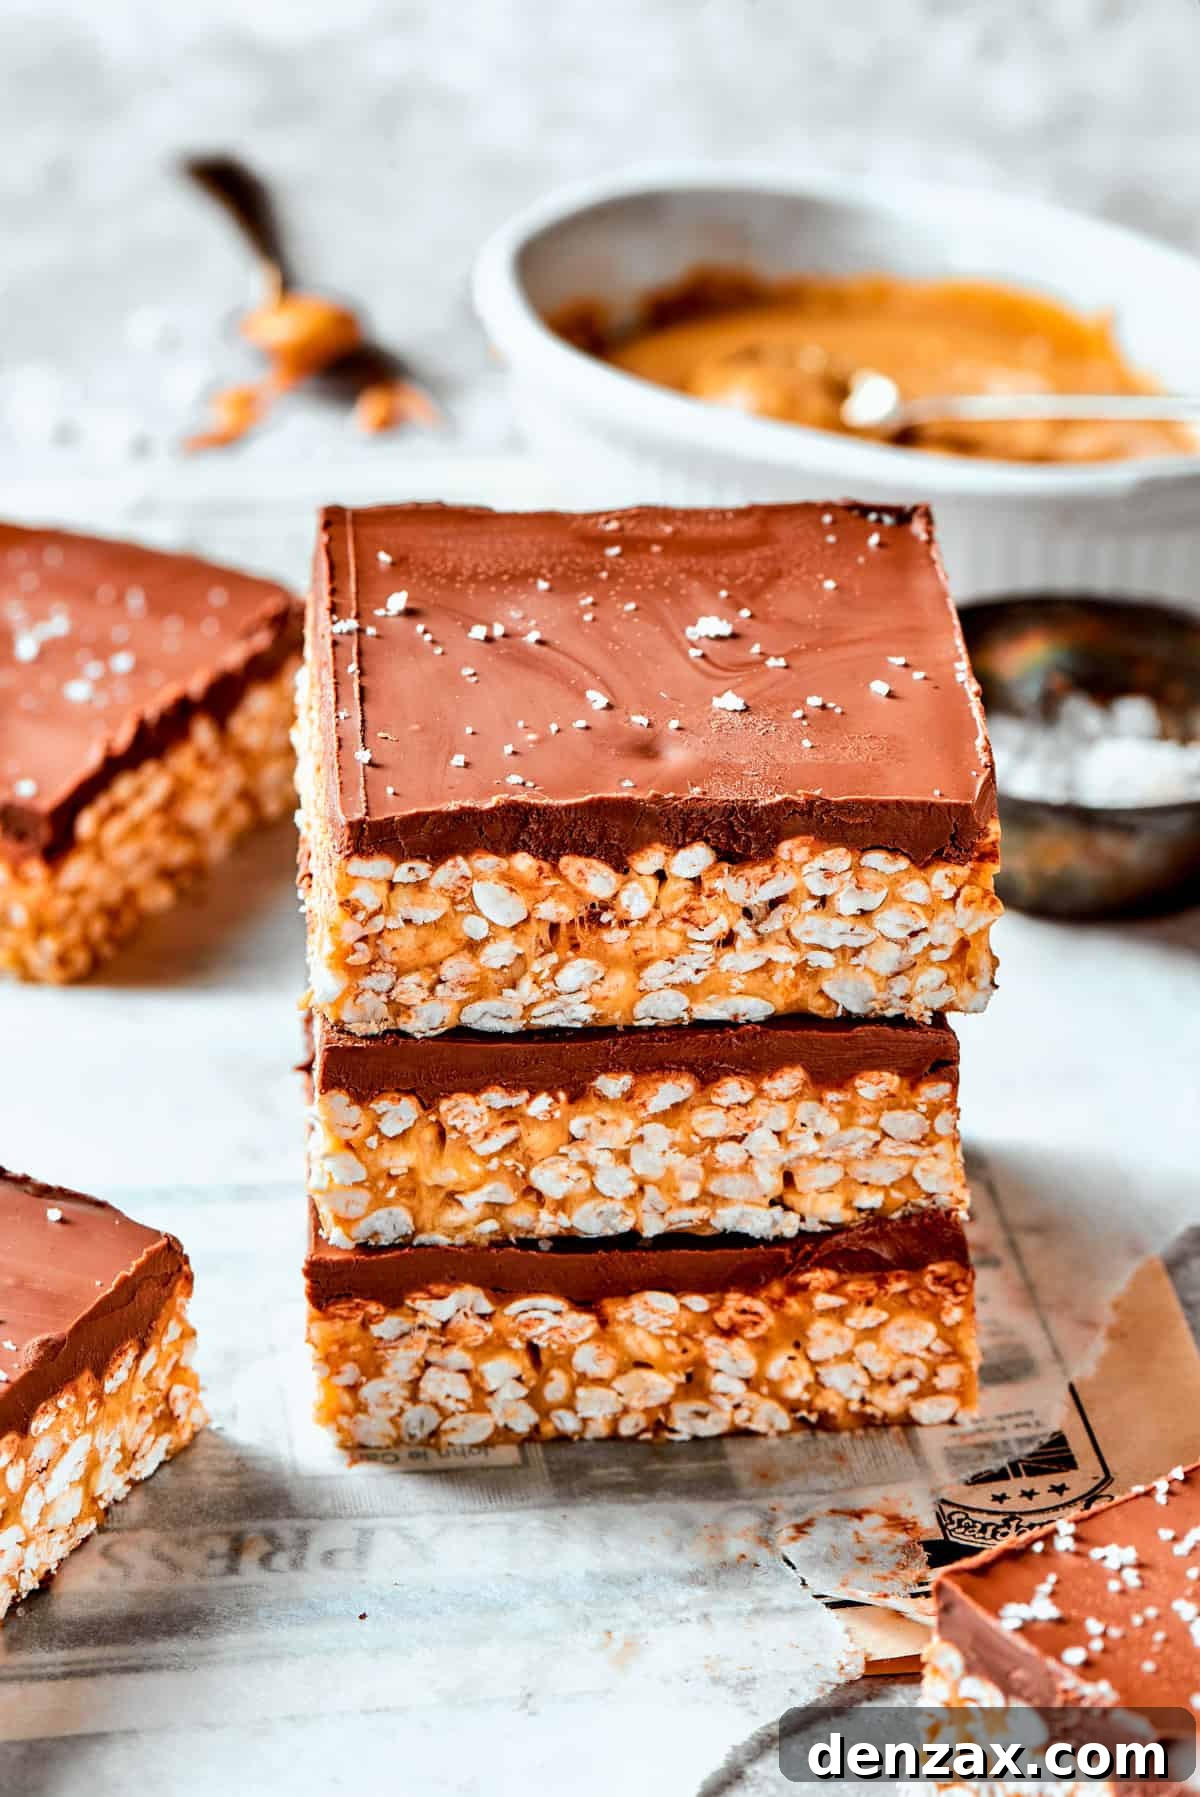
To maintain their delightful chewy texture and fresh flavor, proper storage is key for your peanut butter rice crispy treats. Once they are fully set and cut into bars, arrange them in an airtight container. They can be stored at room temperature on your kitchen counter for up to 5 days. For longer storage, or if you live in a particularly warm climate, you can store them in the refrigerator for up to a week. However, be aware that chilling can make them a bit firmer, so allow them to come to room temperature for a few minutes before serving for the best texture. Freezing is generally not recommended as it can alter the texture of the treats, making them less chewy upon thawing.
More Irresistible Peanut Butter Creations
If you find yourself captivated by the magic of peanut butter, you’re in for a treat! Explore more delightful recipes that feature this versatile and beloved ingredient:
- Muddy Buddies (Puppy Chow): A classic snack mix coated in chocolate and peanut butter, then dusted with powdered sugar.
- No-Bake Oatmeal Cookies: Chewy, chocolatey, and packed with peanut butter goodness, these cookies are quick to make and require no oven.
- Peanut Butter Chicken: A savory adventure! This dish features tender chicken coated in a rich and flavorful peanut butter sauce, perfect for a weeknight dinner.
Peanut Butter Rice Crispy Treats
By Katerina | Easy Weeknight Recipes
No-bake Peanut Butter Rice Crispy Treats are swirled with creamy peanut butter and topped with a rich layer of melted milk chocolate.
Ingredients
- ¾ cup unsalted butter
- 5 tablespoons maple syrup
- 10 ounces mini marshmallows
- ½ cup creamy peanut butter
- ½ teaspoon pure vanilla extract
- 4 cups Rice Krispie Cereal
- 2 cups milk chocolate chips
- sea salt, for garnishing (optional)
Instructions
- Line a 9×13-inch baking dish with parchment paper, leaving some overhang on both sides. This will make it easier to lift the treats out of the pan later.
- In a large saucepan over medium heat, melt the unsalted butter and maple syrup until completely melted and bubbles form.
- Add the mini marshmallows to a saucepan and stir constantly until they completely melt and the mixture becomes smooth and sticky.
- Stir in the creamy peanut butter until fully combined with the melted marshmallow mixture. Mix in the pure vanilla extract to enhance the flavor of the mixture.
- Remove the saucepan from the heat and quickly fold in the Rice Krispie Cereal until evenly coated with the marshmallow mixture. The mixture will start to set, so work swiftly.
- Transfer the cereal mixture to the prepared baking dish and work fast to shape and press it firmly and evenly into the pan. To prevent sticking, moisten your hands with spray cooking oil or use a damp spoon to smooth the mixture.
- Melt the milk chocolate chips in the microwave in 30-second intervals, stirring between intervals until smooth, or use a double boiler. If using a double boiler, place the chocolate chips in a heatproof bowl set over a pot of simmering water. Stir occasionally until the chocolate has melted.
- Pour the melted chocolate over the pressed cereal mixture, spreading it evenly with a spatula.
- Sprinkle a pinch of sea salt over the chocolate layer.
- Place the dish in the refrigerator for about 30 minutes or until the chocolate is set and the treats are firm.
- Once set, remove the treats from the refrigerator, cut them into bars, and serve.
Nutrition
Calories: 450kcal |
Carbohydrates: 54g |
Protein: 4g |
Fat: 26g |
Saturated Fat: 14g |
Polyunsaturated Fat: 2g |
Monounsaturated Fat: 6g |
Trans Fat: 0.5g |
Cholesterol: 31mg |
Sodium: 117mg |
Potassium: 182mg |
Fiber: 1g |
Sugar: 38g |
Vitamin A: 975IU |
Vitamin C: 6mg |
Calcium: 40mg |
Iron: 3mg
Nutritional info is an estimate and provided as courtesy. Values may vary according to the ingredients and tools used. Please use your preferred nutritional calculator for more detailed info.
Did you make a recipe? Leave a rating