
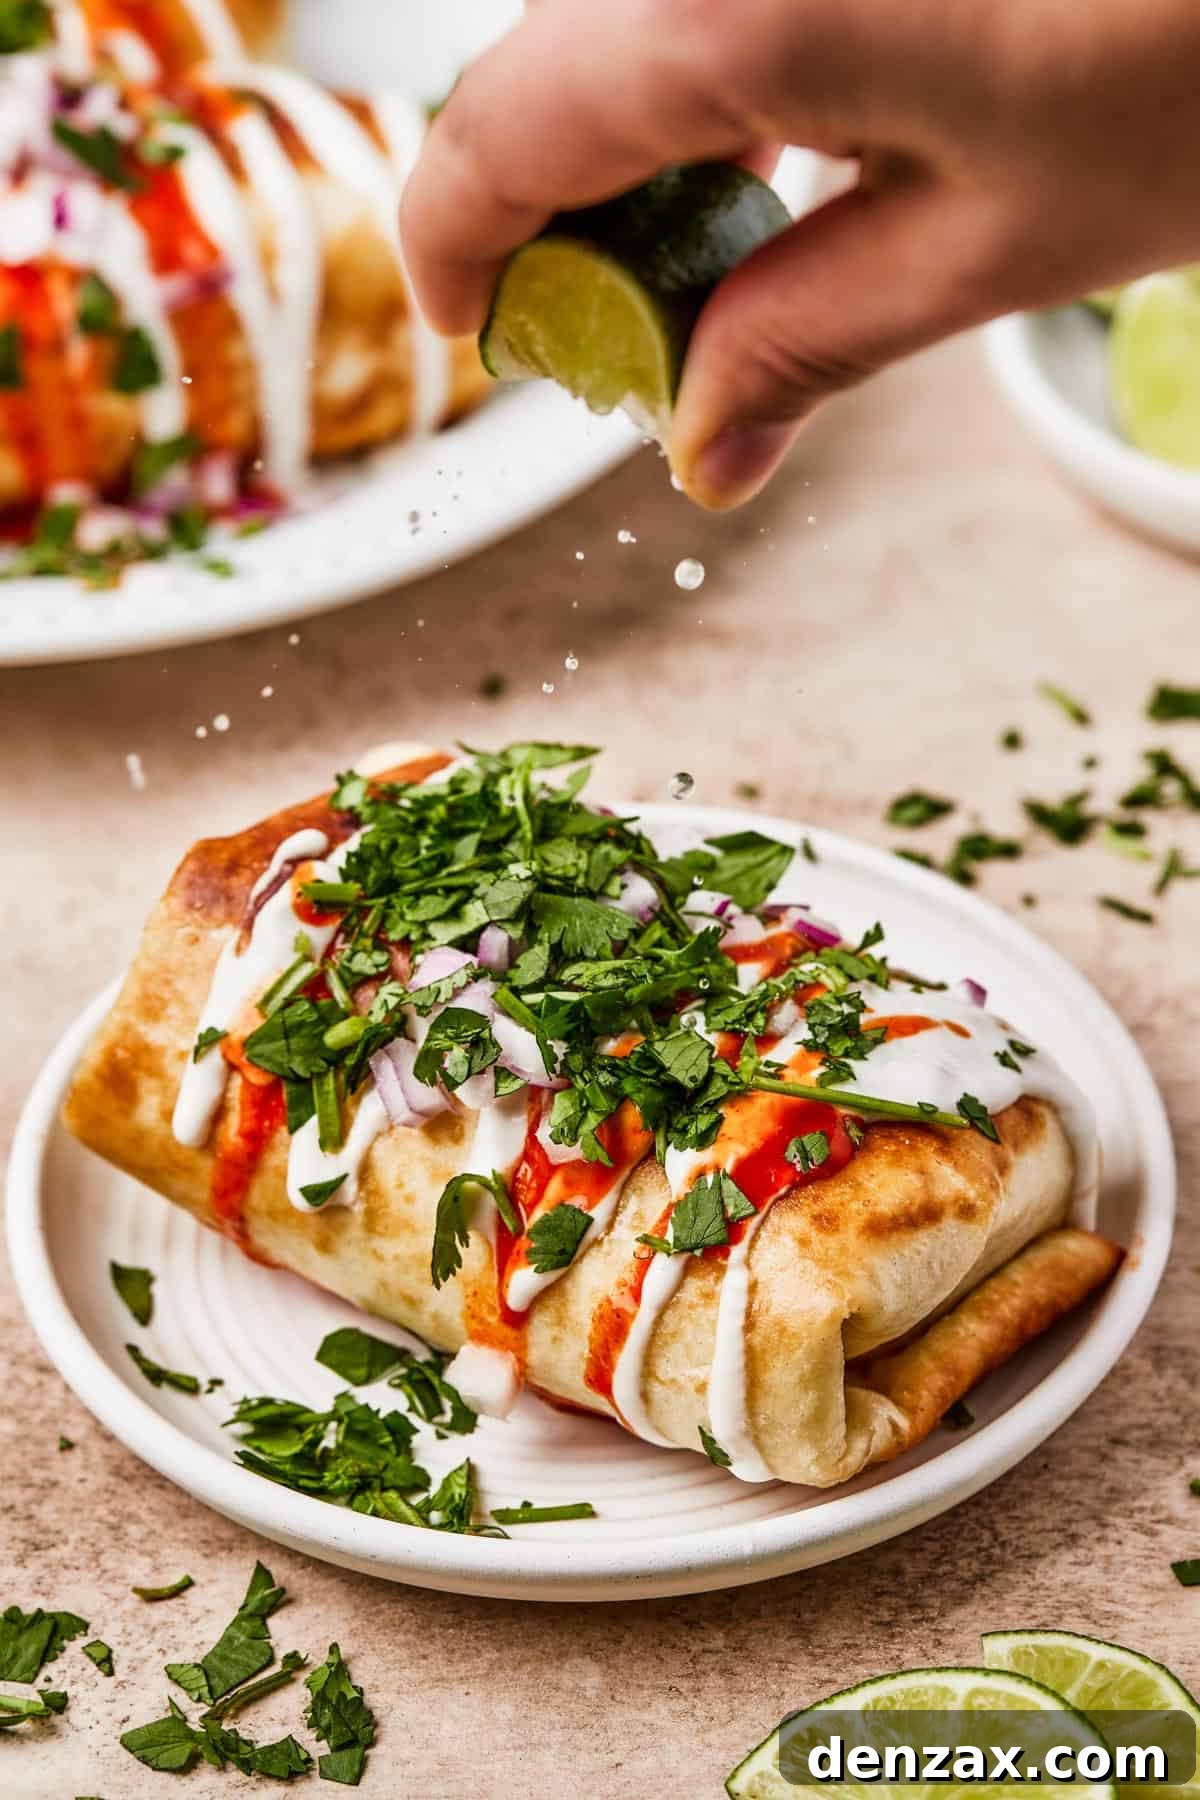
Craving a dish that’s both comforting and exciting? These easy homemade Chicken Chimichangas are your answer! Brimming with hearty Tex-Mex flavors, these crispy, golden-fried tortillas are stuffed with a mouthwatering combination of seasoned chicken, refried beans, and melted cheese. Perfect for a quick weeknight dinner or a festive family meal, they bring the vibrant taste of your favorite Tex-Mex restaurant right to your kitchen.
Homemade Chicken Chimichangas: A Tex-Mex Delight
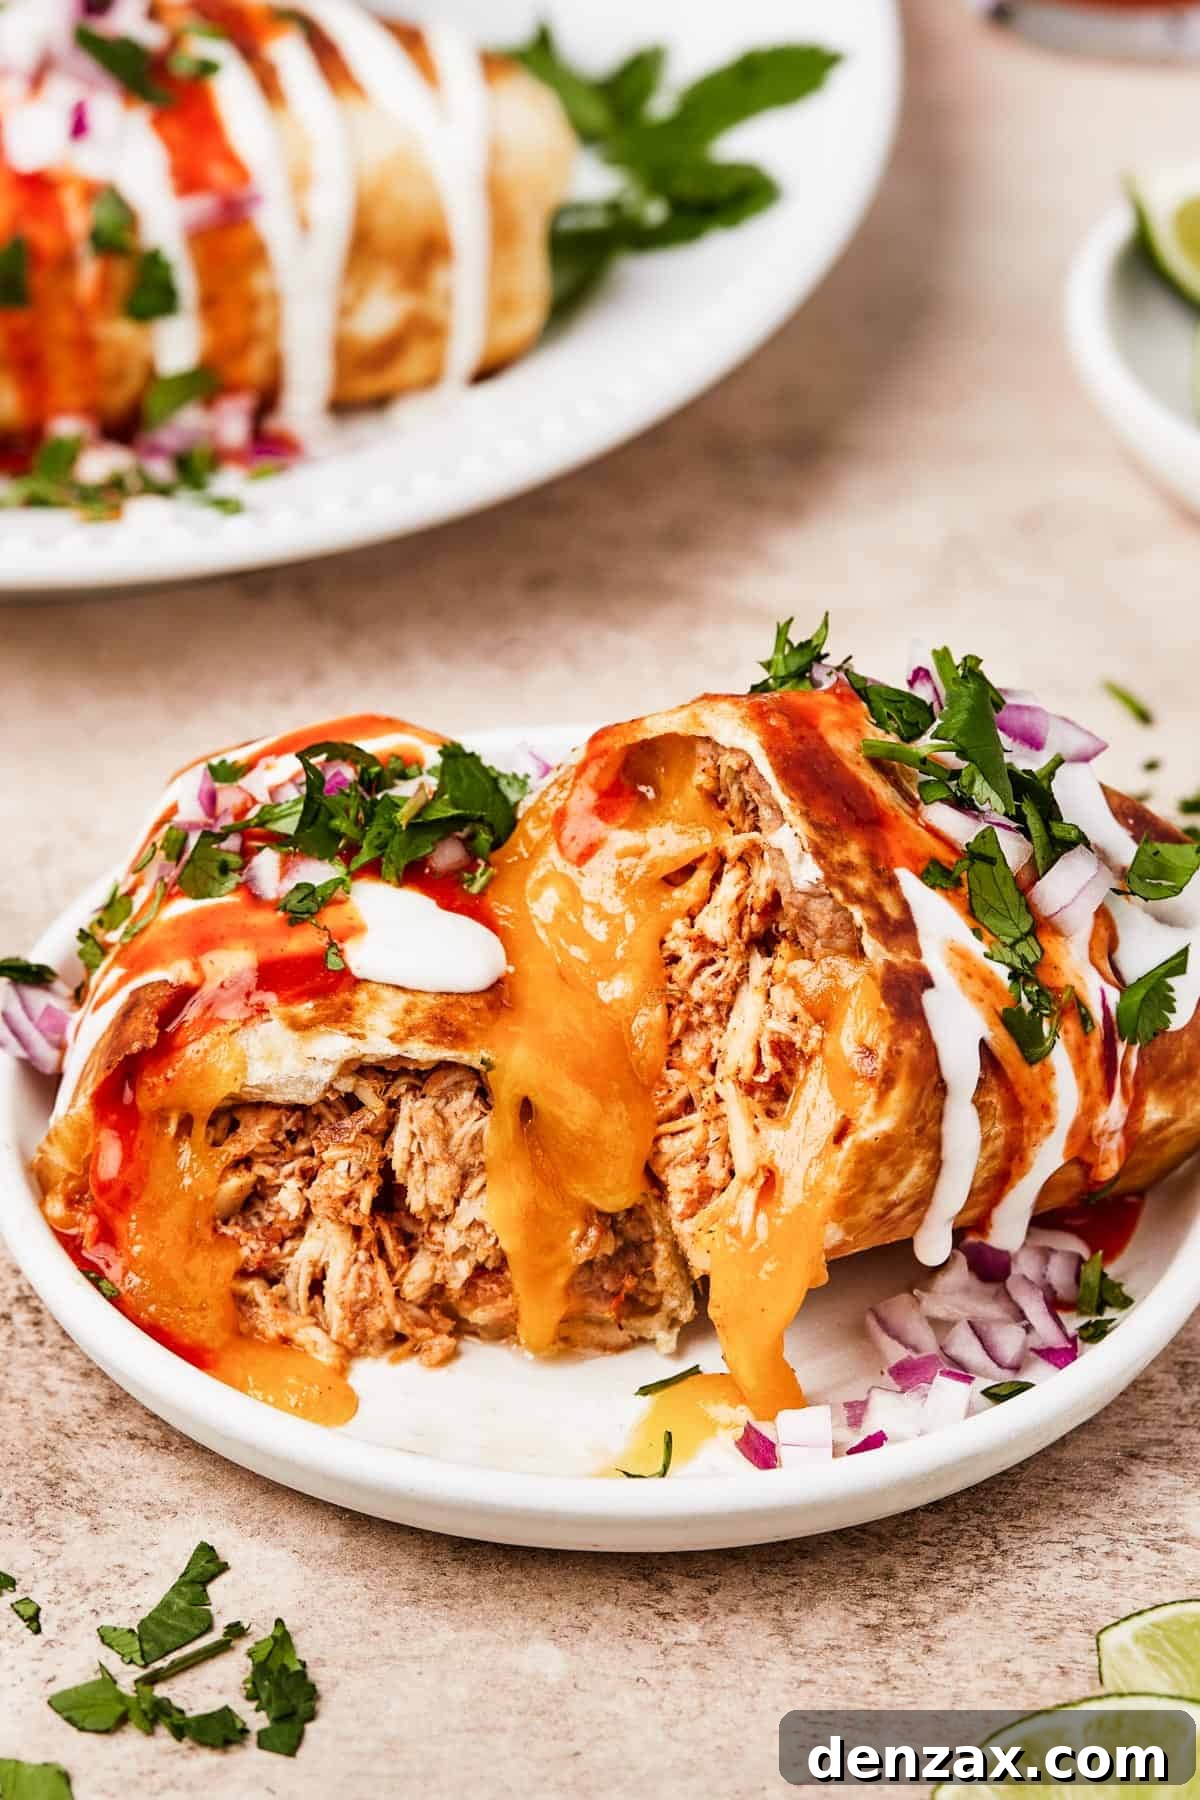
Have you ever indulged in the irresistible crunch of a perfectly fried chimichanga? These delicious fried burrito-like wraps are a staple of Tex-Mex cuisine, celebrated for their crispy exterior and savory, cheesy interior. Our recipe for easy chicken chimichangas allows you to whip up this restaurant-quality dish in under an hour, making it an ideal choice for busy evenings when you still want to serve something special.
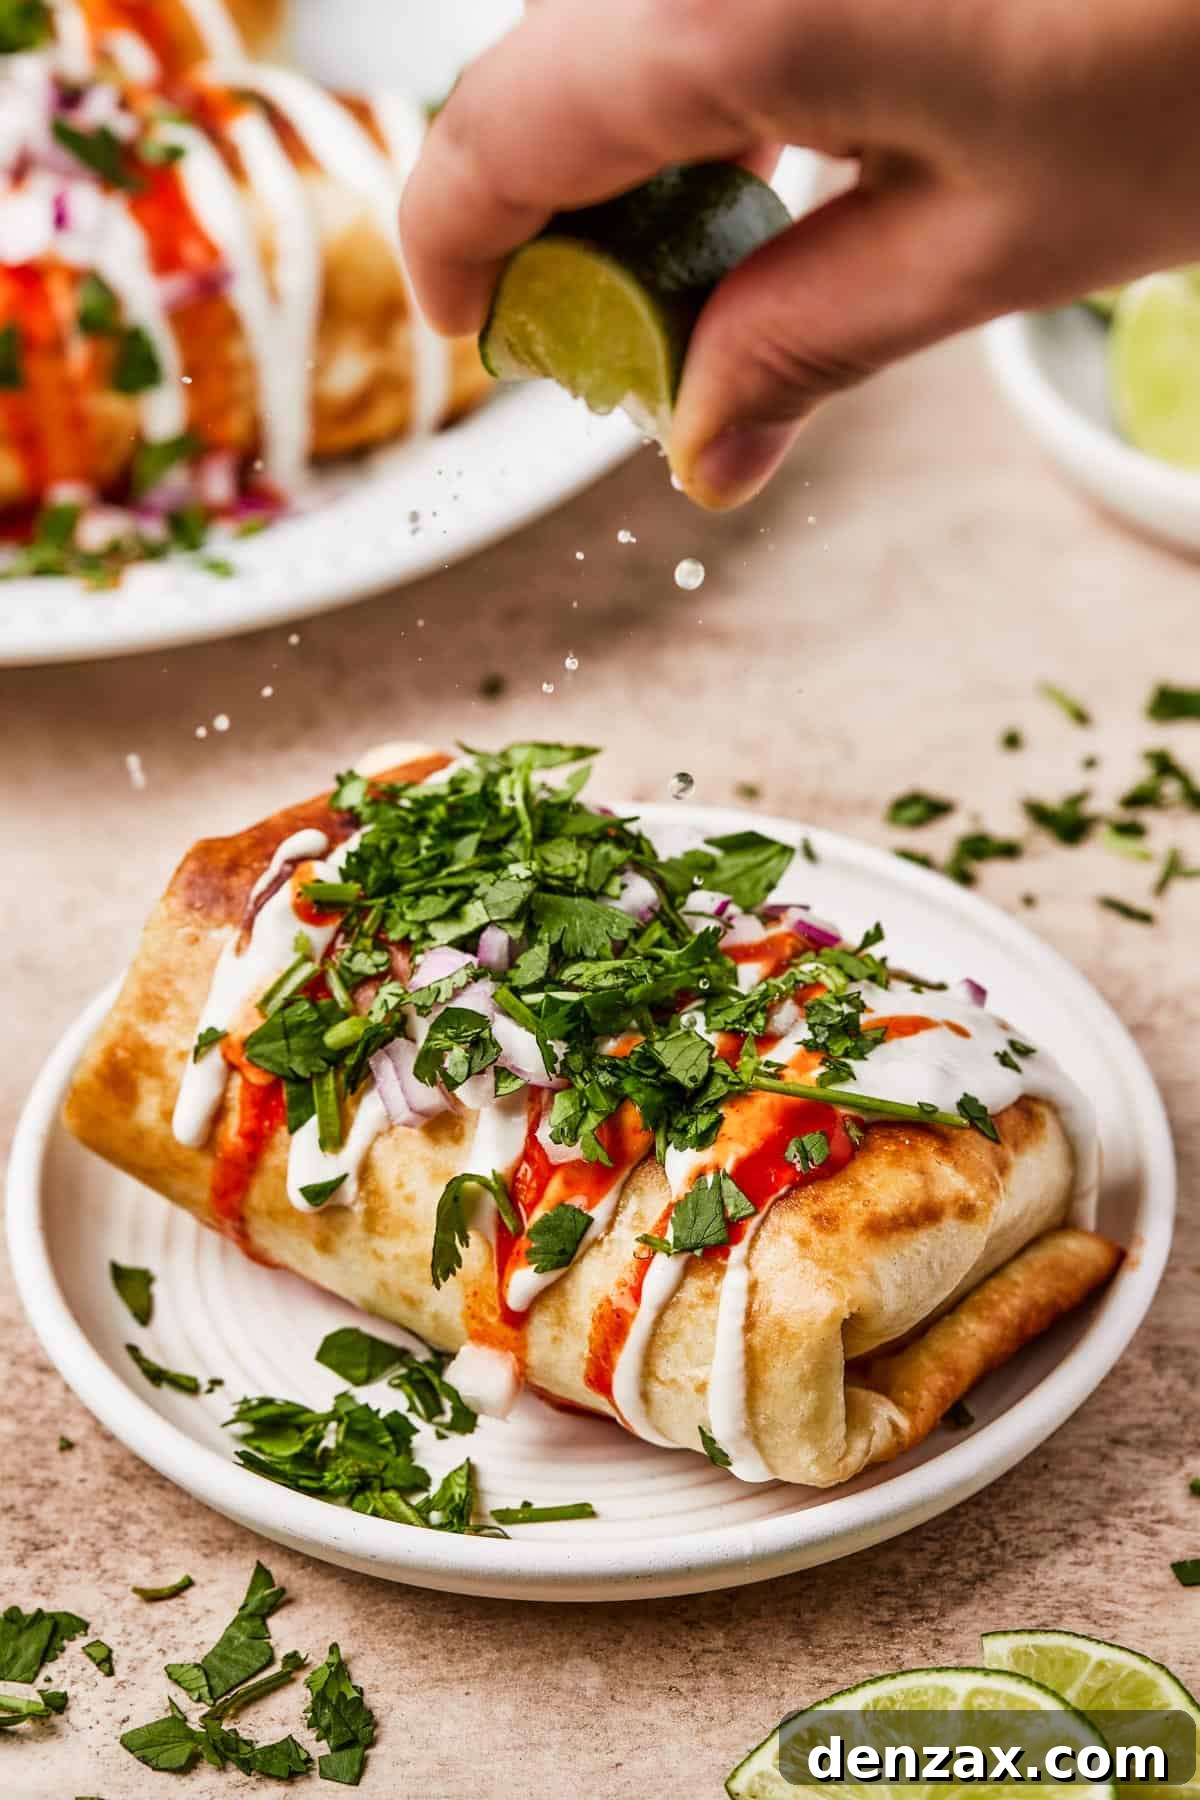
Each golden-brown parcel is a symphony of textures and tastes: the satisfying crispness of the tortilla, the creamy warmth of melted cheese, and the bold, savory notes of salsa-flavored shredded chicken and refried beans, all perfectly seasoned. Serving these fried burritos with a medley of fresh toppings like sour cream, zesty pico de gallo, or cool avocado slices creates a delightful contrast that elevates every bite.
Chimichanga vs. Burrito: Unpacking the Differences
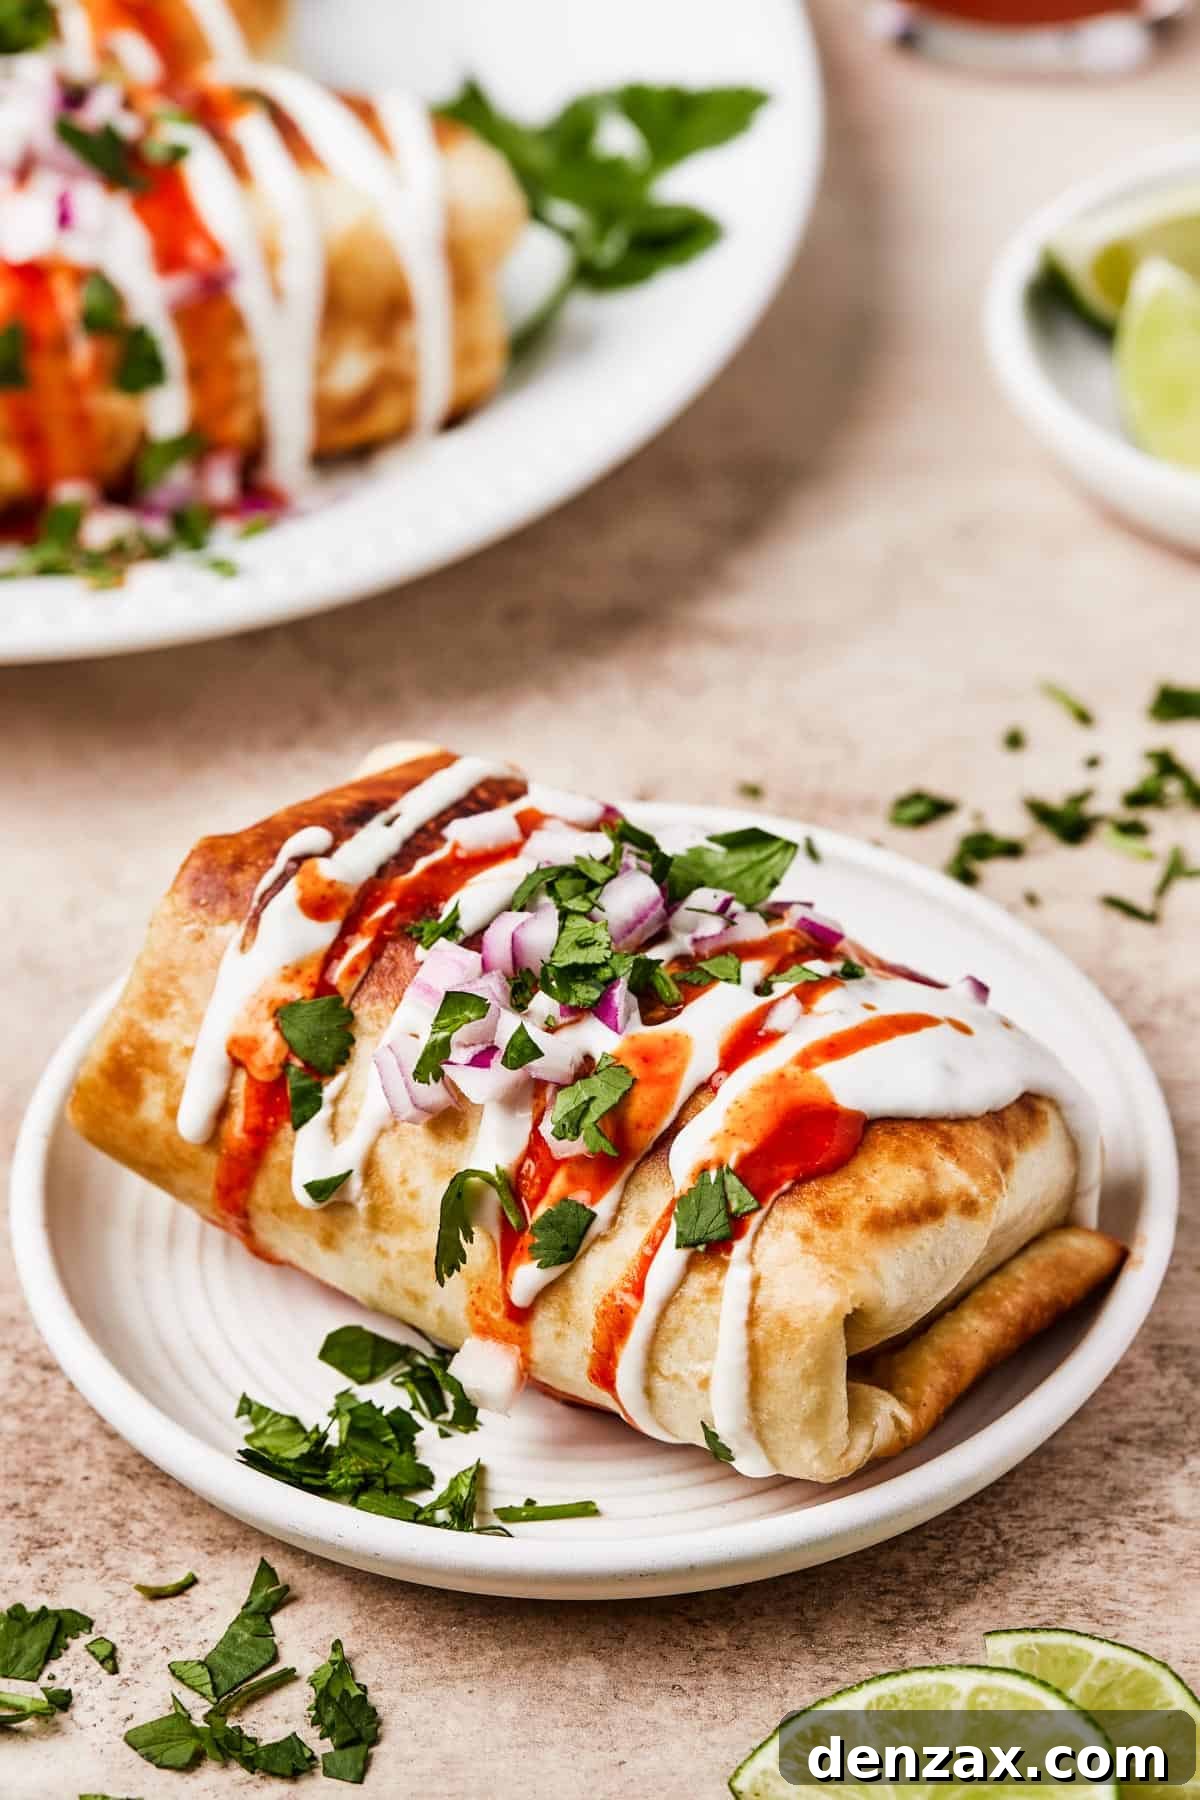
While often confused, chimichangas and burritos have distinct characteristics that set them apart. The primary and most evident difference is the preparation method: chimichangas are fried until golden brown and crispy, whereas burritos are typically served soft, either fresh or lightly grilled. Some chimichangas can also be baked for a slightly lighter alternative, but the frying process is what truly defines their unique texture.
Another common distinction lies in their fillings. Traditional burritos frequently incorporate rice, in addition to meat, beans, and other ingredients. Chimichangas, on the other hand, often focus on a more concentrated filling of meat, cheese, and beans, omitting the rice for a richer, more compact experience. While you can certainly add rice to your chimichangas if you wish, this recipe proves they are incredibly satisfying without it, thanks to the robust blend of savory chicken, creamy beans, and gooey cheese.
Furthermore, chimichangas are often “wet” in restaurant settings, meaning they might be smothered in a sauce like enchilada sauce or queso after frying, while burritos are typically dry-wrapped or served with sauce on the side for dipping. Our homemade version prioritizes the crispy integrity of the fried tortilla, making it perfect for holding various fresh toppings.
Essential Ingredients for Perfect Chicken Chimichangas
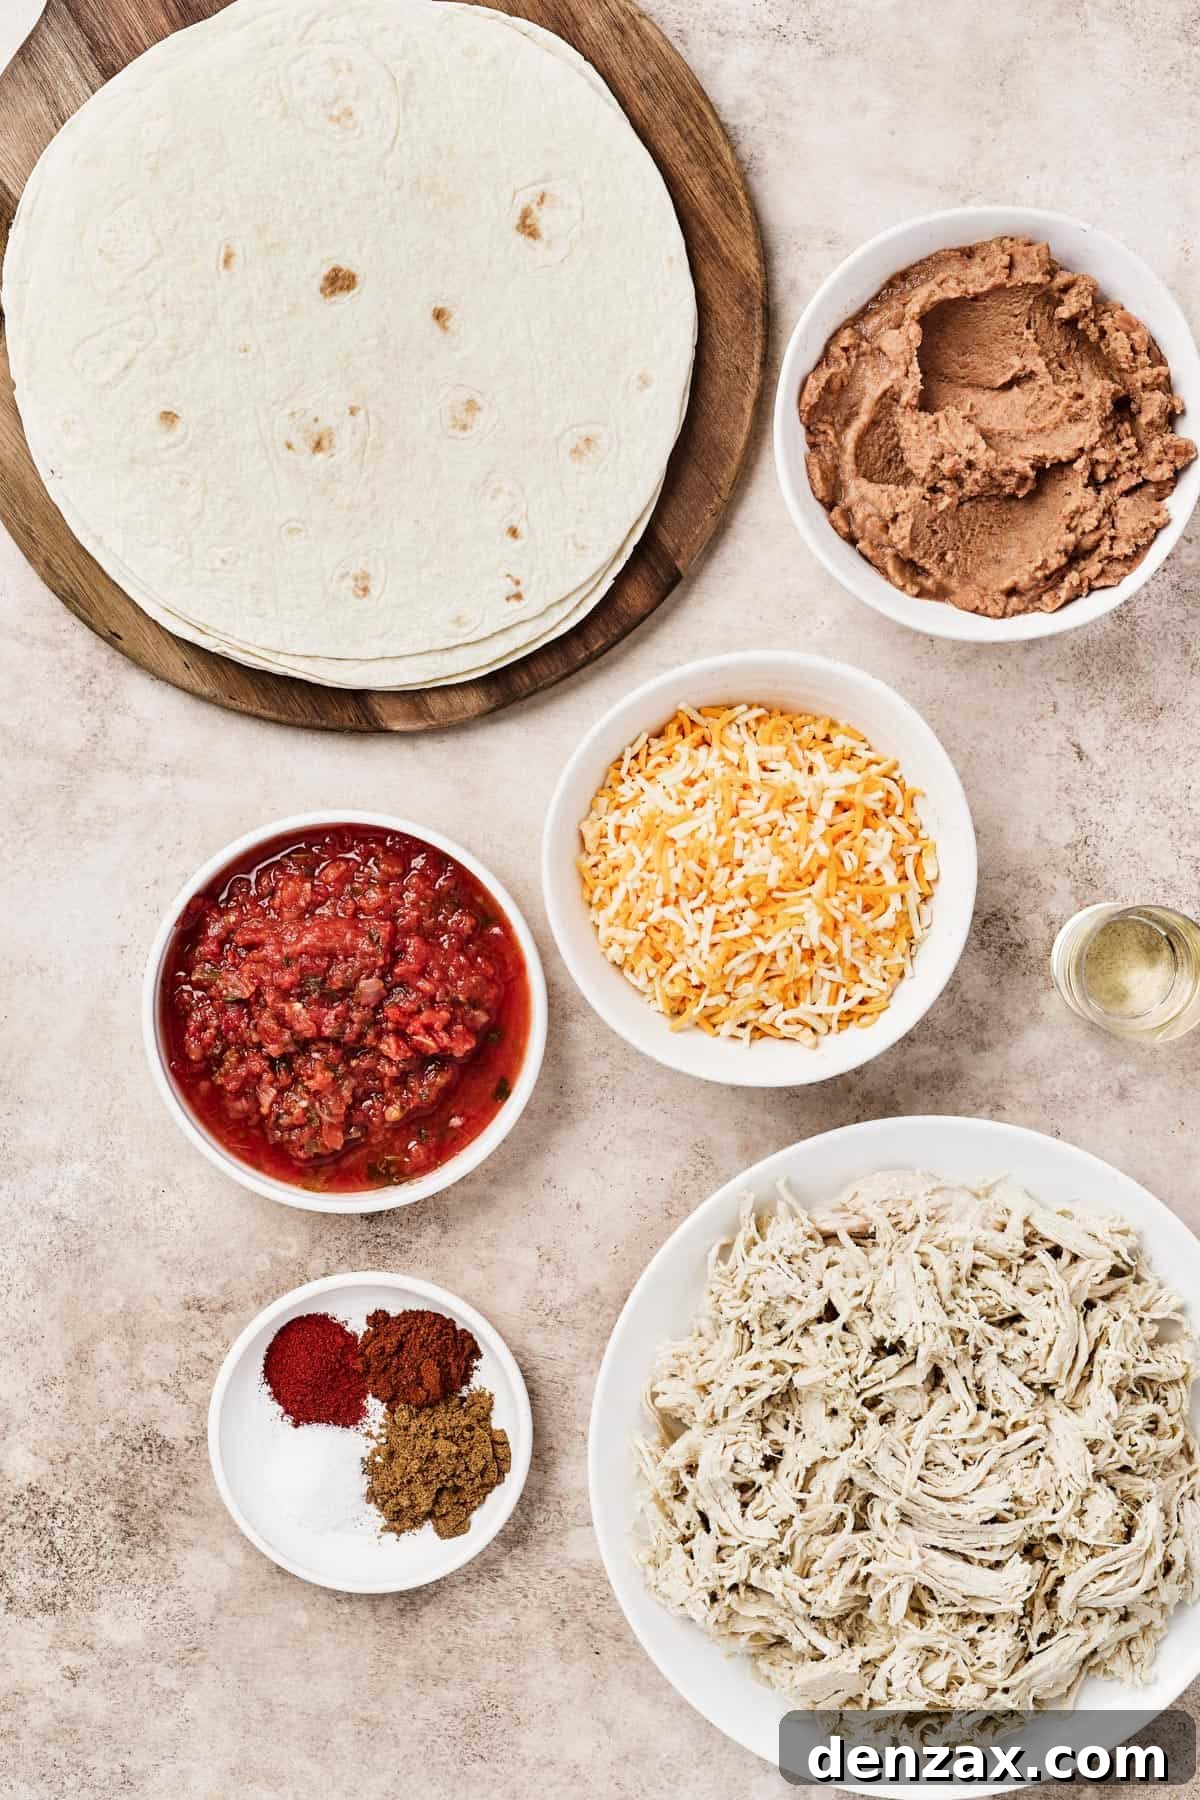
This chimichanga recipe shines with its simplicity and speed, largely thanks to using pre-cooked shredded chicken. This shortcut saves you valuable time without compromising on flavor. Feel free to prepare your own shredded chicken, or for ultimate convenience, simply pick up a store-bought rotisserie chicken and shred it. Here’s what you’ll need to gather:
- Shredded Cooked Chicken: Whether you prefer white meat, dark meat, or a combination, ensure it’s cooked and shredded. A rotisserie chicken is ideal for a quick start.
- Salsa: Your favorite tomato-based salsa will add a burst of fresh flavor and moisture to the chicken filling. Choose mild, medium, or hot based on your preference.
- Tex-Mex Seasonings: A harmonious blend of cumin (for earthy warmth), chili powder (for depth and mild heat), smoked paprika (for a delightful smoky note), and a touch of salt will infuse the chicken with authentic Tex-Mex taste.
- Flour Tortillas: Opt for large, burrito-size flour tortillas (typically 10-12 inches). Their flexibility and size are crucial for holding ample filling and rolling tightly without tearing.
- Refried Beans: Canned refried beans offer convenience and a creamy texture that acts as a fantastic binder for the filling. If you’re feeling ambitious, homemade refried beans are also an excellent choice. If refried beans aren’t your preference, you can substitute them with black beans or simply omit them.
- Shredded Cheese: A Mexican blend cheese is perfect for its melting qualities and balanced flavor.
- Oil for Frying: You’ll need a small amount of high-heat cooking oil, such as vegetable oil, peanut oil, or canola oil. This is essential for achieving that signature crispy, golden exterior.
Delectable Toppings to Elevate Your Chimichangas
While phenomenal on their own, chimichangas are truly transformed with the right toppings. These additions provide fresh textures, vibrant flavors, and cool contrasts to the rich, fried filling. Consider adding one or more of these fantastic options:
- Sliced Avocado: Adds a creamy, buttery texture and a mild, fresh flavor.
- Pico de Gallo: A fresh salsa of diced tomatoes, onions, cilantro, and jalapeños for a burst of vibrant flavor and acidity.
- Sour Cream: Offers a cool, tangy creaminess that beautifully balances the richness of the fried chimichanga.
- Hot Sauce: For those who love an extra kick, a dash of your favorite hot sauce provides a spicy punch.
- Chopped Cilantro: Fresh herbs add a bright, herbaceous note and a pop of color.
- Chopped Red Onion: Delivers a sharp, pungent flavor and a delightful crunch.
- Lime Wedges: A squeeze of fresh lime juice brightens all the flavors and adds a zesty finish.
How to Make Perfect Homemade Chimichangas, Step by Step
Creating your own delicious chimichangas at home is surprisingly straightforward! Don’t let the idea of frying intimidate you; with a few simple steps, you’ll achieve perfectly crispy, flavorful results. Here’s a detailed guide to making your homemade chicken chimichangas:
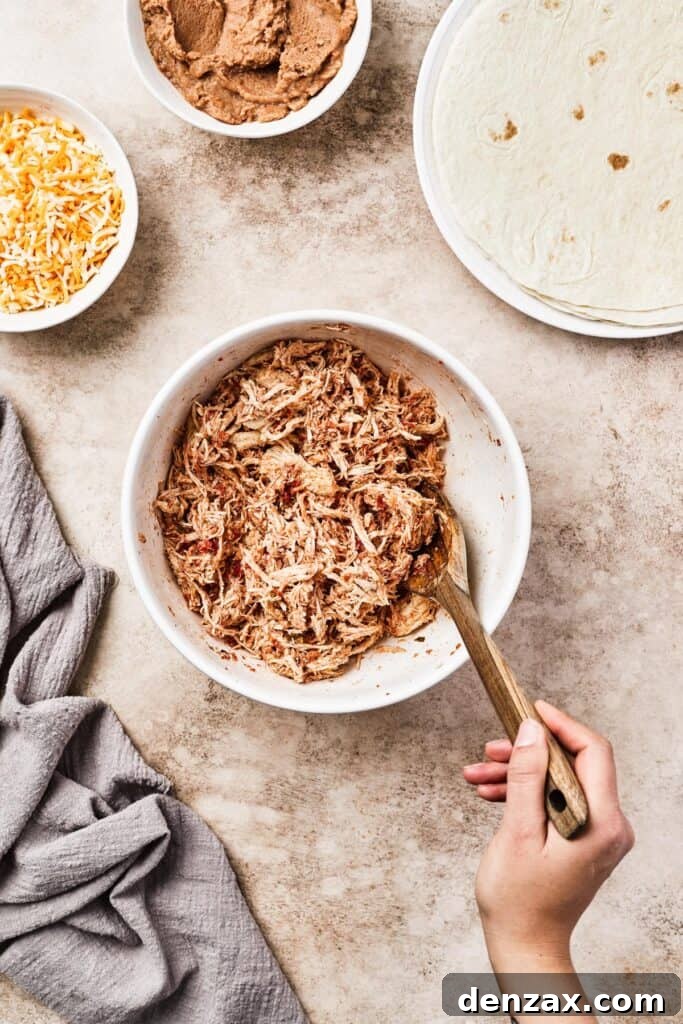
- Prepare the Chicken Filling Mixture: Begin by combining the shredded cooked chicken, your chosen salsa, cumin, chili powder, salt, and smoked paprika in a large mixing bowl. Use a spoon or your hands to gently mix all the ingredients until they are thoroughly and evenly combined. This ensures every bite of your chimichanga is packed with flavor.
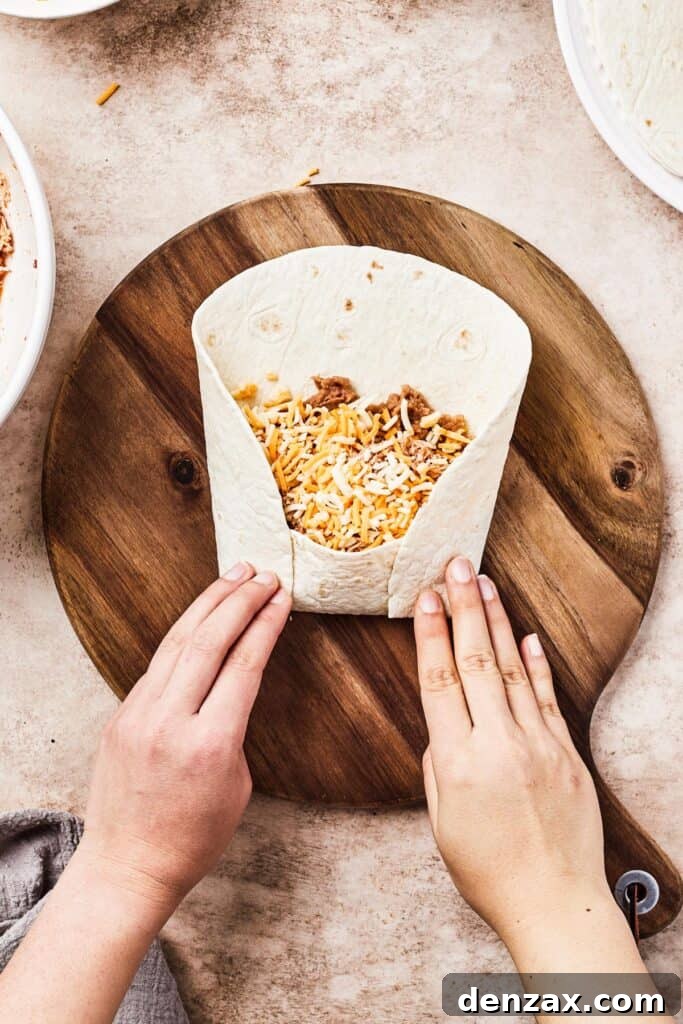
- Layer and Roll Up the Chimichangas: Lay one large flour tortilla flat on a clean surface. Spoon a few generous dollops of refried beans onto the center of the tortilla, spreading them slightly but leaving about an inch clear around the edges. Next, add a generous amount (approximately ½ cup) of the seasoned chicken mixture over the beans, followed by about ¼ cup of shredded cheese. To roll, bring the bottom edge of the tortilla up and over the filling, tucking it in tightly. Then, fold in both the left and right sides of the tortilla towards the center. Finally, roll the entire assembly upwards from the bottom, creating a snug, compact burrito shape. This tight roll is key to preventing the filling from escaping during frying.
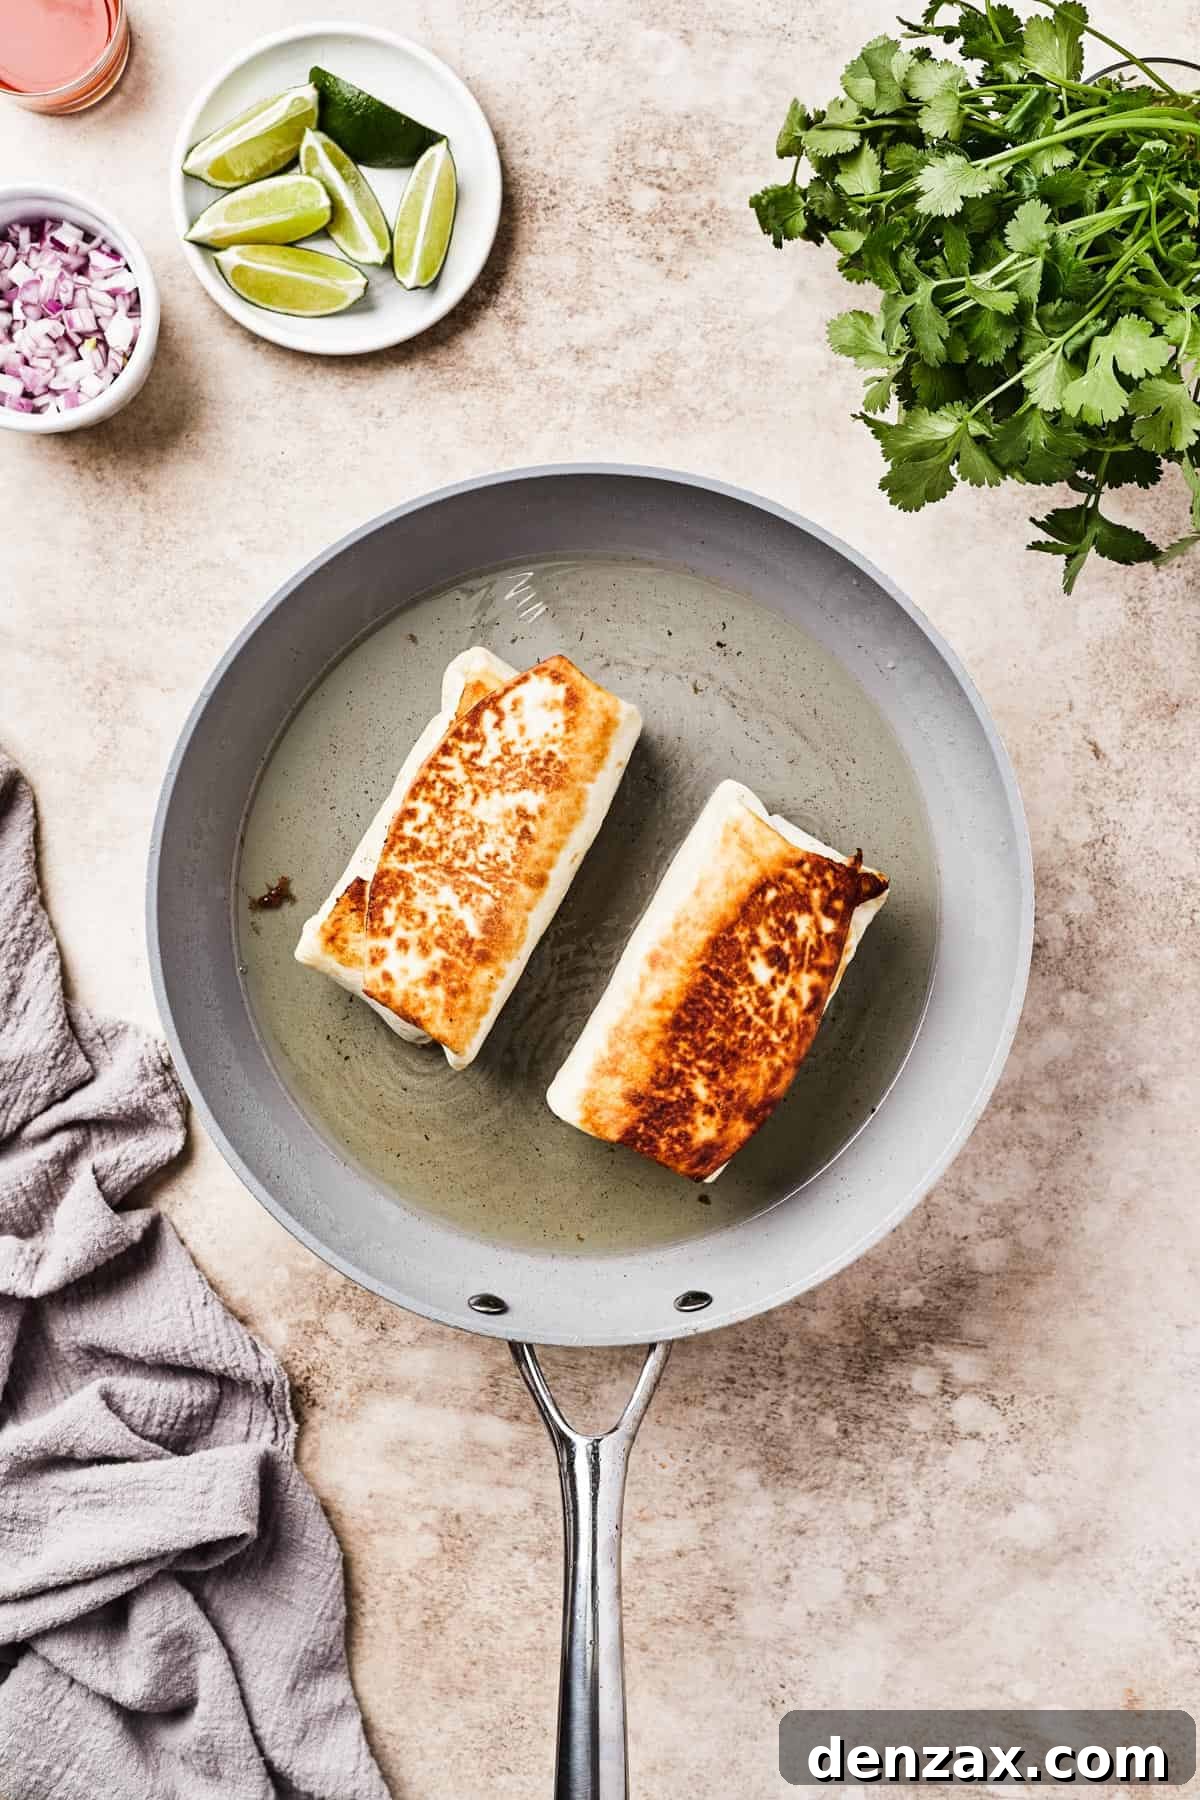
- Fry the Chimichangas to Golden Perfection: Heat ¼ cup of high-heat cooking oil (like vegetable or peanut oil) in a large, heavy-bottomed pan or skillet over medium heat. Wait until the oil is hot and shimmering, indicating it’s ready for frying. Carefully place the rolled chimichangas into the hot oil, ensuring they are seam-side down first. This helps to seal the tortilla as it fries. Fry the chimichangas for about 1 ½ to 2 minutes on each side, or until they achieve a beautiful golden-brown color and a satisfying crispness all over. Avoid overcrowding the pan to maintain consistent oil temperature.
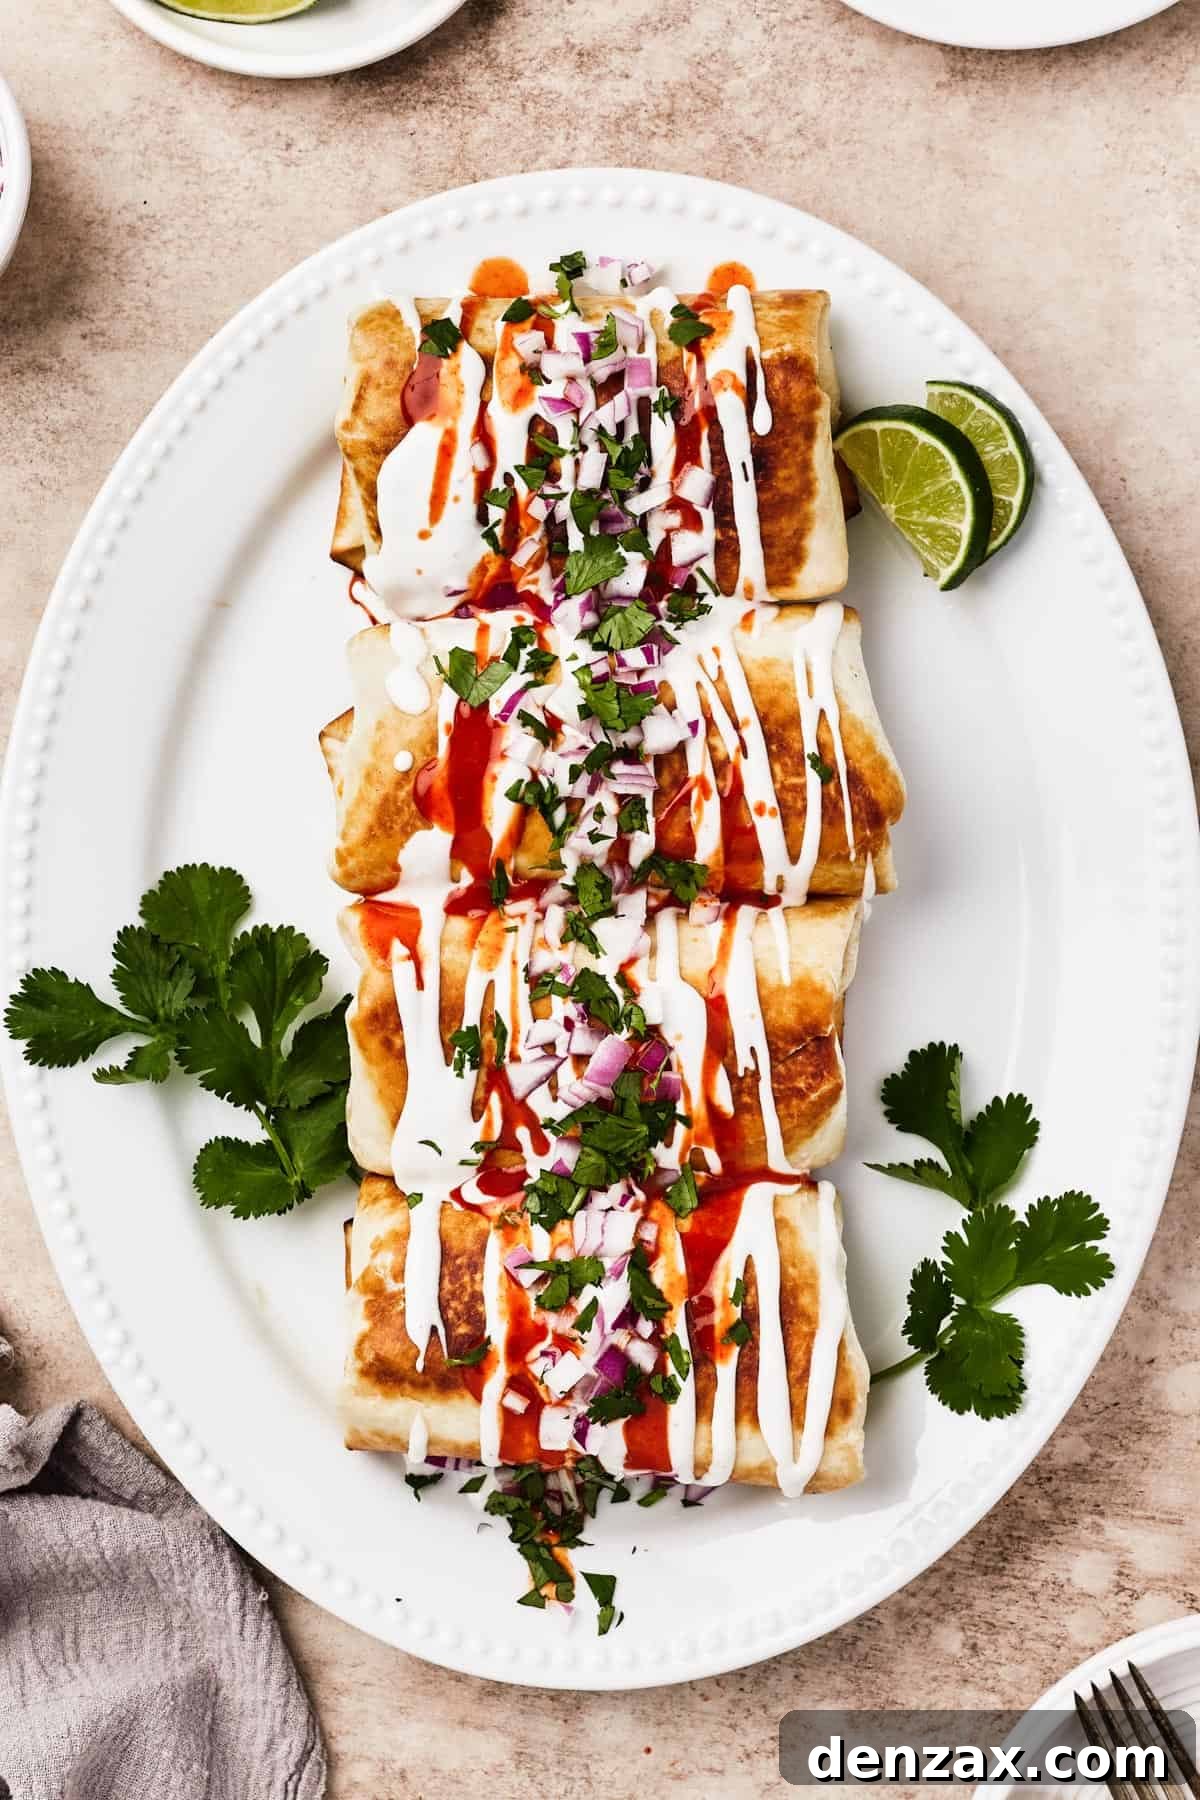
- Drain and Serve Immediately: Once your chimichangas are perfectly golden and crispy, carefully remove them from the skillet using tongs. Place them on a plate lined with paper towels or a wire rack set over a baking sheet to drain any excess oil. This crucial step helps maintain their crispiness. Transfer your freshly fried chimichangas to a serving platter, garnish them with your preferred optional toppings, and serve them hot for the best experience.
Expert Tips, Smart Tricks, and Creative Variations
Mastering homemade chimichangas is easy with a few insider tips. These suggestions will help you achieve a perfectly crispy, cheesy, and utterly delicious meal every time. Get ready to impress with your Tex-Mex culinary skills!
- For Baked Chimichangas: If you prefer a lighter option or want to avoid frying, chimichangas can be baked. Simply arrange your rolled chimichangas in a baking dish, cover them loosely with foil, and bake at 350°F (175°C) for 30 minutes. Then, remove the foil and bake for an additional 10-15 minutes, or until they are golden brown and heated through. Let them cool for about 5 minutes before serving.
- Explore Cheese Options: While Mexican blend cheese is a fantastic choice, don’t hesitate to experiment with other varieties. Cheddar cheese offers a classic sharp flavor, Colby Jack provides a milder, creamier melt, and Pepper Jack cheese adds a subtle spicy kick. Use whatever cheese you love most!
- Vary the Meat Fillings: This recipe is incredibly versatile. Instead of shredded chicken, consider using other pre-cooked proteins. Shredded pork, seasoned cooked ground beef, or even shredded steak would make excellent substitutions. For a vegetarian option, try a medley of sautéed vegetables like mushrooms, bell peppers, onions, or even roasted sweet potato.
- Checking the Oil Temperature Accurately: The right oil temperature is crucial for crispy chimichangas without being greasy. If you don’t have a thermometer, a simple test is to drop a small piece of tortilla into the hot oil. If it immediately begins to gently sizzle and bubble, your oil is ready. If it browns too quickly, the oil is too hot; if it just sits there, it’s not hot enough.
- Managing Oil Temperature During Frying: If the oil is too hot, your chimichangas will brown too quickly on the outside, potentially burning, while the cheese inside remains unmelted. If you notice them frying too fast, carefully remove the chimichangas from the pan and reduce the heat. Allow the oil to cool slightly before returning them to the pan to continue frying. Conversely, if the oil isn’t hot enough, the chimichangas will soak up too much oil and become greasy rather than crispy.
- Prevent Overfilling: While tempting, overfilling your tortillas can lead to them bursting open during frying. Aim for a generous but manageable amount of filling that allows you to roll them tightly and securely.
- Air Fryer Chimichangas: For an even crispier, healthier alternative, air fry your chimichangas! Lightly spray them with cooking oil, then air fry at 375°F (190°C) for 8-12 minutes, flipping halfway, until golden and crisp.
Complementary Serving Suggestions for Your Chimichangas
To complete your Tex-Mex feast, pair your homemade chicken chimichangas with some delightful side dishes. These simple additions are easy to prepare and perfectly complement the rich flavors of your main course, creating a well-rounded and satisfying meal:
- Fluffy Mexican Rice: A classic pairing, a bowl of seasoned rice is always a welcome addition. This Instant Pot Mexican Rice recipe is a flavorful blend featuring tomato sauce, long-grain white rice, peas, carrots, and corn, creating a hearty and aromatic side that perfectly soaks up any extra chimichanga flavor.
- Crispy Potato Wedges: While not a traditional Tex-Mex side, Crispy Grilled Potato Wedges are undeniably delicious and incredibly easy to make. Their satisfying texture and seasoned flavor make them an unexpected but beloved accompaniment. Simply toss them on your grill or grill pan for quick, scrumptious, crispy-skinned potato wedges.
- Fresh Cowboy Caviar: For a refreshing and vibrant side, Cowboy Caviar is a winner. This crunchy, fresh, and flavorful medley of finely diced vegetables can be served as a salsa, a dip, or a light salad. It combines fresh avocado, juicy tomatoes, crisp bell peppers, sweet corn, hearty beans, all tossed in an incredible tangy dressing. Yum!
- Simple Green Salad: A light, crisp green salad with a zesty vinaigrette can provide a refreshing counterpoint to the rich chimichangas.
Storing and Reheating Your Chimichanga Leftovers
While chimichangas are best enjoyed fresh out of the pan for maximum crispiness, it’s possible to store and reheat leftovers effectively. Proper storage can help maintain as much of their delicious texture as possible:
- Refrigeration: Already rolled and fried chimichangas can be stored in the refrigerator for up to 3 days. To minimize sogginess, place them on a plate lined with paper towels after cooling to drain any residual oil, then transfer them to airtight containers.
- Reheating: For best results, reheat your chimichangas in the oven or an air fryer. Bake them at 350°F (175°C) for 15-20 minutes, or until thoroughly heated and crispy again. An air fryer is particularly effective at restoring their crunch, typically taking 8-10 minutes at 375°F (190°C). Microwaving is not recommended as it will make them soggy.
- Make-Ahead Option: To prepare ahead of time, make the chicken filling mixture and store it in a well-sealed container in the refrigerator for up to 3 days. When you’re ready to cook, simply assemble and fry the chimichangas fresh. This ensures the freshest and crispiest outcome.
Can I Freeze Homemade Chicken Chimichangas?
Yes, chimichangas freeze exceptionally well, making them an excellent option for meal prepping and quick future meals. Follow these guidelines for freezing and cooking from frozen:
- Freezing Assembled Chimichangas: Prepare the chicken filling and assemble the chimichangas as instructed, but do not fry them. Once rolled, place them in a single layer on a baking sheet and freeze for about an hour until firm. Then, transfer the firm chimichangas to freezer-safe bags or airtight containers, separating layers with parchment paper to prevent sticking. They can be stored in the freezer for up to 6 months.
- Cooking from Frozen: You can fry or bake chimichangas directly from frozen. If frying, use slightly lower heat to ensure the inside heats through without burning the exterior, and increase the cook time as needed (e.g., 5-7 minutes per side). If baking, preheat your oven to 375°F (190°C) and bake for 40-50 minutes, or until hot and golden. Air frying also works well for frozen chimichangas, typically requiring 15-20 minutes at 375°F (190°C), flipping halfway.
Homemade Chicken Chimichangas
These easy homemade Chicken Chimichangas are quick to make, and full of hearty Tex-Mex flavor! You’ll love the mouthwatering combo of chicken, beans, and cheese in a crispy, fried tortilla.
Author: Katerina | Easy Weeknight Recipes
Prep Time: 10 minutes
Cook Time: 10 minutes
Total Time: 30 minutes
Servings: 4
Pin Recipe | Print Recipe
Ingredients:
- 1 pound cooked chicken, shredded
- ½ cup salsa
- 2 teaspoons cumin
- 1 teaspoon chili powder
- 1 teaspoon salt
- ½ teaspoon smoked paprika
- 4 large burrito-size flour tortillas
- 1 can (16 ounces) refried beans
- 1 cup shredded Mexican blend cheese
- ¼ cup oil (such as vegetable or peanut oil, for frying)
Optional Toppings:
- Sliced avocado
- Pico de gallo
- Sour cream
- Hot sauce
- Chopped cilantro
- Chopped red onion
- Lime wedges
Instructions:
- Prepare the Chicken Filling: In a large bowl, mix the shredded cooked chicken, salsa, cumin, chili powder, salt, and smoked paprika until evenly combined.
- Assemble the Chimichangas: On each tortilla, spread ¼ cup of refried beans. Top with ½ cup of the chicken mixture and ¼ cup of shredded cheese. Fold the bottom of the tortilla over the filling, then fold in both sides. Roll tightly from the bottom up to form a burrito.
- Fry to Golden Perfection: Heat ¼ cup of oil in a large pan or skillet over medium heat until it shimmers. Place the chimichangas seam-side down in the hot oil. Fry for 1 ½ to 2 minutes on each side, or until crispy and golden brown all over.
- Drain and Serve: Remove the fried chimichangas and place them on a paper towel-lined plate or a wire rack to drain any excess oil. Top with your desired optional toppings and serve immediately.
Nutrition:
Serving: 1 chimichanga | Calories: 594kcal | Carbohydrates: 31g | Protein: 50g | Fat: 29g | Saturated Fat: 8g | Polyunsaturated Fat: 6g | Monounsaturated Fat: 13g | Trans Fat: 1g | Cholesterol: 123mg | Sodium: 1931mg | Potassium: 469mg | Fiber: 7g | Sugar: 6g | Vitamin A: 743IU | Vitamin C: 1mg | Calcium: 304mg | Iron: 4mg
Nutritional information is an estimate and provided as a courtesy. Values may vary according to the ingredients and tools used. Please use your preferred nutritional calculator for more detailed information.
More Easy Tex-Mex Recipes to Explore
If you loved these homemade chicken chimichangas, you’re sure to enjoy these other fantastic and easy-to-make Tex-Mex dishes, perfect for any weeknight or casual gathering:
- Instant Pot Chicken Burritos: A simple and flavorful way to make burritos quickly using your Instant Pot.
- Hearty Chili Con Carne: A rich, robust, and comforting chili packed with flavor.
- Easy Ground Beef Tacos: A classic, crowd-pleasing dish that’s quick to assemble and endlessly customizable.
- Quick Chicken Enchilada Casserole: Layered goodness with tender chicken, tortillas, and savory enchilada sauce.