
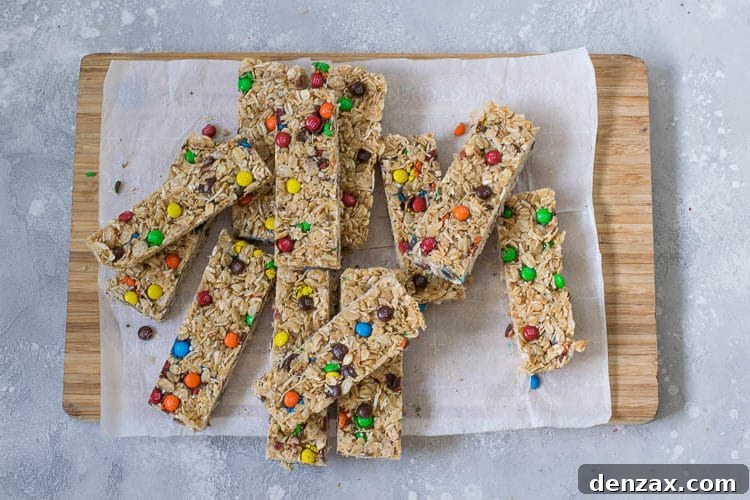
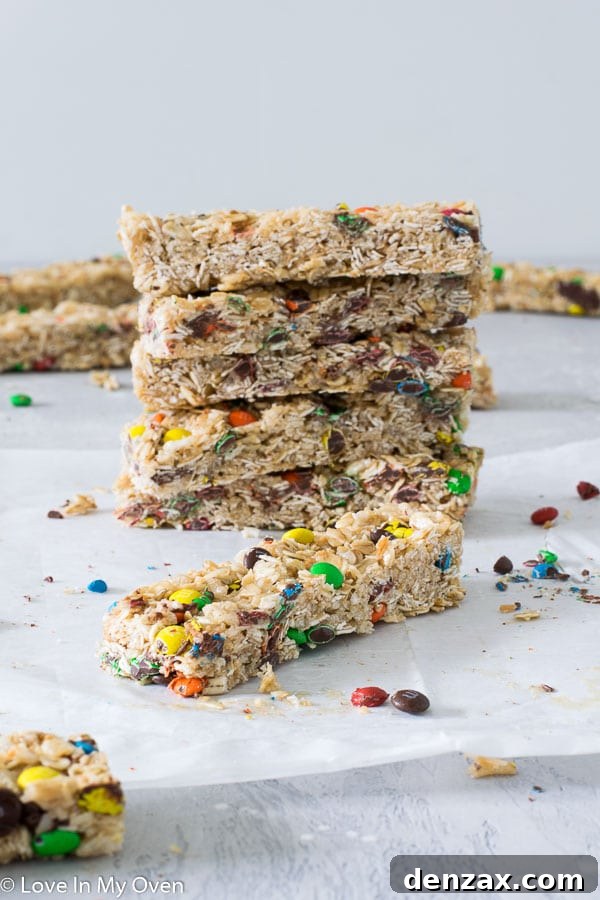
These easy mini M&M granola bars will be your new favorite lunchbox snacks. It’s an easy granola bar recipe that’s nut-free so it’s also safe for school!
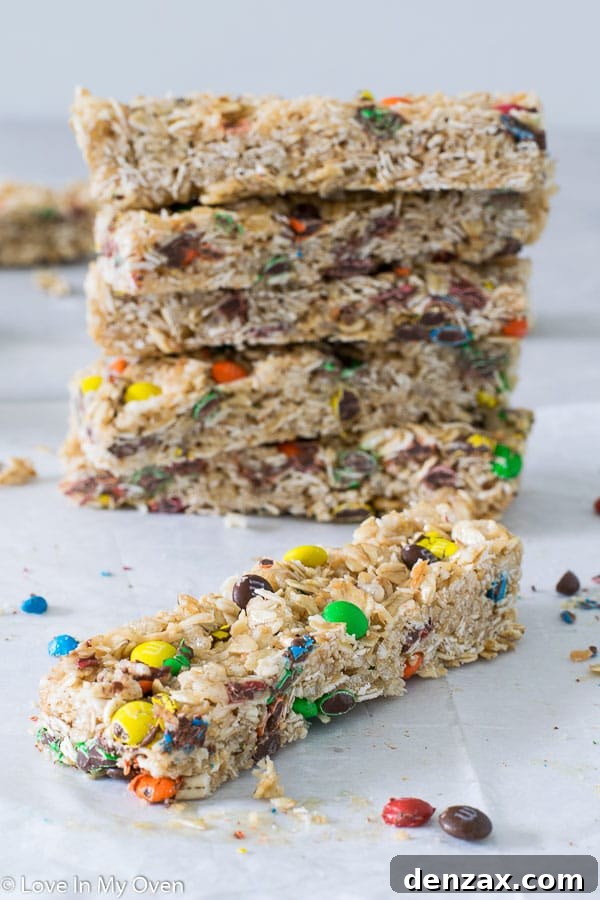
The Ultimate Nut-Free M&M Granola Bars: A Back-to-School Favorite!
As the lazy days of summer slowly fade, the hustle and bustle of back-to-school season are just around the corner. For many of us, this means preparing for early mornings, packed schedules, and, of course, endless lunchbox dilemmas. My own household is experiencing this shift acutely, with one little one venturing into kindergarten and another starting pre-k. It feels like just yesterday they were toddlers, and now they’re growing up so fast! It’s a bittersweet feeling, marking the end of summer’s carefree spirit and the beginning of a new academic adventure.
But instead of dwelling on the fleeting nature of time, let’s celebrate! And what better way to celebrate new beginnings than with a truly spectacular snack? Today, I’m thrilled to share a recipe that will not only bring a smile to your kids’ faces but also make your life a whole lot easier: these irresistible M&M Granola Bars. After countless attempts and a year-long quest, I can finally say I’ve nailed the perfect, chewy, nut-free granola bar!
The Journey to Granola Bar Perfection
Developing the ideal homemade granola bar has been a labor of love, and sometimes, a test of patience. Last year, I embarked on a mission to create a granola bar recipe that ticked all the boxes: easy to make, delicious, held together perfectly, and most importantly, was safe for school environments. Many of my initial attempts, while tasty, simply crumbled into loose granola – delightful as a topping, but not quite suitable for a grab-and-go snack. This led me to temporarily abandon the project, feeling a tad defeated.
However, the idea of a perfect homemade granola bar never truly left my mind. This summer, I decided it was time for a revival. I revisited my notes, tweaked ingredients, adjusted proportions, and recommitted myself to the cause. And I am so glad I did! The result is everything I hoped for and more. These M&M Granola Bars are chewy, packed with flavor, and robust enough to withstand the rigors of any lunchbox. Trust me when I say, this time, I truly nailed it!
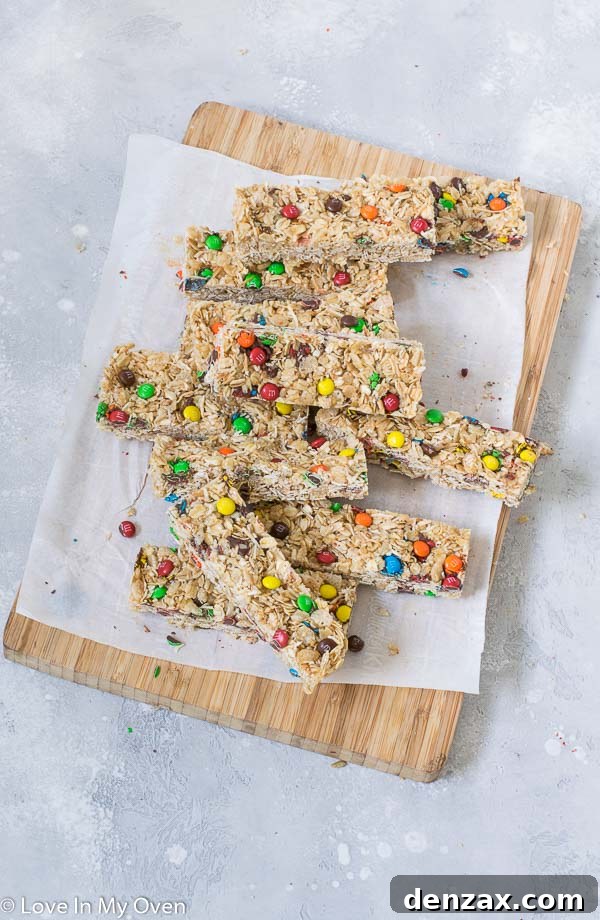
What Makes These Homemade Granola Bars Special?
When you make granola bars at home, you gain complete control over the ingredients, which is a huge advantage. While I wouldn’t go as far as calling these “health food,” they are undoubtedly a better choice than many heavily processed store-bought varieties. They contain recognizable ingredients, without the long list of artificial flavors, colors, and preservatives often found in commercial snacks. It’s about making a more mindful choice for your family, even when indulging in a sweet treat.
Key Ingredients for Irresistible Flavor and Texture
These M&M Granola Bars are crafted with a blend of simple, wholesome, and delicious ingredients. Each component plays a vital role in achieving that perfect balance of chewiness, sweetness, and satisfying crunch. Let’s dive into what makes them so good:
- Rolled Oats: The foundation of any good granola bar. We use large flake rolled oats, which provide a hearty texture and important fiber. Unlike quick oats, they maintain their shape and chewiness without turning mushy.
- Unsweetened Shredded Coconut: This adds a wonderful, subtle sweetness and a delightful chew. Using unsweetened coconut allows us to control the overall sugar content while still benefiting from its flavor and texture contributions.
- Rice Krispies: For that irresistible, light, and airy crunch! Rice Krispies add a fantastic textural contrast to the chewiness of the oats and coconut.
- Cinnamon: A touch of cinnamon enhances the overall warmth and depth of flavor, complementing the sweet ingredients beautifully.
- Unsalted Butter: Butter provides richness and helps bind the ingredients together, contributing to the bar’s luxurious texture.
- Brown Sugar: This is a non-negotiable ingredient for achieving the classic chewy texture and deep, caramelized flavor characteristic of store-bought granola bars. While I typically limit refined sugars in my children’s treats, I learned through trial and error that for this specific recipe, brown sugar is paramount. Its unique molasses content interacts with other ingredients to create that desirable chewiness that no other sweetener could quite replicate in my testing.
- Honey: Another crucial binder and natural sweetener. Honey adds a distinct flavor profile and helps keep the bars moist and flexible, preventing them from becoming dry or brittle.
- Pure Vanilla Extract: A splash of vanilla elevates all the other flavors, adding a touch of sophisticated sweetness.
- Mini M&M’s: The star of the show! These colorful chocolate candies add a burst of fun, sweetness, and chocolatey goodness. Mini M&M’s are preferred as they distribute more evenly throughout the bars and offer a delightful crunch in every bite.
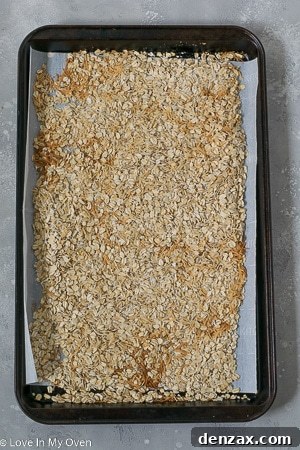
One pro tip I highly recommend: lightly toasting the oats and coconut before mixing them in. This simple step takes just a few minutes but significantly enhances their nutty flavor and aroma, adding another layer of deliciousness to your granola bars. It’s not strictly necessary, but it truly makes a difference!
Achieving the Perfect Granola Bar Consistency and Texture
Creating homemade granola bars that hold their shape is crucial for lunchboxes and on-the-go snacking. Here are my top tips to ensure your M&M Granola Bars are perfectly firm, yet delightfully chewy, and stay fresh for longer:
The Power of Firm Pressing
This is perhaps the most important step for preventing crumbly granola bars. Once you’ve poured the mixture into your prepared baking dish, it’s absolutely essential to press it down *very, very firmly*. Don’t be shy! Use the back of a spoon, a flat-bottomed glass, or even your hands (lightly greased if it’s too sticky) to compress the mixture evenly and tightly. The more firmly you press, the better your bars will hold together. This compression creates a dense, cohesive structure, ensuring each bar retains its shape when cut.
Chilling for Clean Cuts and Firmness
Patience is a virtue, especially when it comes to setting these bars. After pressing, resist the urge to cut into them immediately. Placing the baking dish in the refrigerator for at least 2-3 hours (or even longer, up to 4 hours) is critical. This chilling period allows the binders (honey and butter) to solidify, making the bars firm enough to be cleanly sliced without falling apart. Cold bars are significantly easier to handle and cut into neat, uniform pieces.
Storing for Freshness and Portability
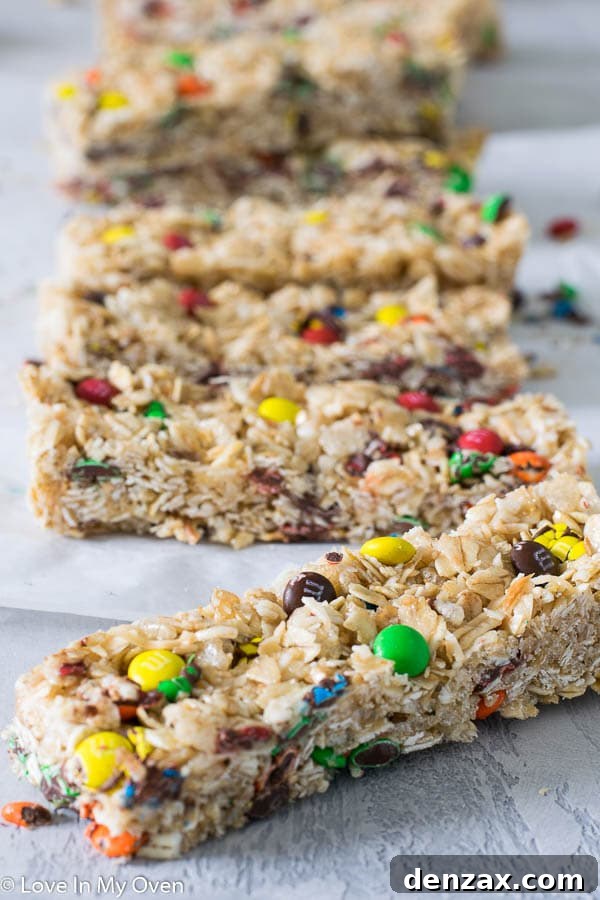
These M&M Granola Bars are best stored in the refrigerator. When kept cold, they maintain their optimal firm and chewy texture. Once chilled and sliced, wrap individual bars tightly in plastic wrap or place them in an airtight container. This not only keeps them fresh but also makes them perfectly portable for school lunches, picnics, or quick snacks throughout the week. They’ll stay fresh in the fridge for 1-2 weeks, and if you want to extend their life, they freeze beautifully for up to 2 months when wrapped tightly.
Presentation Perfection
While most of the M&M’s might get a bit broken or lost during the firm pressing process, you can easily enhance the visual appeal. After pressing the mixture into the pan, sprinkle a few extra mini M&M’s on top. Gently press them into the surface with your fingertips. This ensures a vibrant, colorful top layer that looks fantastic and hints at the deliciousness within.
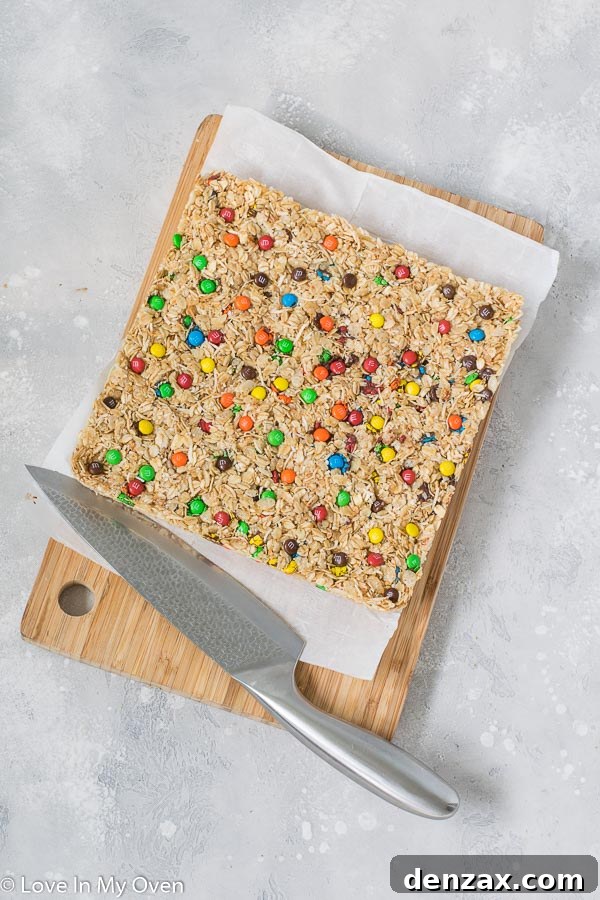
I typically cut my batch into 12 bars, which is a great portion size for lunchboxes. However, feel free to adjust the size to whatever works best for your family’s needs – larger for a more substantial snack, or smaller for mini treats.
Back to School and Beyond: The Perfect Snack Solution
As the summer holidays draw to a close, and the organized chaos of school life resumes, having a stash of easy, delicious, and kid-approved snacks on hand becomes essential. These M&M Granola Bars are truly a lifesaver, offering a quick energy boost and a delightful treat that you can feel good about sending with your children. They are perfect for lunchboxes, after-school hunger pangs, or even a quick breakfast on busy mornings. With stacks of these ready, you’ll be well-prepared for whatever the school year throws your way!
Don’t miss out on more delicious and easy recipes! If you haven’t already, consider subscribing to my blog for exclusive content and recipe updates. As a special thank you, new subscribers receive a free e-book featuring a couple of unique recipes, including another fantastic snack bar you won’t want to miss!
I love creating portable, wholesome, and joy-filled snacks for my family. If you enjoyed these M&M Granola Bars, you might also like some of the other delicious recipes I’ve shared on the blog in my Granola and Granola Bars category. Here are a few reader favorites:
- No-Bake Nut-Free Granola Bars
- Coconut Cream Larabars
- No-Bake Chocolate Coconut Balls
- Wholesome Breakfast Cookies
- Baby-Friendly Banana Muffins
M&M Granola Bars Recipe
Description
These easy mini M&M granola bars will be your new favorite lunchbox snacks. It’s an easy granola bar recipe that’s nut-free so it’s also safe for school!
Ingredients
- 2 cups large flake oats
- 1 cup shredded coconut, unsweetened
- 1 cup rice krispies
- 1/2 tsp cinnamon
- 1/4 cup unsalted butter
- 1/4 cup brown sugar
- 1/3 cup honey
- 1 tsp pure vanilla extract
- 1 cup mini (or regular) M&Ms
Instructions
- Preheat the oven to 350 F. Line an 8×8 baking dish with parchment paper, leaving a bit of overhang. Spread the oats and coconut out onto a large baking tray. When the oven is heated, place the baking tray in the oven for 4 minutes, then rotate the pan and toast for another 2 minutes. Remove and let cool.
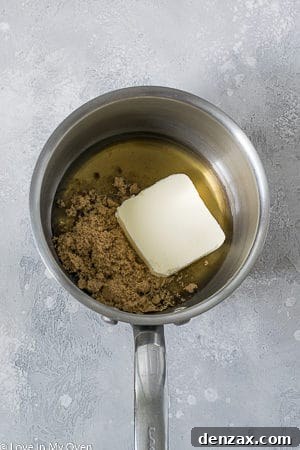
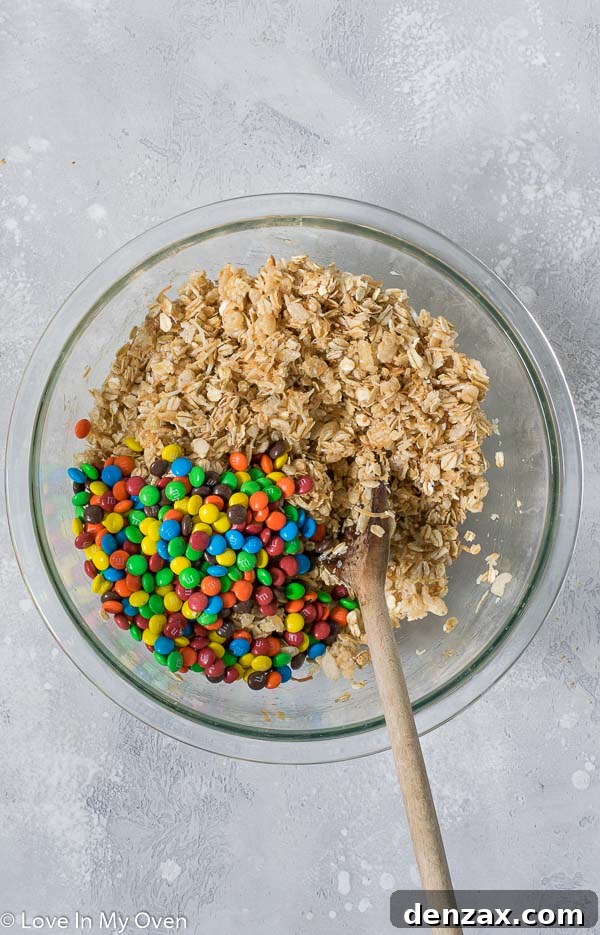
- In a large mixing bowl, combine the toasted oats and coconut, rice krispies, and cinnamon. In a medium saucepan over medium-high heat, melt the butter, brown sugar, and honey together. Once the mixture starts simmering, remove it from heat and stir in the vanilla extract. Pour the honey mixture over the bowl of dry ingredients and use a wooden spoon to stir it all together until well combined. Allow the mixture to cool for 10 minutes before gently folding in the M&M’s (this prevents them from melting completely).
- Empty the granola mixture into the prepared baking dish and press down very firmly and evenly. Use your hands or the back of a sturdy spoon to apply significant pressure across the entire surface. If desired, press in a few reserved M&Ms on top for an extra vibrant visual effect. Place the baking dish into the refrigerator for 3-4 hours to allow the bars to set completely. Once chilled, hold the ends of the parchment paper to lift the bars out of the pan and onto a large cutting board. Use a large, sharp knife to cut the bars into 12 portions (or your preferred size). Wrap each individually in plastic wrap, or store all bars in an airtight container.
Bars can be kept in the fridge for 1-2 weeks, or in the freezer (wrapped tightly) for up to 2 months.
Recipe Details
- Prep Time: 20 minutes
- Cook Time: 5 minutes
- Total Time: 30 minutes (plus chilling time)
- Yield: 12 bars
- Author: Katherine | Love In My Oven