
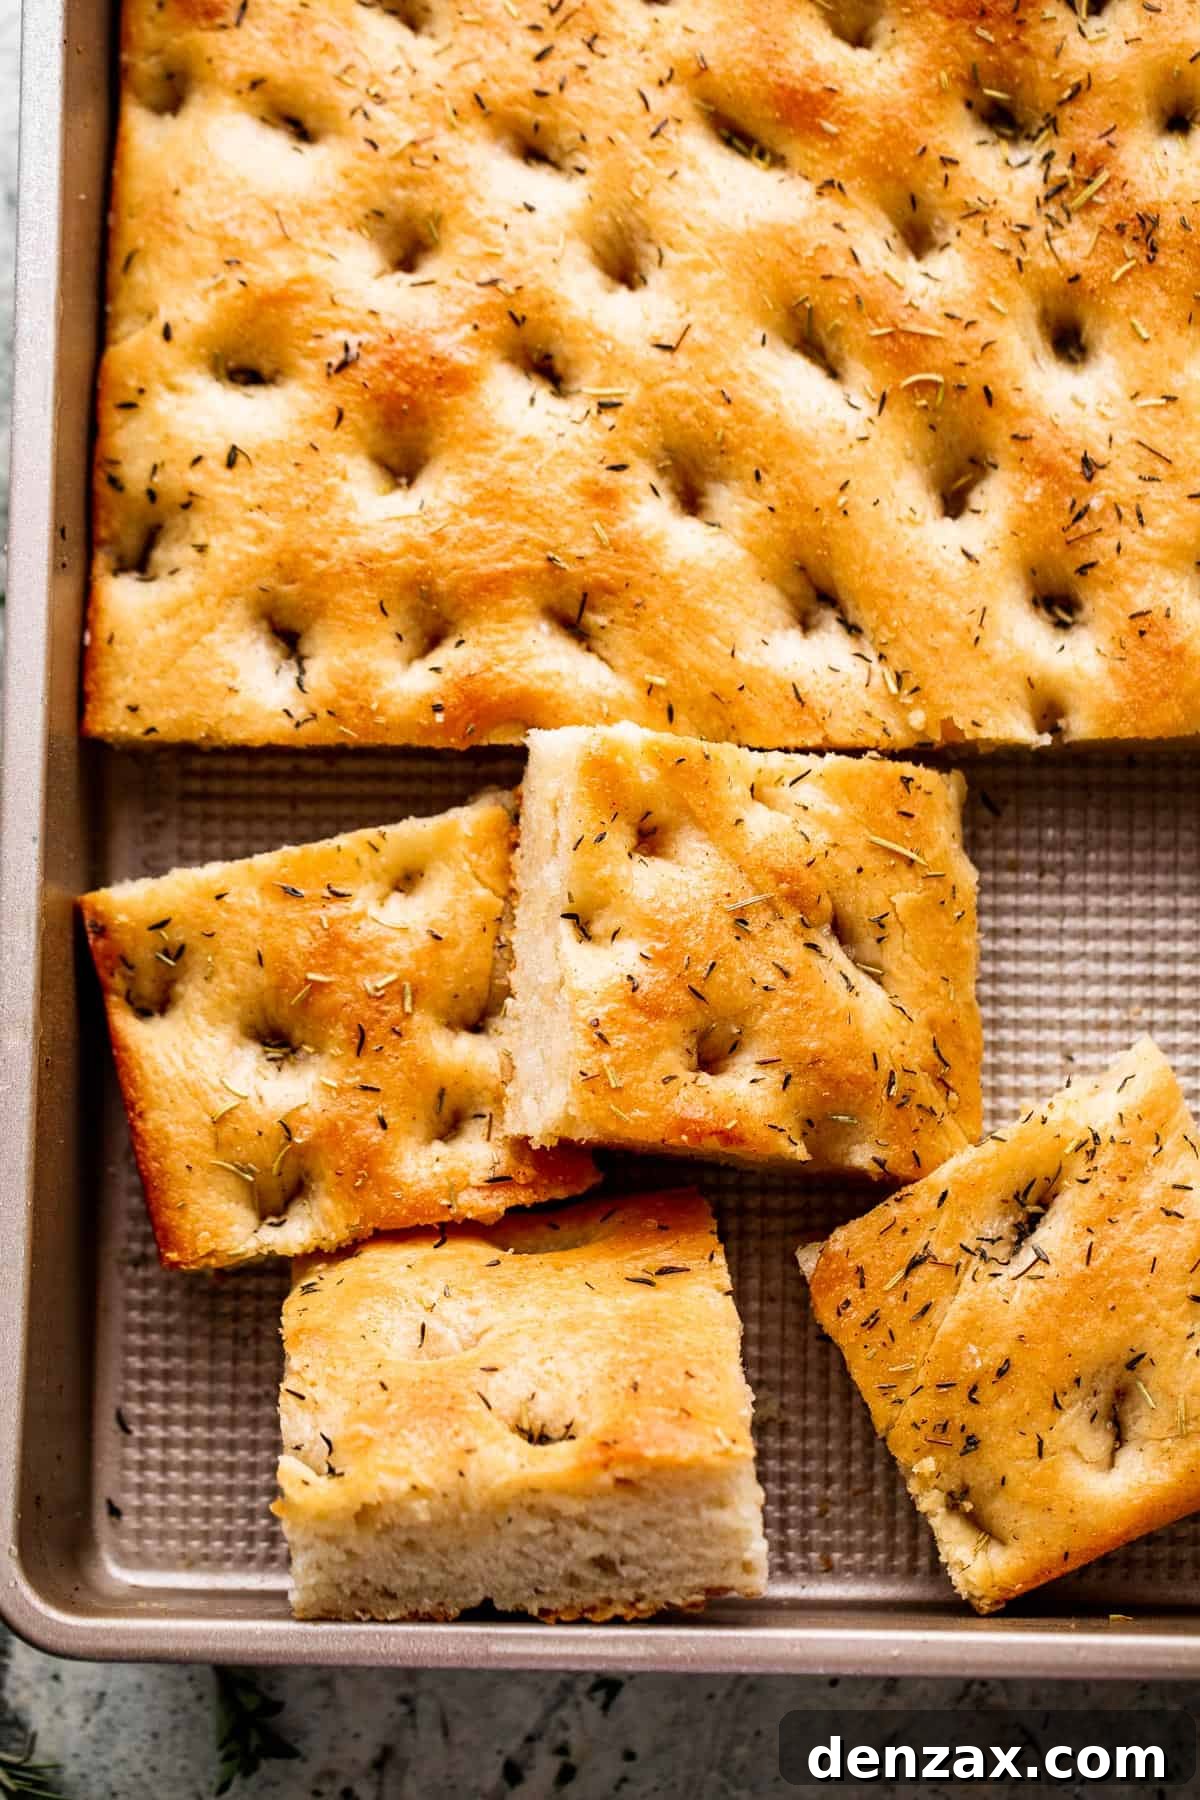
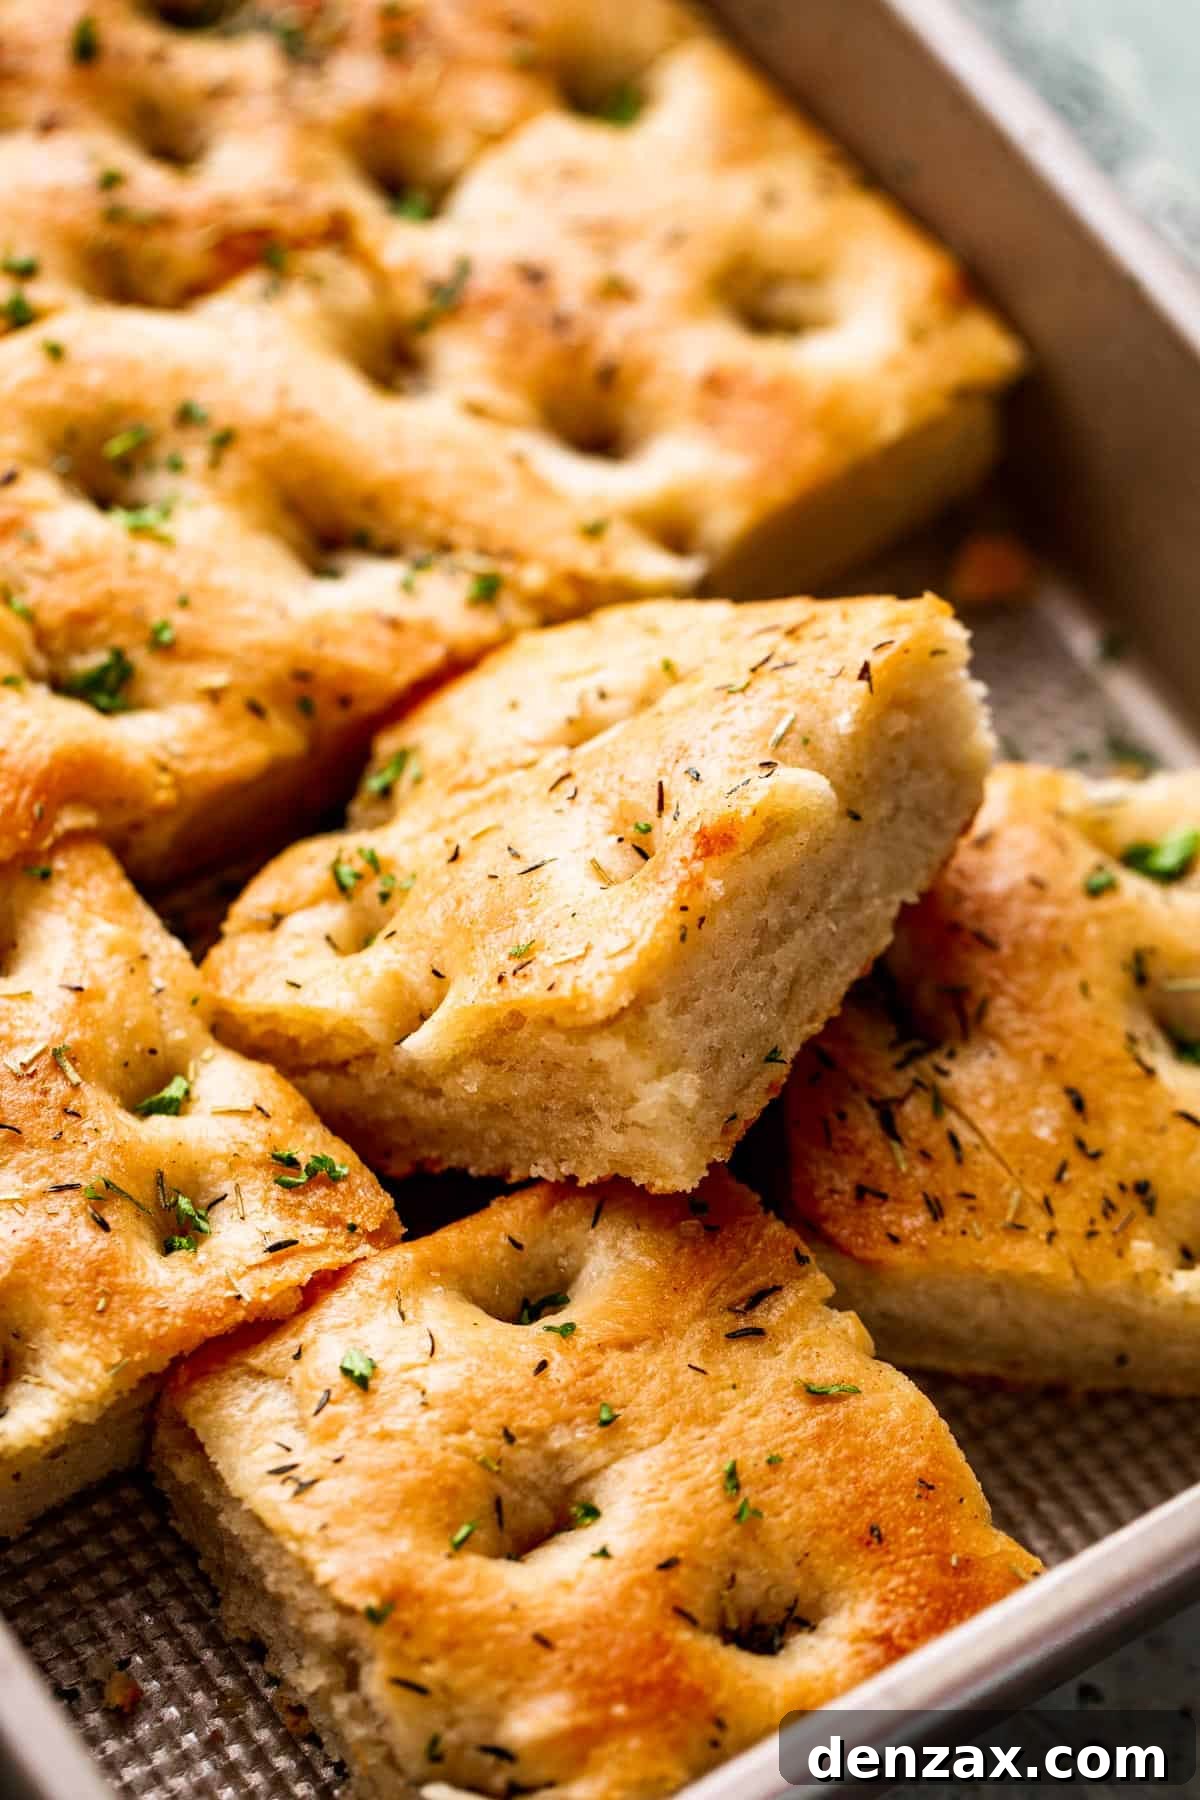
Welcome to the delightful world of homemade Italian bread! This recipe for **Garlic and Herb Focaccia** offers a golden-brown, generously seasoned experience that’s both satisfying to bake and irresistible to eat. Focaccia, a classic Italian yeast bread, stands out for its unique texture—crispy on the outside, wonderfully soft and airy within—and its incredible versatility. It’s a simple pleasure that transports you straight to the heart of Italy with every fragrant bite. Get ready to fall in love with baking this incredible bread from scratch!
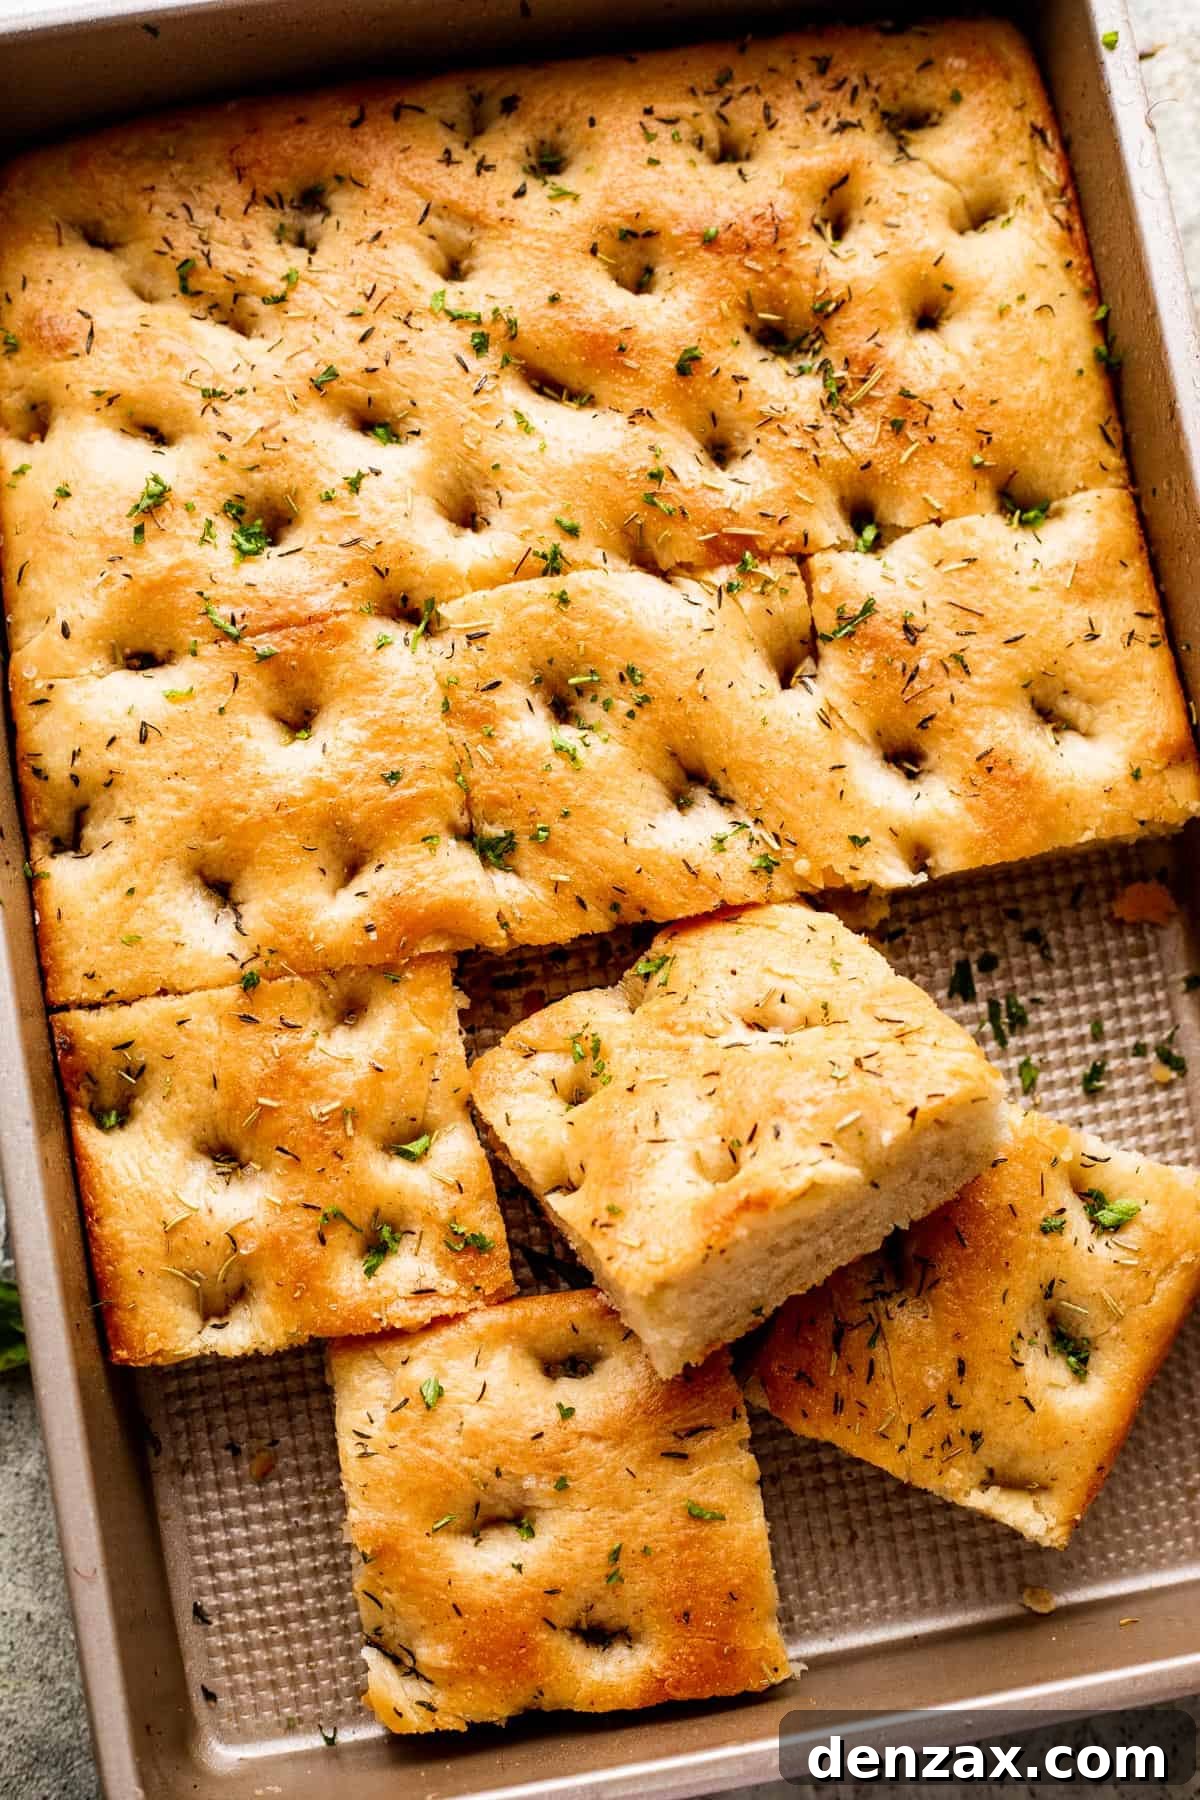
Mastering Homemade Focaccia: An Easy, Authentic Recipe
Have you ever savored a slice of freshly baked focaccia? This ancient Italian bread has seen a resurgence in popularity, and for good reason. Its wholesome character, combined with a light yet rich texture and aromatic herbs, creates a truly craveable dish. Originating from Liguria, focaccia has been enjoyed for centuries, often baked directly in the embers of a fire. Today, it graces tables worldwide, serving as everything from an elegant appetizer to a robust sandwich base.
The beauty of focaccia lies not just in its flavor but also in its remarkable simplicity. Unlike many other yeast breads that demand intricate shaping or complex folding techniques, focaccia dough is effortlessly pressed into a baking pan. There’s no need for elaborate braiding, delicate rolling, or painstaking lamination—just a straightforward process that yields consistently delicious results. This makes it an ideal project for both novice bakers and seasoned pros looking for a fuss-free, impressive bread.
Beyond its ease, homemade focaccia offers a superior taste and texture that store-bought versions often can’t match. The fresh ingredients, especially good quality olive oil and aromatic herbs, truly shine, creating a depth of flavor that is truly unmatched. Whether you’re serving it alongside a hearty pasta dinner, using it to build a gourmet sandwich, or simply enjoying it with a good dip, this garlic and herb focaccia will become a staple in your kitchen.
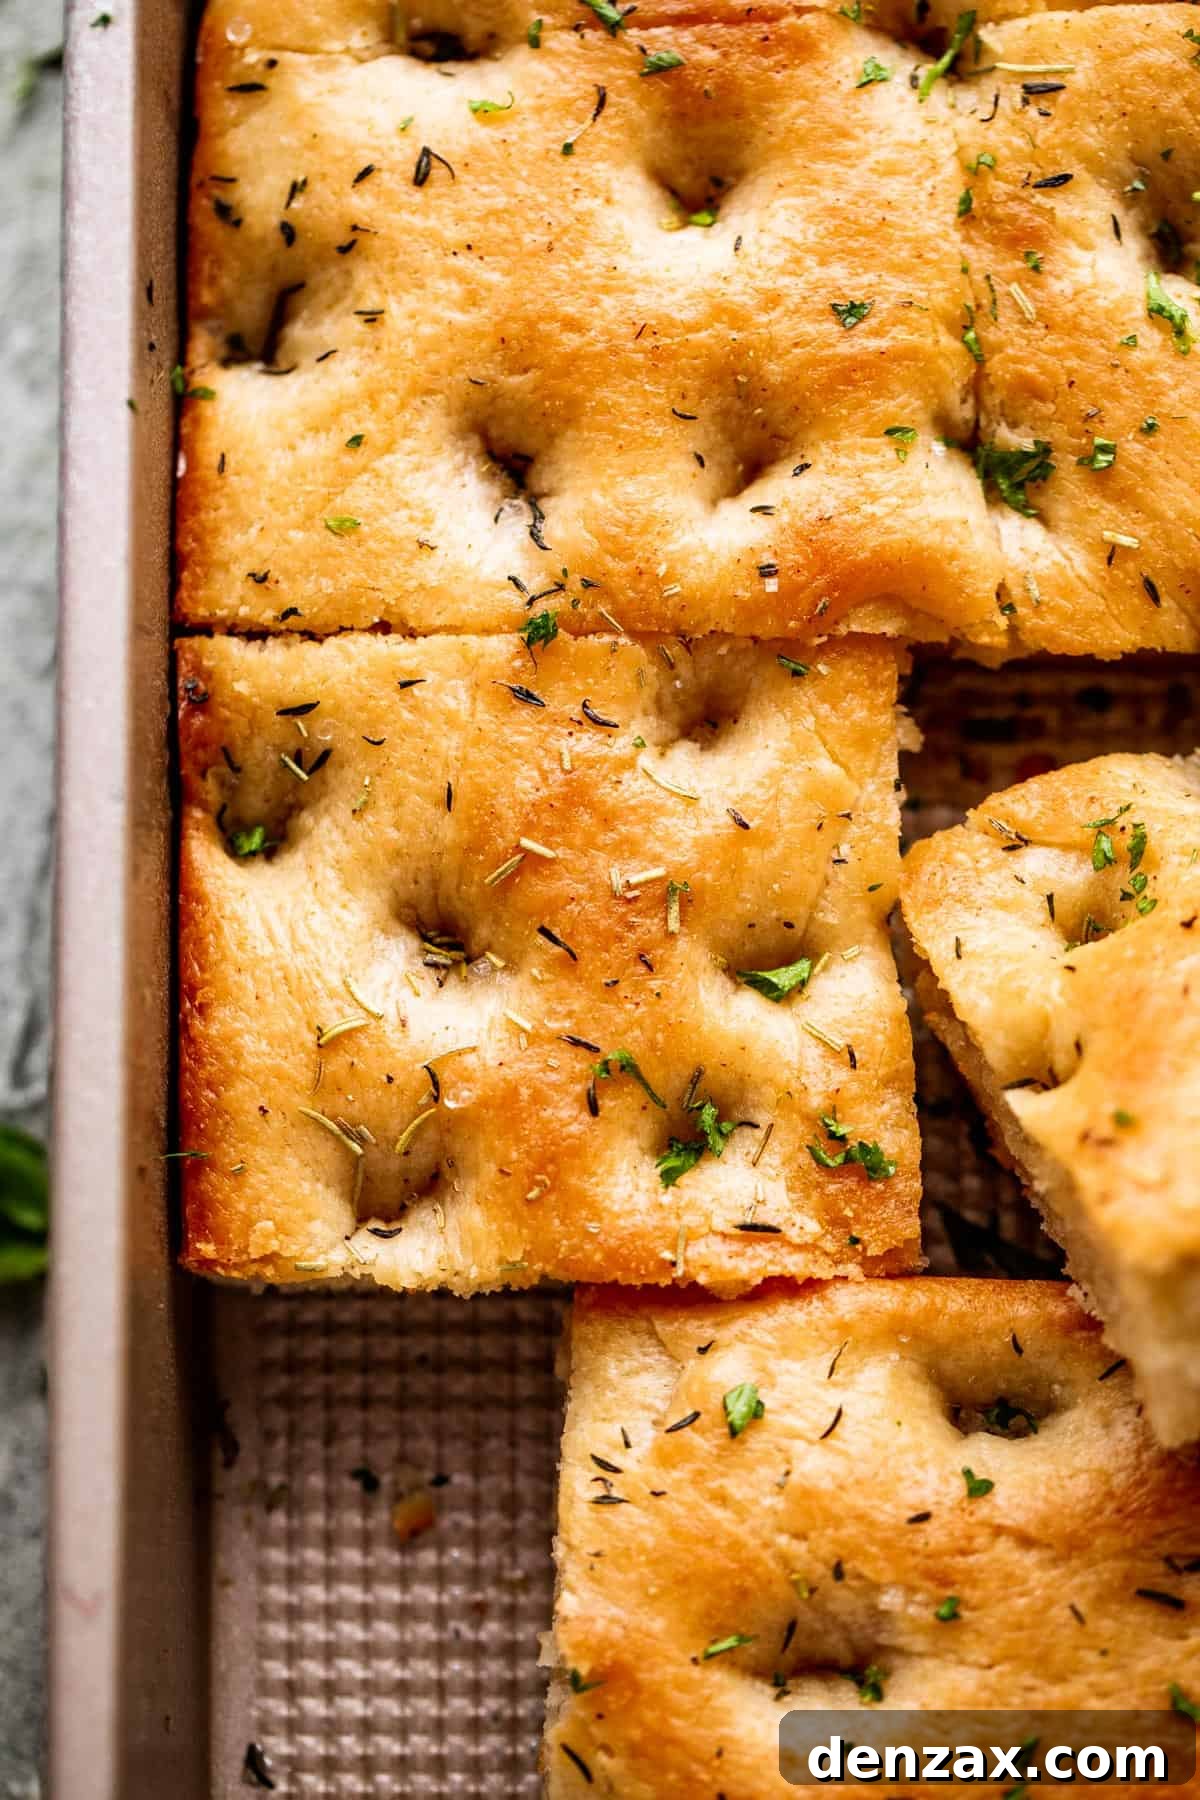
Is Focaccia a Healthy Bread Choice?
When made from scratch with quality ingredients, focaccia can certainly be considered a healthier alternative compared to many commercially processed breads. Our homemade focaccia recipe emphasizes simple, natural components, starting with wholesome flour, active dry yeast, and a generous amount of heart-healthy extra virgin olive oil. It contains no artificial preservatives, additives, or high-fructose corn syrup often found in mass-produced bread products.
Olive oil, a cornerstone of Mediterranean cuisine, is packed with monounsaturated fats and antioxidants, contributing to cardiovascular health. By using high-quality flour, preferably organic and unbleached, you further enhance the nutritional profile of your focaccia. While it is a bread and therefore contains carbohydrates, its reliance on natural fats and fresh ingredients makes it a more mindful choice than many processed alternatives. However, it’s important to remember that, like all breads, focaccia is not a low-carb food. If you are following a low-carb or ketogenic diet, you might want to enjoy this delicious bread in moderation.
Embracing homemade baking allows you to control exactly what goes into your food, ensuring freshness and quality that promotes a healthier lifestyle. The act of baking itself can be a therapeutic and rewarding experience, connecting you more deeply with the food you consume.
Essential Ingredients for Your Garlic and Herb Focaccia
This classic focaccia recipe is elevated with the vibrant flavors of fresh garlic and a blend of aromatic herbs, transforming a simple bread into an unforgettable culinary experience. You can serve this focaccia plain, perhaps with a drizzle of your finest olive oil for dipping, or integrate it into a larger, more elaborate menu. Here’s what you’ll need to create this aromatic masterpiece:
- Active Dry Yeast: The leavening agent that gives focaccia its characteristic airy texture. One standard packet (2 ¼ teaspoons) is typically sufficient. Ensure your yeast is fresh and active for the best rise.
- Warm Water: Crucial for activating the yeast. The water should be comfortably warm to the touch, ideally between 105-115°F (40-46°C). Water that’s too hot will kill the yeast, while water that’s too cold won’t activate it properly, leading to a dense bread.
- Sugar: A small amount of granulated sugar acts as food for the yeast, helping it to bloom and create that frothy layer, indicating its activity. It also contributes subtly to the bread’s golden crust.
- All-Purpose Flour: The foundation of our dough. All-purpose flour works beautifully, but for a chewier texture, you can substitute bread flour. Ensure your flour is fresh and properly stored.
- Kosher Salt: Essential for flavoring the dough and balancing the sweetness from the yeast. You’ll need extra for sprinkling on top before baking, which provides a delightful textural contrast and burst of flavor.
- Extra Virgin Olive Oil: A star ingredient in focaccia, lending richness, flavor, and a tender crumb. Since it’s such a prominent component, using a high-quality extra virgin olive oil is highly recommended for its robust, fruity notes. You’ll use it in the dough, for greasing the bowl and pan, and for drizzling over the top before baking.
- Fresh Garlic: Finely minced garlic cloves infuse the bread with an irresistible savory aroma and taste. Fresh garlic is key here for maximum flavor.
- Fresh Rosemary: Stripped from its woody stems and finely chopped, fresh rosemary adds a piney, peppery, and slightly lemony flavor that is quintessential to Italian baking. Its robust flavor stands up well to baking.
- Fresh Thyme: Delicate and earthy, fresh thyme leaves (also stripped from their stems and chopped) complement the rosemary and garlic beautifully, adding another layer of herbaceous complexity to the focaccia.
Crafting Your Perfect Focaccia: A Step-by-Step Guide
Making focaccia is a rewarding culinary journey. If you’ve baked yeast bread before, the process will feel familiar, involving mixing, kneading, and two essential rises before baking to a beautiful golden-brown. For newcomers, don’t fret—this recipe is designed to be straightforward and accessible. Here’s how to create your own irresistible focaccia:
- Activate the Yeast (Bloom): In the bowl of a stand mixer fitted with the whisk attachment, combine the active dry yeast, warm water, and sugar. Whisk gently until mostly dissolved. Allow this mixture to sit undisturbed for about 5 minutes. You’ll know the yeast is active and healthy when a frothy, foamy layer forms on the surface of the liquid. This “blooming” step is crucial for ensuring your bread will rise properly.
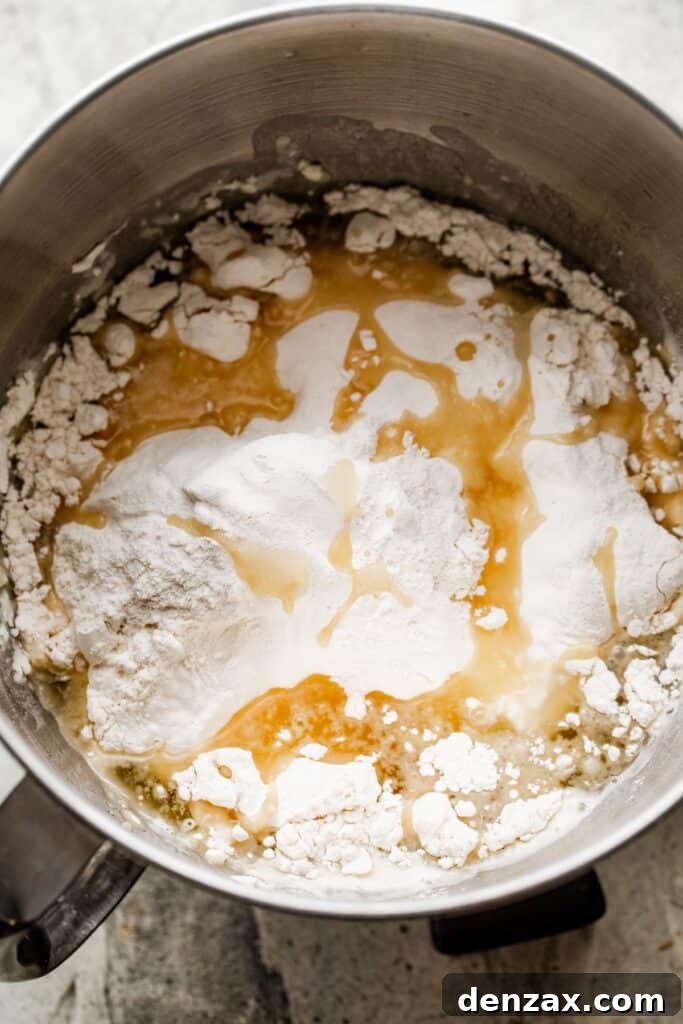
- Prepare the Dough: Switch from the whisk attachment to the dough hook attachment on your stand mixer. Add the flour, kosher salt, and ¾ cup of olive oil to the yeast mixture in the bowl. Begin mixing on low speed for several minutes. Continue mixing until all the ingredients are thoroughly combined and a cohesive dough ball forms, pulling away cleanly from the sides of the bowl. If the dough still seems excessively sticky after a few minutes, add one or two additional tablespoons of flour, mixing until it reaches the desired consistency.
- Knead for Elasticity: Lightly flour a clean work surface. Turn the dough out onto the floured surface and knead by hand for approximately 5 minutes. This manual kneading helps develop the gluten, giving the focaccia its characteristic chewiness. If the dough remains sticky, add flour sparingly, a spoonful at a time, to prevent it from adhering to your hands and the counter. The dough is perfectly kneaded when it feels smooth and elastic. To test its readiness, gently poke it with your finger; the indentation should slightly bounce back. If it doesn’t, continue kneading for a few more minutes.
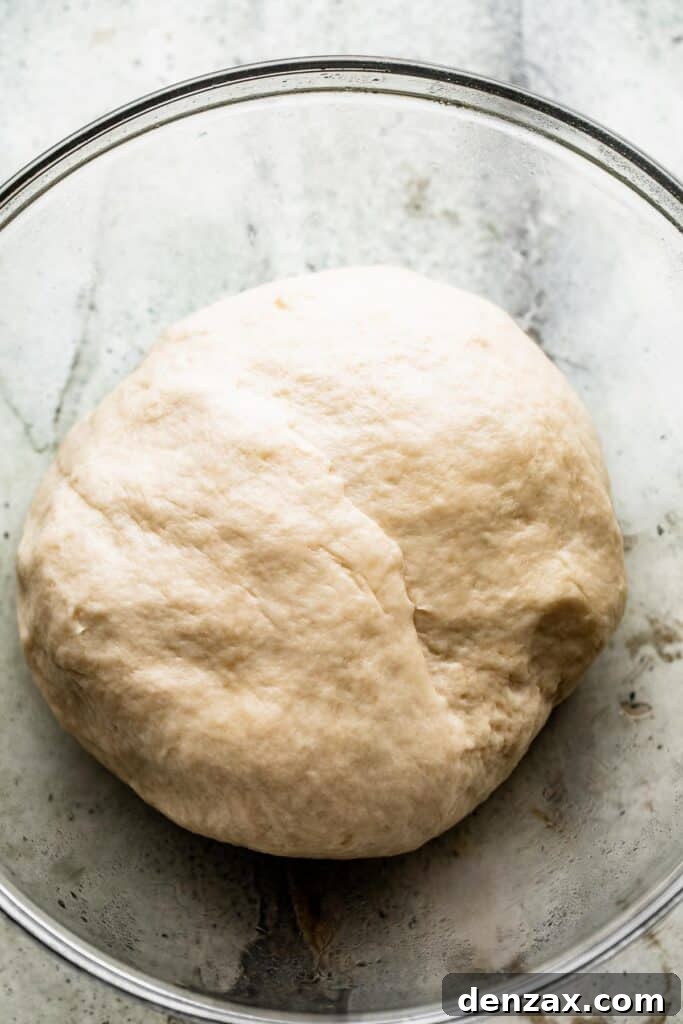
- First Rise (Bulk Fermentation): Once the dough is smooth and elastic, lightly grease a large mixing bowl with olive oil. Place the dough ball into the greased bowl, turning it over a couple of times to ensure it’s evenly coated in oil. This prevents it from drying out during the rise. Cover the bowl securely with a damp kitchen towel or plastic wrap. Place the bowl in a warm, draft-free area in your kitchen. Allow the dough to rise for 1 to 2 hours, or until it has visibly doubled in size. This first rise develops much of the flavor in the bread.
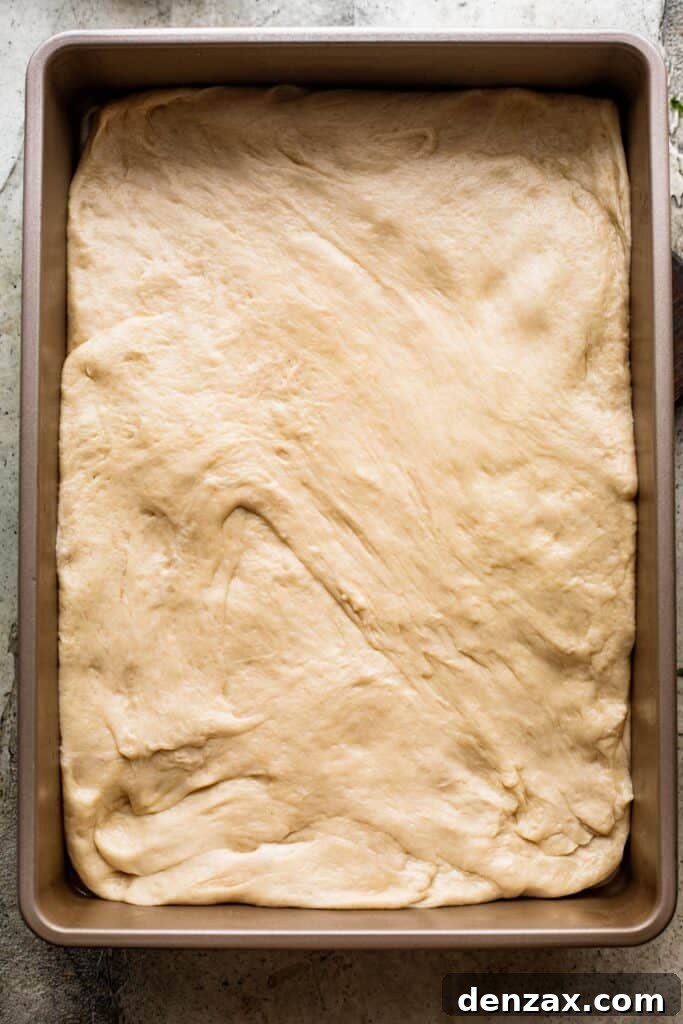
- Shape the Focaccia: Generously grease a 9×13 inch baking pan (ensure it has sides at least 2 inches tall) with olive oil. Gently punch the risen dough down to release the excess air. Transfer the dough to the prepared baking pan. Using your fingertips, gently press and stretch the dough evenly across the bottom of the pan, making sure it reaches all the edges. Don’t worry if it resists slightly; it will relax during the second rise.
- Second Rise (Proofing): Once the dough is shaped in the pan, cover it again with a damp towel. Allow the dough to rise for another 30 to 45 minutes in a warm place. This second rise, known as proofing, ensures a light and airy texture in the final baked bread.
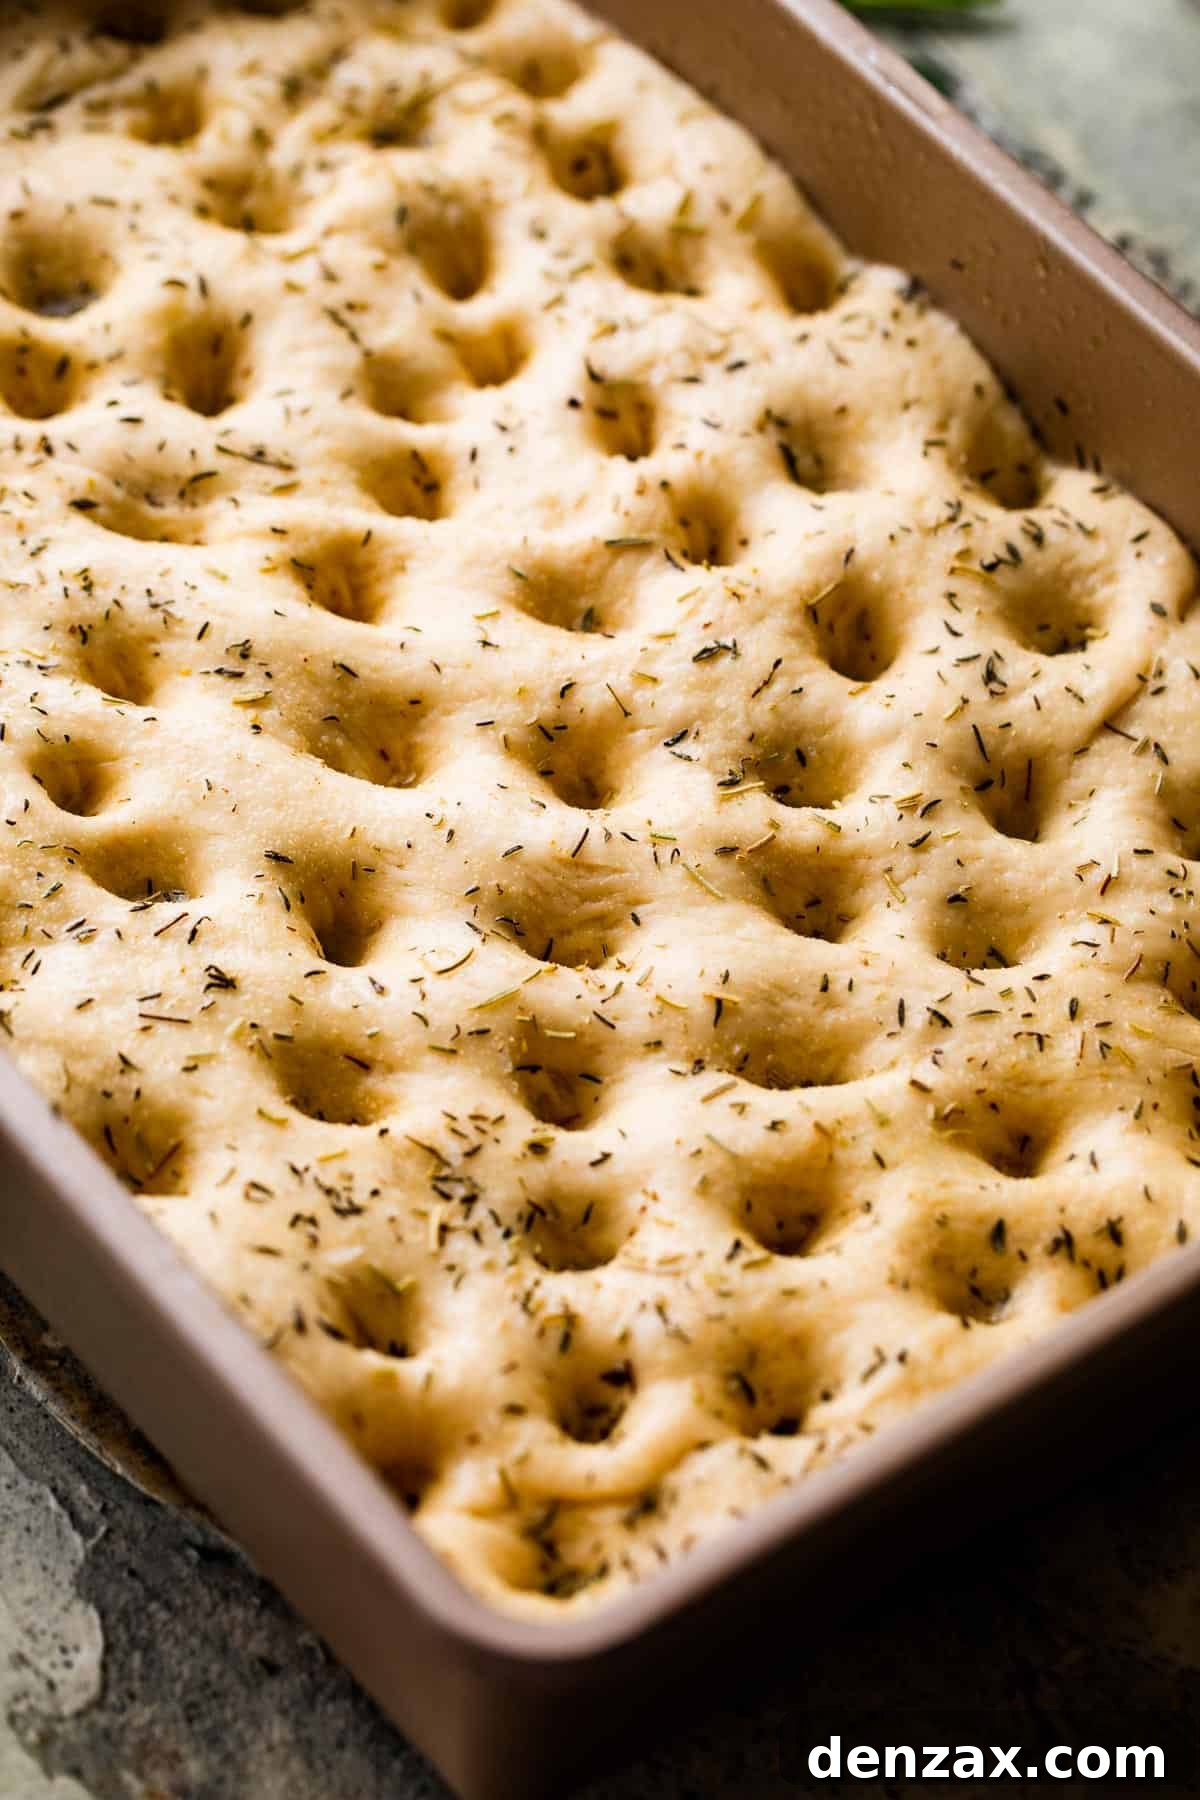
- Prepare for Baking & Bake: Towards the end of the second rise, preheat your oven to 400°F (200°C). With your fingers, gently but firmly poke deep indentations all over the surface of the dough, reaching almost to the bottom of the pan. These dimples are characteristic of focaccia and help create pockets for olive oil and toppings. Sprinkle the surface generously with kosher salt, minced fresh garlic, chopped fresh rosemary, and chopped fresh thyme. Finally, drizzle 1 to 2 tablespoons of extra virgin olive oil evenly over the top, letting it pool in the dimples. Place the pan in the preheated oven and bake for approximately 20 to 25 minutes, or until the top of the bread is beautifully golden-brown and the edges are crisp. Avoid overbaking, as this can dry out the focaccia.
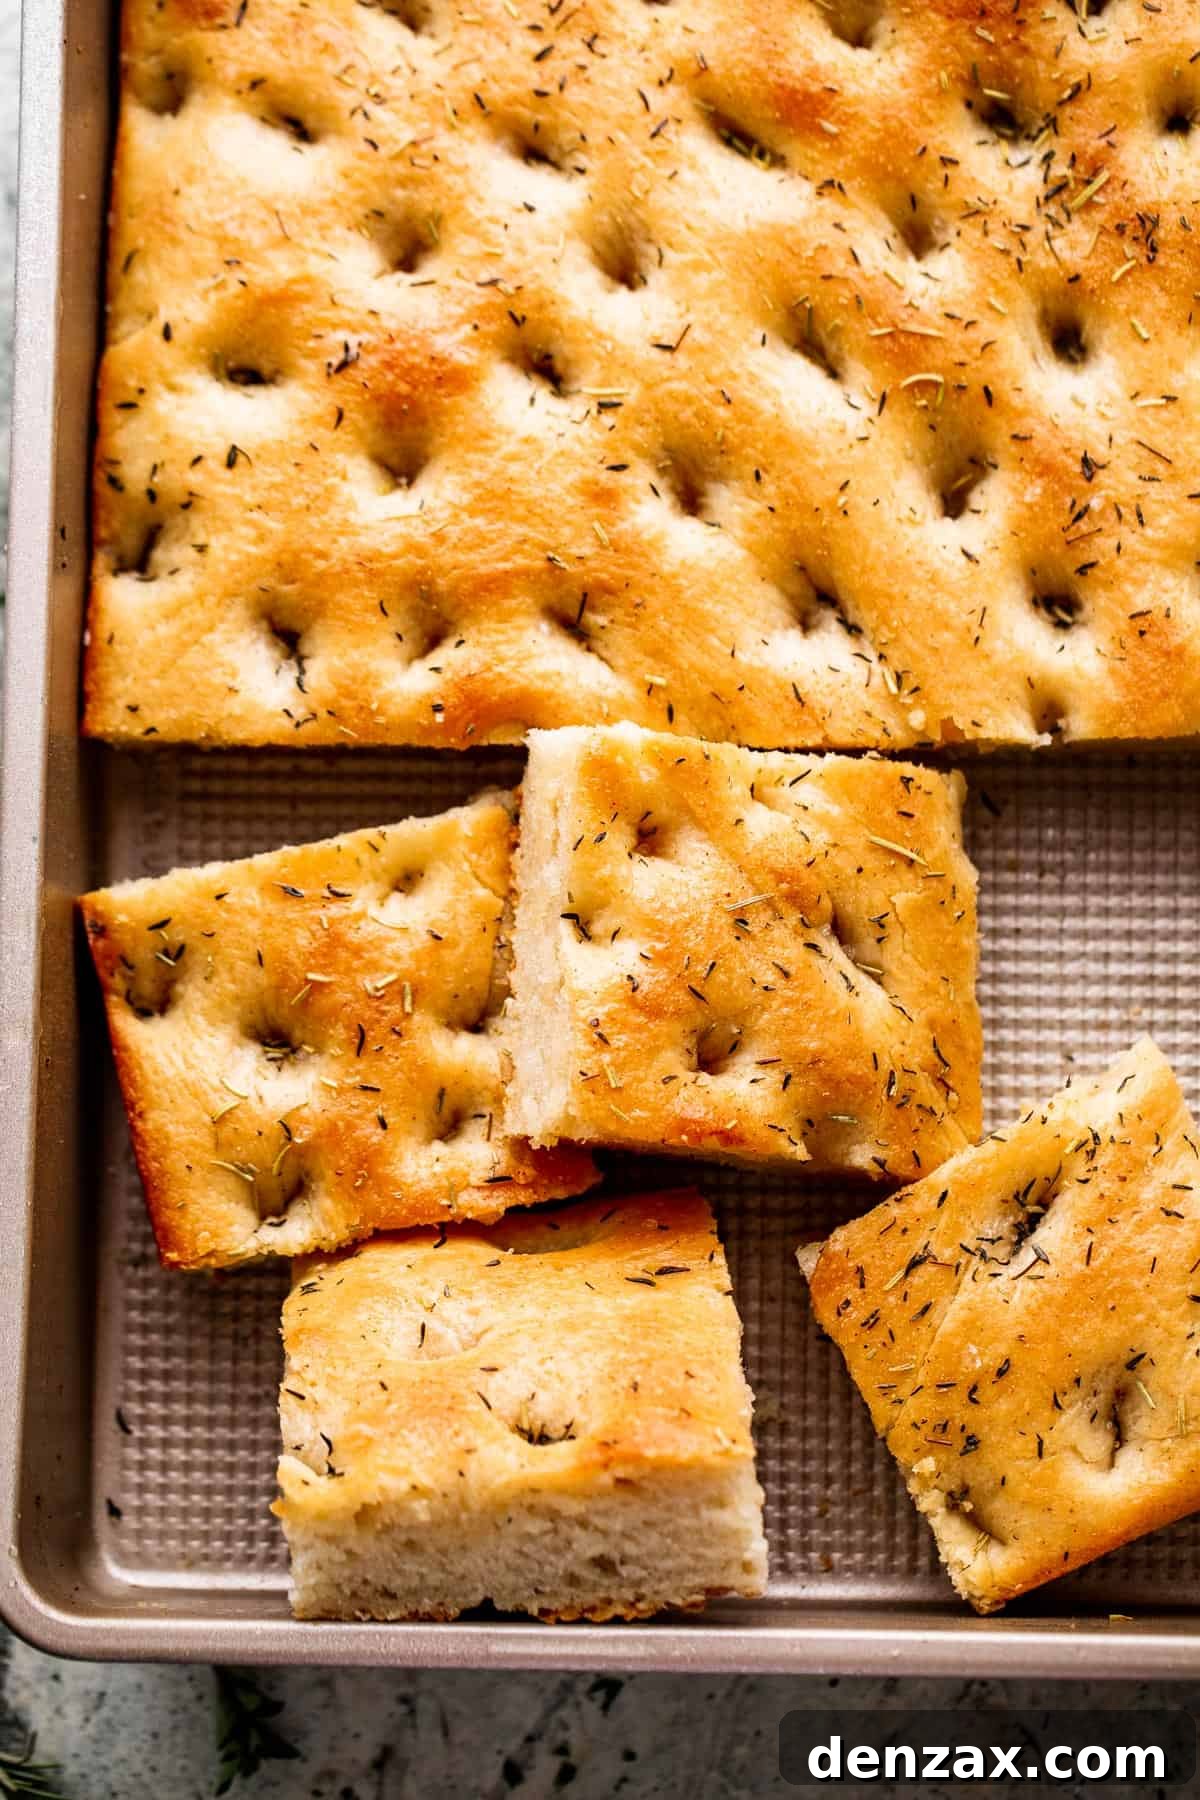
- Cool and Serve: Once baked, carefully remove the focaccia from the oven. For the crispiest crust, immediately transfer the hot focaccia from the baking pan to a wire rack to cool slightly. Let it rest for 10 to 15 minutes before slicing into squares or rectangles. Serve warm, offering additional high-quality olive oil for dipping if desired.
Tips and Delicious Variations for Your Focaccia
This garlic and herb focaccia recipe provides a fantastic foundation, but don’t hesitate to get creative and personalize it to your taste! While it’s best to maintain the core dough ingredient ratios for optimal texture, the toppings offer endless possibilities for exploration. Here are some inspiring ideas to make this bread uniquely yours:
- Olive Focaccia: For a briny, savory twist, fold ½ to 1 cup of sliced black or green olives (such as Kalamata or Castelvetrano) directly into the dough during the kneading stage, or simply scatter them generously over the top before the final bake. The olives will become wonderfully tender and release their rich flavor.
- Caramelized Onion Focaccia: Elevate your focaccia with sweet, savory caramelized onions. While the dough is undergoing its second rise, thinly slice one large onion and cook it slowly in a skillet with a tablespoon of butter or olive oil over low heat. Stir occasionally until the onions are deeply golden-brown and intensely sweet, usually taking 20-30 minutes. Spread them over the dough along with the garlic and herbs before baking.
- Cheesy Focaccia: Add a layer of gooey deliciousness! About 5-7 minutes before your focaccia is fully baked, pull it from the oven and sprinkle generously with your favorite shredded cheese. Mozzarella, Parmesan, provolone, or a blend of Italian cheeses all work wonderfully. Return it to the oven to finish baking until the cheese is melted and bubbly.
- Cherry Tomato & Basil Focaccia: For a burst of color and fresh flavor, press halved cherry tomatoes into the dimples of the dough before baking. After baking, scatter fresh basil leaves over the warm focaccia.
- Rosemary & Sea Salt Classic: Sometimes, less is more. For a truly classic focaccia, simply use fresh rosemary and a generous sprinkle of flaky sea salt (like Maldon) over the top. The simplicity highlights the bread’s inherent deliciousness.
- Sun-Dried Tomato & Feta Focaccia: Chop sun-dried tomatoes (oil-packed or rehydrated) and crumble some feta cheese. Mix these into the dough or sprinkle them on top before baking for a Mediterranean-inspired treat.
- Roasted Red Pepper & Parmesan: Spread chopped roasted red peppers over the dough and sprinkle with freshly grated Parmesan cheese before baking. The smoky sweetness of the peppers pairs beautifully with the salty cheese.
- Herbal Medley: Experiment with different combinations of fresh herbs like oregano, sage, or chives. Fresh herbs will always yield the most vibrant flavor.
Perfect Pairings: What to Serve with Focaccia
Focaccia, with its robust flavor and satisfying texture, is incredibly versatile and pairs beautifully with a wide array of dishes. While it naturally complements other Italian classics, it’s equally at home alongside comforting soups, vibrant salads, or as an elevated base for artisan-style sandwiches. Here are some delectable ideas to inspire your next meal:
- Hearty Italian Dinners: Focaccia is the quintessential sidekick to rich and saucy Italian main courses. Imagine dipping a warm piece into the savory sauce of a lasagna, or scooping up the filling from a plate of cheesy manicotti. Try pairing it with The Best Cheese Manicotti, a classic, indulgent dish perfect for special occasions or a comforting family meal.
- Creamy Soups: There’s nothing quite as comforting as a bowl of warm, creamy soup served with fresh, homemade bread. The airy, olive oil-infused focaccia is ideal for soaking up every last drop. Consider serving it with a velvety Easy Cream of Asparagus Soup during spring, or a timeless Roasted Tomato Basil Soup for a comforting meal any time of year.
- Fresh Salads: The substantial nature of focaccia makes it an excellent accompaniment to lighter, crisp salads. The contrast between the warm, soft bread and a cool, refreshing salad is truly delightful. It’s perfect with a robust steak salad featuring tender slices of steak, sweet grape tomatoes, tangy feta cheese, and a zesty vinaigrette. The focaccia adds a wonderful textural and flavorful dimension to the meal.
- Antipasto Platter: For an elegant appetizer, serve slices of focaccia with an antipasto platter featuring cured meats, assorted cheeses, marinated olives, roasted vegetables, and balsamic glaze.
- Dipping Oils & Balsamic: Sometimes, the simplest pairings are the best. Offer small bowls of high-quality extra virgin olive oil, perhaps infused with a touch of chili flakes or lemon zest, alongside a good balsamic vinegar for a truly authentic Italian experience.
- Sandwich Base: Slice focaccia horizontally and fill it with your favorite sandwich ingredients—prosciutto and mozzarella, roasted chicken and pesto, or grilled vegetables—for a cafe-style gourmet sandwich that’s far superior to ordinary bread.
Make-Ahead Options for Convenience
Preparing homemade bread can seem like a commitment, but focaccia is surprisingly forgiving and offers excellent make-ahead options to fit into your schedule. This flexibility makes it perfect for entertaining or enjoying fresh bread throughout the week without constant baking.
If you wish to get a head start, you can easily prepare the dough and allow its first rise to occur overnight in the refrigerator. After the initial kneading and oiling, simply cover the bowl tightly with plastic wrap and refrigerate. The cold temperature will significantly slow down the yeast activity, allowing the dough to ferment slowly and develop a deeper, more complex flavor profile. The next day, remove the bowl of dough from the refrigerator and let it sit at room temperature for approximately 30 to 60 minutes. This allows the dough to warm up slightly and become more pliable before you gently punch it down, shape it into your baking pan, and proceed with the second rise and baking instructions as usual.
Storing and Freezing Leftover Focaccia
While freshly baked focaccia is undeniably at its best warm from the oven, any leftovers can be stored and enjoyed later, making it a practical choice for meal planning.
- Countertop Storage: To store focaccia at room temperature, ensure it has cooled completely. Wrap the entire loaf or individual slices tightly in plastic wrap, or place them in an airtight container or zip-top bags. Press out as much air as possible before sealing. Stored this way, focaccia will remain fresh and delicious on your countertop for 1 to 2 days.
- Refrigerator Storage: For slightly longer storage, you can keep focaccia in the refrigerator. Wrap it tightly in plastic wrap or aluminum foil, or place it in an airtight container. It will stay fresh in the fridge for 2 to 3 days. Reheating is recommended for the best texture and flavor.
- Reheating Instructions: Leftover focaccia can be enjoyed at room temperature, but it truly shines when gently reheated. For the best results, warm it in a preheated oven or toaster oven at 350°F (175°C) for 5-10 minutes, or until warmed through and the crust has crispied up again. You can also quickly toast individual slices in a regular toaster.
Can I Freeze This Focaccia Recipe?
Absolutely! Focaccia freezes exceptionally well, making it an excellent candidate for batch baking and future enjoyment. Freezing allows you to preserve its freshness and flavor for a longer period.
- Freezing Instructions: Once your focaccia has completely cooled, slice it into individual portions or larger wedges. Wrap each piece tightly in plastic wrap, then wrap again in aluminum foil, or place them into freezer-safe zip-top bags. Make sure to press out any excess air to prevent freezer burn. Label the packages with the date. Focaccia can be stored in the freezer for up to one month without significant loss of quality.
- Thawing and Reheating: When you’re ready to enjoy your frozen focaccia, simply remove the desired amount from the freezer. Allow it to thaw at room temperature for a few hours, or overnight in the refrigerator. Once thawed, you can serve it at room temperature, or for the best experience, reheat it in the oven or toaster oven as described above until warm and slightly crisp.
Garlic Herb Focaccia Recipe
Traditional Italian focaccia bread, made with high-quality olive oil, fresh garlic, and aromatic herbs, baked to golden-brown perfection. Perfect as an appetizer, side dish, or sandwich bread.
Prep Time: 1 hour 45 minutes | Cook Time: 20 minutes | Total Time: 2 hours 5 minutes
Servings: 12
Ingredients
- 2 ¼ teaspoons active dry yeast (1 packet)
- 1 ½ cups warm water (105-115°F / 40-46°C)
- 1 tablespoon sugar
- 4 cups all-purpose flour (or bread flour for a chewier texture)
- 1 tablespoon kosher salt, plus more for sprinkling
- ¾ cup extra virgin olive oil, plus more for greasing and drizzling
- 2 cloves garlic, finely minced
- 1 to 2 sprigs fresh rosemary, stems removed and leaves chopped
- 1 to 2 sprigs fresh thyme, stems removed and leaves chopped
Instructions
- In the bowl of a stand mixer fitted with the whisk attachment, combine the yeast, water, and sugar. Whisk briefly to combine. Let this mixture sit for 5 minutes until a frothy layer forms on top, indicating the yeast is active.
- Switch to the dough hook attachment. Add the flour, 1 tablespoon kosher salt, and ¾ cup olive oil to the bowl. Mix on low speed for 2 to 3 minutes, or until the dough is fully combined and begins to pull away from the sides of the bowl. If the mixture is too sticky, add 2 to 3 tablespoons of additional flour, one at a time, until the dough comes together.
- Remove the dough from the mixer and transfer it to a lightly floured surface. Knead by hand for an additional 4 to 5 minutes, adding more flour sparingly if needed to prevent sticking. The dough should become fairly smooth and elastic. To check for readiness, poke the dough with your finger; the indentation should slightly spring back.
- Lightly grease a large bowl with olive oil. Place the kneaded dough into the bowl, turning it over a couple of times to coat it in the oil. Cover the bowl with a damp towel or plastic wrap and place it in a warm environment to rise for 1 to 2 hours, or until it has doubled in size.
- Generously grease a 9×13 inch baking pan (with sides at least 2 inches tall) with olive oil. Gently punch the risen dough down to release excess air. Transfer the dough to the prepared baking pan and, using your fingers, gently flatten and press it out to fit the shape of the pan evenly.
- Cover the dough in the baking pan with a damp towel and let it rest for another 30 to 45 minutes for its second rise.
- Towards the end of the second rise, preheat your oven to 400°F (200°C).
- Using your fingers, poke deep holes all over the surface of the dough, reaching almost to the bottom of the baking sheet.
- Evenly sprinkle the dough with additional kosher salt, finely minced garlic, chopped fresh rosemary, and chopped fresh thyme. Then, drizzle 1 to 2 tablespoons of olive oil over the top, allowing it to pool in the dimples.
- Bake for 20 to 25 minutes, or until the top of the bread is beautifully golden-brown and the edges are slightly crisp.
- Remove from the oven. Immediately transfer the hot focaccia from the baking pan to a wire rack to cool. Allow it to cool for 10 to 15 minutes before cutting into desired portions.
- Serve warm, with additional extra virgin olive oil for dipping, if desired.
Nutrition (Estimated Per Serving)
Calories: 283 kcal | Carbohydrates: 34g | Protein: 5g | Fat: 14g | Saturated Fat: 2g | Polyunsaturated Fat: 2g | Monounsaturated Fat: 10g | Sodium: 585mg | Potassium: 72mg | Fiber: 2g | Sugar: 1g | Vitamin A: 19 IU | Vitamin C: 1mg | Calcium: 11mg | Iron: 2mg
Nutritional information is an estimate and provided as a courtesy. Values may vary based on specific ingredients and tools used. Please use your preferred nutritional calculator for more detailed information.
More Delightful Homemade Bread Recipes
If you enjoyed making this garlic and herb focaccia, you’ll love exploring other homemade bread recipes. There’s a profound satisfaction in baking your own bread, and these recipes offer unique flavors and textures that are both rewarding and delicious:
- No-Knead Dutch Oven Bread: Discover the magic of minimal effort with maximum flavor. This recipe yields a crusty, rustic loaf with a chewy interior, perfect for dipping into soups or serving alongside any meal. It’s surprisingly simple, requiring no kneading at all!
- Spinach and Feta No-Yeast Bread: For those times when you crave homemade bread but don’t want to wait for yeast to rise, this savory quick bread is your answer. Packed with vibrant spinach and tangy feta, it’s moist, flavorful, and comes together in a flash.
- Easy Homemade Flatbread Recipe: Versatile and quick to make, homemade flatbreads are perfect for wraps, dipping, or as a base for mini pizzas. This simple recipe will have you enjoying fresh, warm flatbreads in no time.