
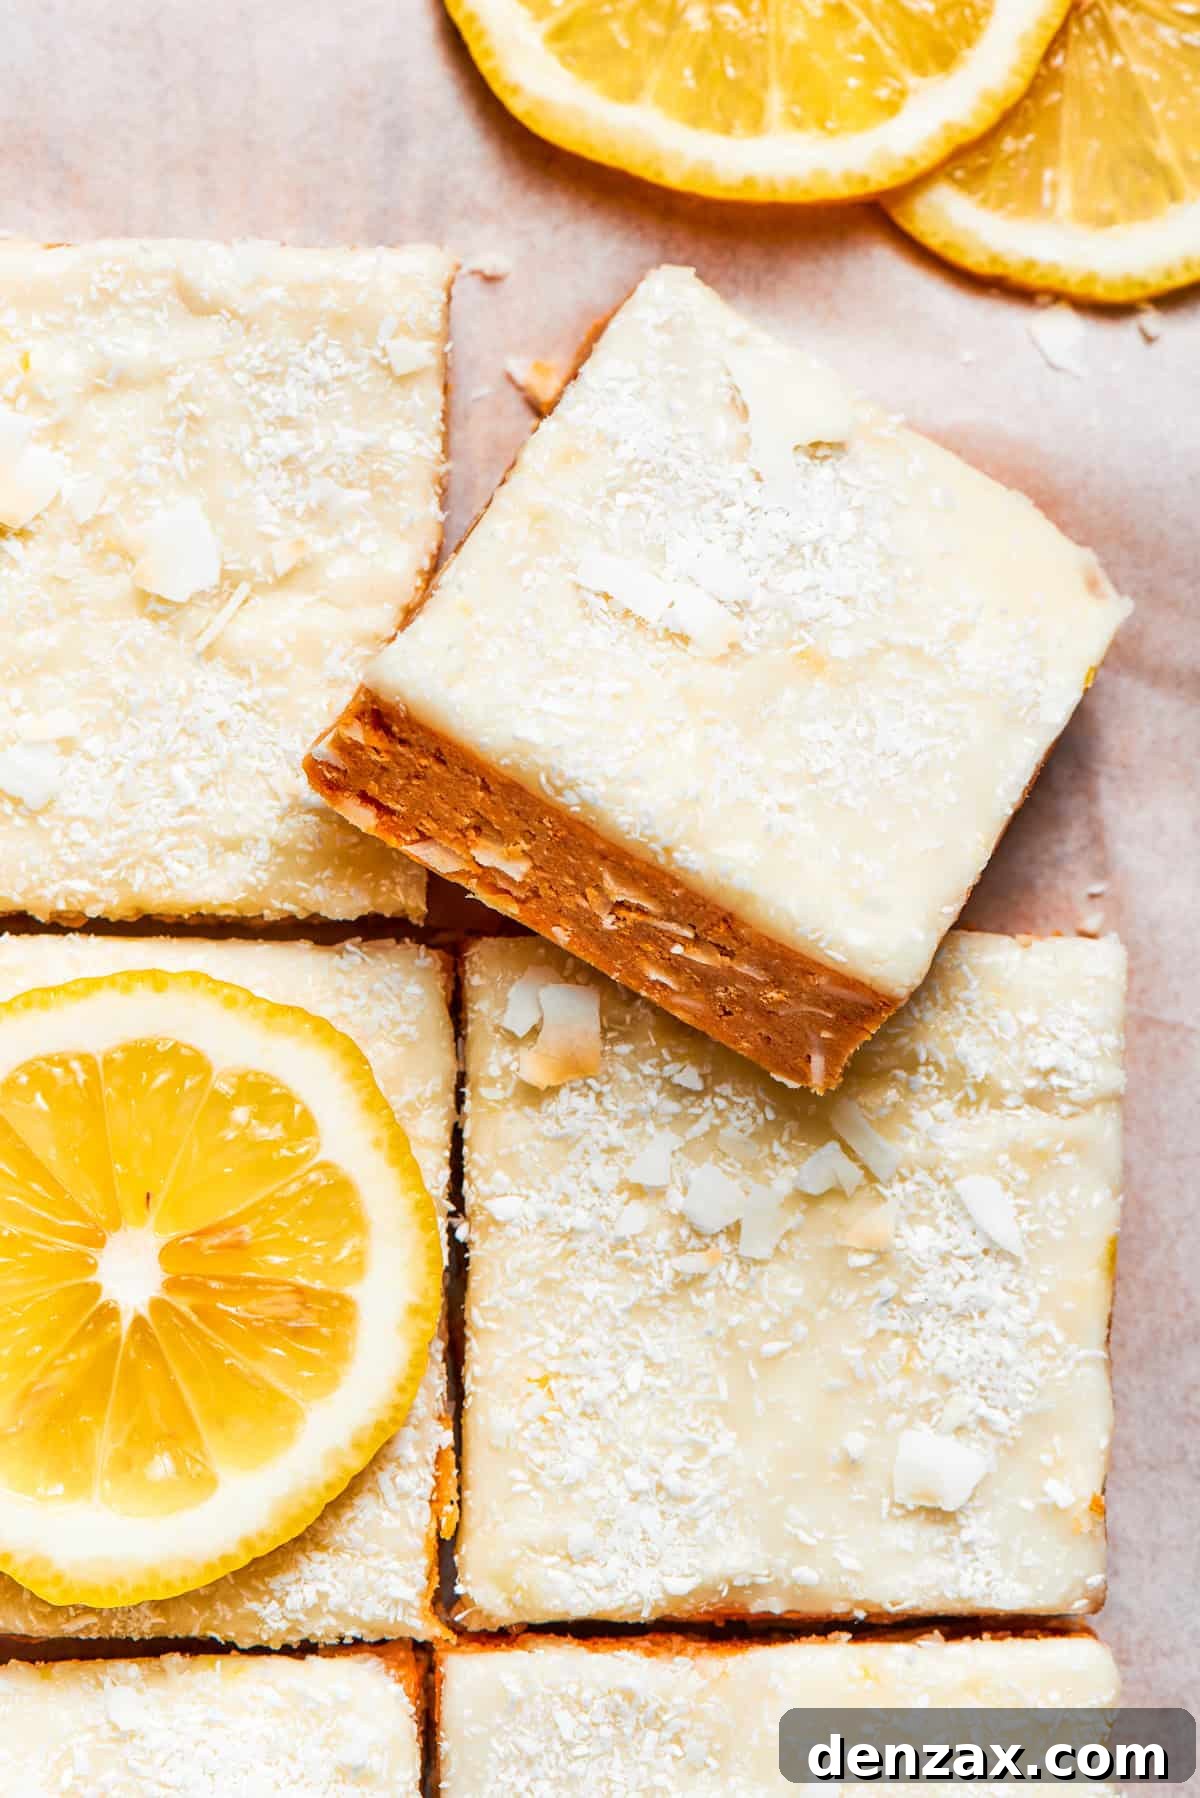
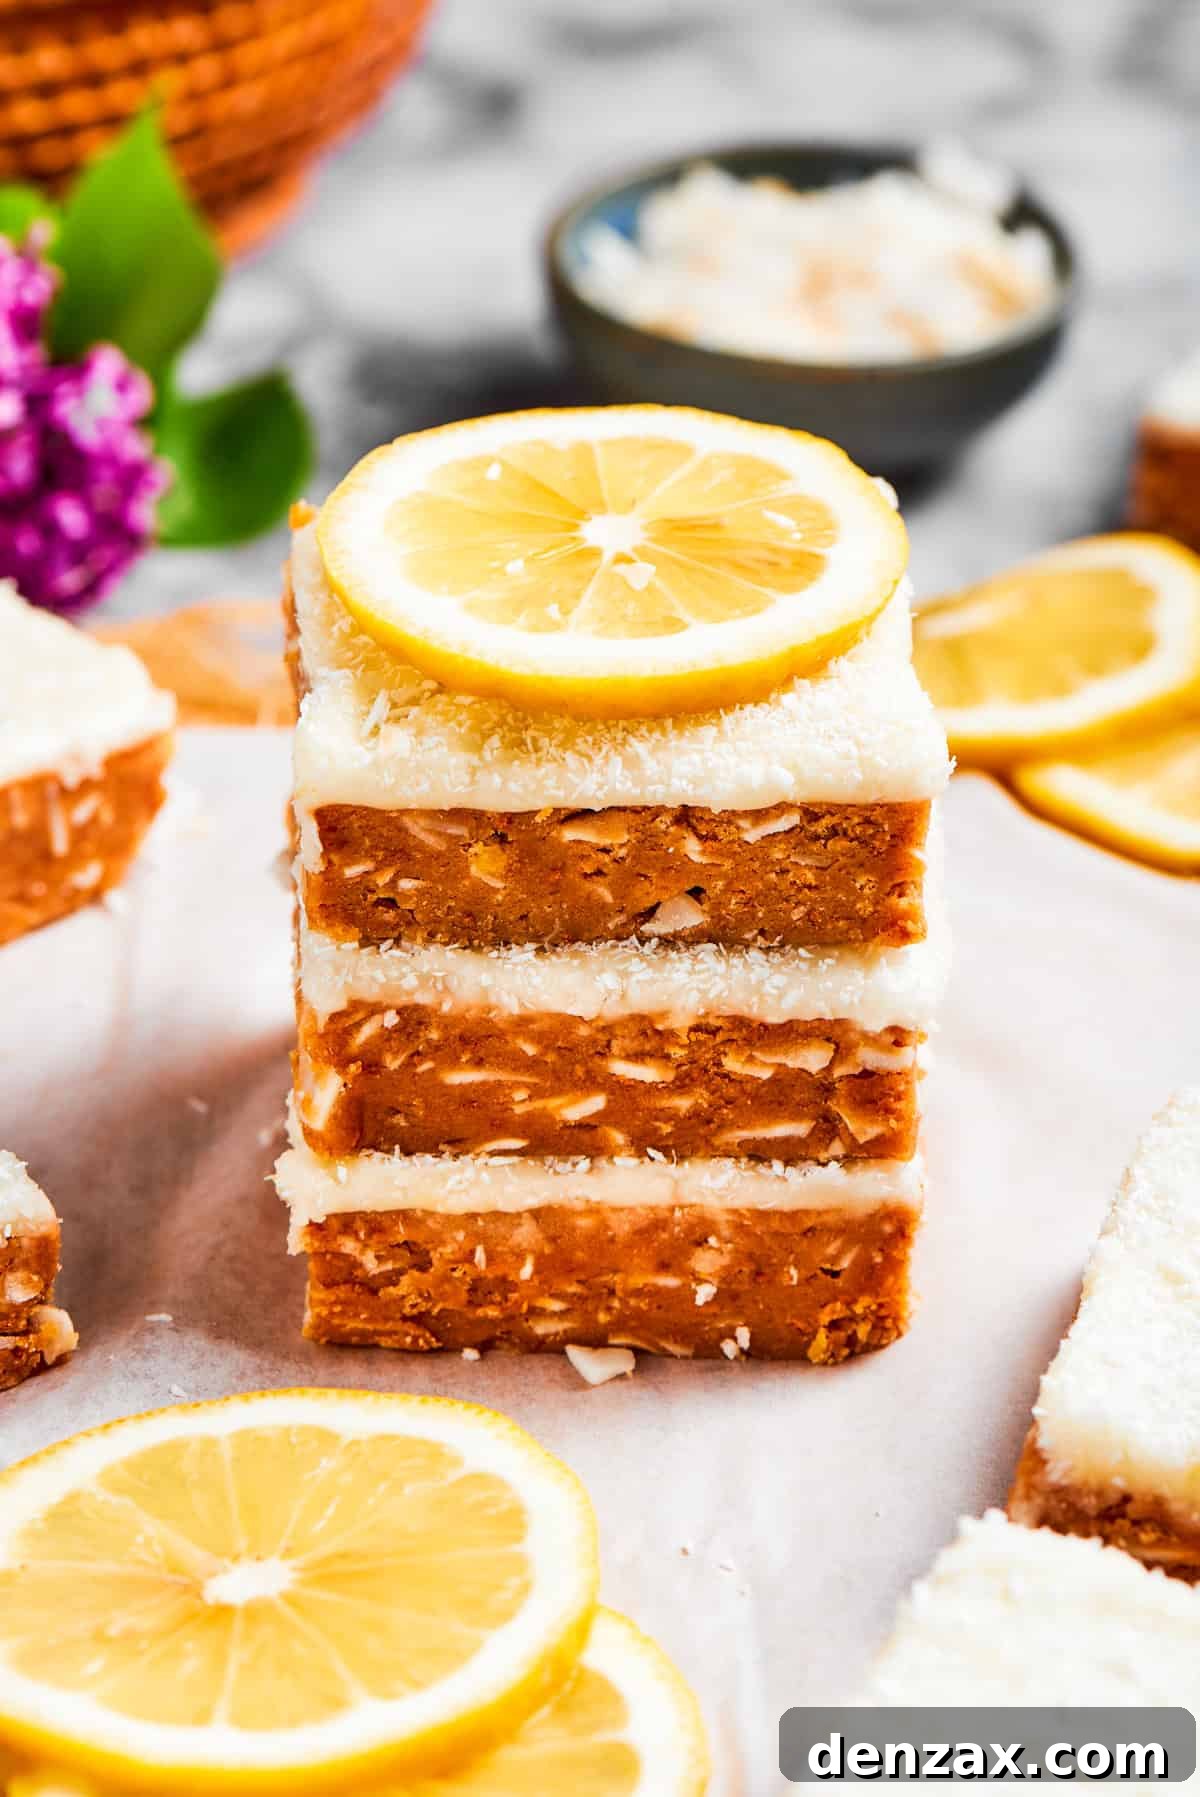
Welcome to your new favorite dessert! This Lemon Slice recipe is a highly sought-after, incredibly simple, no-bake treat that delivers an explosion of vibrant lemon flavor with minimal effort and just a handful of everyday ingredients. If you’re searching for a refreshing dessert that captures the essence of sunshine in every bite, look no further.
For those who consider themselves true aficionados of all things lemon, I invite you to explore more of my zesty creations. You won’t want to miss my delightful lemon cookies or the supremely moist lemon bundt cake. Each recipe is designed to be as effortless to prepare as it is bursting with bright, tangy citrus goodness, making them perfect additions to your dessert repertoire.
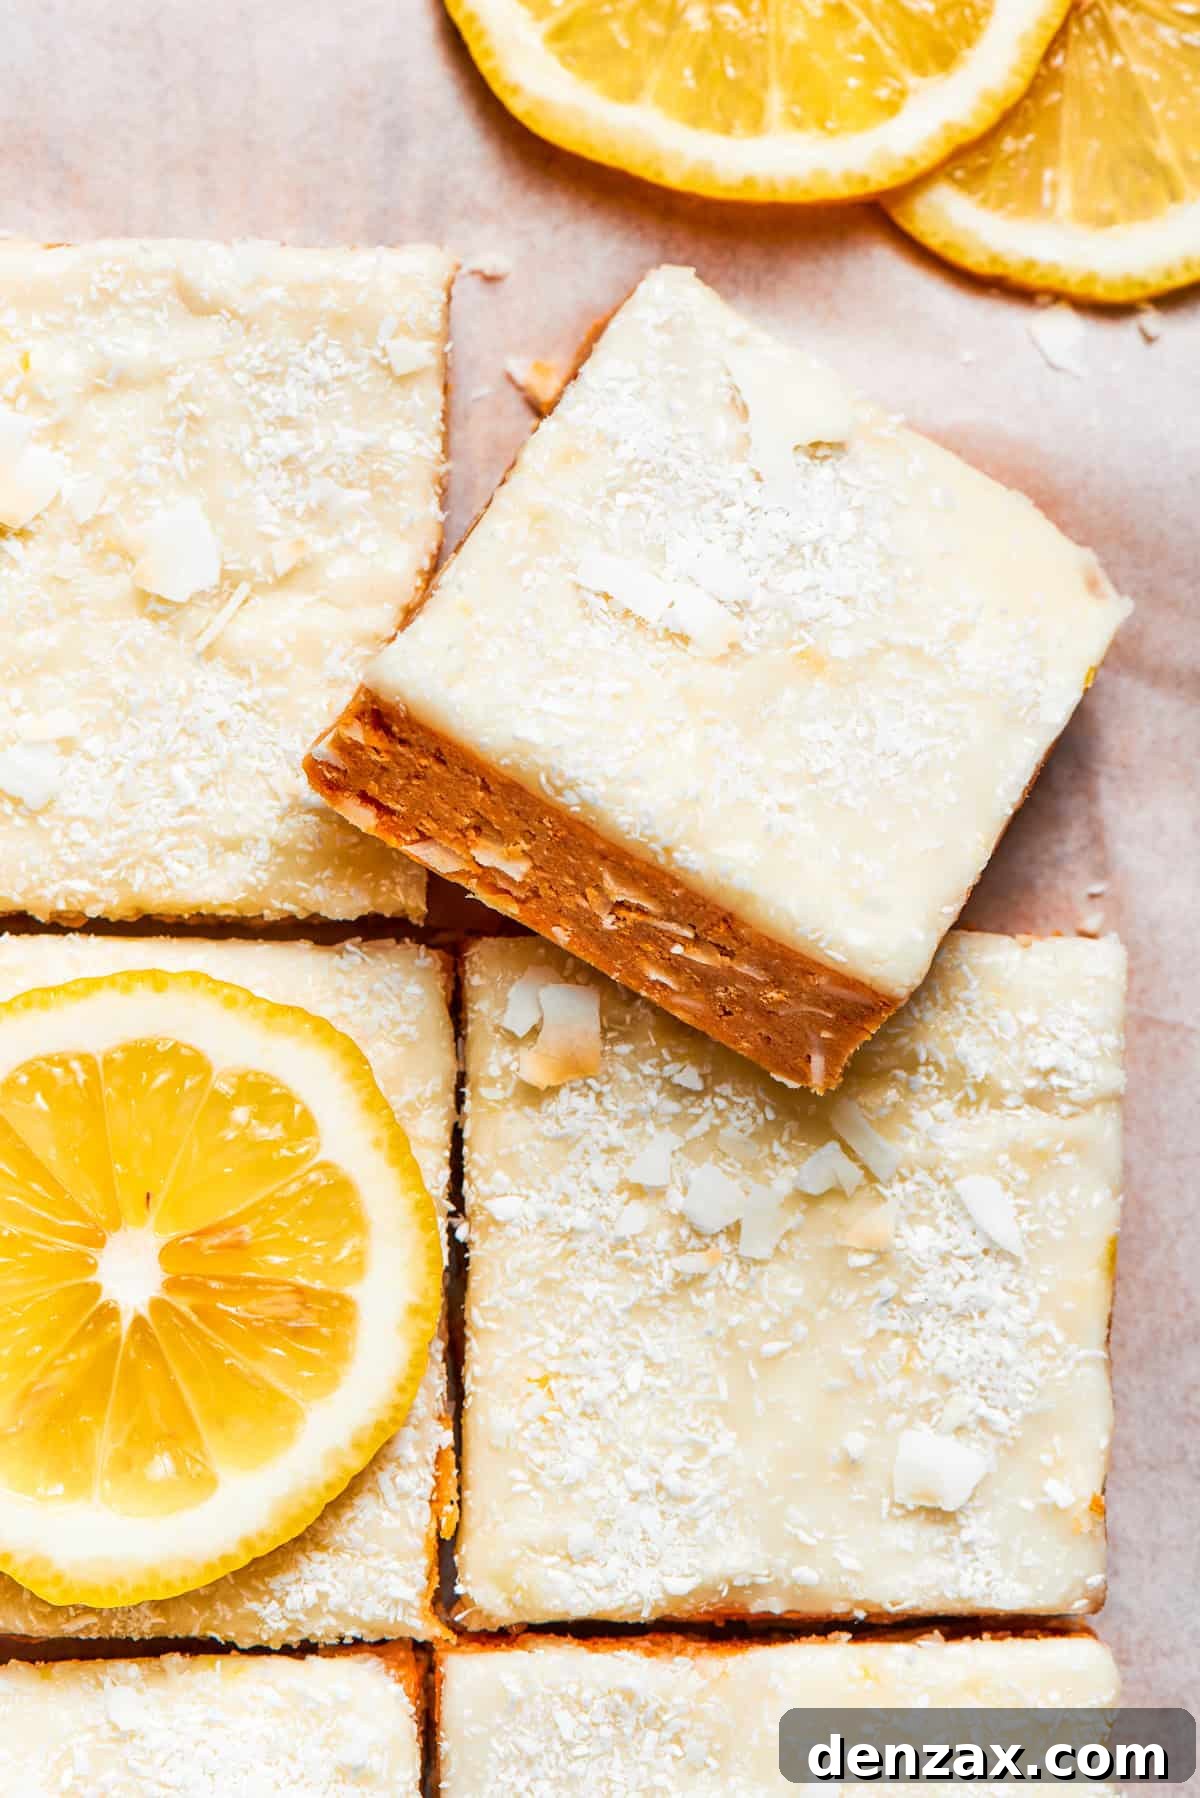
This traditional Australian-inspired lemon slice is remarkably straightforward to prepare, making it an ideal choice for both novice and experienced bakers. If your palate craves the invigorating tang of lemon, you are absolutely going to adore this super lemony sweet treat. It shares a delightful kinship with classic lemon bars, but with its own unique charm, often featuring a thick, luscious frosting that sets it apart. The best part? It’s a no-bake dessert, which means no oven time is required! This makes it an absolute lifesaver for hot weather days or any time you desire a quick, impressive dessert without heating your kitchen. For an extra layer of gourmet flavor, consider drizzling each slice with a touch of homemade blueberry sauce – the tartness of the blueberries beautifully complements the bright lemon.
Why This Lemon Slice Recipe Will Become Your Go-To Dessert
Prepare to fall in love with this lemon slice for many compelling reasons. It’s more than just a dessert; it’s a delightful experience waiting to happen!
- Effortlessly Simple: Forget complicated techniques or a long list of fancy equipment. To create this magnificent lemon-coconut delight, all you need is a reliable food processor and a handful of readily available ingredients. The process is so straightforward, you’ll be amazed at the professional-looking results you achieve with minimal fuss.
- Explosion of Flavor: Every single bite of this lemon slice is a journey for your taste buds. It’s packed with an exhilarating burst of bright, tangy citrus flavor, perfectly balanced by the subtle sweetness and delightful chewiness of coconut. The combination creates a harmonious symphony of textures and tastes that is truly irresistible and leaves a lasting, refreshing impression.
- Wonderfully Flexible: One of the beautiful aspects of this recipe is its adaptability. While traditional Australian lemon slices are often made with specific sweet biscuits that can be challenging to find outside the region, I’ve perfected a version using readily available alternatives. My personal preference is graham crackers for their perfect crunch and subtle sweetness. However, feel free to experiment! You can also achieve excellent results using Nilla wafer cookies or even Mexican Maria cookies, each adding a slightly different nuance to the base.
- Perfect for Any Climate: The “no-bake” aspect of this dessert is a game-changer, especially during warmer months. There’s no need to crank up your oven, making it an energy-efficient and comfortable choice when temperatures rise. You simply assemble the layers, chill them in the refrigerator, and let time do the rest. This hands-off approach ensures a cool and refreshing treat without adding extra heat to your home.
- Crowd-Pleasing Potential: This lemon slice isn’t just easy and delicious; it’s a guaranteed crowd-pleaser. Whether you’re hosting a backyard barbecue, a family gathering, or simply want a treat for yourself, its universally appealing flavors and refreshing nature make it a hit with everyone. Be warned: you might need to make a double batch!
Unpacking the Deliciousness: What Exactly is a Lemon Slice?
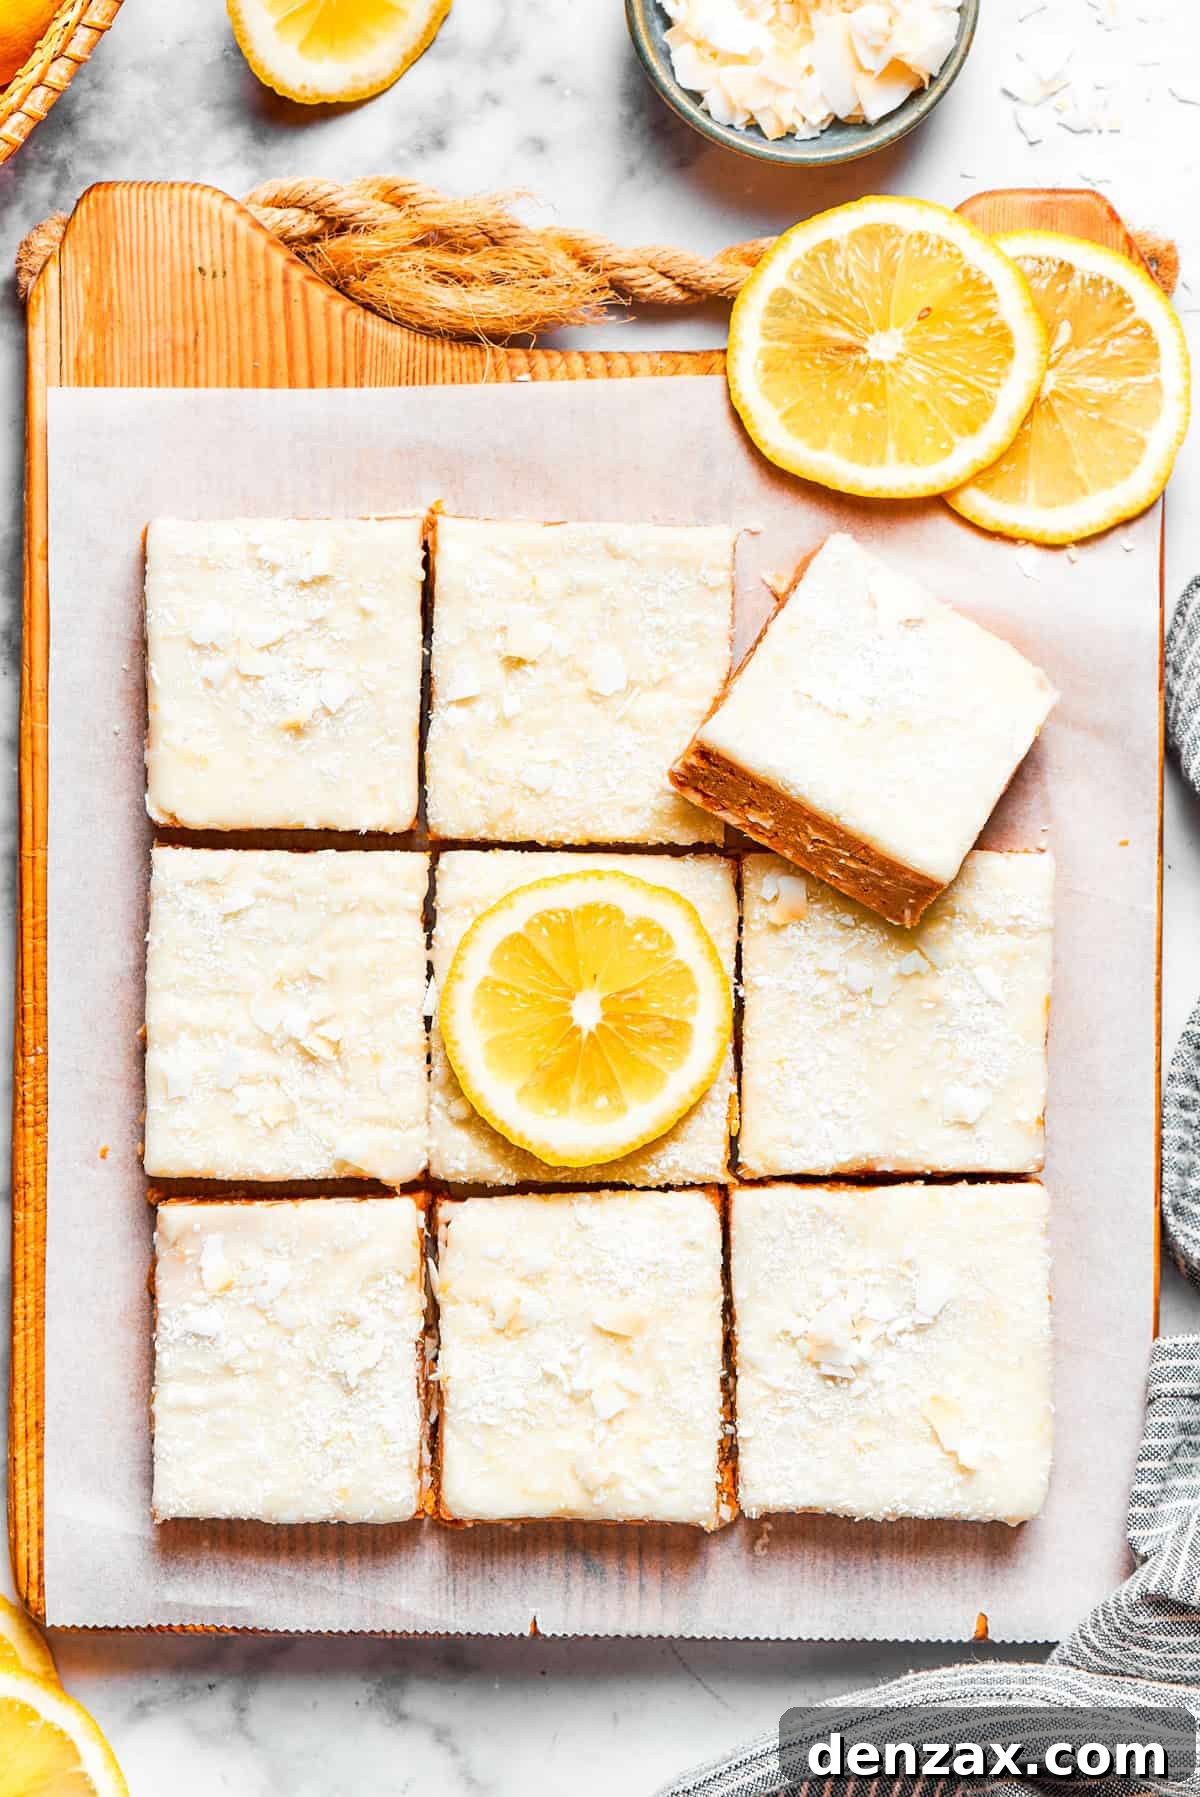
The Lemon Slice is a beloved, iconic Australian no-bake dessert that has captured hearts (and taste buds) for generations. At its core, it’s a wonderfully simple yet intensely flavorful treat, traditionally constructed from a base of crushed sweet biscuits, invigorated with fresh lemon zest and juice, mixed with creamy condensed milk and often shredded coconut, then topped with a sweet, tangy lemon icing. Despite its humble origins and uncomplicated preparation, this dessert achieves an extraordinary depth of flavor that belies its simplicity. It’s a testament to how well simple, high-quality ingredients can come together to create something truly magical.
Imagine a dessert that offers a perfect balance of textures: a firm yet yielding crumbly base, often with a delightful chew from the coconut, contrasted by a silky-smooth, vibrant lemon frosting. The overall taste profile is bright, zesty, and refreshing, making it an ideal choice after a rich meal or as a delightful pick-me-up on a warm afternoon. What makes it particularly special is the way the sweetness of the condensed milk and frosting perfectly complements the sharp, invigorating acidity of fresh lemon, creating a harmonious and addictive flavor experience.
I’ve served this lemon slice at countless potlucks, family gatherings, and casual get-togethers, and the reaction is always the same: people simply can’t get enough. It’s one of those desserts where guests invariably return for a second, or even third, helping. The moment they take that first bite, the combination of its comforting familiarity and bright, fresh flavors creates an undeniable urge for more. It’s not just a dessert; it’s an instant classic that becomes a memorable highlight of any event.
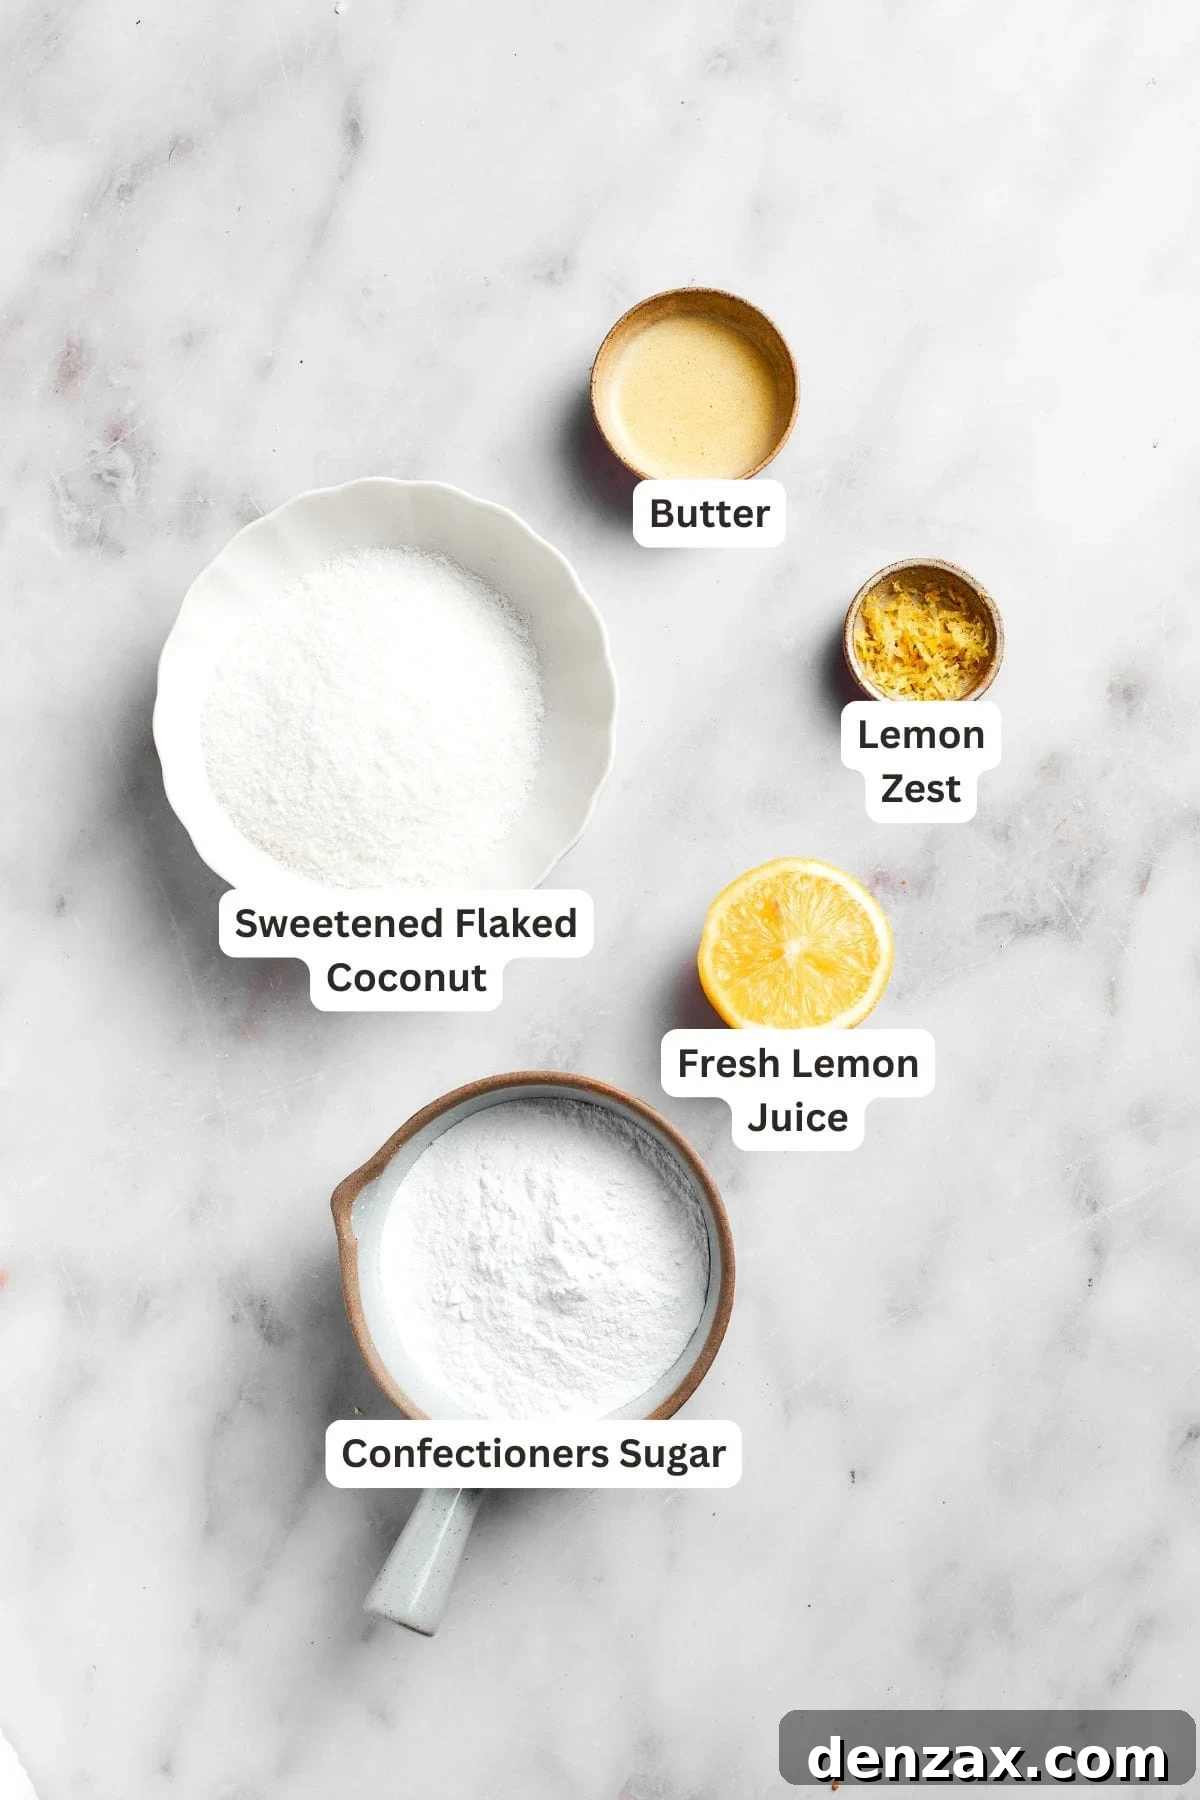
Essential Ingredients for Your Zesty Lemon Slice
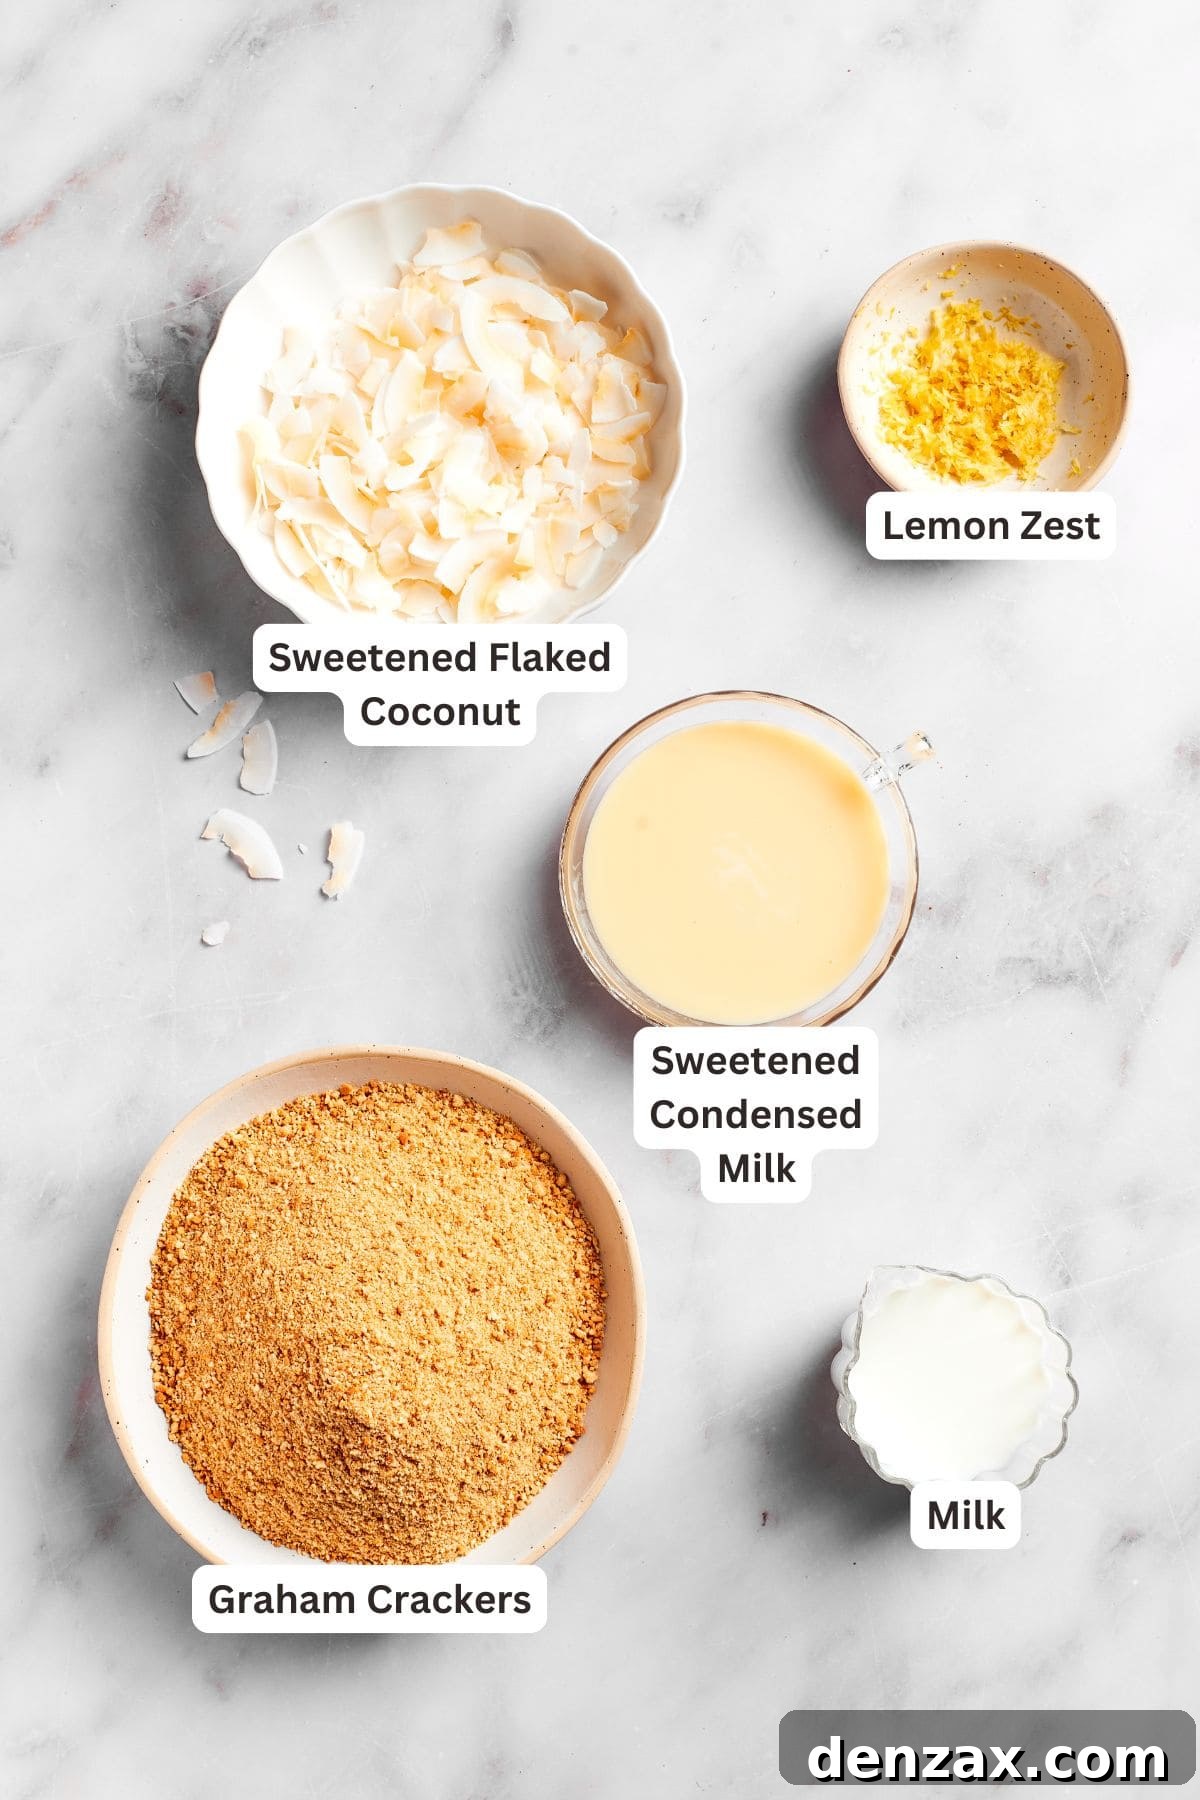
Crafting this delightful lemon slice requires a carefully selected list of ingredients, each playing a crucial role in achieving that perfect balance of sweetness, tang, and texture. What’s fantastic is that these are mostly pantry staples, ensuring that this irresistible treat is always within reach. Below, we’ll dive into each component, detailing why it’s essential and offering helpful tips for selection. For precise measurements, please refer to the comprehensive recipe card located at the very end of this post.
- Graham Crackers – These form the foundational, buttery crust of our lemon slice. For this recipe, I typically use two full sleeves of graham crackers, which equates to about 18 sheets (with each sheet typically breaking into four individual crackers). Their slightly sweet, subtly spiced flavor provides an excellent counterpoint to the bright lemon, and they crush down beautifully to create a firm, satisfying base.
- Coconut – Sweetened flaked coconut is a non-negotiable ingredient, adding a distinct tropical aroma, a wonderful chewiness, and an extra layer of sweetness to both the base and as a garnish. Its texture helps bind the base and provides a delightful contrast to the smooth frosting. Don’t substitute with unsweetened or desiccated coconut unless you adjust sugar levels.
- Fresh Lemon Zest – This is where the true “lemon” in lemon slice comes alive! Fresh lemon zest is packed with aromatic oils that provide an intense, bright citrus punch without adding extra liquid or acidity. I highly recommend using Eureka lemons when available, as their thicker skins yield more zest and easier grating. However, any fresh, vibrant lemon will work beautifully to infuse that signature zesty flavor.
- Sweetened Condensed Milk – This magical ingredient is key to both the texture and the sweetness of the base. It acts as a binder, creating a dense, chewy foundation, and provides the necessary sugar without needing granulated sugar. It’s crucial to use *sweetened* condensed milk, not evaporated milk, as they are vastly different and cannot be interchanged in this recipe.
- Milk – A small amount of liquid milk is used to help achieve the perfect consistency for the crust, ensuring it’s moist enough to press firmly into the pan without being too crumbly. I typically opt for whole milk or 2% milk for a richer flavor, but most dairy or non-dairy milks will work. Adjust the amount as needed to reach the desired pressable texture.
- Icing Essentials – The topping is what truly elevates this dessert. It consists of:
- Sifted Confectioners’ (Powdered) Sugar: Sifting is key here to ensure a super smooth, lump-free frosting.
- Fresh Lemon Juice and Zest: Again, fresh is best! The juice provides the essential tartness and liquid for the icing, while additional zest boosts the lemony aroma.
- Melted Butter: A touch of melted unsalted butter adds richness, gloss, and a creamy texture to the icing, making it wonderfully spreadable.
- More Flaked Coconut: For that final flourish, a sprinkle of flaked coconut on top not only looks appealing but also reinforces the delightful coconut flavor and texture throughout the dessert.
Gathering these simple yet powerful ingredients is the first step towards creating a truly memorable no-bake lemon slice that will impress everyone!
Expert Tips for Crafting the Perfect Lemon Slice
Achieving a show-stopping lemon slice is easier than you think, especially with a few insider tips. These expert recommendations will guide you toward perfection, ensuring your dessert is not only delicious but also beautifully presented and easy to manage.
- Always Line Your Pan with Aluminum Foil: This seemingly minor step is an absolute game-changer. By lining your 8×8 inch baking pan with aluminum foil, leaving a generous overhang on the sides, you create an effortless way to remove the entire lemon slice from the pan once it’s chilled. This means no sticky situations, no crumbling edges, and perfectly intact bars ready for precise cutting. Parchment paper can also be used effectively for the same purpose.
- Patience is Key: Allow Ample Chilling Time: While the immediate temptation to dig in after frosting is strong, resist it! You technically *can* eat your lemon bars right after the frosting is applied, but for truly superior results, I strongly recommend letting them chill for at least 30 minutes, or even longer. This crucial period allows the frosting to firm up and set beautifully, resulting in cleaner, sharper cuts and a much more enjoyable texture. The base also becomes more cohesive and less prone to crumbling.
- Easily Double the Recipe for a Crowd: This recipe is incredibly forgiving and scales up with ease! If you’re feeding a larger gathering or simply want more of this irresistible treat, you can effortlessly double all the ingredient amounts. When doubling, simply use a larger 9×13 inch pan instead of an 8×8 inch pan. Since it’s a no-bake recipe, there’s no need to adjust any cooking or baking times – just double the quantities and enjoy!
- Tailor Your Serving Sizes: One of the great benefits of bar desserts is the flexibility in serving size. You have complete control over how many portions this recipe yields by simply adjusting how large or small you cut the bars. For casual home serving, I typically cut the finished dessert into 9 generous squares. However, if you’re bringing this dessert to a potluck, a party, or want to make it stretch further, you can easily cut smaller rectangles, yielding approximately 18 portions. This adaptability makes it perfect for any occasion.
- Finely Crush Your Graham Crackers: For the best base texture, ensure your graham cracker crumbs are very fine. Any large chunks can make the base less cohesive and harder to cut smoothly. A food processor is ideal for this, but a sturdy Ziploc bag and a rolling pin work just as well for a good arm workout!
- Don’t Skimp on the Zest: The magic of lemon slice comes from fresh lemon zest. Use a microplane or the finest side of your box grater to get the zest, being careful to only get the yellow part, not the bitter white pith. More zest equals more intense, natural lemon flavor.
By following these tips, you’ll be well on your way to creating a lemon slice that is not only delicious but also flawlessly executed, earning you rave reviews from everyone who tries a piece!
Lemon Slice
Katerina | Easy Weeknight Recipes
30 minutes
2 hours
30 minutes
3 hours
9
slices
Ingredients
For the Lemon Slice Base
-
2
sleeves graham crackers,
(18 sheets with 4 crackers each) -
1
cup
sweetened flaked coconut -
2
teaspoons
lemon zest -
3
tablespoons + 1 teaspoon
sweetened condensed milk -
3-4
tablespoons
milk
For the Icing
-
1½
cups
powdered sugar -
2-3
tablespoons
fresh lemon juice,
adjust as needed, see recipe instructions -
1
tablespoon
unsalted butter,
melted -
1
teaspoon
lemon zest -
sweetened flaked coconut,
for sprinkling on top
Instructions
-
Prep your tools. Begin by carefully lining an 8×8 inch baking dish with aluminum foil or parchment paper. Make sure to leave a generous overhang on all sides; this thoughtful step will make it incredibly easy to lift the entire lemon slice out of the pan once it’s set, allowing for clean cuts. Set your prepared pan aside.
-
Crush the graham crackers. Place all the graham crackers into the bowl of a food processor. Pulse them repeatedly until they are transformed into very fine, even crumbs. Consistency is key here for a smooth, firm base. If you don’t have a food processor, you can place the crackers in a large Ziploc bag and crush them with a rolling pin until uniformly fine.
-
Craft the delightful crust. Transfer the finely crushed graham cracker crumbs into a large mixing bowl. Add the sweetened flaked coconut and the fresh lemon zest. Using a spoon, mix these dry ingredients thoroughly until they are well combined and the lemon zest is evenly distributed. Next, pour in the sweetened condensed milk and start with 3 tablespoons of regular milk. Mix everything together, initially with a spoon, then switch to using your hands to ensure every crumb is coated. The mixture should feel moist and hold its shape when you press it between your fingers. If it appears too crumbly and doesn’t cohere, add the remaining tablespoon of milk, mixing until the perfect pressable consistency is achieved.
-
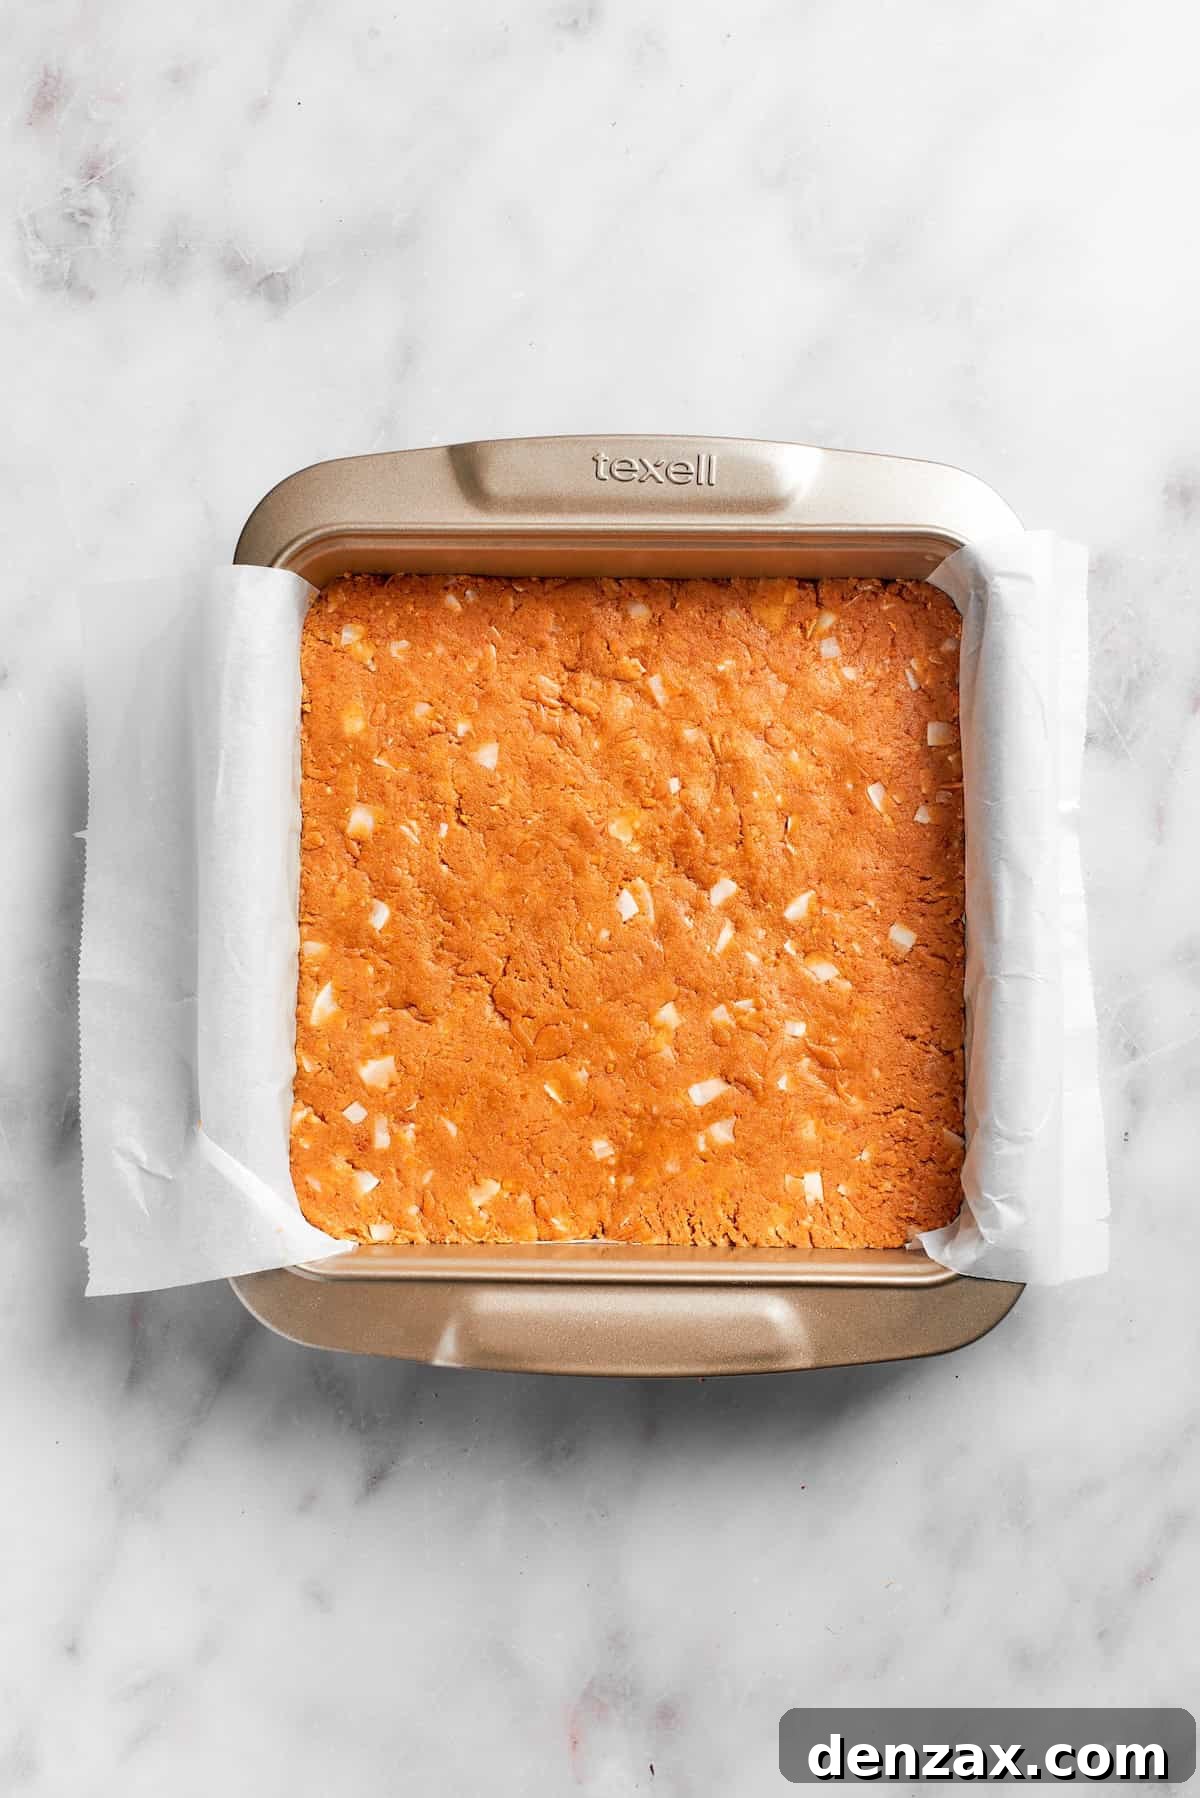
Chill the crust to perfection. Firmly press the graham cracker mixture into the base of your lined baking dish. Use the back of a spoon or a flat-bottomed glass to really pack it down and smooth out the surface. This firm compression is vital to ensure the base holds together beautifully and doesn’t crumble when you cut the bars later. Once compacted, place the entire pan into the refrigerator and chill for a minimum of 2 hours. This chilling time allows the base to set and become solid.
-
Prepare the luscious lemon frosting. While your crust is chilling, it’s time to make the vibrant lemon icing. In a medium-sized bowl, combine the sifted powdered sugar, 2 tablespoons of fresh lemon juice, the melted unsalted butter, and the remaining lemon zest. Whisk these ingredients together until you achieve a thick, smooth, and spreadable frosting consistency. It should be viscous enough to coat the back of a spoon but still pliable. If your frosting is too runny, gradually add more powdered sugar, one tablespoon at a time, mixing well after each addition. If it’s too thick to spread easily, incorporate more lemon juice, one teaspoon at a time, until the ideal texture is reached. Remember to mix thoroughly after each adjustment to properly assess the consistency.
-
Generously frost the chilled bars. Once the graham cracker crust is thoroughly chilled and firm, retrieve the pan from the refrigerator. Evenly spread the prepared lemon frosting over the entire surface of the crust using an offset spatula or the back of a spoon. Aim for a smooth and consistent layer from edge to edge.
-
Crown with coconut. For an extra touch of flavor and visual appeal, generously sprinkle more sweetened flaked coconut over the freshly spread frosting. The amount is entirely up to your preference – whether you like a light dusting or a dense layer of coconut, it will add a delightful texture and aroma.
-
Final chill for perfection. Place the frosted bars back into the refrigerator to chill for an additional 30 minutes. This final chilling period allows the frosting to set completely, making the bars easier to slice cleanly and enhancing their overall texture.
-
Slice and serve your masterpiece. Once fully chilled, use the foil overhangs to gently lift the entire lemon slice slab out of the baking pan and onto a cutting board. With a sharp knife, cut into desired squares or rectangles. Serve immediately and watch them disappear!
Essential Equipment
-
8×8 Inch Baking Pan
-
Food Processor (or Ziploc bag and rolling pin)
-
Large Mixing Bowls
-
Whisk
-
Microplane or Zester
Nutrition
|
Calories: 171kcal
|
Carbohydrates: 31g
|
Protein: 1g
|
Fat: 5g
|
Saturated Fat: 4g
|
Polyunsaturated Fat: 0.1g
|
Monounsaturated Fat: 1g
|
Trans Fat: 0.1g
|
Cholesterol: 6mg
|
Sodium: 58mg
|
Potassium: 77mg
|
Fiber: 1g
|
Sugar: 28g
|
Vitamin A: 65IU
|
Vitamin C: 2mg
|
Calcium: 30mg
|
Iron: 0.3mg
Nutritional info is an estimate and provided as courtesy. Values may vary according to the ingredients and tools used. Please use your preferred nutritional calculator for more detailed info.
Did you make a recipe? Leave a rating
Detailed Step-by-Step Guide: How to Make Lemon Slice
Making this lemon slice is a surprisingly simple and enjoyable process. Follow these detailed steps to create a perfect no-bake dessert that will impress everyone.
- Step 1: Prep Your Tools. Begin by lining an 8×8 inch baking dish. Use either aluminum foil or parchment paper, ensuring you leave an generous overhang on two opposite sides. This “handle” will be crucial for easily lifting the set lemon slice out of the pan later. Smooth out any wrinkles in the foil or paper to ensure a neat finish for your base.
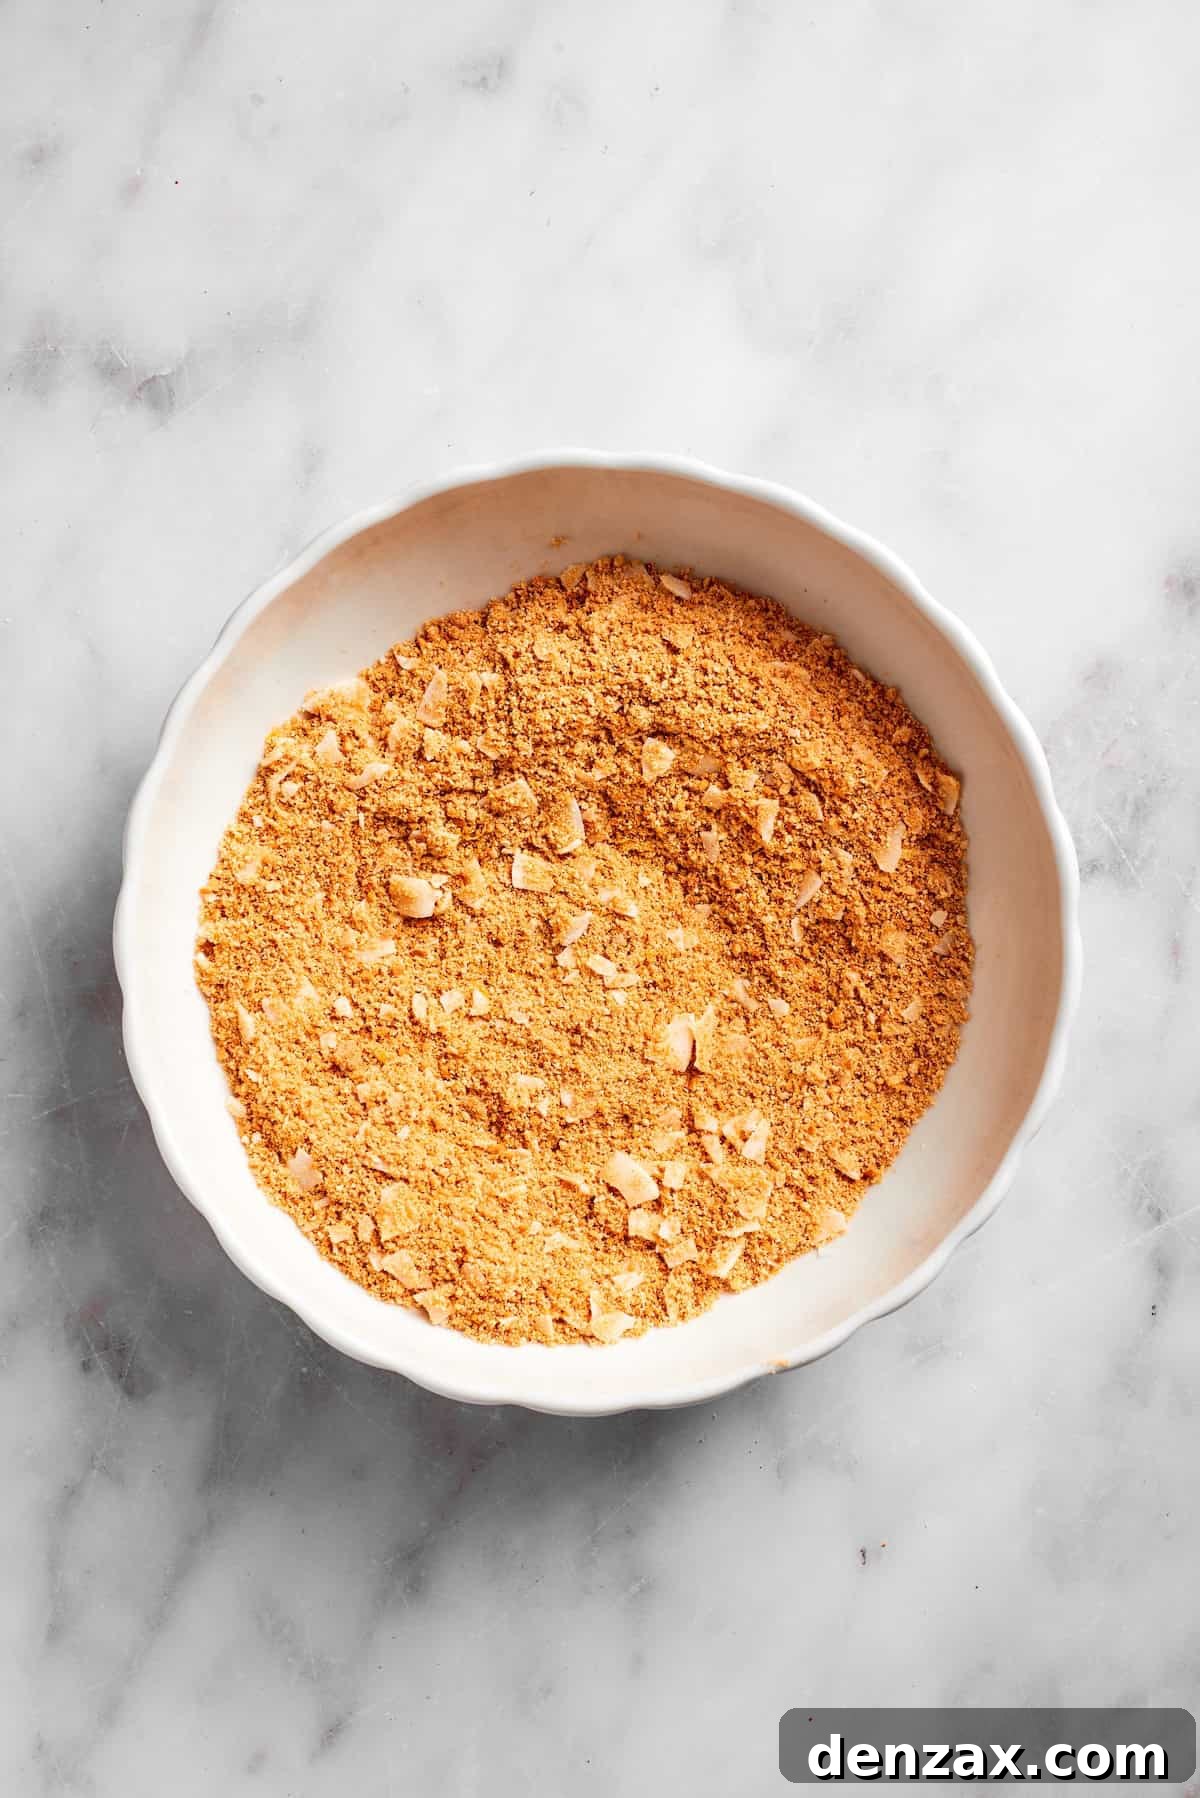
- Step 2: Crush the Graham Crackers. Take your graham crackers and place them into the bowl of a food processor. Pulse the crackers until they are reduced to very fine, uniform crumbs. The finer the crumbs, the smoother and more cohesive your base will be. If you don’t have a food processor, you can place the crackers in a large, sturdy resealable plastic bag and crush them with a rolling pin or the bottom of a heavy pan until they reach the desired consistency.
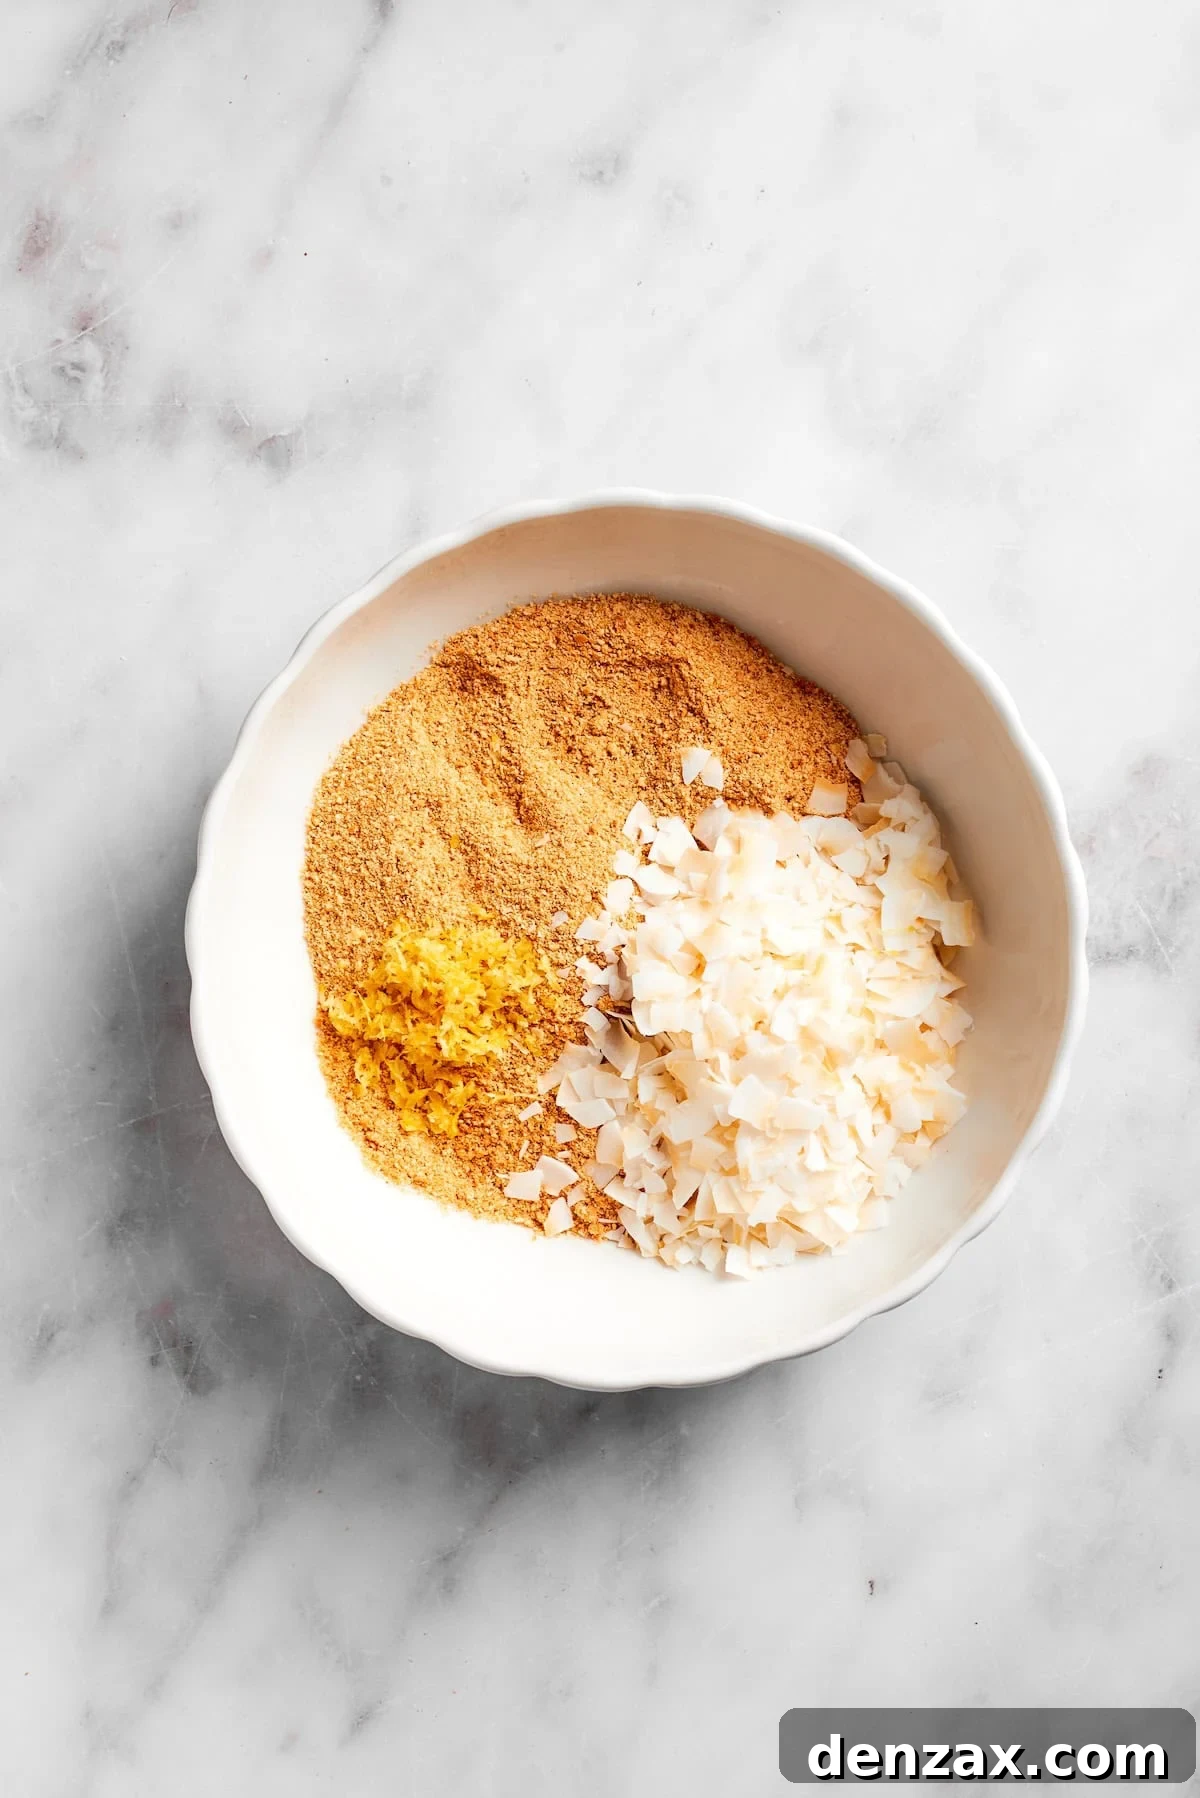
- Step 3: Combine Dry Crust Ingredients. Transfer the finely crushed graham cracker crumbs into a large mixing bowl. Add the sweetened flaked coconut and the freshly grated lemon zest. Use a spoon or a spatula to stir these dry ingredients together thoroughly, ensuring the coconut and zest are evenly distributed throughout the graham cracker crumbs. This initial mixing helps to infuse flavor and texture throughout the base.
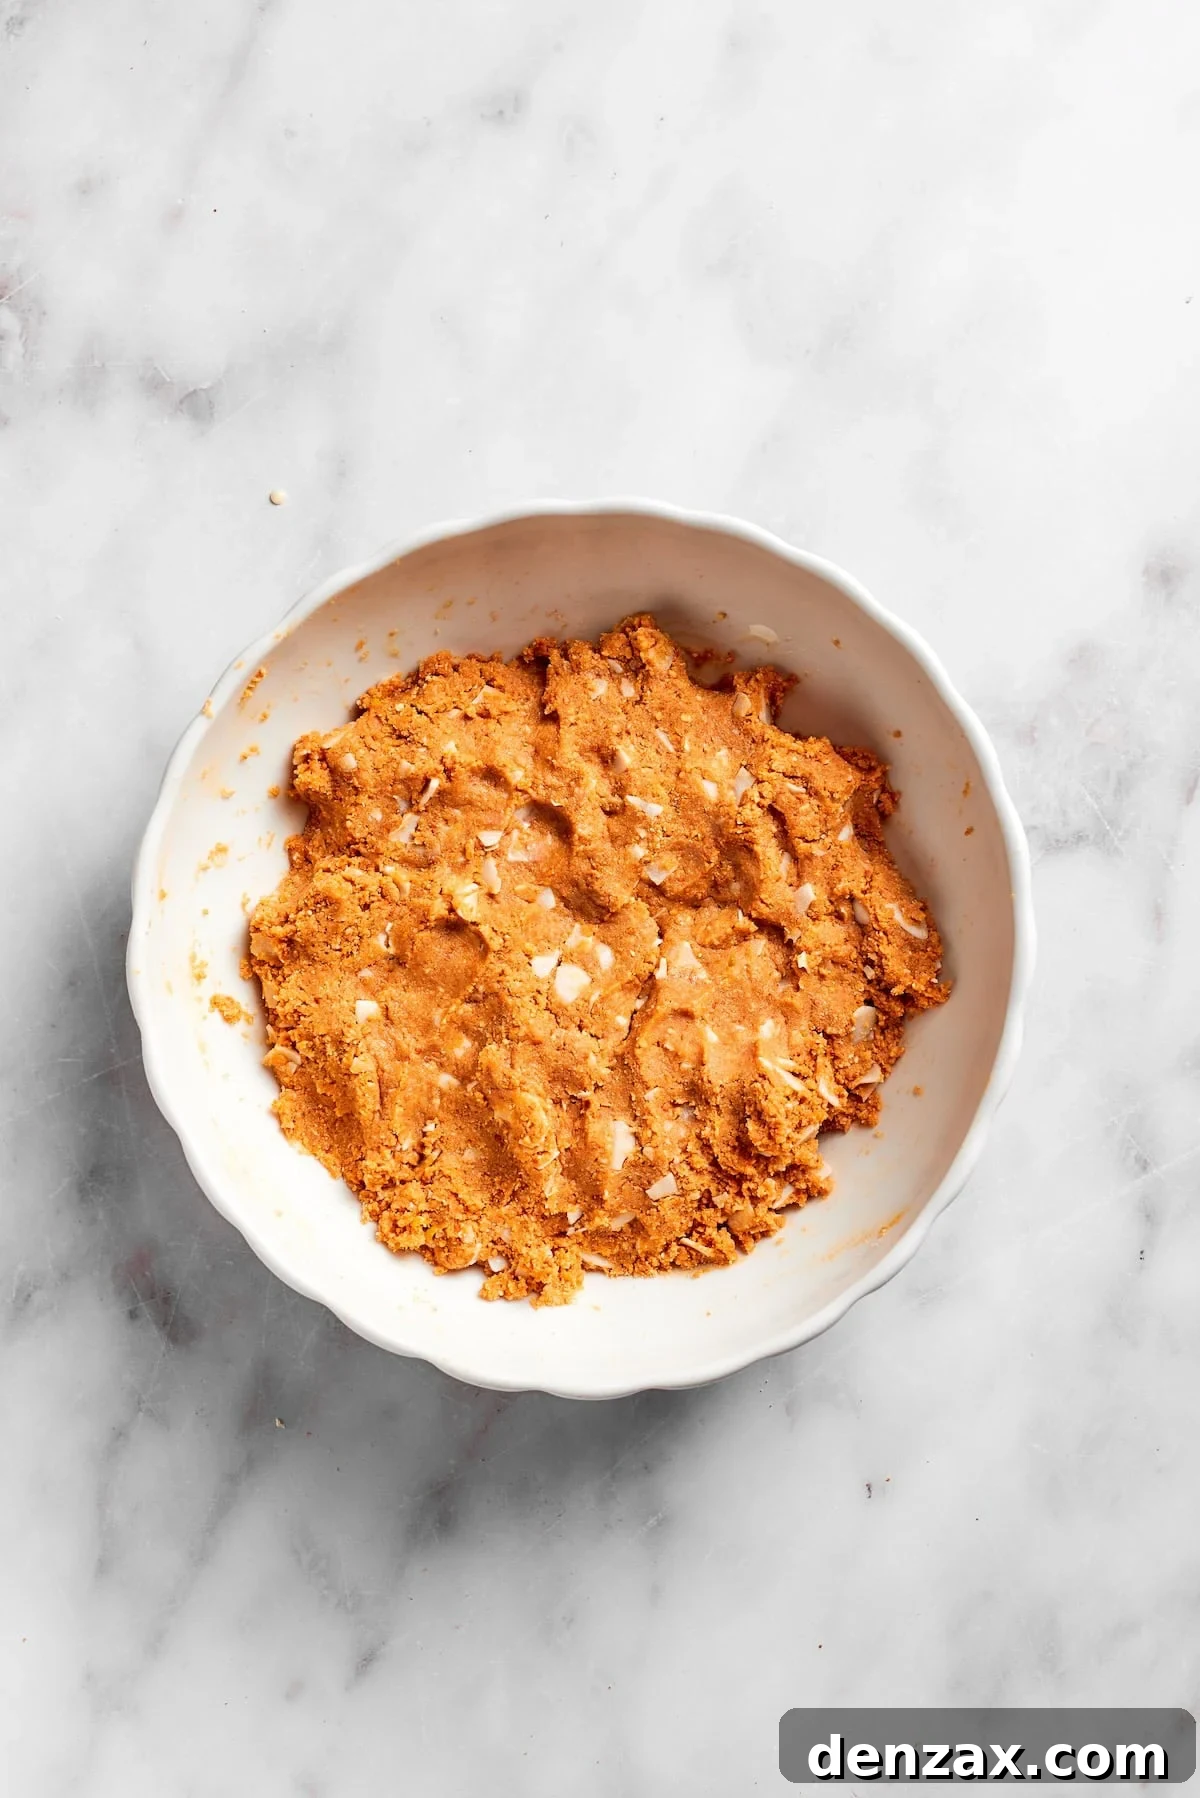
- Step 4: Form the Crust. Pour the sweetened condensed milk and 3 tablespoons of regular milk into the bowl with the graham cracker mixture. Stir vigorously with a spoon until the wet ingredients are mostly incorporated. Then, switch to using your hands to thoroughly combine everything. Knead the mixture until it’s moist and holds together when squeezed. If it feels too dry or crumbly, add the remaining tablespoon of milk, mixing until you achieve a cohesive, pressable consistency.
- Step 5: Chill the Crust. Transfer the entire graham cracker mixture into your prepared, lined baking dish. Using the back of a spoon, a flat-bottomed measuring cup, or your clean hands, press the mixture down very firmly and evenly across the bottom of the pan. The goal is a compact, smooth, and dense crust. Place the pan in the refrigerator and allow it to chill for at least 2 hours. This crucial step ensures the base sets properly and provides a stable foundation for the frosting.
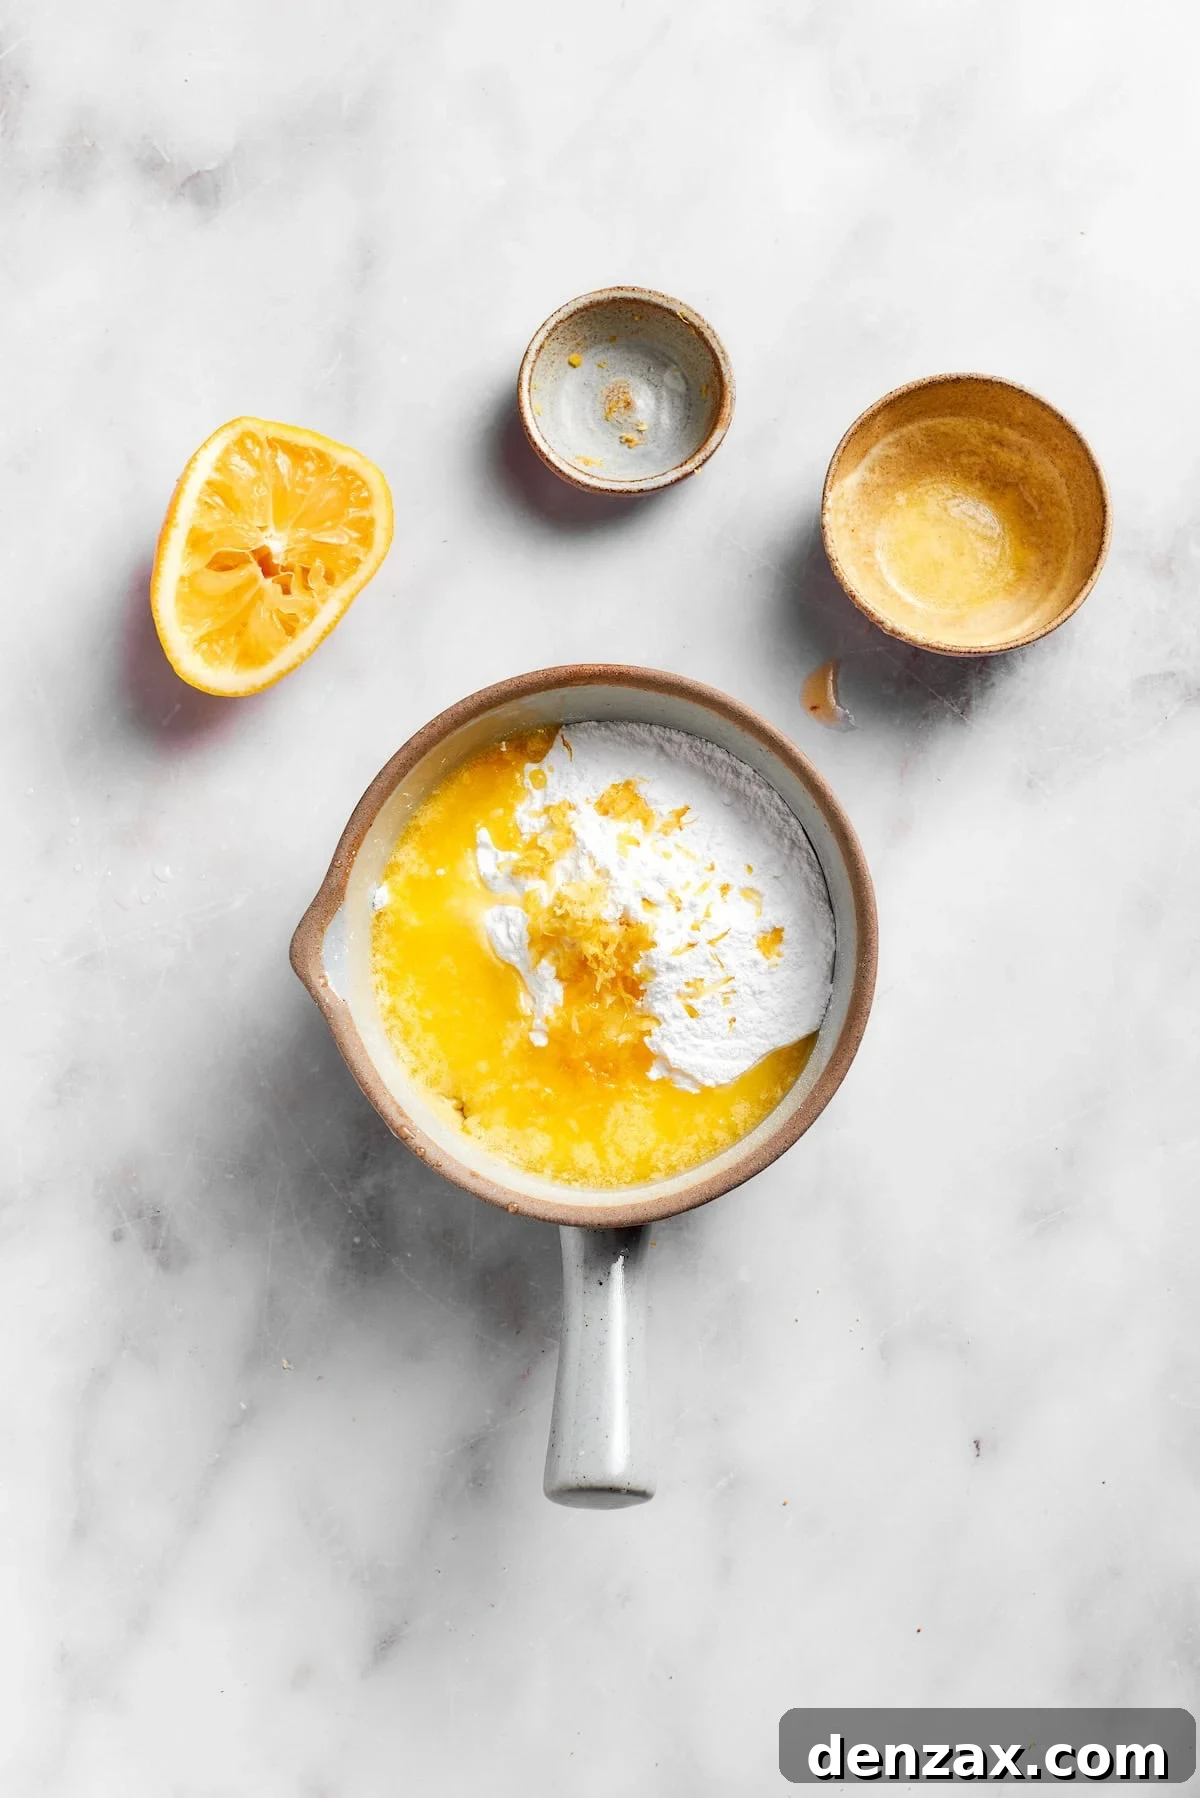
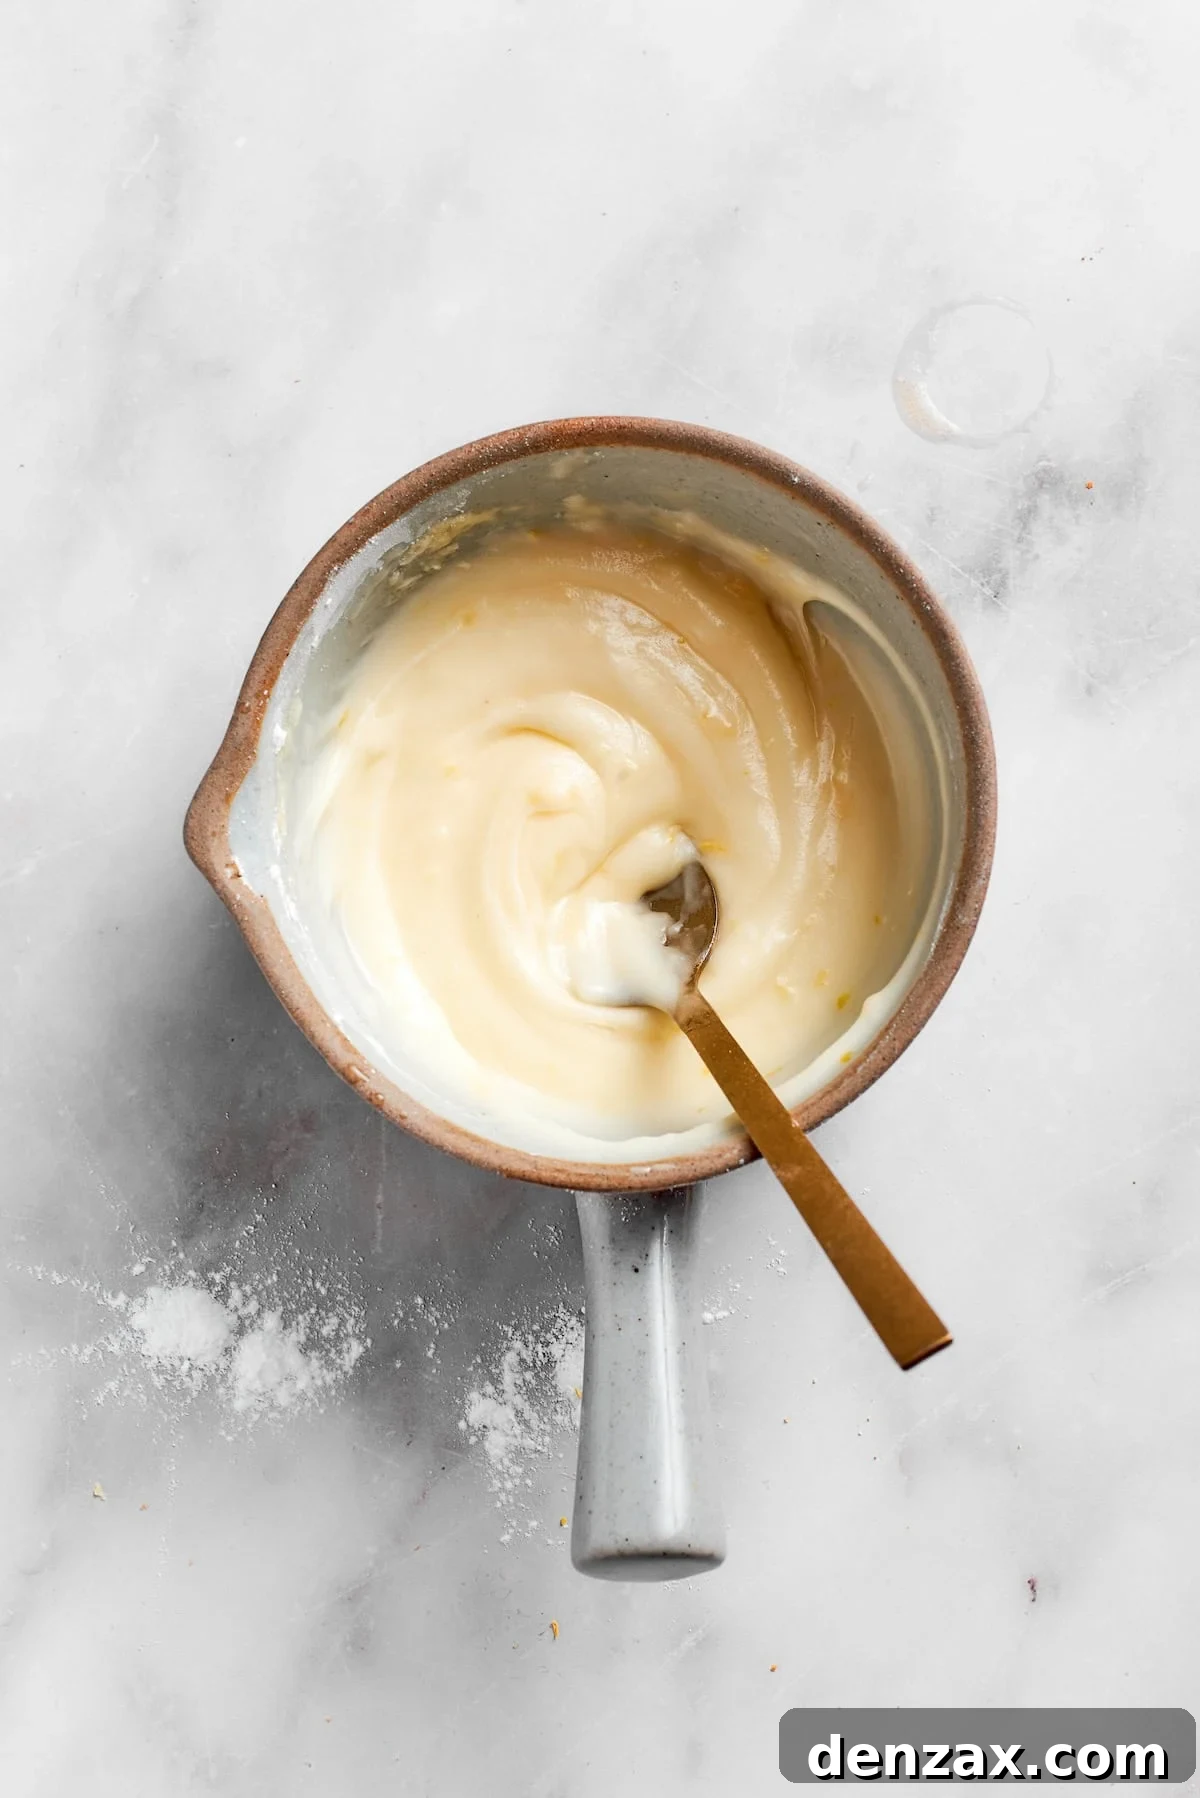
- Step 6: Prepare the Icing. In a separate mixing bowl, combine the sifted confectioners’ sugar, 2 tablespoons of fresh lemon juice, the melted unsalted butter, and the remaining lemon zest.
- Step 7: Mix Until Smooth. Whisk these ingredients together vigorously until you achieve a thick, smooth, and spreadable frosting. The consistency should be rich enough to hold its shape but soft enough to spread easily over the chilled crust. If it’s too runny, add a little more powdered sugar (1 tablespoon at a time). If it’s too stiff, add a tiny bit more lemon juice (1 teaspoon at a time), mixing well after each addition until perfect.
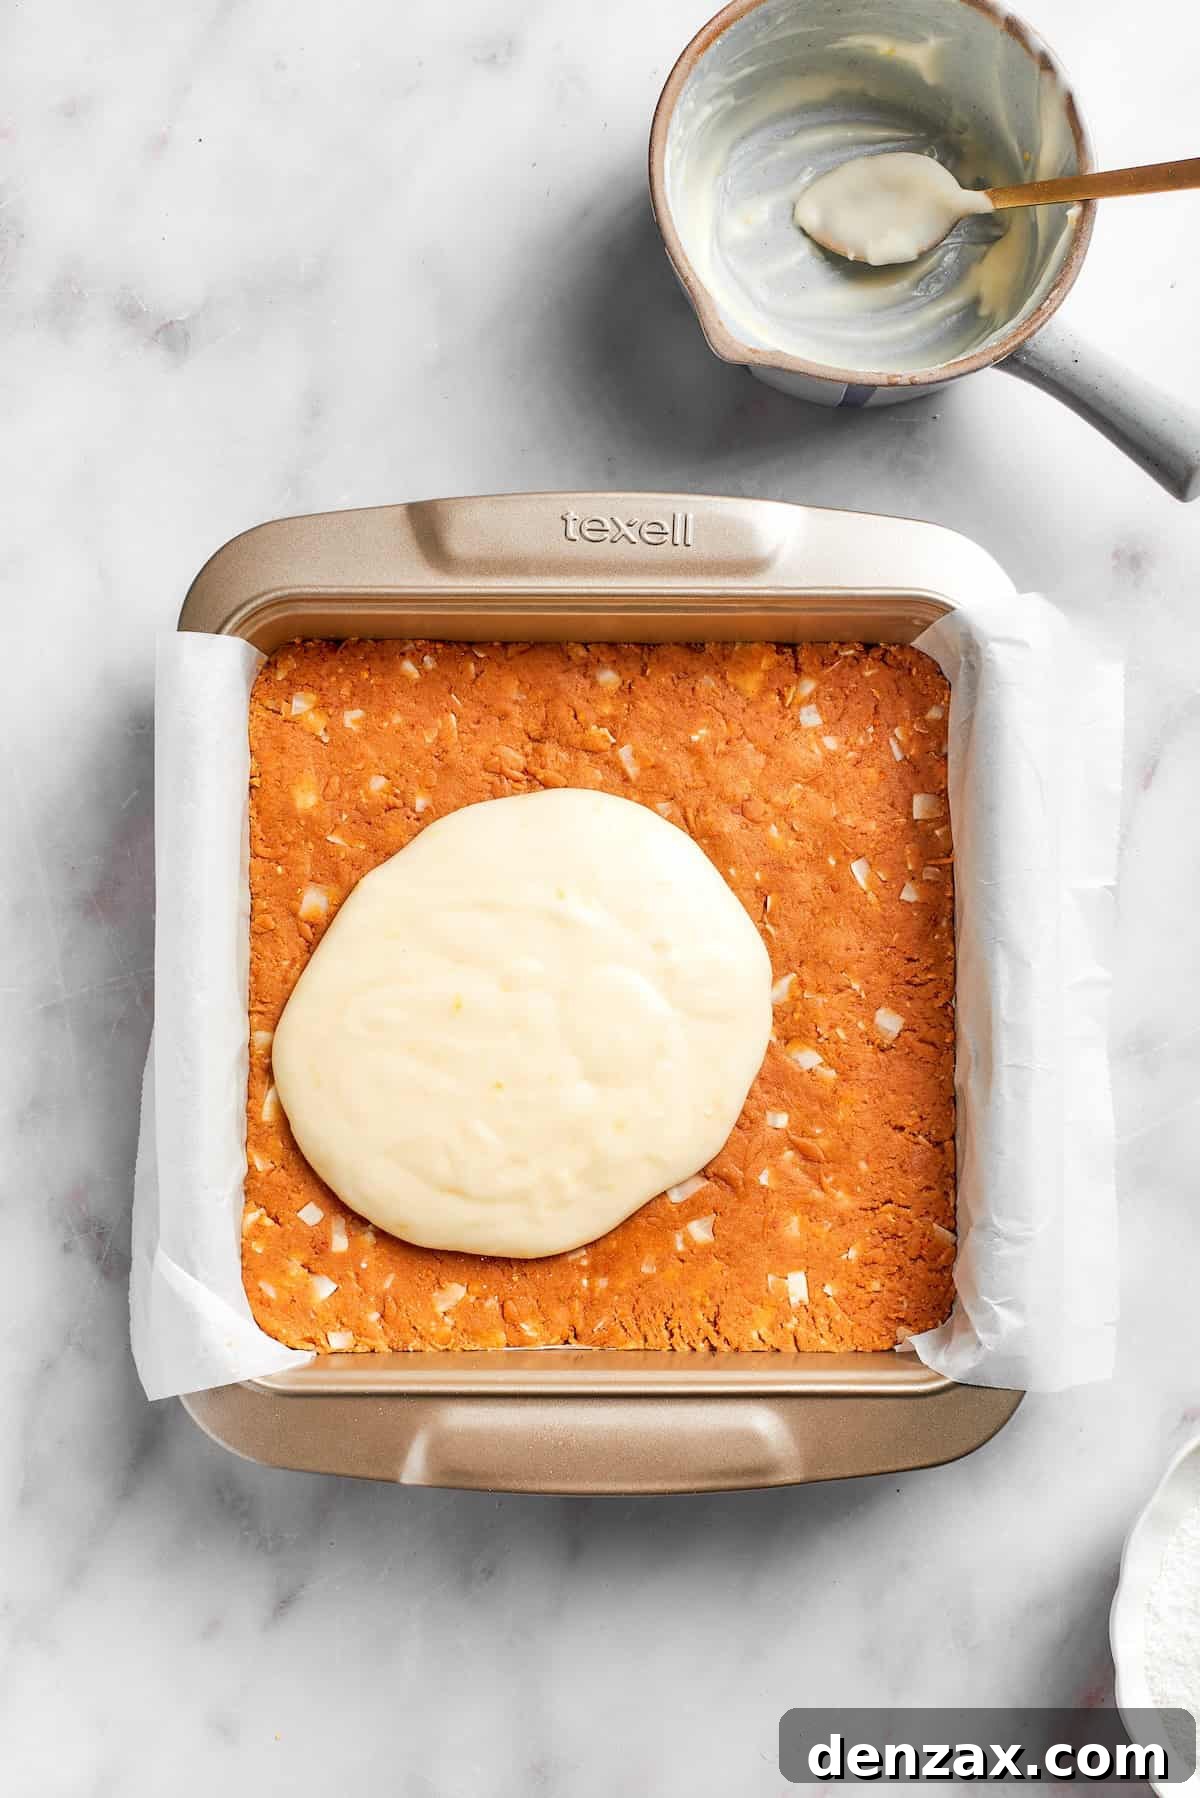
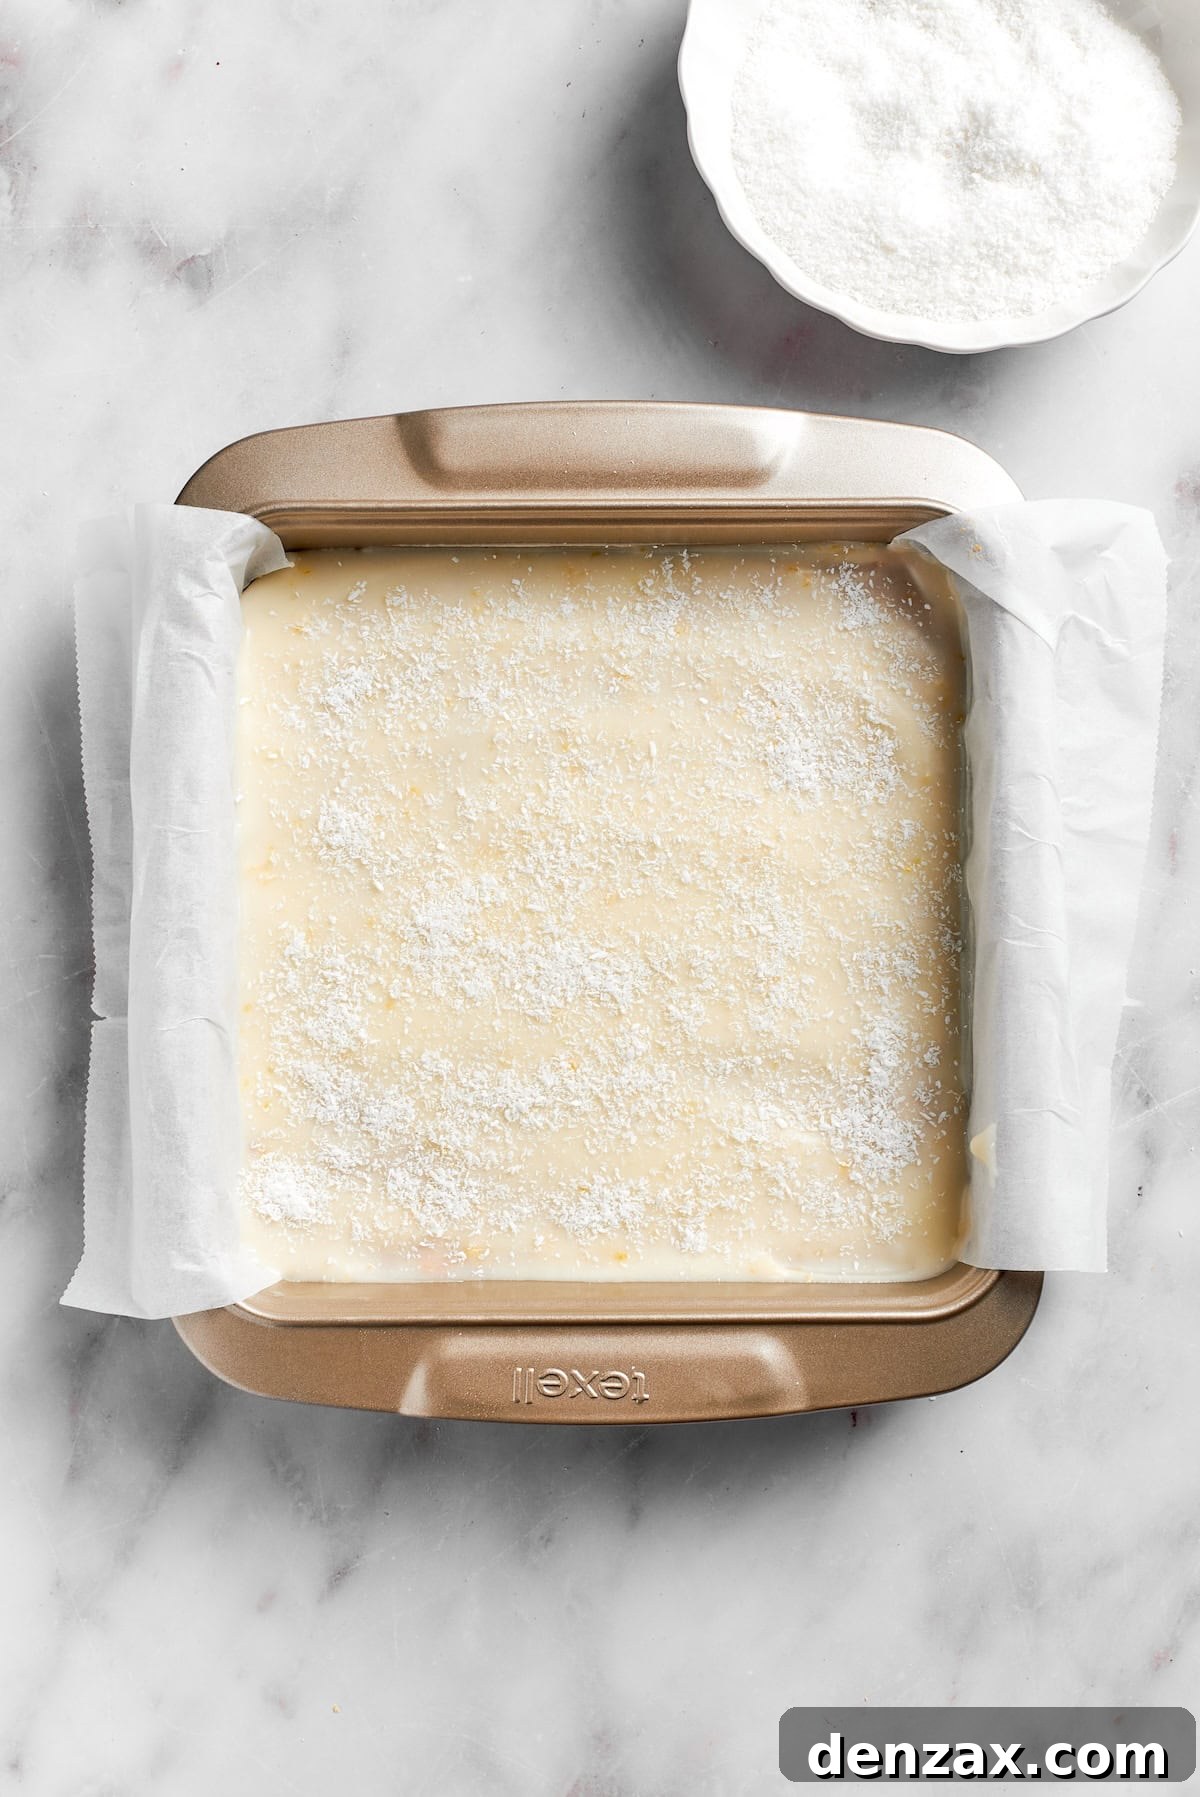
- Step 8: Frost the Bars. Retrieve your thoroughly chilled graham cracker crust from the refrigerator. Carefully and evenly spread the freshly made lemon frosting over the entire surface of the crust. Take your time to create a smooth, appealing layer of vibrant lemon goodness.
- Step 9: Top with Coconut. For a beautiful finish and an extra layer of flavor and texture, sprinkle your desired amount of sweetened flaked coconut over the top of the freshly applied frosting. You can be as generous or as sparse as you like; the coconut adds both visual appeal and a delightful chew.
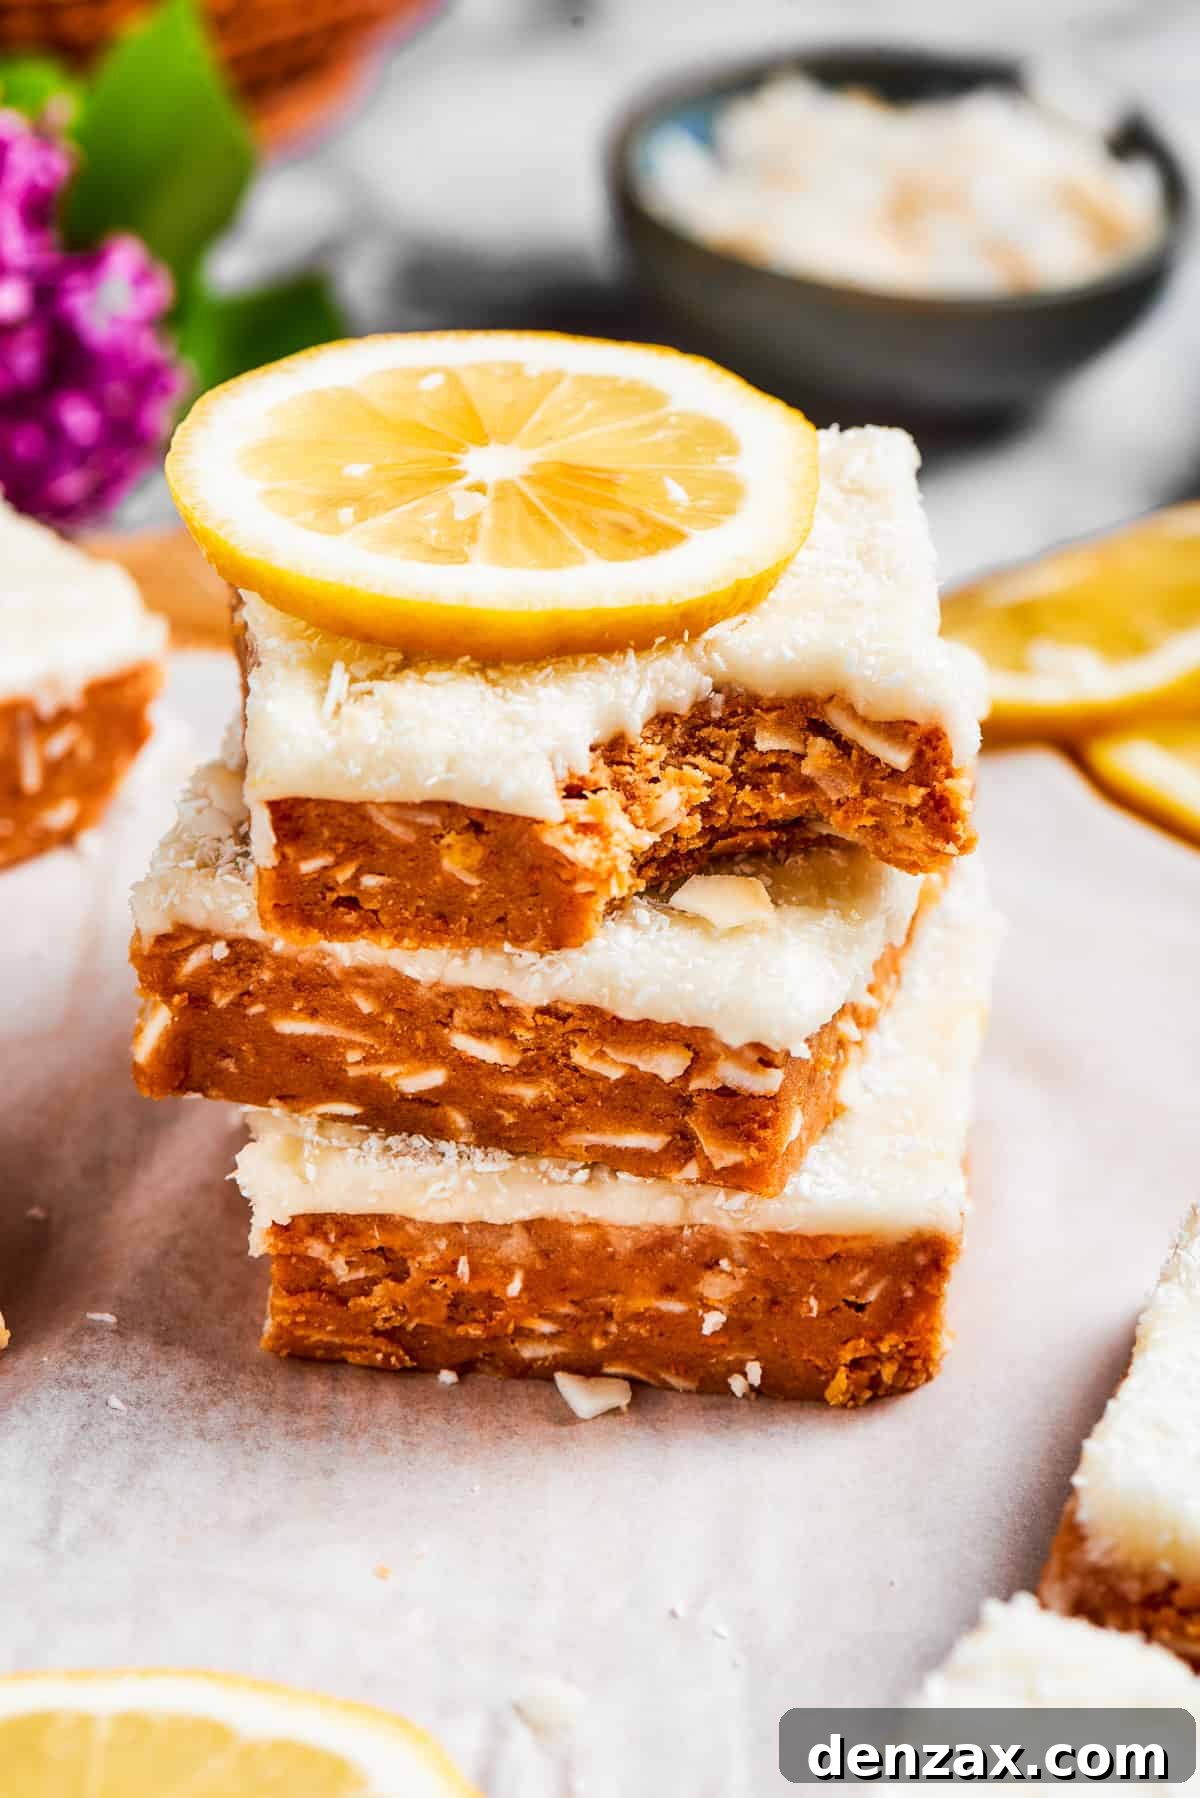
- Step 10: Final Chill, Slice, and Serve. Place the pan with the frosted and topped bars back into the refrigerator for a final chilling period of at least 30 minutes. This last chill is essential for allowing the frosting to fully set, which will make slicing much easier and cleaner. Once thoroughly chilled, use the foil overhangs to lift the entire slab of lemon slice out of the pan. Place it on a cutting board, use a sharp knife to cut into neat squares or rectangles, and serve immediately. Enjoy the refreshing, tangy taste!
Storage Instructions for Your Lemon Slice
To maintain its optimal freshness, texture, and vibrant flavor, your delicious lemon slice must always be stored in the refrigerator. Proper storage will ensure that each bite remains as delightful as the first.
You have a couple of excellent options for storing these bars. One convenient method is to keep them directly in your baking dish. Simply ensure the dish is tightly covered with plastic wrap (Saran Wrap) to prevent air exposure, which can dry out the dessert and cause the frosting to harden unevenly. When stored this way, your lemon slice will remain wonderfully fresh for up to 1 week.
Alternatively, if you prefer to have pre-portioned servings ready to go, you can slice the entire batch into individual bars after they have fully set. Once cut, transfer these slices to an airtight container. Layer them carefully, placing parchment paper or wax paper between layers to prevent them from sticking together. Stored in an airtight container in the refrigerator, they will also maintain their quality and flavor for up to 1 week. This method is particularly convenient for grab-and-go treats or for packing into lunch boxes.
For longer storage, this lemon slice is also freezer-friendly! To freeze, cut the chilled bars into individual portions. Arrange them in a single layer on a baking sheet lined with parchment paper and freeze until solid (about 1-2 hours). Once frozen, transfer the individual bars to a freezer-safe airtight container or a heavy-duty freezer bag, separating layers with parchment paper. They can be frozen for up to 2-3 months. Thaw individual slices in the refrigerator for a few hours or at room temperature for about 30 minutes before serving. This makes them a fantastic make-ahead dessert for future cravings or unexpected guests.
Explore More Easy Dessert Ideas!
If you’ve fallen in love with the simplicity and deliciousness of this lemon slice, you’re in for a treat! My collection of easy dessert recipes is designed to bring joy to your kitchen without demanding hours of effort. Here are a few more delightful options that are just as straightforward and utterly satisfying:
- Lemon Tiramisu: A refreshing, no-bake twist on the classic Italian dessert, featuring bright lemon instead of coffee. Light, creamy, and wonderfully tangy!
- Easy Tres Leches Cake: A wonderfully moist and sweet sponge cake soaked in three kinds of milk, creating a truly decadent and irresistible dessert that’s surprisingly simple to make.
- Millionaire Bars: Layers of shortbread, luscious caramel, and rich chocolate create a truly indulgent treat. Despite their fancy name, they’re quite approachable for home bakers.
- Sex in a Pan (AKA Better Than Sex Cake): This layered dessert combines a crunchy crust, creamy filling, chocolate pudding, and whipped topping for a decadent experience that lives up to its playful name.
Each of these recipes promises a delightful experience, proving that incredible desserts don’t have to be complicated. Happy baking (or no-baking)!