
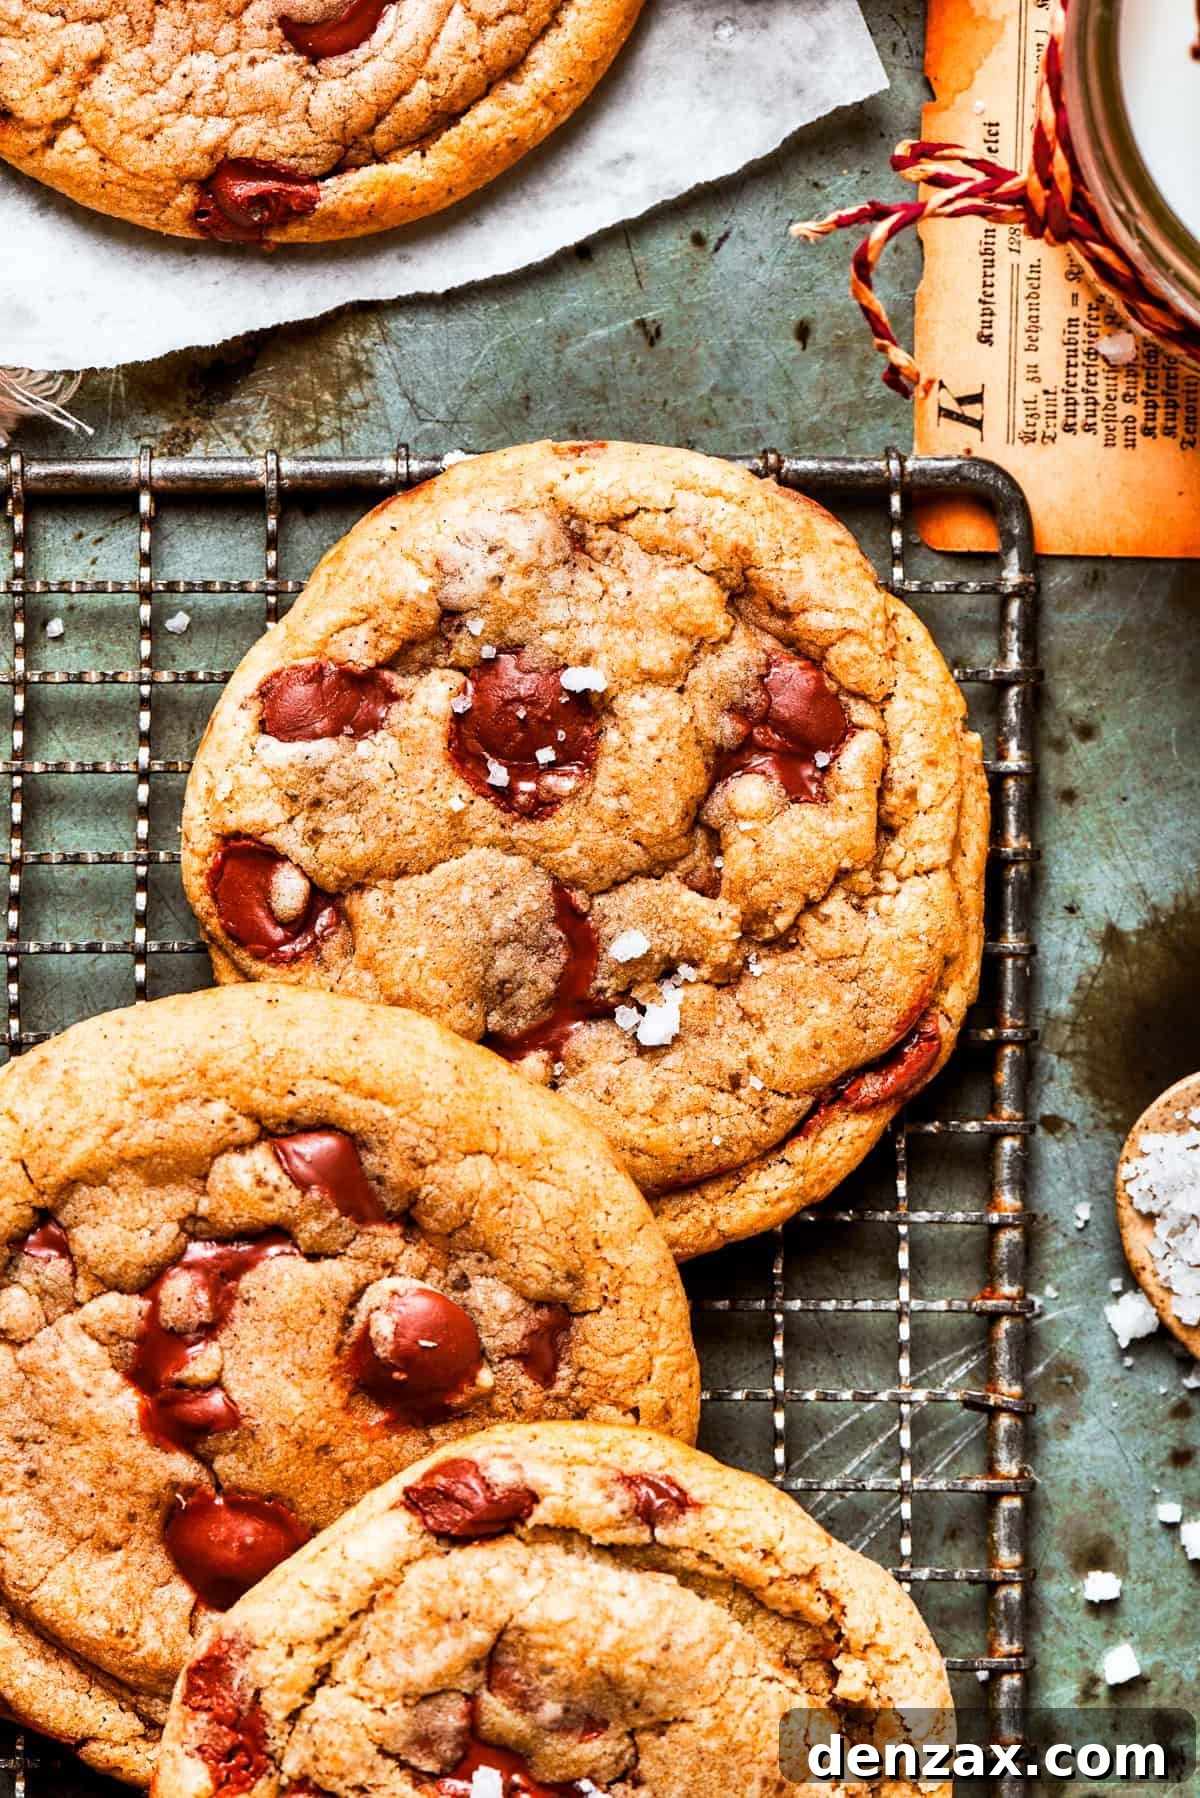
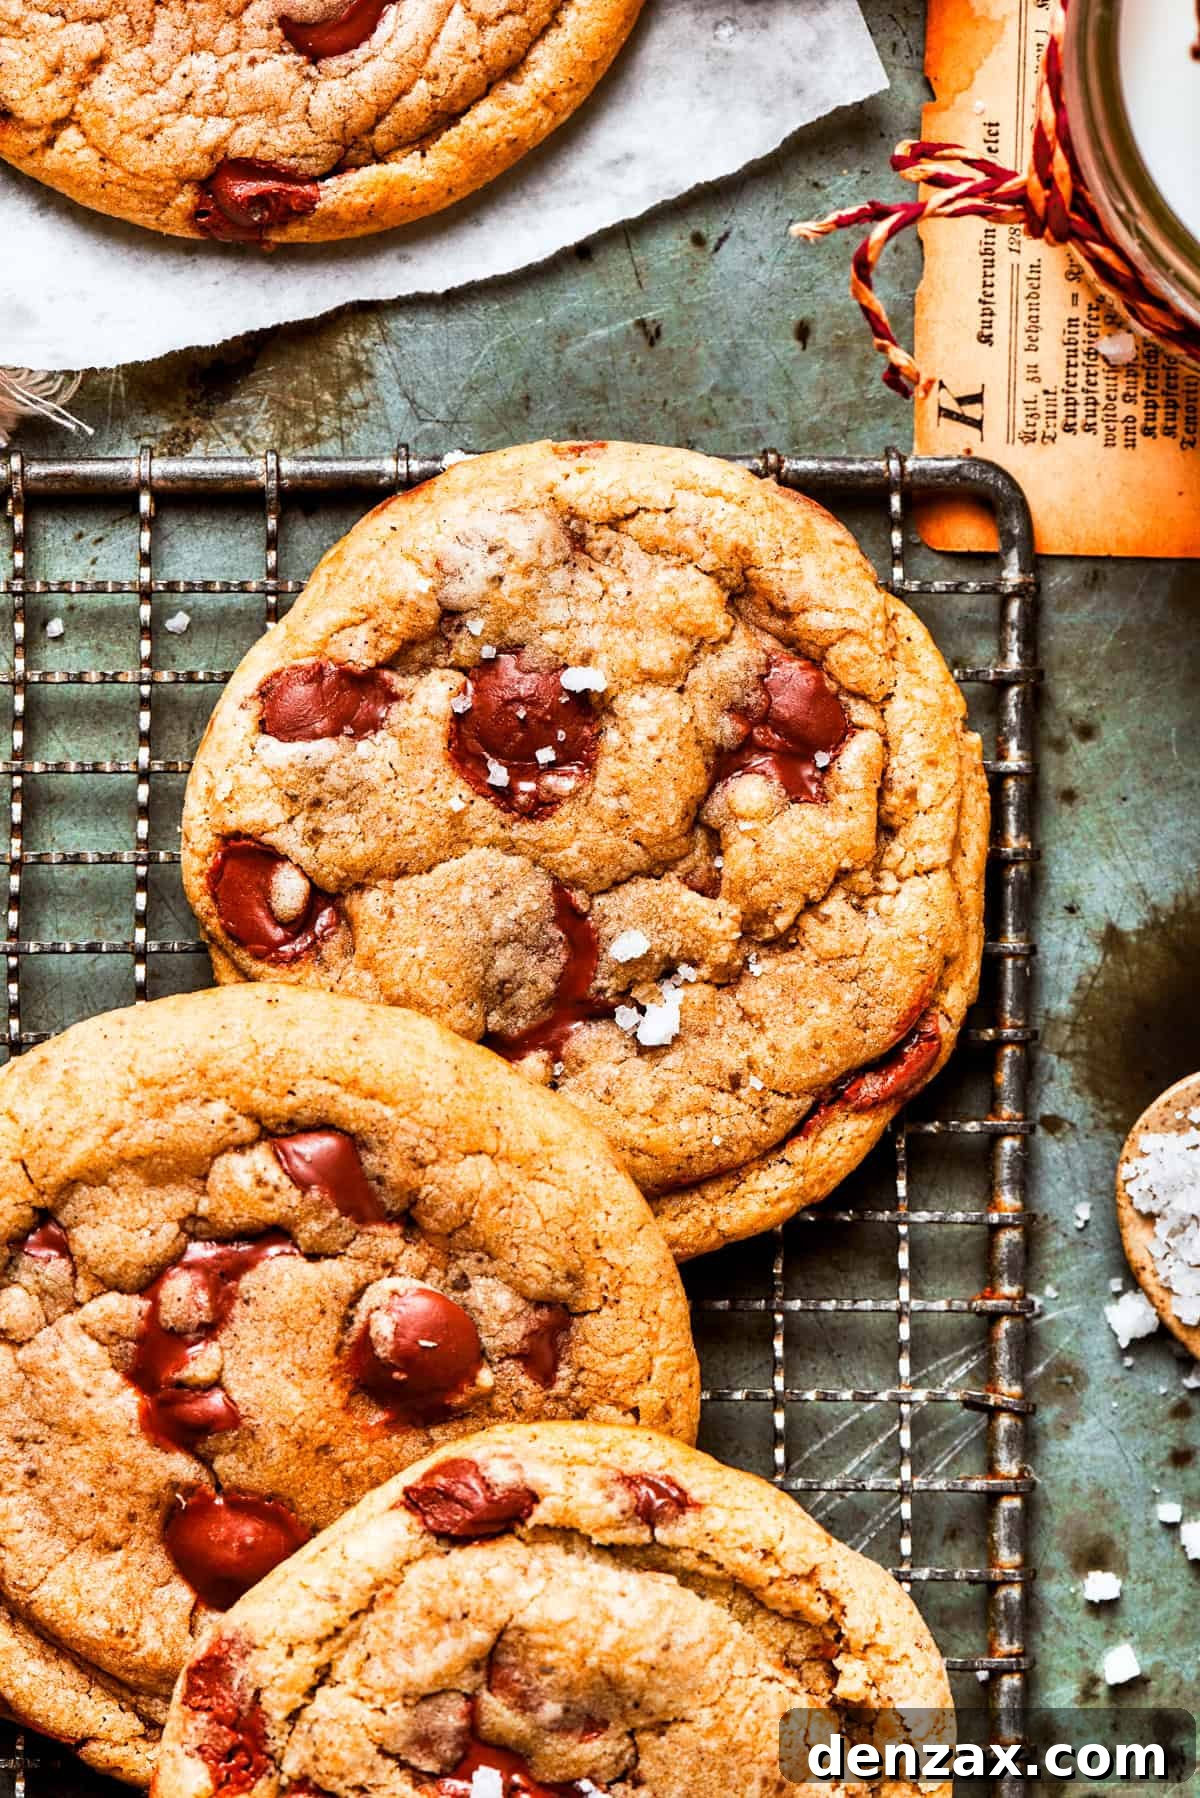
Prepare to experience what might just be the absolute best Brown Butter Chocolate Chip Cookies you’ve ever tasted. These culinary masterpieces transcend the ordinary, offering a symphony of warm, nutty, and profoundly rich flavors. Each bite delivers a perfect balance of crisp edges, a soft, chewy center, and an abundance of melty chocolate chips, all elevated by the transformative magic of browned butter. Say goodbye to your basic chocolate chip cookie recipe and get ready for a truly extraordinary baking adventure.
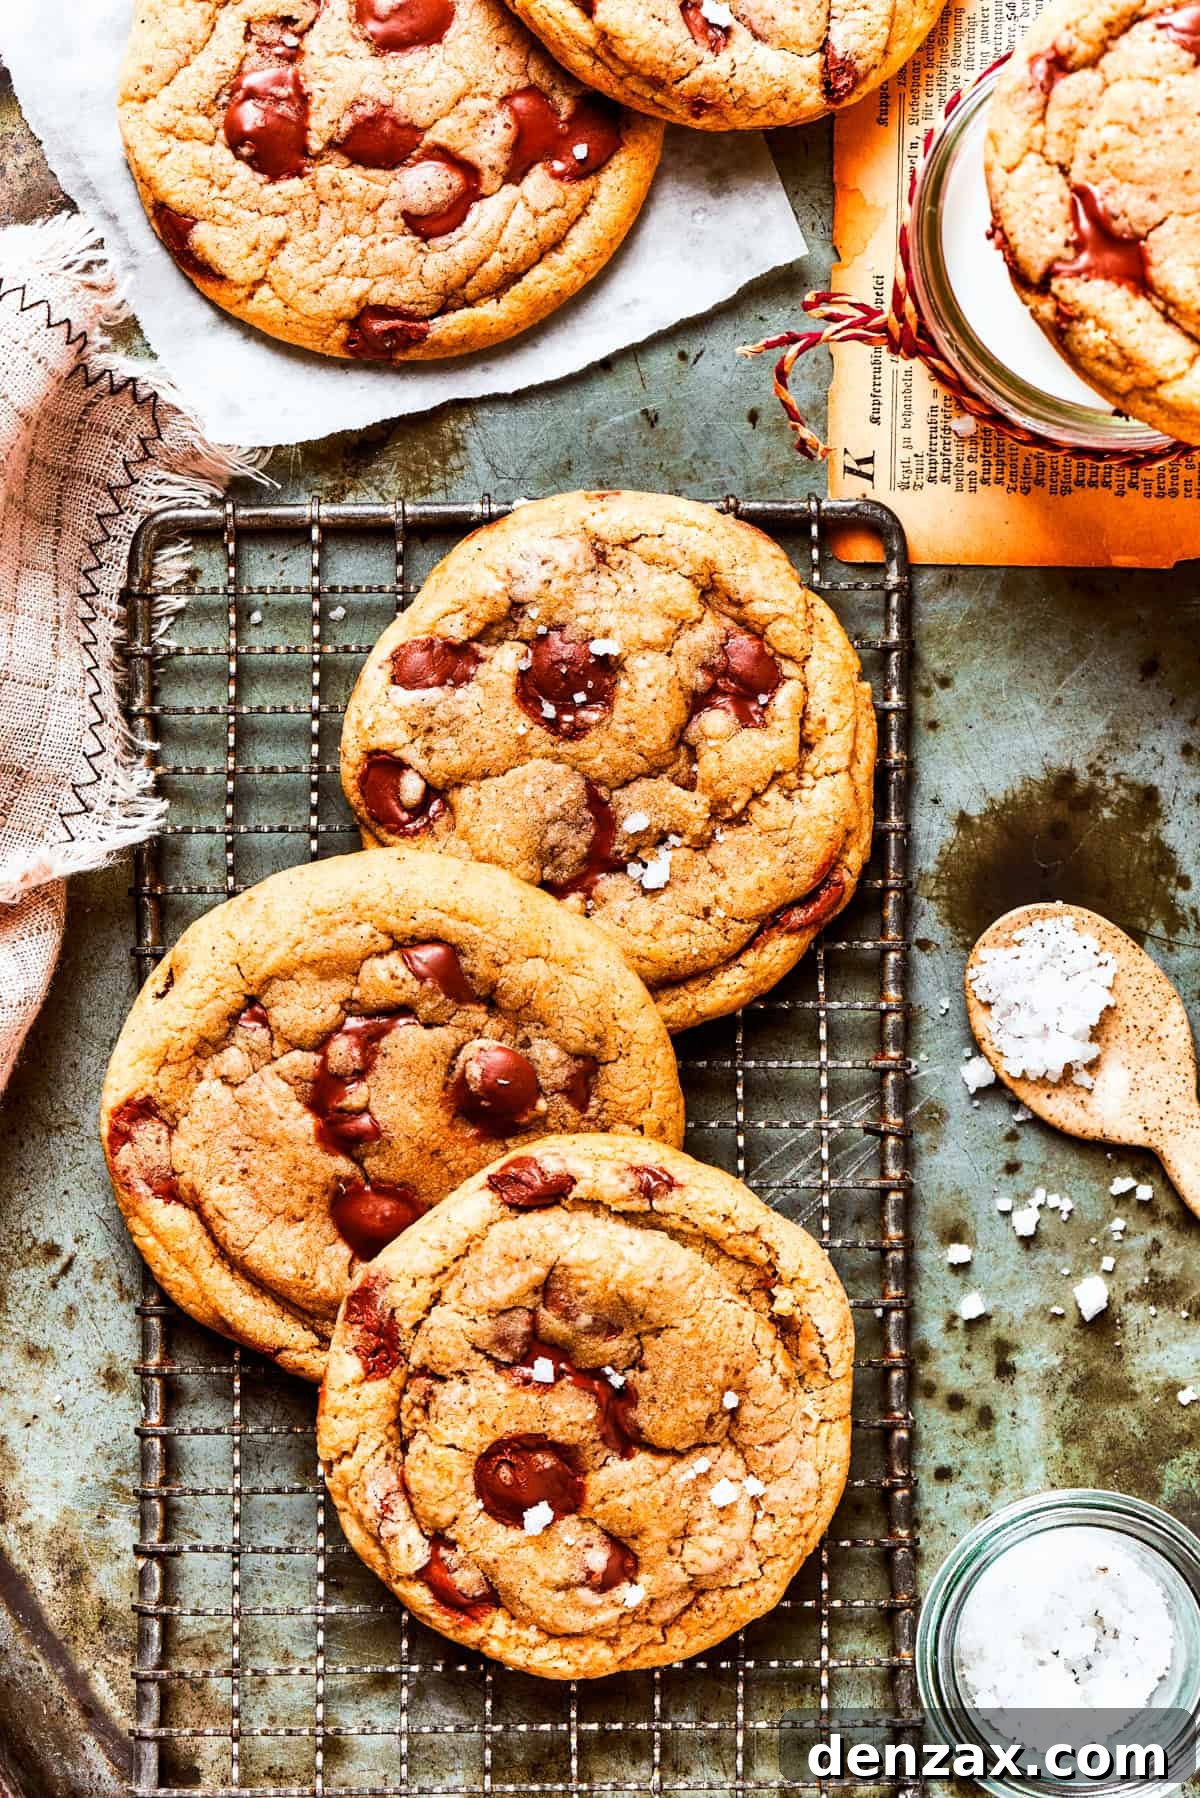
It’s a bold claim, but these brown butter chocolate chip cookies are not just good; they are, unequivocally, the best brown butter chocolate chip cookies of all time. The secret lies in the simple, yet profound, act of browning the butter. This crucial first step infuses the cookies with an unparalleled depth of flavor – a rich, caramelized, and nutty essence that takes them far beyond the realm of traditional chocolate chip cookies. While a classic chewy chocolate chip cookie is always a delight, the browned butter version offers a complex flavor profile that is simply irresistible. To elevate them even further, a delicate sprinkle of flaky sea salt on top provides a sensational sweet and salty contrast, making each cookie a gourmet experience.
Why These Brown Butter Chocolate Chip Cookies Are Simply the Best
What makes these cookies stand head and shoulders above the rest? It boils down to a few key elements that ensure every batch is a resounding success and a joy to devour:
- The Enchantment of Browned Butter: This isn’t just a simple ingredient; it’s a game-changer. Browning butter unlocks a world of nutty, toasted, and caramel-like flavors that permeate every fiber of the cookie. This depth of flavor is impossible to achieve with regular melted butter, transforming a good cookie into an extraordinary one. The milk solids in the butter toast to a golden amber, releasing aromatic compounds that are absolutely essential for this recipe’s signature taste.
- Effortless Preparation, Unbeatable Results: Despite their sophisticated flavor, these cookies are incredibly easy to make. Because the butter is melted first, there’s no need for a stand mixer or even a hand mixer. A simple whisk and a sturdy spoon are all you require, making cleanup a breeze and the baking process stress-free. This streamlined approach makes them perfect for busy weeknights or a spontaneous baking craving.
- A Family Favorite That Pleases Every Palate: Chocolate chip cookies are universally loved, and these brown butter beauties are no exception. Kids, in particular, adore them, especially when served warm, with the chocolate still perfectly gooey and melty. For a versatile treat, I often dust half the batch with flaky sea salt for those who appreciate the sweet-and-salty combination, leaving the other half plain to cater to younger palates or those who prefer pure sweetness. They are truly a crowd-pleaser for all ages.
Essential Ingredients for Perfect Brown Butter Chocolate Chip Cookies
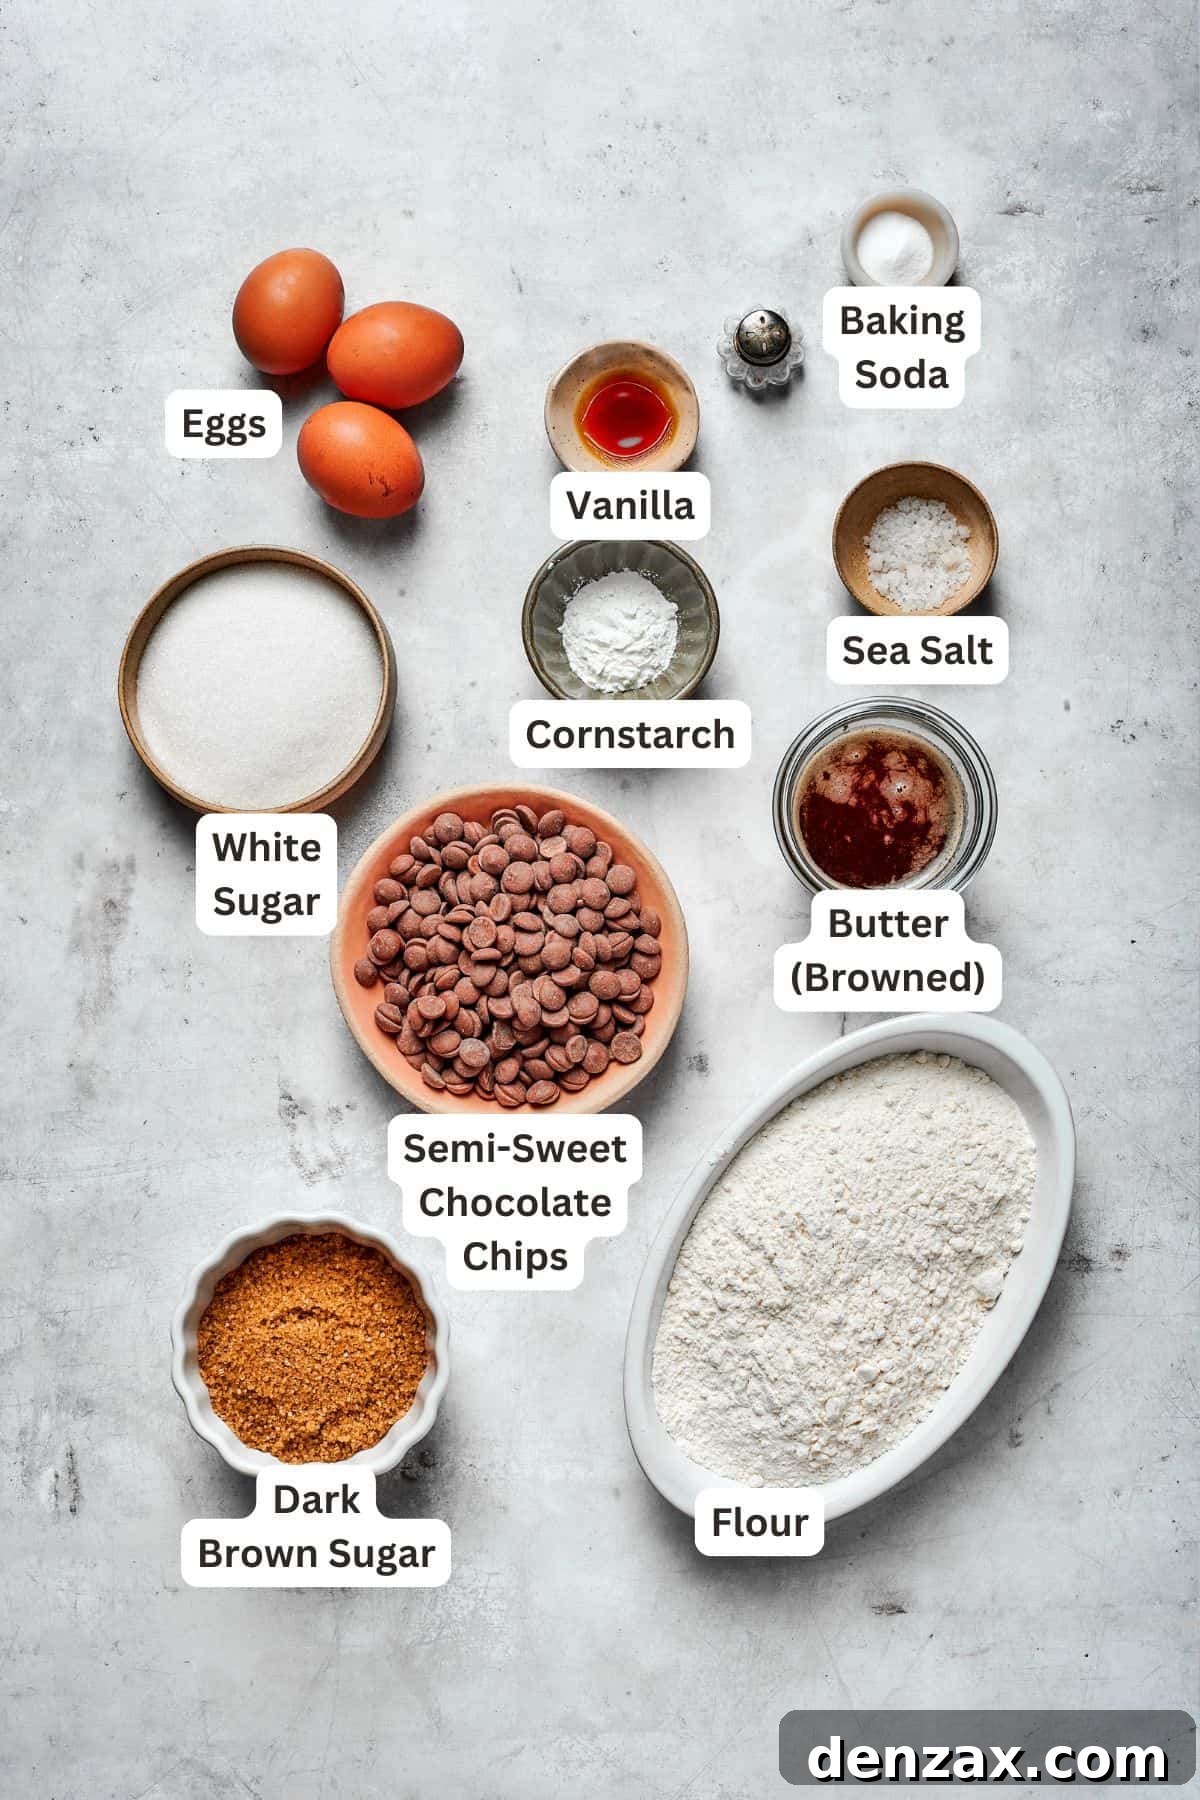
Crafting these deeply flavorful brown butter chocolate chip cookies requires mostly everyday pantry staples, plus a few fresh additions. The magic truly happens when these simple ingredients come together. Below, you’ll find notes on each component, highlighting their importance. For precise measurements and detailed instructions, refer to the comprehensive recipe card located at the end of this article.
- Unsalted Butter: The star of the show! Using unsalted butter allows you to control the salt content in the recipe. Since you’ll be melting and browning it, there’s no need to bring it to room temperature beforehand, simplifying your prep. The browning process is what gives these cookies their signature depth and nutty undertones.
- Granulated Sugar & Dark Brown Sugar: This dynamic duo provides both sweetness and crucial texture. Granulated sugar contributes to those coveted crisp edges, while dark brown sugar, with its higher molasses content, ensures a wonderfully chewy interior and a rich, moist crumb. If dark brown sugar isn’t available, light brown sugar can be substituted, though it may result in a slightly less intense molasses flavor.
- Large Eggs & 1 Egg Yolk: For the best consistency and to avoid a greasy dough, ensure your eggs (two large whole eggs plus one extra egg yolk) are at room temperature. The additional egg yolk is a secret weapon, adding extra richness, chewiness, and binding power to the dough, contributing to that irresistible dense texture.
- Pure Vanilla Extract: Don’t skimp on quality here! Pure vanilla extract or vanilla bean paste will significantly enhance the overall flavor profile, complementing the browned butter beautifully. It adds a warm, aromatic note that ties all the flavors together.
- All-Purpose Flour: The structural backbone of our cookies. Using all-purpose flour provides the necessary framework.
- Cornstarch: This might seem like an unusual addition, but cornstarch is a fantastic secret ingredient for tender cookies. It helps to soften the texture, resulting in a more delicate and melt-in-your-mouth crumb while preventing them from becoming cakey.
- Baking Soda: Our leavening agent, responsible for giving the cookies a slight lift and contributing to their beautiful golden-brown color and characteristic spread.
- Salt: Essential for balancing the sweetness and enhancing all the other flavors. A pinch in the dough is vital.
- High-Quality Chocolate Chips: The better the chocolate, the better the cookie! I highly recommend using a good-quality brand of semi-sweet chocolate chips, such as Guittard. Semi-sweet offers the perfect balance, melting beautifully and providing a delightful chocolatey burst without being overly sweet. Feel free to use chocolate chunks from a chopped bar for varying textures.
- Flaky Sea Salt: This is a non-negotiable finishing touch for me! A light sprinkle of flaky sea salt on the warm cookies creates an incredible contrast, amplifying the flavors and adding a gourmet touch that truly takes them over the top.
Step-by-Step Guide to Baking Brown Butter Chocolate Chip Cookies
Making these cookies is a straightforward process, but the key to their incredible flavor lies in the careful browning of the butter. Follow these steps for perfect results:
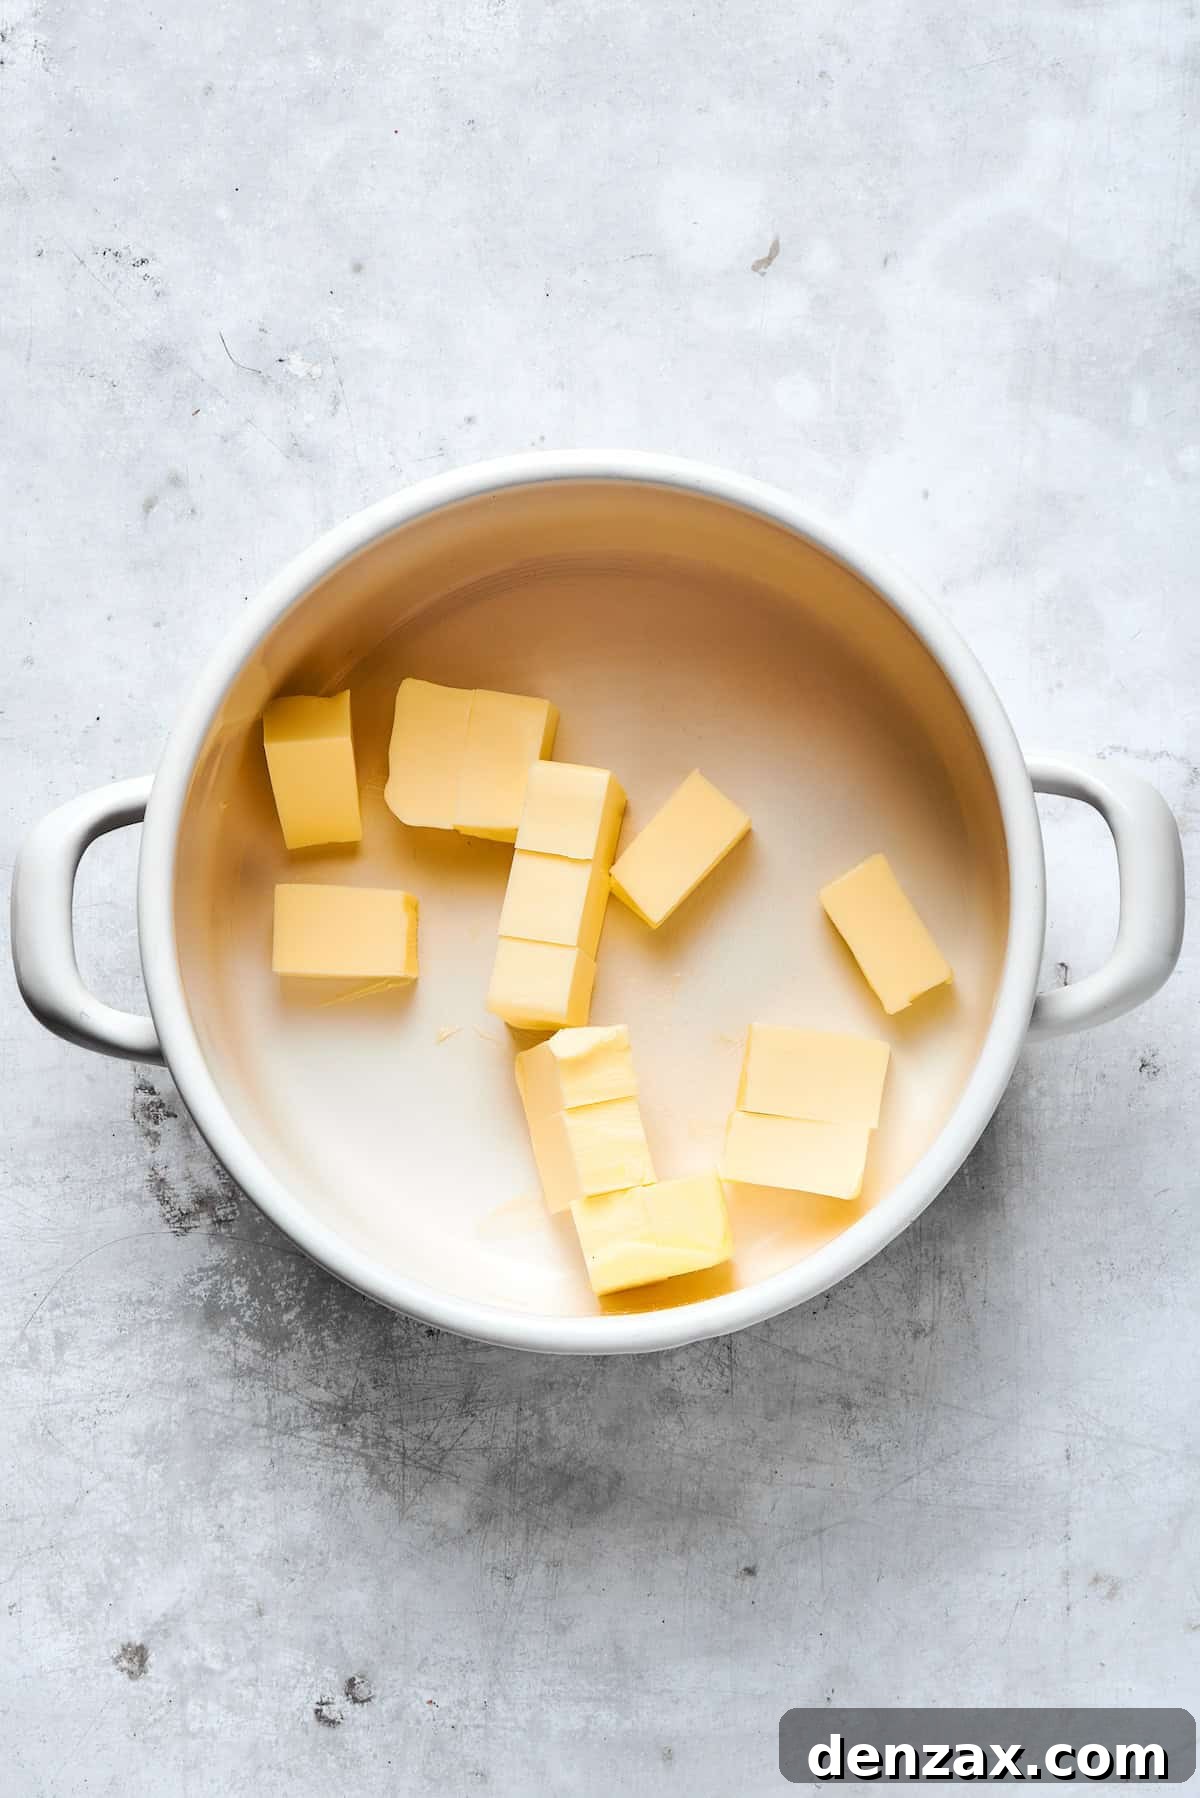

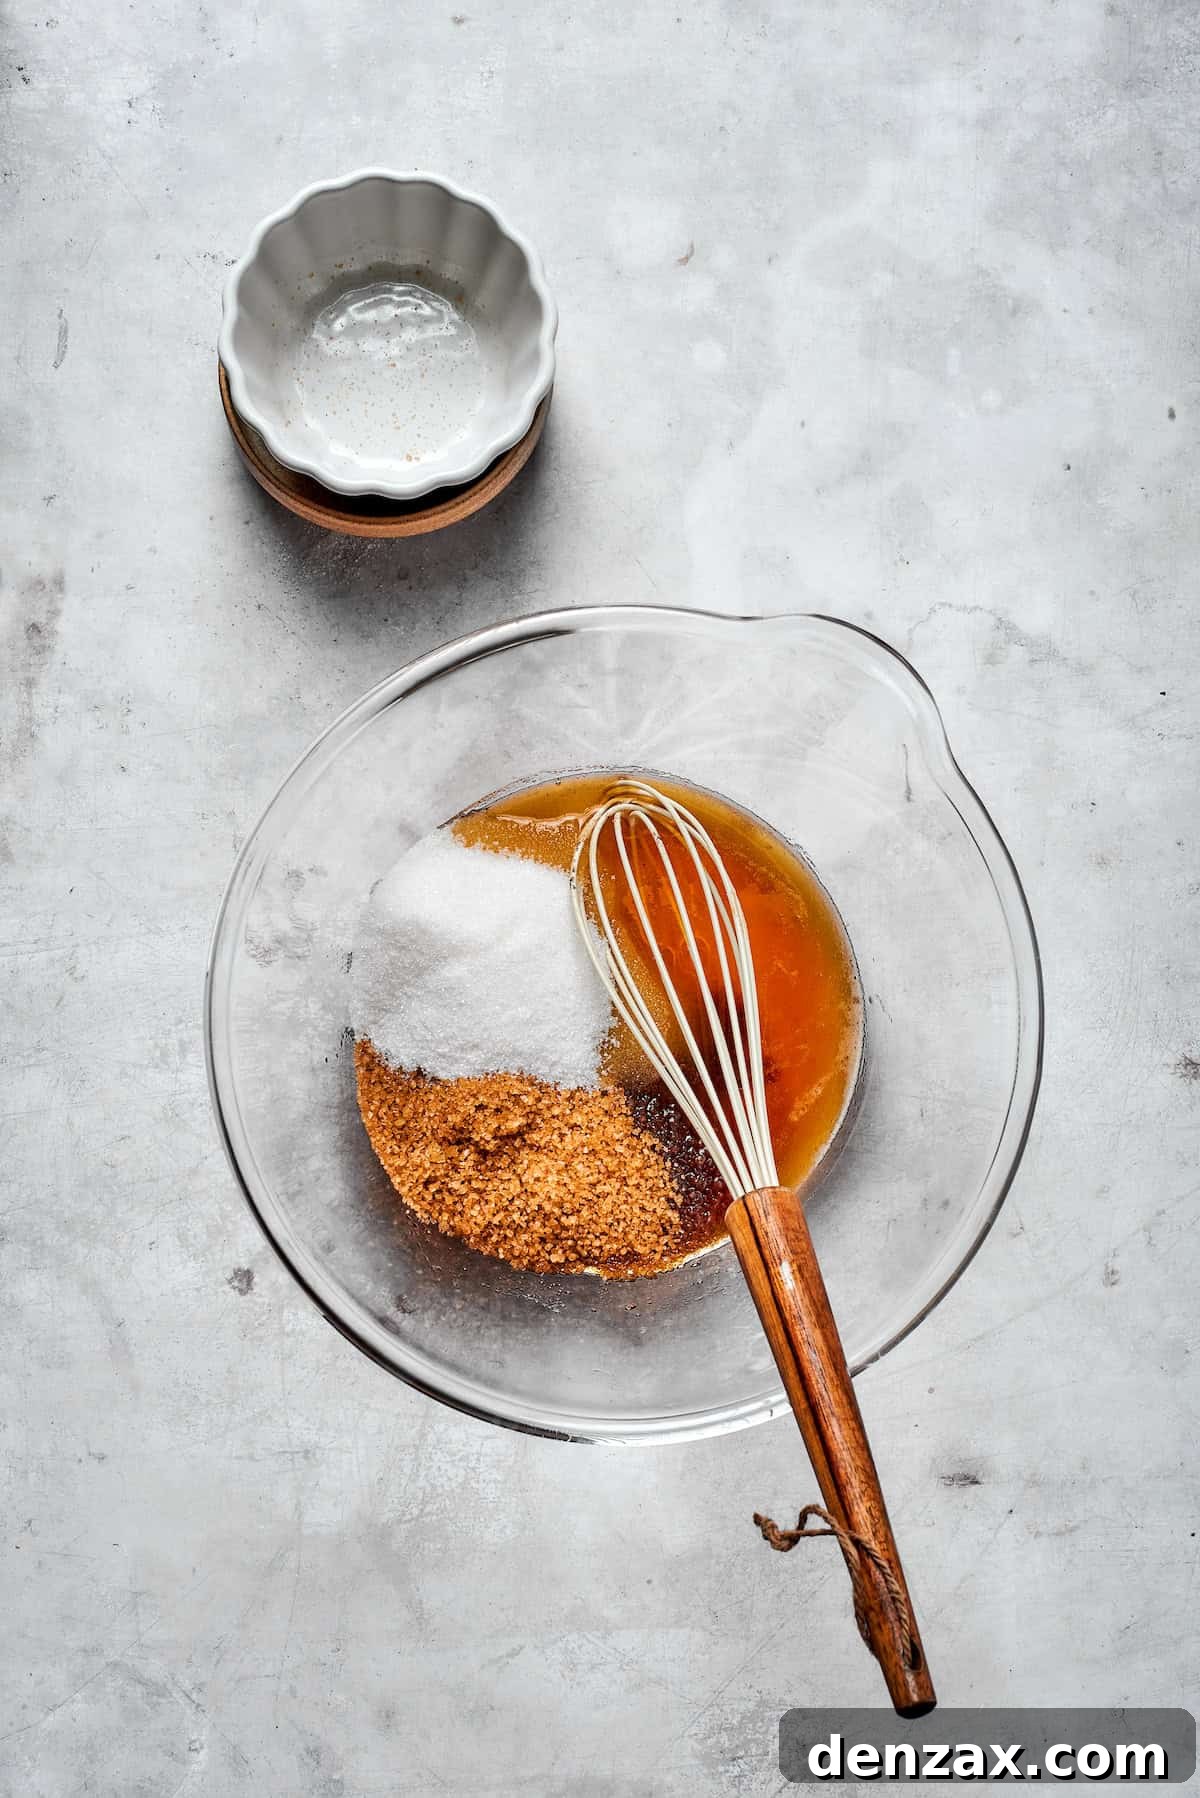
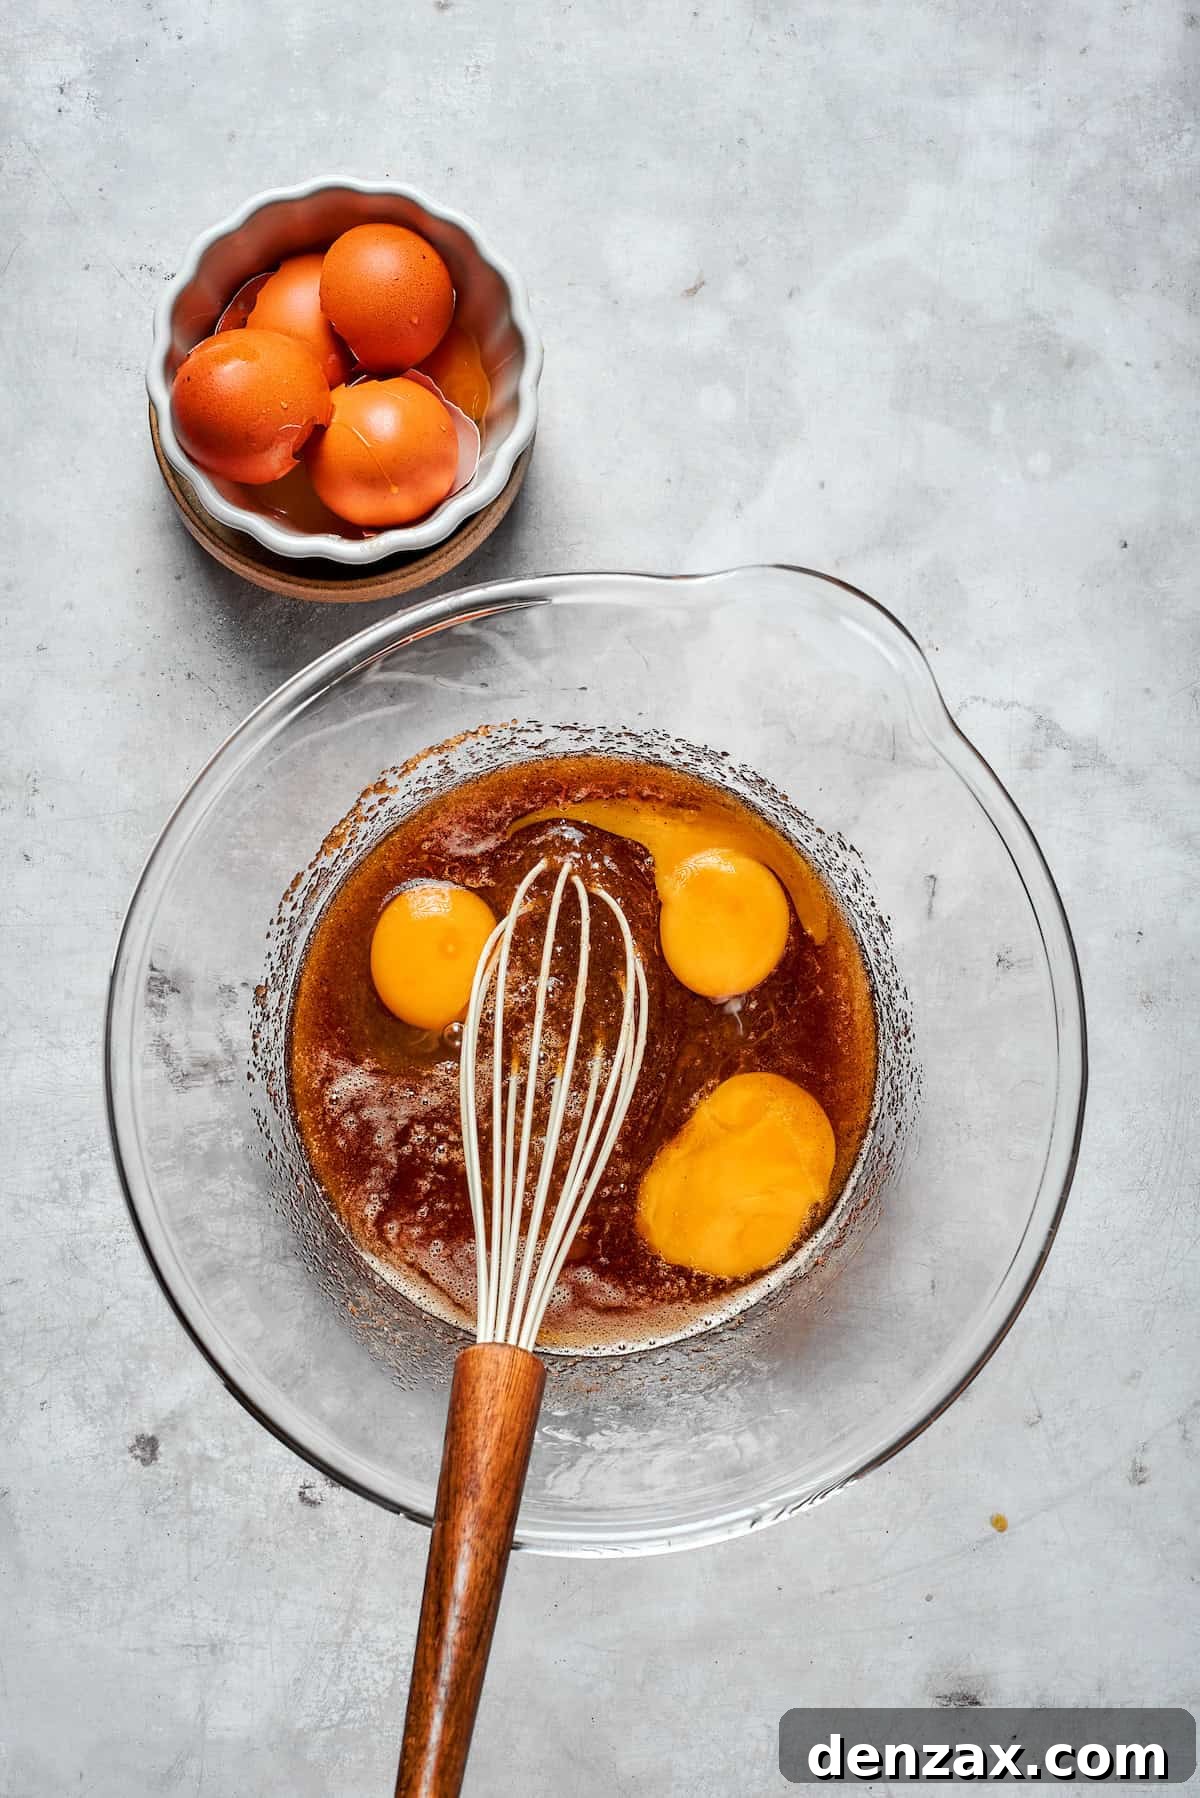
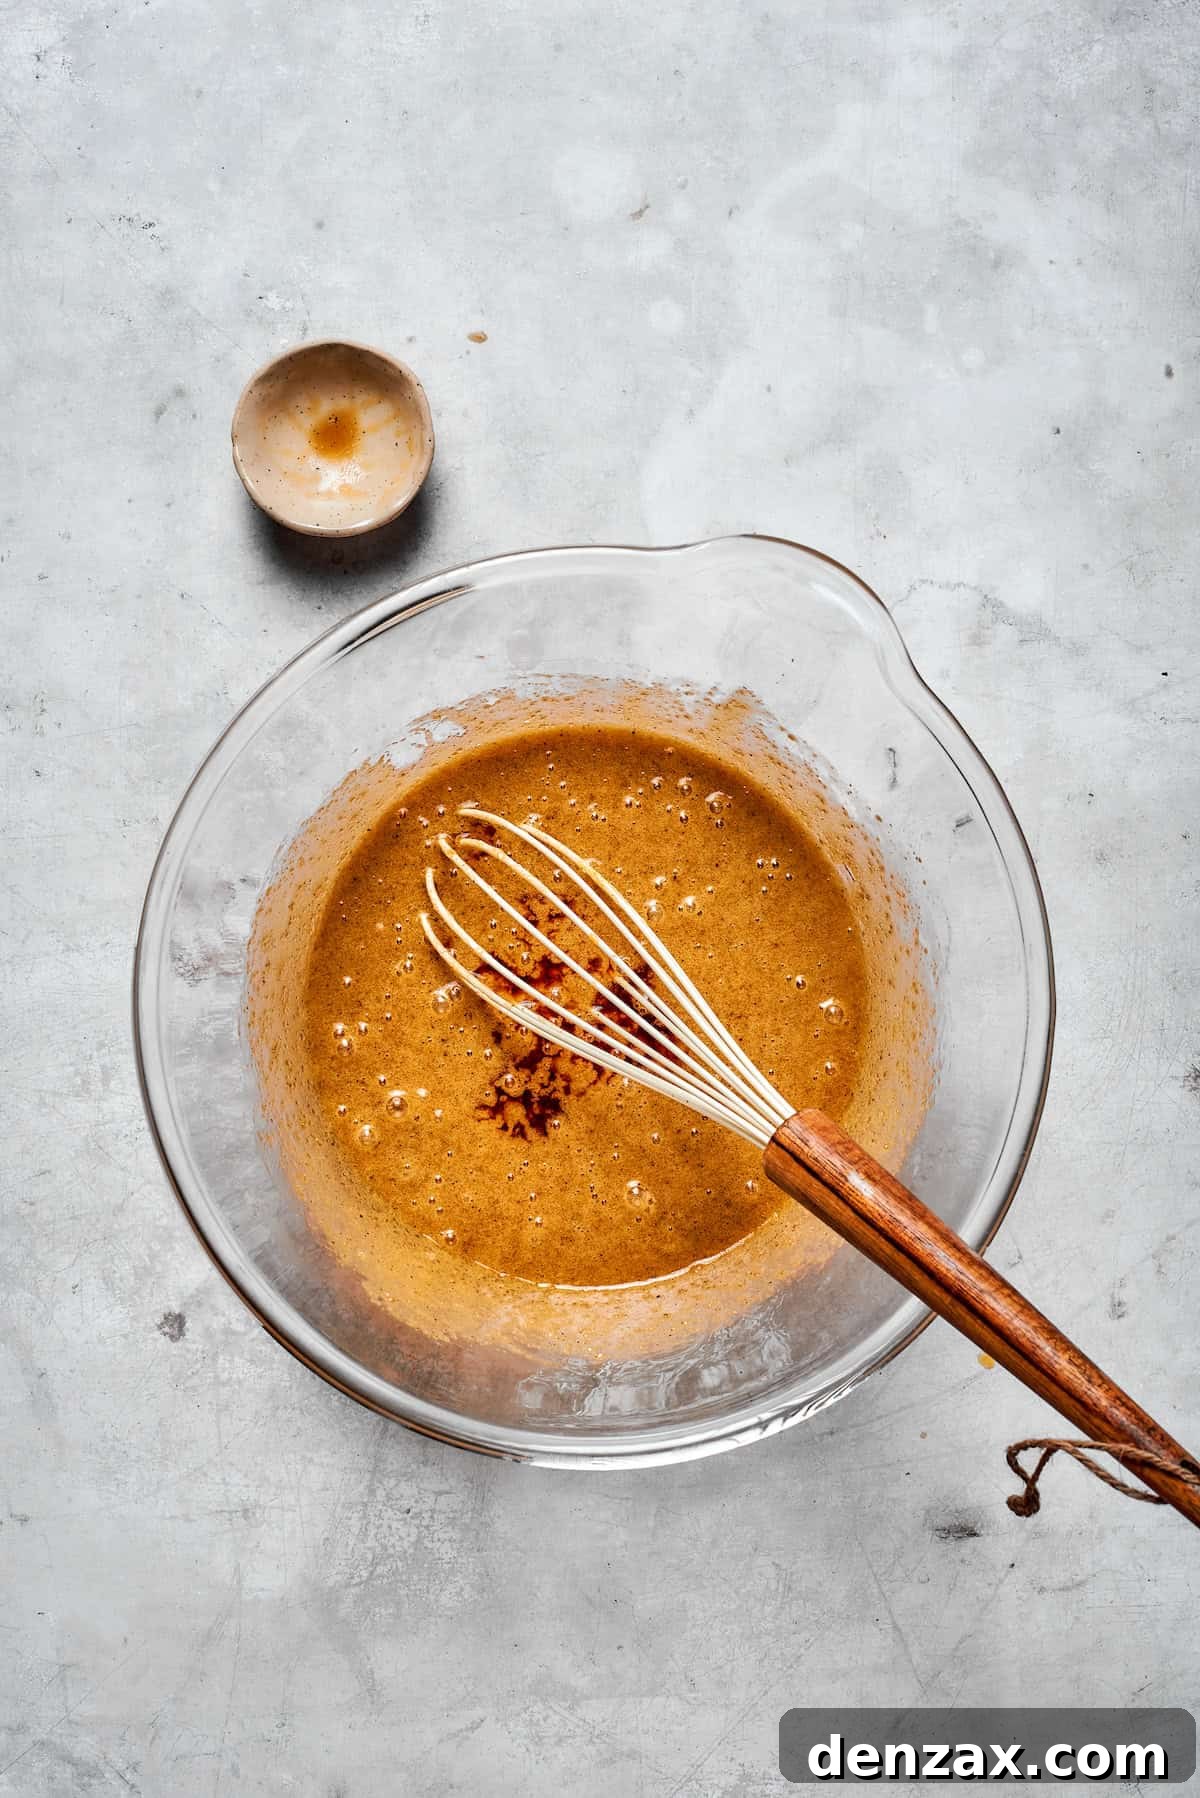
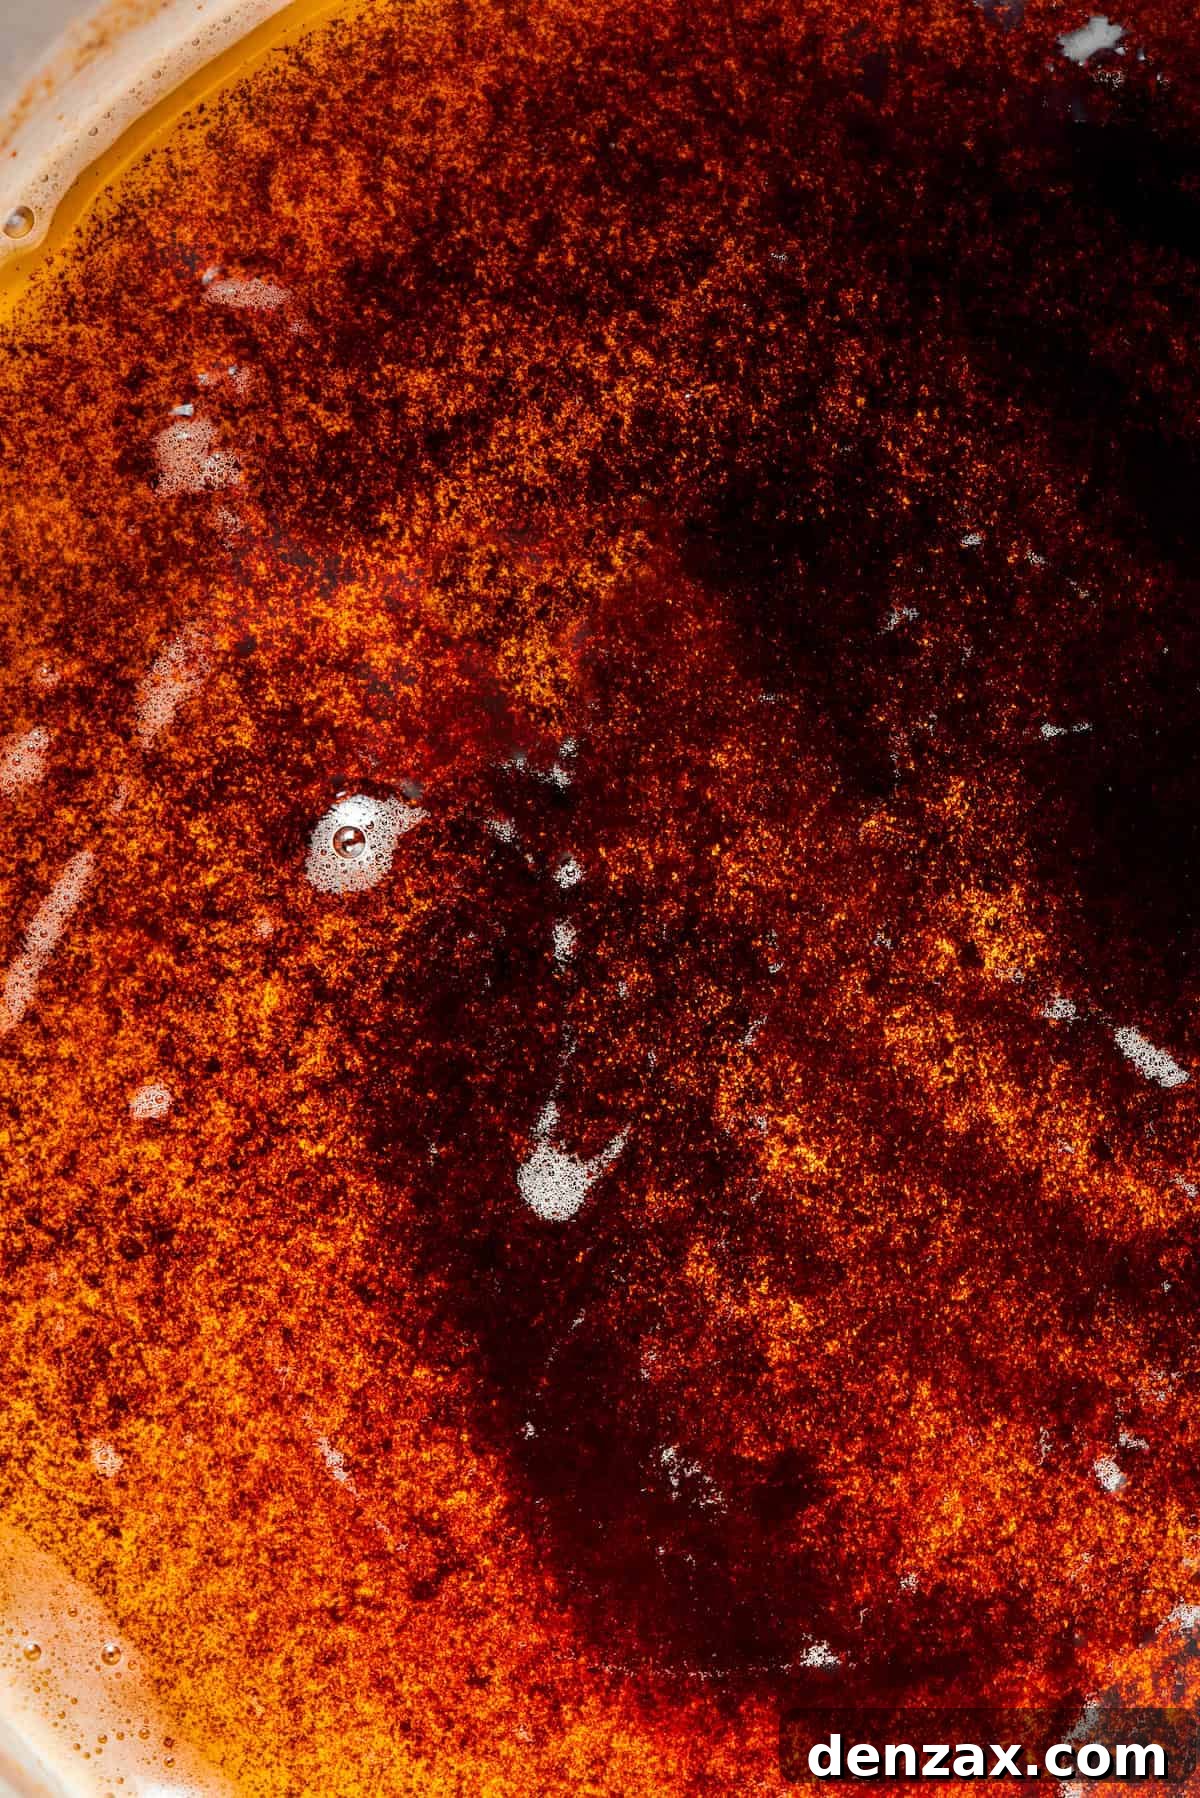
- Master the Brown Butter: In a medium saucepan, melt the unsalted butter over medium heat. Once fully melted, continue cooking, gently whisking or swirling the pan occasionally. The butter will foam, then the milk solids at the bottom will start to turn golden brown. Continue cooking for about 4-7 minutes total until the butter reaches a deep amber color and emits a rich, nutty aroma. Immediately remove it from the heat to prevent burning. Pour the browned butter (including all the toasted bits) into a heatproof bowl or measuring cup and allow it to cool completely to room temperature. This cooling step is crucial.
- Cream Sugars and Brown Butter: Once the browned butter has cooled, transfer it to a large mixing bowl. Add both the granulated sugar and the packed dark brown sugar. Whisk vigorously until the mixture is smooth, creamy, and well combined. This can take a couple of minutes by hand.
- Incorporate Eggs and Vanilla: Add the two large room-temperature eggs, the extra egg yolk, and the pure vanilla extract to the butter-sugar mixture. Whisk thoroughly until everything is fully incorporated and the mixture looks cohesive.
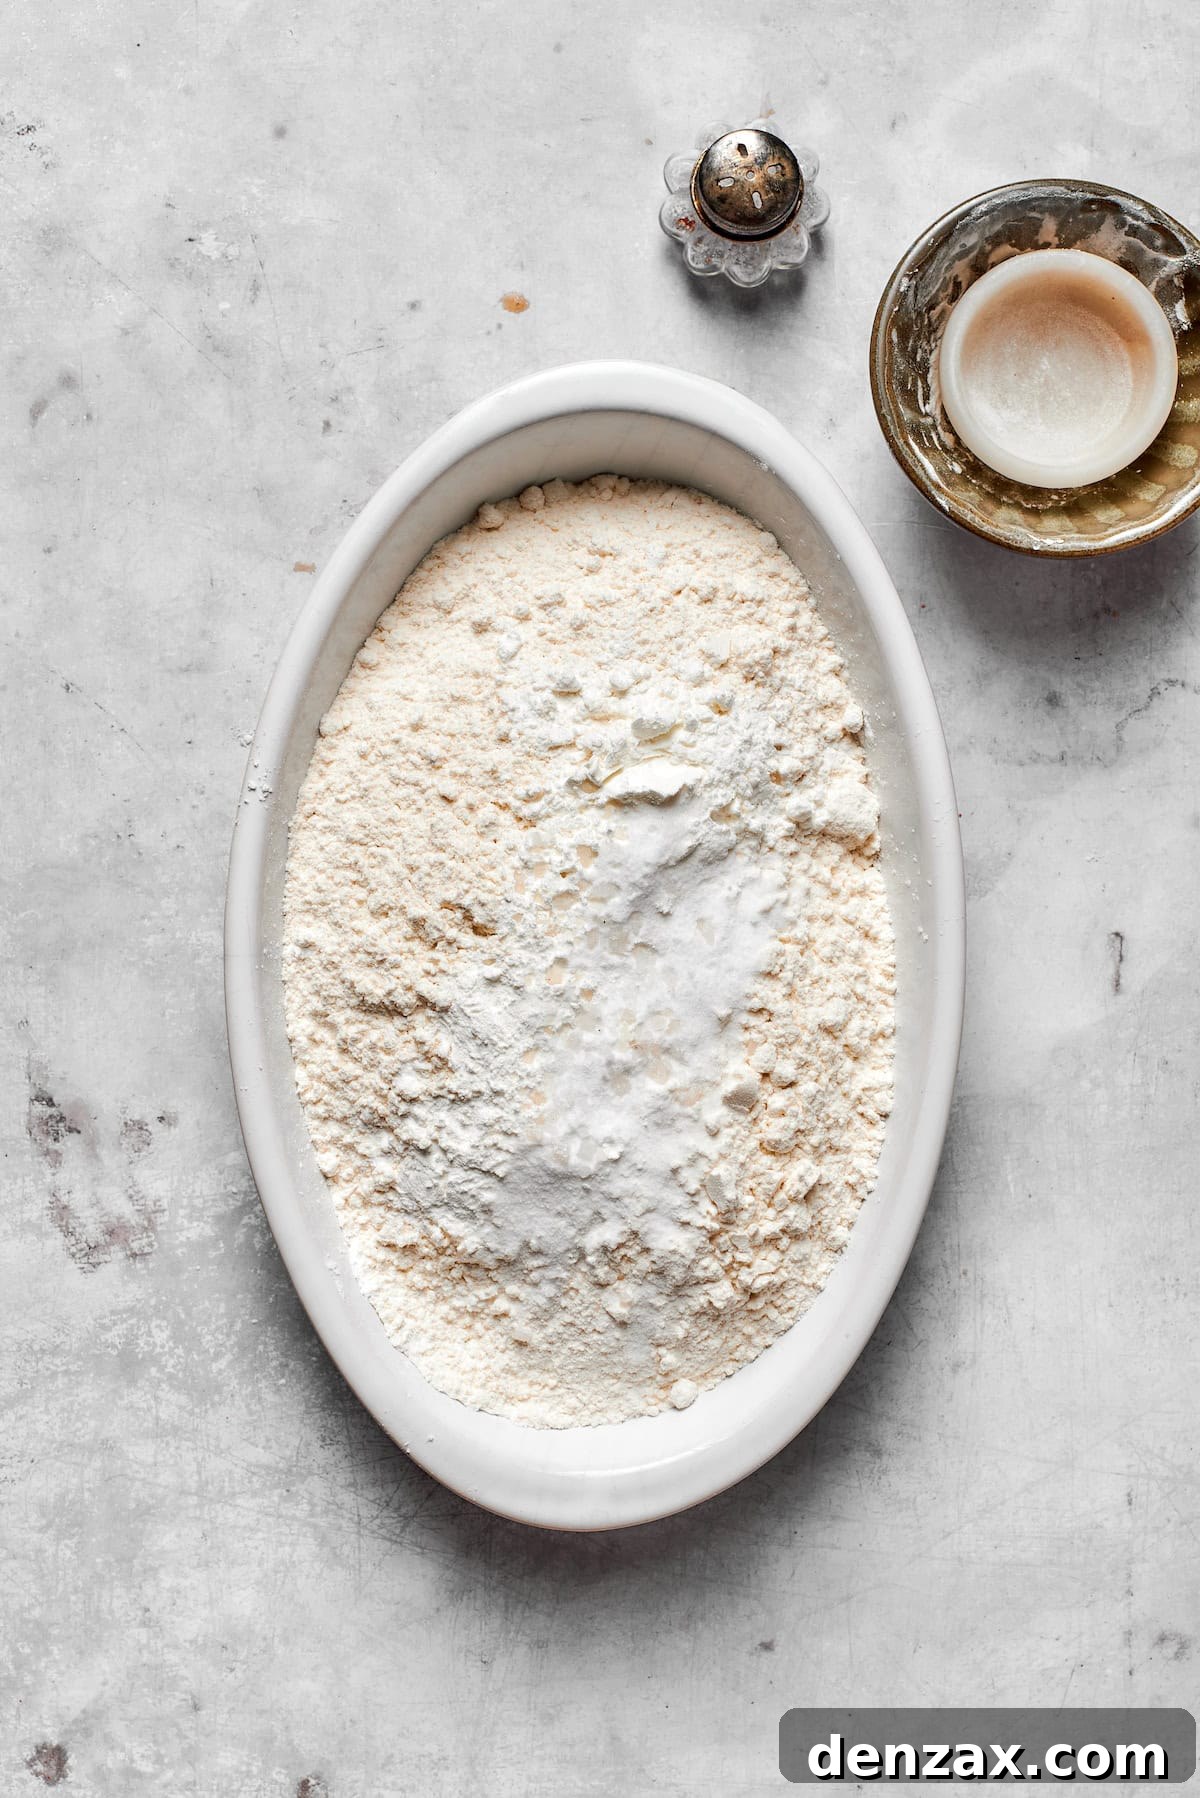
- Prepare Dry Ingredients: In a separate medium bowl, whisk together the all-purpose flour, cornstarch, baking soda, and a pinch of sea salt. Ensuring these are well-mixed guarantees even distribution throughout the dough.
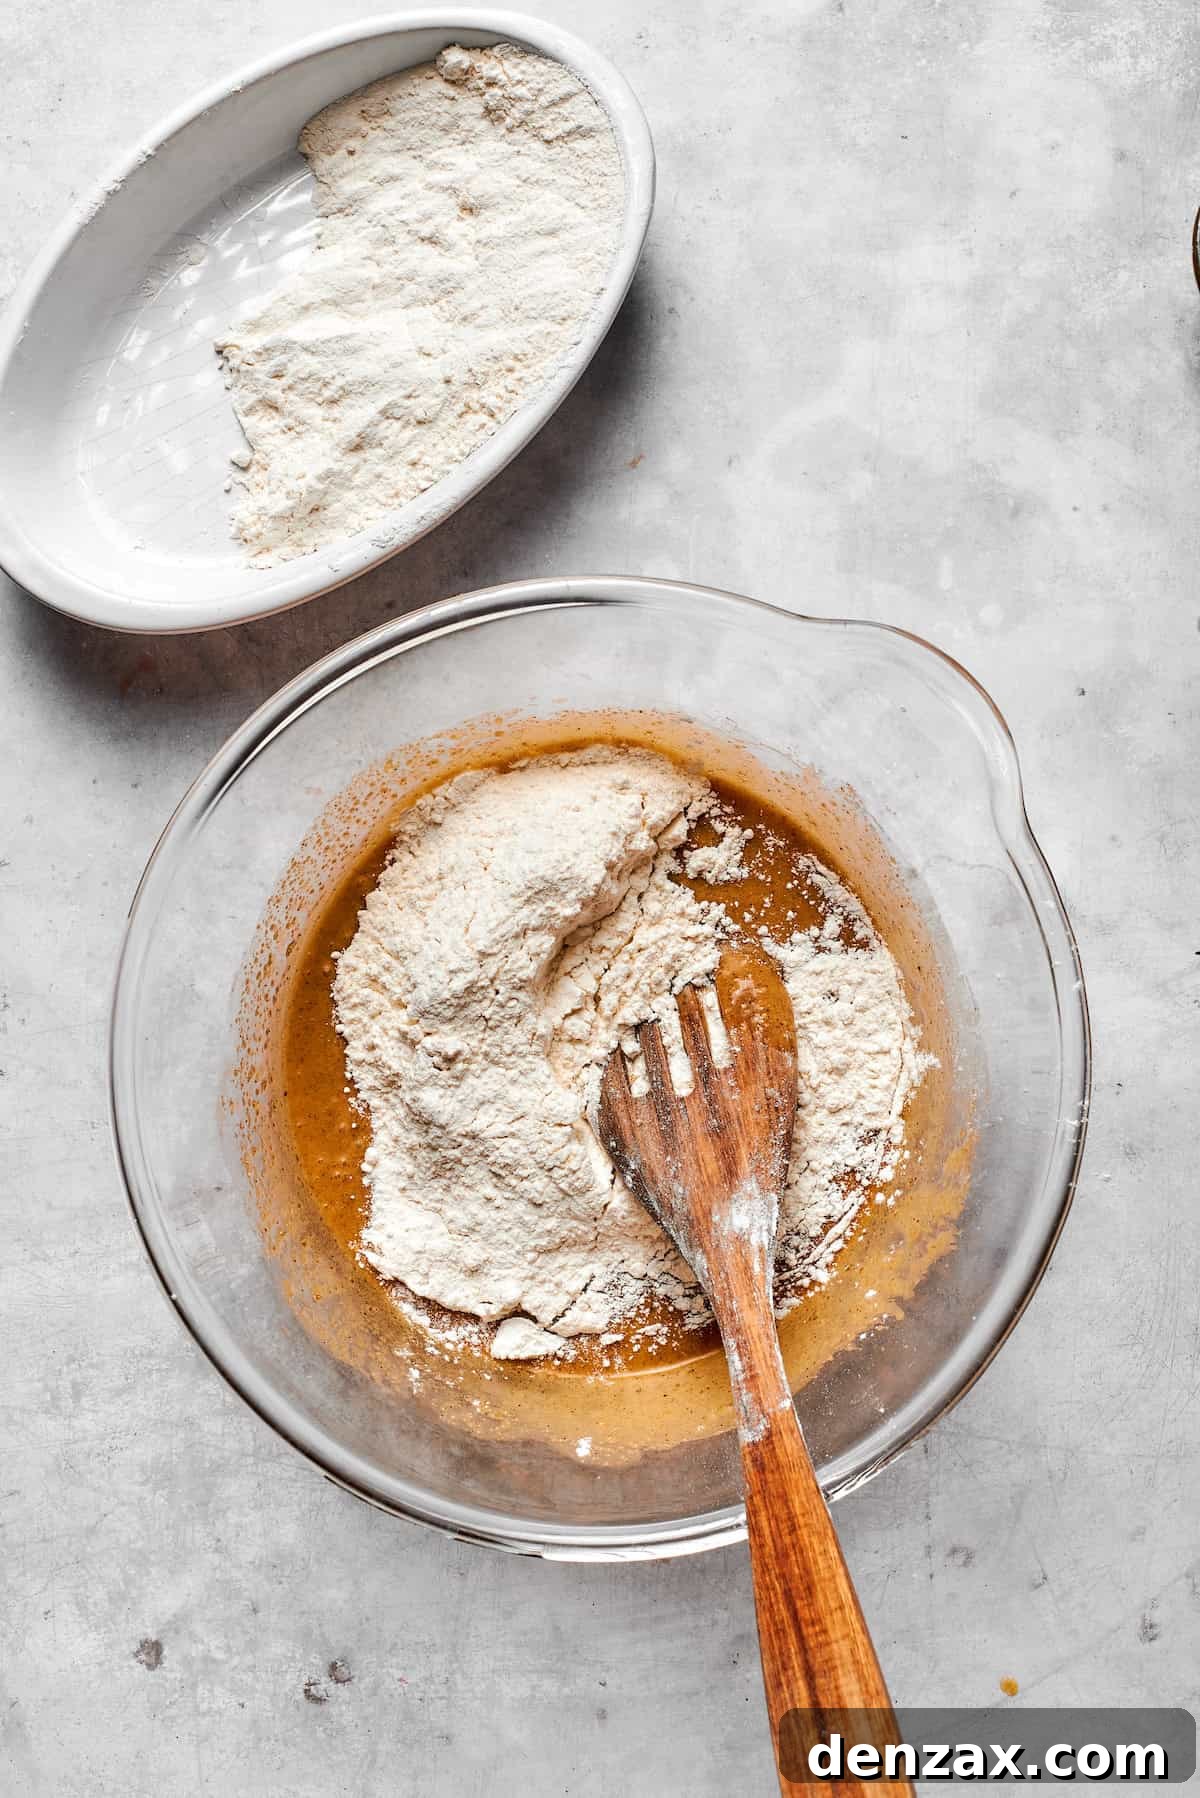
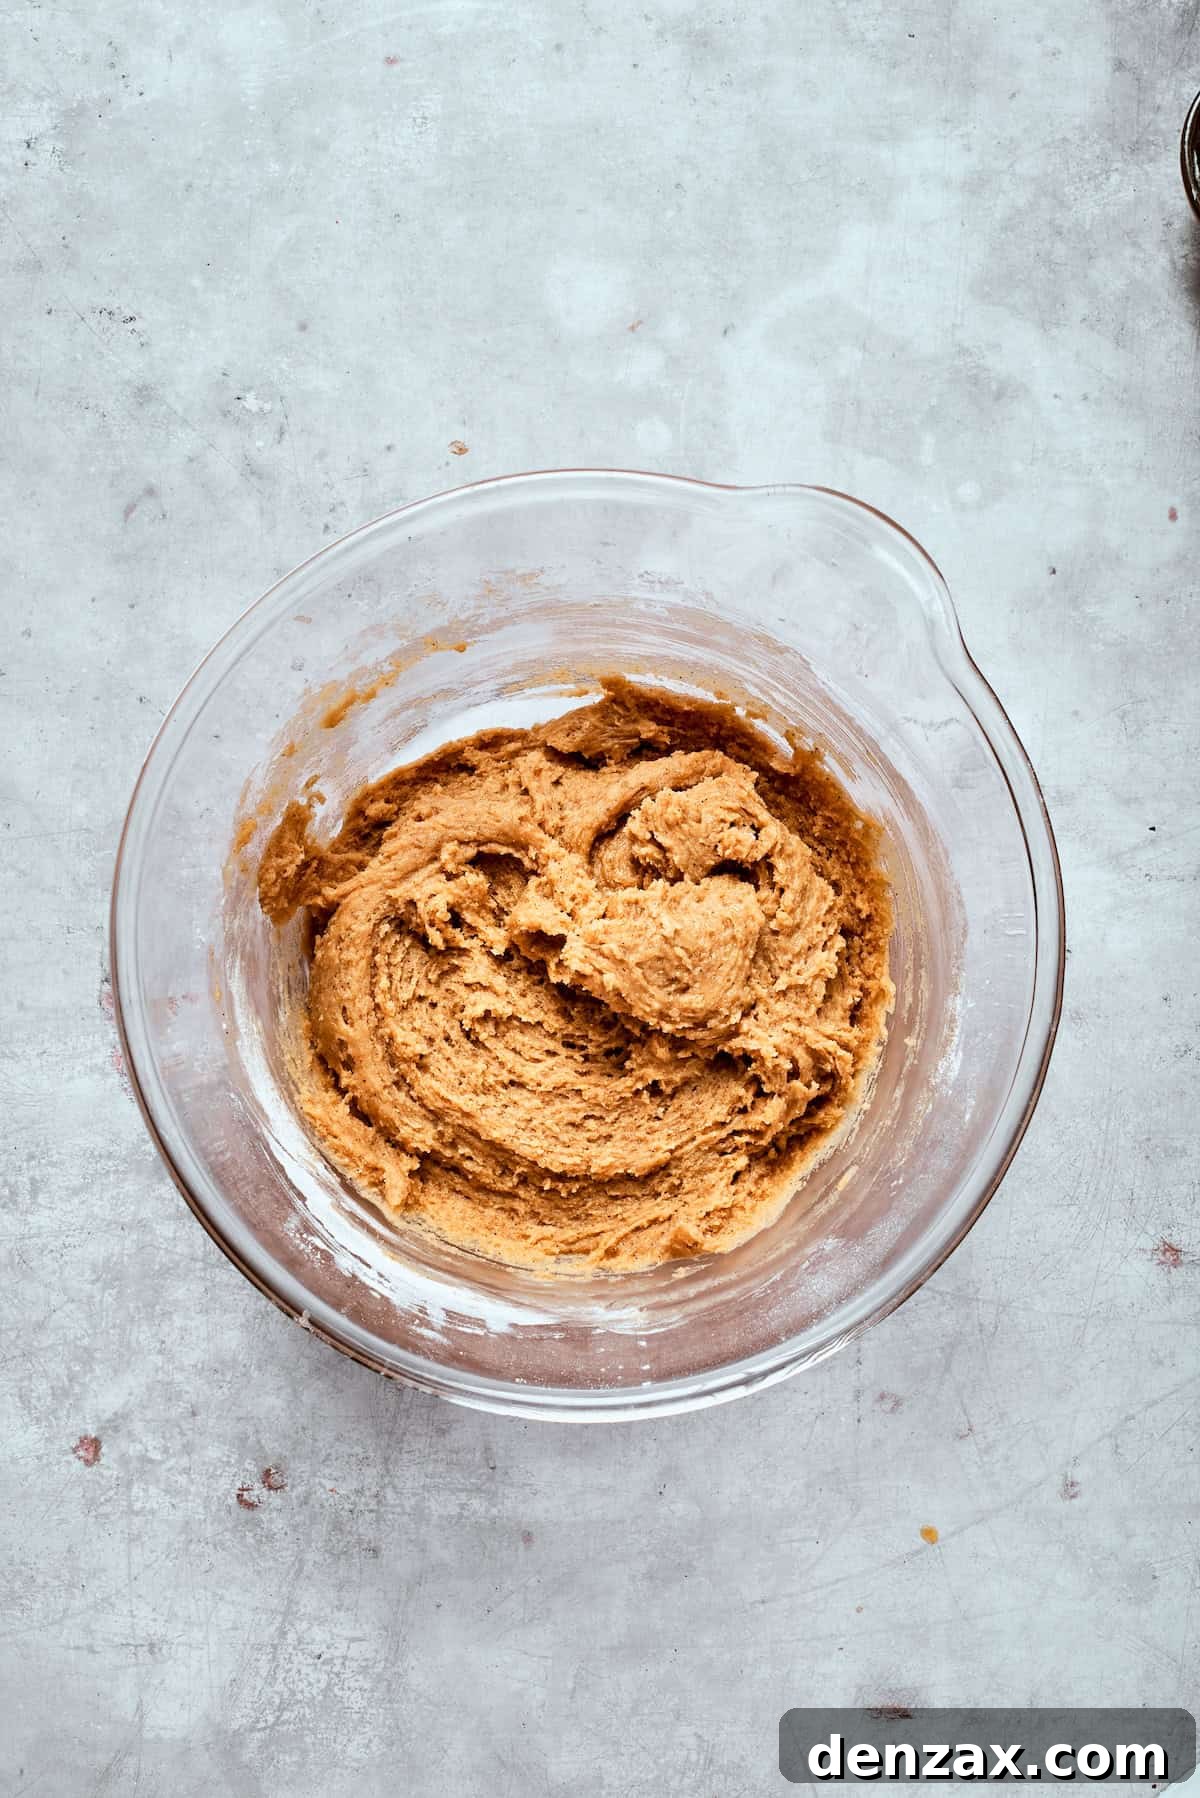
- Combine Wet and Dry: Gradually add the whisked dry ingredients to the wet mixture. Stir gently with a spoon or spatula until just combined. Be careful not to overmix the dough, as overworking the flour can lead to tough cookies. The dough will be thick and slightly sticky.
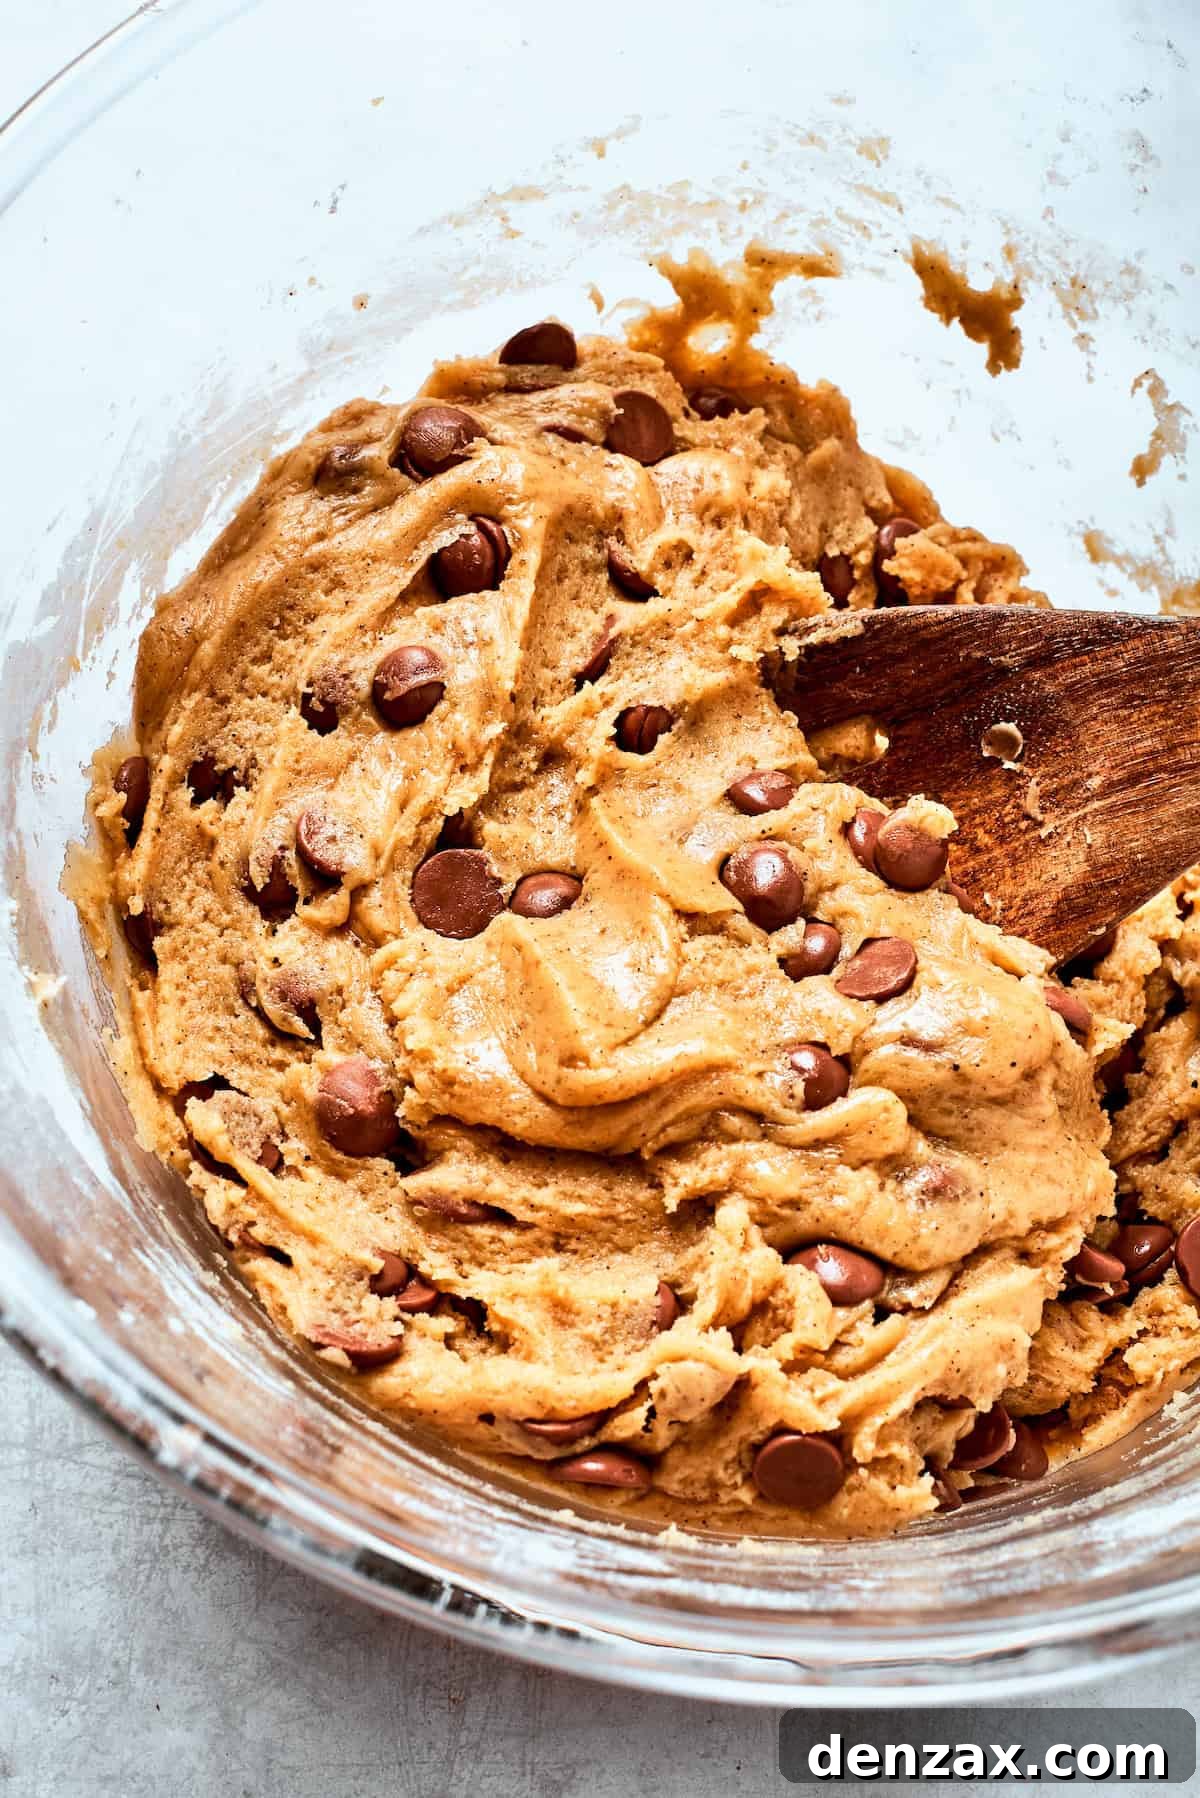
- Fold in Chocolate Chips & Chill: Gently fold in the semi-sweet chocolate chips until they are evenly distributed throughout the dough. Cover the bowl with plastic wrap and chill the cookie dough in the refrigerator for at least 30 minutes, or up to 24 hours. This chilling step is essential as it solidifies the butter, preventing the cookies from spreading too much during baking and allowing the flavors to deepen.
- Prepare for Baking: Preheat your oven to 350°F (175°C). Line two baking sheets with parchment paper or silicone baking mats to prevent sticking and ensure even baking.
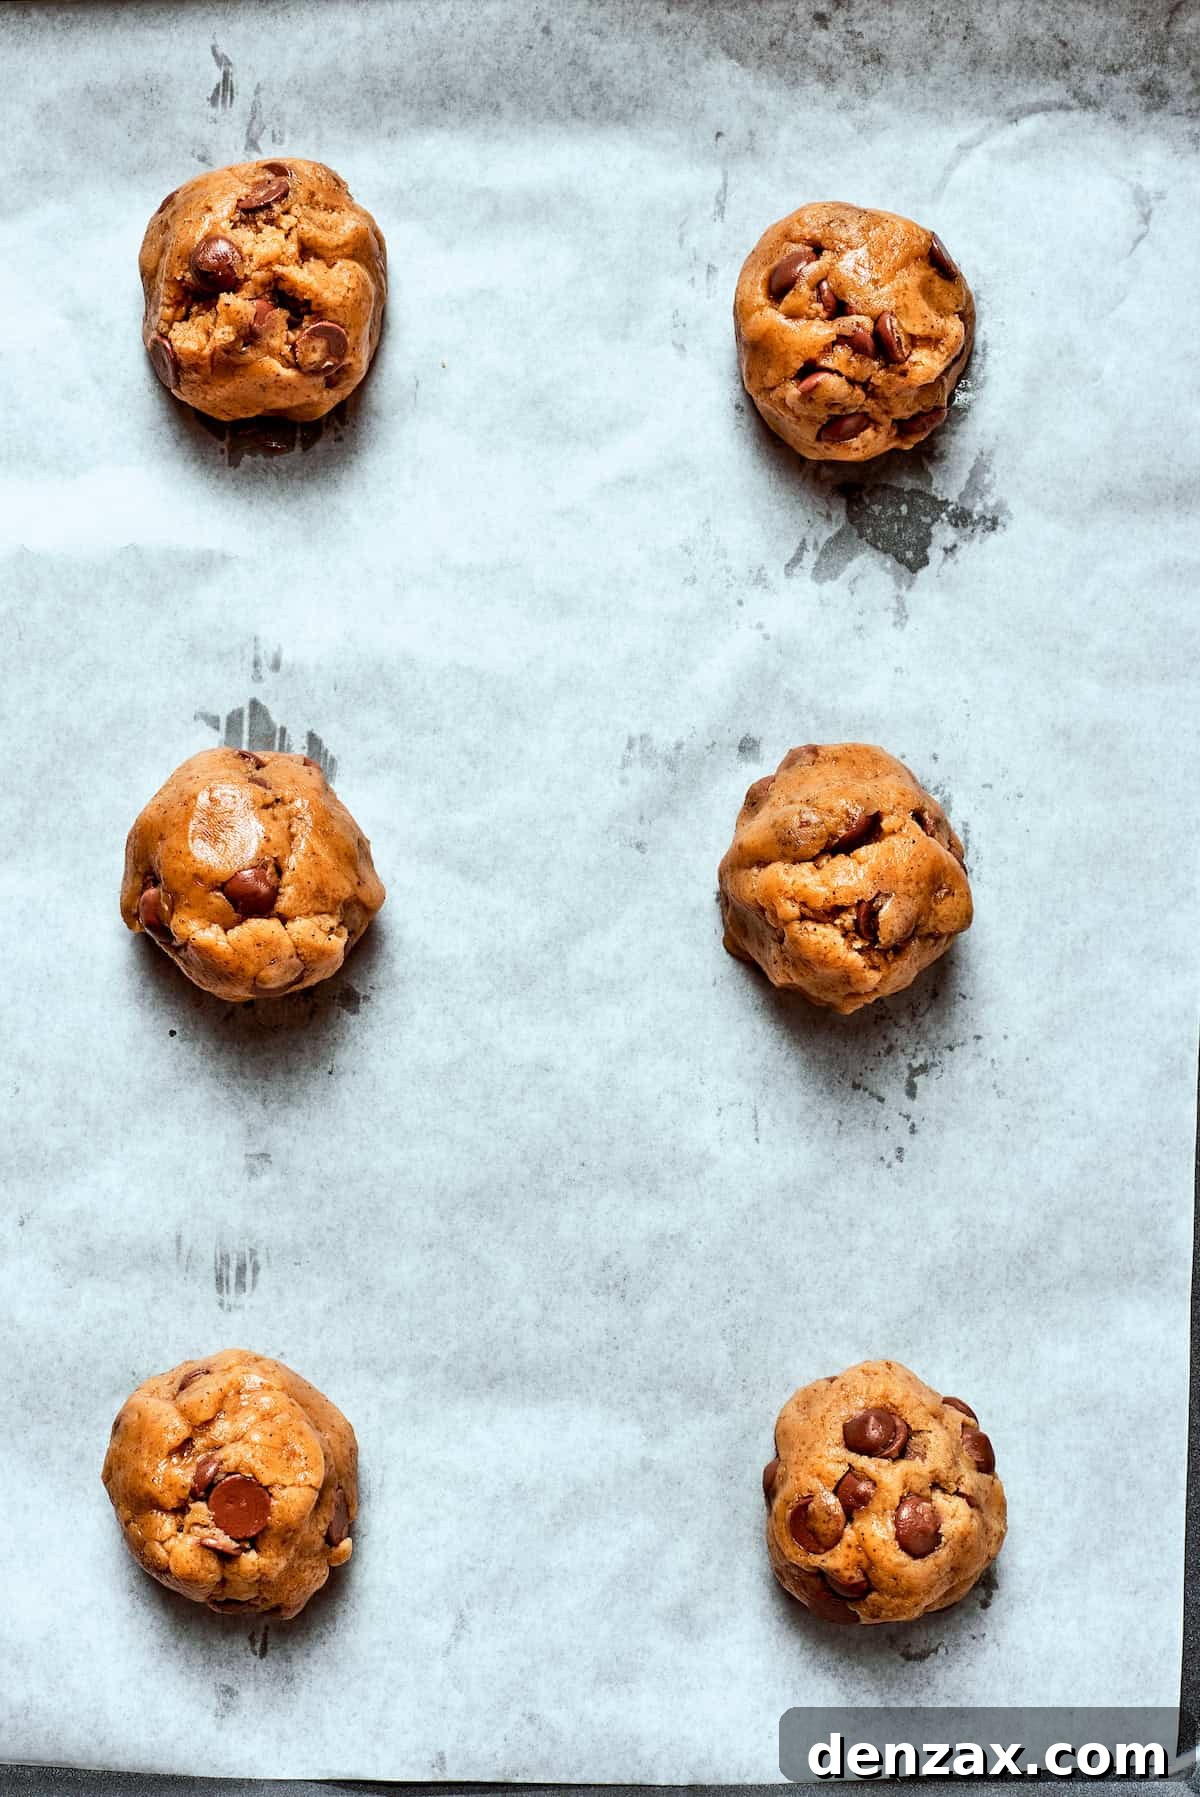
- Portion and Bake: Using a cookie scoop (about 1.5-2 tablespoons) or a regular tablespoon, portion out the chilled dough. Roll each scoop into a smooth ball and place them on the prepared baking sheets, leaving about 2 inches of space between each cookie to allow for proper spreading. Bake for 10-12 minutes, or until the edges are golden brown and the centers are still slightly soft and puffy. They will continue to set as they cool.
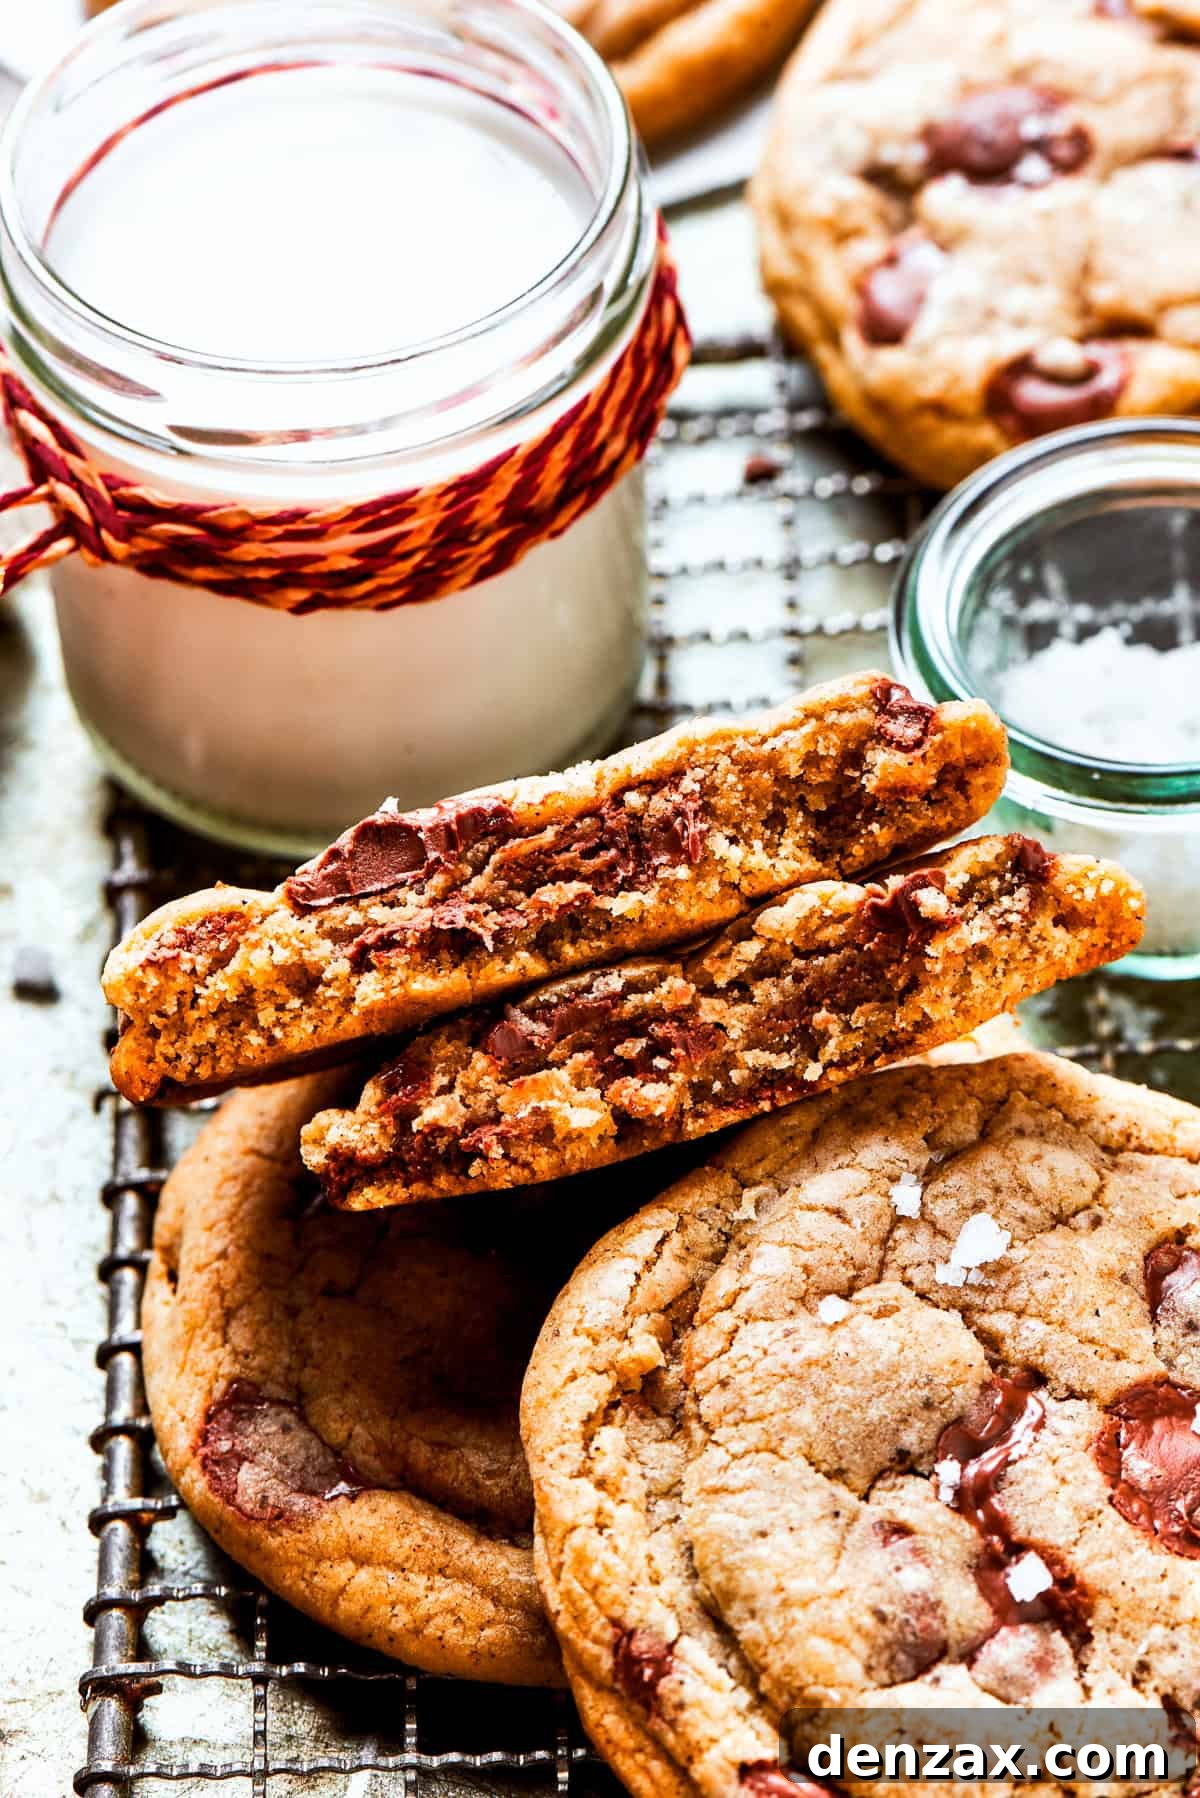
- Cool and Finish: As soon as the cookies come out of the oven, immediately sprinkle each one with a pinch of flaky sea salt, if desired. Let the cookies cool on the baking sheet for 5 minutes before carefully transferring them to a wire rack to cool completely. Enjoy them warm for the best melty chocolate experience!
Mastering Brown Butter: The Key to Unforgettable Cookies
Browning butter is an art form that, once mastered, will elevate countless recipes. It’s the secret ingredient that transforms these chocolate chip cookies from good to gourmet. The process involves heating butter until its milk solids caramelize, developing a rich, nutty, and deeply aromatic flavor profile often described as toasty or butterscotch-like. Here’s how to perfect it:
- Start with Unsalted Butter: Always use unsalted butter to control the seasoning of your recipe. Cut the butter into uniform pieces to ensure it melts and browns evenly.
- Use a Light-Colored Pan: A light-colored stainless steel pan is ideal because it allows you to easily monitor the color changes of the butter, preventing it from burning.
- Medium Heat is Best: Place the butter in the pan over medium heat. This allows for a controlled browning process, reducing the risk of scorching.
- Observe the Stages:
- Melt: The butter will first melt into a liquid.
- Foam: As it continues to heat, it will begin to foam. This foam is the water evaporating from the butter.
- Settle and Sizzle: The foam will subside, and you’ll hear a gentle sizzling sound as the last of the water evaporates. At this point, the milk solids will start to separate and sink to the bottom of the pan.
- Color Change: Watch these milk solids carefully. They will turn from pale yellow to golden, then to a beautiful amber or dark brown. This is where the magic happens!
- Smell and Swirl: As the milk solids brown, you’ll notice a distinct nutty aroma – much like toasted hazelnuts or popcorn. Continuously swirl and gently whisk the pan to ensure even browning and to prevent the solids from sticking and burning. This motion helps distribute the heat and cook the butter uniformly.
- Act Quickly: The transition from perfectly browned to burnt happens very quickly, often within a matter of seconds. As soon as the milk solids reach a deep golden-brown color and the butter has a rich, nutty fragrance, remove the pan from the heat immediately. The residual heat in the pan will continue to cook the butter for a short moment.
- Cool Completely: Pour the hot browned butter into a separate heatproof bowl or glass measuring cup. Make sure to scrape out all the delicious toasted bits from the bottom of the pan, as these are packed with flavor. It is absolutely crucial to let the browned butter cool completely to room temperature before incorporating it into the cookie dough. Warm butter will cause the cookies to spread excessively.
- If it Burns, Start Over: If the butter goes past a deep amber and turns black or smells acrid, it has unfortunately burned. There’s no salvaging burnt butter; it will impart a bitter, unpleasant taste to your cookies. Discard it and start fresh with new butter. It’s better to err on the side of caution than to compromise the entire batch of cookies.
Expert Tips & Delicious Variations for Your Brown Butter Cookies
Take your brown butter chocolate chip cookies to the next level with these invaluable tips and creative variations:
- Don’t Skip the Chill Time: The dough chilling step (at least 30 minutes in the refrigerator) is non-negotiable for superior cookies. Not only does it help solidify the browned butter, preventing the cookies from spreading too thinly during baking, but it also allows the flavors to meld and deepen, resulting in a more complex and satisfying cookie. For an even richer flavor, chill for several hours or overnight.
- Make a Double Batch for Convenience: This dough freezes beautifully! Consider doubling the recipe to have extra on hand for impromptu baking. To freeze, scoop the dough into balls, place them on a parchment-lined baking sheet, and freeze until solid. Once frozen, transfer the dough balls to a freezer-safe zip-top bag or airtight container, separating layers with parchment paper. They can be stored for up to 3 months. When ready to bake, simply place the frozen dough balls on a baking sheet and bake directly from frozen, adding an extra 2-3 minutes to the baking time.
- Serving Suggestions for Pure Indulgence: These cookies are undeniably at their peak when served warm, straight from the oven, with the chocolate chips still delightfully gooey and melted. The soft, chewy texture is simply divine. For an elevated experience, pair them with a tall glass of cold milk, a warm caffe macchiato, or even a scoop of vanilla bean ice cream for an irresistible dessert.
- Introduce a Nutty Crunch: For those who appreciate added texture and flavor, stirring in 1 to 2 cups of chopped nuts like walnuts, pecans, or even almonds adds a delightful crunch and complements the nutty notes of the browned butter beautifully. Toasting the nuts lightly before adding them will further enhance their flavor.
- Experiment with Chocolate Varieties: While semi-sweet chocolate chips are a classic choice, don’t hesitate to explore other chocolate options. For a sweeter cookie, opt for milk chocolate chips. Dark chocolate chunks will provide a more intense, sophisticated chocolate flavor, contrasting wonderfully with the sweet dough. You could also try white chocolate chips for a creamier, milder profile, or even a mix of different chocolates for a complex blend of flavors. Chopped chocolate bars often melt more beautifully than chips, creating luxurious pools of chocolate.
- Add a Pinch of Spice: For a subtle twist, a pinch of cinnamon, nutmeg, or even a tiny amount of espresso powder can enhance the chocolate and brown butter flavors, adding another layer of warmth and complexity to your cookies.
Storing Your Brown Butter Chocolate Chip Cookies for Lasting Freshness
It can be challenging to resist devouring these delectable cookies all in one go, but if you do manage to have leftovers, here’s how to properly store them to maintain their freshness and flavor:
- Countertop Storage (Short-Term): Once completely cooled, place your brown butter chocolate chip cookies in an airtight container. Store them at room temperature on your kitchen counter for up to 3 days. The airtight seal prevents them from drying out and keeps them wonderfully soft.
- Refrigerator Storage (Medium-Term): For slightly longer storage, you can keep the cookies in their airtight container in the refrigerator for up to 5 days. While refrigeration can sometimes alter the texture of baked goods, these cookies hold up quite well. Allow them to come to room temperature or gently warm them before serving for the best experience.
- Freezer Storage (Long-Term): To extend their shelf life significantly, transfer cooled cookies to a freezer-safe bag or container. Ensure they are well-sealed to prevent freezer burn. You can store them in the freezer for up to 3 months. When you’re ready to enjoy them, simply defrost the cookies in the refrigerator overnight, or on the counter for a few hours, before serving. You can also briefly warm them in the microwave or oven for that freshly baked taste.
Explore More Delicious Cookie Recipes
- Anginetti Cookies
- Christmas Cake Mix Cookies
- Homemade Butter Cookies
- Red Velvet Crinkle Cookies
Brown Butter Chocolate Chip Cookies
Katerina | Easy Weeknight Recipes
20 minutes
12 minutes
10 minutes
42 minutes
24 cookies
Ingredients
- 1 cup unsalted butter
- ½ cup granulated sugar
- 1 cup packed dark brown sugar
- 2 large eggs, at room temperature
- 1 egg yolk, at room temperature
- 1 teaspoon pure vanilla extract
- 2½ cups all-purpose flour
- 2 teaspoons cornstarch
- 1 teaspoon baking soda
- pinch of sea salt
- 2 cups semi-sweet chocolate chips
- flaky sea salt, for finishing
Instructions
- Melt the butter. Place 2 sticks of unsalted butter in a medium saucepan over medium heat. Once the butter melts, begin whisking occasionally. After a few minutes, the butter will start to foam. This process can take about 4-7 minutes.
- Brown the butter. Once the foam forms, whisk continuously, as it becomes harder to see what is happening underneath the surface. As the butter continues to cook, the milk solids will sink to the bottom of the pan. At first, these solids will be pale, but within a minute or two, they will begin to toast and turn golden brown.
- Continue to brown the butter. Stir continuously to prevent the solids from burning. The butter is ready when the solids reach a deep amber color and the butter gives off a rich, nutty aroma. At this point, remove the butter from the heat to prevent burning.
- Cool the butter. Carefully pour the butter into a glass measuring cup or heatproof jar, making sure to scrape in all the browned bits from the bottom of the pan. These toasted bits add depth to the flavor. Let it cool completely to room temperature.
- Mix the sugars and butter. In a large mixing bowl, combine the cooled brown butter with white granulated sugar and packed dark brown sugar. Use a whisk to beat the mixture until smooth and creamy.
- Add the eggs. Add two whole eggs and one egg yolk, plus the vanilla extract. Mix well until fully incorporated.
- Combine the dry ingredients. In a separate bowl, whisk together all-purpose flour, cornstarch, baking soda, and sea salt.
- Combine the dry and wet ingredients. Gradually add dry ingredients to the wet mixture, stirring with a whisk until just combined. Be careful not to overmix, as this could make the cookies tough. The dough will be thick and slightly sticky.
- Add chocolate. Gently fold in 2 cups of semi-sweet chocolate chips, making sure they are evenly distributed throughout the dough.
- Chill the dough. Cover the cookie dough with plastic wrap and chill it in the refrigerator for at least 30 minutes. This step helps solidify the butter, ensuring the cookies don’t spread too much during baking.
- Prep the oven. Preheat the oven to 350°F (175°C). Line two baking sheets with parchment paper to prevent sticking.
- Shape the cookie dough balls. Use a cookie scoop or tablespoon to portion the dough, rolling each scoop into a ball. Place the dough balls on the prepared baking sheets, leaving about 2 inches of space between them to allow for spreading.
- Bake. Bake the cookies for 10-11 minutes, or until the edges are golden brown and the centers are still soft. They will continue to set as they cool. Avoid over baking to keep the cookies chewy.
- Remove from oven and cool. As soon as the cookies come out of the oven, sprinkle each one with a pinch of flaky sea salt to enhance the flavors. Let the cookies rest on the baking sheet for 5 minutes before transferring them to a wire rack to cool completely.
Equipment
- Baking Sheets
- Medium saucepan
- Large mixing bowl
- Whisk
- Spatula or spoon
- Cookie scoop (optional)
- Parchment paper
- Wire cooling rack
Nutrition Information
Carbohydrates: 31g |
Protein: 3g |
Fat: 14g |
Saturated Fat: 8g |
Polyunsaturated Fat: 1g |
Monounsaturated Fat: 4g |
Trans Fat: 0.3g |
Cholesterol: 35mg |
Sodium: 56mg |
Potassium: 119mg |
Fiber: 2g |
Sugar: 19g |
Vitamin A: 264IU |
Calcium: 23mg |
Iron: 2mg
Nutritional info is an estimate and provided as a courtesy. Values may vary according to the ingredients and tools used. Please use your preferred nutritional calculator for more detailed info.
Did you make this recipe? Leave a rating!