
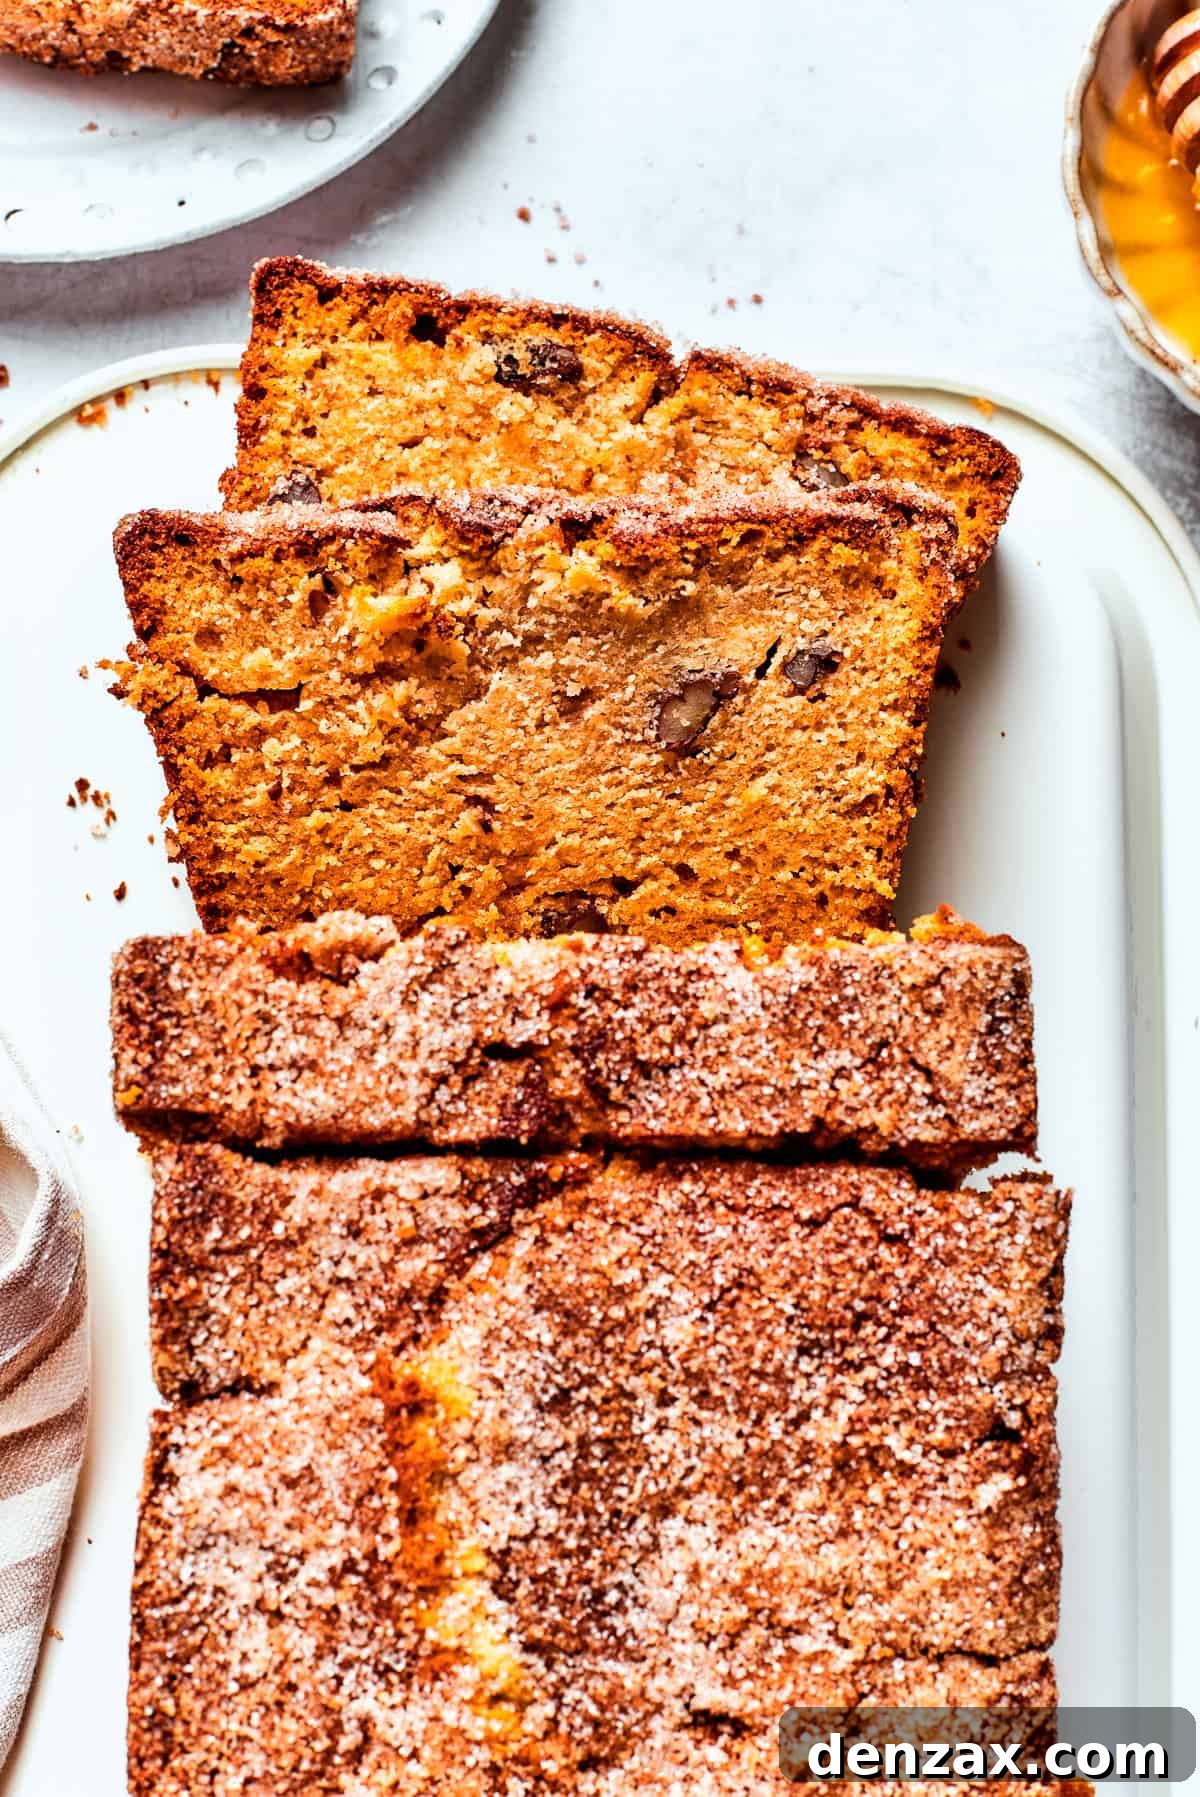
Amish Friendship Bread is more than just a recipe; it’s a heartwarming tradition meant for sharing. This classic cinnamon-swirled sweet bread begins with a unique, active starter that fosters connection and delicious results. Dive into the art of making this special bread, learning every detail from cultivating your own thriving Amish friendship bread starter to baking a perfectly sweet, moist loaf that’s ideal for gifting or enjoying with loved ones. It’s a project that brings joy, delicious aromas, and a sense of community to your kitchen.
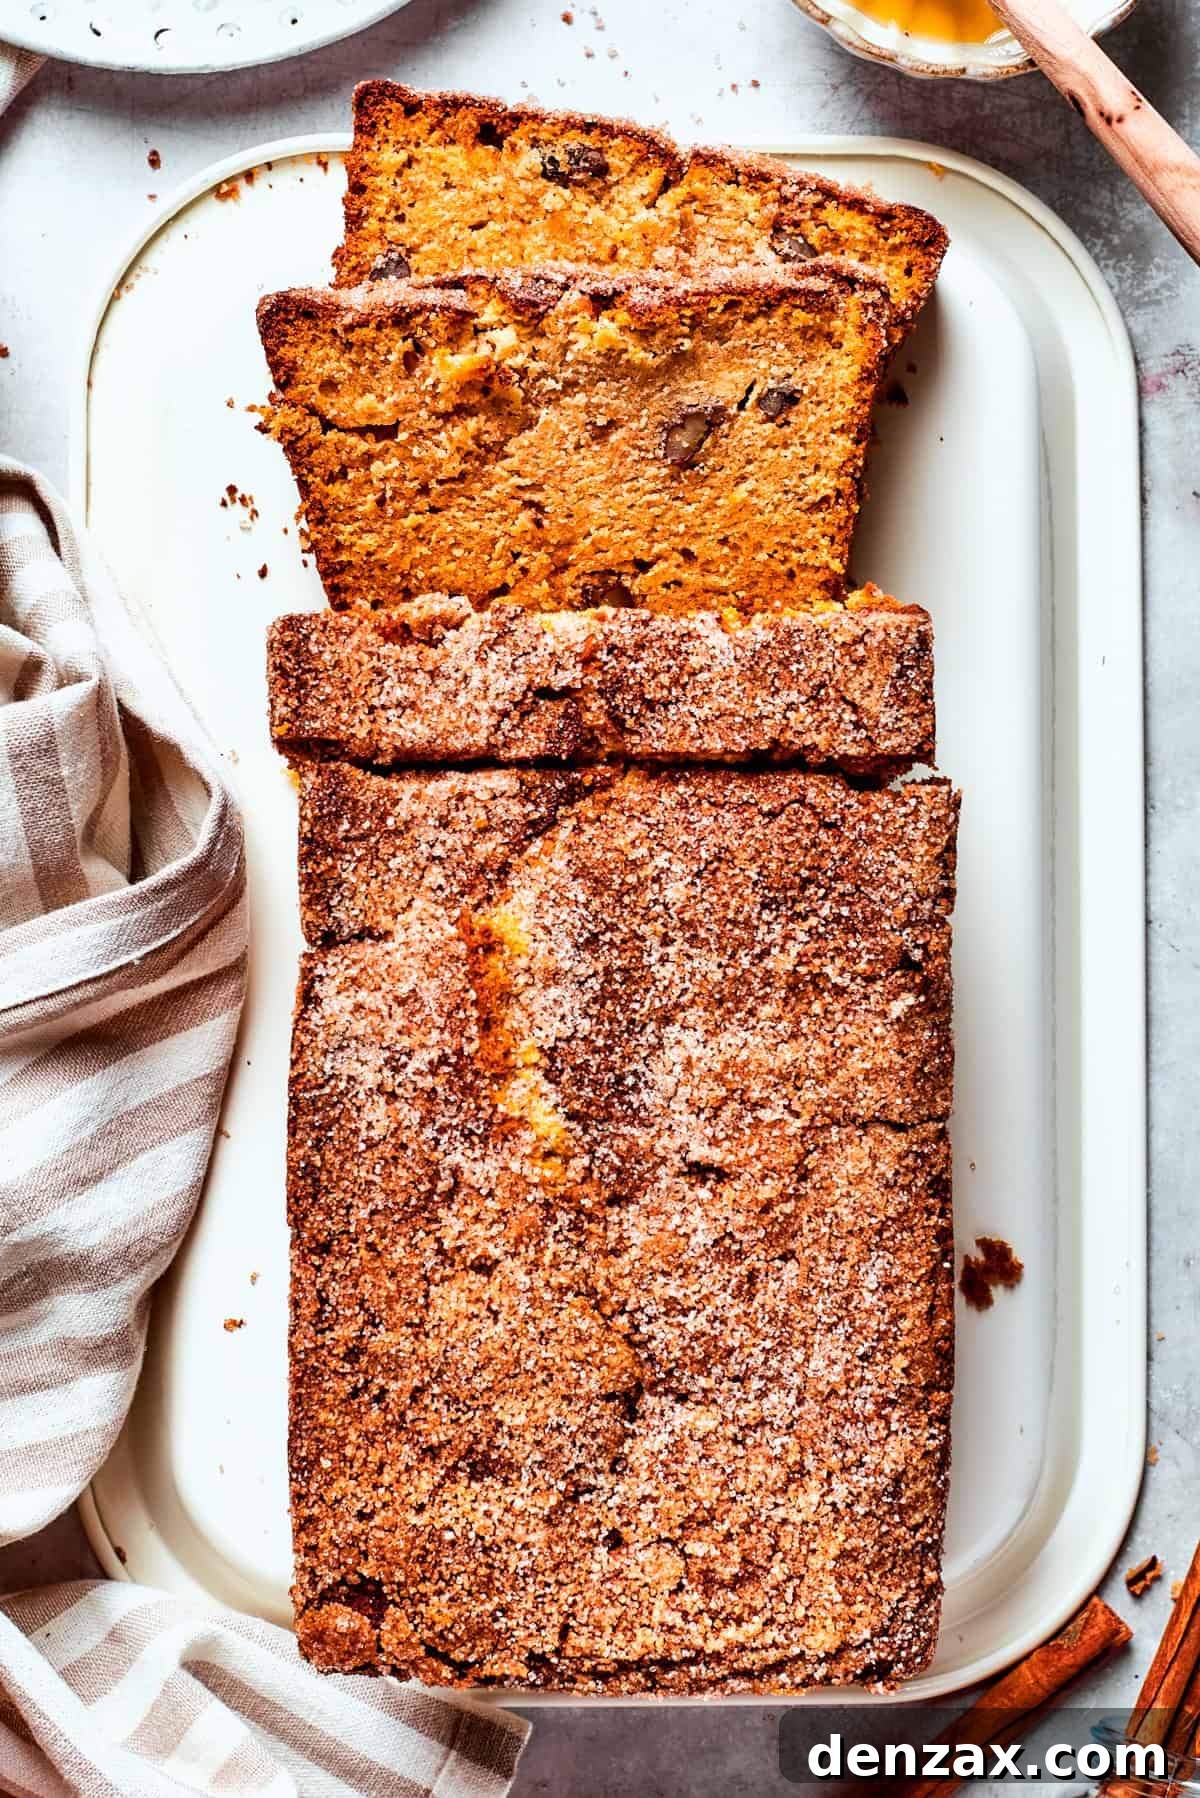
There’s a special kind of satisfaction that comes from baking bread at home, and if you’re searching for a rewarding kitchen project, look no further than the delightful experience of making Amish Friendship Bread. As a seasoned home baker, I’ve explored a wide array of bread recipes, from the simplicity of homemade flatbreads and the comforting texture of spoon bread, to the impressive artistry of star bread, and even unique creations like chocolate zucchini bread. Each loaf brings its own charm, but Amish Friendship Bread holds a truly unique appeal. This distinctive recipe involves a fascinating 10-day process of nurturing a sweet, yeast-based starter. This active starter is then incorporated into a tender, sweet dough, resulting in a wonderfully aromatic and flavorful loaf with a signature cinnamon swirl. There’s nothing quite like toasting a slice of warm Amish Friendship Bread and spreading it with a dollop of softened butter for a truly comforting morning treat.
The beauty of the Amish Friendship Bread starter extends beyond just this one recipe. Its sweet, yeasty tang makes it an incredibly versatile addition to various baked goods. You can experiment by incorporating portions of your active starter into other culinary creations such as soft rolls, various sweet breads, fluffy muffins, and much more. The possibilities are truly endless, allowing you to infuse that special friendship bread flavor into a range of homemade delights. Furthermore, staying true to its name, a core aspect of the Amish Friendship Bread tradition is sharing. Once your starter is mature and robust, you’re encouraged to divide portions and gift them to family and friends. This allows them to embark on their own baking journey, creating their own delicious loaves and continuing the heartwarming cycle of friendship and delicious baking.
Why You’ll Cherish This Bread-Making Journey
- A Mindful Pace: Unlike quick bread recipes, Amish Friendship Bread invites you to slow down and embrace the process. The 10-day starter cultivation requires daily attention, feeding, and observation. My children adore checking on its progress each day, watching it bubble and grow, and this rhythmic ritual helps me, too, find a moment of calm in a busy world. It’s a journey, not a race, culminating in a deeply satisfying reward.
- Uniquely Delightful Flavor: While many are familiar with the characteristic tang of traditional sourdough, Amish Friendship Bread offers a distinctly different, yet equally captivating, flavor profile. This bread is in a category of its own, boasting a tender, doughy texture and a comforting sweetness, beautifully complemented by a fragrant cinnamon swirl. It stands apart as a truly special treat, far sweeter and more delicate than its sourdough cousins.
- Starter Longevity & Convenience: If you decide to keep your healthy starter all to yourself (and who could blame you?), it’s incredibly easy to preserve. Simply divide the mature starter into 1-cup portions, transfer them into freezer-safe bags, and store them in the freezer. When you’re ready to bake again, defrosting the starter makes it immediately available for use, saving you the 10-day preparation time and ensuring you always have the base for a fresh loaf on hand.
- A Tradition of Giving: The very essence of “friendship bread” lies in sharing. Successfully nurturing a starter allows you to not only bake for yourself but also to pass on the gift of baking to others. Sharing portions of your starter creates a delightful chain of homemade warmth and connection, spreading joy one loaf at a time.
Unraveling the Mystery: What Exactly Is Amish Friendship Bread?
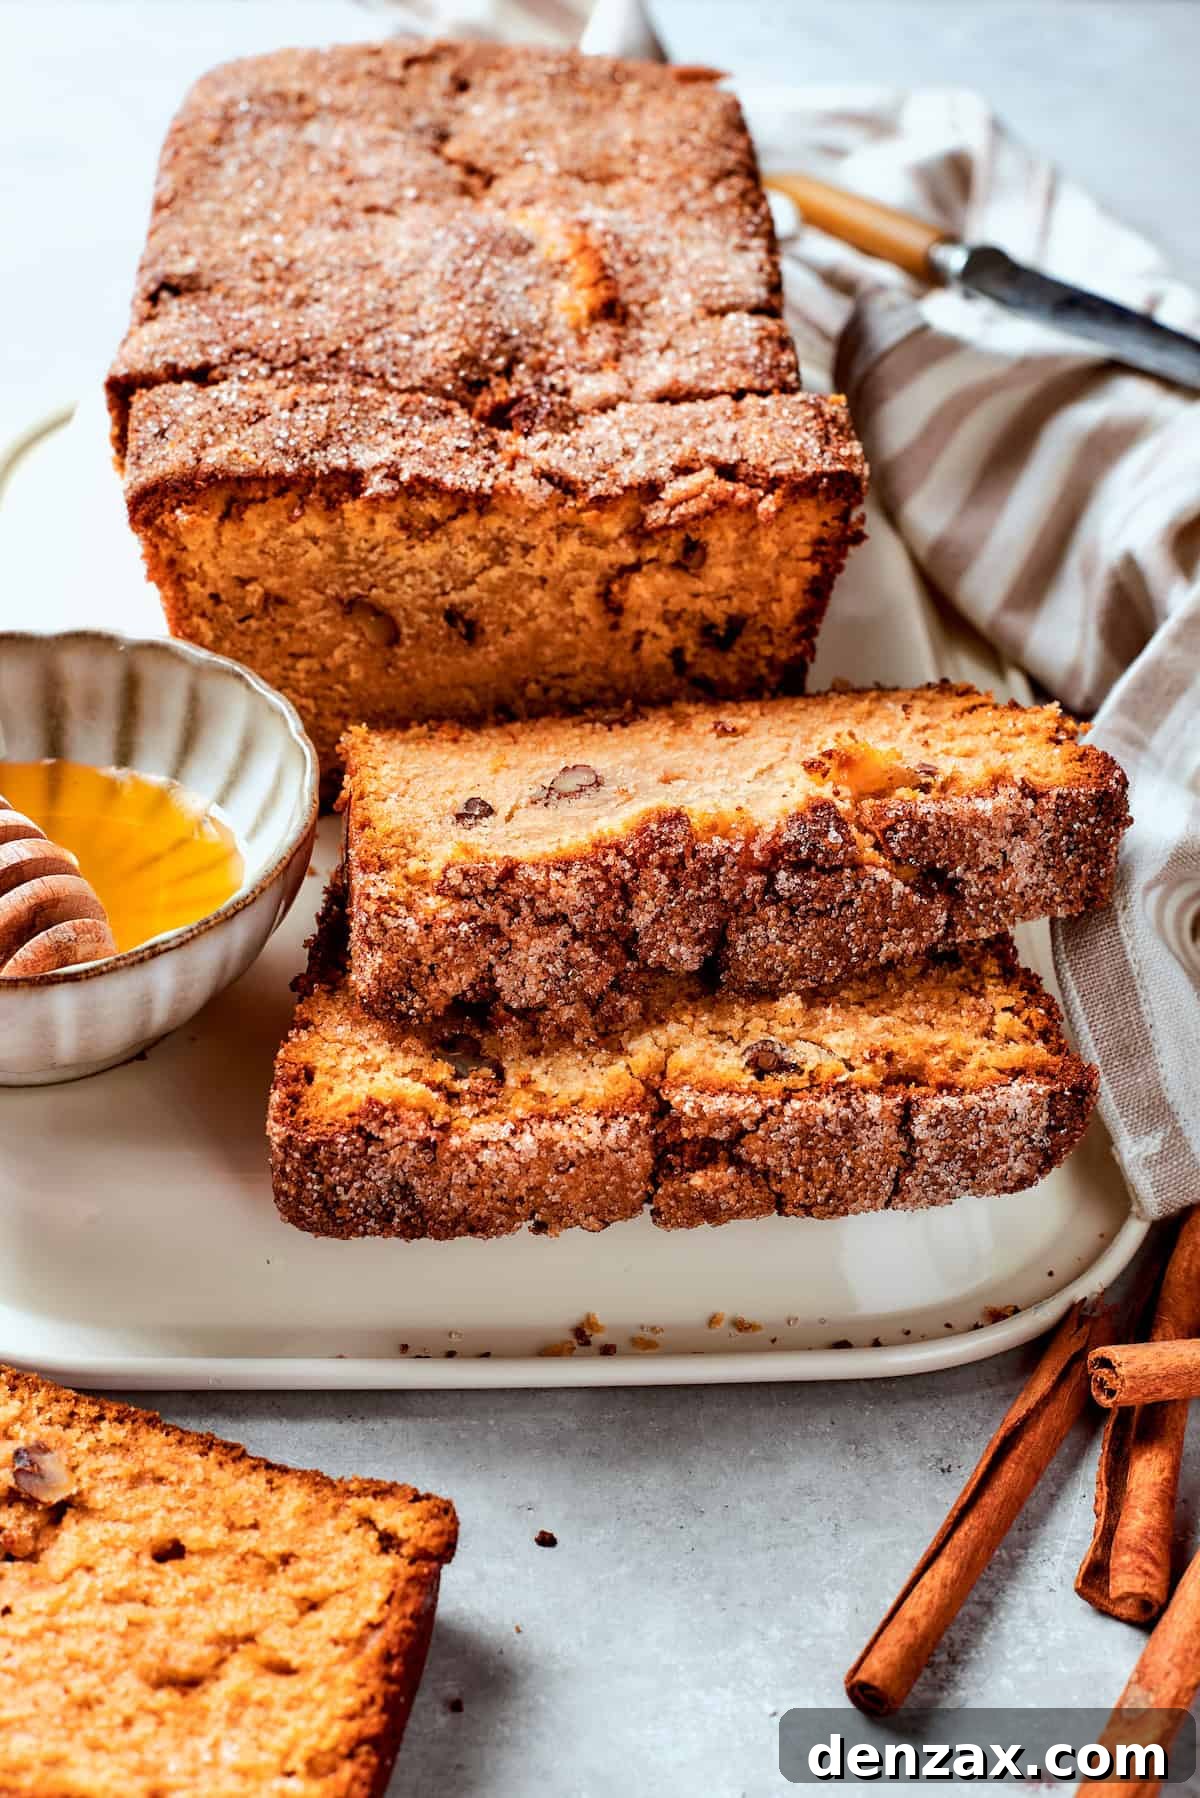
Amish Friendship Bread is a delightful sweet bread, often likened to a cake-bread hybrid, characterized by its tender crumb and signature cinnamon-sugar swirl. While it shares some procedural similarities with sourdough bread, its flavor profile and composition are quite distinct. The heart of Amish Friendship Bread is a unique, yeast-based starter. This starter undergoes a careful 10-day feeding process, during which it ferments and becomes active, ready to lend its unique character to the bread. The tradition dictates that once the starter is fully mature, you use one cup to bake your own loaf, and the remaining portions are ideally distributed among friends and family – a beautiful gesture that perfectly embodies the “friendship bread” moniker.
While an Amish friendship bread starter and a traditional sourdough starter both involve fermentation, there are key differences worth noting. A classic sourdough starter typically requires only flour and water, relying on naturally occurring wild yeasts from the environment. In contrast, an Amish friendship bread starter is initiated with commercial yeast and is nourished with additional sugar and milk, alongside flour. This combination of ingredients contributes to its distinctly sweeter and milder flavor compared to the often tangier, more robust taste of sourdough. Both starters, however, require regular feeding and observation as they activate and mature on the counter, making them engaging kitchen projects.
The origins of Amish Friendship Bread are somewhat steeped in folklore, though it is widely believed to have emerged from Amish and Mennonite communities. These communities often practice gift-giving and communal sharing, making the concept of a starter meant to be passed along a natural fit. The tradition is often likened to a culinary chain letter, where the recipient is expected to continue the cycle by feeding the starter and sharing portions with others. This not only creates a delicious bread but also fosters community, connection, and a sense of shared heritage.
Essential Recipe Ingredients
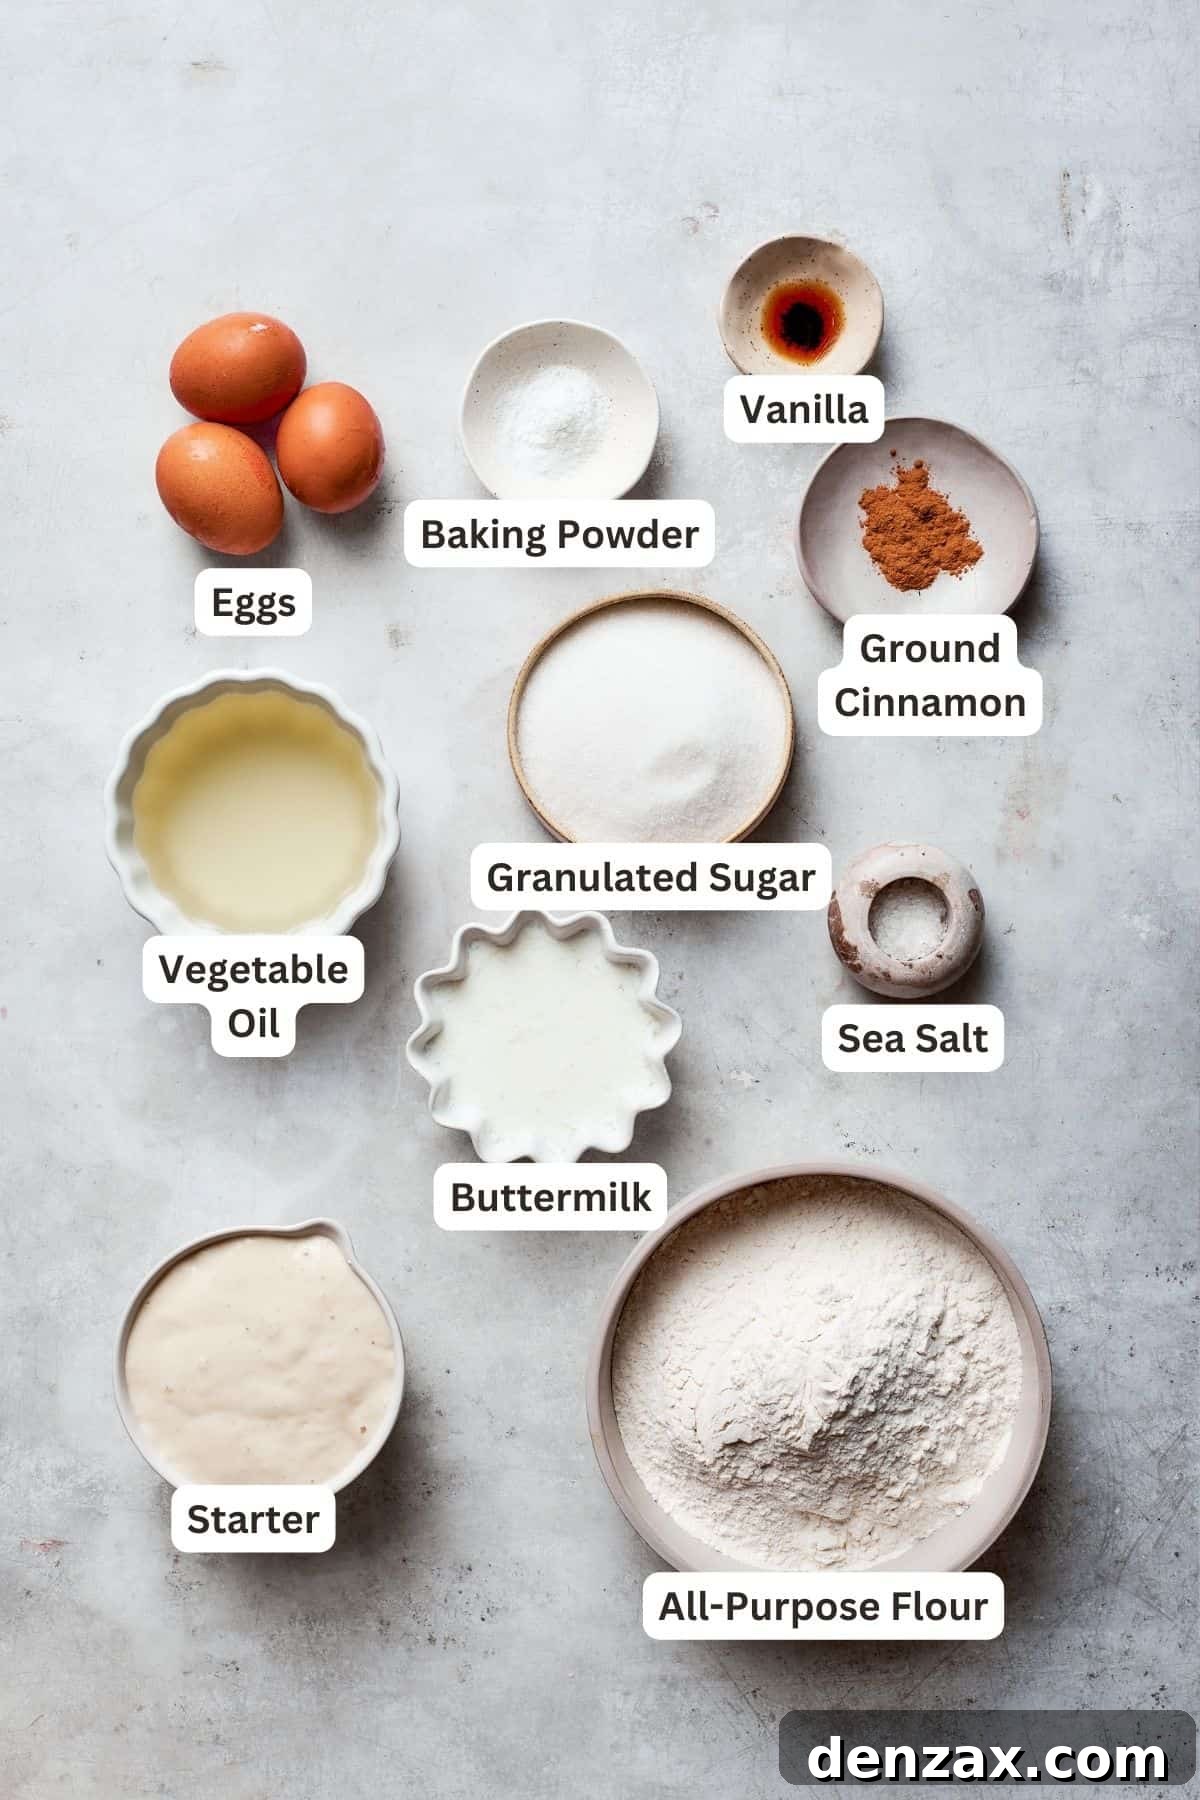
Despite its multi-stage process, this Amish Friendship Bread recipe relies on readily available, simple staples that you likely already have in your pantry. Each ingredient plays a crucial role in developing the unique flavor and texture of both the starter and the final loaf. For precise measurements, always refer to the complete recipe card provided at the conclusion of this post.
For the Starter
- Active Dry Yeast: This is the crucial leavening agent that kickstarts our starter. I’ve specifically tested and recommend active dry yeast for its reliable performance in this recipe, ensuring robust fermentation and a healthy, bubbly culture.
- Warm Water: The ideal temperature for activating active dry yeast is around 110°F (43°C). Using a kitchen thermometer is highly recommended to ensure the water is warm enough to wake up the yeast but not so hot that it kills it.
- Granulated Sugar: As this is a sweet bread, sugar is essential not only for flavoring the final loaf but also as a vital food source for the yeast in the starter, promoting vigorous activity and growth.
- All-Purpose Flour: The structural backbone of both the starter and the bread. For accurate measurements, always use the spoon-and-level method to avoid compacting the flour, which can lead to a dry or dense finished product.
- Milk: Adds richness and moisture to the starter, contributing to its unique sweet-sour flavor and creamy texture. Whole milk or 2% milk will yield excellent results.
For the Daily Feedings
- Granulated Sugar: Continues to feed the active yeast, ensuring the starter remains vibrant and continues to ferment.
- All-Purpose Flour: Provides fresh “food” for the yeast and helps maintain the starter’s consistency and structure over the 10-day period.
- Milk: Replenishes the liquid content and continues to add richness to the growing starter.
For the Delicious Bread Loaf
- Amish Friendship Starter: The star of the show! One cup of your fully nurtured, active starter forms the sweet, yeasty base of this incredible bread.
- Granulated Sugar: Enhances the overall sweetness of the bread, creating a truly decadent treat.
- Vegetable Oil: A neutral-flavored oil is key here. It provides essential moisture and a tender crumb without imparting any overpowering flavors that might detract from the cinnamon and sweet bread profile. Avoid substitutions that have a strong taste.
- Large Eggs: Act as binders, add richness, and contribute to the bread’s structure and golden color. Ensure they are at room temperature for better incorporation.
- Pure Vanilla Extract: A touch of pure vanilla extract deepens and complements the sweet flavors, adding a comforting aroma.
- Buttermilk: Crucial for its acidic properties, which react with the baking powder to give the bread its characteristic rise and tender texture. Remember to shake the carton well before measuring to ensure all components are evenly distributed.
- All-Purpose Flour: Again, accurate measurement using the spoon-and-level method is vital to prevent the bread dough from becoming too dry or heavy, ensuring a light and airy loaf.
- Baking Powder: A leavening agent that works with the buttermilk to create a light and fluffy texture. Always check the expiration date; fresh baking powder is essential for proper rising.
- Sea Salt: Balances the sweetness and enhances all the other flavors in the bread.
- Ground Cinnamon: The defining warm spice that creates the beloved swirl and infuses the bread with its inviting aroma and classic taste.
- Toasted Chopped Pecans (Optional): Adds a delightful crunch and nutty depth of flavor. Toasting them beforehand enhances their aroma and taste significantly.
- Cinnamon Sugar Topping: A simple yet effective mixture of granulated sugar and ground cinnamon creates a beautiful, sweet, and spiced crust on top of the loaf.
Crafting Your Amish Friendship Bread Starter: A 10-Day Journey
The heart of Amish Friendship Bread lies in its unique starter, which requires a patient 10-day cultivation period. This process transforms simple ingredients into a vibrant, active culture ready to bring your bread to life. Below is a concise outline of the daily steps; please consult the detailed recipe card at the end of this article for comprehensive, step-by-step instructions and important nuances.
- Day 1: Activating the Yeast – Begin by gently dissolving your active dry yeast in precisely 110°F warm water. This specific temperature is crucial for waking up the yeast without harming it. Allow this mixture to sit undisturbed for about 10 minutes until a frothy layer forms on top, indicating that your yeast is alive and ready to thrive.
- Day 2-4: Initial Feeding & Fermentation – In a spacious, non-metallic bowl or container (glass or ceramic is ideal), combine 1 cup of granulated sugar, 1 cup of all-purpose flour, and 1 cup of milk. Stir these ingredients thoroughly until well combined. Now, carefully add your frothy, activated yeast mixture to this bowl and stir again to ensure everything is fully incorporated. Loosely cover the bowl with a clean cloth or plastic wrap (to allow airflow for fermentation) and place it on your kitchen counter, away from direct sunlight. During these initial days, you’ll observe subtle changes as the yeast begins its work.
- Day 5: First Major Feeding – By this point, you should start to see visible signs of fermentation: small bubbles appearing on the surface, and a mild, yeasty-sour aroma developing. It’s time for the first substantial feeding. Add another 1 cup of granulated sugar, 1 cup of all-purpose flour, and 1 cup of milk to your starter. Stir the mixture until it’s smooth and all the new ingredients are fully integrated. The starter will become noticeably thicker and more viscous.
- Day 6-9: Daily Nurturing – For the next four days, your primary task is simple but important: stir the starter once daily. This regular stirring helps to distribute the yeast evenly, prevents a crust from forming, and encourages continuous fermentation. You’ll likely notice increasing activity, with more bubbles forming and the volume potentially expanding slightly. The aroma should be pleasantly sweet and yeasty, with a developing tang.
- Day 10: Final Nourishment & Preparation – On the tenth day, perform the final feeding to ensure your starter is robust and ready for baking. Add another 1 cup of granulated sugar, 1 cup of all-purpose flour, and 1 cup of milk. Mix thoroughly until the starter is smooth and uniform. At this stage, your Amish Friendship Bread starter should have a distinct sweet-sour fragrance, a thick, pancake batter-like consistency, and be visibly bubbly and active. It’s now perfectly primed to be used in your bread recipe, or divided and shared!
Baking the Loaf: How to Make Amish Friendship Bread
Once your Amish Friendship Bread starter has been lovingly nurtured for 10 days and is brimming with life, it’s time for the truly rewarding part: baking the delicious bread itself! This process is straightforward and yields a wonderfully tender, cinnamon-swirled loaf. Follow these steps, and remember that detailed instructions with precise measurements can always be found in the comprehensive recipe card further down this page.



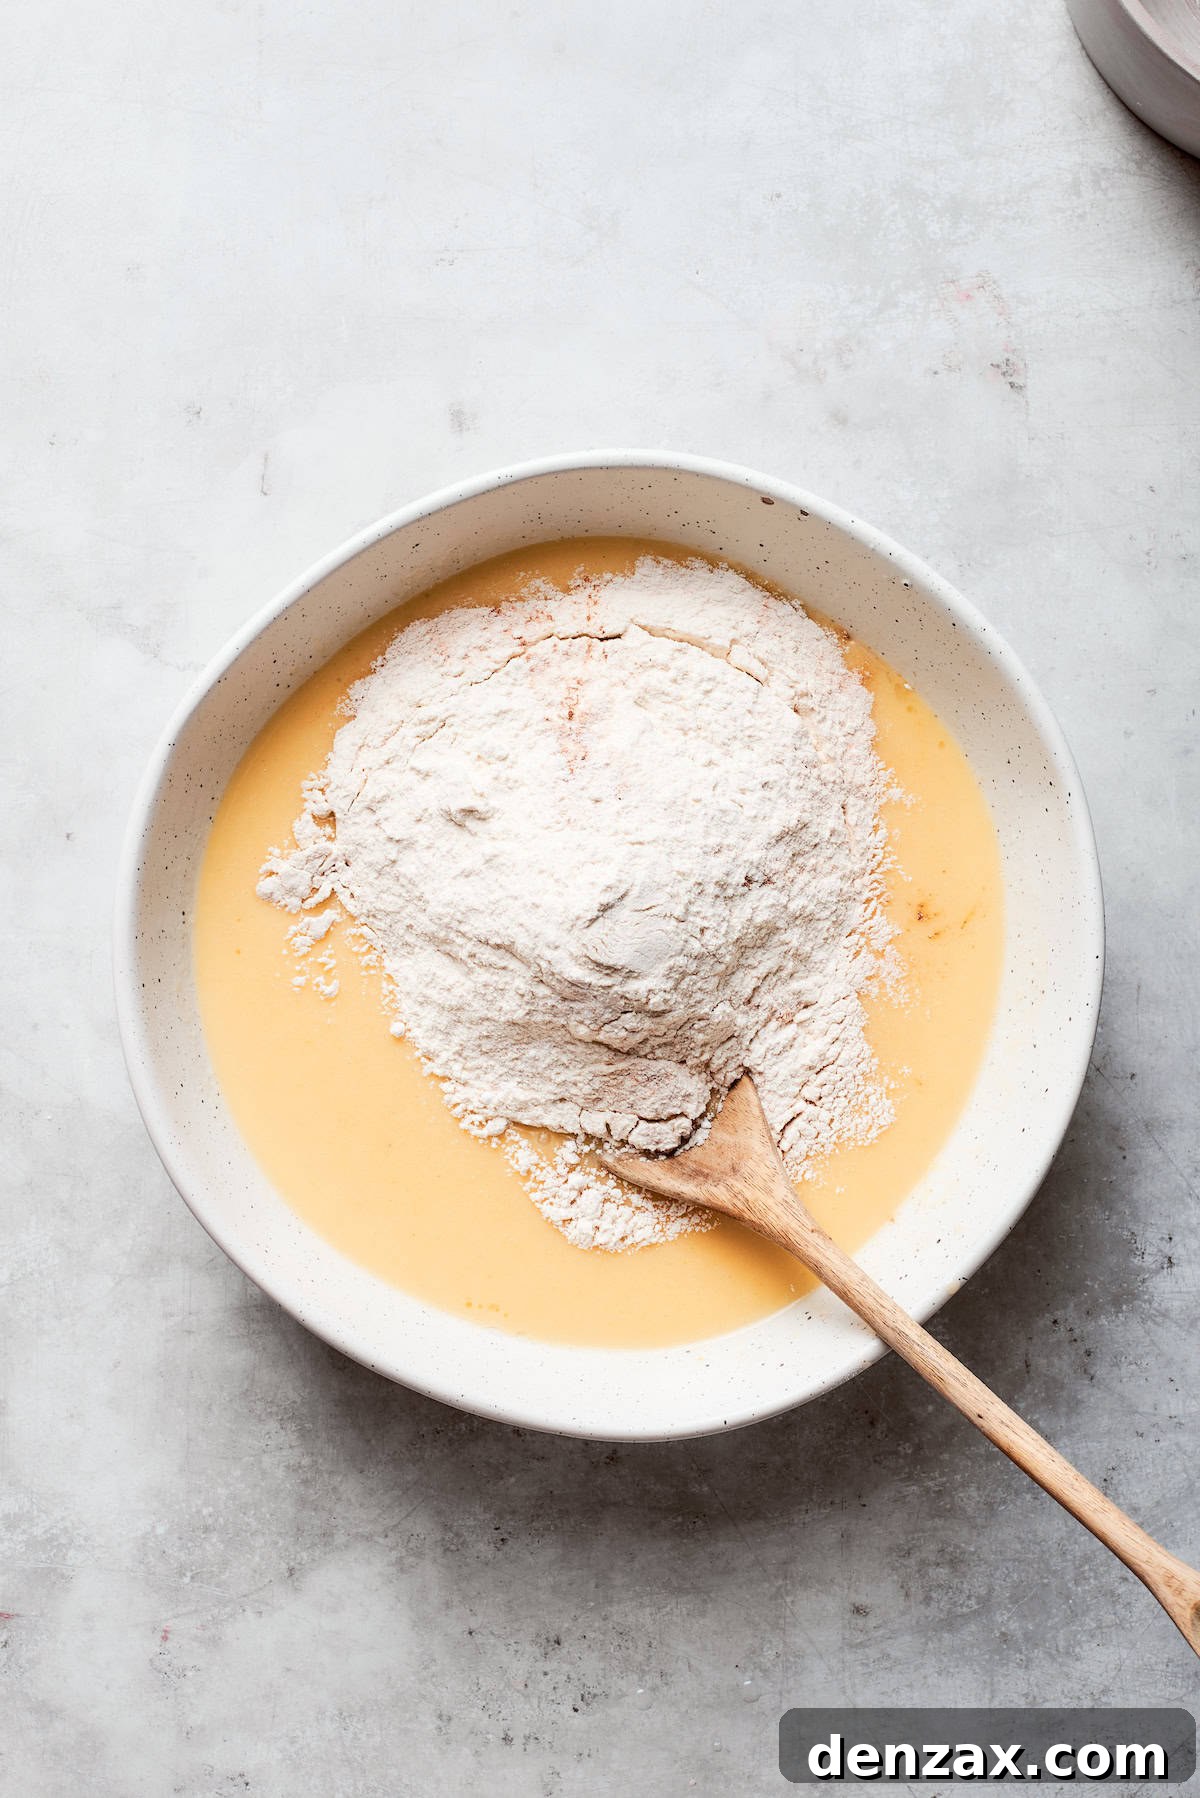
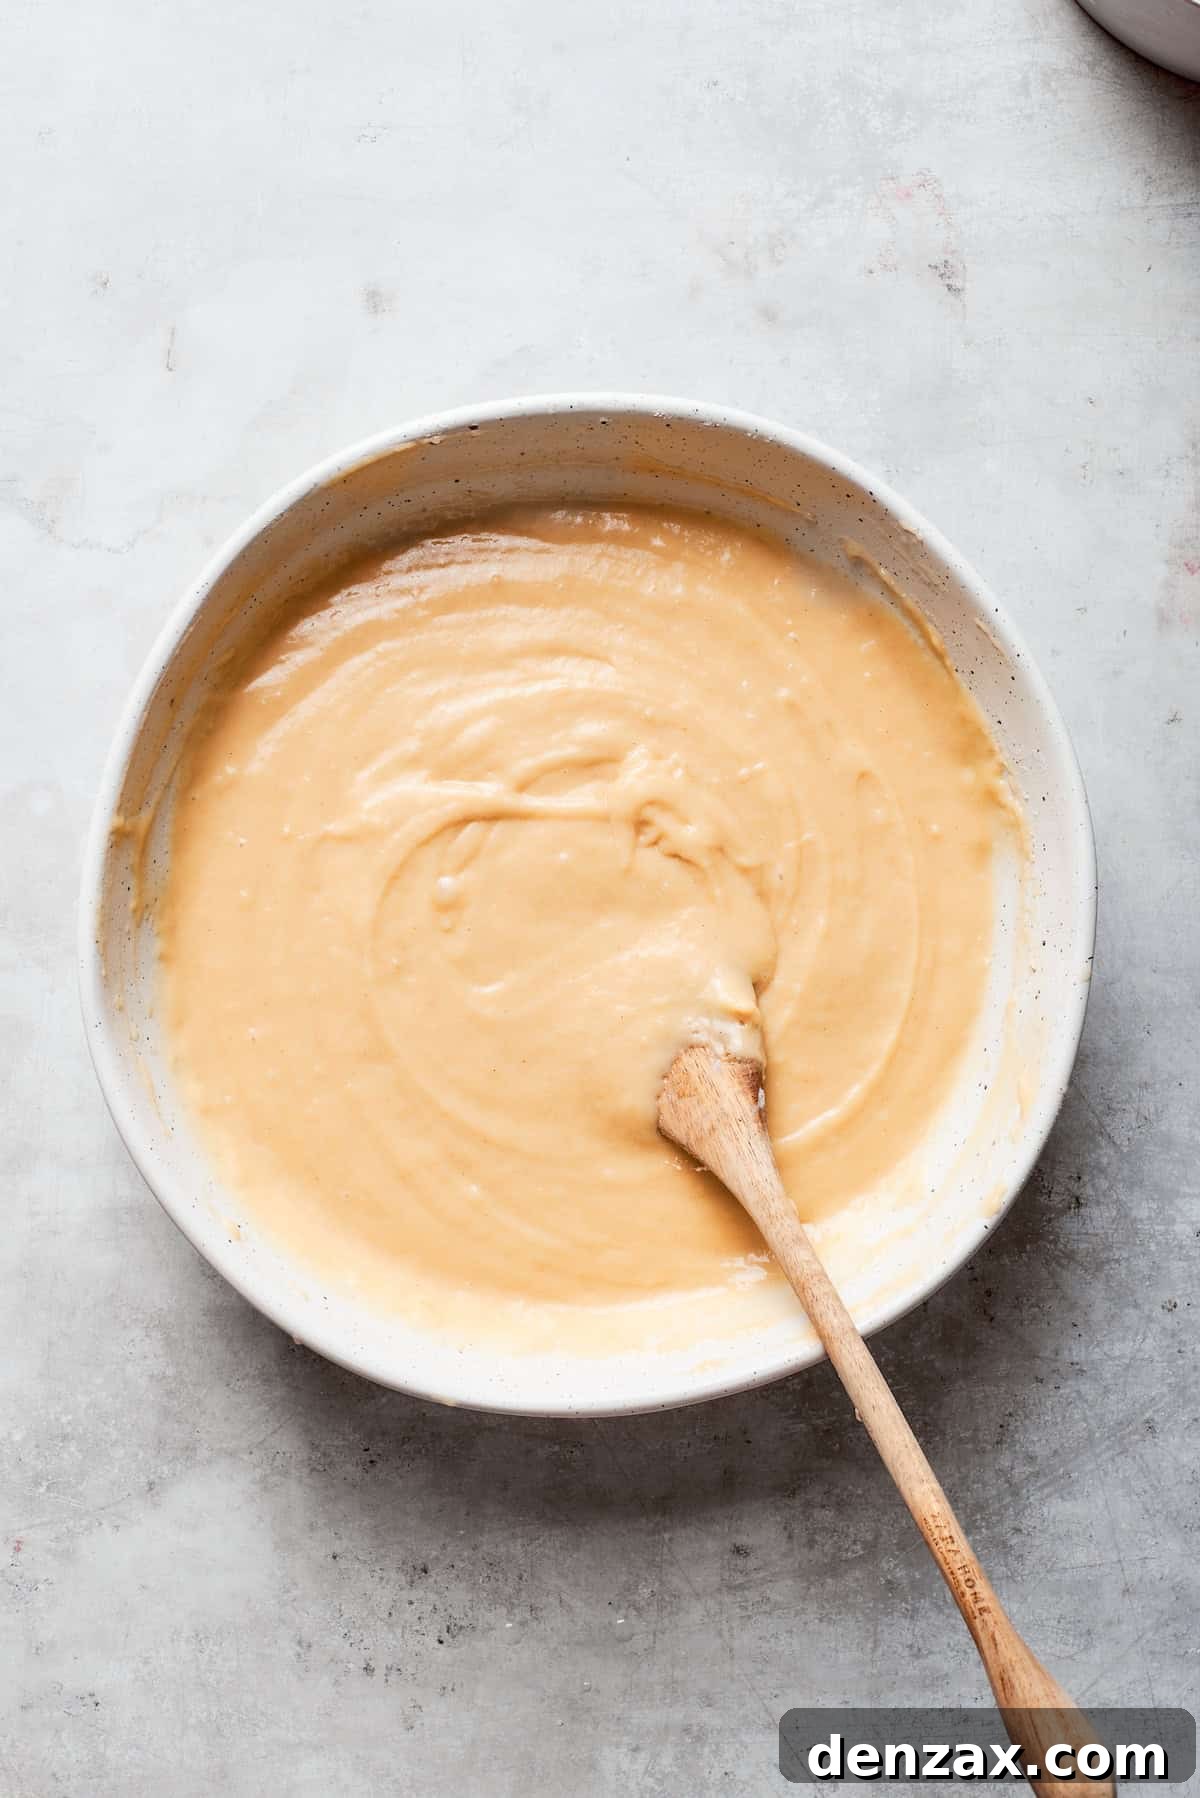
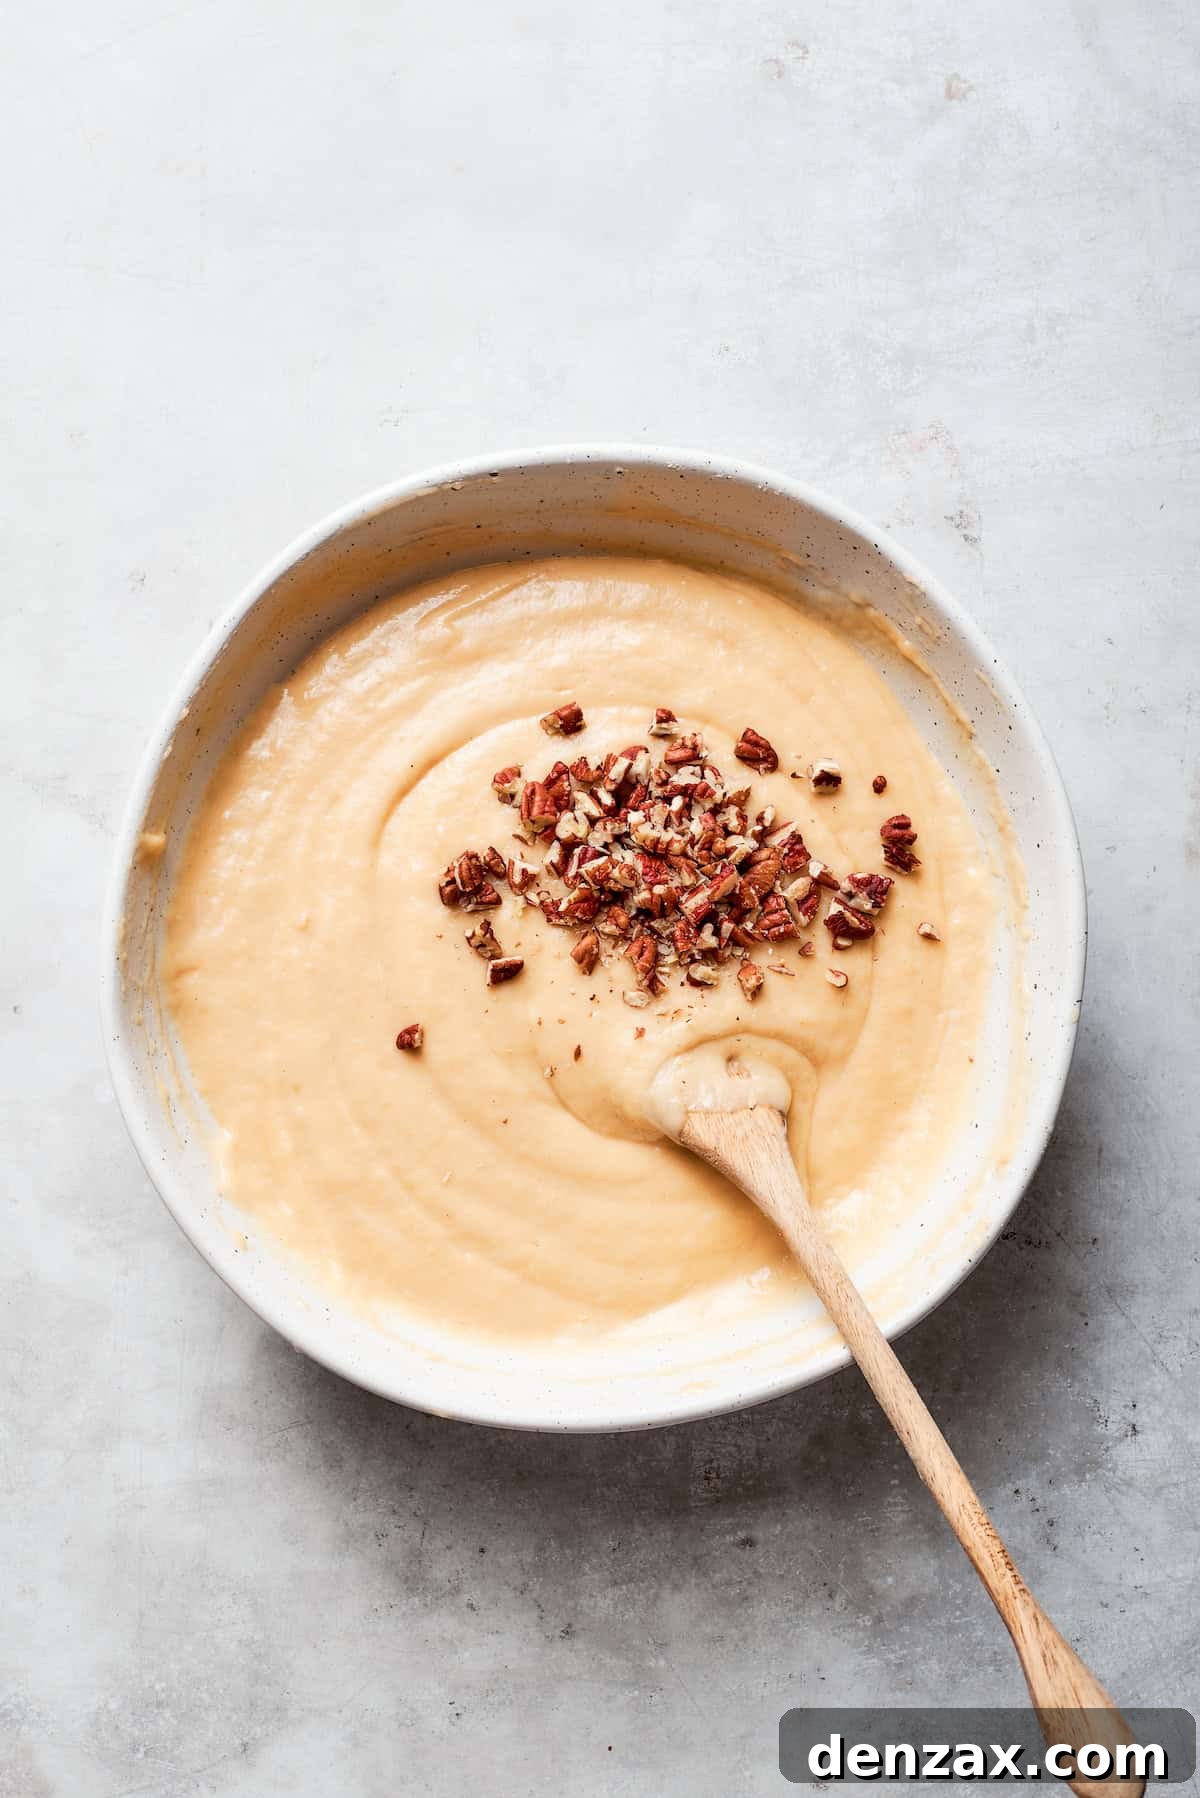
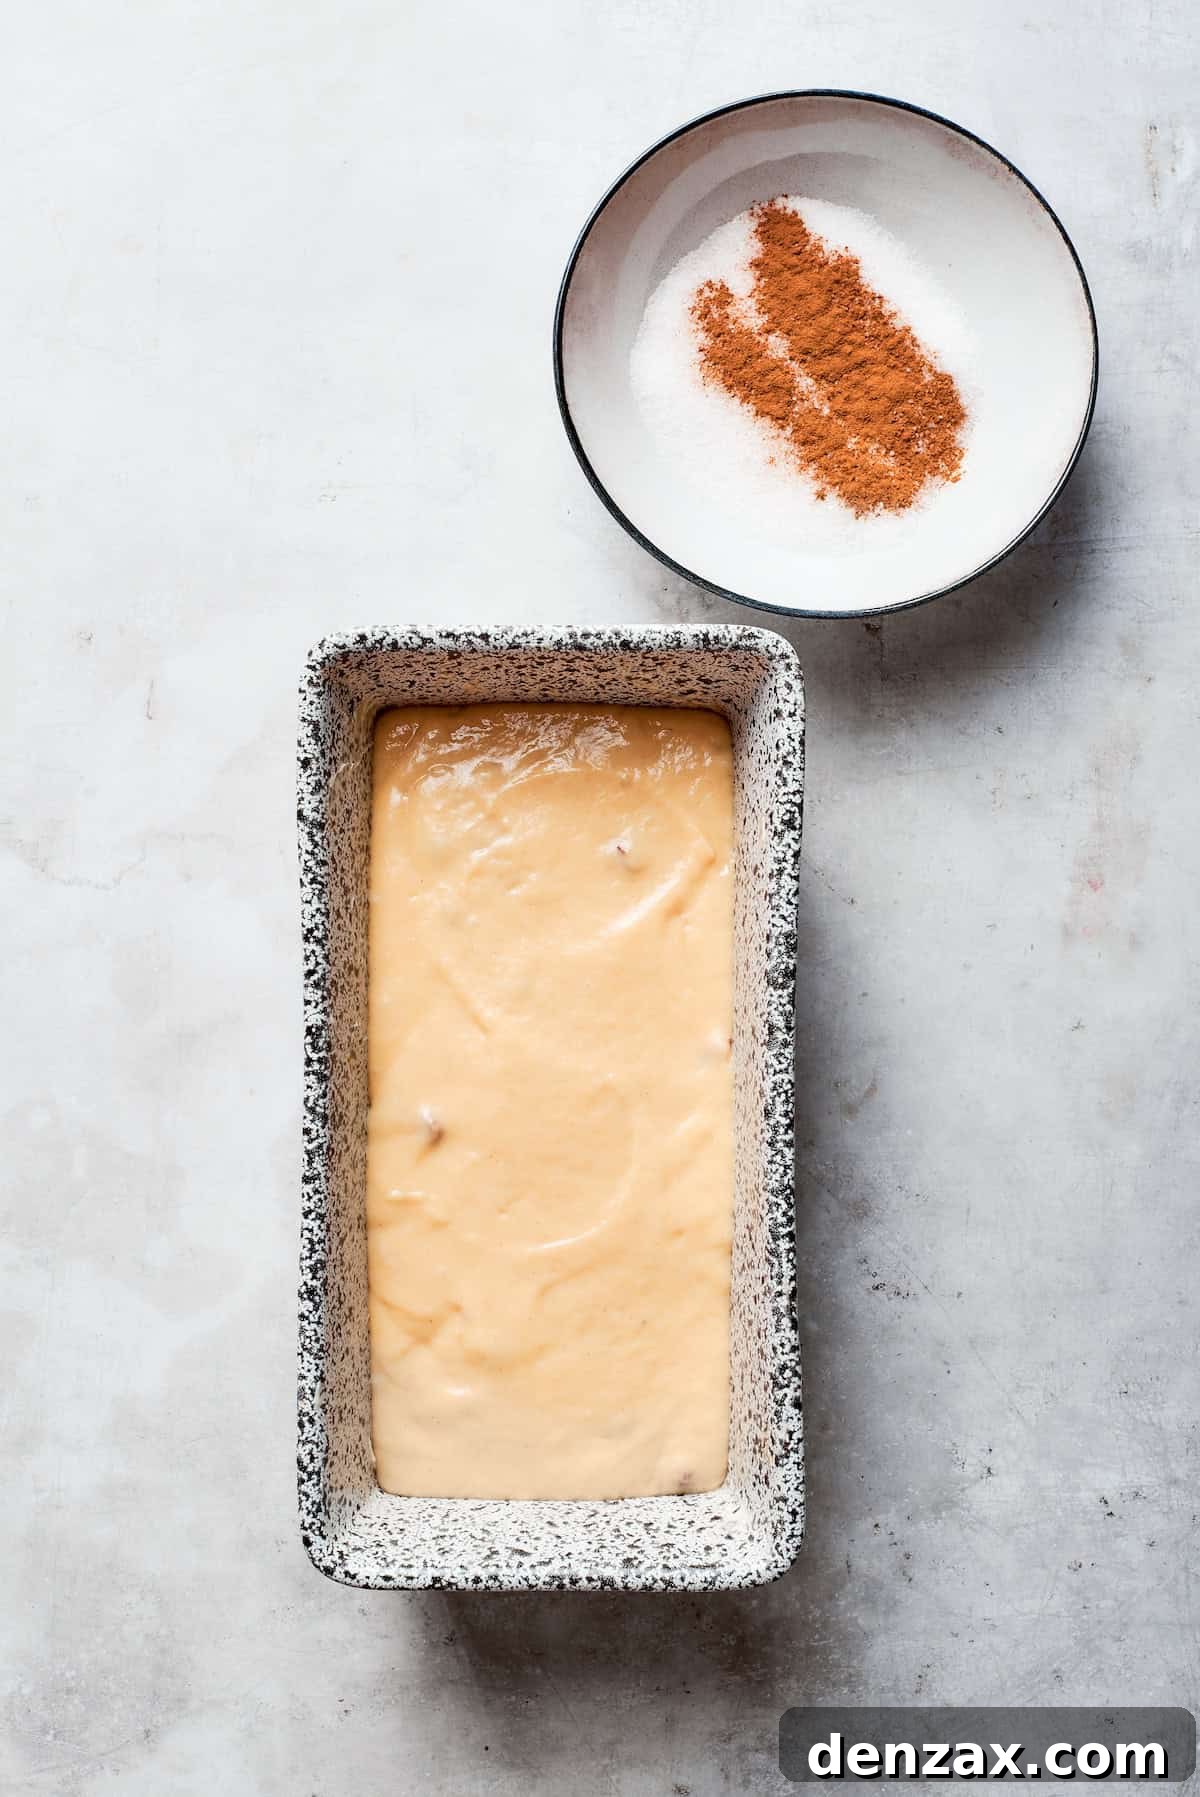
- Preparation is Key: Begin by preheating your oven to 325°F (160°C). Prepare a standard 9×5-inch loaf pan by thoroughly greasing it, or for easier removal, line it with parchment paper, leaving an overhang on the sides.
- Mix the Wet Base: In a large mixing bowl, combine the 1 cup of prepared Amish Friendship Bread starter with 1 cup of granulated sugar and the vegetable oil. Use a hand whisk to mix these ingredients thoroughly until they are well integrated and smooth.
- Integrate Wet Ingredients: Next, add the large eggs, vanilla extract, and buttermilk to your wet mixture. Continue whisking until the mixture is completely smooth and uniform. The buttermilk’s acidity is crucial for activating the baking powder, so ensure it’s well incorporated.
- Add the Dry Elements: In a separate bowl, sift together the all-purpose flour, baking powder, salt, and ground cinnamon. Gradually add these dry ingredients to the wet mixture, stirring gently until they are just combined. Be careful not to overmix, as this can lead to a tough bread texture. Mix only until no streaks of dry flour remain.
- Fold in the Nuts: If using, gently fold the toasted chopped pecans into the batter. This ensures they are evenly distributed without crushing them.
- Into the Pan: Carefully transfer the prepared batter into your greased or parchment-lined loaf pan, spreading it evenly.
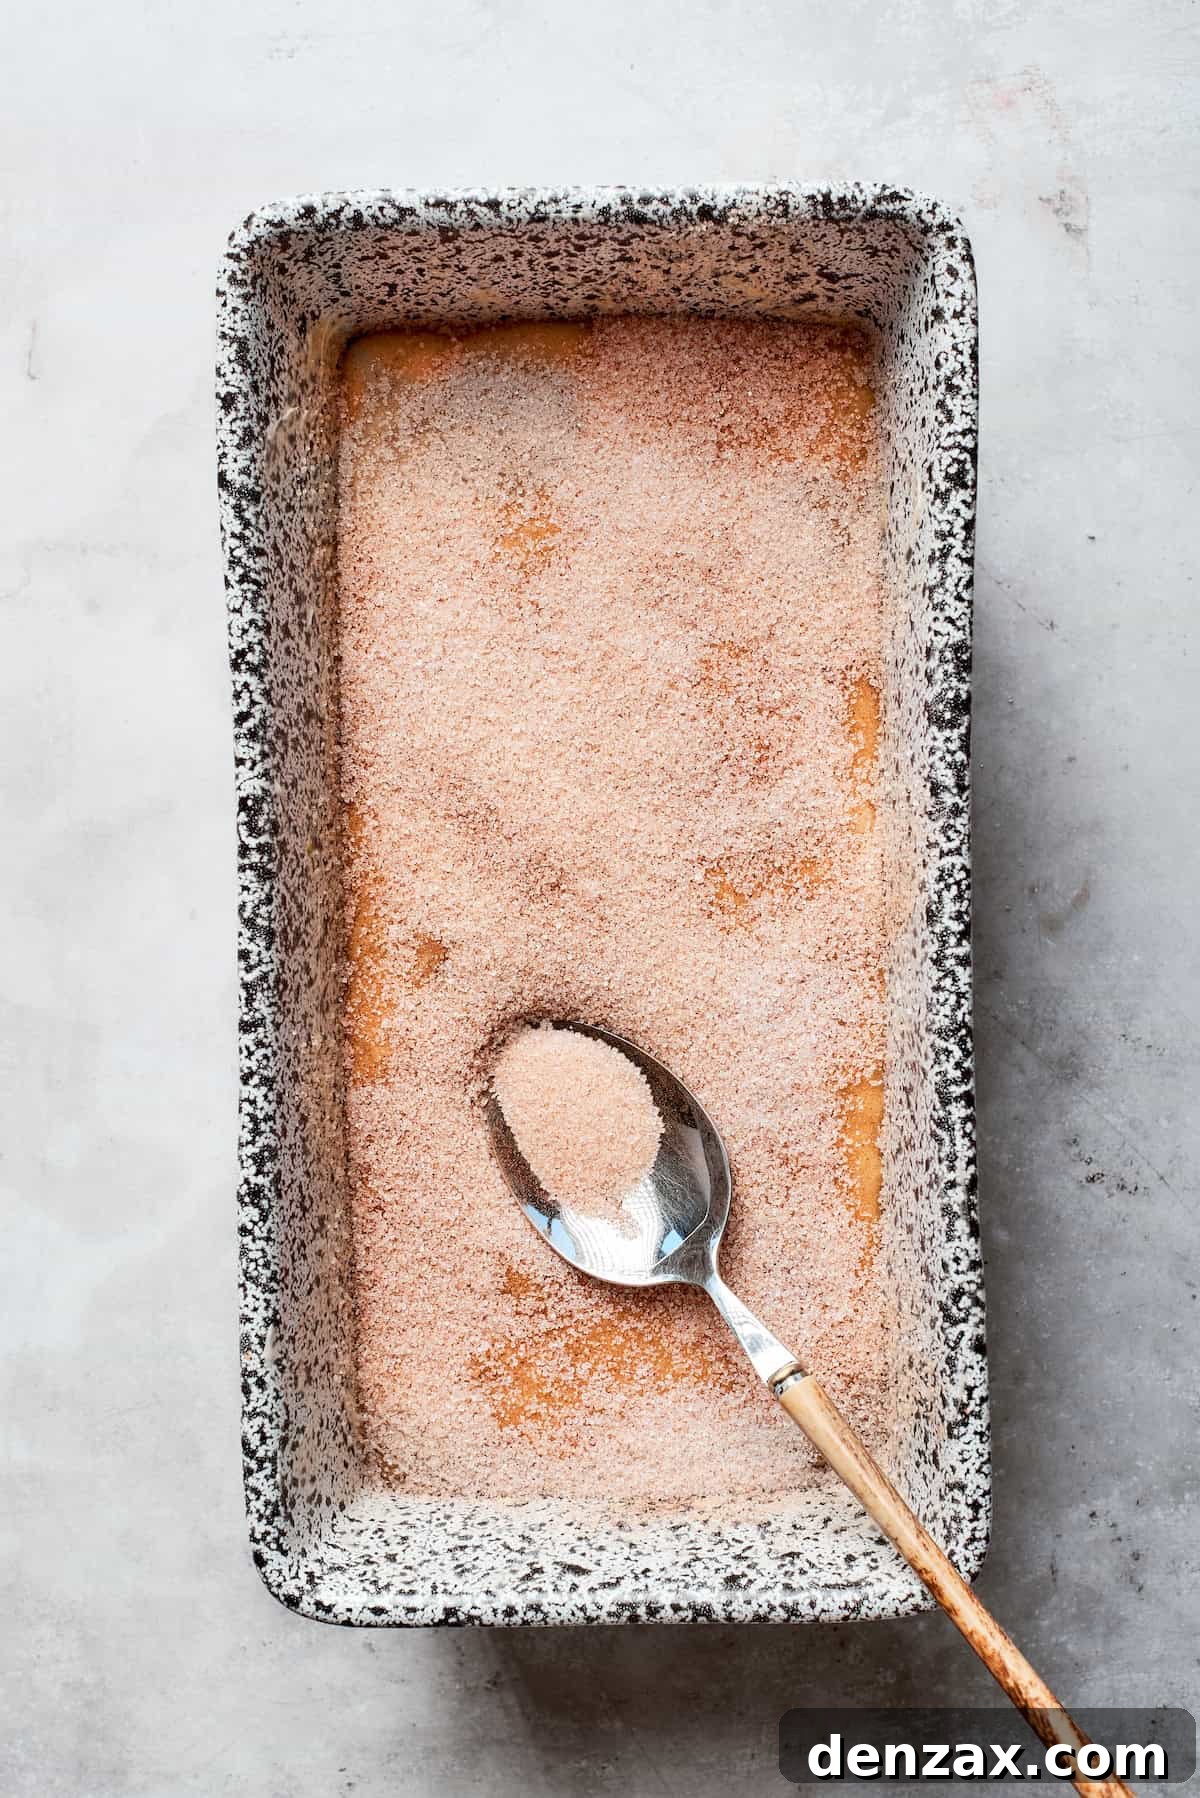
- Create the Topping: In a small bowl, mix together the granulated sugar and ground cinnamon for the topping until well blended. Sprinkle this fragrant cinnamon-sugar mixture evenly over the entire surface of the batter in the loaf pan. This will create a delightful, sweet, and slightly crunchy crust.
- Bake to Perfection: Place the loaf pan into your preheated oven and bake for approximately 60 to 90 minutes. Baking times can vary, so begin checking around the 60-minute mark. The bread is done when a wooden skewer or toothpick inserted into the center comes out clean or with only a few moist crumbs attached.
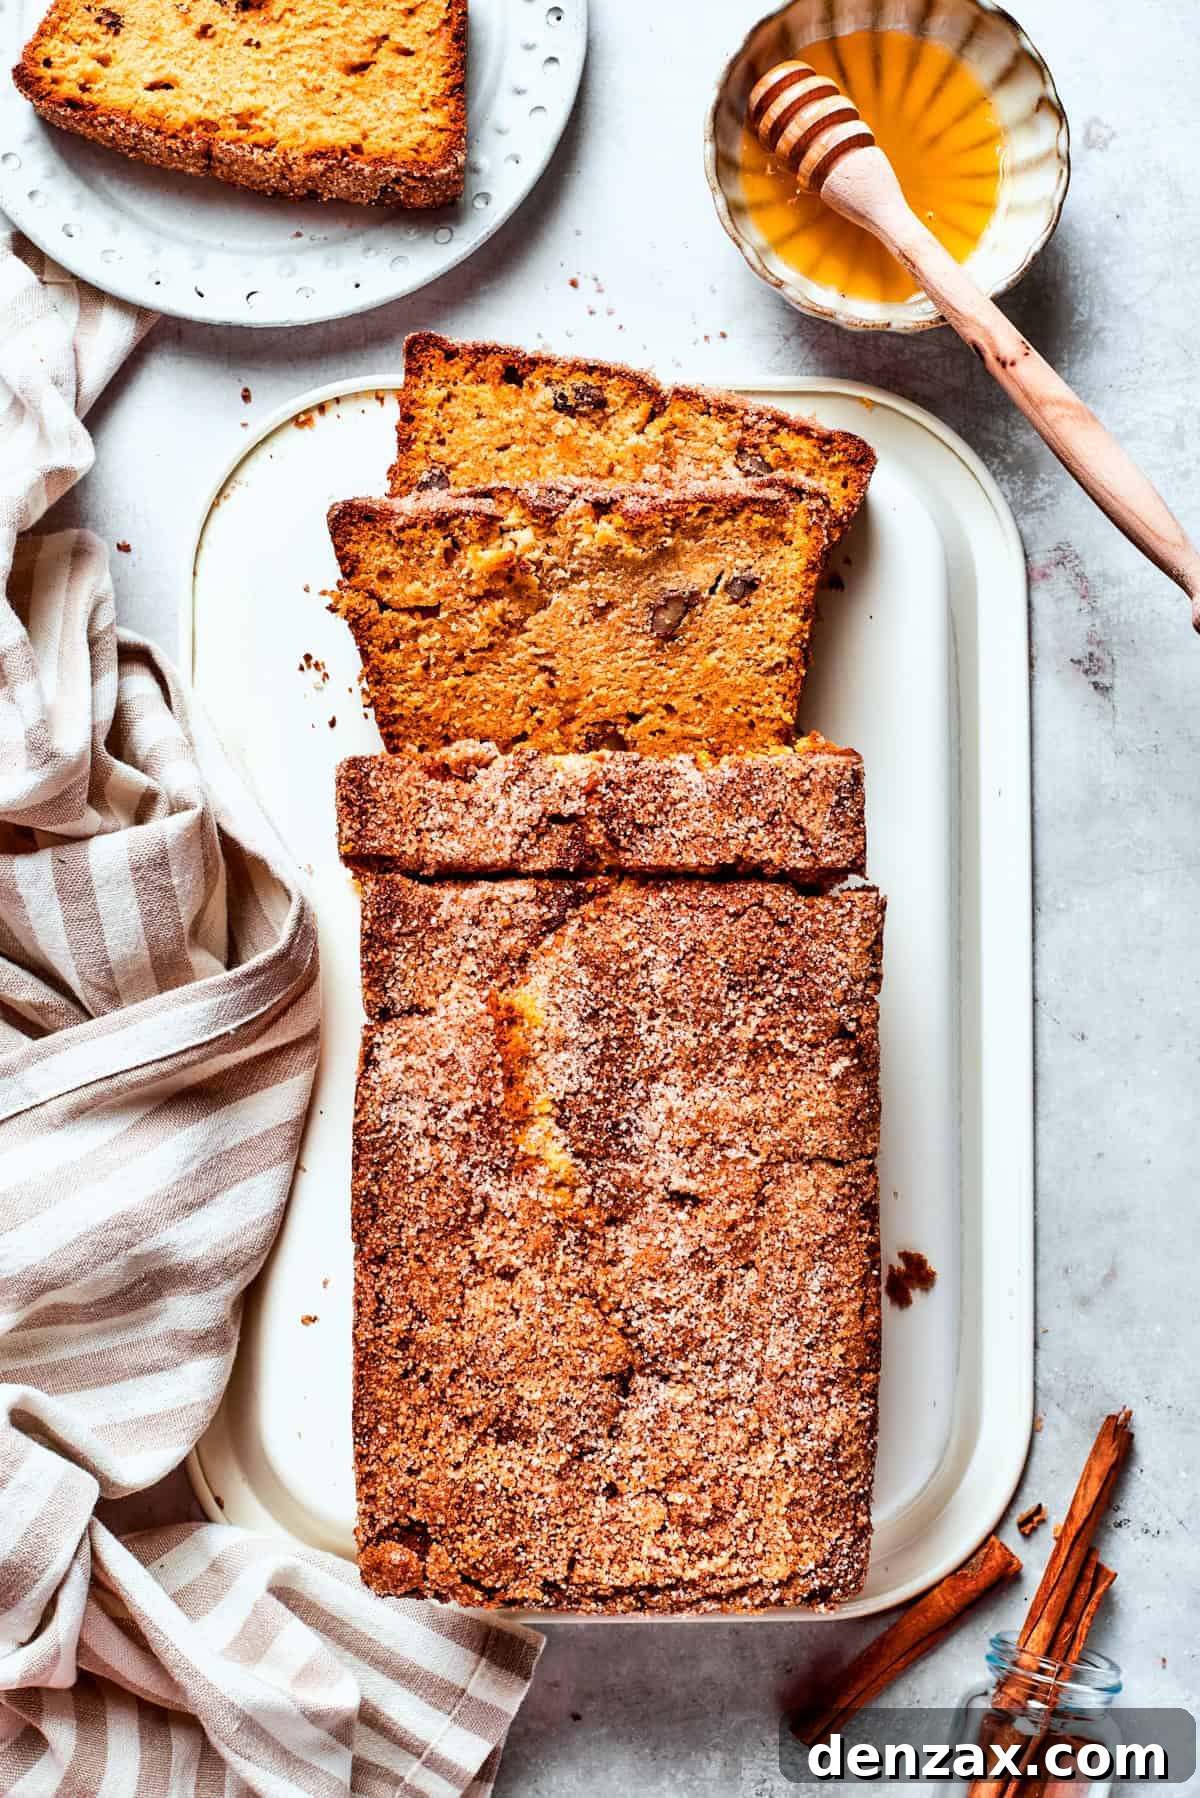
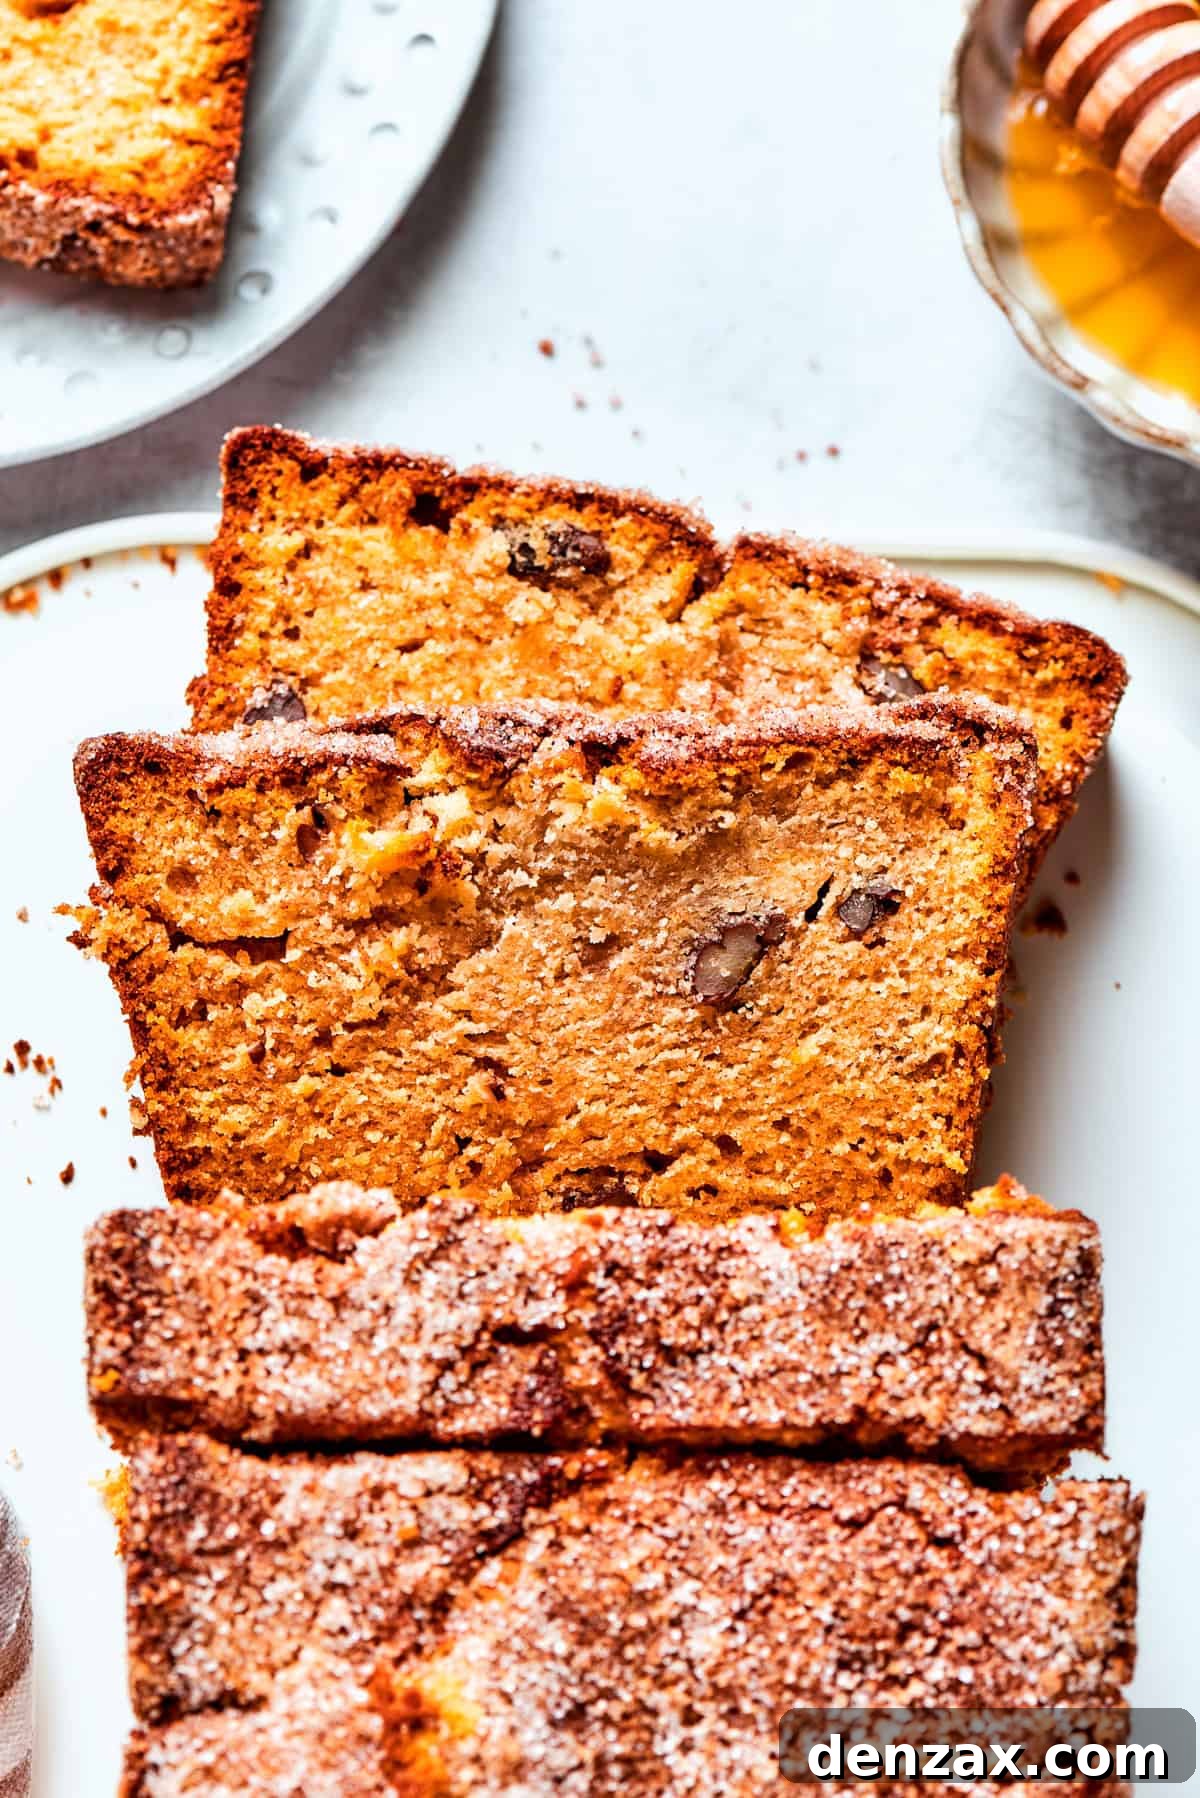
- Cooling Process: Once baked, remove the loaf from the oven and allow it to cool in the pan for about 10 minutes. This initial cooling helps the bread set. After 10 minutes, carefully transfer the loaf to a wire rack to cool completely. Slicing warm bread can lead to a gummy texture, so patience here will reward you with the best possible crumb.
Expert Tips for Perfect Amish Friendship Bread
Embarking on a bread-making adventure, especially one that involves a starter, can seem daunting at first. However, with a few key best practices and a sprinkle of patience, you’ll find that making Amish Friendship Bread in your home kitchen is not only achievable but immensely enjoyable. Here are some of my top tips to ensure your success:
- Vigilantly Monitor Your Starter: The health of your starter is paramount. Throughout the 10-day process, pay close attention to its scent and appearance. A thriving starter should emit a pleasant, yeasty, slightly sweet-sour aroma and exhibit regular bubbly activity. If you detect any off-putting odors, such as a rotten egg smell, or if you spot any signs of mold growth (which can appear as fuzzy spots of various colors), it is crucial to discard the entire batch immediately and begin anew with fresh ingredients. Never risk consuming a compromised starter.
- Maintain a Warm Environment: Yeast, whether in a sourdough or Amish Friendship Bread starter, thrives in warmth. Ensure your kitchen or the specific spot where you store your loosely covered starter is consistently warm, ideally between 70-75°F (21-24°C). A cold environment will significantly slow down or completely inhibit yeast activity, leading to a sluggish or inactive starter.
- Strategic Planning is Essential: Remember, this is a 10-day commitment before you even turn on the oven for the bread itself. Plan ahead! Mark your calendar for each feeding day and decide when you want your fresh loaf to be ready. This foresight allows you to prepare your starter well in advance, ensuring you’re ready to bake on your desired day without any last-minute rushes.
- Embrace the Sharing Spirit (or Not!): After using 1 cup of your mature starter for your bread, you’ll have a considerable amount left. True to tradition, you can divide this remaining starter into 1-cup portions and share them with friends, along with a copy of the recipe, to spread the joy of friendship bread. Alternatively, if you prefer to keep it all, store the excess in freezer-safe bags. Frozen starter can be thawed and used directly in future baking projects, or even fed again to reactivate it fully.
- Allow for Complete Cooling: Just like most homemade baked goods, particularly yeast breads, patience during the cooling phase is critical. While the aroma of a freshly baked loaf is incredibly tempting, resist the urge to slice into it immediately. Allowing the bread to cool completely on a wire rack allows the internal structure (the crumb) to set properly, prevents it from becoming gummy, and ensures the best possible texture and flavor.
- Accurate Ingredient Measurement: Baking is a science, and precision matters. Always use proper measuring cups and spoons, and for flour, employ the spoon-and-level method rather than scooping directly from the bag. This prevents over-packing the flour, which can lead to a dry, dense bread.
- Don’t Overmix the Batter: Once you combine the wet and dry ingredients for the bread, mix only until the flour streaks disappear. Overmixing develops too much gluten, which can result in a tough, chewy loaf rather than the desired tender crumb of Amish Friendship Bread.
Frequently Asked Questions About Amish Friendship Bread
How many days does it take to make Amish Friendship Bread?
The entire process of making Amish Friendship Bread typically spans about 10 days. The vast majority of this time is dedicated to cultivating and fermenting the starter. Once you have a healthy, active starter (either one you’ve cultivated or one you’ve received from a friend), the actual baking of the loaf takes only a couple of hours from mixing to cooling.
What’s the primary difference between Friendship Bread and sourdough?
The main difference lies in their starters and flavor profiles. Amish Friendship Bread starter is initiated with commercial active dry yeast and is regularly fed with flour, milk, and sugar, resulting in a distinctly sweeter bread with a tender, cake-like crumb. Traditional sourdough starter, on the other hand, relies solely on flour and water, harnessing wild yeasts and bacteria to create a tangier, often chewier bread. While both involve fermentation, Amish Friendship Bread is designed for sweetness and a milder tang, whereas sourdough is known for its pronounced sour notes.
How can I tell if my starter has gone bad?
A healthy starter should have a pleasant, yeasty, slightly sweet-sour aroma and show consistent bubbly activity. You’ll know your starter has gone bad if you observe any signs of mold (which can be green, black, pink, or fuzzy spots) – if this happens, discard it immediately. Another clear indicator is an extremely foul or unpleasant smell, particularly a strong odor resembling rotten eggs, which suggests undesirable bacteria have taken over. Trust your senses; if it looks or smells off, it’s best to err on the side of caution and start fresh.
Why did my Amish Friendship Bread sink in the center?
A common culprit for a sunken center in bread, including Amish Friendship Bread, is opening the oven door too frequently or too early during the baking process. The sudden drop in temperature can cause the delicate internal structure of the rising bread to collapse before it has fully set. Resist the temptation to peek! Ensure your oven temperature is accurate and let the bread bake undisturbed until near the end of the recommended baking time. Other factors can include overmixing the batter, using old or inactive baking powder, or measuring ingredients inaccurately (especially too much liquid).
Can I make Amish Friendship Bread gluten-free?
While the traditional recipe calls for all-purpose wheat flour, it is possible to adapt Amish Friendship Bread to be gluten-free. This would involve using a gluten-free flour blend for both the starter and the bread. However, gluten-free flours behave differently than wheat flour, so the texture and rise may vary, and you might need to adjust liquid amounts. The starter also needs to be fed with gluten-free flour, and its activity might differ. Experimentation is key when converting traditional recipes to gluten-free.
What kind of container is best for the starter?
A large, non-metallic bowl or container is best for your starter. Glass, ceramic, or food-grade plastic containers are ideal. Avoid metal containers, especially during the long fermentation process, as some metals can react with the starter’s acidity. Ensure the container is large enough to accommodate the starter’s growth and bubbling, and always cover it loosely with a clean kitchen towel or plastic wrap to allow for air exchange while preventing contaminants.
Delightful Serving Suggestions
Amish Friendship Bread is incredibly versatile and delicious, whether enjoyed simply or dressed up. Its sweet, cinnamon-infused flavor makes it a perfect accompaniment to a cozy pot of tea, a rich cup of coffee, or a creamy caffe macchiato. It can elevate a weekend brunch, serve as a delightful dessert, or provide a comforting snack any time of day. Here are a few ways to savor your homemade loaf:
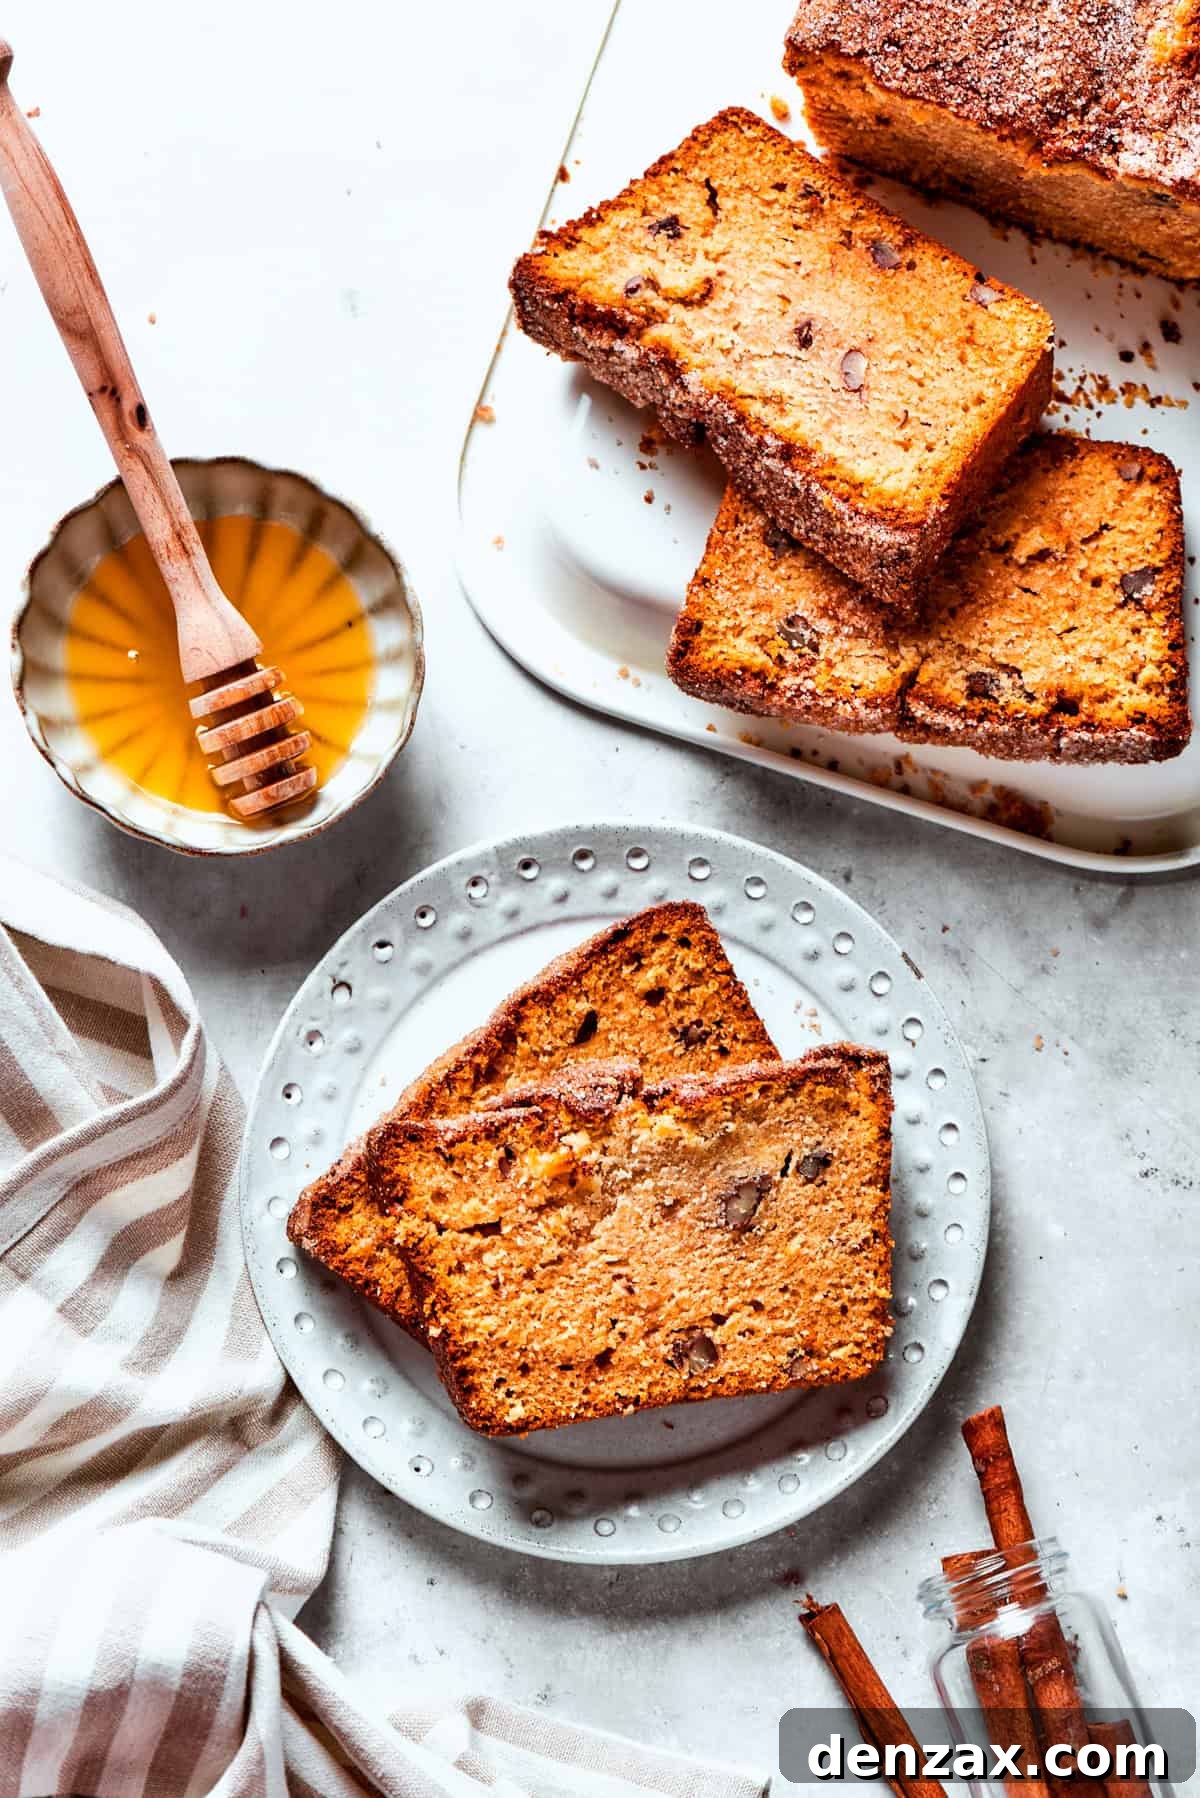
- Classic Buttered: The simplest pleasure! Spread warm, freshly sliced bread with a generous amount of softened salted or unsalted butter. The butter melts into the tender crumb, enhancing its richness.
- Sweetened with Honey: For an extra layer of indulgence, drizzle a bit of golden honey over your buttered slices. The natural sweetness of honey beautifully complements the bread’s cinnamon notes.
- Nut Butter Boost: Elevate your snack by spreading a spoonful of your favorite nut butter – almond butter, peanut butter, or cashew butter – onto a slice. It adds protein and a delightful nutty contrast.
- Perfect Brunch Companion: Serve Amish Friendship Bread as a sweet counterpoint to savory breakfast or brunch dishes. It pairs wonderfully with egg preparations like a hearty eggs Benedict casserole or spicy eggs in purgatory. Don’t forget a side of crispy oven-baked bacon for the ultimate spread!
- With Fresh Fruit: Top a slice with a dollop of yogurt or whipped cream and a handful of fresh berries (strawberries, blueberries, raspberries) for a lighter, refreshing treat.
- Ice Cream Pairing: For a decadent dessert, serve a slice slightly warmed with a scoop of vanilla bean ice cream. The warm bread and cold ice cream create an irresistible contrast.
Optimal Storage for Starter & Bread
Ensuring proper storage is key to maintaining the vitality of your starter and the freshness of your baked bread. Follow these guidelines to enjoy your Amish Friendship Bread creations for as long as possible:
- Amish Friendship Bread Starter: To keep any leftover starter active and healthy, transfer it to a clean, non-metallic container (such as glass or ceramic) with a loose-fitting lid or cover. Store this in the refrigerator. To maintain its activity, remember to feed it every 5-7 days with equal parts flour, sugar, and milk. Always stir the starter both before and after each feeding to redistribute the ingredients and invigorate the yeast.
- Baked Bread (Room Temperature): Once your Amish Friendship Bread has cooled completely, store any leftover slices or the entire loaf in an airtight container at room temperature. It will remain fresh and delicious for up to 3 days. To preserve its moisture, you can also wrap it tightly in plastic wrap before placing it in the container.
- Freezing the Baked Bread: For longer-term storage, Amish Friendship Bread freezes beautifully. You can freeze the entire loaf or individual slices. Wrap the bread tightly in plastic wrap, then place it in a freezer-safe bag or an airtight freezer container. It can be stored in the freezer for up to 3 months. To enjoy, simply thaw the bread in the refrigerator overnight, or for quicker results, individual slices can be lightly toasted from frozen.
Explore More Delicious Bread Recipes
If you’ve enjoyed the rewarding experience of making Amish Friendship Bread, you might love exploring other homemade bread recipes. Here are some of our favorites that offer a variety of flavors and baking techniques:
- Challah Bread: A rich, braided Jewish bread, traditionally made with eggs and often enjoyed on the Sabbath and holidays.
- No Knead Dutch Oven Bread: Incredibly simple yet yielding a perfectly crusty artisan-style loaf with minimal effort.
- Cheesy Garlic Pull Apart Bread: A savory, gooey, and utterly irresistible bread that’s perfect for sharing.
- Sour Cream Banana Bread: A moist and flavorful quick bread, made extra tender with the addition of sour cream.

Amish Friendship Bread
by Katerina | Easy Weeknight Recipes
Learn how to make Amish Friendship Bread, a cinnamon-swirled sweet bread that uses a homemade sweet starter as its base.
Prep Time: 15 minutes
Cook Time: 1 hour 30 minutes
Cooling Time: 30 minutes
Total Time: 2 hours 15 minutes
Servings: 12 servings
Ingredients
Starter:
- 1 package active dry yeast (or 2¼ teaspoons)
- ¼ cup warm water (about 110°F)
- 1 cup granulated sugar
- 1 cup all-purpose flour
- 1 cup milk (whole or 2%)
Feedings (for Day 5 and Day 10):
- 2 cups granulated sugar, divided
- 2 cups all-purpose flour, divided
- 2 cups milk, divided
For the Bread:
- 1 cup Amish Friendship Bread starter
- 1 cup granulated white sugar
- 3 cups vegetable oil (neutral-flavored)
- 3 large eggs, at room temperature
- 1 teaspoon pure vanilla extract
- 1¼ cup buttermilk, shaken well
- 2 cups all-purpose flour (spooned and leveled)
- 1½ teaspoon baking powder (fresh)
- ½ teaspoon sea salt
- 1 teaspoon ground cinnamon
- ½ cup toasted chopped pecans (optional)
For the Cinnamon Sugar Mixture:
- ⅓ cup granulated white sugar
- 1 teaspoon ground cinnamon
Instructions
Making the Starter (10-Day Process)
- Day 1: Activating the Yeast. In a small bowl, dissolve the yeast in warm water (110°F). Stir gently and let it sit for about 10 minutes until it becomes frothy. This indicates that the yeast is active and ready to use.
- Day 2-4: Initial Feeding. In a large non-metallic bowl or container, combine 1 cup of granulated sugar, 1 cup of all-purpose flour, and 1 cup of milk. Stir well to combine. Add the frothy yeast mixture from Step 1 into the bowl. Stir thoroughly until all ingredients are incorporated.
- Store. Cover the bowl loosely with a clean cloth or plastic wrap. Store the starter at room temperature, away from direct sunlight.
- Day 5: First Major Feeding. By now, you should start to notice some fermentation activity in the starter, such as bubbles forming and a slight sour smell. It’s time for the first substantial feeding. Add 1 cup of granulated sugar, 1 cup of all-purpose flour, and 1 cup of milk to the starter. Stir until smooth and well combined. The mixture will become thicker and more gooey.
- Day 6-9: Daily Stirring. For the next several days, continue to stir the starter once a day. This helps distribute the yeast and encourages fermentation. You may notice the starter becoming bubbly and increasing in volume.
- Day 10: Final Nourishment. On the 10th day, perform the final feeding before using the starter in your bread recipe. Add another 1 cup of granulated sugar, 1 cup of all-purpose flour, and 1 cup of milk to the starter. Mix thoroughly until smooth and well incorporated. The starter should now have a sweet-sour aroma and a thick, pancake batter-like consistency. It is now ready to use or share.
Preparing the Amish Friendship Bread Loaf
- Preheat your oven to 325°F (160°C). Grease a 9×5-inch loaf pan, or line it with parchment paper, leaving an overhang for easy removal.
- In a large ceramic or glass mixing bowl, combine 1 cup of your active Amish Friendship Bread starter with 1 cup of granulated white sugar and the 3 cups of vegetable oil. Mix well with a hand whisk until thoroughly combined.
- Add the 3 large room-temperature eggs, 1 teaspoon of pure vanilla extract, and 1¼ cup of buttermilk (shaken well) to the mixture. Whisk everything until fully incorporated and the batter appears smooth.
- In a separate medium bowl, sift together the 2 cups of all-purpose flour, 1½ teaspoons of baking powder, ½ teaspoon of sea salt, and 1 teaspoon of ground cinnamon. Gradually incorporate these dry ingredients into the wet mixture, stirring gently only until they are just combined and no dry streaks of flour remain. Be careful not to overmix the batter.
- If using, gently fold in the ½ cup of toasted chopped pecans.
Baking Instructions
- Transfer the prepared bread batter evenly into your greased or parchment-lined loaf pan.
- In a small bowl, combine the ⅓ cup of granulated white sugar and 1 teaspoon of ground cinnamon until well blended.
- Generously sprinkle this cinnamon sugar mixture evenly over the top of the batter in the loaf pan. This will form a delicious, sweet crust.
- Bake in the preheated oven for 60 to 90 minutes. Baking time may vary, so start checking for doneness around the 60-minute mark. The bread is fully baked when a toothpick or wooden skewer inserted into the center of the loaf comes out clean or with only moist crumbs attached.
- Remove the loaf from the oven and let it cool in the pan for 10 minutes. This helps the bread to set and prevents it from crumbling.
- After 10 minutes, carefully transfer the loaf from the pan to a wire rack to cool completely before slicing. Slicing warm bread can lead to a gummy texture.
Notes
Using the Starter:
- Measure out 1 cup of the starter for your Amish Friendship Bread recipe. The remaining starter can be divided and shared with friends to continue the tradition, or saved for future use.
Storing the Starter:
- Store any leftover starter in a non-metallic container with a loose lid or cover. Keep it in the refrigerator and feed it every 5-7 days to maintain its activity. Remember to stir before and after feeding.
Important Note: Throughout the starter cultivation process, if the starter develops an off-putting smell (like rotten eggs) or shows any signs of mold, discard it immediately and start over with fresh ingredients to ensure safety and quality.
Serving and Storing Baked Bread:
- Serve the Amish Friendship Bread slices plain, toasted, or with butter and a drizzle of honey for extra sweetness.
- Store any leftover baked bread in an airtight container at room temperature for up to 3 days to keep it fresh and moist. For longer storage, the bread can be frozen.
Nutrition
Serving: 1 slice | Calories: 585kcal | Carbohydrates: 121g | Protein: 11g | Fat: 8g | Saturated Fat: 2g | Polyunsaturated Fat: 1g | Monounsaturated Fat: 3g | Trans Fat: 0.004g | Cholesterol: 51mg | Sodium: 217mg | Potassium: 217mg | Fiber: 2g | Sugar: 77g | Vitamin A: 203IU | Vitamin C: 0.1mg | Calcium: 154mg | Iron: 3mg
Nutritional information is an estimate and provided as a courtesy. Values may vary according to the ingredients and tools used. Please use your preferred nutritional calculator for more detailed info.