
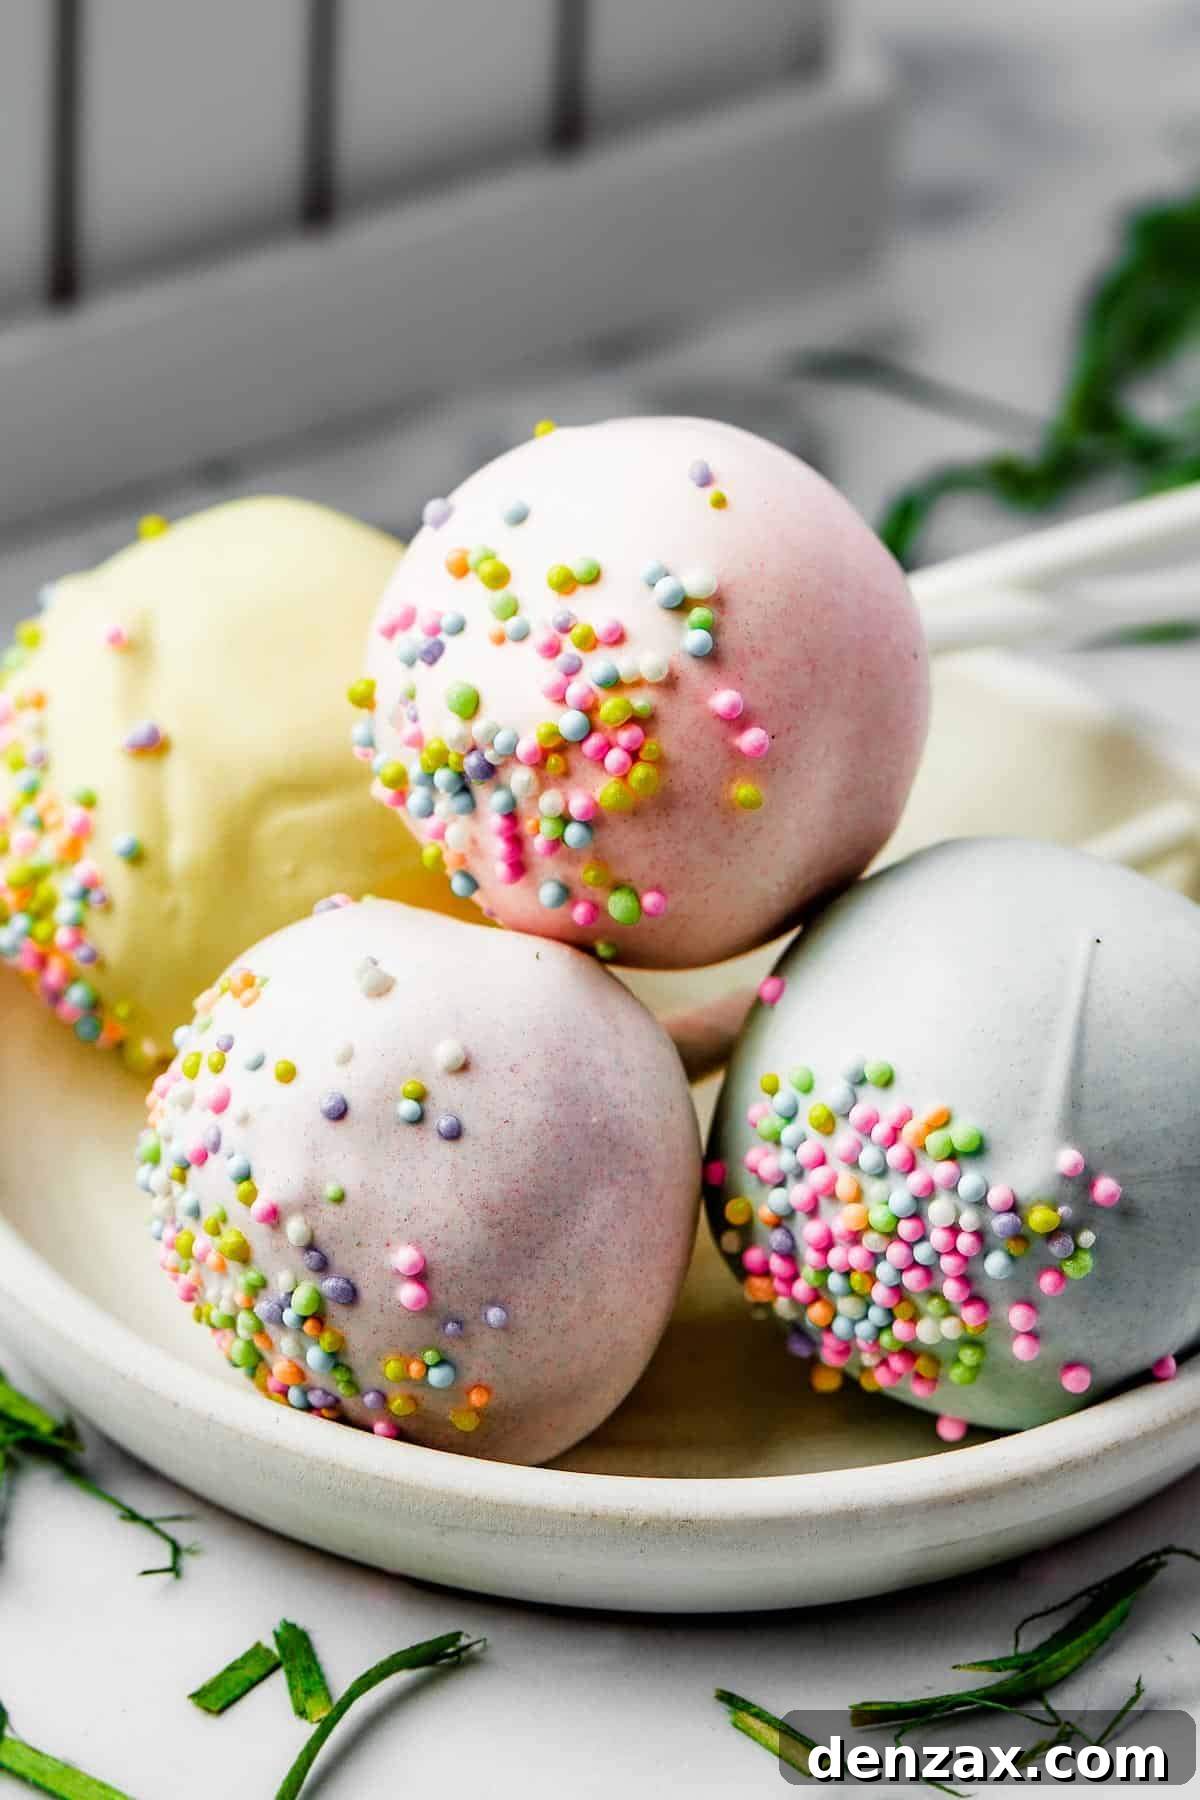
Welcome to the delightful world of Cake Pops! These whimsical treats offer a playful and utterly satisfying twist on traditional cake and frosting, transforming them into bite-sized spheres of joy on a stick. Easily crafted with a simple yellow cake mix and vibrant candy melts, our cake pops are celebrated for their incredibly moist texture, delicate crumb, and rich flavor—a perfect sweet indulgence that captivates both young and old alike.
Imagine a miniature cake, expertly blended with creamy frosting, chilled to perfection, and then enrobed in a smooth, colorful candy shell. Each pop is a tiny masterpiece, ready to be adorned with sprinkles, drizzles, or any festive topping imaginable. Far from being just another dessert, cake pops are an experience, making them an ideal choice for parties, celebrations, or simply to brighten an ordinary day.
The Irresistible Charm of Homemade Cake Pops
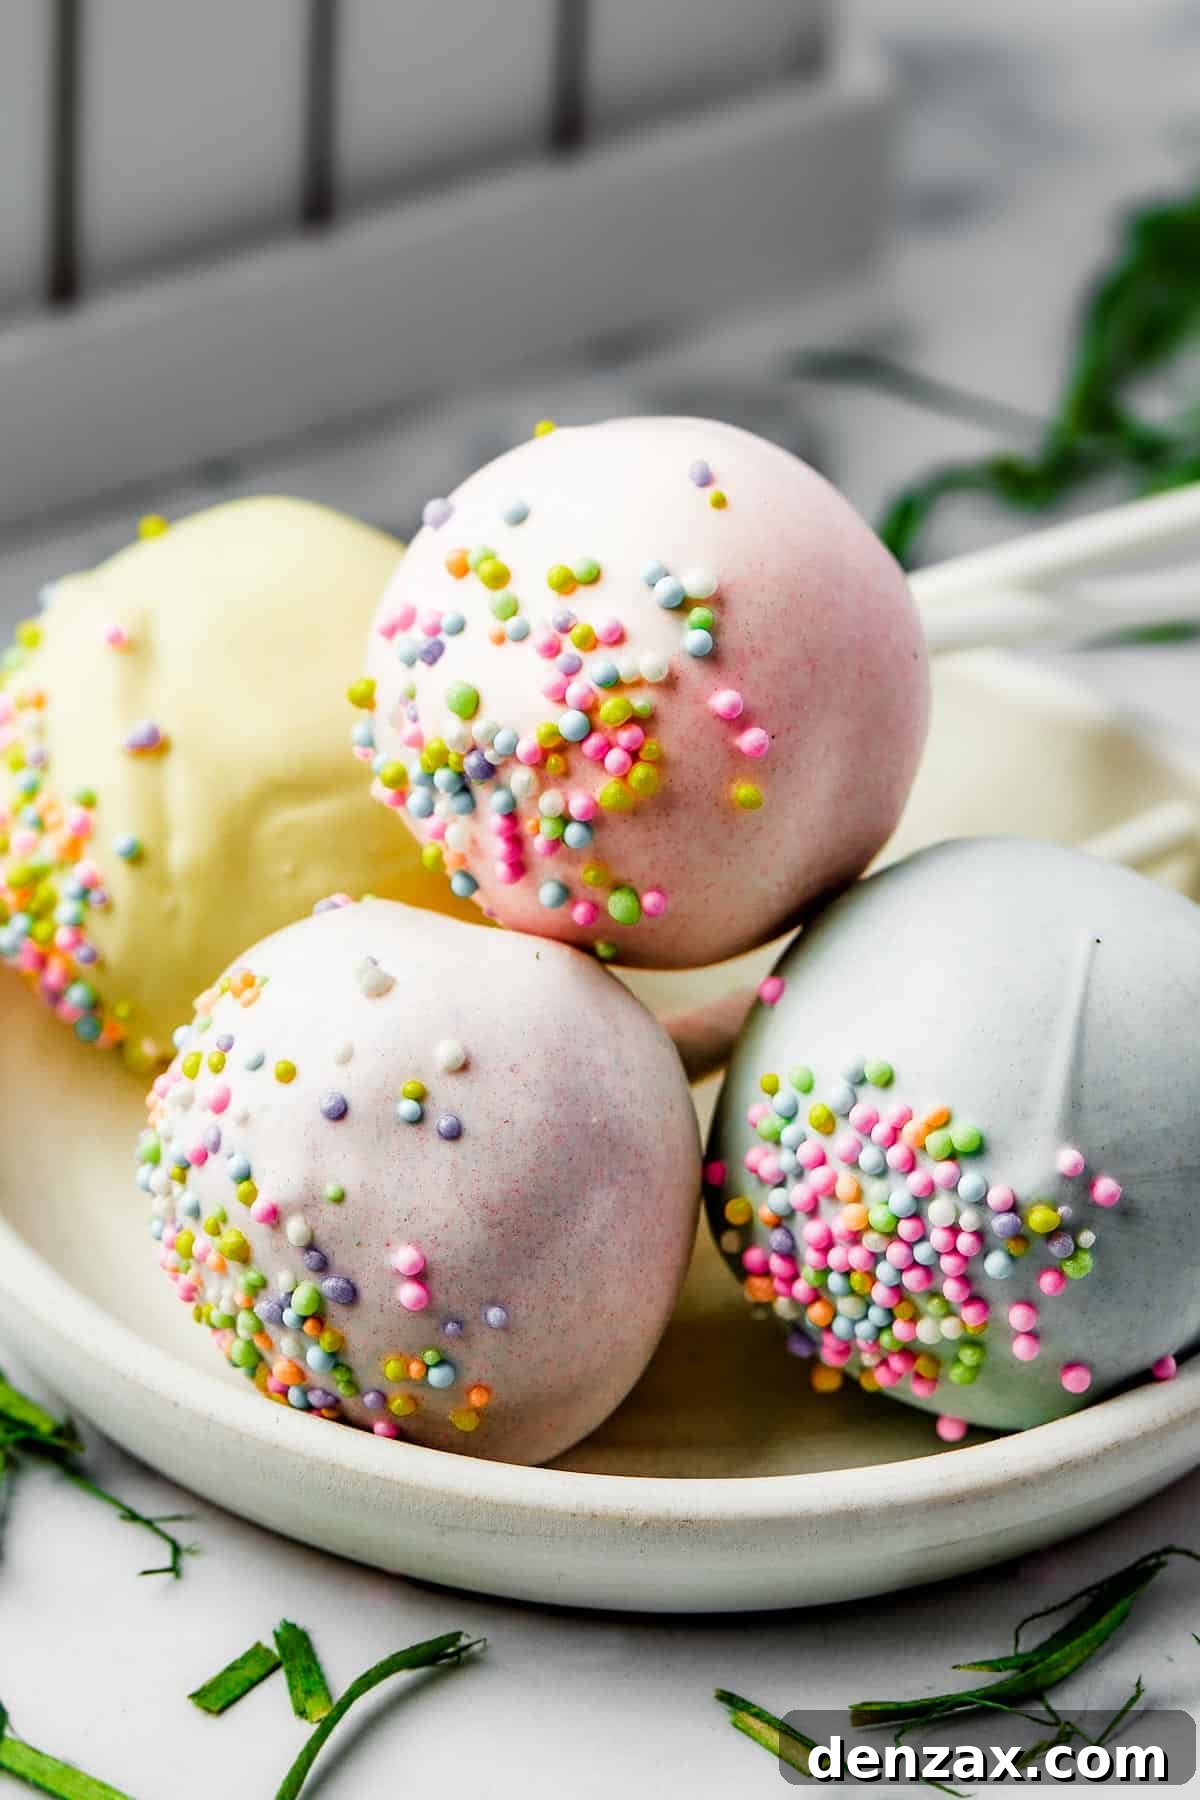
Cake pops have undeniably swept the culinary world, emerging as a versatile and beloved treat for all occasions. These charming lollipops, featuring ultra-rich, buttery cake centers dipped in a soft, melted candy coating and finished with an array of pretty toppings, are truly difficult to resist. From children’s birthday parties to elegant wedding favors, their compact size and festive appearance make them a standout dessert.
While often seen at premium bakeries and coffee shops, like those tempting birthday cake pops at Starbucks that somehow always manage to lighten your wallet, or the exquisite creations at your local gourmet grocery store, the truth is that homemade cake pops offer an unparalleled experience. Crafting them at home is not only significantly more economical but also provides the fantastic opportunity to unleash your creativity. You can experiment with an endless variety of flavors, colors, and designs, ensuring each batch is perfectly tailored to your taste and occasion. This guide will show you how to achieve bakery-quality results right in your own kitchen, turning a simple boxed mix into a spectacular dessert that will impress everyone.
The Secret Behind Incredibly Moist Cake Pops
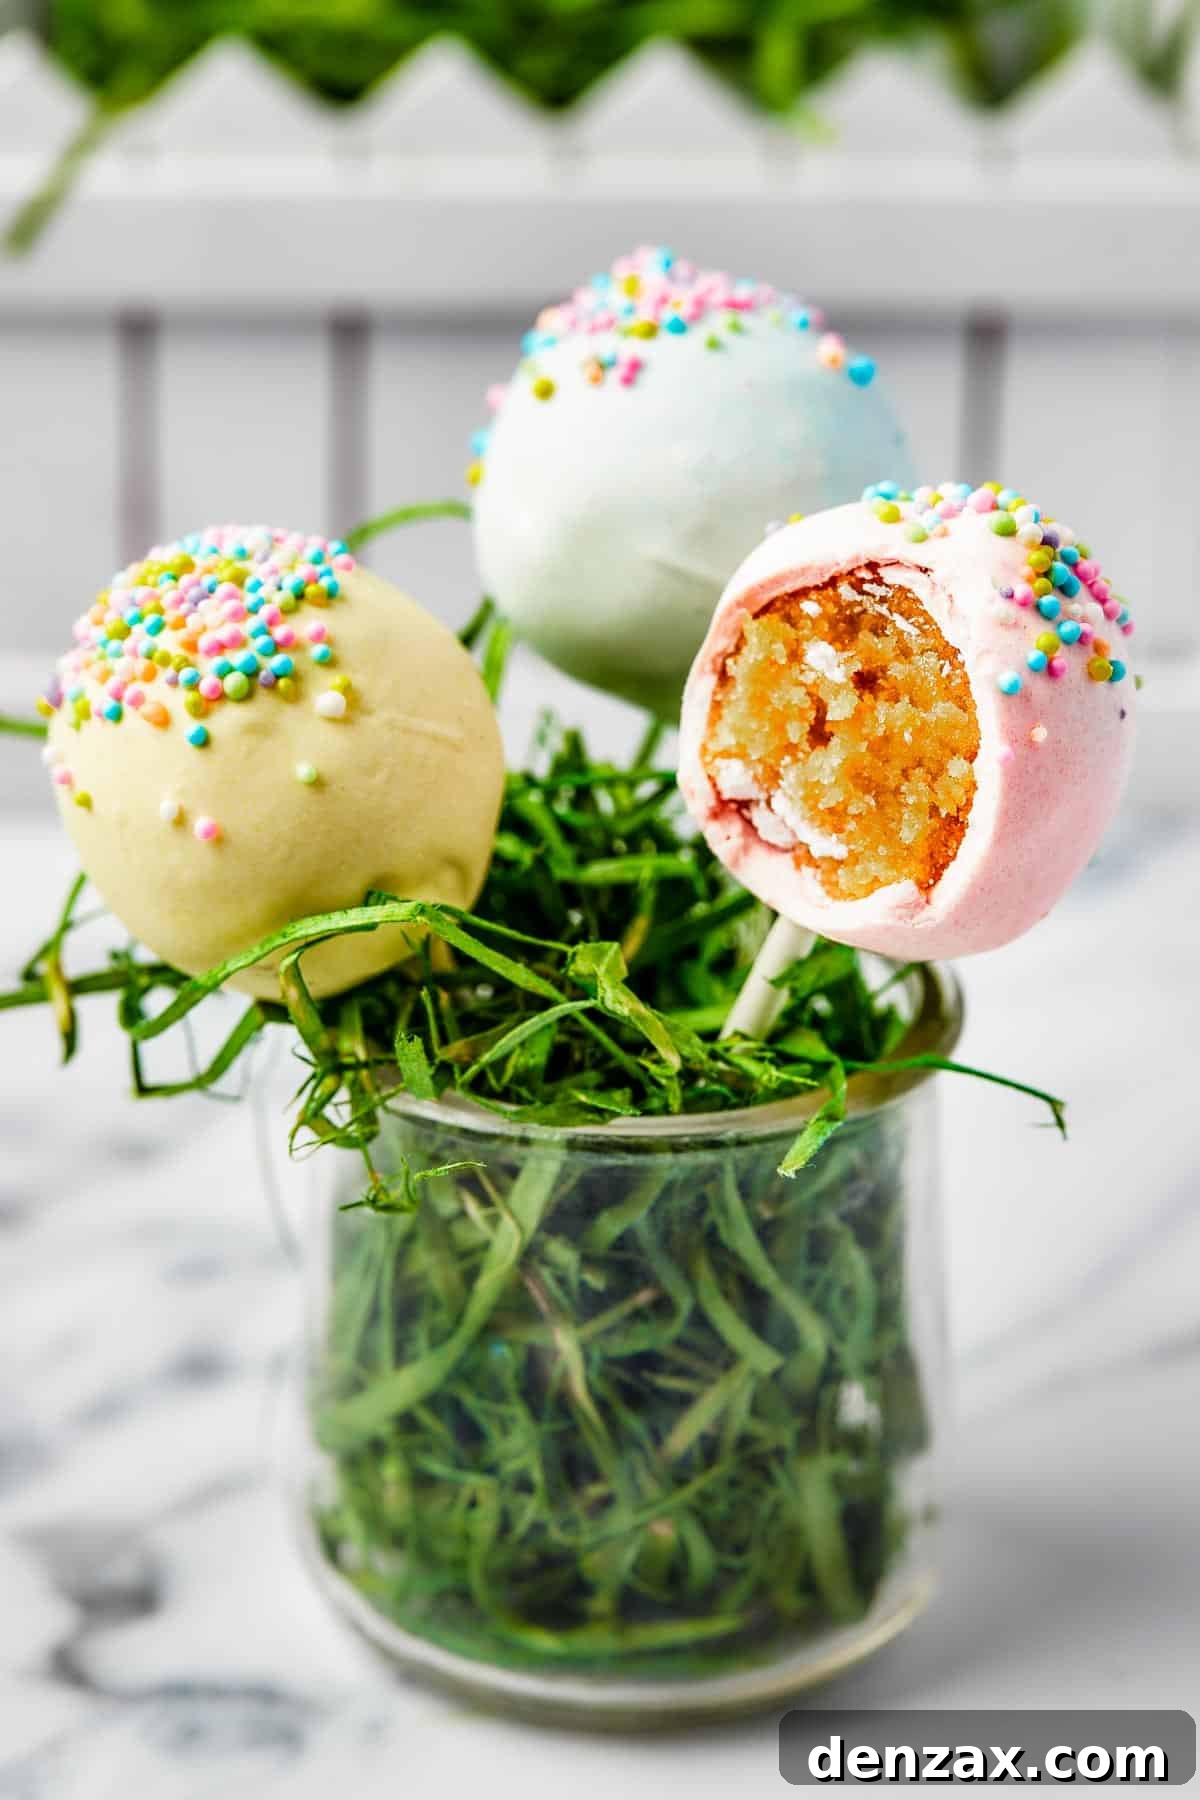
Ask anyone what they love most about cake pops, and the answer will almost invariably be their uniquely moist, tender texture. It’s a delightful sensation, akin to a rich candy truffle expertly combined with a dense, flavorful cake. This distinctive characteristic is, thankfully, quite easy to achieve. The magic lies in a simple yet brilliant technique: incorporating frosting directly into the crumbled cake. This essential step doesn’t just bind the cake crumbs; it infuses them with a luxurious, velvety richness and an unmatched moisture level that elevates the entire cake pop experience. Unlike a traditional slice of cake where frosting sits on top, here the frosting becomes an integral part of the cake itself, creating that dense, chewy, and utterly melt-in-your-mouth interior that makes cake pops so utterly addictive. By understanding this core principle, you’re well on your way to mastering the art of the perfect cake pop.
Essential Ingredients for Perfect Cake Pops
Our straightforward cake pop recipe begins with a boxed cake mix, streamlining the process for maximum ease and convenience. However, for those who prefer to bake entirely from scratch, feel free to use your favorite homemade cake recipe—my BEST-EST homemade Chocolate Cake recipe is a fantastic option if you’re looking for inspiration! Here’s a breakdown of what you’ll need, along with some helpful tips:
For the Cake Base
- Yellow Cake Mix: A standard 16-ounce box of yellow cake mix forms the foundation of our cake pops. While any brand will work beautifully, yellow cake offers a classic, rich, and slightly “custardy” flavor that pairs wonderfully with various frosting and candy coatings. It provides a consistent and tender crumb, making it ideal for forming smooth cake balls.
- Water: As directed by the cake mix package, water helps activate the dry ingredients and creates a smooth batter. Ensure it’s at room temperature for optimal mixing.
- Vegetable Oil: This ingredient contributes significantly to the cake’s moistness and tender texture. Any mild-flavored oil, such as canola or sunflower oil, can be substituted. Avoid strong-flavored oils that might alter the delicate taste of your cake.
- Eggs: Large, whole eggs are crucial for providing structure, richness, and moisture to the cake. They also help with leavening, ensuring a light and airy baked cake before it’s crumbled.
For the Velvety Frosting
- Butter: Unsalted butter is preferred as it gives you control over the overall saltiness of the frosting. If using salted butter, reduce the added salt in the recipe slightly. Ensure your butter is softened to room temperature for effortless creaming and a smooth, lump-free frosting.
- Powdered Sugar: Also known as confectioners’ sugar, powdered sugar is essential for achieving a smooth, creamy frosting texture that dissolves perfectly. Granulated sugar or other sugar types will result in a gritty texture, which we want to avoid for our velvety cake pop centers.
- Heavy Whipping Cream: A small amount of heavy whipping cream adds richness, creaminess, and helps achieve the ideal consistency for our frosting, making it light and pliable enough to mix with the cake crumbs.
- Vanilla Extract: Pure vanilla extract offers the best, most authentic flavor. For an extra touch of gourmet, consider using the seeds from a scraped vanilla bean. Vanilla flavoring can be used in a pinch, but for superior taste, pure extract is recommended.
- Salt: Just a pinch of salt enhances all the sweet flavors in the frosting, balancing the sweetness and adding depth.
For Assembly and Decoration
- Candy Melts: White candy melts are a versatile choice, providing a blank canvas for coloring. However, you can use any color of candy melts to match your theme, eliminating the need for additional food coloring. They melt smoothly and set firm, creating a perfect coating.
- Food Coloring and Sprinkles: These are entirely optional but highly recommended for decorating your cake pops! Food coloring allows you to customize the candy coating to any desired shade, while sprinkles add a fun, festive, and professional-looking finishing touch.
- Lollipop Sticks: These essential sticks transform cake balls into pops! They are widely available in the baking aisle of most grocery stores or can be easily ordered online. Choose sturdy sticks that can support the weight of the cake balls.
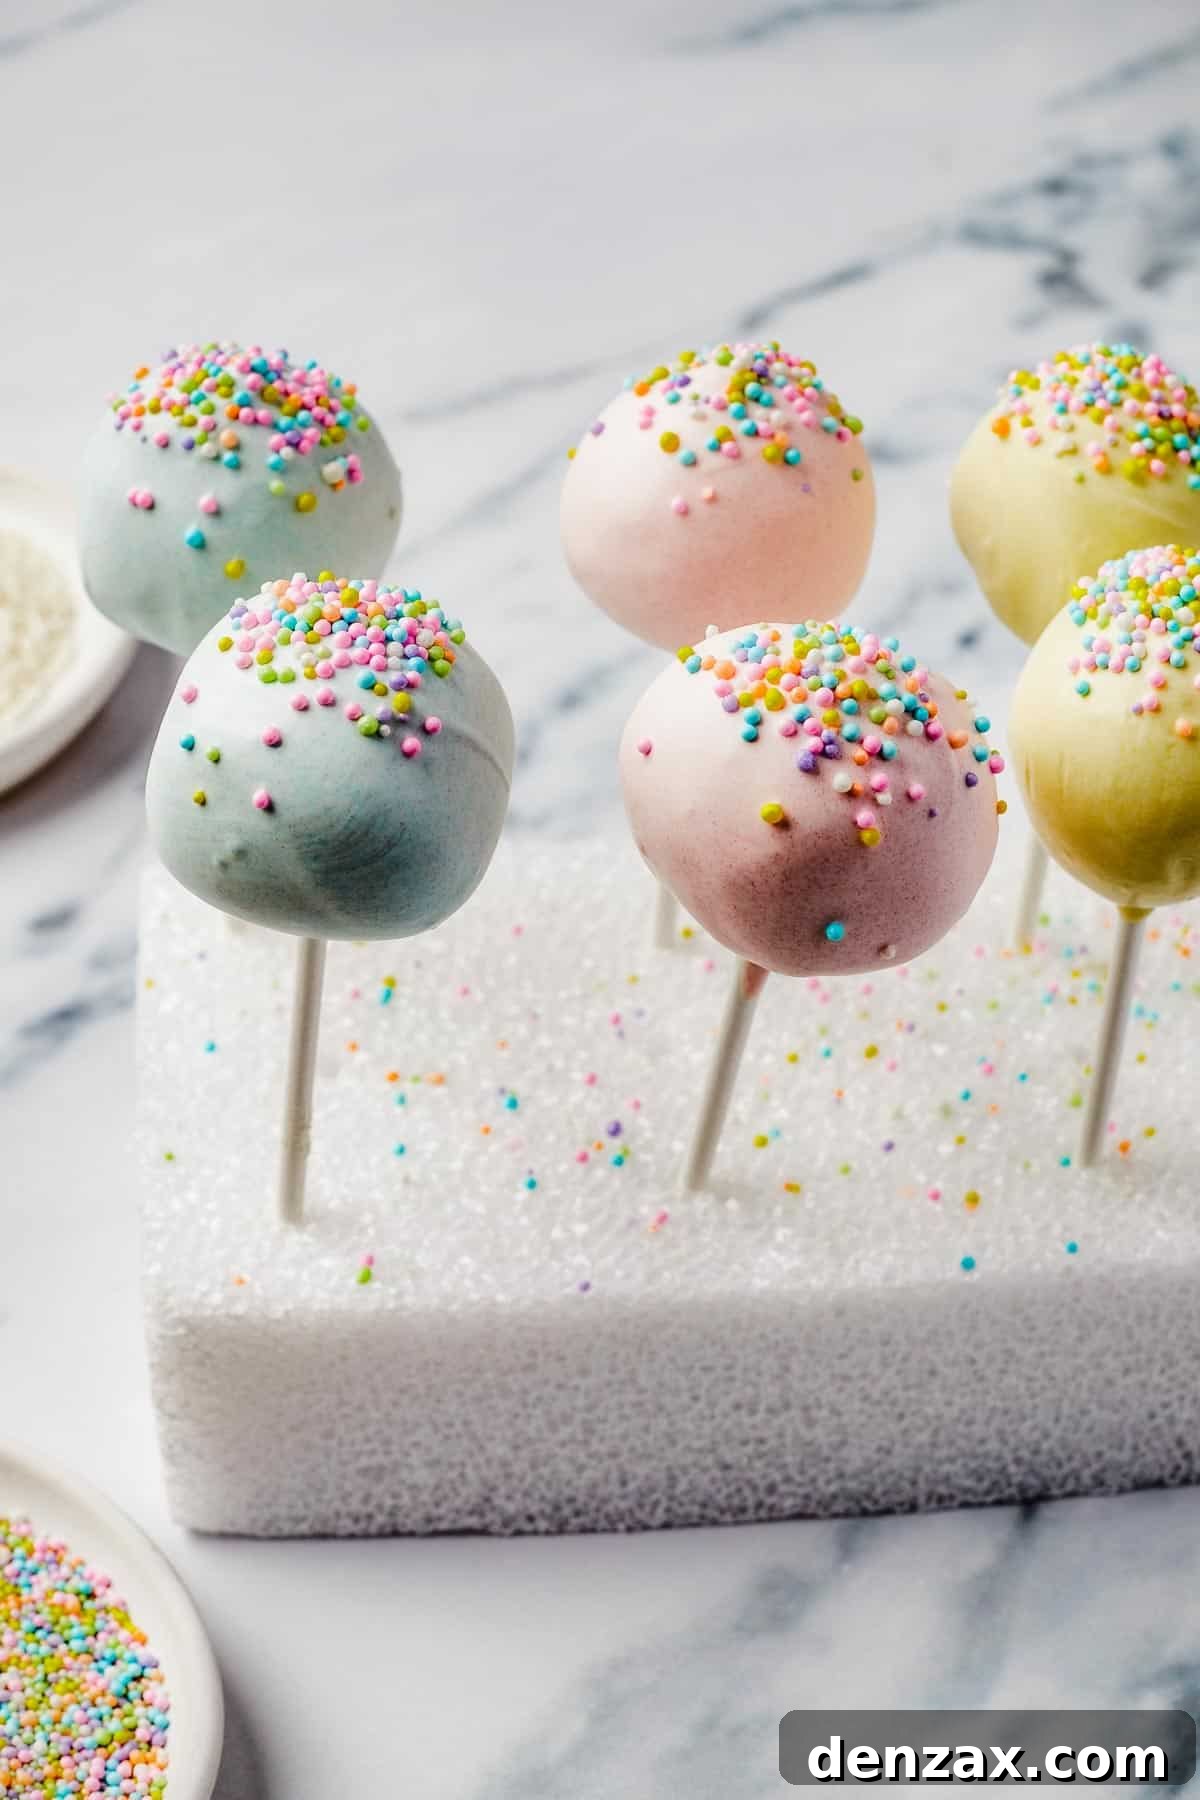
- Styrofoam Block: An indispensable tool for holding your cake pops upright while the candy coating sets. This prevents flat spots and ensures a perfectly round, evenly coated finish.
Let’s Make Spectacular Cake Pops!
Making cake pops is a wonderfully engaging process with just a few fundamental steps. It’s not just a recipe; it’s a fun and creative project, making it a fantastic activity to enjoy with children or friends! Follow these detailed instructions to create your perfect batch:
- Bake and Crumble the Cake: Begin by preheating your oven to 350°F (175°C). In a large mixing bowl, combine the yellow cake mix, water, vegetable oil, and eggs. Mix until the batter is smooth and well-incorporated, taking care not to overmix. Pour the batter evenly into a greased 13×9-inch cake pan. Bake according to the package directions, typically 30-35 minutes, or until a toothpick inserted into the center comes out clean. Once baked, let the cake cool completely on a wire rack. This is a crucial step; attempting to crumble a warm cake will result in a sticky mess. Once cool, use your hands to crumble the entire cake into fine, even crumbs in a large bowl. Set the crumbled cake aside while you prepare the frosting.
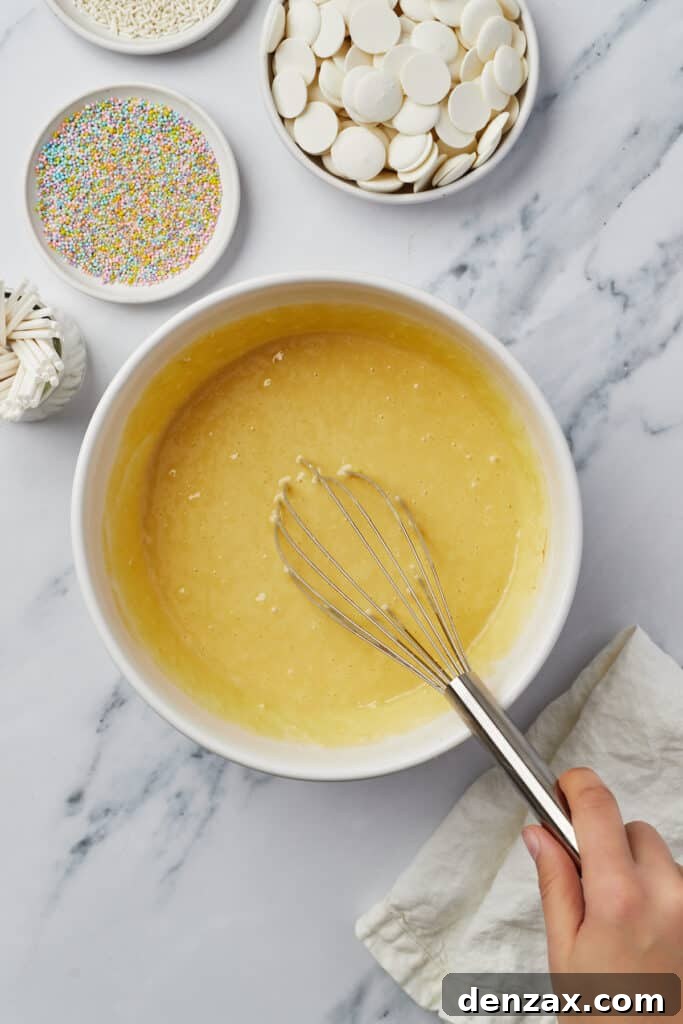
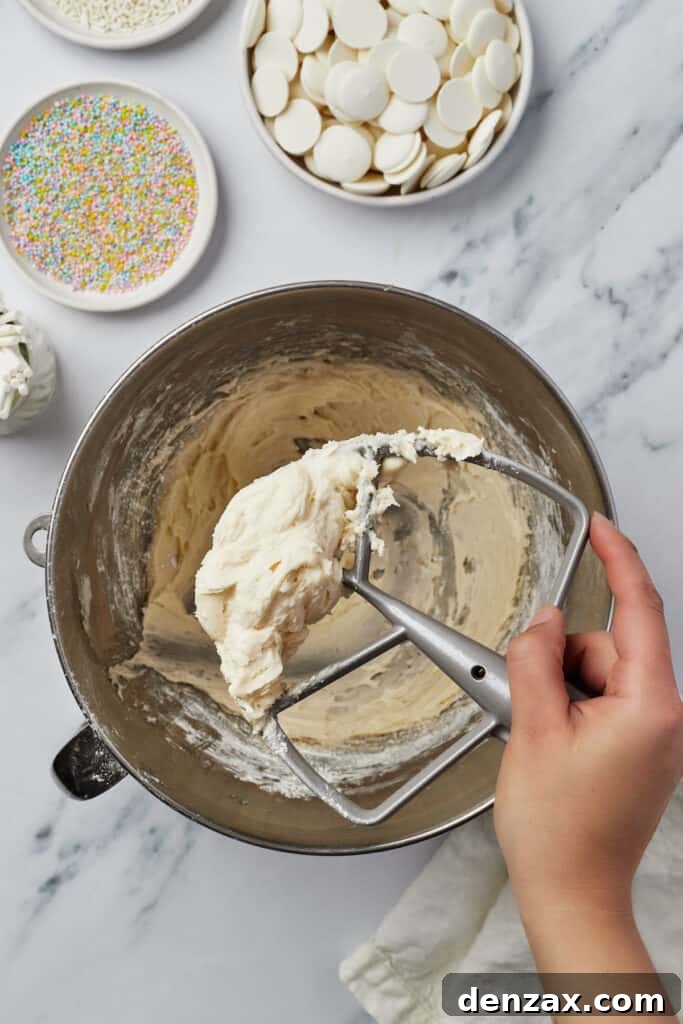
- Prepare the Silky Smooth Frosting: In the bowl of a stand mixer fitted with a paddle attachment (or using a hand mixer), beat the softened room-temperature butter on medium speed until it’s light, pale, and fluffy, typically 2-3 minutes. Gradually add the powdered sugar, heavy whipping cream, vanilla extract, and salt. Start on low speed to prevent a cloud of sugar, then increase to medium speed and beat until the frosting is perfectly smooth, creamy, and free of lumps. This should take another 2-3 minutes.
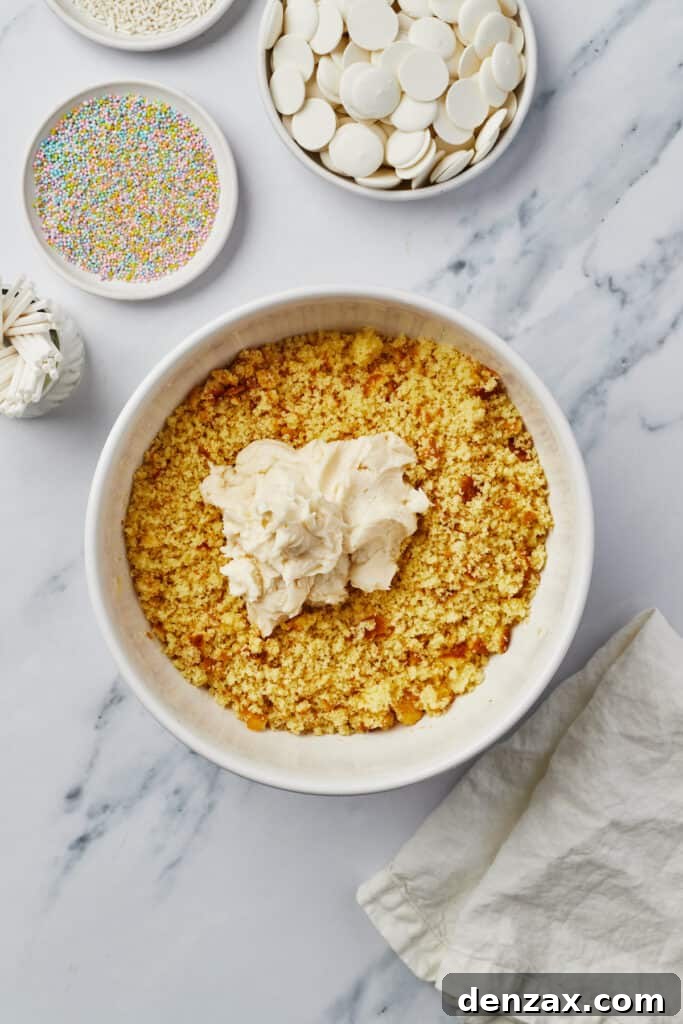
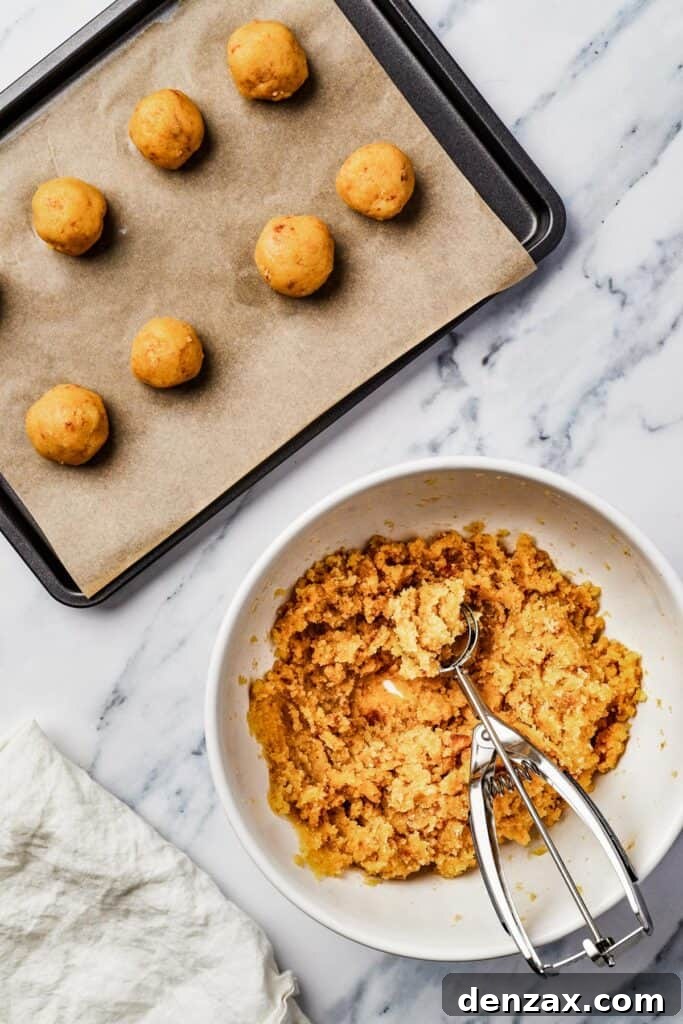
- Form the Cake Balls: Now comes the fun part: combining the cake and frosting! Add a small amount of the prepared frosting to your crumbled cake—start with about half of the frosting. Use your hands or a sturdy spoon to mix and knead the frosting into the cake crumbs until it’s evenly incorporated. The mixture should resemble a soft, moldable dough, similar to play-doh, that holds its shape when squeezed. Add more frosting, a tablespoon at a time, if the mixture is too dry. Be careful not to add too much, or your cake pops will be too soft. Once you have the perfect consistency, roll the mixture into uniform balls, each about 2 tablespoons in size. Place these balls on a baking tray or plate lined with parchment paper. This parchment prevents sticking. Once all balls are formed, place the tray in the freezer for at least one hour, or up to two hours. This chilling step is vital for the cake balls to firm up, making them easier to dip and ensuring they stay securely on the lollipop sticks.
- Prepare the Candy Coating: About 15-20 minutes before you plan to remove the cake balls from the freezer, prepare your candy melts. Melt the candy melts according to the package directions, usually in the microwave in short bursts or over a double boiler. It’s important not to overheat them, as this can make the coating too thick or prone to cracking. Once melted and smooth, pour the candy into a deep, tall container. A narrow glass or a jar works best, as it allows for full immersion of the cake balls. If you’re using white candy melts and desire a specific color, now is the time to stir in a few drops of oil-based food coloring until you achieve your desired hue.
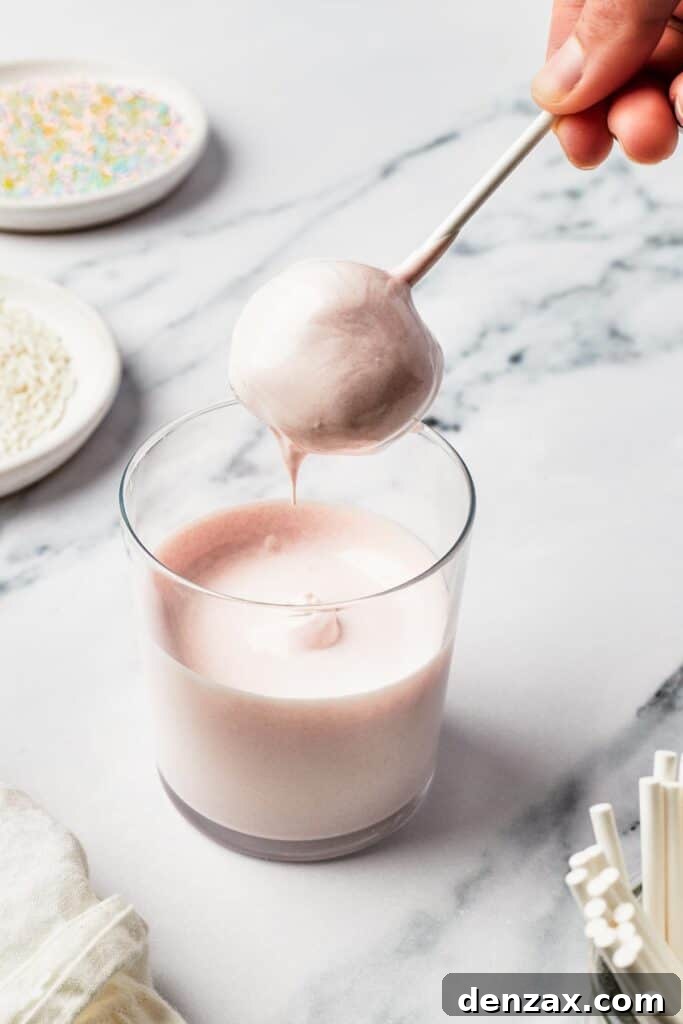
- Assemble and Decorate the Cake Pops: Remove the chilled cake pop balls from the freezer. To assemble each cake pop, dip the tip of a lollipop stick into the melted candy coating, then insert the stick halfway into a cake ball. This candy acts as a “glue,” securing the cake ball to the stick. Allow this to set for a few seconds before proceeding. Now, hold the stick and dip the entire cake pop into the melted candy, gently rotating it to ensure a complete, even coat. Slowly lift the cake pop out, allowing any excess candy coating to drip back into the container. This creates a smooth finish. If you plan to add sprinkles, do so immediately after dipping, while the candy coating is still wet. Finally, push the lollipop stick of each finished cake pop into a styrofoam block to allow the coating to fully set. Continue this process with the remaining cake balls, working relatively quickly to keep the cake balls cold.
Expert Tips and Tricks for Perfect Cake Pops
You’re now equipped to create simple, festive, and utterly sweet cake pops that taste like they came from a high-end bakery. While the process is straightforward, a few expert tips can elevate your cake pop game even further, ensuring a flawless finish every time:
- Secure the Lollipop Sticks Properly: For maximum security, always dip the tip of your lollipop stick into the melted candy coating before inserting it about halfway into the chilled cake ball. Let this “glue” set for a moment before proceeding with the full dip. When you dip the entire cake pop, ensure the candy coating covers the point where the stick meets the cake. This reinforces the attachment, preventing your precious cake pops from falling off the stick.
- Alternative Styrofoam Holders: If you don’t have a styrofoam block on hand, don’t fret! Many household items can serve as excellent substitutes. An upside-down colander with small holes, an egg carton with small holes poked into each cup, or even a cardboard box with small holes punched through can work perfectly for holding your cake pops upright while they set.
- Size Matters: Keep It Light: Resist the urge to make your cake balls too large. Oversized cake balls can become too heavy for the lollipop sticks, making them prone to slipping or falling off. Aim for a consistent size of about 2 tablespoons per cake ball to ensure they are manageable, aesthetically pleasing, and structurally sound on their sticks.
- Avoid Over-Thick Coatings: If your candy melts seem too thick, preventing a smooth, even coat, you can thin them out. Add a very small amount (half a teaspoon at a time) of a neutral oil like vegetable oil, coconut oil, or a specialized candy thinning agent. Mix well until you achieve the desired consistency. Avoid adding water, as it will seize the candy melts.
- Prevent Cracking: Cracking in the candy coating usually happens when there’s a significant temperature difference between the chilled cake ball and the warm candy coating. Ensure your cake balls are thoroughly chilled from the freezer, but not frozen solid for too long. Work quickly when dipping to maintain this temperature difference, and ensure your candy melts are at the ideal, not-too-hot temperature.
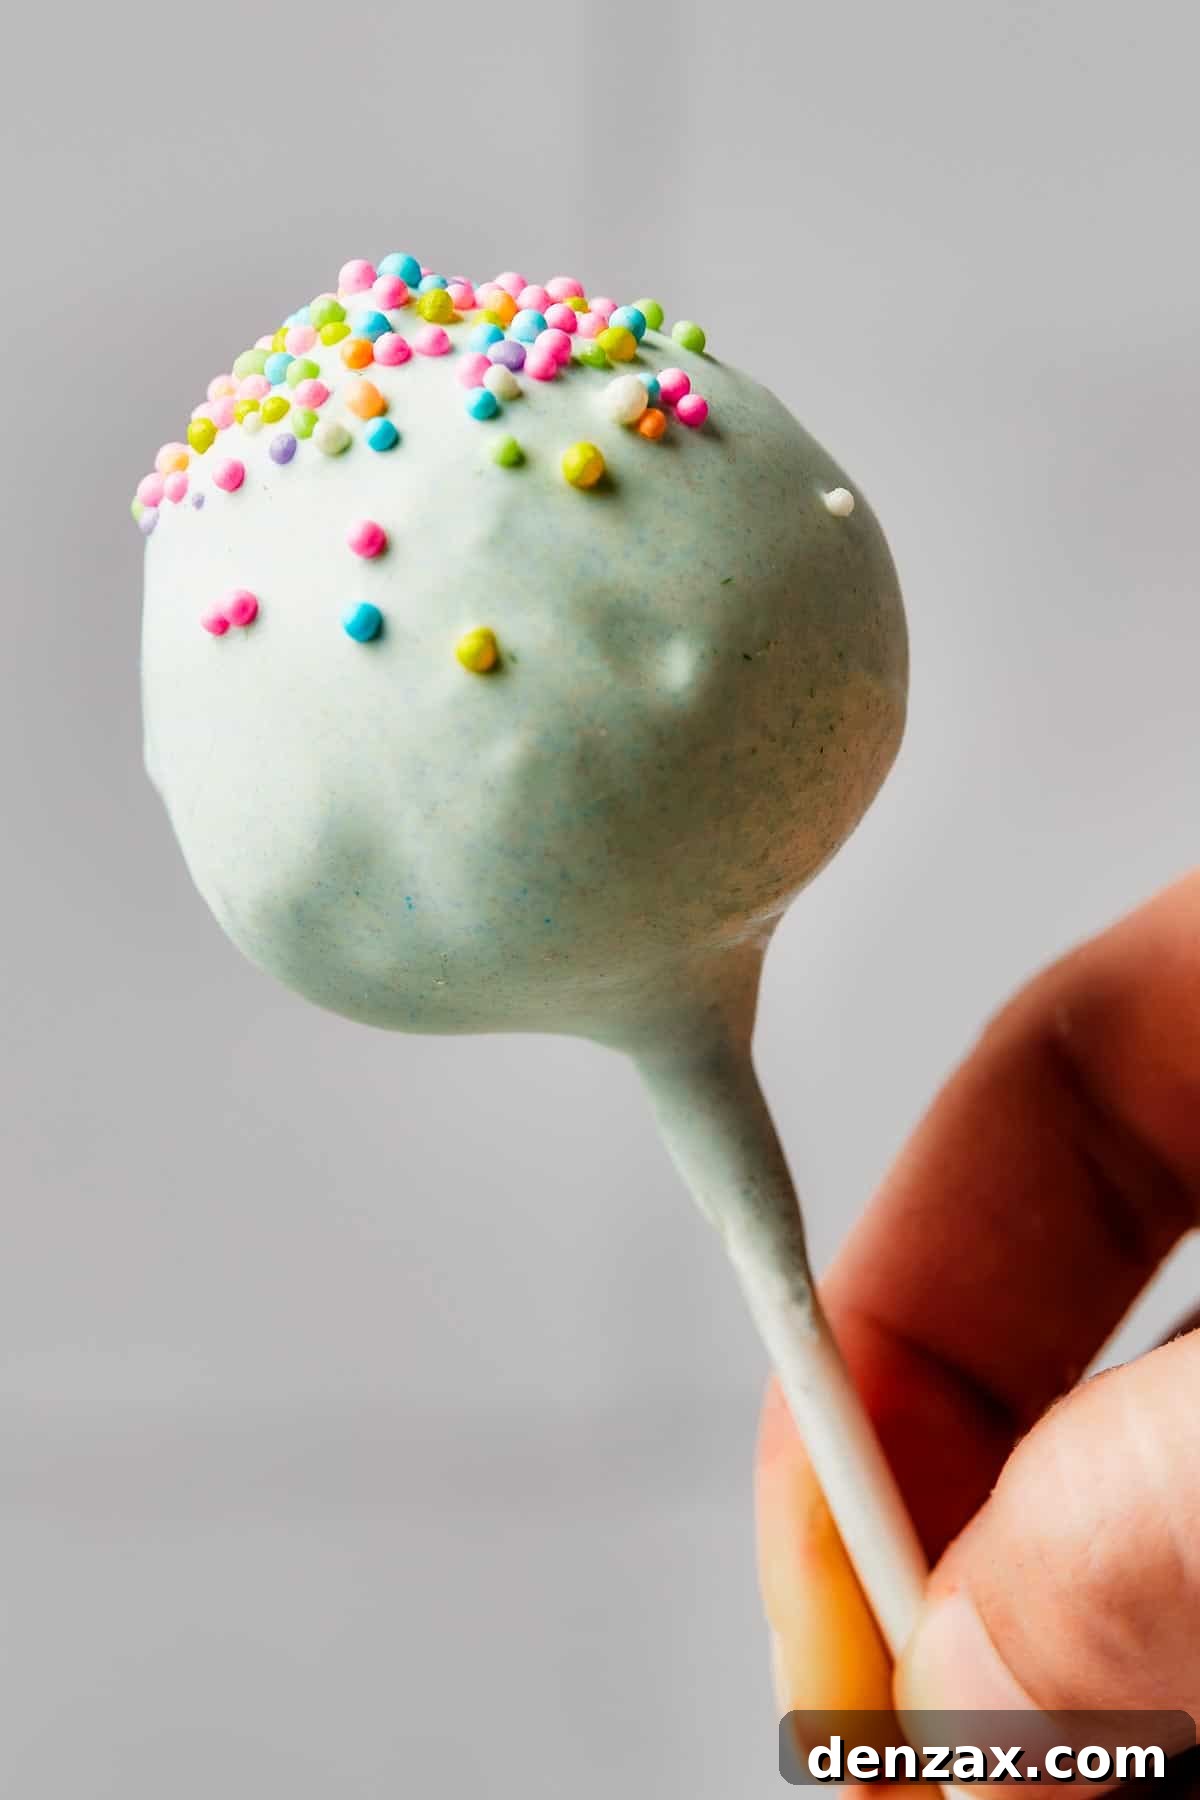
- Smooth Finish Technique: After dipping, gently tap the stick against the edge of your container to allow excess candy to drip off. Rotate the cake pop slowly as it drips to help achieve a perfectly smooth, even coating without streaks or drips.
Easy Variations and Creative Customization
Cake pops are remarkably versatile, offering endless opportunities for customization and creative expression. While our recipe provides a fantastic base, don’t hesitate to experiment and make them your own! Here are a few ideas to spark your imagination:
- Cake Flavor Explorations: Although this recipe uses classic yellow cake for its rich, custardy flavor, the possibilities are limitless! Experiment with white cake, chocolate cake for a decadent treat, zesty lemon cake for a refreshing twist, or even red velvet for a dramatic flair. Any cake flavor you love can be transformed into a delicious cake pop. Consider seasonal flavors like pumpkin spice in the fall or peppermint for the holidays.
- Beyond Basic Toppings: Sprinkles are a beloved classic, but unleash your creativity with other toppings! Crushed peppermint candies add a cool minty crunch, while crushed pretzels offer a delightful sweet and salty contrast. A drizzle of contrasting melted chocolate (dark chocolate over white coating, or vice-versa) or a swirl of caramel sauce can elevate their elegance. Chopped nuts, shredded coconut, edible glitter, or even mini chocolate chips are also fantastic options.
- Frosting Shortcuts & Flavor Boosts: While homemade frosting offers an unparalleled richness, using a pre-made can of frosting is a perfectly acceptable shortcut for an even easier cake pop recipe. Simply ensure it’s a good quality frosting. You can also flavor your frosting by adding a tiny bit of espresso powder to chocolate frosting, a squeeze of lemon juice to vanilla, or a drop of food-grade essential oils like almond or orange for unique profiles.
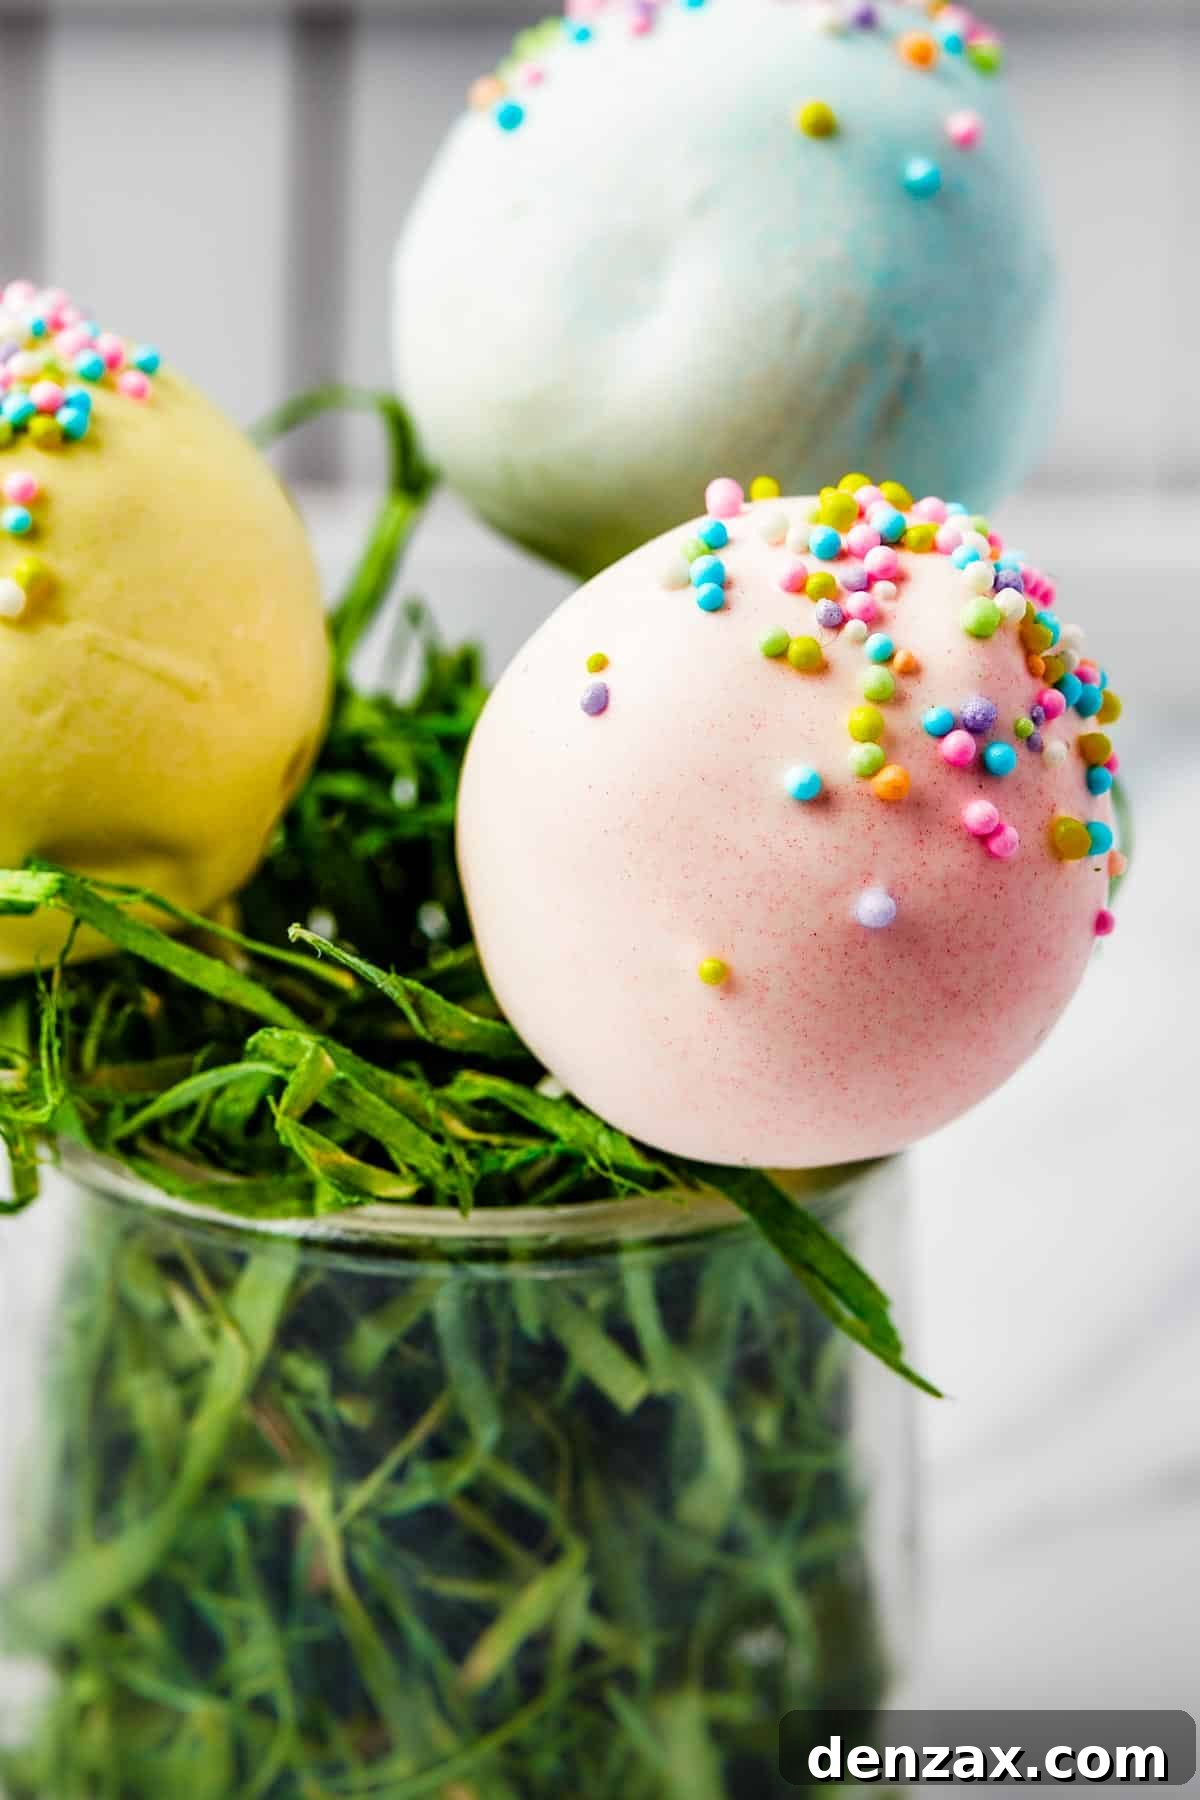
- Themed Cake Pops: Tailor your cake pops to specific holidays or events. Use green and red candy melts for Christmas, pastels for Easter, orange and black for Halloween, or team colors for game day celebrations. Decorate with edible markers for intricate designs or shape the cake balls into different forms before chilling.
- Different Coatings: While candy melts are convenient, you can also use tempered chocolate (dark, milk, or white) for a richer, more sophisticated flavor profile. Just be aware that tempering chocolate requires a bit more technique.
How to Store Extra Cake Pops
Proper storage ensures your delicious cake pops remain fresh and delightful for as long as possible:
- To store these cake pops, gently lay them in an airtight container. For best results, place a piece of parchment paper or wax paper at the bottom of the container and between layers of cake pops to prevent them from sticking to each other or to the container.
- Stored in the refrigerator, your cake pops will maintain their freshness, moisture, and flavor for up to 3-5 days. Allow them to come to room temperature for about 15-20 minutes before serving for the best taste and texture.
Can I Freeze Cake Pops?
Yes, cake pops are excellent for freezing, making them a perfect make-ahead treat!
- To freeze your cake pops, ensure they are fully set and the coating is firm. Wrap each cake pop individually in plastic wrap, making sure they are completely sealed to prevent freezer burn.
- Once individually wrapped, place the wrapped cake pops into a heavy-duty plastic freezer bag or an airtight freezer-safe container. This double layer of protection helps maintain their quality.
- Frozen cake pops will keep beautifully for up to 6 months. When you’re ready to enjoy them, simply transfer them from the freezer to the refrigerator to thaw overnight, or let them sit at room temperature for an hour or two until completely defrosted.
Easy Cake Pops
Ingredients
For the Cake
- 1 box (16 ounces) yellow cake mix
- 1 cup water
- ½ cup vegetable oil
- 3 large eggs
For the Frosting
- 1 stick (8 tablespoons) unsalted butter, softened to room temperature
- 2 cups powdered sugar
- 2 tablespoons heavy whipping cream
- 1 teaspoon vanilla extract
- ⅛ teaspoon salt
For Assembly
- 24 ounces white candy melts
- Food coloring, optional
- Sprinkles, optional
- Lollipop sticks
- Styrofoam block, for holding the cake pops while decorating
Instructions
Make the Cake
- Preheat your oven to 350°F (175°C).
- In a large bowl, combine the cake mix, water, oil, and eggs. Mix until smooth.
- Pour the batter into a greased 13×9-inch cake pan and bake according to package directions (typically 30-35 minutes).
- Allow the cake to cool completely on a wire rack. Once cool, crumble the cake into a large bowl and set aside.
Make the Frosting
- In a stand mixer fitted with a paddle attachment, beat the softened butter on medium speed until it becomes light and fluffy (2-3 minutes).
- Add in the powdered sugar, heavy whipping cream, vanilla, and salt. Beat on medium speed until the frosting is smooth and creamy.
- Add the prepared frosting to the crumbled cake, starting with about half, and mix until evenly incorporated into a soft, moldable dough. Add more frosting as needed until the desired consistency is reached.
Assemble the Cake Pops
- Scoop about 2 tablespoons of cake mixture and roll it into a smooth ball. Place on a parchment-lined baking tray or plate. Repeat until all the dough is used. Place the tray in the freezer for at least one hour to firm up the cake balls.
- Right before removing the cake balls from the freezer, melt the candy melts according to package directions. Pour the melted candy into a deep, tall container (a tall glass works well).
- Optionally, stir oil-based food coloring into the candy melt to achieve your desired color.
- Remove cake balls from the freezer. Dip the tip of a lollipop stick into the melted candy melt and insert it halfway into a cake ball. This helps secure the ball. Allow it to set for a few seconds.
- Dip the cake ball into the candy melt, ensuring the entire cake ball and the base of the stick are covered. Gently rotate the cake ball and allow any excess candy melt to drip back into the cup.
- Optionally, add sprinkles immediately before the candy melt coating sets.
- Place the stick upright into a styrofoam block to allow the coating to harden completely.
- Continue this process until all cake balls are coated and decorated.
Nutrition
Calories: 217kcal | Carbohydrates: 33g | Protein: 1g | Fat: 9g | Saturated Fat: 6g | Polyunsaturated Fat: 1g | Monounsaturated Fat: 1g | Trans Fat: 1g | Cholesterol: 32mg | Sodium: 172mg | Potassium: 19mg | Fiber: 1g | Sugar: 26g | Vitamin A: 165IU | Vitamin C: 1mg | Calcium: 45mg | Iron: 1mg
Nutritional information is an estimate and provided as a courtesy. Values may vary according to the ingredients and tools used. Please use your preferred nutritional calculator for more detailed information.
More Tasty Desserts to Explore!
If you loved making these fun and delicious cake pops, you’ll surely enjoy exploring other sweet treats. Here are a few more delightful dessert recipes to inspire your next baking adventure:
- Homemade Churros with Chocolate Dipping Sauce: Indulge in warm, crispy churros perfect for dipping.
- Hot Chocolate Sugar Cookies: A cozy twist on classic sugar cookies, perfect for winter evenings.
- Quick & Easy Chocolate Mug Cake: Satisfy your chocolate cravings in minutes with this simple single-serving cake.