
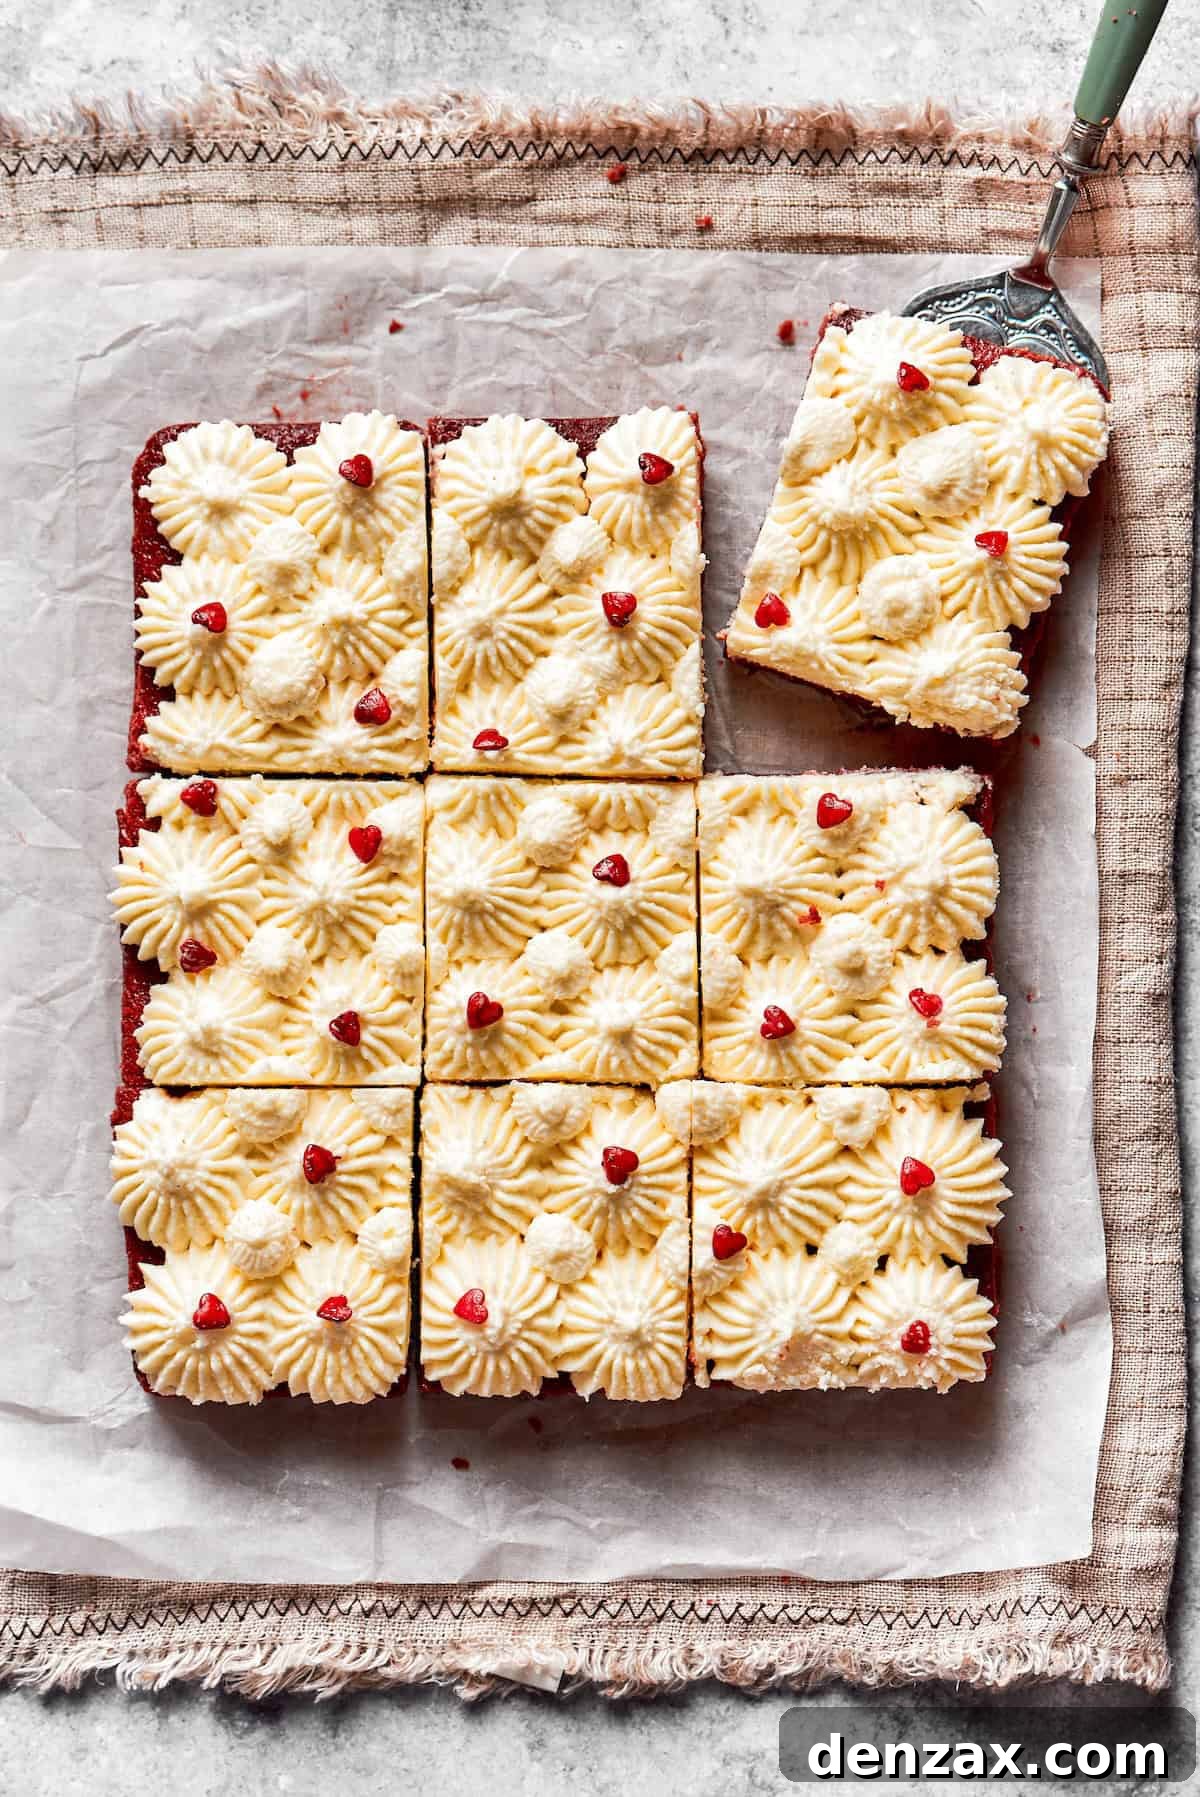
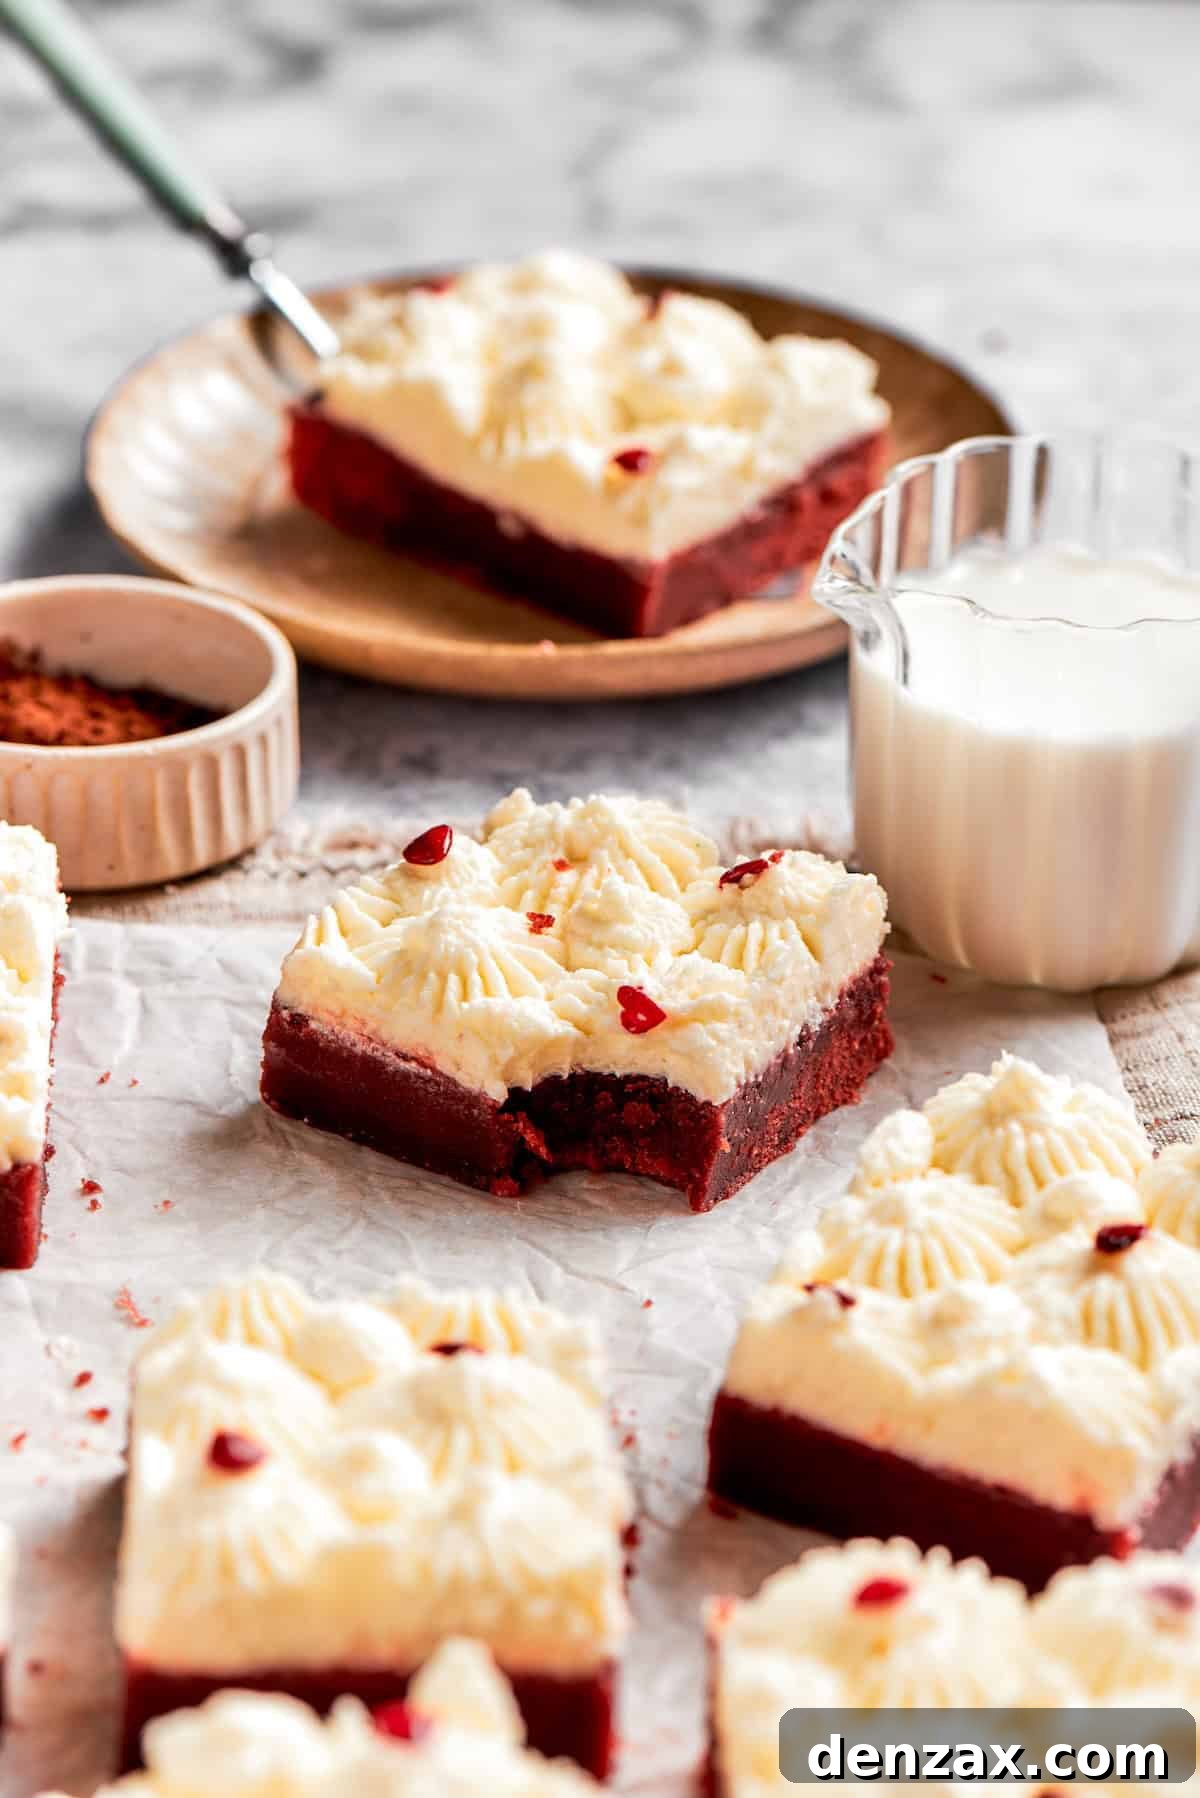
Indulge in the decadent delight of Red Velvet Brownies with Cream Cheese Frosting – a handheld adaptation of the cherished classic red velvet cake. These vibrant, rich brownies, crowned with a luscious swirl of tangy cream cheese frosting, offer an exquisite balance of flavors and textures. Whether you’re planning a romantic Valentine’s Day treat, a festive Christmas dessert, or simply craving an extraordinary sweet, these irresistible brownies are designed to impress and satisfy. Forget mundane brownies; elevate your dessert game with this show-stopping, easy-to-make recipe that promises a symphony of flavor in every bite.
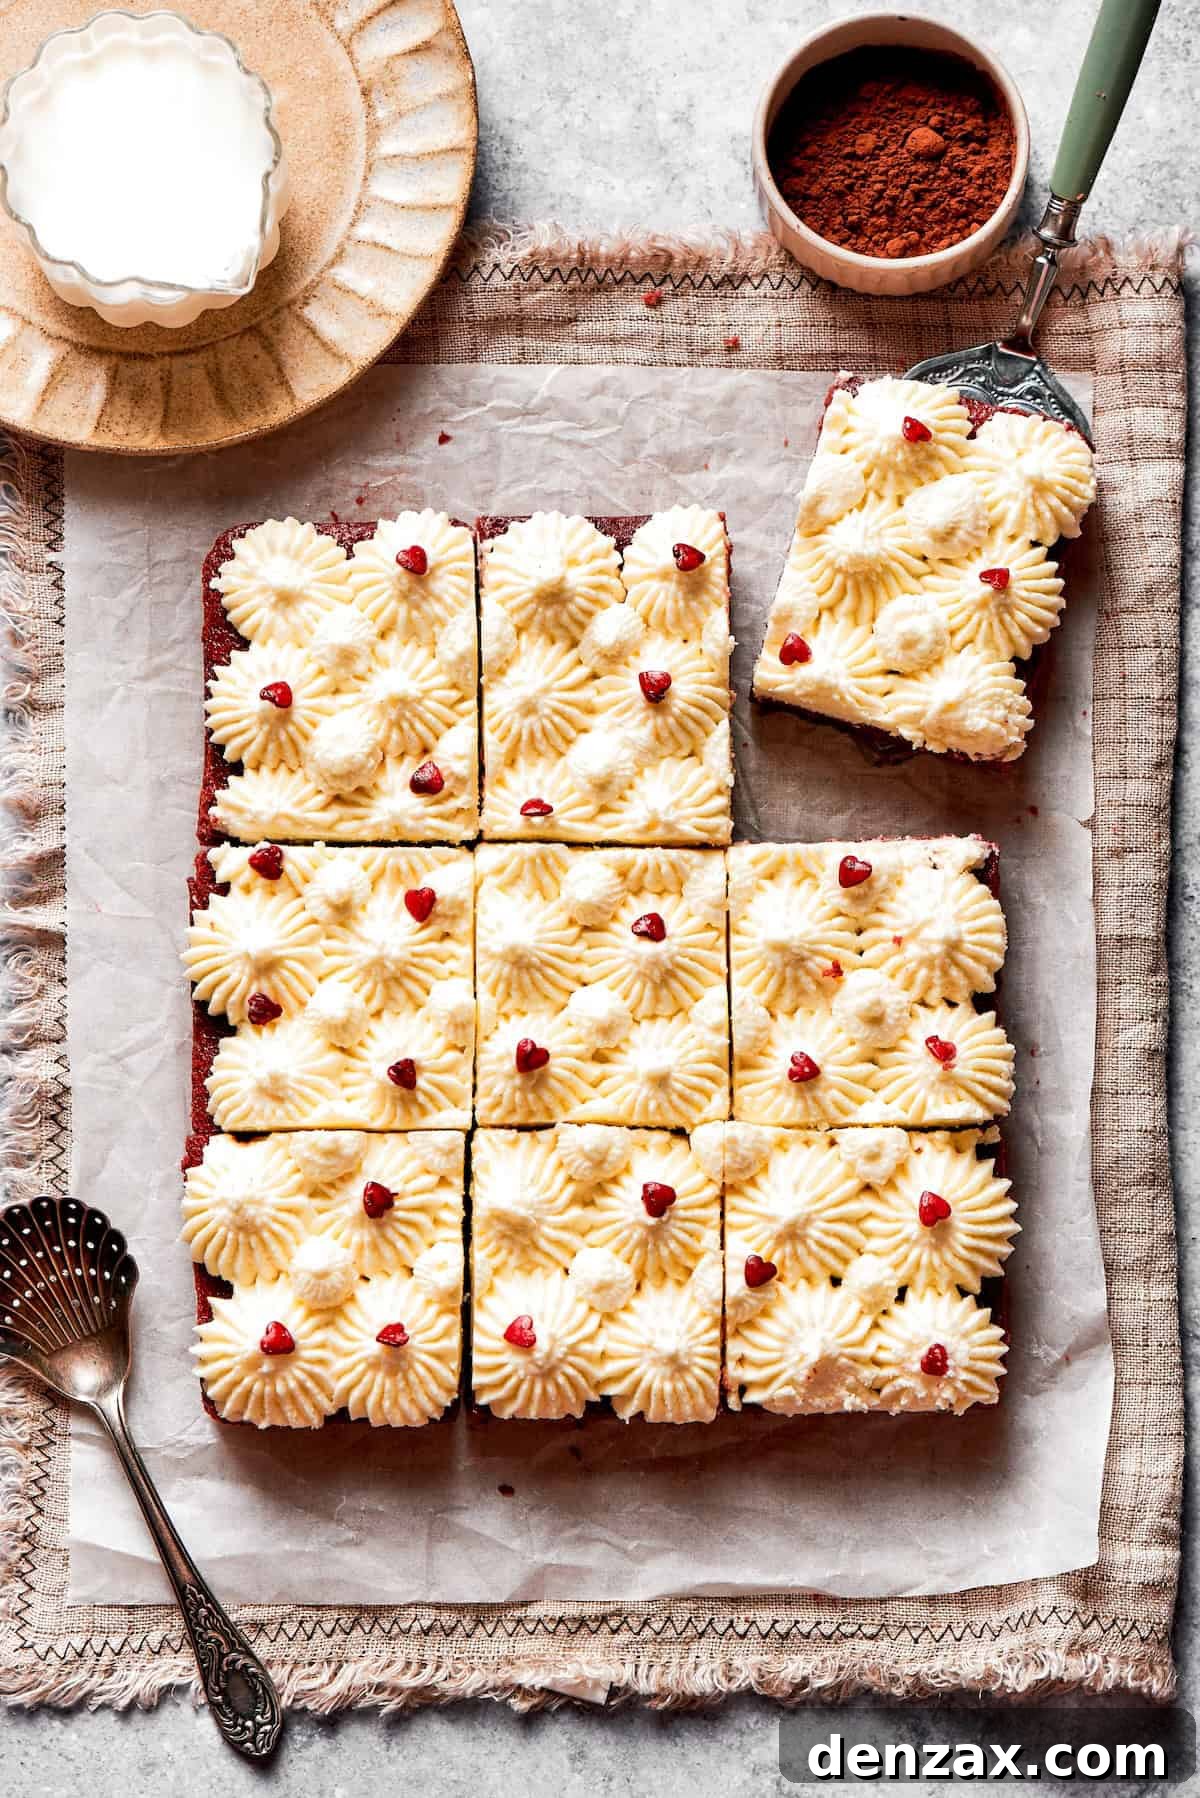
If the allure of red velvet cake captures your heart, imagine transforming its iconic flavors into a chewy, fudgy brownie. That’s precisely what we’ve done here! I relish taking beloved traditional recipes and giving them a fresh, exciting twist – much like my popular Pecan Pie Brownies. These red velvet brownies are not just a visually stunning dessert; they are also delightfully easy to prepare and even easier to devour. As with my renowned Cream Cheese Brownies, cream cheese plays a pivotal role, not only contributing to the classic red velvet essence but also forming the basis of the light, fluffy, and perfectly tangy frosting that crowns each square. And for those who prefer to explore different flavor profiles while retaining the vibrant color, consider adapting my Blonde Brownies recipe by adding a touch of red food coloring for an equally dazzling dessert experience.
Why You’ll Fall in Love with These Irresistible Red Velvet Brownies
These Red Velvet Brownies aren’t just another dessert; they’re a celebration of flavor, texture, and visual appeal. Here’s why they’re destined to become your new favorite treat:
- A Delightful Twist on Tradition: While classic chocolate brownies hold a special place in our hearts, these red velvet brownies offer an exciting variation. The subtle cocoa flavor paired with a stunning deep red hue makes them stand out from any ordinary brownie batch. It’s a familiar comfort with an unexpected, elegant twist.
- The Ultimate Festive Treat: With their striking red color and rich flavor, these brownies are absolutely perfect for holiday celebrations. Imagine them gracing your dessert table on Valentine’s Day, bringing a touch of romance, or adding a festive splash of color to your Christmas spread. They’re a crowd-pleaser for any special occasion that calls for a vibrant dessert.
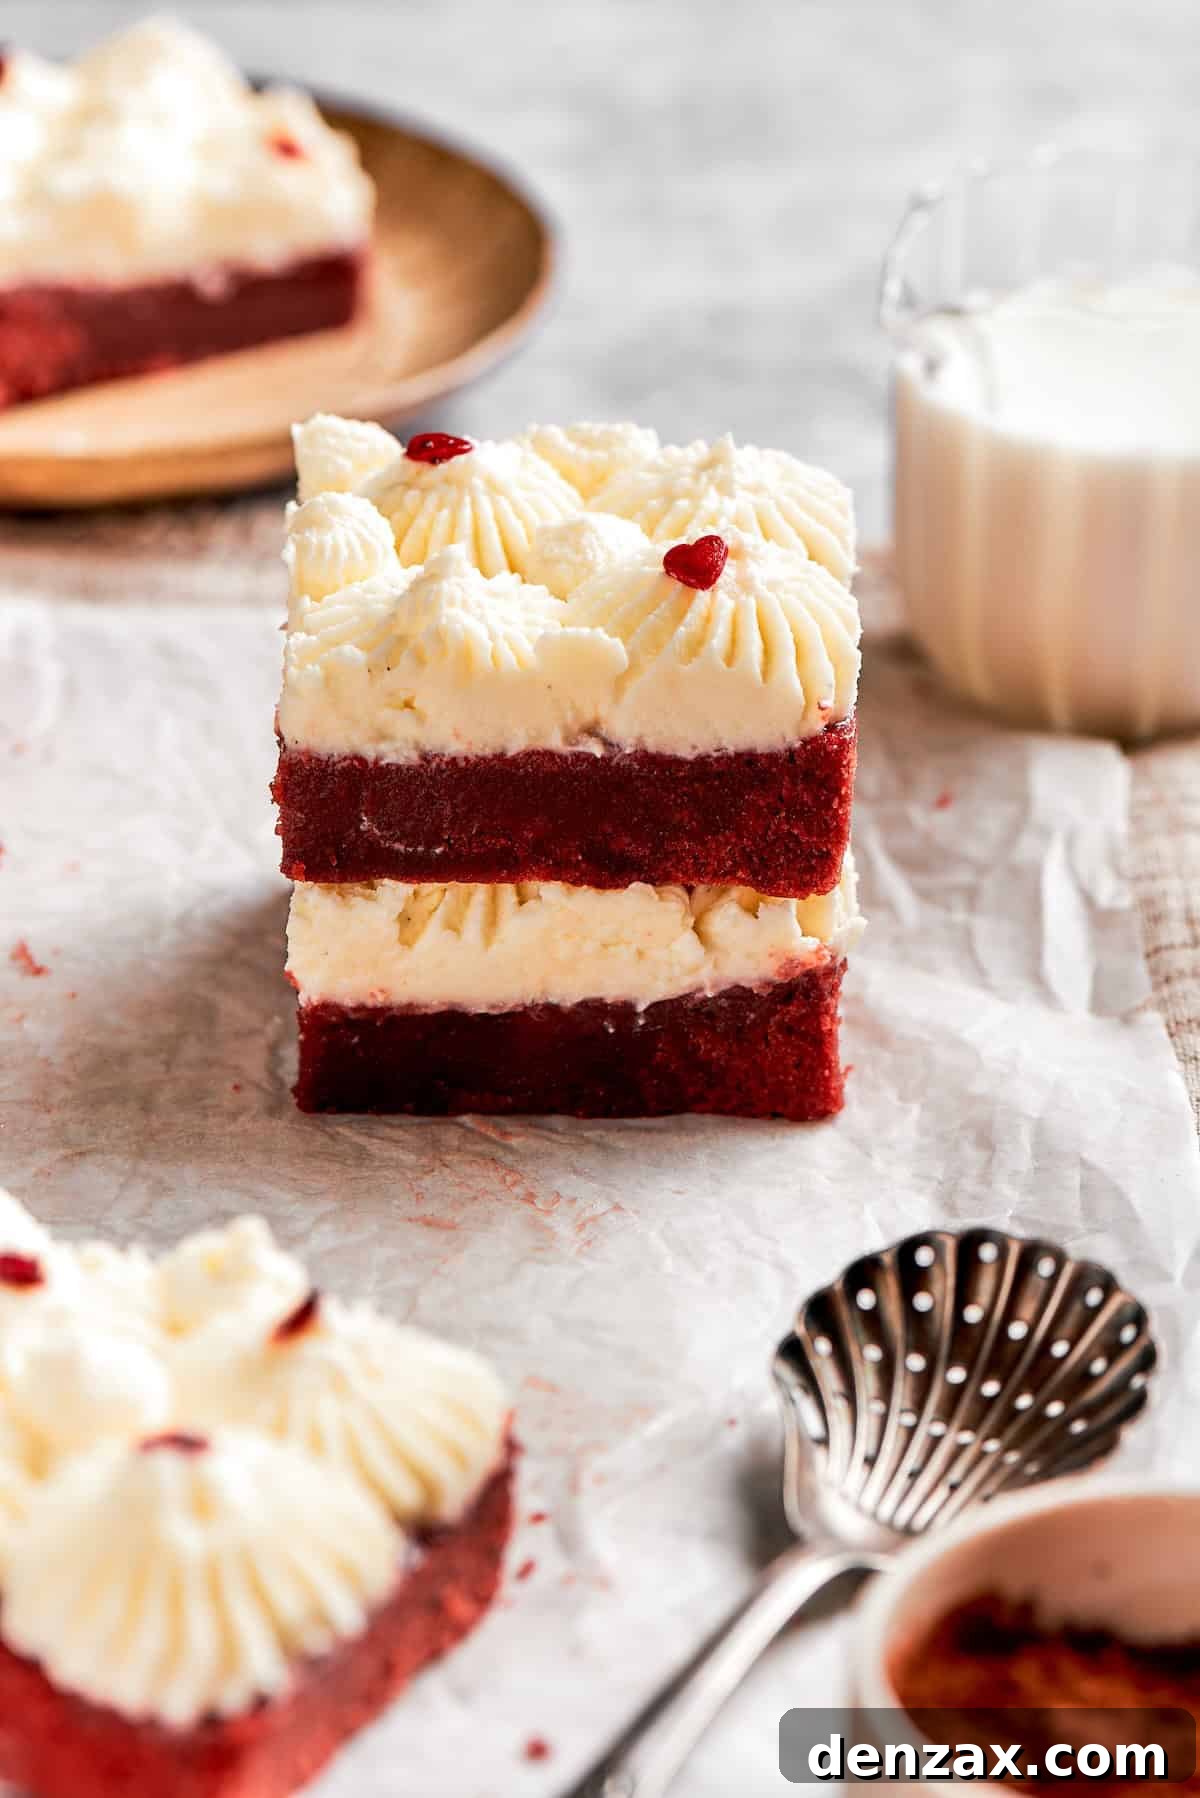
- Perfect Harmony of Sweet and Tangy: The magic of red velvet lies in its exquisite balance. Our brownies feature a soft, moist, and mildly chocolatey base that boasts a delightful cake-like texture. This sweetness is beautifully complemented by a thick, creamy layer of slightly tangy cream cheese frosting, creating a flavor combination that’s utterly irresistible and wonderfully satisfying.
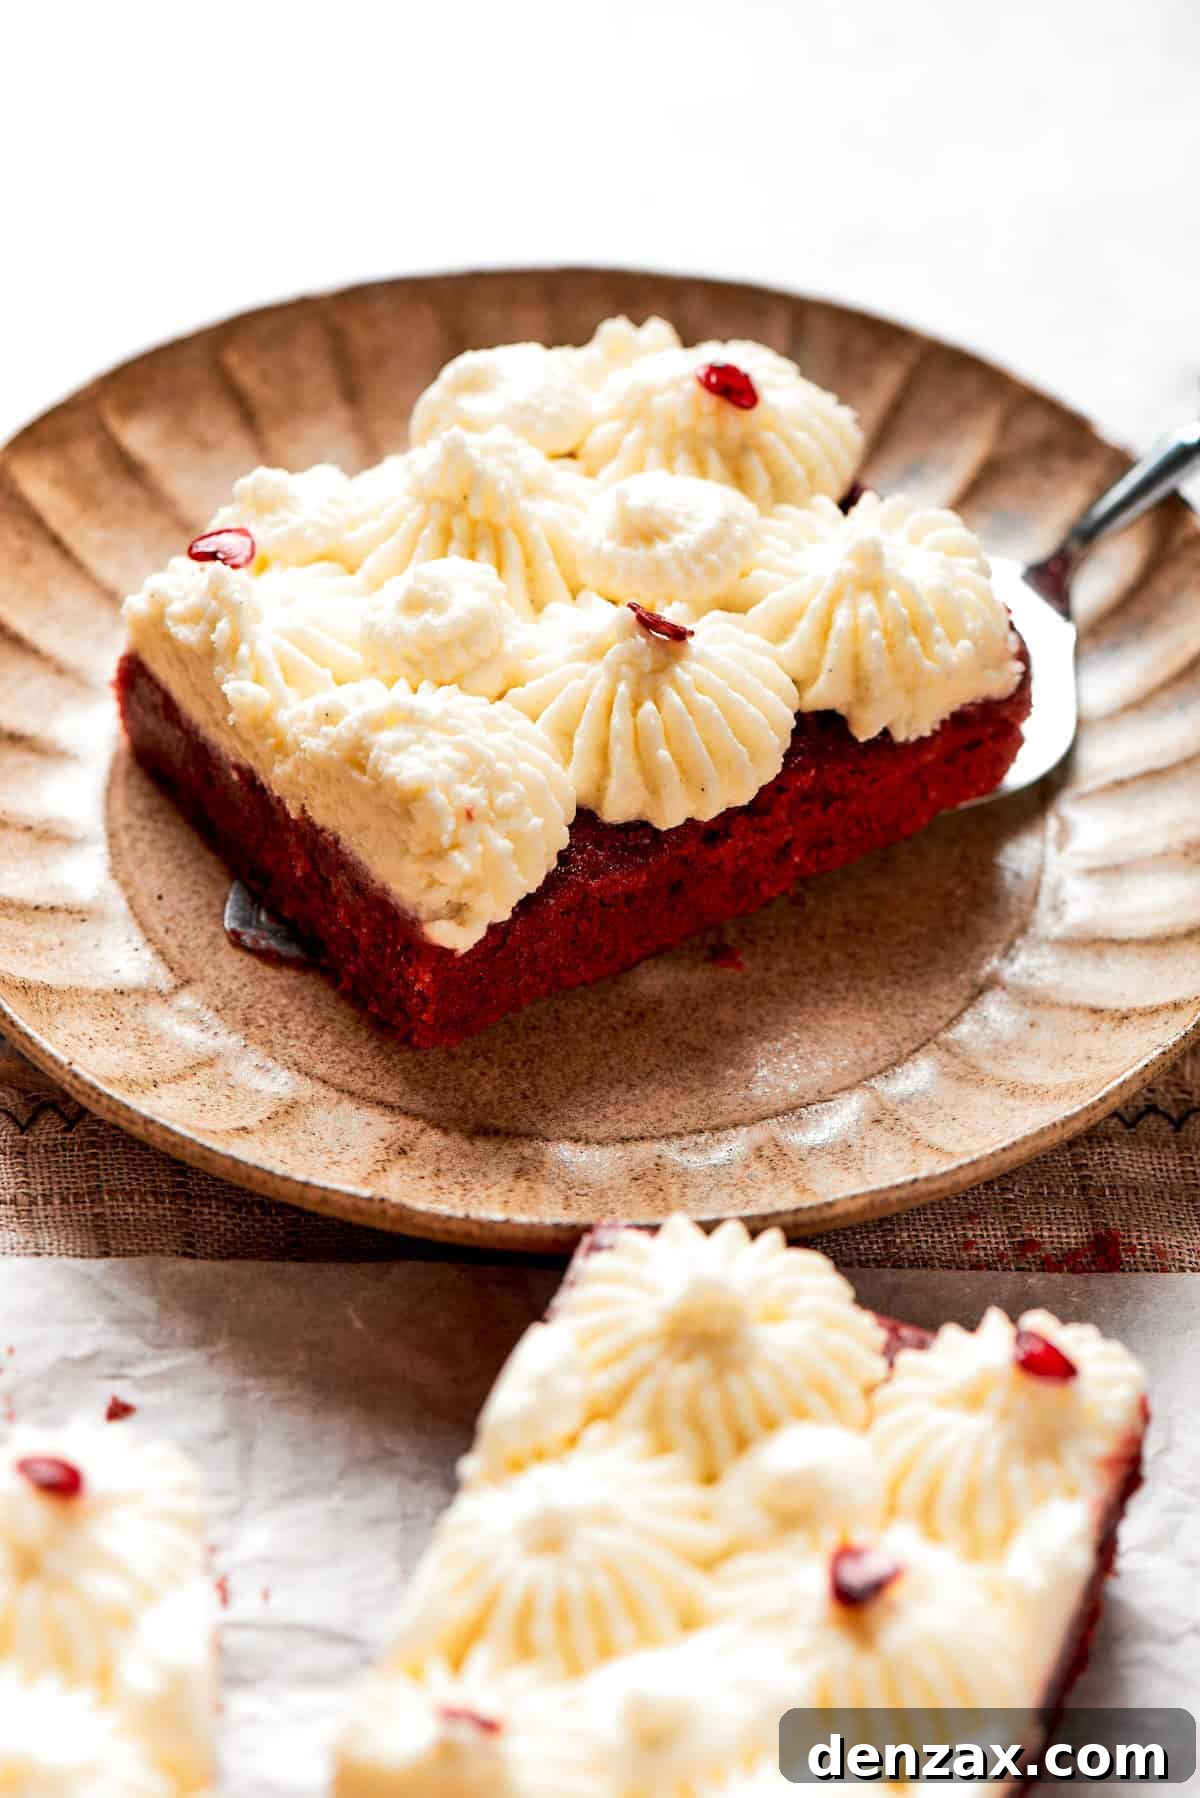
- Unquestionably Pretty and Impressive: Let’s be honest, we eat with our eyes first! While all brownies are delicious, these red velvet beauties are truly a feast for the eyes. Their rich color, contrasting with the pristine white frosting, makes for an incredibly attractive dessert that’s sure to garner compliments. They’re a unique and elegant alternative to my Super Fudgy Homemade Brownies when you want something extra special.
- Effortlessly Handheld: Enjoying a slice of red velvet cake can sometimes be a messy affair, but these brownies offer all the delightful flavors in a convenient, portable format. Perfect for parties, lunchboxes, or simply enjoying on the go, they provide the sophisticated taste of cake without the fuss.
Essential Recipe Ingredients for Perfect Red Velvet Brownies
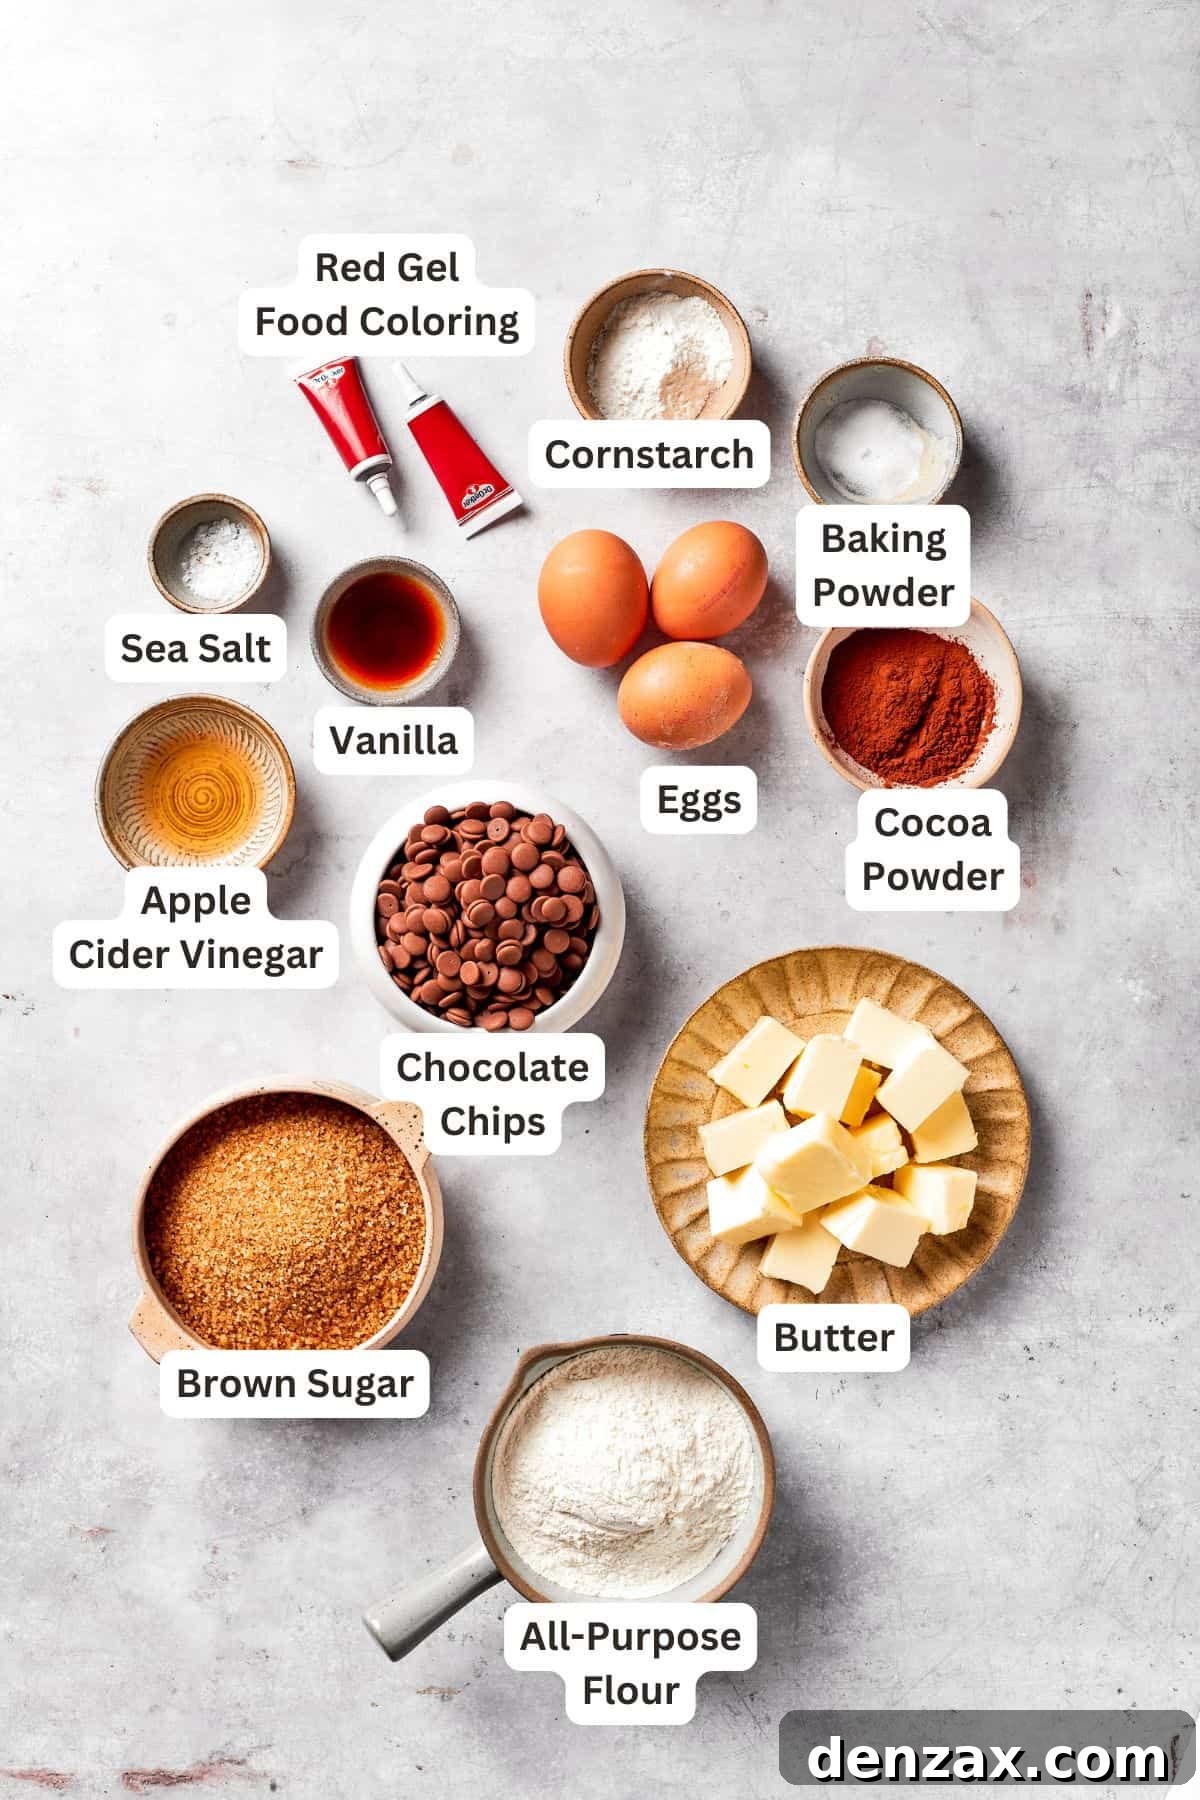
Crafting these delectable red velvet brownies requires a precise blend of ingredients to achieve their signature flavor and texture. Below is a detailed list of everything you’ll need, along with helpful notes and potential substitutions to ensure your baking success. You’ll find the complete, exact measurements in the printable recipe card at the very end of this post.
- Unsalted Butter: Always opt for unsalted butter, brought to room temperature, for better control over the overall saltiness of your brownies. If salted butter is all you have, simply omit any additional salt called for in the recipe. Room temperature butter ensures smooth creaming and an even batter consistency.
- Semi-Sweet Chocolate Chips: I consistently use regular-sized semi-sweet chocolate chips. They provide a balanced chocolate flavor that complements the red velvet notes without being overly sweet. High-quality chocolate chips will make a noticeable difference in the richness of your brownies.
- Brown Sugar: Whether you choose light or dark brown sugar, both will work beautifully. Brown sugar is key for providing moisture, contributing to the fudgy texture, and adding a subtle caramel note that enhances the overall depth of flavor in the brownies. Ensure it’s packed when measuring for accuracy.
- Large Eggs: It’s crucial for your eggs to be at room temperature. This allows them to emulsify more effectively with the other ingredients, resulting in a smoother, more uniform batter and a perfectly textured brownie. They act as a binder and add richness.
- Pure Vanilla Extract: A staple in baking, pure vanilla extract adds warmth and complexity to both the brownies and the frosting. If you want an even more intense vanilla flavor and a beautiful speckled appearance, vanilla bean paste is an excellent substitute.
- Dry Ingredients:
- All-Purpose Flour: The foundation of our brownie structure. Measure correctly by spooning it into a measuring cup and leveling it off.
- Unsweetened Cocoa Powder: For that authentic red velvet touch, Dutch-processed cocoa powder is highly recommended. It’s less acidic, which creates a deeper, richer chocolate flavor and a more pronounced red color when combined with the food coloring.
- Cornstarch: This secret ingredient contributes to a wonderfully tender and fudgy brownie texture, preventing them from becoming too cake-like.
- Baking Powder: Just a touch of baking powder helps to give the brownies a slight lift, ensuring they aren’t overly dense.
- Salt: A pinch of sea salt is essential for balancing the sweetness and enhancing all the other flavors, making them pop.
- Vinegar (Apple Cider or White): Vinegar is a traditional red velvet ingredient, working with the cocoa powder and baking powder to create the distinctive tang and contributes to the beautiful red hue. Apple cider vinegar offers a slightly fruitier note, but regular white vinegar is a perfectly acceptable alternative.
- Red Gel Food Coloring: To achieve that iconic, vibrant red, gel food coloring is your best bet. It provides a more concentrated color without adding excess liquid to the batter, unlike liquid food colorings. You can adjust the amount to reach your desired shade.
- For The Cream Cheese Frosting:
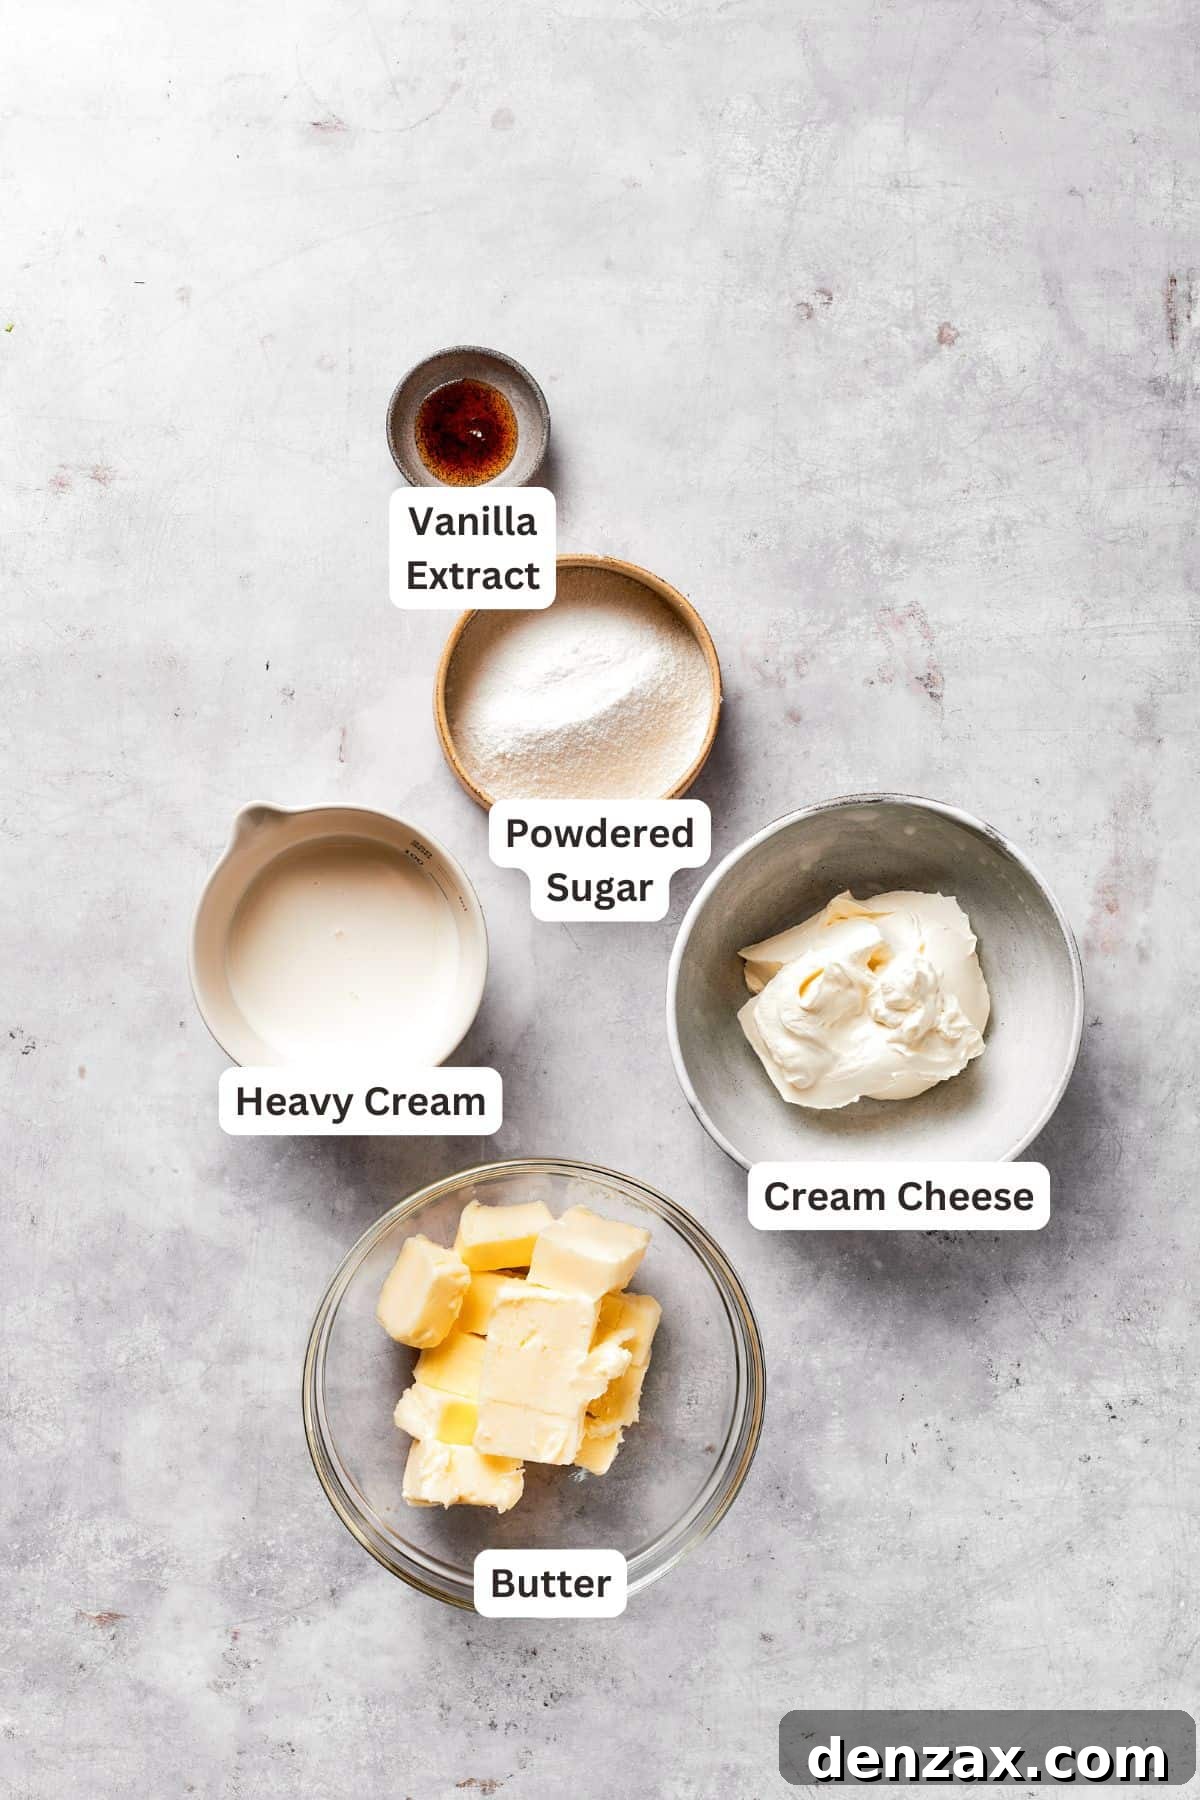
- Block, Full-Fat Cream Cheese: Always use full-fat block cream cheese, softened to room temperature. This is key for a thick, creamy, and stable frosting. Avoid tub-style cream cheese as it often contains too much water.
- Powdered Sugar (Sifted): Powdered sugar (also known as confectioners’ sugar or icing sugar) gives the frosting its sweetness and structure. Sifting it is crucial to prevent lumps and ensure a silky-smooth texture.
- Pure Vanilla Extract or Vanilla Bean Paste: Again, for that essential flavor.
- Unsalted Butter (Room Temperature): As with the brownie batter, room temperature unsalted butter is vital for a smooth, airy, and well-emulsified frosting.
- Heavy Cream: A splash of heavy cream helps to achieve a light, fluffy, and spreadable consistency for the frosting, ensuring it’s not too stiff.
Expert Tips and Creative Variation Ideas for Red Velvet Brownies
Achieving brownie perfection is easier than you think with these helpful tips and ideas to customize your batch:
- Embrace Room Temperature Ingredients: This is a golden rule in baking, especially for these brownies. Ensuring that your butter, eggs, and cream cheese are at room temperature allows them to mix together smoothly and evenly. This prevents a lumpy batter or frosting, promotes proper emulsification, and ensures a consistent, tender crumb in your finished brownies. Plan ahead by taking them out of the fridge at least 30-60 minutes before you start baking.
- Choose the Right Cocoa Powder: For an authentic and visually striking red velvet brownie, Dutch-processed cocoa powder is highly recommended. Unlike natural cocoa powder, Dutch-processed cocoa has a lower acidity, which results in a deeper, richer chocolate flavor and a more intense red color when combined with the red food coloring. Always use unsweetened cocoa powder to control the sweetness of your brownies.
- Master the Art of Food Coloring: The ideal shade of red is subjective! Start with the recommended amount of red gel food coloring and add more in small increments until you achieve your desired vibrancy. Gel food coloring is superior to liquid varieties as it delivers intense color without diluting the batter. Remember that the color might deepen slightly during baking.
- Achieve Impeccable Cuts: For professional-looking, neat squares or rectangles, patience is key. Once the brownies are fully frosted, chill them in the refrigerator for at least 15-20 minutes. This firms up both the brownies and the frosting, allowing for cleaner cuts. Use a sharp, warm knife (run it under hot water and wipe dry between cuts) for the best results.
- Avoid Overmixing the Batter: Once you’ve added the dry ingredients to the wet, mix only until just combined. Overmixing can develop the gluten in the flour too much, leading to tough or dry brownies rather than fudgy ones. A few streaks of flour are fine; they’ll disappear during baking.
- Don’t Overbake: The key to fudgy brownies is knowing when to pull them out of the oven. A toothpick inserted into the center should come out with moist crumbs, not wet batter. If it comes out completely clean, your brownies might be on their way to being dry.
Creative Variation Ideas:
- Nutty Crunch: Fold in half a cup of chopped pecans, walnuts, or even macadamia nuts into the brownie batter for an added layer of texture and flavor.
- Chocolate Overload: Experiment with different types of chocolate chips. White chocolate chips or dark chocolate chunks could add another dimension to the brownies. You could also drizzle melted chocolate over the frosted brownies.
- Coffee Infusion: A teaspoon of espresso powder added to the dry ingredients will deepen the chocolate flavor without making the brownies taste like coffee.
- Seasonal Sprinkles: Top the frosting with festive sprinkles to match the occasion – red and pink for Valentine’s, red and green for Christmas, or gold for New Year’s.
- Mini Brownie Bites: Bake the batter in a mini muffin tin for bite-sized treats, adjusting baking time accordingly.
Proper Storage for Your Red Velvet Brownies
Due to the dairy content in the luscious cream cheese frosting, it’s essential to store these brownies properly to maintain their freshness and safety. While a few hours at room temperature is fine, prolonged counter storage is not advised. For the best enjoyment, I recommend allowing refrigerated brownies to sit out for about 15 minutes before serving to let the frosting soften slightly and the flavors meld beautifully.
- Refrigeration (Fridge): Place any leftover brownies in an airtight container. If you’re layering them, place a piece of parchment paper between each layer to prevent sticking. Stored this way, your red velvet brownies will remain fresh and delicious in the refrigerator for up to 5 days.
- Freezing (Freezer): To enjoy these brownies for an extended period, they freeze exceptionally well. For best results, wrap each individual red velvet brownie tightly in plastic wrap, then place them in a single layer in a freezer-safe container or a heavy-duty freezer bag. They can be stored in the freezer for up to 3 months. When you’re ready to enjoy, thaw the brownies completely in the refrigerator overnight before bringing them to room temperature for serving.
Explore More Red Velvet Desserts
If you’ve fallen in love with the classic red velvet flavor profile, don’t stop here! There’s a whole world of red velvet delights waiting to be discovered. Here are some of my other favorite red velvet recipes you might enjoy:
- Classic Red Velvet Cake: The original masterpiece, perfect for any celebration.
- Red Velvet Crinkle Cookies: Soft, chewy, and wonderfully festive cookies with a delightful crinkled texture.
- Red Velvet Cheesecake with Oreo Crust: A truly decadent dessert combining the rich flavors of red velvet with a creamy cheesecake, all atop a crunchy Oreo crust.
Red Velvet Brownies with Tangy Cream Cheese Frosting
Katerina | Easy Weeknight Recipes
These gorgeous red velvet brownies offer a delightful fudgy texture, rich cocoa flavor, and a stunning red hue, all perfectly complemented by a thick swirl of tangy cream cheese frosting – just like a classic red velvet cake in a convenient brownie form.
20 minutes
35 minutes
30 minutes
1 hour 25 minutes
12 servings
Ingredients
For the Red Velvet Brownies
- ⅔ cup unsalted butter, at room temperature
- 1½ cups semi-sweet chocolate chips
- 1½ cups brown sugar, packed
- 3 large eggs, at room temperature
- 2 teaspoons pure vanilla extract
- Pinch of Sea salt
- 1 cup all-purpose flour
- ¼ cup Dutch processed cocoa powder
- 1 tablespoon cornstarch
- ⅛ teaspoon baking powder
- 1 tablespoon apple cider vinegar (or white vinegar)
- 1 to 2 tablespoons red gel food coloring
For the Cream Cheese Frosting
- 8 ounces block, full-fat cream cheese, softened
- 1½ cups powdered sugar, sifted
- 2 teaspoons pure vanilla extract
- 1 cup unsalted butter, at room temperature
- ⅔ cup heavy cream
Instructions
-
1. Prepare the Pan. Preheat your oven to 350°F (175°C). Line a 9×13-inch baking pan with parchment paper, allowing some overhang on the sides to easily lift the brownies out later. Lightly grease the parchment paper with cooking spray to prevent sticking.
-
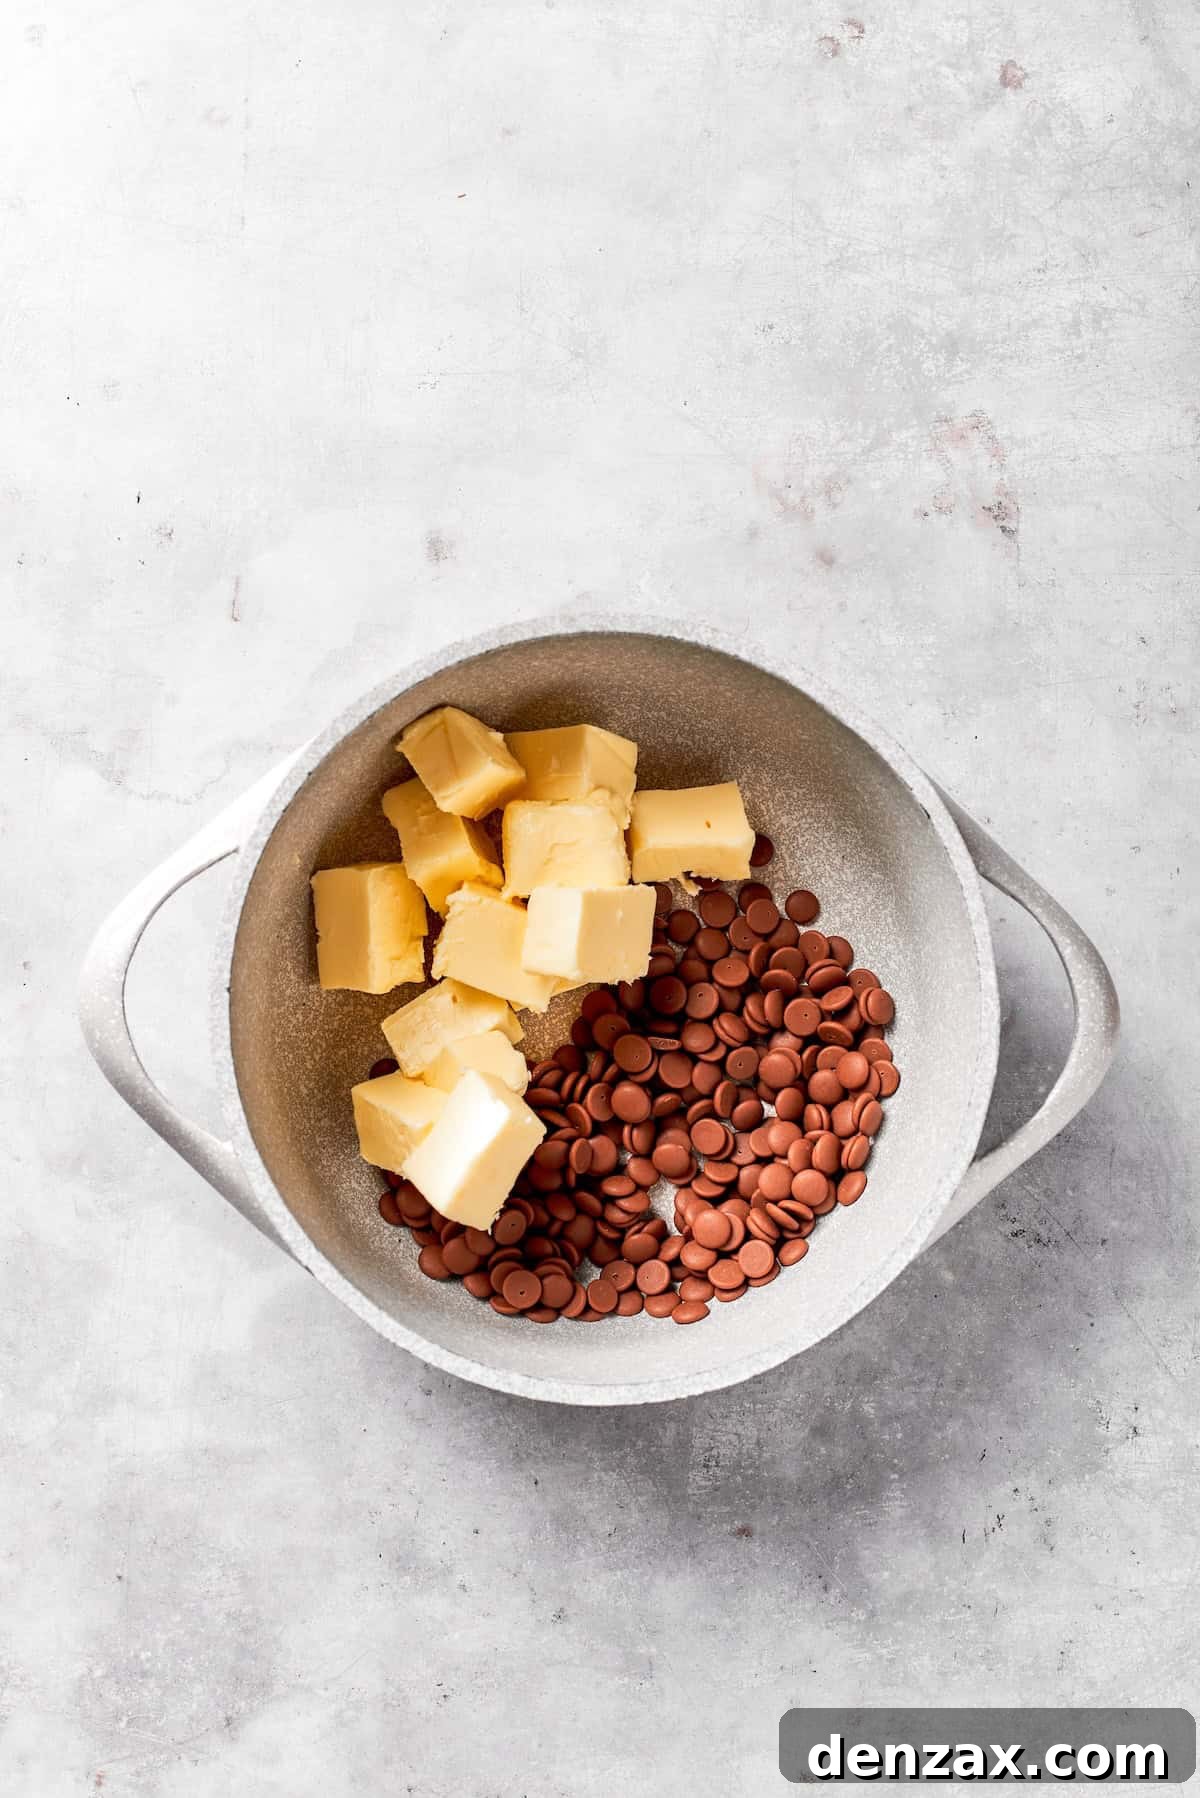
2. Melt the Chocolate and Butter. In a heatproof bowl, combine the unsalted butter and semi-sweet chocolate chips. Melt this mixture gently over a double boiler, or use a microwave in 20-second bursts, stirring thoroughly after each interval, until it becomes smooth and fully combined. Allow the melted chocolate mixture to cool slightly to avoid cooking the eggs later.
-
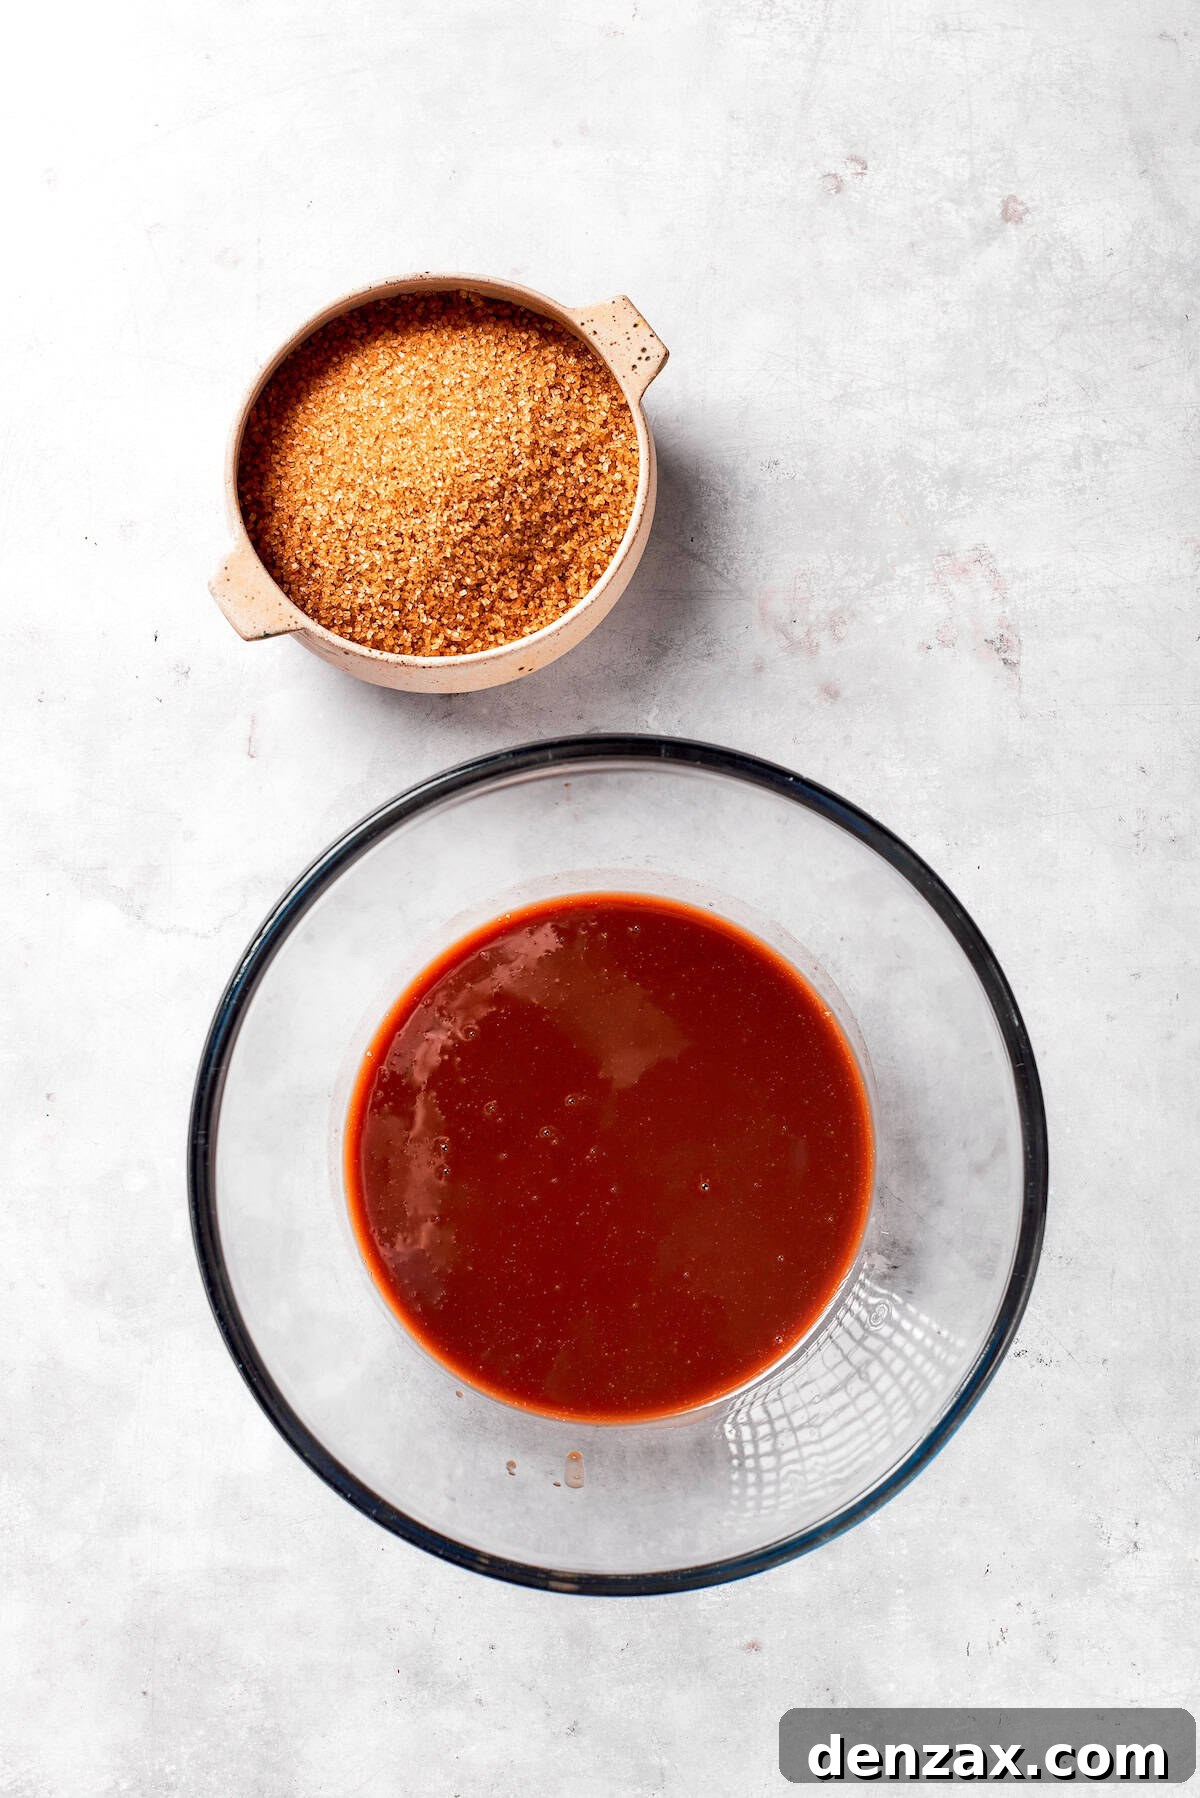
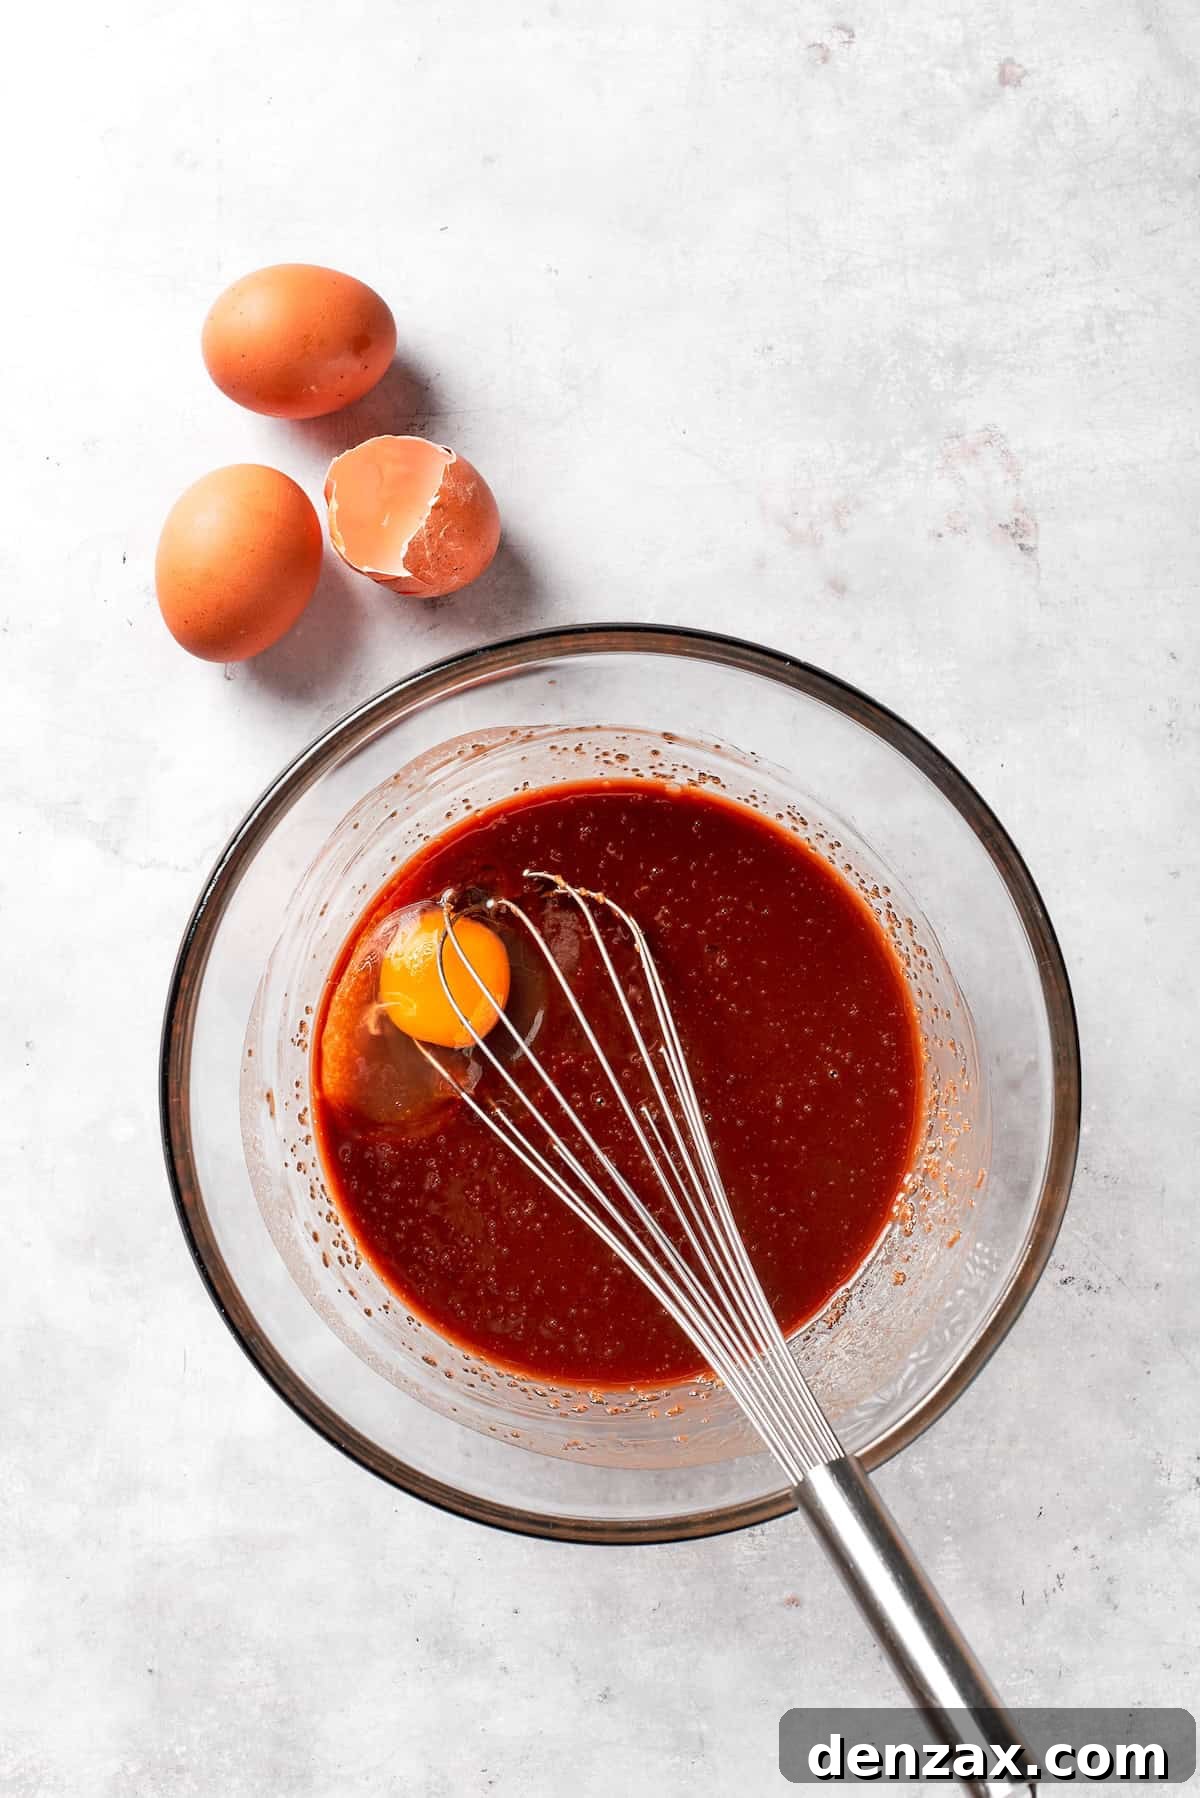
3. Mix Wet Ingredients. Transfer the slightly cooled melted chocolate mixture to a large mixing bowl. Add the packed brown sugar and beat the mixture using a hand mixer or a stand mixer fitted with the paddle attachment at medium speed. Continue mixing for 2-3 minutes until the sugar is fully incorporated and the mixture is well-combined. Incorporate the large eggs one at a time, beating well after each addition until thoroughly blended. Finally, stir in the pure vanilla extract and a pinch of sea salt.
-
4. Combine Dry Ingredients. In a separate, medium-sized bowl, whisk together the all-purpose flour, Dutch-processed cocoa powder, cornstarch, and baking powder. Ensure these dry ingredients are well-mixed to distribute them evenly throughout the batter.
-
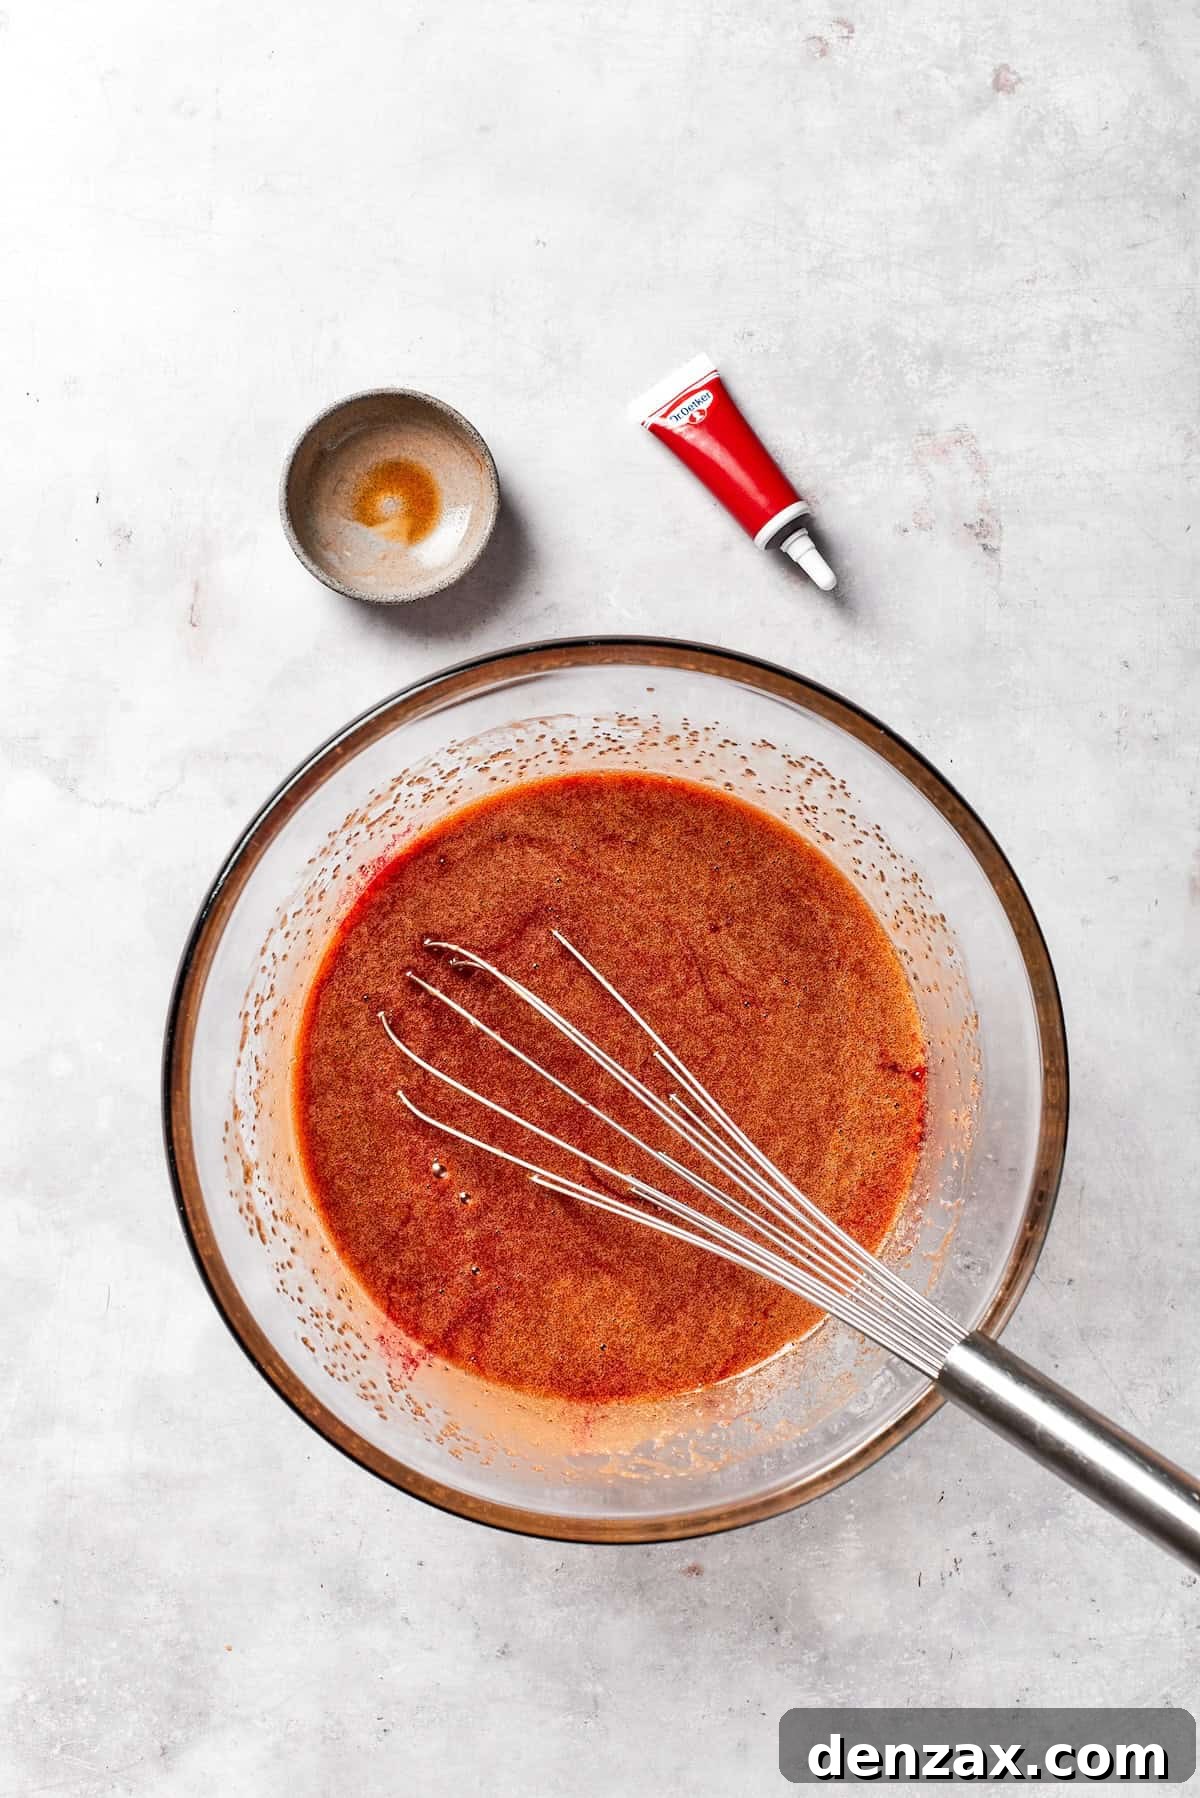
5. Integrate and Color. Gradually add the whisked dry ingredients to the wet chocolate mixture, mixing on low speed until they are just combined. Be careful not to overmix. Stir in the apple cider vinegar and then the red gel food coloring. Continue mixing until the desired vibrant red shade is achieved, adding more food coloring if necessary.
-
6. Bake the Brownies. Spread the prepared red velvet brownie batter evenly into the parchment-lined baking pan, using an offset spatula to smooth the top. Bake for 30–35 minutes. To check for doneness, insert a toothpick into the center; it should come out with a few moist crumbs attached, indicating a fudgy brownie. Avoid overbaking, as this can lead to dry brownies. Remove the pan from the oven and allow the brownies to cool completely in the pan on a wire rack before attempting to remove them.
-
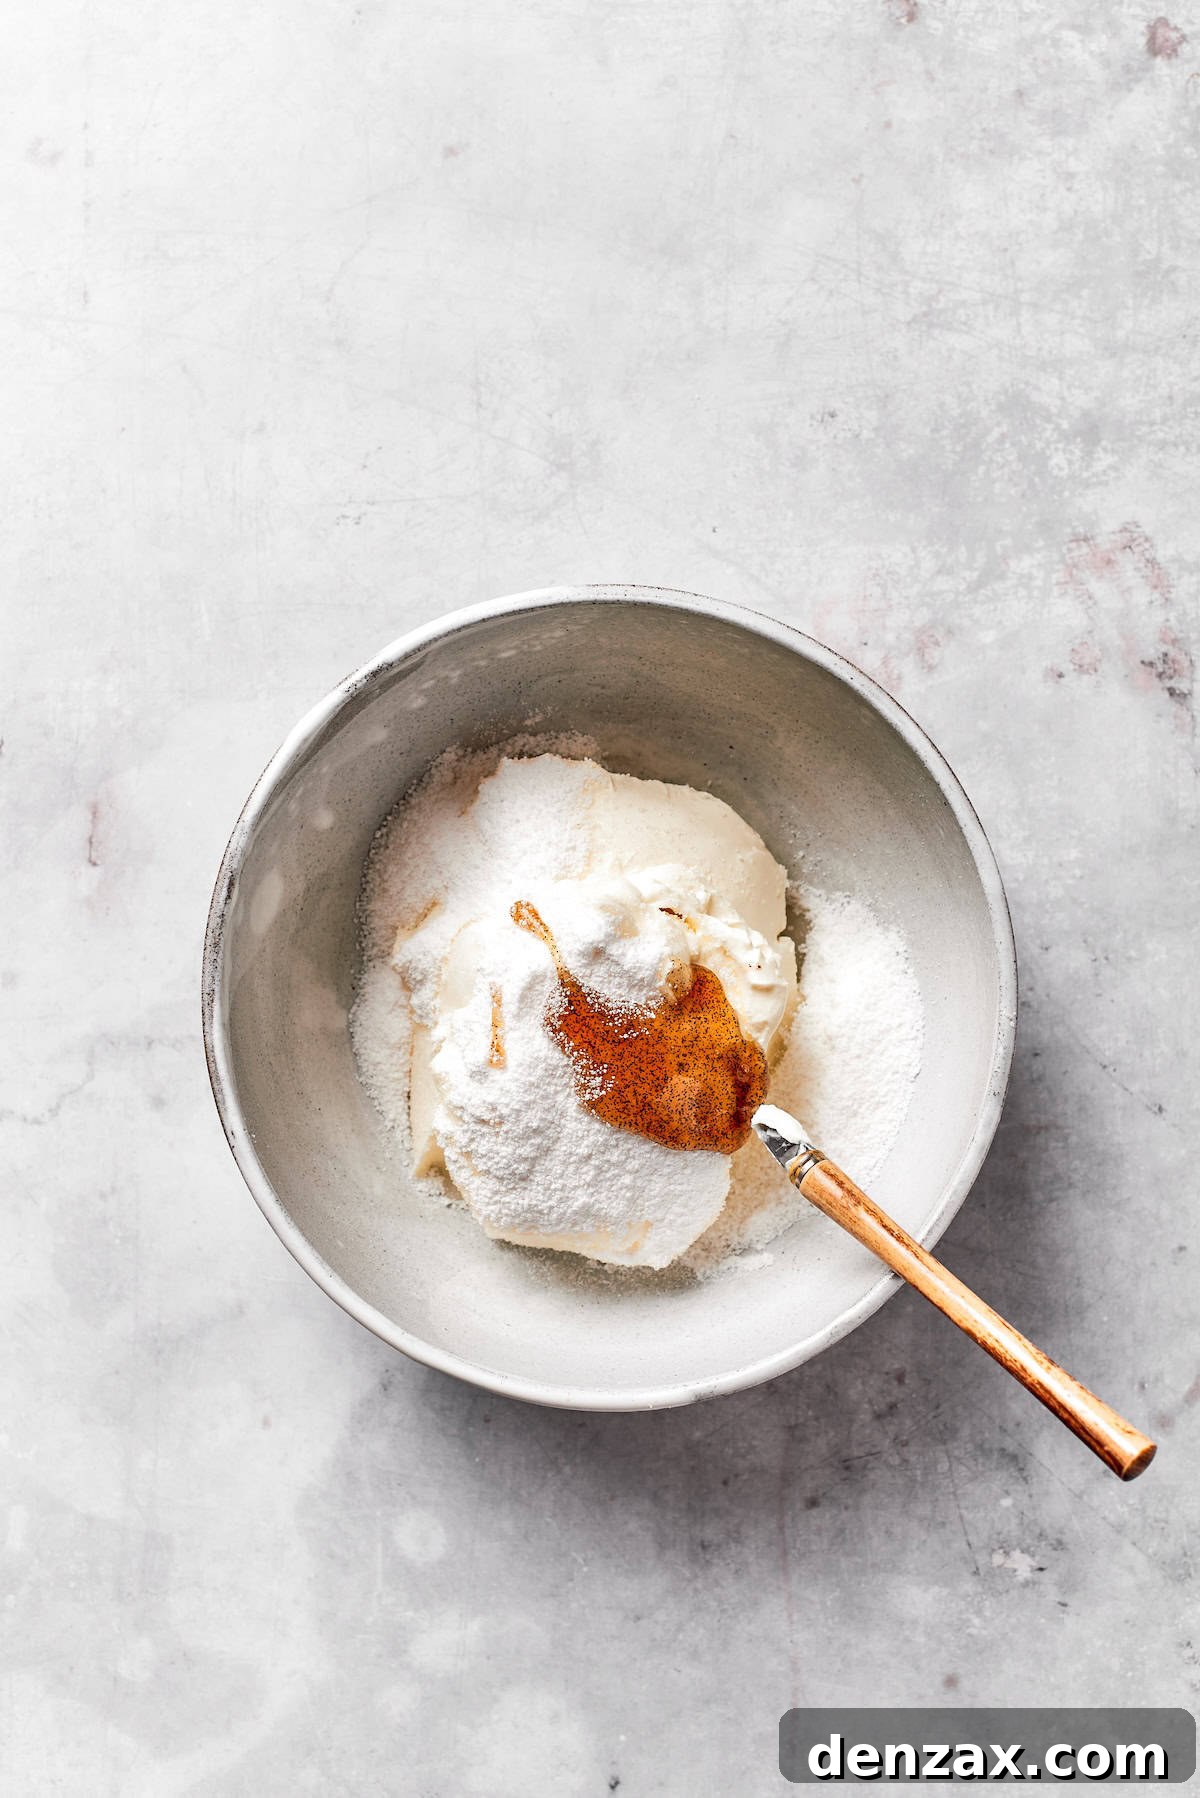
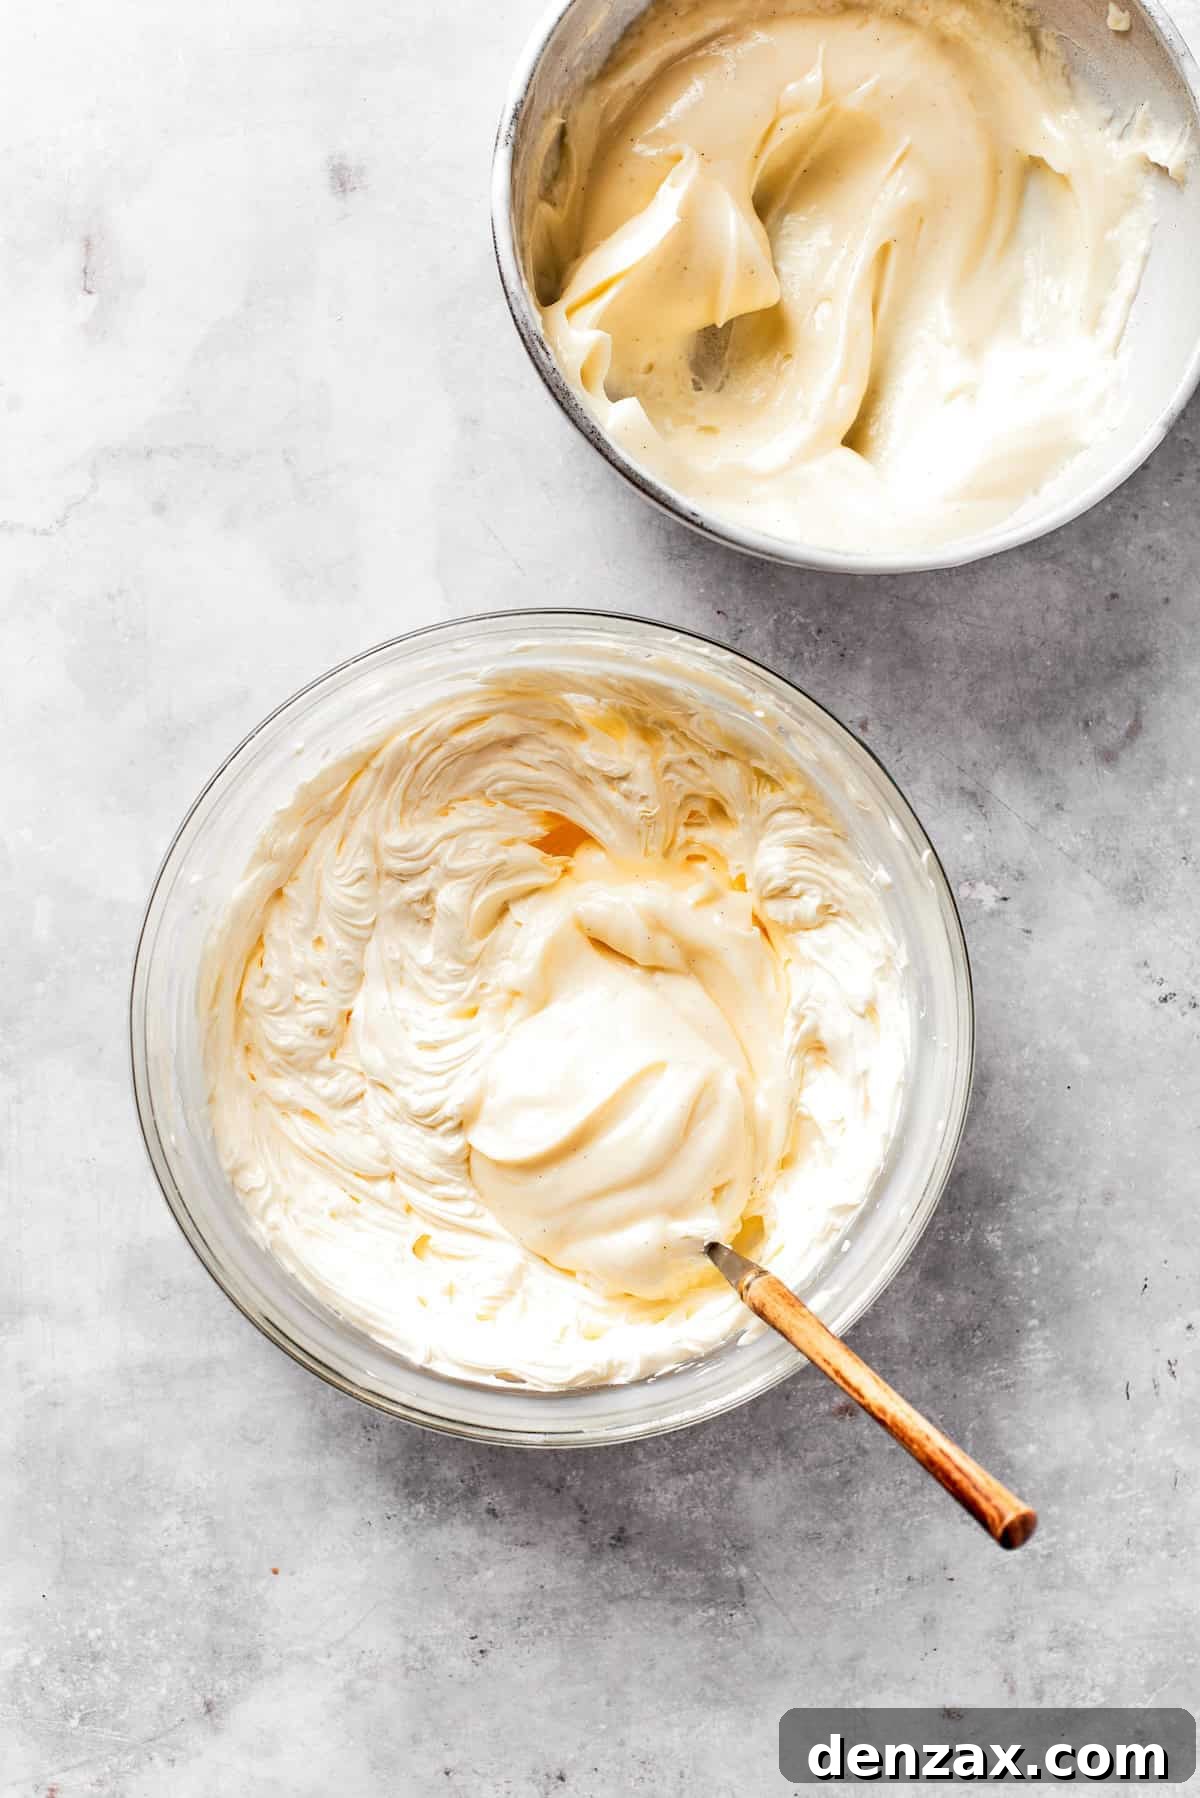
7. Prepare the Cream Cheese Frosting. While the brownies cool, begin preparing the frosting. In a large mixing bowl, beat the softened block cream cheese, sifted powdered sugar, and pure vanilla extract on low speed until the mixture is smooth and lump-free, which usually takes about 1 minute. In a separate bowl, beat the room temperature unsalted butter on medium speed until it is light, creamy, and fluffy. Gradually incorporate the cream cheese mixture into the whipped butter, continuing to mix until everything is fully combined and perfectly smooth. Finally, add the heavy cream and gently fold it into the frosting until well incorporated, creating a luxurious and pipeable consistency. Transfer the finished frosting to a piping bag fitted with your desired tip for easy application.
-
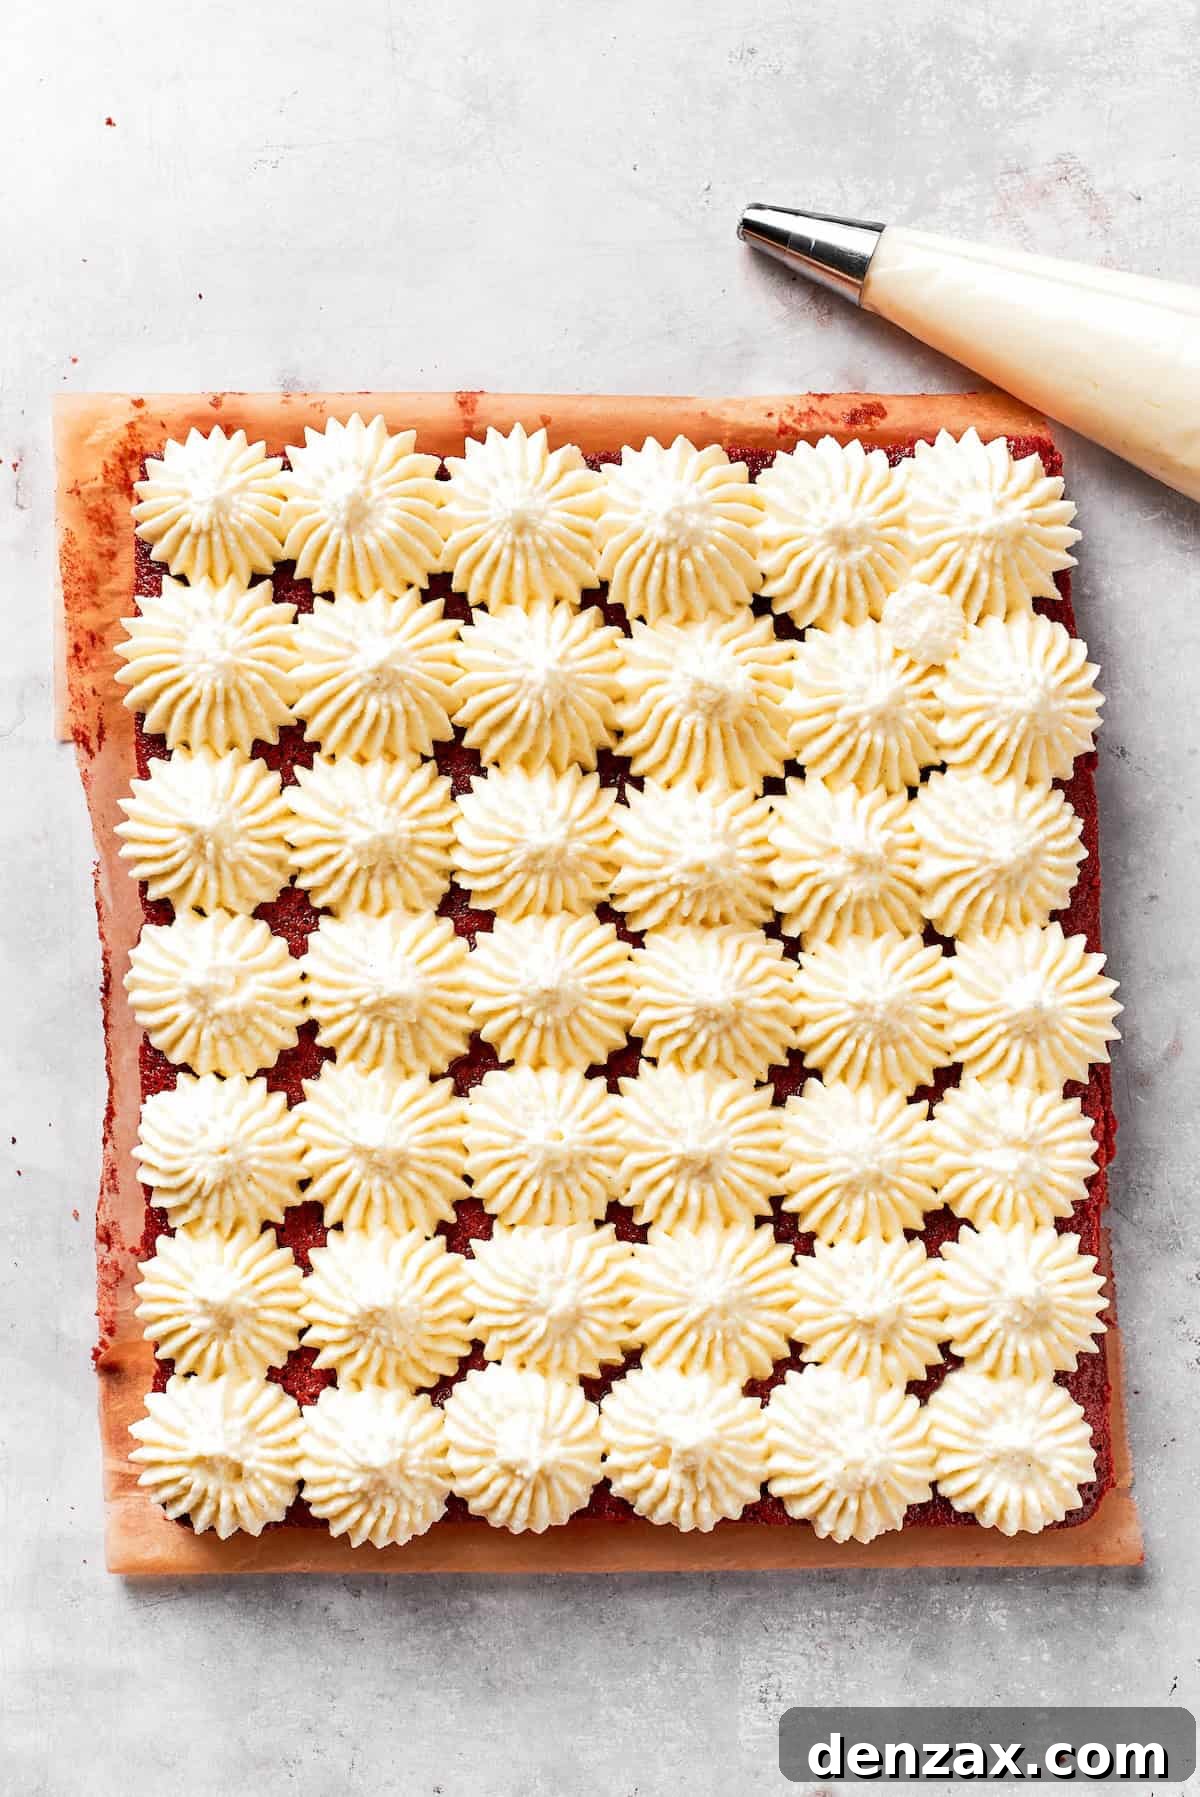
8. Assemble and Serve. Once the brownies are completely cool (this is essential!), carefully lift them out of the baking pan using the parchment paper overhang and transfer them to a serving dish or cutting board. Pipe or evenly spread the prepared cream cheese frosting over the entire surface of the brownies using your piping bag or an offset spatula. For the cleanest, most precise slices, chill the frosted brownies in the refrigerator for 15-20 minutes before cutting them into individual squares or rectangles with a sharp, warm knife. Enjoy your delicious red velvet brownies!
Equipment
-
Stand Mixer or Hand Mixer
-
9×13 inch Baking Pan
-
Parchment Paper
-
Mixing Bowls
-
Whisk
-
Spatula or Offset Spatula
-
Piping Bag (optional, for frosting)
Nutrition
Calories:
695 kcal
|
Carbohydrates:
65 g
|
Protein:
6 g
|
Fat:
47 g
|
Saturated Fat:
29 g
|
Polyunsaturated Fat:
2 g
|
Monounsaturated Fat:
13 g
|
Trans Fat:
1 g
|
Cholesterol:
144 mg
|
Sodium:
97 mg
|
Potassium:
266 mg
|
Fiber:
3 g
|
Sugar:
51 g
|
Vitamin A:
1307 IU
|
Vitamin C:
0.1 mg
|
Calcium:
84 mg
|
Iron:
3 mg
Nutritional information is an estimate and provided as a courtesy. Values may vary according to the exact ingredients and tools used. Please use your preferred nutritional calculator for more detailed information.
Did you make this recipe? Leave a rating!
Step-by-Step Guide: How to Make Red Velvet Brownies
Follow these visual steps and detailed instructions to create your own batch of stunning red velvet brownies. For the smoothest, most luxurious frosting, remember to start by bringing your cream cheese (and other dairy ingredients) to room temperature.
- 1. Prepare the Pan. Preheat your oven to 350°F (175°C) and line a 9×13-inch baking pan with parchment paper, leaving an overhang on the sides for easy removal.
- 2. Melt Chocolate and Butter. In a heatproof bowl, melt the unsalted butter and semi-sweet chocolate chips together until smooth, then let it cool slightly.
- 3. Mix Wet Ingredients. In a large mixing bowl, combine the cooled chocolate mixture with brown sugar, beating until well incorporated. Add eggs one at a time, mixing after each, then stir in vanilla extract and a pinch of salt.
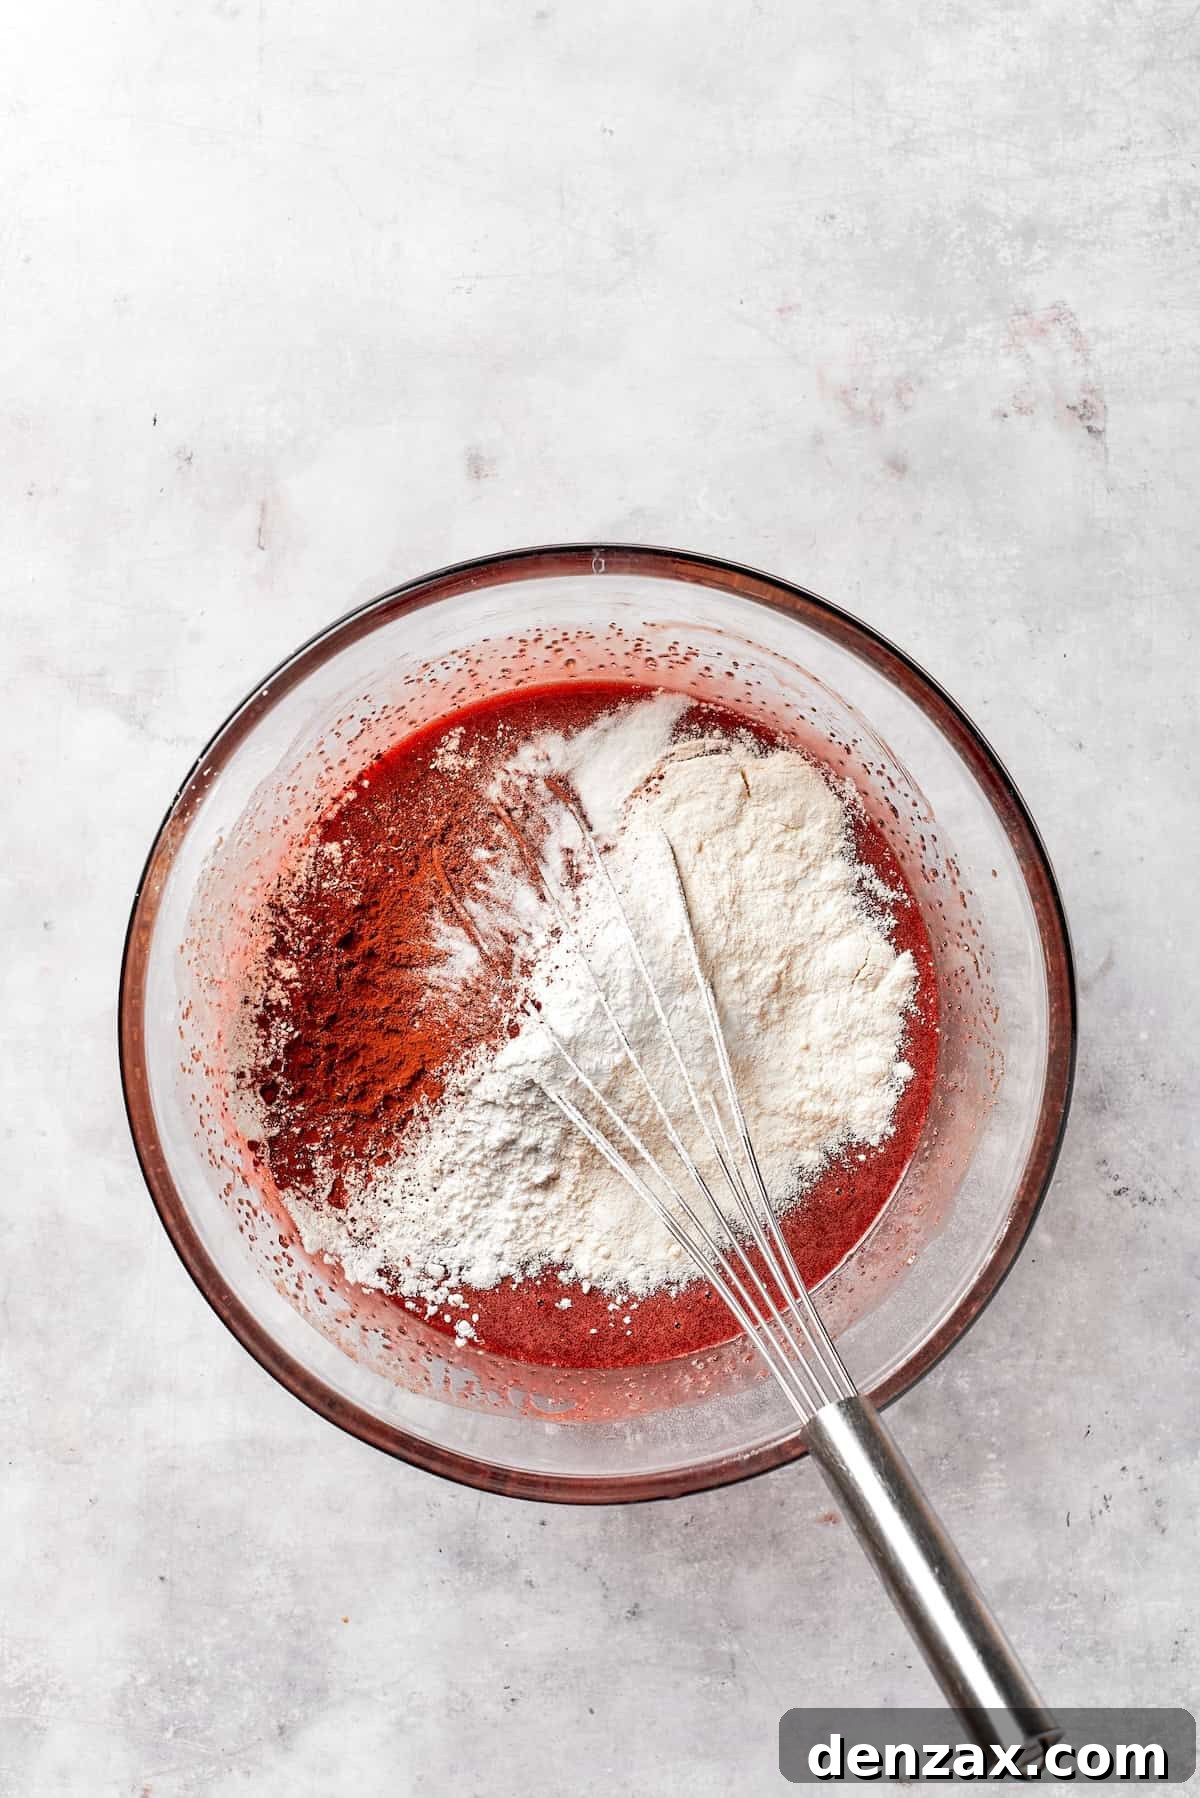
- 4. Mix Dry Ingredients. In a separate bowl, whisk together the flour, cocoa powder, cornstarch, and baking powder. Add this dry mixture gradually to the wet ingredients, mixing on low speed until just combined. Stir in the apple cider vinegar and red food coloring until the desired shade is achieved.
- 5. Bake. Spread the batter evenly into the prepared pan and bake for 30–35 minutes, or until a toothpick inserted into the center comes out with moist crumbs. Allow the brownies to cool completely in the pan before frosting.
- 6. Prepare the Frosting. In a large bowl, beat softened cream cheese, powdered sugar, and vanilla until smooth. In a separate bowl, beat the softened butter until creamy and fluffy. Gradually combine the cream cheese mixture with the whipped butter, then gently fold in the heavy cream until the frosting is light and smooth.
- 7. Assemble. Once the brownies are completely cool, lift them from the pan. Pipe or spread the cream cheese frosting evenly over the surface. For neat cuts, chill the frosted brownies in the fridge for 15-20 minutes before slicing them into squares or rectangles.