
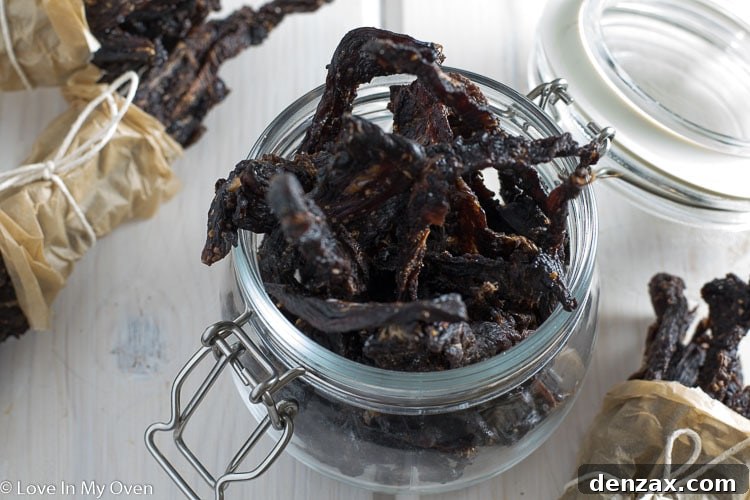
Discover the ultimate homemade beef jerky recipe! Skip the overpriced store-bought options and create tender, savory, and lightly sweetened jerky in your own oven or dehydrator. This is truly the best beef jerky you’ll ever taste!
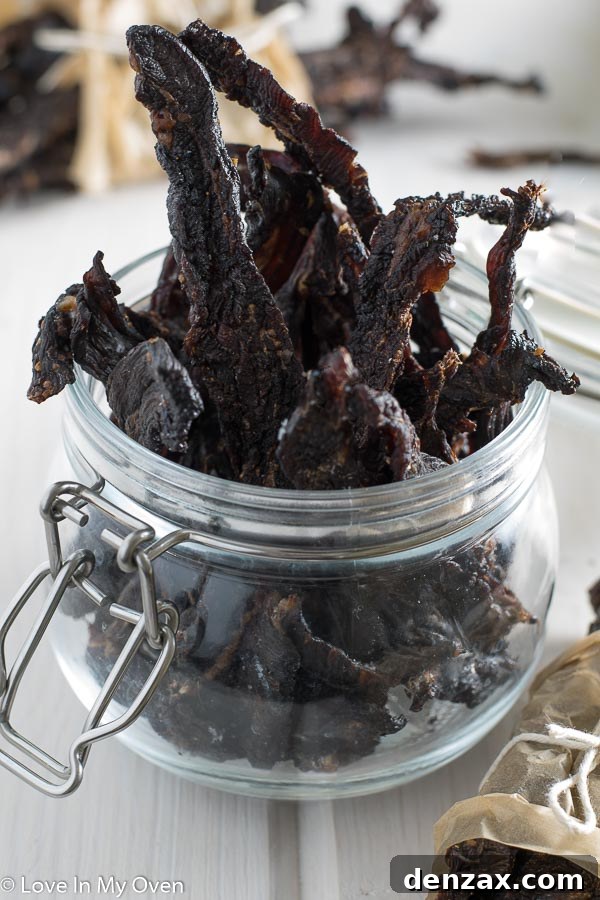
*Updated Content* This popular recipe was originally shared in 2017 and has since been updated with expanded tips, detailed instructions, and new insights to ensure your jerky-making success. The core, delicious recipe remains perfectly unchanged.
Do you ever find yourself craving a snack that truly hits the spot – something deeply satisfying, packed with flavor, and wonderfully chewy? For many, that craving leads straight to beef jerky. It’s a timeless snack, perfect for fueling adventures, satisfying midday hunger, or simply enjoying a savory treat. However, the cost of premium beef jerky at the grocery store can be daunting, and the ingredient lists often leave something to be desired. If you’re tired of overpaying for mediocre jerky filled with preservatives, you’re in the right place.
A few years ago, I embarked on a culinary journey that transformed my snacking habits forever: learning to make beef jerky at home. The revelation that I could craft delicious, high-quality jerky right in my own kitchen – even in a standard OVEN – was a game-changer! It’s not nearly as complicated as it sounds, and the results are incredibly rewarding. Forget complicated techniques; I’m here to show you how easy it truly is to create your own gourmet jerky.
Since then, my passion for homemade jerky has only grown. A thoughtful gift of a high-quality dehydrator from my in-laws elevated my jerky game to new heights. Now, our dehydrator is almost constantly running, churning out not just fantastic beef jerky, but also healthy apple chips, dried pineapple, and various fruit leathers. The versatility of making your own dried goods is immense, but undoubtedly, beef jerky remains the star of the show.
Through countless batches and extensive experimentation, I’ve finally perfected a beef jerky marinade that consistently delivers exceptional flavor and texture. This isn’t just a good marinade; it creates what I confidently call the BEST beef jerky you’ll ever taste. It strikes a perfect balance of savory, sweet, and smoky notes, with just the right amount of kick. Today, I’m thrilled to share this tried-and-true recipe and all my best tips with you. Get ready to embark on your own homemade jerky adventure – it’s simpler than you think, and absolutely delicious!
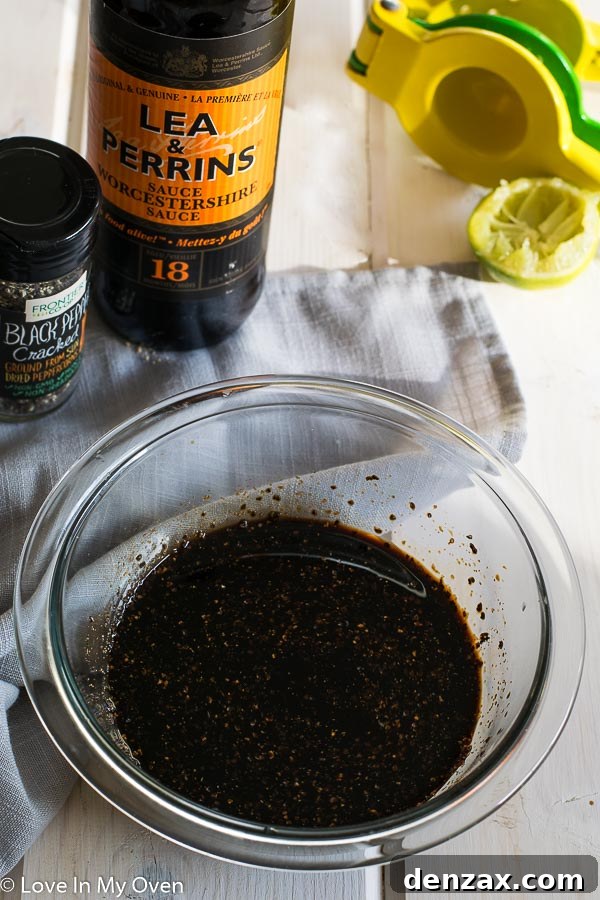
Crafting the Perfect Beef Jerky Marinade: Key Ingredients Revealed
The secret to truly outstanding homemade beef jerky lies primarily in its marinade. This isn’t just about adding flavor; it’s about infusing the meat with a complex profile that balances savory depth, a hint of sweetness, and that unmistakable smoky essence. You’ll be surprised at how simple the ingredients are, many of which you likely already have in your pantry. However, there’s one ingredient I consider absolutely non-negotiable for authentic jerky flavor: liquid smoke.
Let’s dive into the core components of this winning marinade:
- Soy Sauce: The foundation of our marinade, soy sauce brings essential umami and salinity. I highly recommend using a low-sodium variety to control the overall saltiness, allowing the other flavors to shine without being overwhelmed. It acts as a tenderizer and flavor carrier, ensuring every strip of jerky is rich with savory notes.
- Worcestershire Sauce: (Yes, it’s a tricky word to say!) This classic condiment adds a complex, tangy, and slightly sweet depth that complements the soy sauce beautifully. Its unique blend of flavors contributes significantly to the savory profile and overall richness of the jerky.
- Lime Juice: Freshly squeezed lime juice provides a bright, acidic counterpoint to the savory ingredients. It not only enhances the overall flavor but also helps to tenderize the meat, ensuring a more pleasant chew.
- Honey: For that touch of lightly sweetened homemade beef jerky, honey is our preferred choice. It offers a natural, subtle sweetness that balances the saltiness and tangy notes, and also aids in caramelization during the drying process, contributing to a desirable finish.
- Liquid Smoke (Essential!): This is where the magic happens for that classic jerky taste. Liquid smoke imparts an incredible, authentic smokiness that you’d typically expect from slow-smoked meats. Don’t skip this ingredient; it elevates the flavor profile from good to absolutely fantastic. A little goes a long way, transforming your kitchen into a virtual smokehouse.
- Garlic Powder & Ground Pepper: These staple seasonings provide aromatic depth and a gentle warmth. Garlic powder offers a foundational savory note, while freshly ground black pepper adds a classic, earthy bite that enhances the overall spice profile.
- Red Chili Flakes (Optional, but recommended for a kick): If you enjoy your beef jerky with a bit of a spicy edge, a dash of red chili flakes will provide just the right amount of heat without overpowering the other flavors. Adjust to your personal preference for a subtle warmth or a more pronounced zing.
The combined result of these thoughtfully chosen ingredients is a remarkably balanced jerky: savory with a pleasant saltiness, rounded out by a touch of peppery sweetness and a deep, smoky aroma. For optimal flavor penetration, I highly recommend letting your meat marinate overnight. This extended period allows the flavors to truly meld and infuse into every fiber of the beef. However, if you’re pressed for time, a minimum of 4 hours will still yield delicious results. The longer the soak, the deeper the flavor!
Mastering the Best Beef Jerky: Meat Selection and Slicing Techniques
While the marinade sets the flavor, the quality and preparation of your beef are equally critical for making the best homemade beef jerky. Achieving that perfect texture, whether tender or chewy, starts with selecting the right cut of meat and mastering the slicing technique. Let’s delve into these two crucial aspects.
1. Choosing the Ideal Cut of Beef
The best beef jerky begins with lean meat. Excess fat can turn rancid quickly, reducing the shelf life of your jerky and affecting its flavor. In my extensive experience, one cut stands out as the champion for homemade jerky:
- Flank Steak: This is, by far, my top recommendation. Flank steak is incredibly lean, features a distinct grain, and slices beautifully thin and clean. Its inherent leanness makes it ideal for drying, as there’s minimal fat to trim away. While it can be one of the pricier options, the quality and ease of preparation it offers are well worth the investment for superior jerky.
- Alternative Cuts: Top Round or Bottom Round Roast: If flank steak is unavailable or outside your budget, a top round or bottom round roast are excellent, more economical alternatives. These cuts are also very lean and can be sliced effectively for jerky. Look for pieces with as little visible fat as possible, as you’ll need to trim any excess to ensure proper drying and longevity.
Regardless of your choice, the goal is always to start with the leanest possible cut of beef to achieve optimal results and extend the freshness of your homemade jerky.
2. The Art of Slicing: With or Against the Grain?
The direction in which you slice your meat profoundly impacts the final texture of your beef jerky. This is a matter of personal preference, and understanding the difference will help you tailor your jerky to your liking:
- Slicing *With* the Grain: Cutting parallel to the muscle fibers (the grain) will result in a chewier jerky. This type of jerky requires a bit more effort to tear and chew, offering a classic, robust jerky experience that many traditionalists prefer. It’s often described as having a more “rustic” feel.
- Slicing *Against* the Grain: Cutting perpendicular to the muscle fibers will create a more tender, melt-in-your-mouth jerky. This style is easier to chew and is often preferred by those who like a less fibrous texture, including children. We personally favor this method in our household for its delightful tenderness.
Understanding the Grain: If you’re new to this, don’t worry. Simply examine your piece of meat closely. You’ll observe thin, parallel lines running along its length – these are the muscle fibers, or “the grain.” Once you identify it, you can easily choose whether to slice with or across it.
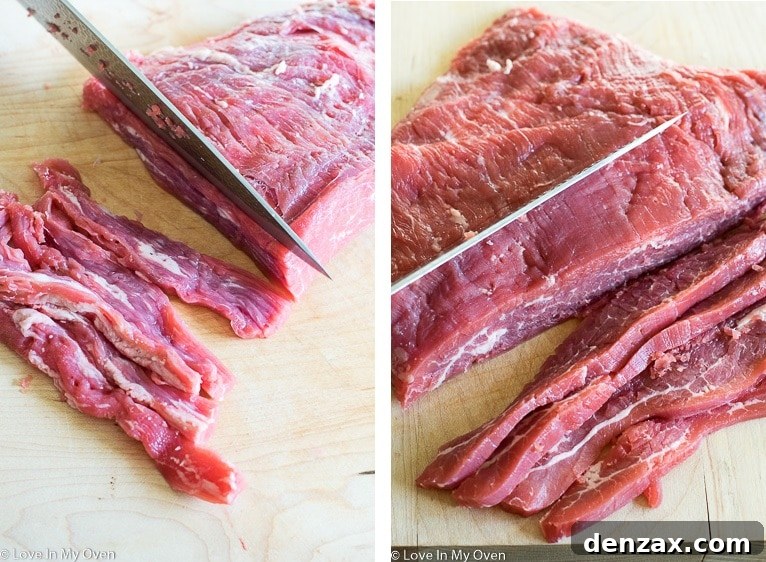
Crucial Slicing Tip: The Freezer Trick! The single most important piece of advice I can offer for slicing beef for jerky is to partially freeze the meat before you begin. Place your chosen cut of beef in the freezer for approximately 1 hour. This firms up the meat significantly, making it less “floppy” and much easier to slice into thin, consistent pieces. Consistent thickness is key for even drying. Just be sure to set a timer or reminder; you don’t want to forget it and end up with a fully frozen slab of beef!
Once your meat is perfectly sliced and marinated, it’s time for the drying process. If you’re using a dehydrator, arrange the marinated meat strips on the trays in a single layer, ensuring ample space between each piece. Good air circulation is vital for efficient and even drying. Overlapping pieces will prolong the drying time and can lead to uneven results. Set your dehydrator to a temperature of 165°F (74°C), and allow it to dry for approximately 5-6 hours, or until the jerky is firm but still slightly pliable. Drying times can vary based on your dehydrator’s model, the thickness of your meat slices, and ambient humidity, so always check for your desired texture.
No Dehydrator? No Problem! How to Make Jerky in the Oven
Don’t have a dedicated dehydrator? While they are fantastic tools (and I might playfully suggest you consider getting one if you’re serious about dried foods!), you absolutely do not need one to make incredible homemade beef jerky. Your standard kitchen oven can be transformed into an effective jerky-making machine with just a few simple adjustments. It’s surprisingly easy, and the results are just as delicious.
Preparing Your Oven for Jerky
- Clean-up Prep is Key: Jerky, especially marinated jerky, can drip quite a bit during the long drying process. To save yourself from a tedious cleaning session, generously line the bottom of your oven and any unused racks with aluminum foil. This will catch any drips and make cleanup a breeze. Trust me, you’ll thank yourself later!
- Achieve Optimal Airflow: For jerky to dry properly, good air circulation is paramount. Instead of placing the meat directly on the oven racks, you’ll want to elevate it slightly. The best way to do this is by placing a wire cooling rack (the kind you use for cookies) over your regular oven racks. Arrange the marinated beef strips in a single layer on these wire racks, ensuring there’s space between each piece. This allows hot air to circulate all around the meat, promoting even drying.
- Maintain a Low Temperature: The goal is to dry the meat, not cook it. You need a very low, consistent temperature. Set your oven to its lowest possible setting, typically around 150°F (65°C) to 170°F (77°C). If your oven runs hot, you might even prop the oven door open slightly (using a wooden spoon or heat-proof object) to help maintain a lower temperature and allow moisture to escape.
- The Drying Process: Place your prepared racks with the jerky into the oven. The drying time for oven jerky is generally 5-6 hours, but this can vary based on your oven’s exact temperature, the thickness of your meat, and your desired texture.
- Check for Doneness: Begin checking your jerky after about 4-5 hours. It should be firm, tough, and pliable, but not brittle. When you bend a piece, it should crack slightly but not break completely. There should be no signs of moisture or stickiness. If it’s still soft or feels wet, continue drying and check every 30-60 minutes.
Making jerky in the oven requires a bit more vigilance, especially regarding temperature and airflow, but it’s a perfectly viable and rewarding method. Many of you reached out on Instagram, eager to learn how to make jerky without a dehydrator, and now you have all the insider tips! Get ready to enjoy perfectly tender, flavorful homemade beef jerky, made right in your own kitchen.
I am genuinely so excited for you to try this recipe. The satisfaction of crafting your own delicious, healthy snacks is immense, and this beef jerky is a fantastic example. Say goodbye to expensive store-bought versions and hello to a customizable, incredibly tasty treat. Happy meat-eating, friends – your taste buds will thank you!
Looking for more delightful appetizers and snacks to impress your guests or simply satisfy a craving? Check out these other fantastic recipes that you’re sure to love:
- Spicy and Cheesy Pepper Poppers
- Crispy Air Fryer Coconut Shrimp with Dipping Sauce
- Sweet and Savory Bacon Wrapped Stuffed Dates

Best Homemade Beef Jerky
5 Stars 4 Stars 3 Stars 2 Stars 1 Star
No reviews
Author: Katherine
Total Time: 24 hours
Yield: 30–35 pieces 1x
Description
Stop buying overpriced, preservative-laden jerky! This is the ultimate homemade beef jerky recipe, delivering savory, lightly sweetened, and perfectly tender jerky. You can easily make this with either an oven or a dehydrator, ensuring a delicious and satisfying snack every time.
Ingredients
Scale
- 2 lbs flank steak (or top/bottom round roast)*
- 1/2 cup low-sodium soy sauce
- 3 tbsp Worcestershire sauce
- juice of 1 fresh lime
- 2 tsp honey
- 1 tsp liquid smoke (essential for flavor)
- 1 tsp garlic powder
- 1 tsp ground black pepper
- optional: 1/2 tsp red chili flakes (for a touch of heat)
Instructions
- Prepare the Meat: Freeze the lean beef cut (flank steak or round roast) for approximately 1 hour. This crucial step makes the meat much firmer and easier to slice consistently. Remove the partially frozen meat, place it on a clean cutting board, and use a very sharp knife to slice it into thin pieces, about 1/8″ to 1/4″ thick. Strive for consistent thickness for even drying. Decide whether to slice with or against the grain for your preferred texture (see notes above). Carefully trim all visible large pieces of fat from the meat slices.
- Marinate the Beef: In a medium-sized mixing bowl, combine all the marinade ingredients: soy sauce, Worcestershire sauce, lime juice, honey, liquid smoke, garlic powder, ground pepper, and optional red chili flakes. Whisk thoroughly until well combined. Pour this delicious marinade into a large, heavy-duty Ziploc freezer bag. Add the sliced beef to the bag. From the outside of the bag, gently massage the marinade into the meat, ensuring every piece is thoroughly coated. Seal the bag, pressing out as much air as possible, and place it in the refrigerator to marinate for a minimum of 4 hours, or ideally, overnight (8-24 hours) for the best flavor infusion.
- Dry the Jerky (Dehydrator Method): If using a food dehydrator, arrange the marinated meat strips in a single layer on the dehydrator trays. Ensure there is ample space between each piece to allow for proper airflow; crowding the trays will slow down the drying process. Set your dehydrator to a temperature of 160-165°F (71-74°C). Dehydrate the meat until it is firm, dry to the touch, and slightly bendable without breaking (typically 5-6 hours). The precise cooking time will vary depending on your dehydrator’s power and the thickness of your jerky, so check periodically.
- Dry the Jerky (Oven Method): For oven drying, preheat your oven to its lowest possible setting, usually around 150-170°F (65-77°C). To ensure good air circulation and easy cleanup, line the bottom of your oven with aluminum foil. Place wire cooling racks on top of your regular oven racks. Arrange the marinated beef strips in a single layer on the wire racks, leaving space between each piece. If your oven doesn’t go low enough, you can slightly prop open the oven door with a wooden spoon to help lower the temperature and allow moisture to escape. Dry for 5-6 hours, checking periodically for desired firmness.
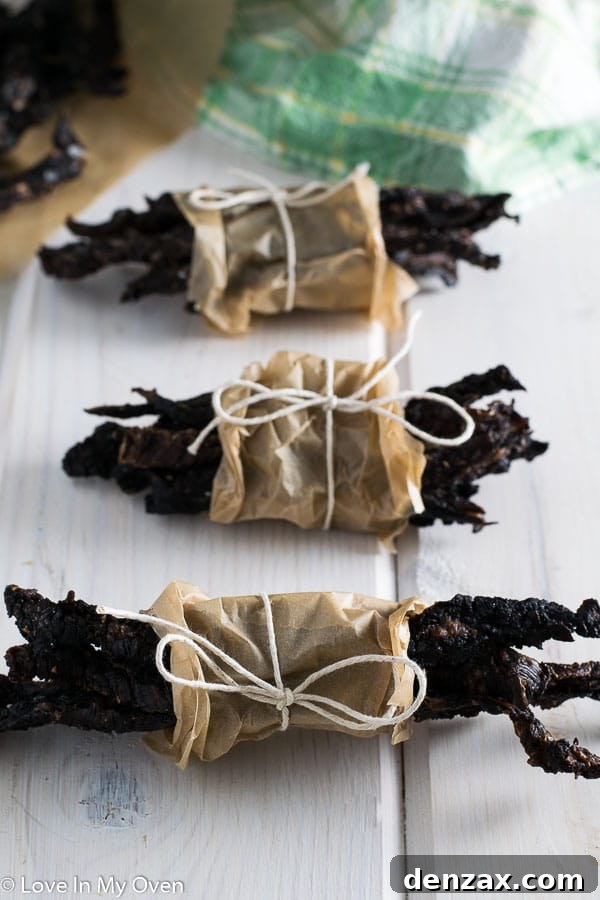
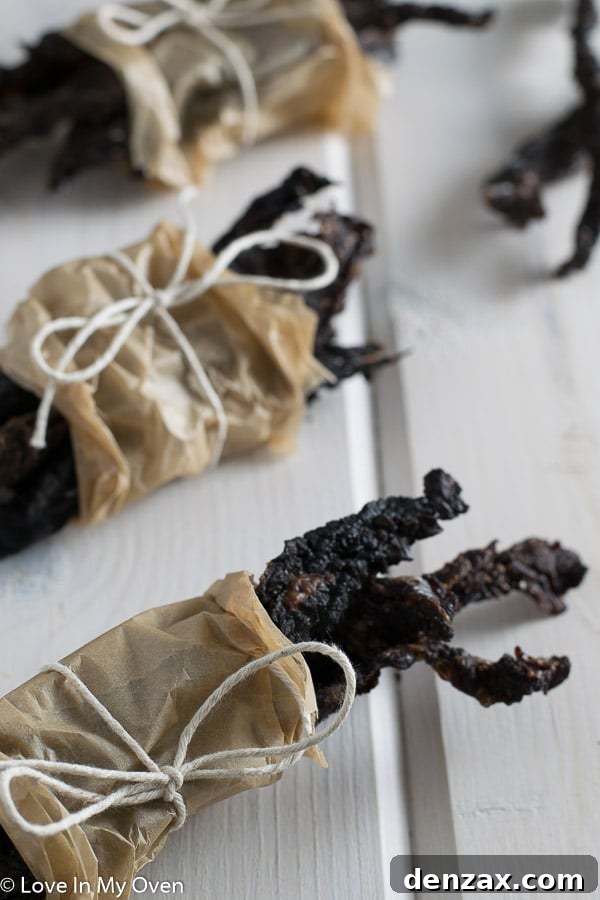
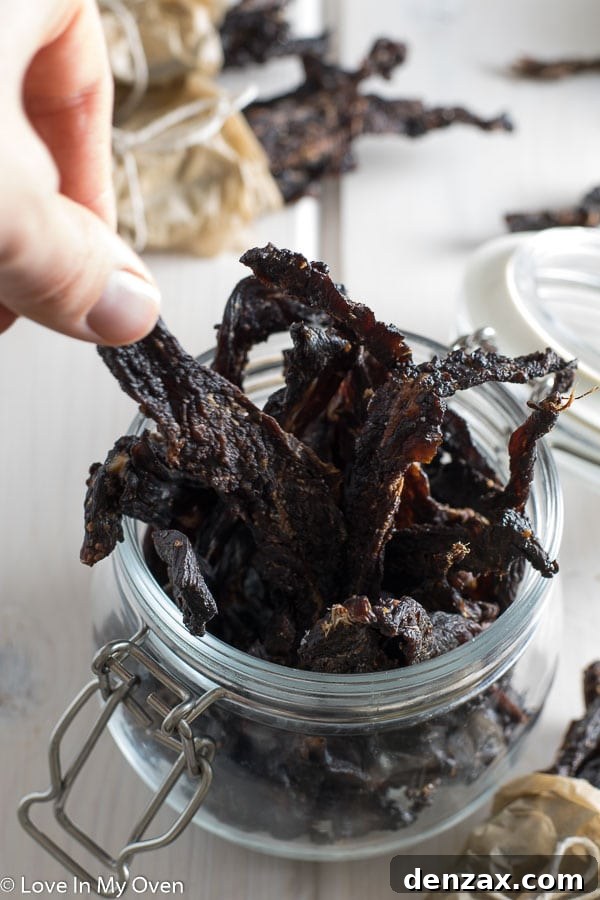
Store your finished beef jerky in an airtight container in the refrigerator for up to 5-6 weeks, or in the freezer for up to 2 months. For daily snacking, I find keeping a small batch in a paper bag in the fridge helps maintain its texture and is convenient.
Notes
*Refer to the main article above for detailed reasons why flank steak is highly recommended for its leanness and texture, as well as considerations for using top/bottom round roasts.
**For a comprehensive guide on how slicing with or against the grain affects your jerky’s chewiness or tenderness, including helpful visual cues, please see the detailed explanations and pictures in the post above.
- Prep Time: 30 minutes
- Cook Time: 6 hours
- Category: snacks
- Method: dehydrate
- Cuisine: american