
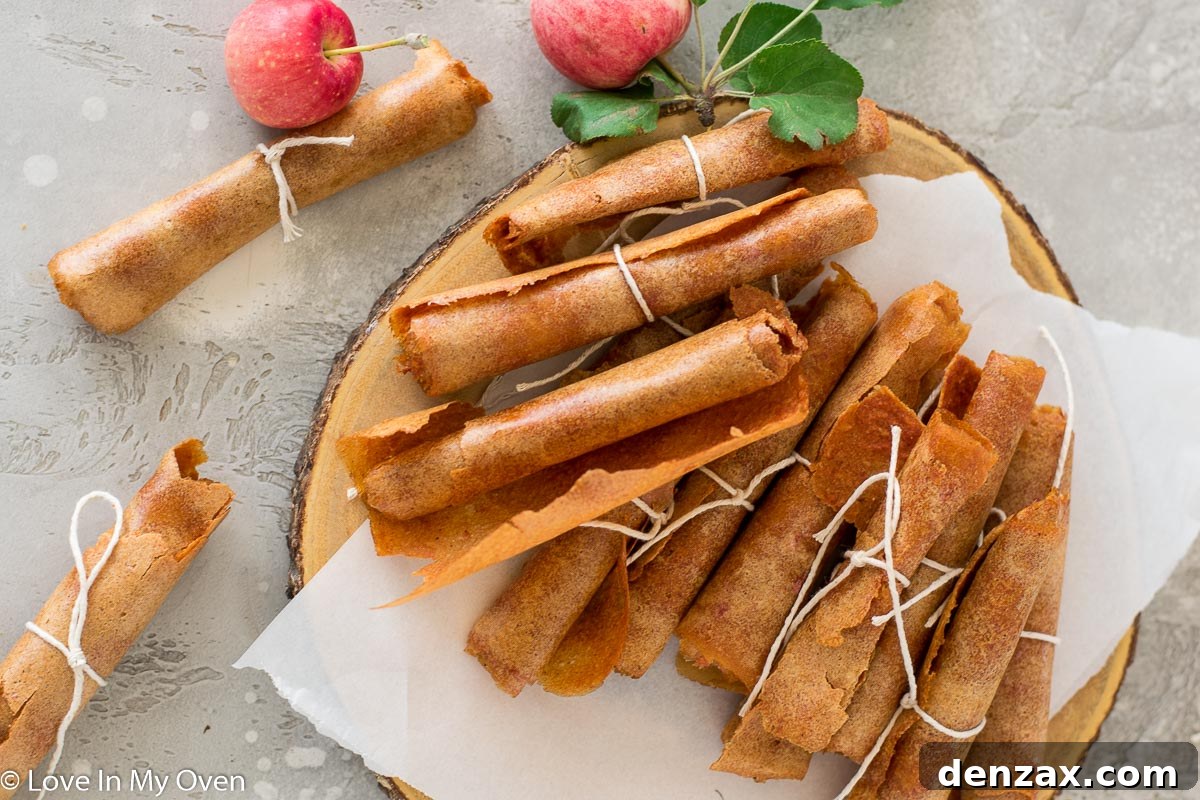
Transform abundant apples into a wholesome, delightful snack! This guide shows you how to make super tasty and healthy apple fruit leather using just a few simple ingredients: apples, cinnamon, and a touch of honey. Ideal for lunchboxes, quick energy boosts, or a satisfying afternoon treat.
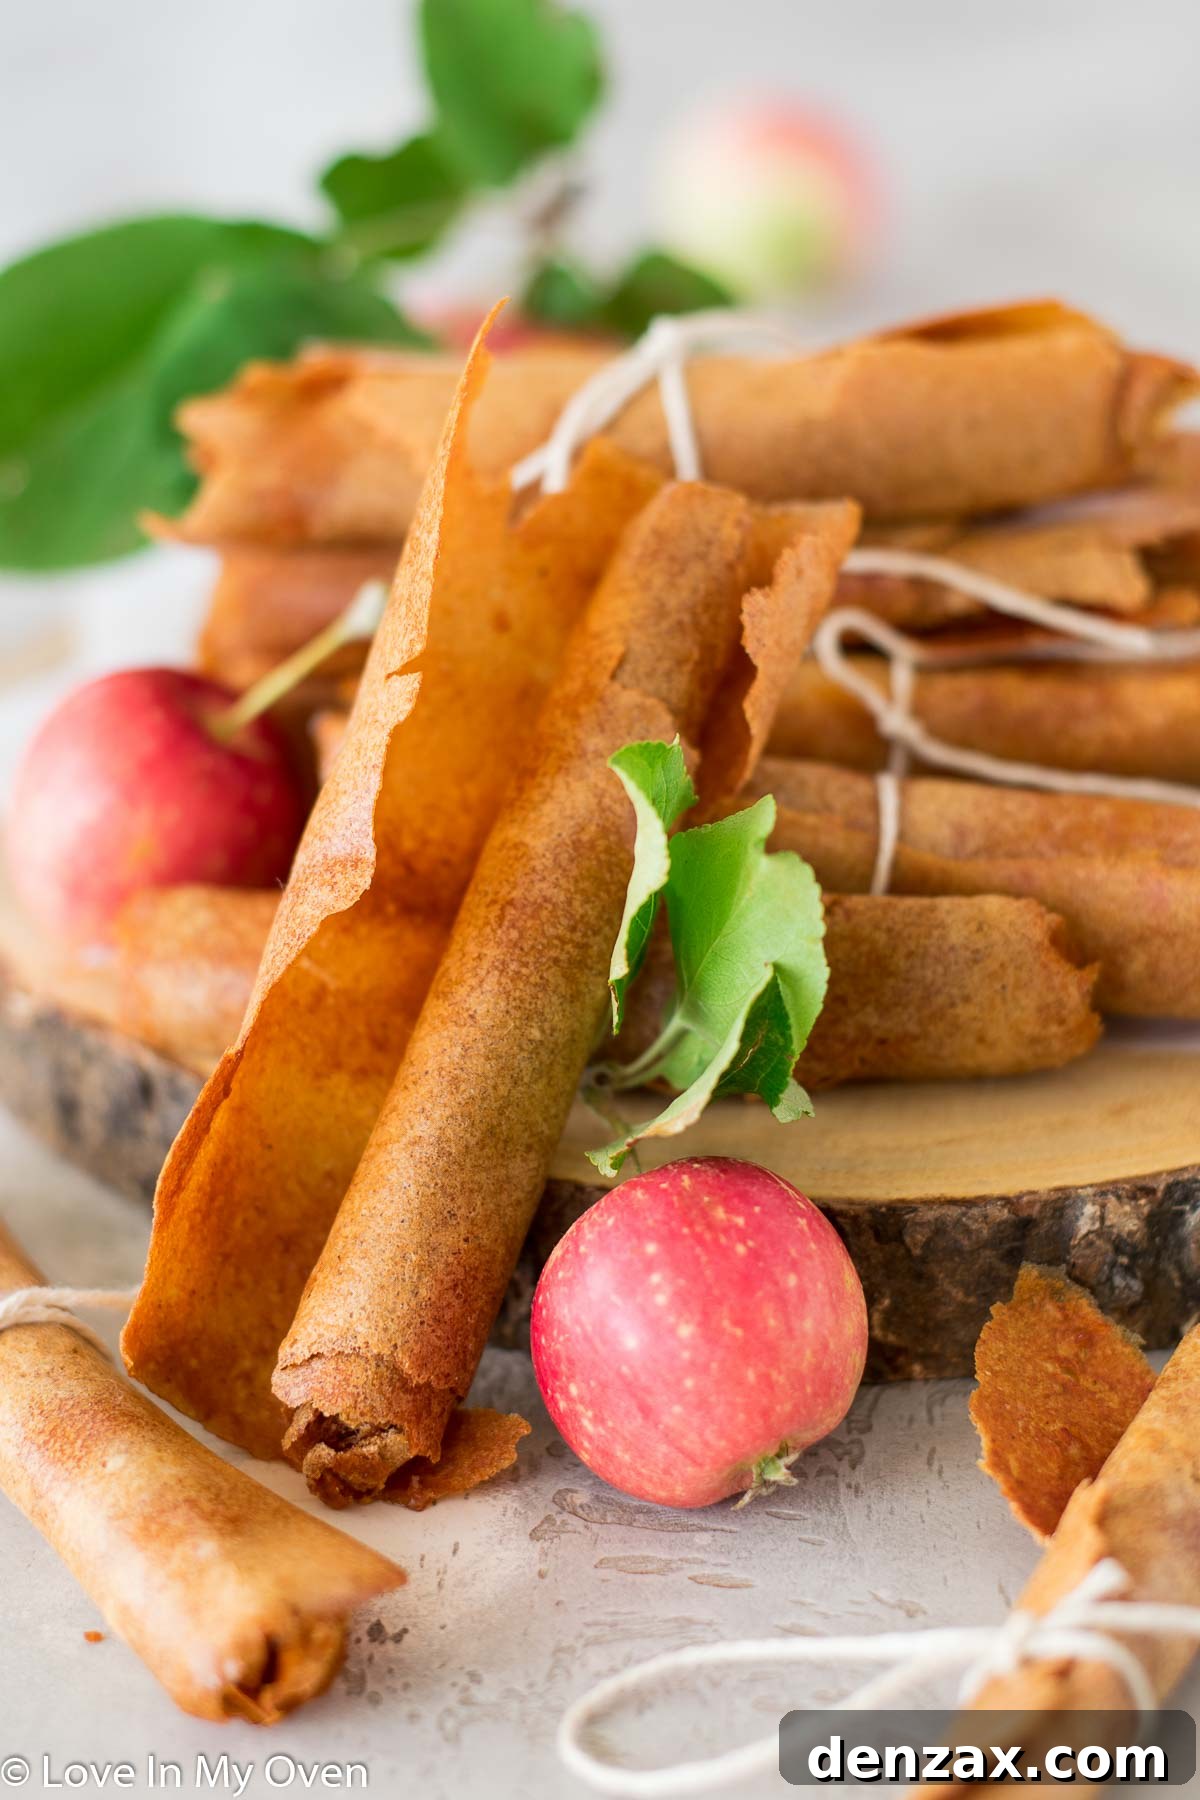
As the vibrant hues of autumn begin to fade and a delicate dusting of snow signals winter’s approach, a bittersweet feeling often settles in. Here in our corner of the world, the apple trees, once laden with juicy fruit, now stand bare, their bounty either harvested or reduced to mushy, wrinkled remnants. While winter, with its long, dark days, isn’t my favorite season, there’s a silver lining: a delicious stockpile of homemade fruit leather waiting to be enjoyed by the fire as the snowflakes drift down outside.
This past summer, our new apple trees truly outdid themselves, providing an incredible harvest that we thoroughly enjoyed. And already, my mind is buzzing with ambitious plans for next year’s crop! The delightful challenge of having so many apples, of course, is finding creative and delicious ways to use them all before they spoil.
Many classic apple dishes spring to mind, such as homemade unsweetened applesauce, apple cinnamon pull-apart bread, or a decadent salted caramel apple cake. However, among these perennial favorites, homemade fruit leather stands out as an exceptionally convenient, healthy, and satisfying option. It’s a fantastic way to preserve the natural goodness of apples, turning them into a portable and long-lasting treat that everyone will love.
Homemade Apple Fruit Leather: The Perfect Healthy Snack
What Exactly is Fruit Leather?
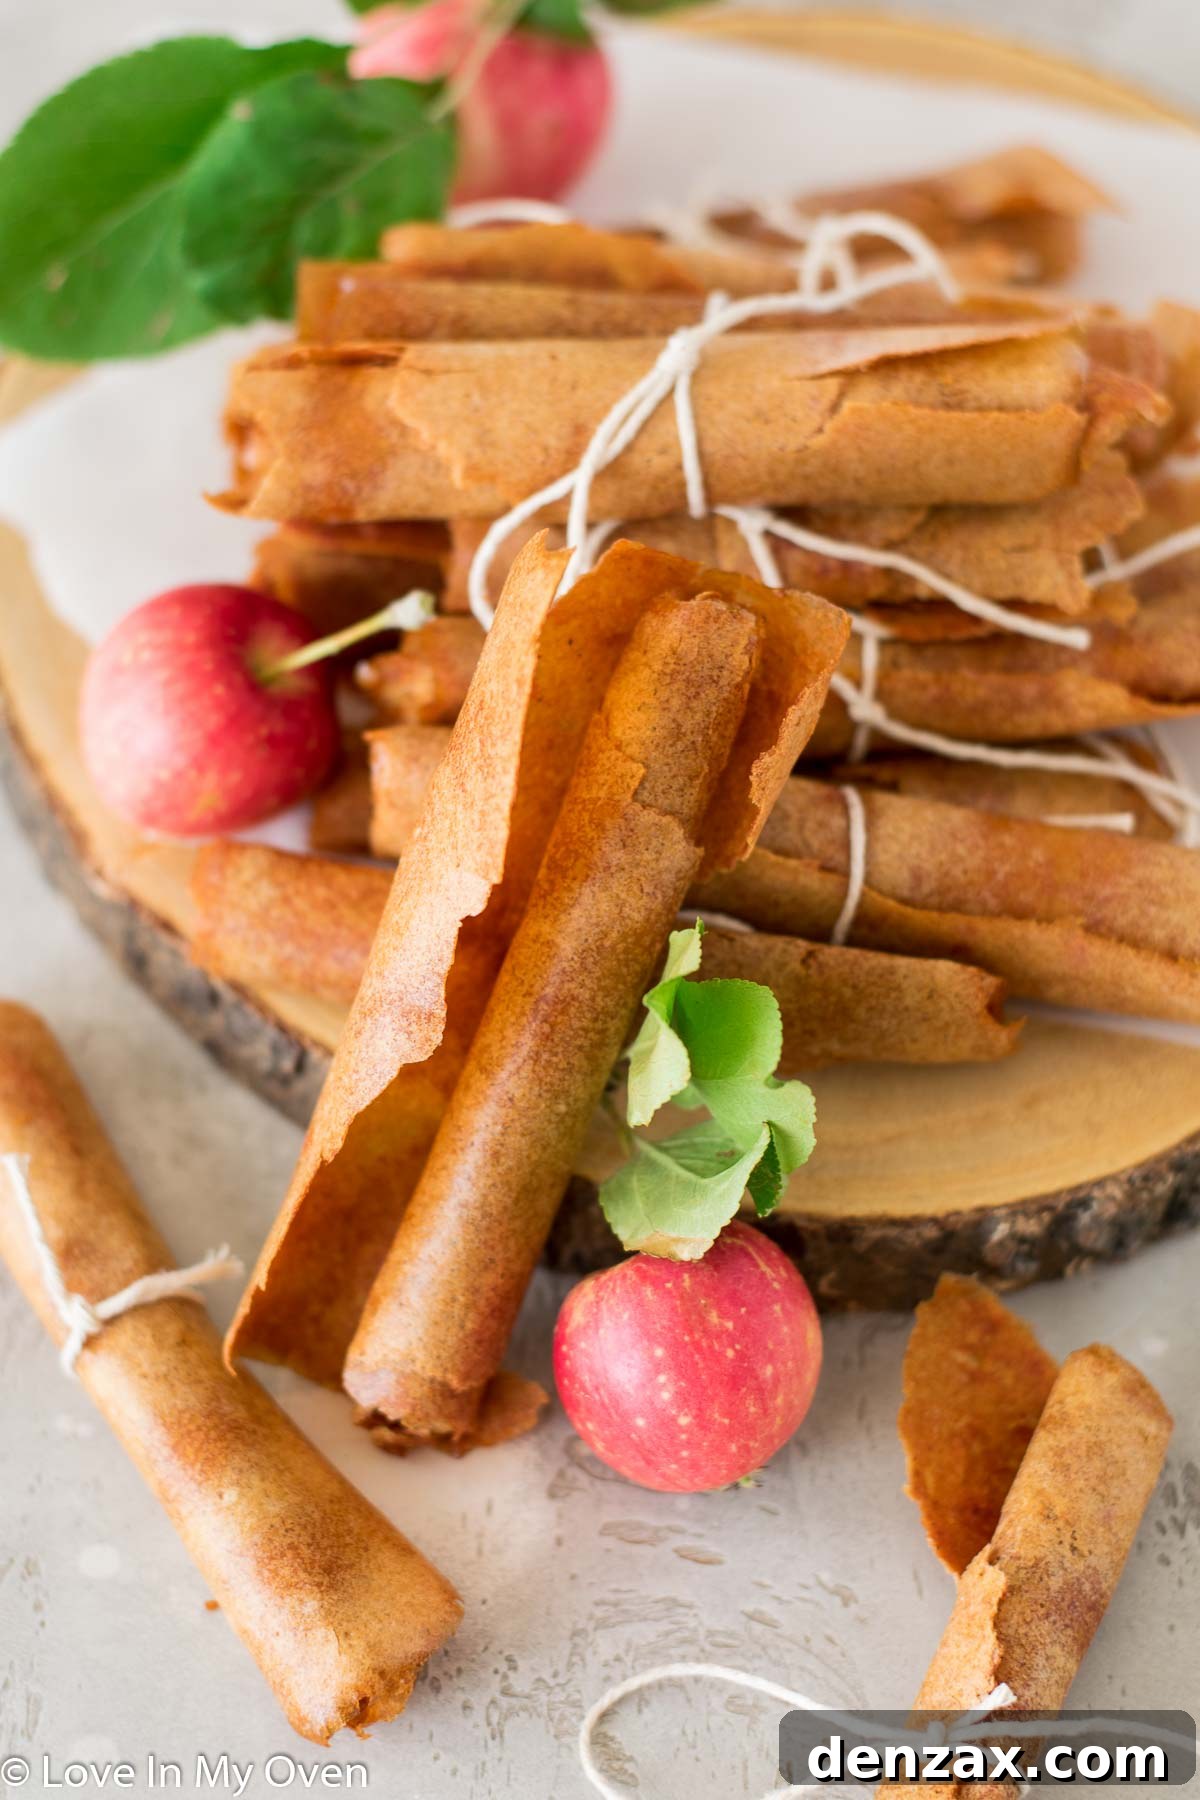
If you’ve ever purchased those chewy, thin, all-fruit snacks at the grocery store, then you’re already familiar with fruit leather! At its core, fruit leather is simply a fruit puree that has been spread into a very thin layer and then dehydrated (slowly dried) until it becomes pliable, non-tacky, and durable. The beauty of this process lies in its simplicity and effectiveness: by gently removing almost all the moisture from the fruit, you create a concentrated, flavorful snack that boasts an impressively long shelf life without the need for artificial preservatives.
Historically, fruit leathers were a practical method of food preservation, allowing communities to store seasonal fruit for consumption during leaner months. Today, they’re celebrated as a wholesome alternative to highly processed sweets. They’re an excellent source of natural energy, packed with the fiber and vitamins found in fresh fruit. This makes homemade apple fruit leather an ideal candidate for school lunchboxes, a nutritious companion for road trips, hiking adventures, or simply a guilt-free snack to curb those afternoon cravings.
The absence of added sugars (beyond a touch of natural sweetener like honey or maple syrup) and artificial ingredients means you’re enjoying pure fruit goodness, making it a favorite for health-conscious individuals and parents alike.
How to Make Delicious Apple Fruit Leather at Home
Crafting your own apple fruit leather is surprisingly straightforward and requires minimal active preparation time—usually under 10 minutes! The most significant part of the process is simply waiting for the fruit puree to dry, whether in a dehydrator or an oven. The results, however, are well worth the wait, delivering a sweet, tart, and perfectly chewy snack that’s infinitely better than store-bought versions.
Essential Ingredients for Apple Fruit Leather:
- **Apples:** The star of our show! We recommend about 4 cups of chopped apples, cored and seeded.
- **Honey (or Maple Syrup):** Approximately 1 tablespoon. Honey adds a lovely sweetness and subtle floral notes. For a vegan option, or if you prefer a different flavor profile, pure maple syrup is an excellent alternative.
- **Cinnamon:** 1 teaspoon of ground cinnamon perfectly complements the apples, adding warmth and a classic autumnal spice.
- **Water:** About 1/2 cup to help achieve a smooth puree.
Choosing Your Apples:
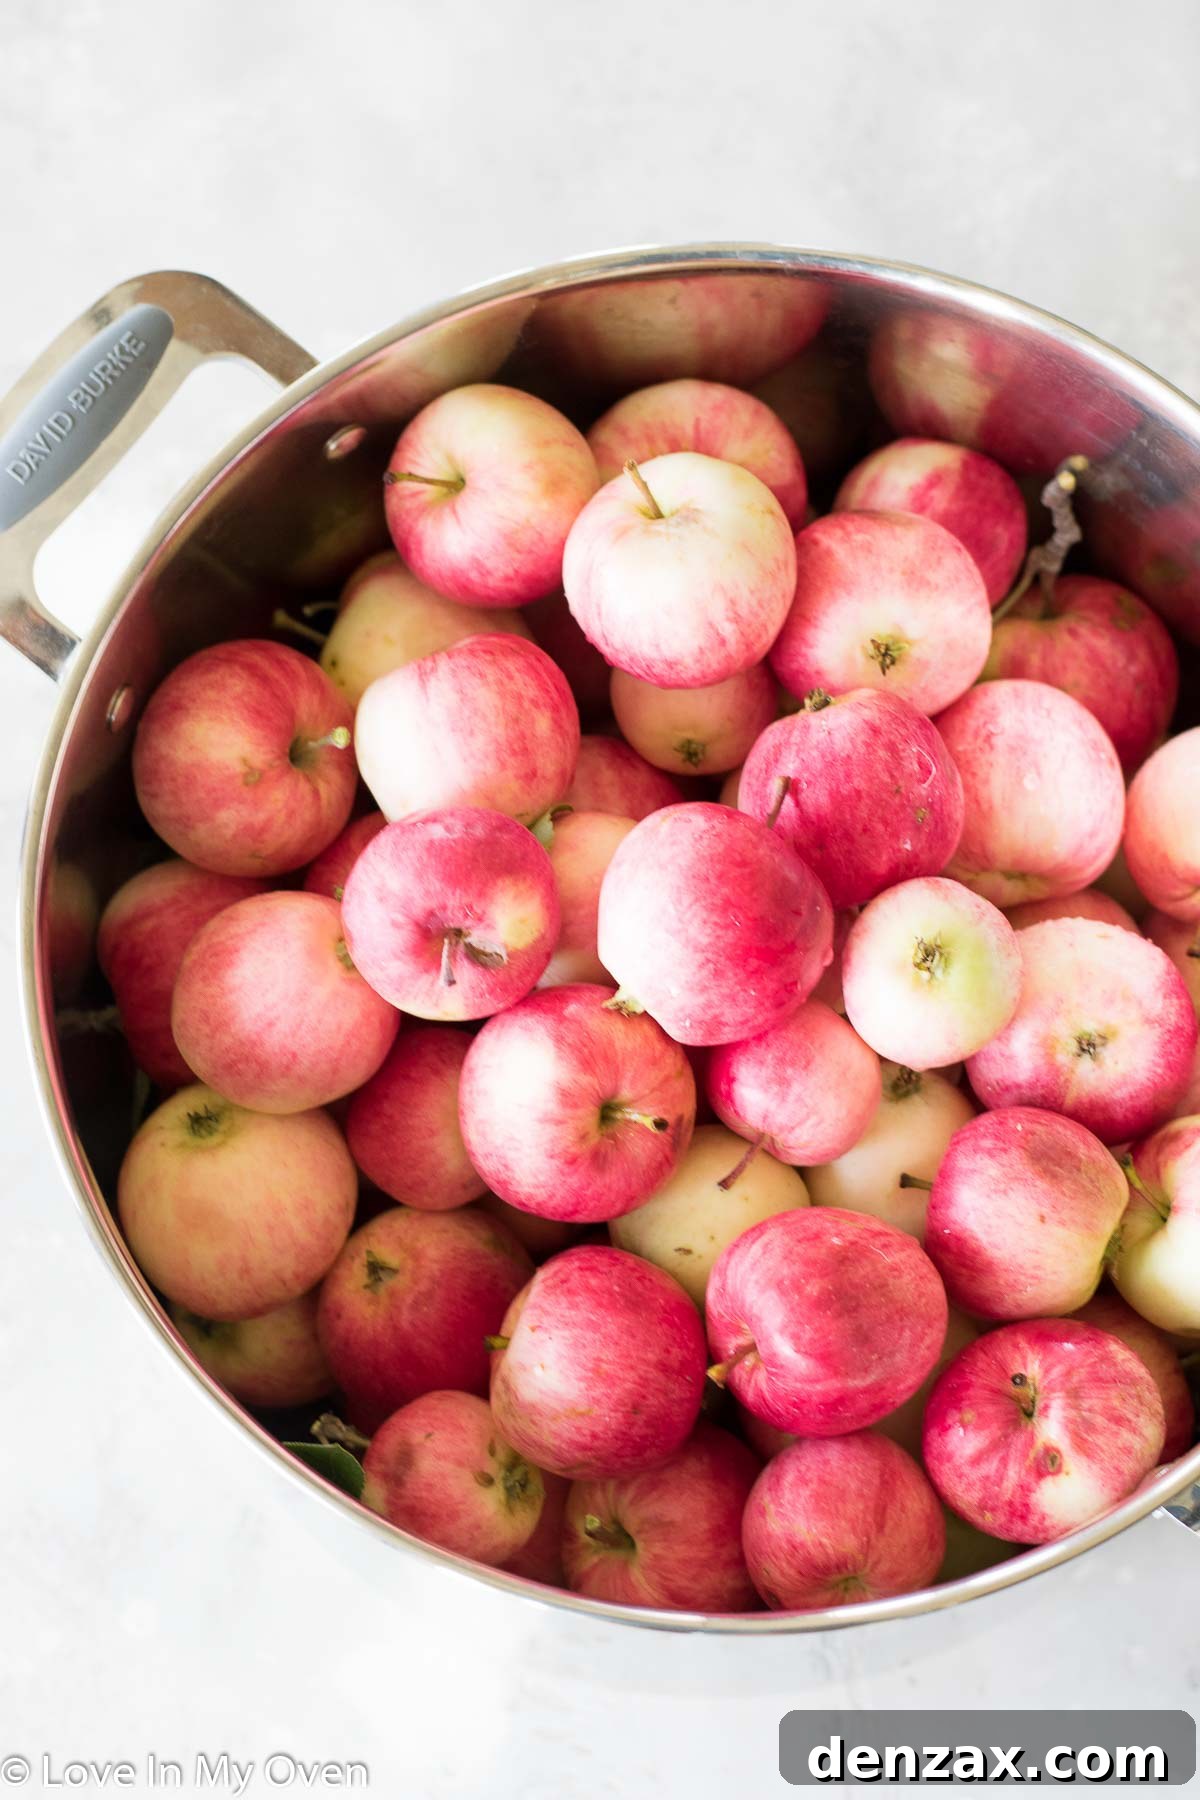
The beauty of this recipe is its versatility when it comes to apple varieties. While you can certainly use your favorite type of apple, I typically gravitate towards crisp varieties with a good balance of sweetness and tartness, which lend themselves well to a flavorful leather. Having harvested a plentiful supply from our own trees, I simply used what was available, and the results were fantastic! Feel free to experiment with different kinds—Gala, Fuji, Honeycrisp, Granny Smith, or even a mix—to discover your preferred flavor and texture.
Preparation Steps:
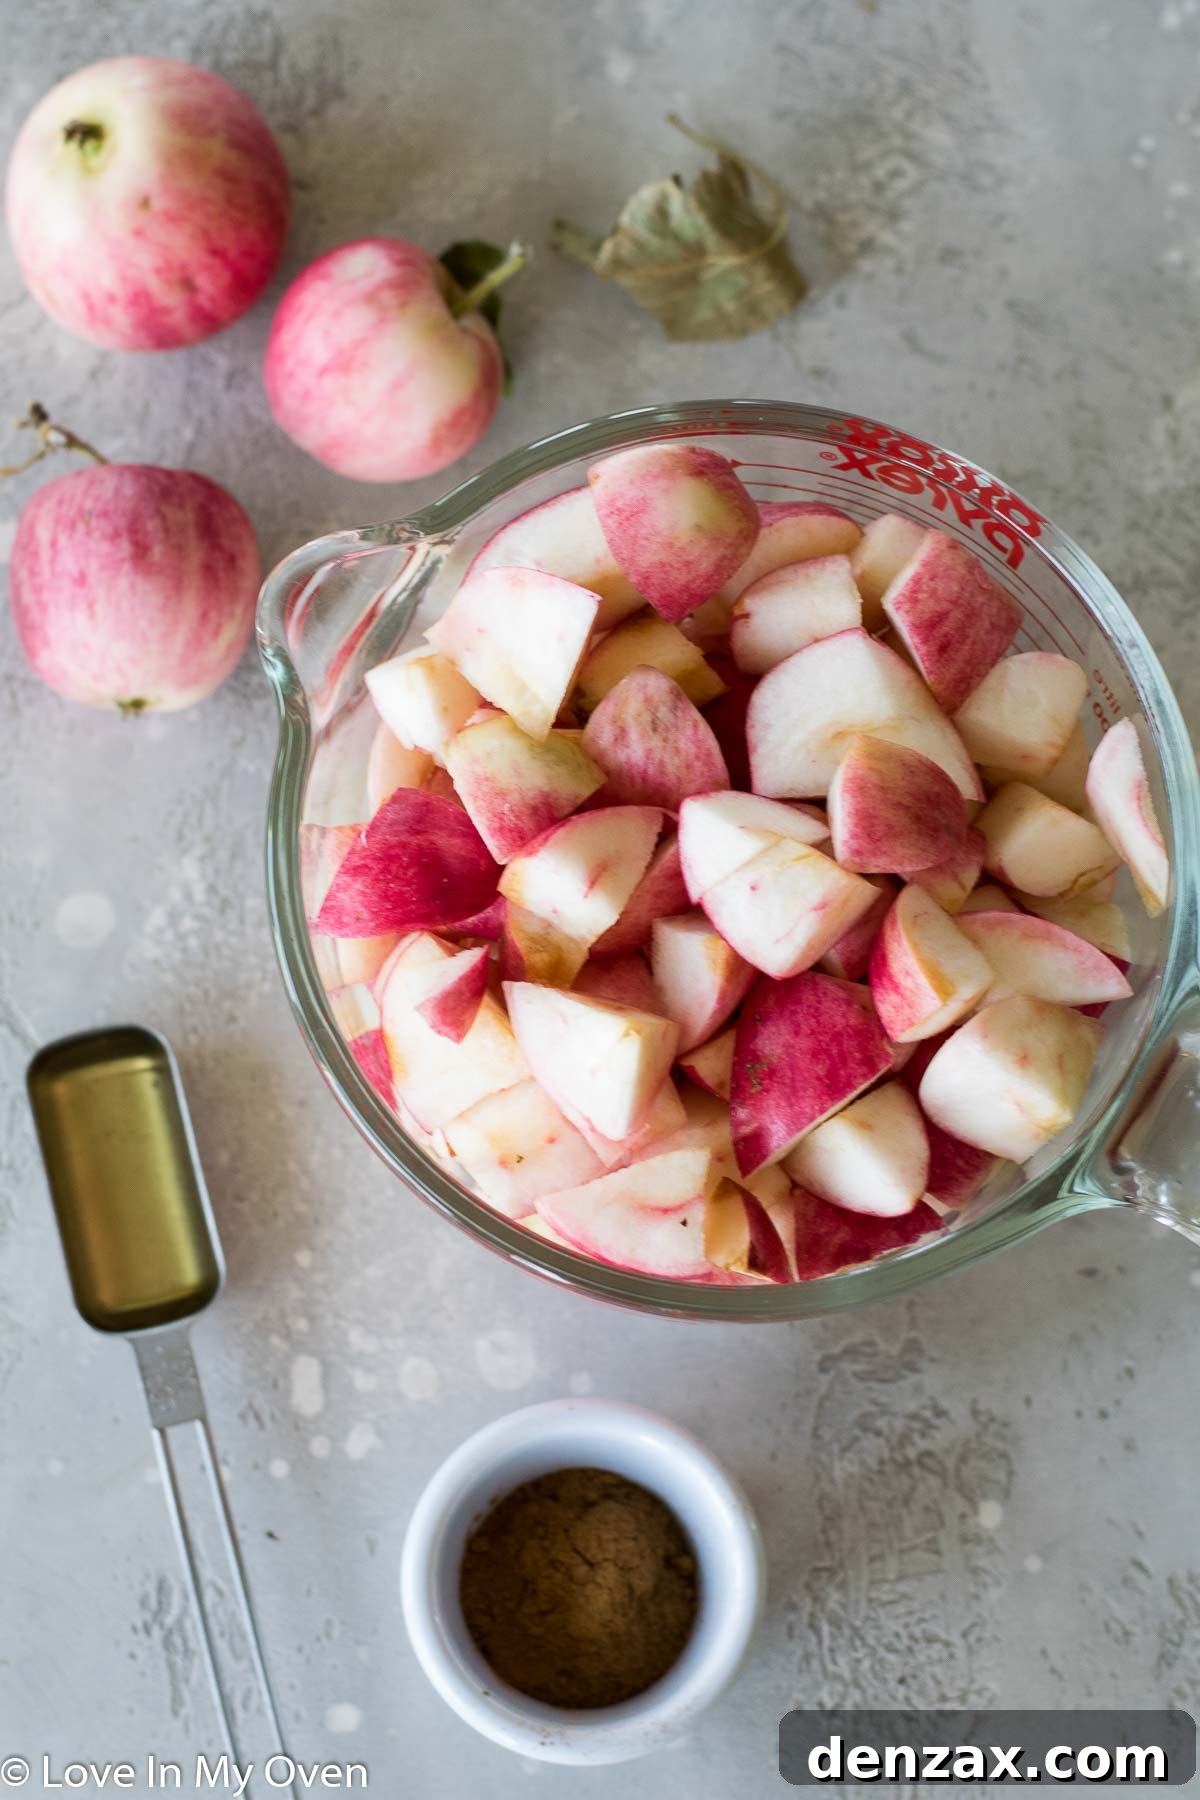
- **Prepare the Apples:** Begin by washing your apples thoroughly. Then, dice them into small to medium-sized pieces, making sure to remove the seeds and cores. There’s no need to peel them unless you prefer a completely smooth leather; the apple peels are full of fiber and nutrients and blend down beautifully.
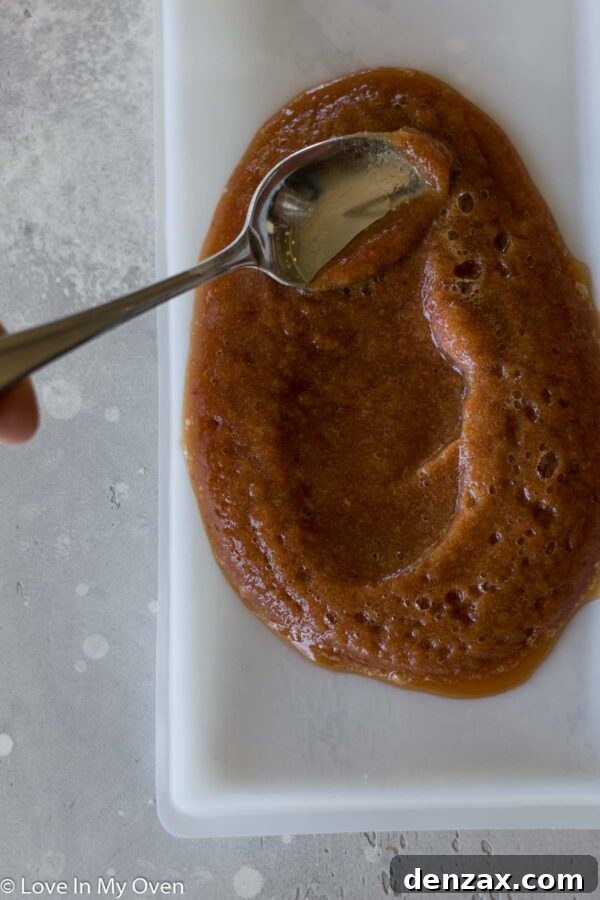
- **Blend the Ingredients:** Place the chopped apples, honey (or maple syrup), ground cinnamon, and water into a high-powered blender or food processor. Blend on high speed until the mixture is completely pureed and perfectly smooth, with no visible chunks remaining. A smooth puree is key to achieving a consistent fruit leather texture.
The Drying Process: Dehydrator vs. Oven
Now comes the drying part, which is crucial for transforming your sweet puree into chewy fruit leather. You have two primary methods:
Using a Food Dehydrator:
A food dehydrator offers precise temperature control and efficient drying. Many models come with specific plastic trays designed for fruit leather. If your dehydrator has these, they are ideal. If not, don’t worry—you can simply line your regular dehydrator trays with parchment paper, ensuring the puree won’t stick.
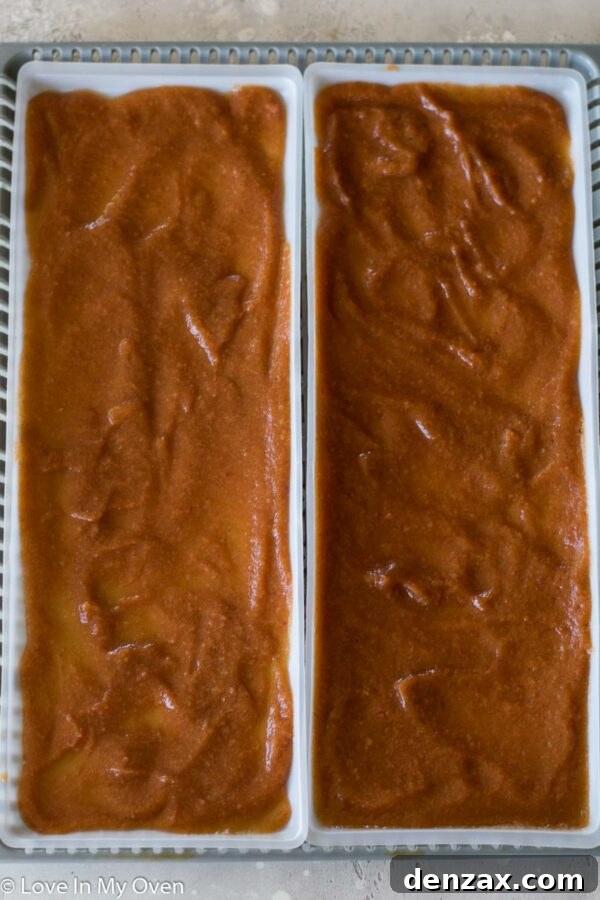
*Important Note for Dehydrator Trays:* If you’re using plastic dehydrator trays, it’s essential to spray them thoroughly with a nonstick cooking spray before spreading the puree. This critical step ensures that the finished fruit leather peels away effortlessly once dry, preventing frustration!
- **Spread the Puree:** Once your apple puree is silky smooth, carefully spread it onto your prepared dehydrator trays (either the specialized plastic trays or parchment-lined regular trays). The key is to spread the mixture very thinly—aim for about 1/4 inch thick—but thick enough that no part of the tray shows through. An even layer promotes uniform drying.
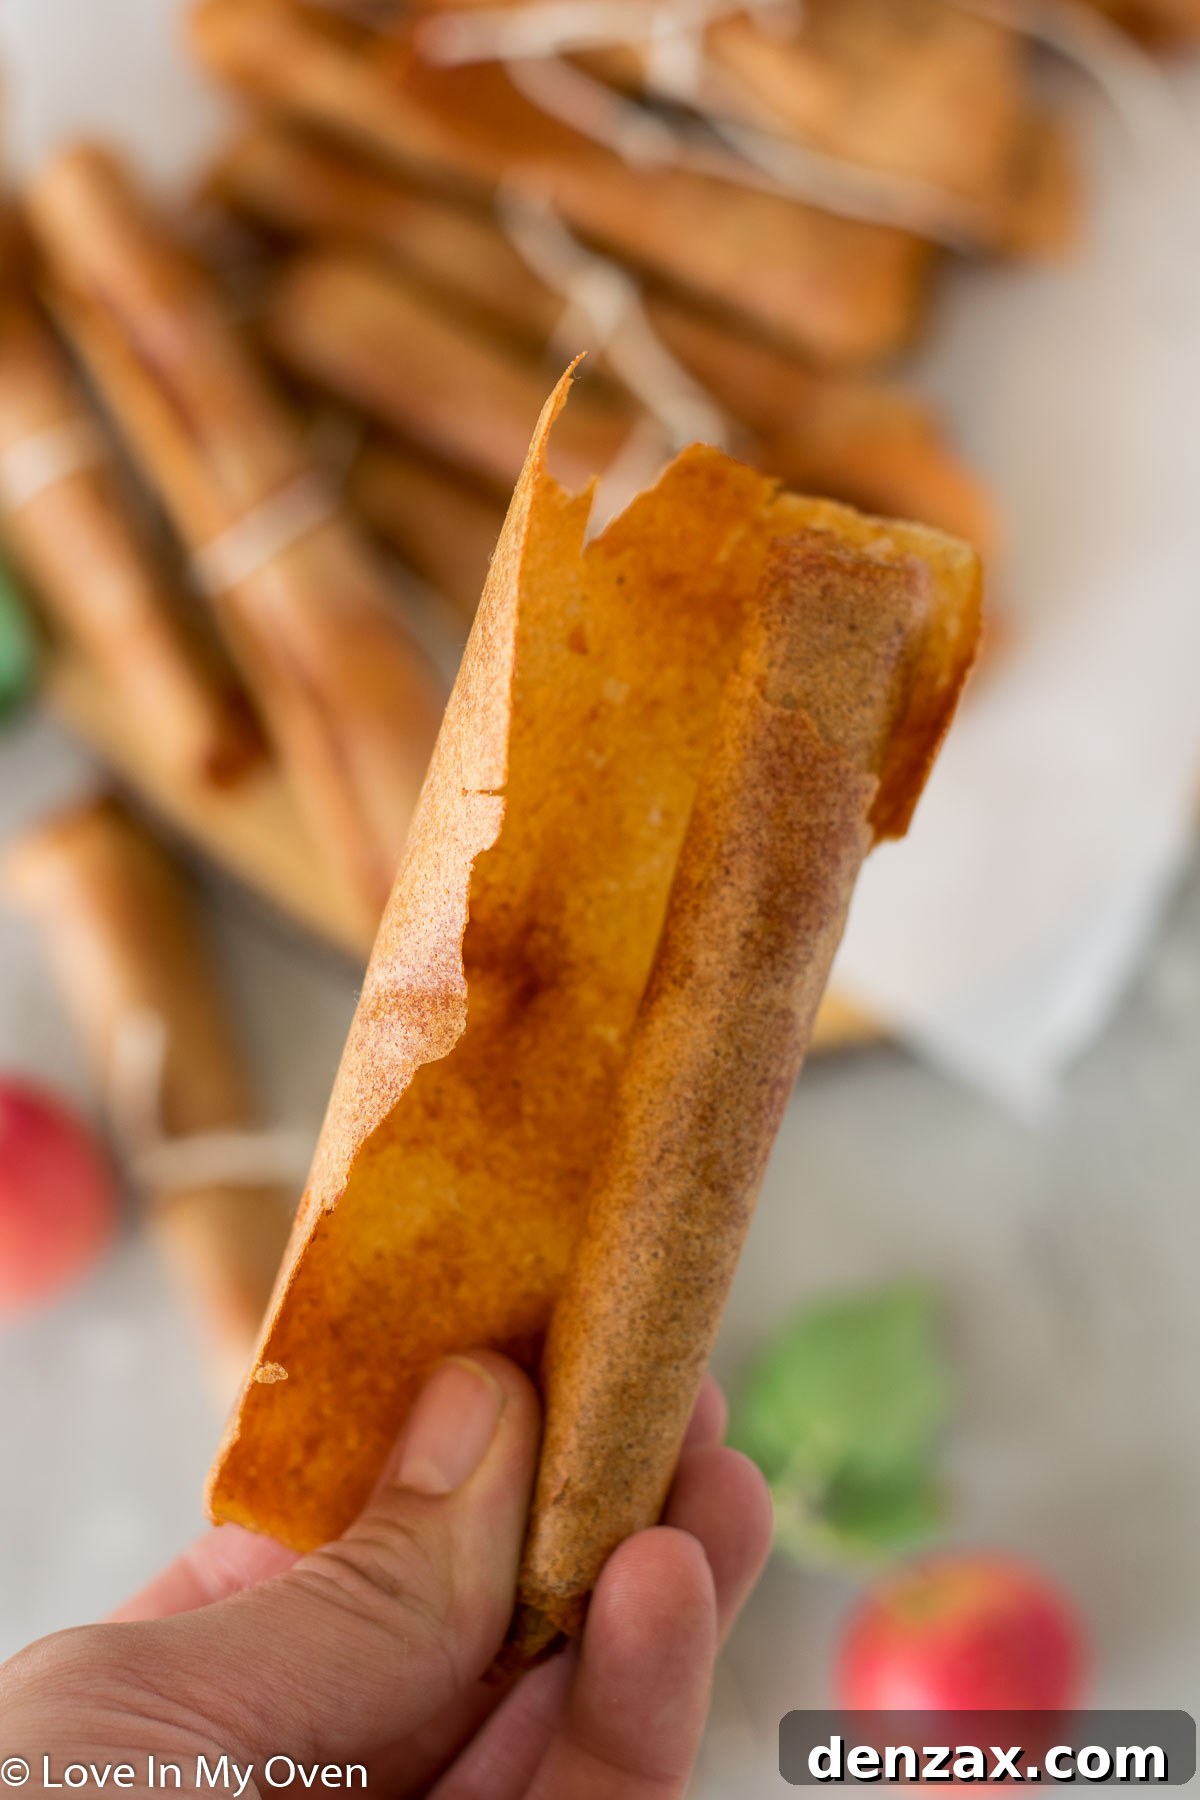
- **Dehydrate:** Place the filled trays into your dehydrator. Set the temperature to 140°F (60°C). Allow the fruit leather to dry for approximately 3-4 hours, or until it feels completely dry to the touch and is no longer tacky or sticky. It should be flexible and pliable, like a sheet of leather.
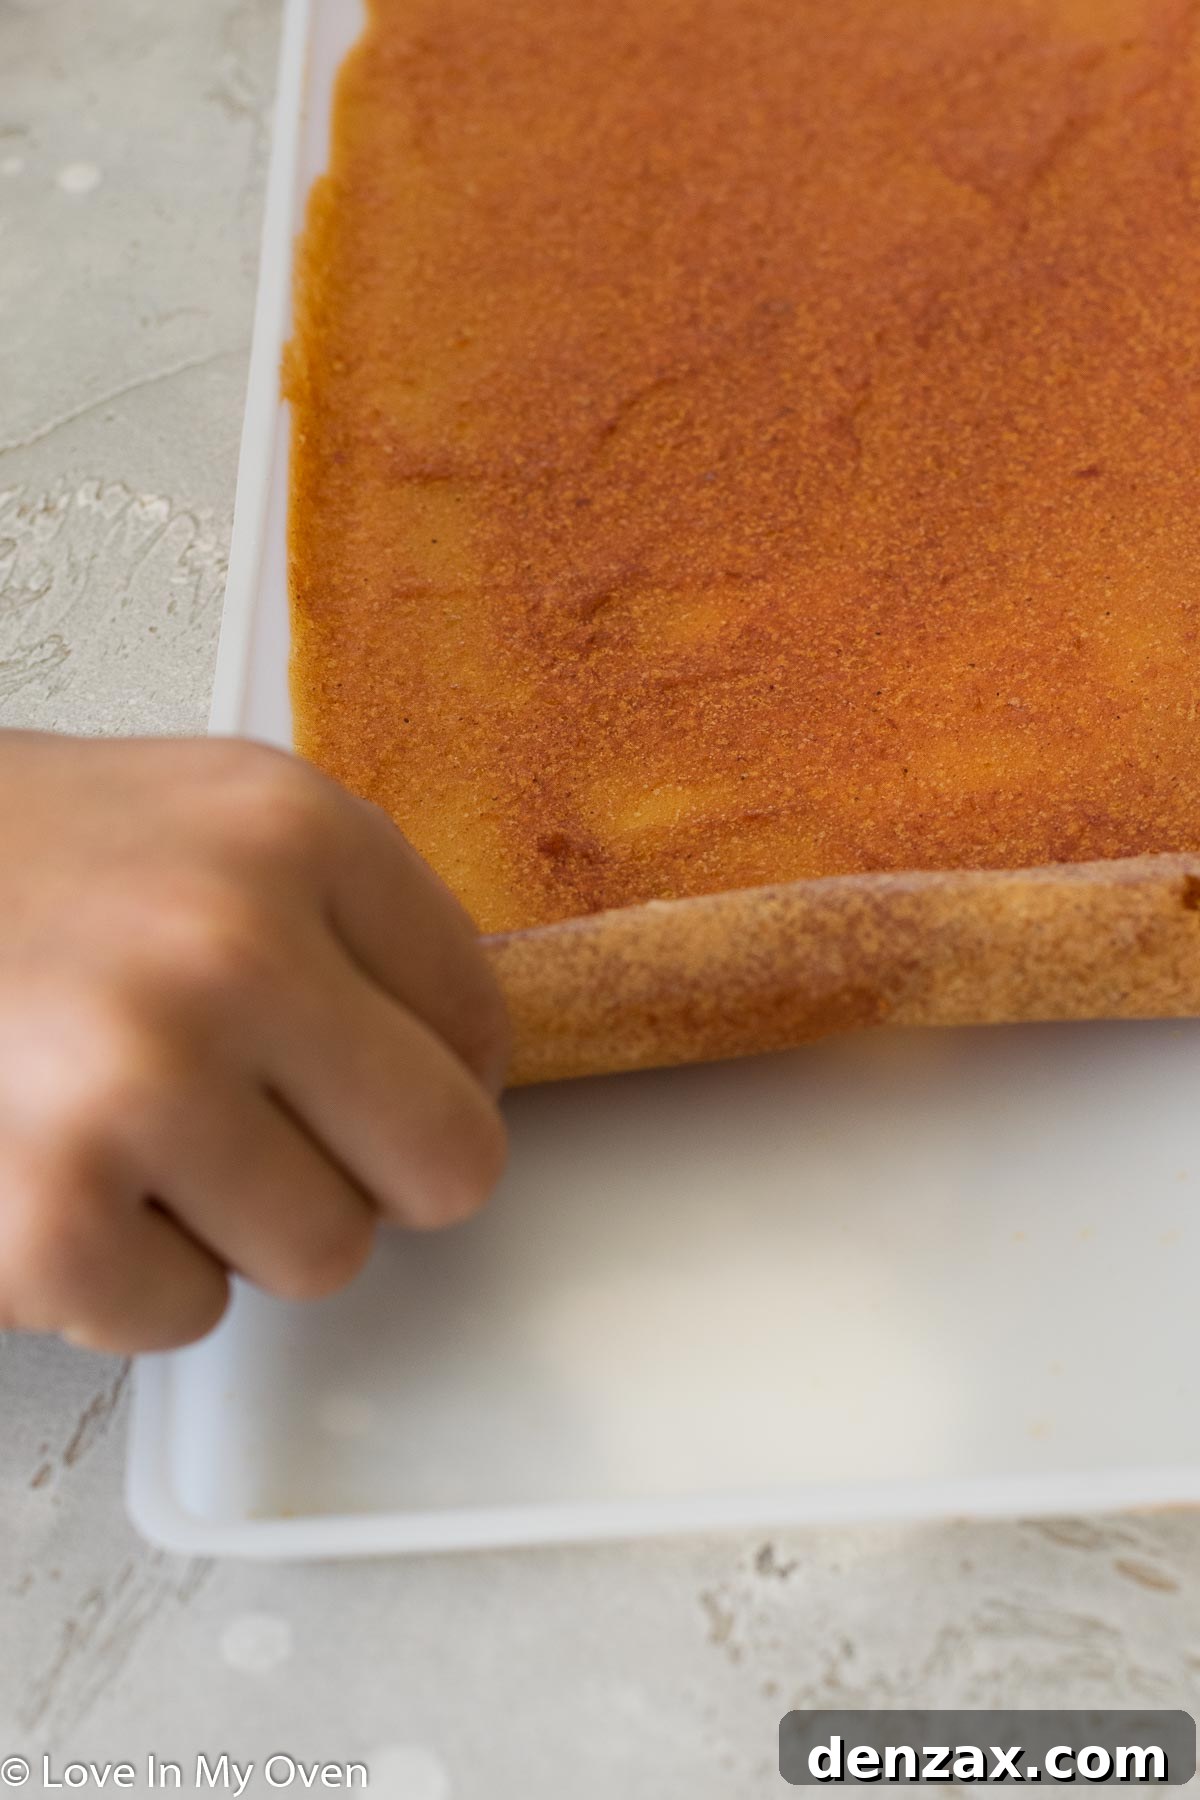
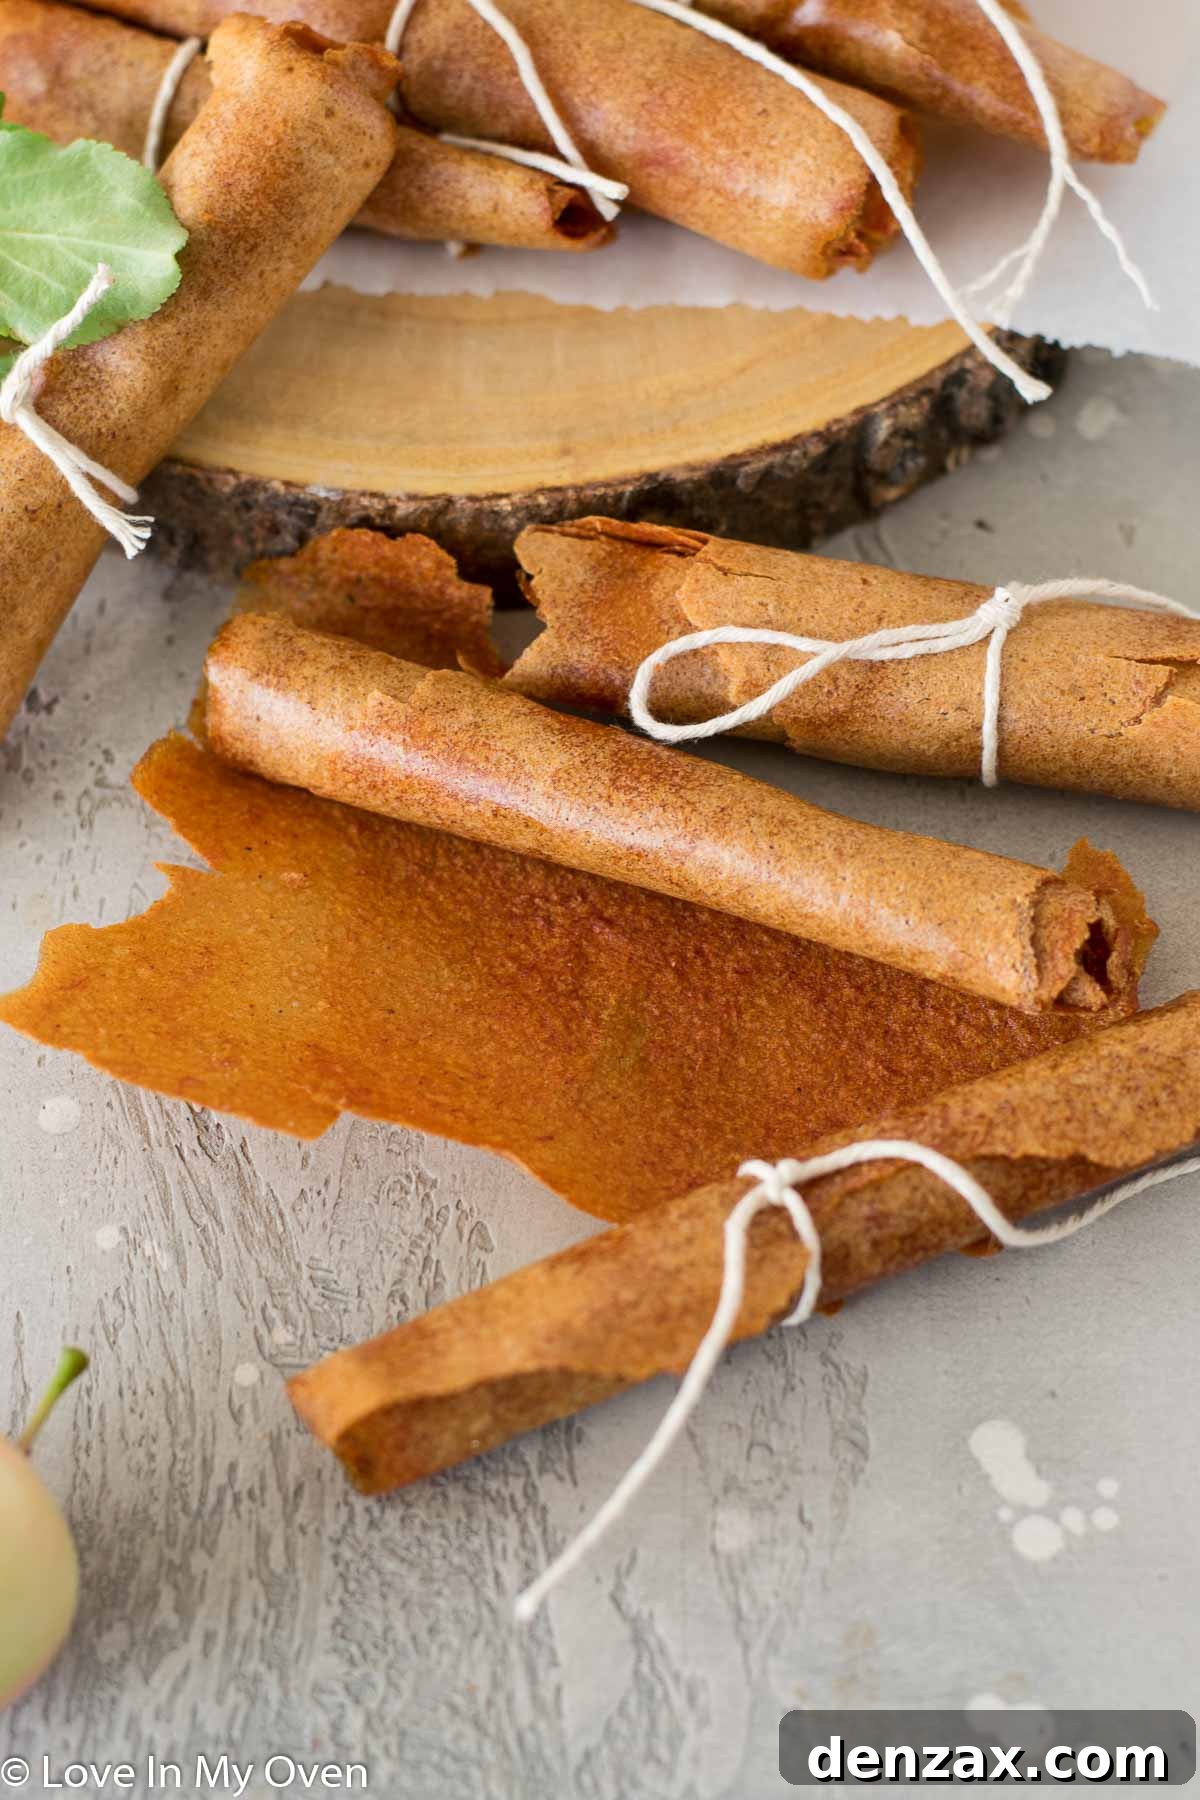
- **Roll and Store:** Once fully dried, remove the trays from the dehydrator. Gently peel the fruit leather away from the tray or parchment paper. It should come off easily in one large sheet. The most fun part (and a great task for kids to help with!) is rolling it up tightly. Wrap each roll individually in plastic wrap to prevent sticking and maintain freshness. You can then store them for later enjoyment or dive in immediately!
How Long Does Homemade Fruit Leather Stay Fresh?
One of the fantastic benefits of fruit leather is its excellent shelf stability. Proper storage is key to maximizing its longevity:
- **Room Temperature:** Wrapped individually in plastic wrap, your apple fruit leather will remain fresh and delicious at room temperature for up to 2 weeks. Store it in an airtight container in a cool, dark pantry.
- **Refrigerator:** For longer storage, you can keep the wrapped fruit leather in the refrigerator for up to 2 months. The cooler temperature further inhibits spoilage.
- **Freezer:** If you’ve made a particularly large batch or want to enjoy this treat even further into the year, the freezer is your best friend. Properly wrapped, it can last for up to 6 months. When you’re ready to enjoy a frozen roll, simply thaw it in the refrigerator for a few hours before eating.
Making Apple Fruit Leather in the Oven: No Dehydrator Required
Don’t have a food dehydrator? No problem! You can easily achieve wonderfully chewy fruit leather using your conventional oven. The preparation steps for the apple puree remain exactly the same:
- **Prepare Puree:** Follow steps 1 and 2 above to create your smooth apple puree.
- **Prepare Baking Sheet:** Line a large baking sheet with a sheet of high-quality parchment paper. Do not use wax paper, as it may melt or stick. Give the parchment paper a quick spray with nonstick cooking spray to ensure easy removal.
- **Spread the Puree:** Spread the fruit puree onto the parchment-lined baking sheet. Again, aim for an even layer, approximately 1/4 inch thick. Ensure the edges aren’t too thin, as they can dry out faster and become brittle.
- **Oven Drying:** Preheat your oven to its lowest possible setting, typically around 140°F (60°C). If your oven runs hotter or doesn’t go that low, you can try propping the oven door open slightly with a wooden spoon to allow moisture to escape and prevent the fruit from cooking instead of drying.
- **Bake Slowly:** Place the baking sheet in the oven and allow it to dry for approximately 8-10 hours. The exact time will depend on your oven’s temperature and the thickness of your fruit puree. Check periodically, especially after 6-7 hours. The fruit leather is done when it’s dry to the touch, no longer sticky, and easily peels away from the parchment paper. It should be flexible and rollable.
- **Cool, Peel, and Enjoy:** Once dried, remove the fruit leather from the oven and let it cool completely. Then, gently peel it from the parchment paper, roll it up, wrap it, and store it as described above.
Why Choose Homemade Apple Fruit Leather?
Beyond being a simple and delicious way to use up a bumper crop of apples, making fruit leather at home offers several compelling advantages:
- **Healthier Alternative:** Commercial fruit leathers often contain high fructose corn syrup, artificial colors, and preservatives. Homemade versions allow you to control every ingredient, ensuring a truly natural and healthy snack.
- **Cost-Effective:** When apples are in season and abundant, making your own fruit leather is significantly cheaper than buying pre-packaged fruit snacks.
- **Customizable Flavors:** While apple and cinnamon is a classic, you can easily experiment with other spices (like nutmeg or allspice) or even blend in other fruits like berries, pears, or peaches for endless flavor combinations.
- **Perfect for Dietary Needs:** Naturally gluten-free, dairy-free, and easily made vegan by using maple syrup, it caters to a wide range of dietary preferences.
- **Food Preservation:** It’s an excellent method for preserving fruits, extending their enjoyment far beyond their typical shelf life.
Recipe: Apple Fruit Leather

Apple Fruit Leather
Rated 5 out of 5 stars by 6 reviews
- Author: Katherine | Love In My Oven
- Total Time: 4 hours
- Yield: 10–12 fruit leathers
Description
Homemade fruit leather!? All you need is apples, cinnamon and honey to make this super tasty and healthy apple fruit leather! Perfect for lunchboxes or a little afternoon snack!
Ingredients
- 4 cups chopped apples, seeded and cored
- 1 tbsp honey*
- 1 tsp ground cinnamon
- 1/2 cup water
Instructions
- In a high-powered blender or food processor, combine the chopped apple, honey, ground cinnamon and water. Blend on high until completely pureed and smooth, with no visible chunks remaining.
- Spray the dehydrator trays with nonstick spray**. Spread the puree in a thin layer (about 1/4″) on the trays. Place the prepared trays in the dehydrator and turn the temperature to 140 F. Dry the fruit leather out for 3-4 hours or until no longer sticky to the touch.
- Remove the trays and grab one edge of the fruit leather, then roll it up tightly. Wrap the rolls in plastic wrap individually to store, or place them all in a resealable plastic bag.
The fruit leathers can be stored at room temperature for up to 2 weeks, in the fridge for up to 2 months and in the freezer for up to 6 months.
Notes
*If you want to keep these treats vegan, be sure to use maple syrup instead of honey
**You can use the plastic fruit leather trays that came with your dehydrator, or use parchment paper on top of the regular trays. For oven instructions, refer to post above.
- Prep Time: 10 minutes
- Cook Time: 4 hours
- Category: snacks
- Method: dehydrator
- Cuisine: american
Other Favorite Easy Treats from Our Kitchen:
- Refreshing Pineapple Sorbet
- Decadent Chia Dipped Chocolate Apricots
- Crispy Air Fryer Apple Chips
- Creamy Easy Yogurt Fruit Dip