
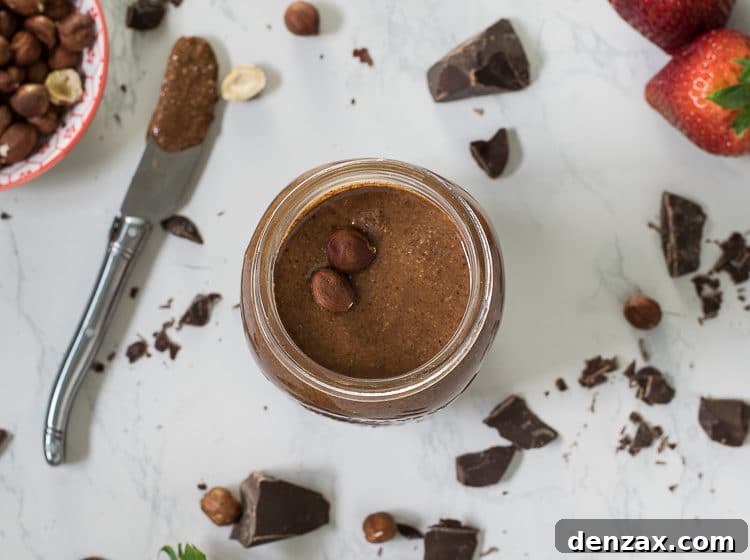
Homemade NOTella: Your Easy 3-Ingredient Hazelnut Chocolate Spread
Tired of store-bought hazelnut spreads packed with questionable ingredients? Discover the simple joy of making your own delicious NOTella! This incredibly easy homemade version requires just 3 core ingredients and can be ready for spreading, dipping, or enjoying straight from the jar in under 30 minutes. Get ready to transform your breakfast and snack times!
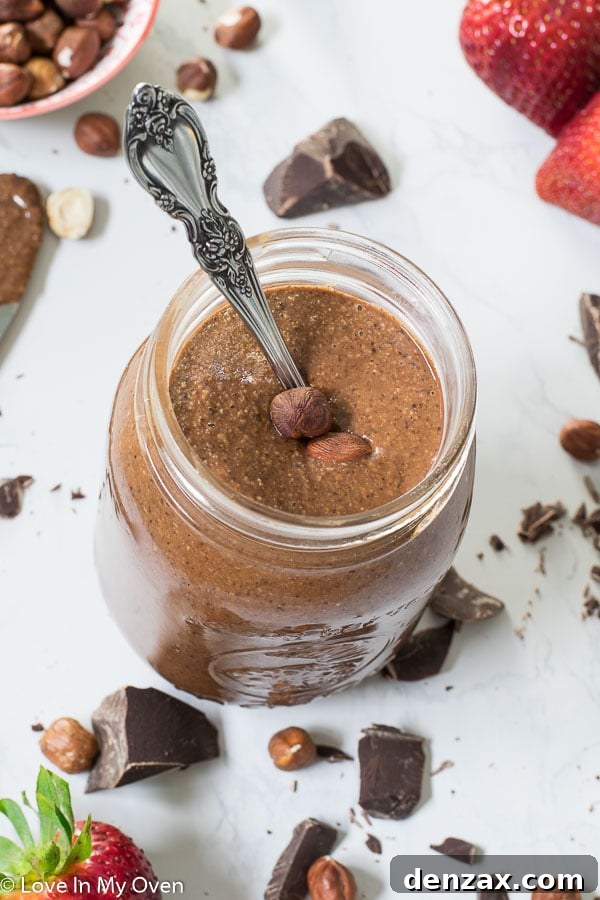
*Please note* this post was updated in July 2019. While the core recipe remains the same, the photos have been refreshed, and a helpful video demonstration has been added to the bottom of the recipe card to guide you through the process!
Yes, you read that correctly – we’re talking about Notella, not the famous store-bought Nutella. But here’s the bold claim: this homemade hazelnut chocolate spread is not just an alternative, it’s arguably *better*. Why? Because it’s crafted with minimal, wholesome ingredients, giving you complete control over what goes into your jar. Say goodbye to strange oils, excessive sugar, and artificial flavors, and embrace the pure, rich taste of real hazelnuts and chocolate.
Why Choose Homemade Notella Over Store-Bought?
For years, Nutella held a special place in my pantry, despite my awareness of its less-than-ideal ingredient list. The convenience and undeniably delicious taste made it a regular indulgence – whether slathered on pancakes, waffles, toast, or, let’s be honest, devoured by the spoonful straight from the jar (no judgment here, we’ve all done it!). However, the thought of creating my own version only sparked after seeing a friend’s homemade batch. It was a lightbulb moment: if I can make my own nut butter, why not a chocolate hazelnut spread?
The biggest advantage of making your own Notella is transparency. Commercial hazelnut spreads often list sugar and palm oil as primary ingredients, followed by a small percentage of hazelnuts and then cocoa, milk powder, and artificial vanilla. Our Notella focuses on the stars of the show: hazelnuts and quality chocolate, with natural sweetness and a hint of vanilla. This means a richer, more authentic flavor profile and a treat you can feel much better about enjoying.
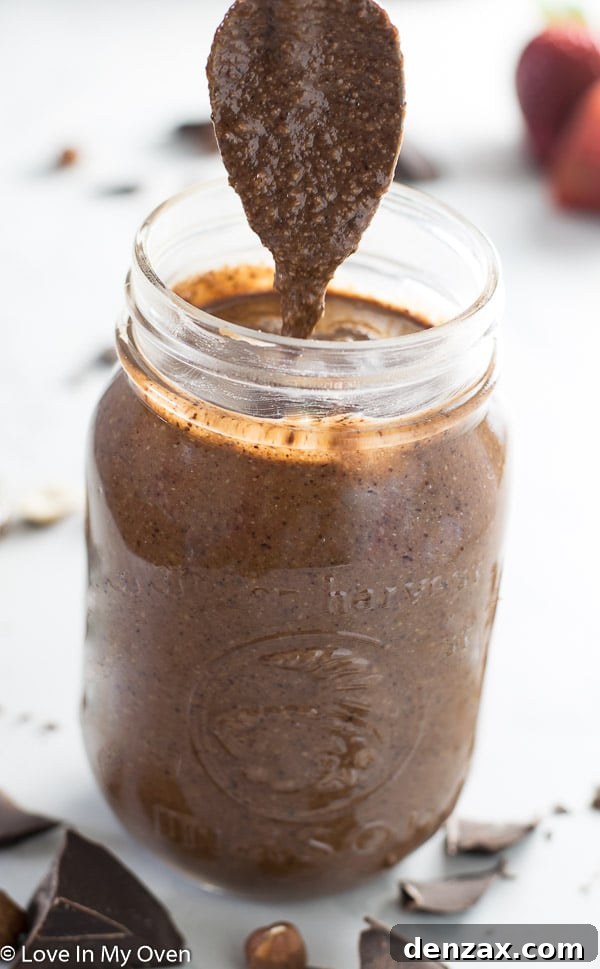
The Simple Ingredients for a Superior Spread
My journey to the perfect Notella involved some delicious experimentation. Online recipes varied widely, some calling for cocoa powder, others for milk or powdered milk. I decided to keep it pure and simple, focusing on the core components that truly define a great hazelnut spread. The initial attempt with plain hazelnuts and unsweetened chocolate, brightened with a touch of vanilla, was promising. But it was the simple act of *roasting* the hazelnuts that elevated this recipe from good to extraordinary. This crucial step unlocks their deepest flavor and aids in achieving that wonderfully smooth texture. You’ll only need:
- Raw Hazelnuts: The star of the show, providing that signature nutty flavor and creamy base.
- Semi-Sweet Baking Chocolate: For rich, decadent chocolate goodness. You can adjust the sweetness by choosing darker or milk chocolate.
- Vanilla Extract: A touch of pure vanilla enhances the chocolate and hazelnut notes beautifully.
- Optional Sweetener: Maple syrup, agave, or honey can be added for extra sweetness, depending on your preference.
- Optional Coconut Oil: A little melted coconut oil can help achieve an extra silky smooth consistency, especially if your food processor struggles.
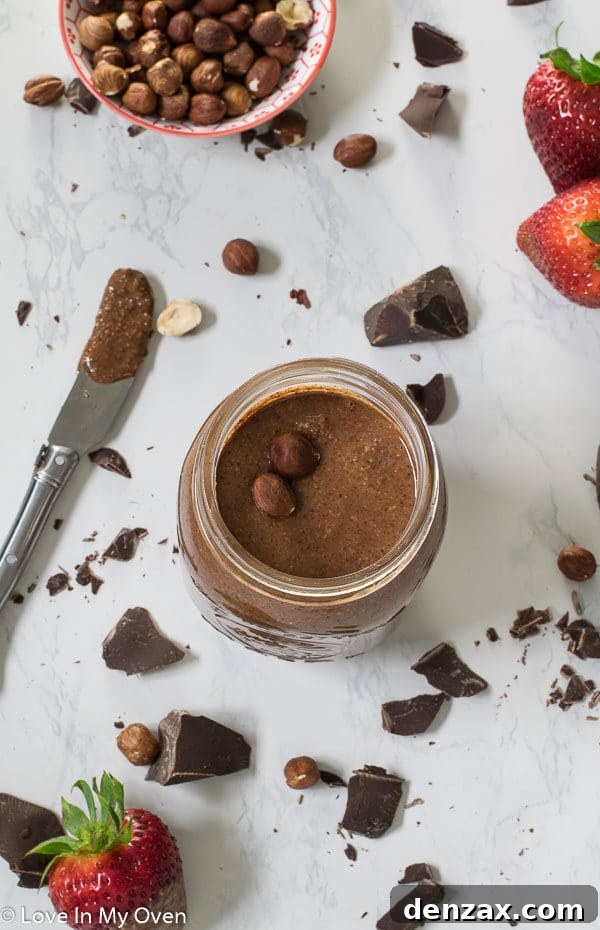
The result is a spread that doesn’t taste *exactly* like commercial Nutella – it has a more pronounced, authentic hazelnut flavor and a slightly less processed, almost peanut-buttery texture. But trust me, once you try it, you’ll appreciate its wholesome deliciousness and feel far less guilty about indulging. It’s still perfectly spreadable, intensely chocolaty, and just sweet enough.
How to Make Homemade Notella: A Step-by-Step Guide
Making your own Notella is surprisingly straightforward, and the process is incredibly rewarding. The transformation of humble hazelnuts into a rich, creamy butter is pure kitchen magic. Here’s how you do it:
1. Roasting the Hazelnuts: Unlocking Maximum Flavor
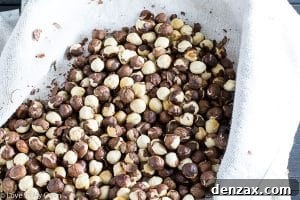
This is arguably the most critical step for achieving that deep, irresistible hazelnut flavor. Preheat your oven to 400°F (200°C). Spread raw, unsalted hazelnuts in a single layer on a baking sheet. Roast them for 10-12 minutes, keeping a close eye on them to prevent burning. You’ll know they’re ready when your kitchen is filled with a wonderfully nutty aroma, and the skins start to crack and loosen. This brief roasting time not only intensifies their flavor but also makes the skin removal process much easier.
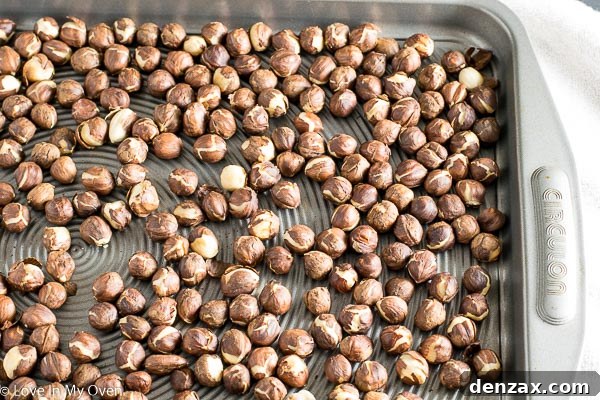
2. Removing the Hazelnut Skins: For a Creamier Texture
While not absolutely essential, removing as much of the hazelnut skins as possible will result in a significantly creamier and smoother Notella. Once the hazelnuts are out of the oven, immediately transfer them to a clean tea towel. Fold the towel over the nuts and vigorously roll them around between your hands for about a minute. The friction will help rub off most of the loose skins. Then, use your fingers to pick off any stubborn remaining skins. Don’t worry if a few tiny bits remain; it won’t drastically affect the final product, but aiming for mostly bare nuts is ideal.
3. Blending to a Silky Hazelnut Butter
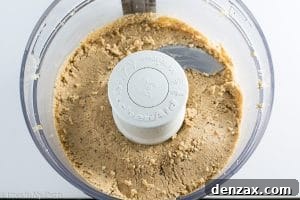
This is where the magic truly happens! Transfer the warm, skinned hazelnuts to a high-powered food processor or a sturdy blender. Begin blending on a low setting and continue until the nuts transform into a smooth, creamy butter. This process takes time and patience – typically around 10-12 minutes, sometimes longer depending on your equipment. The hazelnuts will first turn into a coarse meal, then a sticky paste, and finally, release their natural oils to become a liquidy butter. If your food processor is struggling or the mixture seems too thick, you can add a tablespoon of melted coconut oil at a time to help it along. Resist the urge to add too much, as this can alter the flavor and texture significantly. Feel free to scrape down the sides of the bowl periodically to ensure even blending. At this stage, you’ll have a delicious, fresh roasted hazelnut butter – feel free to taste and perhaps save a spoonful or two!
4. Incorporating the Chocolate and Flavor
While your hazelnuts are blending, melt your chopped semi-sweet chocolate in a microwave-safe bowl in 30-second increments, stirring between each, until completely smooth. Once the hazelnut butter reaches your desired consistency, add the melted chocolate and vanilla extract to the food processor. Blend for another minute or so, until everything is thoroughly incorporated and the spread is beautifully creamy and uniform. Now is the time to taste and adjust the sweetness. If you prefer a sweeter spread, add 1-2 tablespoons of maple syrup, agave, or honey. Keep in mind that adding liquid sweeteners can slightly stiffen the final product, but it will still be delightfully spreadable. Avoid granulated sugar here, as it may result in a gritty texture.
And just like that, in under 30 minutes, your homemade, wonderfully hazelnutty, and intensely chocolaty spread is ready for consumption! Share your thoughts in the comments below – how do you love to eat your Notella? Did you try this homemade version?
Storing Your Homemade Notella: Keep it Creamy!
One common question about homemade spreads is how to store them. For this Notella, I strongly advise *against* refrigerating it. Because this recipe uses real chocolate, chilling it will cause the spread to become very hard and difficult to scoop or spread. The beauty of Notella lies in its ability to remain wonderfully creamy and smooth at room temperature. Since it primarily consists of nuts and chocolate, both of which are shelf-stable, you don’t need to worry about it spoiling quickly.
Store your Notella in an airtight container at room temperature in a cool, dark pantry. It will stay fresh and delicious for 3-4 weeks. Honestly, though, it’s so irresistible, I doubt it will last that long in your household!
Creative Ways to Enjoy Your Notella
Now that you have a fresh batch of homemade Notella, the possibilities are endless! Beyond the classic toast or a spoon straight from the jar, here are some delightful ways to incorporate this heavenly spread into your meals and treats:
- Breakfast Booster: Swirl it into oatmeal or yogurt, spread it generously on pancakes, waffles, or French toast. It’s fantastic with fresh berries or sliced bananas.
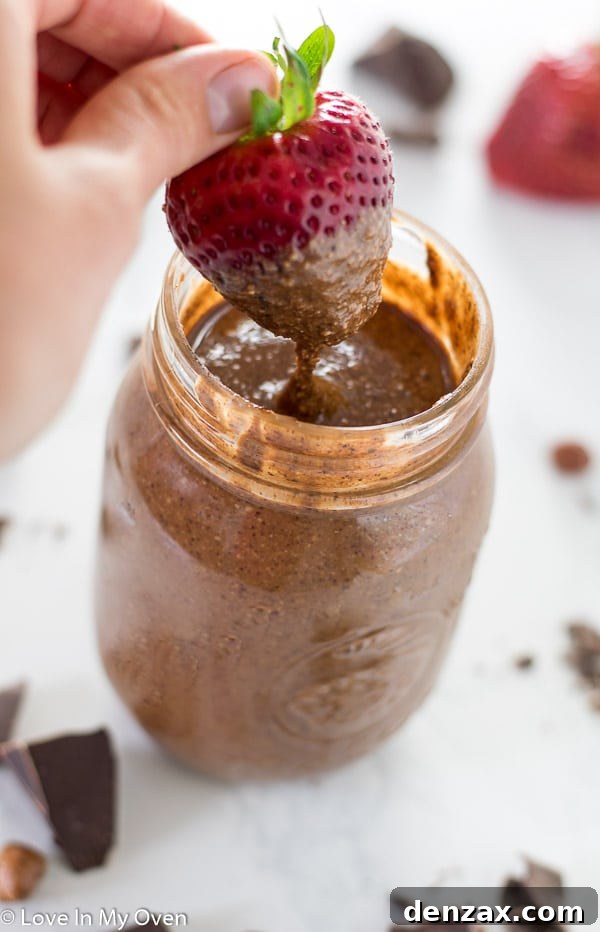
- Fruit Dip: A perfect accompaniment for apple slices, strawberries, or pear wedges. The combination of fruit and chocolate hazelnut is always a winner.
- Baking & Desserts: Use it as a filling for crepes, pastries, or even as a decadent topping for ice cream. You can also incorporate it into cookies, brownies, or cakes for an extra layer of flavor.
- Smoothie Enhancer: Add a spoonful to your morning smoothie for a rich, nutty, and subtly sweet boost.
- Sandwich Upgrade: Take your classic peanut butter and jelly sandwich to the next level by swapping out the peanut butter for Notella, or combining them for a “PB&N” delight.
If you’ve fallen in love with this Notella recipe as much as I have, you might enjoy these other inspiring recipes from the blog:
- Strawberry Notella Galette – A rustic, elegant dessert featuring fresh strawberries and chocolate hazelnut goodness.
- Notella Walnut Granola – Elevate your breakfast cereal with crunchy walnuts and swirls of homemade Notella.
- Notella-Pear French Toast Bake – A comforting and easy breakfast casserole, perfect for brunches or special mornings.
Or, for a quick and satisfying treat, try these easy Notella bars from my friend Kelsie at The Itsy Bitsy Kitchen!
Frequently Asked Questions About Homemade Notella
Q: Can I use different types of nuts?
A: Absolutely! While hazelnuts give it the classic “Nutella” flavor, you can experiment with other nuts like almonds, cashews, or even peanuts for a unique twist. The process remains the same, but the flavor profile will differ.
Q: Is this Notella recipe vegan and gluten-free?
A: Yes! As written, this recipe is naturally vegan (ensure your chocolate is dairy-free) and gluten-free. It uses plant-based ingredients and contains no gluten-containing grains. It’s a fantastic option for those with dietary restrictions.
Q: How can I make my Notella sweeter or less sweet?
A: The sweetness can be easily adjusted. For a sweeter spread, add 1-2 tablespoons of maple syrup, agave, or honey at the end of the blending process. For a less sweet version, use darker chocolate with a higher cocoa percentage. Taste and adjust to your preference!
Q: My Notella isn’t as smooth as I’d like. What can I do?
A: Achieving a super smooth consistency depends largely on your food processor’s power and blending time. Ensure you’ve blended the hazelnuts long enough for them to release their natural oils and become liquidy. If it’s still too thick, add a teaspoon of melted coconut oil at a time, blending well after each addition, until you reach your desired smoothness. Patience is key!
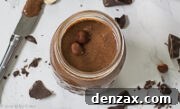
Homemade Notella: Chocolate Hazelnut Spread
5 Stars
4 Stars
3 Stars
2 Stars
1 Star
5 from 4 reviews
- Author: Katherine
- Total Time: 30 minutes
- Yield: 2 cups 1x
Description
Wondering how to make a healthier chocolate hazelnut spread? Try my NOTella! This easy homemade spread needs only 3 main ingredients and can be yours for spreading (or dipping) in under 30 minutes! A truly delicious alternative to store-bought Nutella.
Ingredients
Scale
- 4 cups raw, unsalted hazelnuts
- 125 grams semi-sweet baking chocolate, chopped
- 1 tsp vanilla extract
- optional: 1-2 tbsp maple syrup, agave, or honey*
- optional: 1-2 tbsp coconut oil, melted**
Instructions
- Preheat the oven to 400°F (200°C). Scatter the hazelnuts evenly on a large baking sheet and roast for 10-12 minutes, until fragrant and skins begin to loosen. Remove from the oven.
- Immediately transfer the roasted hazelnuts to a large, clean tea towel. Roll the nuts around inside the towel vigorously for about a minute to loosen and rub off the skins. Use your fingers to remove any remaining stubborn skins.
- Place the warm, skinned hazelnuts into a high-powered food processor or a sturdy blender. Blend continuously on a low setting until a smooth butter is formed, which typically takes about 12 minutes. Scrape down the sides of the bowl as needed. If the nuts are struggling to turn into butter, add 1-2 tablespoons of melted coconut oil, one tablespoon at a time, to achieve desired smoothness.
- While the hazelnuts are blending, melt the chopped semi-sweet chocolate in a microwave-safe bowl in 30-second increments, stirring until completely smooth.
- Add the melted chocolate and vanilla extract to the hazelnut butter in the food processor. Blend for another minute or until thoroughly combined and creamy. Taste the Notella; if you prefer it sweeter, add up to 2 tablespoons of maple syrup, agave, or honey and blend briefly to incorporate.
- Transfer the finished Notella to an airtight container. Store at room temperature for up to 3-4 weeks. Do not refrigerate, as it will harden significantly.
Notes
*You may add up to 2 tbsp of syrup if you’d like the Notella to be sweeter, but note that the more liquid sweetener you add, the stiffer the Notella may become upon setting.
**If the nuts are not blending into a smooth butter, you can add 1-2 tbsp of melted coconut oil at a time to smooth things out. This is especially helpful for less powerful food processors.
- Prep Time: 30 minutes