
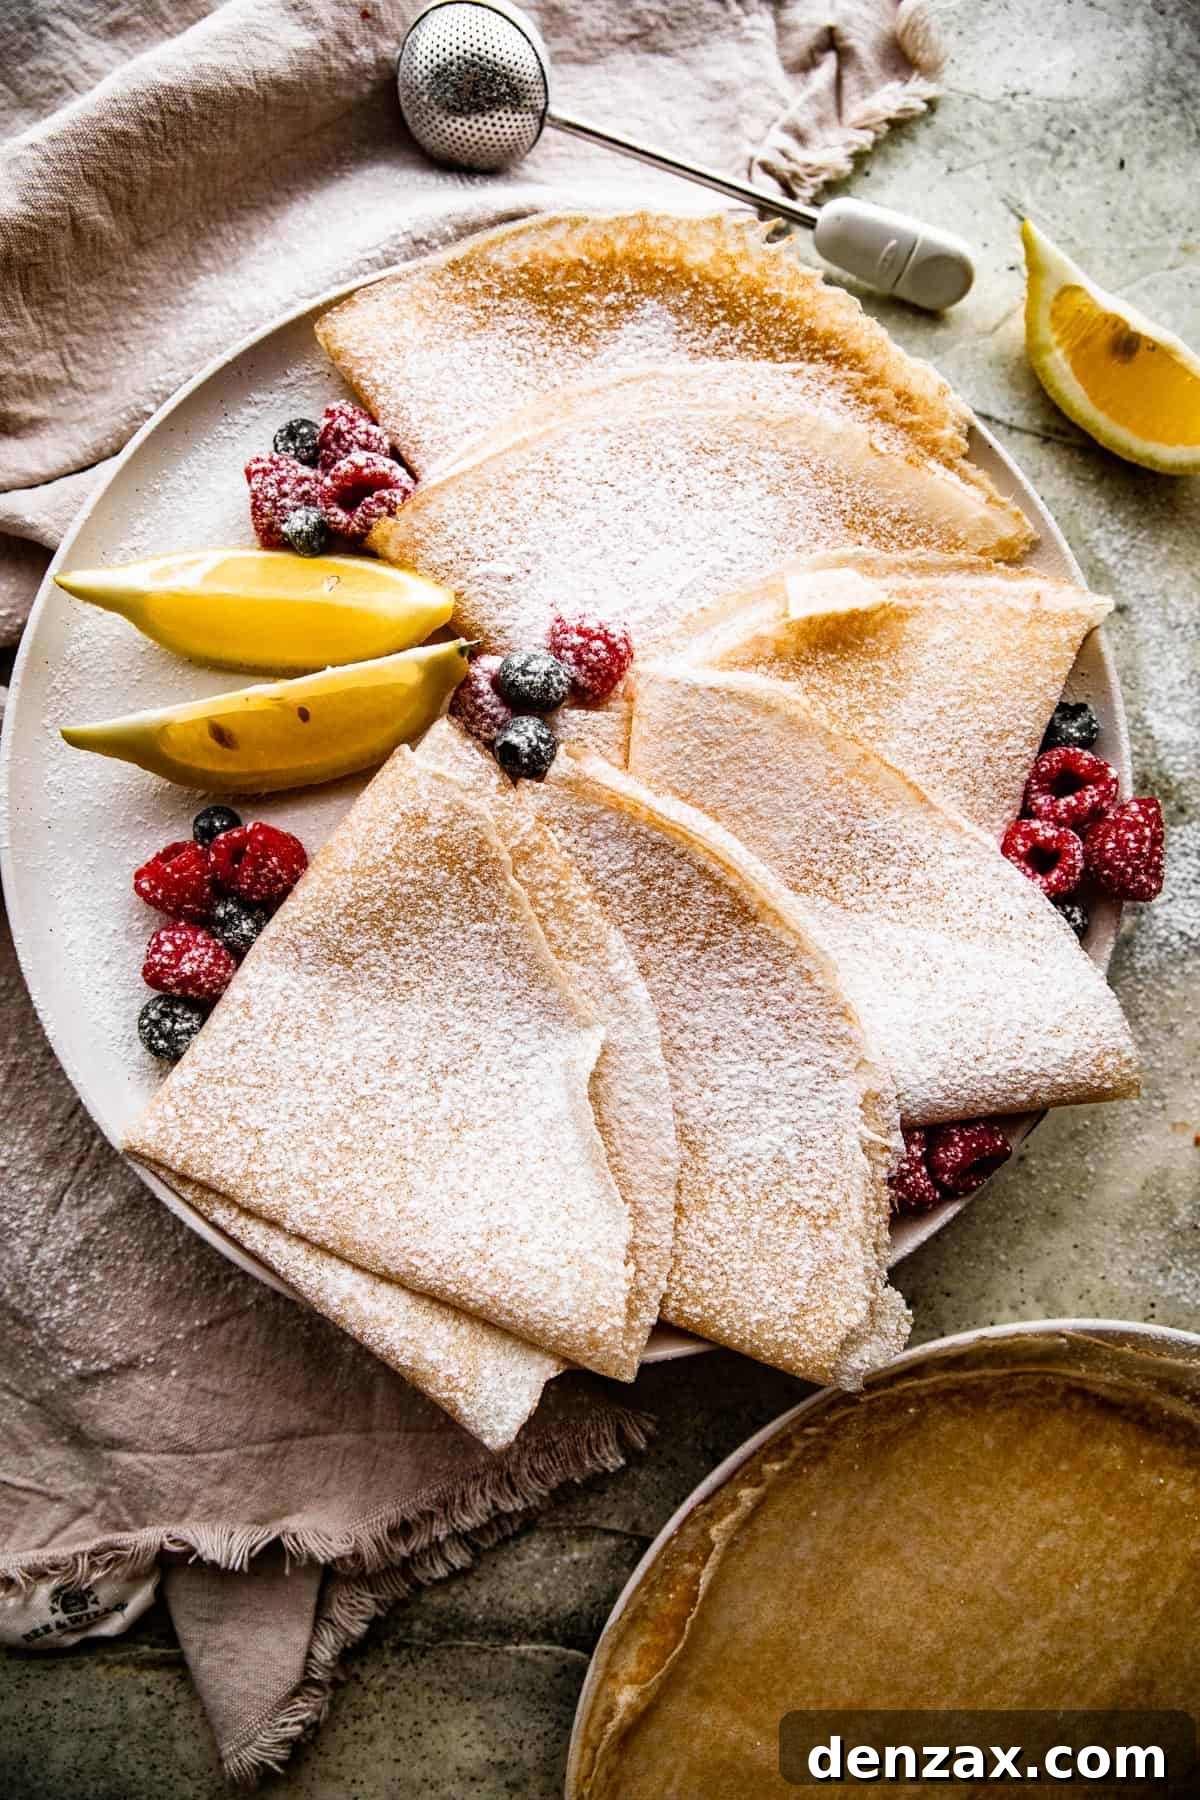
Unlock the secret to perfect homemade Crepes with this incredibly easy recipe! Forget fancy French patisseries; these delicate, thin, buttery, and light crepes are an absolute dream for any meal of the day. They’re astonishingly versatile, pairing beautifully with a myriad of fillings and toppings, and best of all, you won’t need any special equipment or obscure ingredients. Prepare to impress yourself and your loved ones with this culinary delight!
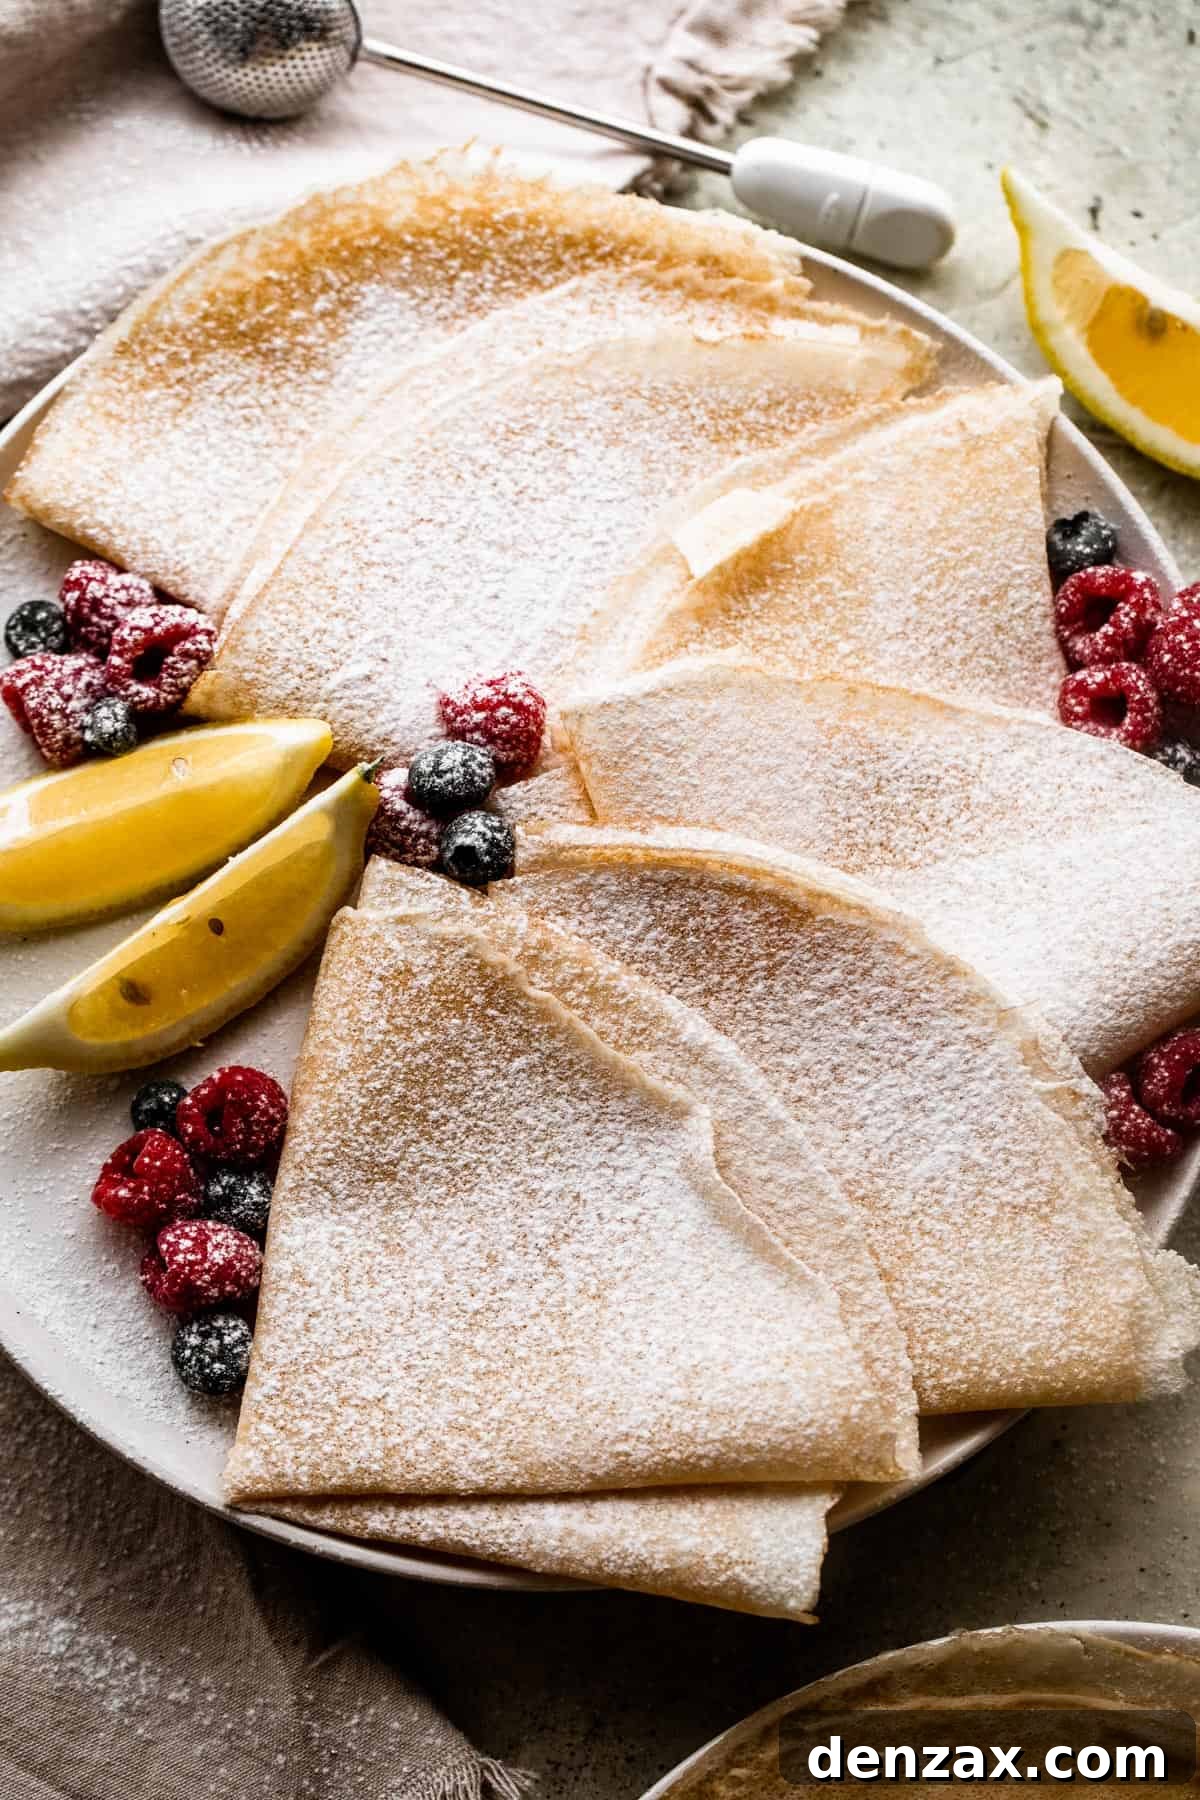
Crafting Golden Crepes – Effortlessly From Scratch!
Silky, golden crepes hold a revered spot as a favorite meal around the globe, enjoyed not just for breakfast but also for lunch and dinner. These exquisitely thin pancakes, made from a simple, elegant batter, cook up to perfection in mere minutes. Once ready, they become the ideal canvas for an endless array of fillings, from sweet concoctions like liqueur-spiked whipped cream and fresh berries to savory delights such as eggs, cheese, and smoked salmon. Their delicate nature and subtle flavor make them universally appealing.
Many home cooks mistakenly perceive crepe-making as an intimidating task, a technique reserved for haute French cuisine. This couldn’t be further from the truth! In reality, crepes are surprisingly straightforward to prepare. With just a little practice, you’ll master the art of swirling the batter and flipping these thin beauties with ease. This comprehensive guide aims to demystify the process, transforming any apprehension into confidence. Ready to embark on your crepe-making journey? Let’s dive in!
What Exactly Makes Crepes So Unique?
While often categorized as a type of pancake, crepes distinguish themselves significantly from their thicker, fluffier American counterparts. Unlike standard pancakes, which are typically small and thick thanks to leavening agents, crepes are renowned for their impressive size and paper-thin texture. This inherent thinness is what gives them their signature elegance and versatility, allowing them to be gently rolled or folded around fillings without becoming bulky.
The creation of each crepe involves swirling a very thin batter across a large, lightly buttered nonstick skillet or a specialized crepe pan. This technique ensures an ultra-fine “pancake” with delicate, often lacy, crisp edges. The key to successful crepes lies in preventing them from sticking to the pan, a feat made considerably easier in today’s kitchens with modern nonstick surfaces. The fragility and expansive surface area of crepes make them exceptionally adaptable to an array of indulgent fillings and toppings, ranging from the beautifully simple to the wonderfully complex. Their unique lacy texture not only adds to their aesthetic appeal but also contributes to a delightful melt-in-your-mouth experience that ordinary pancakes simply cannot replicate.
Crepes hold a special place in culinary traditions worldwide, originating in Brittany, France. They are more than just a dish; they represent a tradition of simple sophistication. Whether served plain with a sprinkle of sugar, drizzled with lemon juice, or lavishly filled, crepes elevate any dining occasion, turning an ordinary meal into something truly memorable. Their ability to adapt to both sweet and savory palettes makes them a timeless and beloved staple.
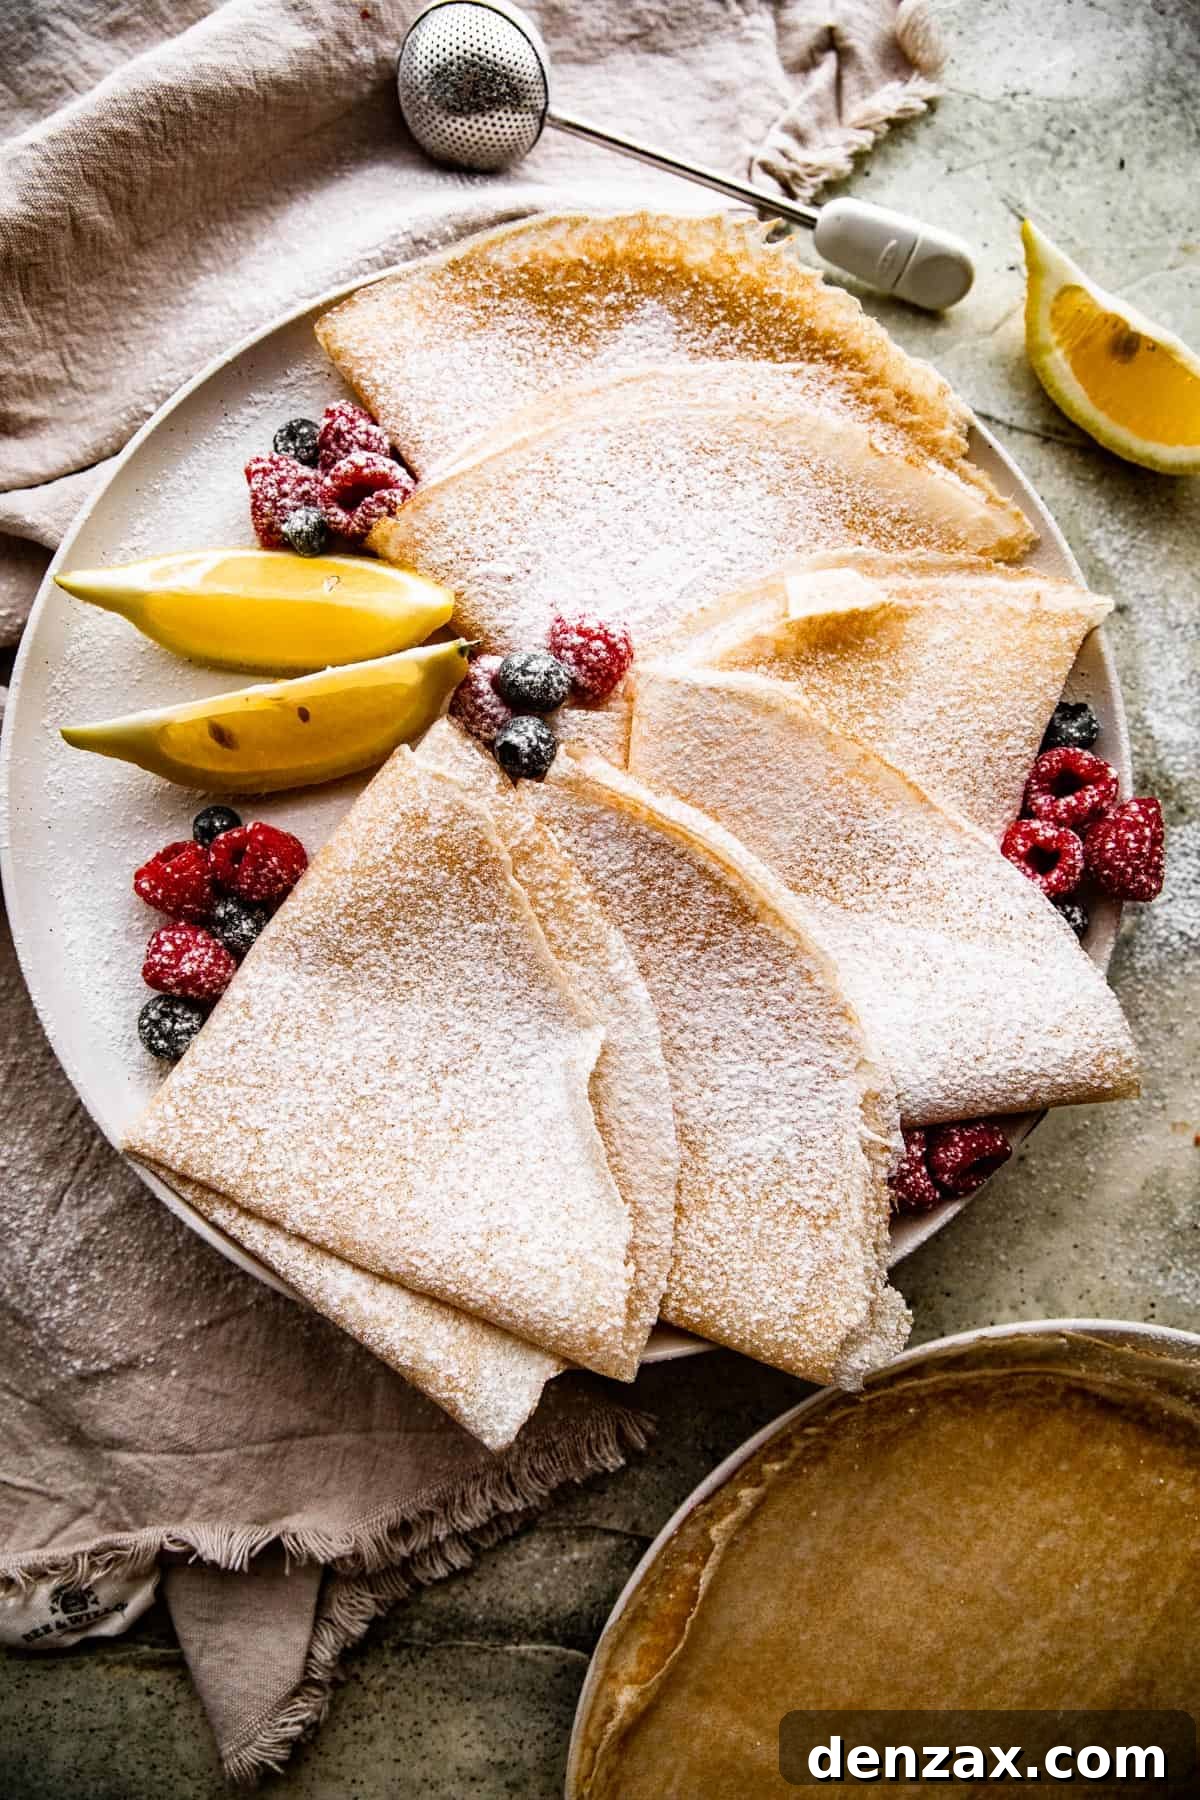
Essential Ingredients for Perfect Crepes
One of the most appealing aspects of making crepes at home is how few and how basic the required ingredients are. You might be pleasantly surprised to discover that this seemingly “fancy” dish relies on common pantry staples, eliminating the need for a special trip to the grocery store. Simplicity is truly at the heart of an authentic crepe.
- All-Purpose Flour: This is the ideal choice for crepes. The gluten content in all-purpose flour is just sufficient to give the crepes structure, preventing them from tearing easily while remaining tender. The key is to mix just enough to combine, avoiding overmixing which can develop too much gluten and result in tough crepes.
- Salt: A mere pinch of salt plays a crucial role. It enhances the overall flavor of the batter, balancing the sweetness if you choose sweet fillings, and bringing out the richness of the other ingredients.
- Whole Milk: Crepe batter requires a significant amount of liquid to achieve its characteristic thin consistency. Two full cups of whole milk contribute richness, a smooth texture, and superior flavor to the finished crepes. While whole milk is recommended for the best results, 2% or even skim milk can be used if preferred, though they may yield a slightly less rich crepe.
- Eggs: Whole eggs act as a binding agent, holding the batter together and providing essential structure. They also enrich the batter, contributing to a beautiful golden color and a delicious, full-bodied flavor. Lightly beating the eggs before adding them ensures they incorporate smoothly into the batter.
- Fresh Lemon Juice: Not all crepe recipes include lemon juice, but it’s a delightful addition that I highly recommend. Just a small amount introduces a wonderful hint of freshness and brightness, subtly cutting through the richness of the milk and eggs. It adds a nuanced layer of flavor that truly elevates the crepe.
- Pure Vanilla Extract: For sweet crepes, pure vanilla extract is indispensable. Its warm, aromatic notes infuse the batter with a comforting and inviting fragrance, making the crepes even more irresistible. Always opt for pure extract over imitation for the best flavor.
- Cooking Spray (or Butter): While butter can certainly be used, cooking spray offers a super convenient and effective way to lightly grease your pan between crepes. It ensures a consistent, non-stick surface, which is paramount for achieving those perfect, delicate crepes.
Is Crepe Batter the Same as Pancake Batter? Understanding the Key Differences
While crepe and pancake batters share many fundamental ingredients, their consistency and composition are distinctly different, designed to achieve entirely different results. Pancake batter is typically much thicker and often contains a leavening agent like baking powder or baking soda. These leavening agents react during cooking to create air bubbles, resulting in the characteristic fluffy and risen texture of pancakes. Moreover, pancake batter can tolerate a few lumps and still produce excellent results.
Crepe batter, on the other hand, is intentionally much thinner, almost like heavy cream. It traditionally contains no leavening agents, which is why crepes are flat and delicate rather than puffy. The goal is a batter that spreads effortlessly across the pan in a fine, even layer. Consequently, crepe batter must be perfectly smooth, free of any lumps, to ensure a uniform, lacy texture. The absence of leavening and the thin consistency are the primary reasons crepes are so distinct and elegant.
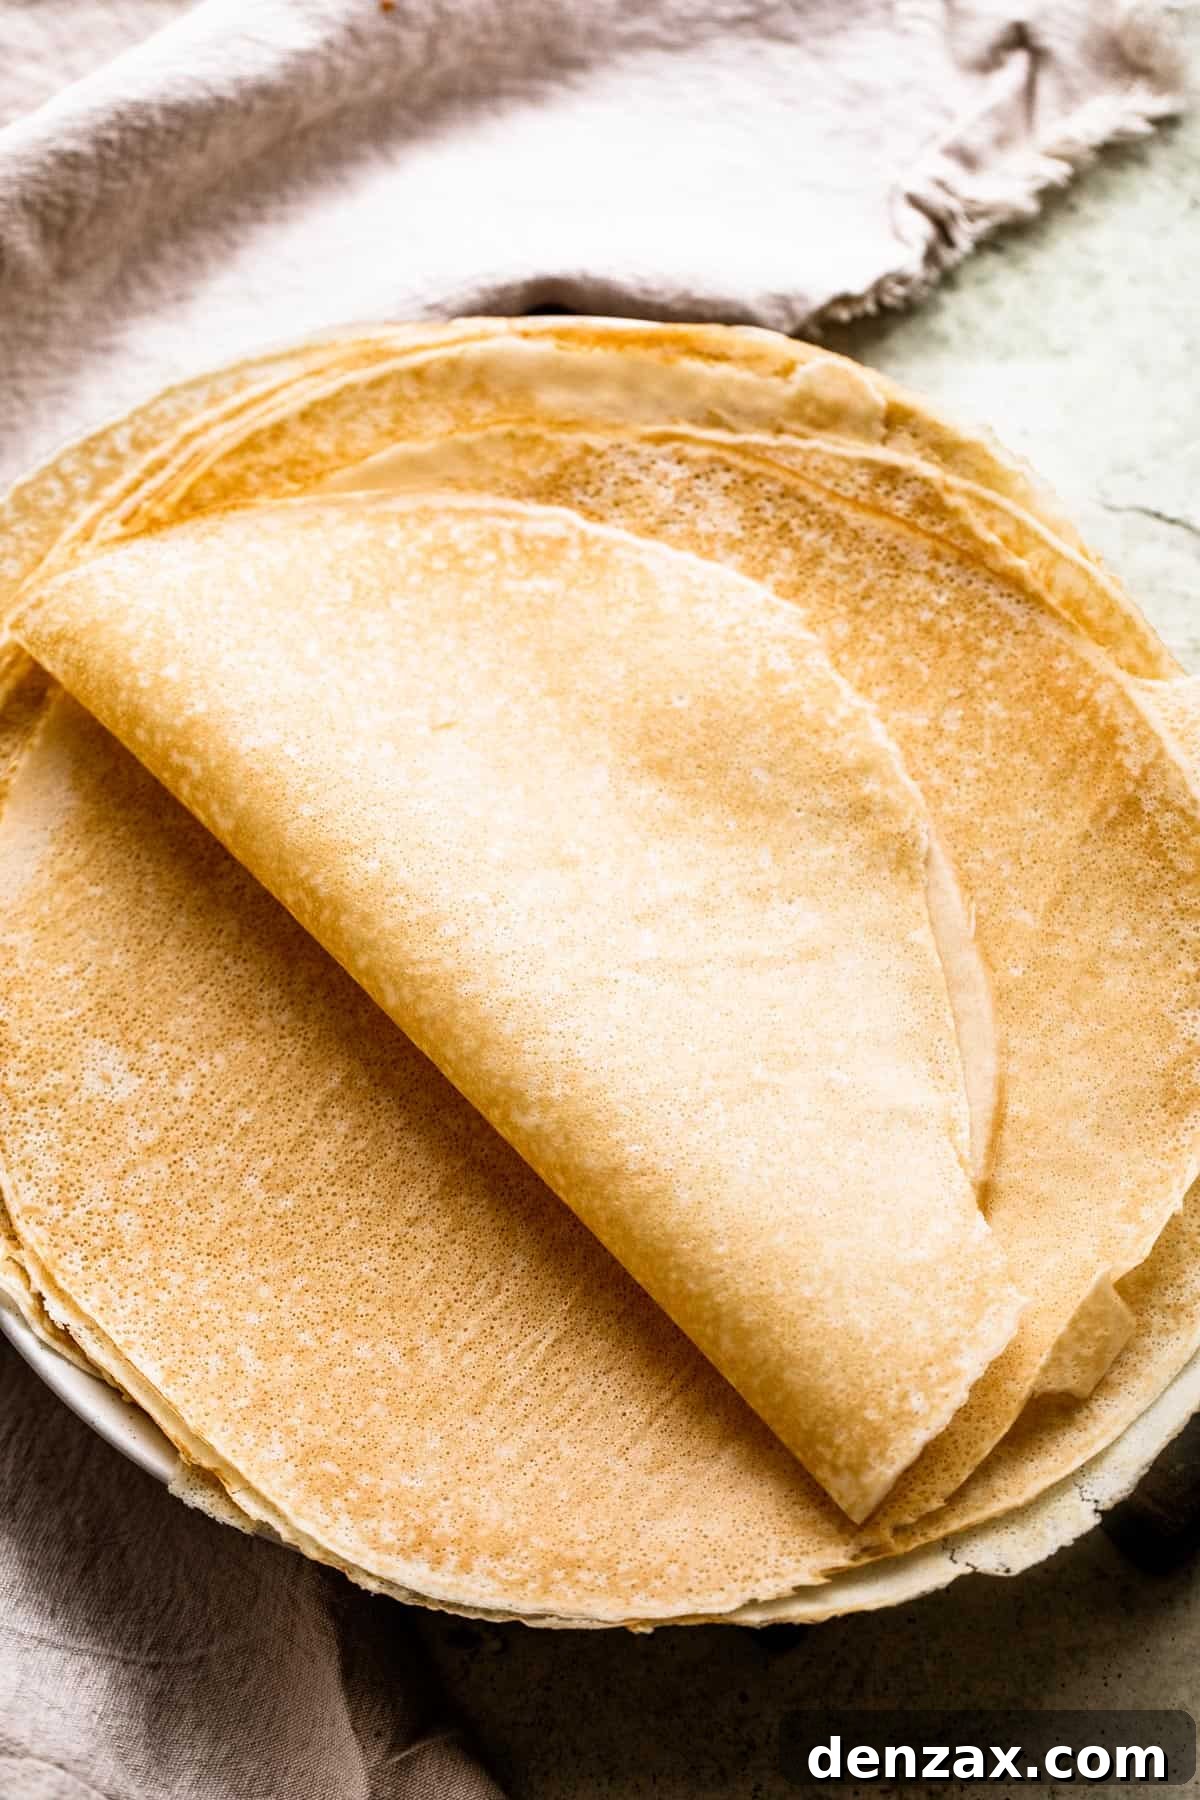
Your Step-by-Step Guide: How to Make Perfect Crepes at Home
Making crepes at home is a rewarding experience that’s simpler than you might think. Follow these detailed instructions to achieve consistently delicious and perfectly thin crepes. Happy cooking, and even happier eating!
- Prepare the Dry Ingredients: To ensure a smooth, lump-free batter, begin by whisking together the all-purpose flour and a pinch of salt in a medium-sized mixing bowl. A quick, thorough whisk is all it takes to combine them properly. Set this bowl aside for a moment.
- Combine the Wet Ingredients: In a separate, larger mixing bowl, whisk together the lightly beaten eggs, whole milk, fresh lemon juice, and pure vanilla extract. Continue whisking until these ingredients are fully incorporated and the mixture is well combined and uniform.
- Gradually Mix Wet and Dry: Now, it’s time to bring the two mixtures together. Slowly pour the wet ingredient mixture into the bowl containing the dry ingredients. Whisk continuously and thoroughly as you pour, ensuring all lumps are broken down and the batter becomes completely smooth. This gradual addition helps prevent clumping. Once smooth, set the batter aside.
- Rest the Batter (Crucial Step): This step is vital for tender, flavorful crepes. Lightly cover the mixing bowl containing the crepe batter and let it rest at room temperature for at least 15 to 20 minutes. Alternatively, for even deeper flavor and convenience, you can cover it tightly and refrigerate it overnight. Resting allows the flour to fully hydrate and the gluten to relax, resulting in a more pliable and tender crepe.
- Heat Your Pan: When you’re ready to cook, lightly grease a 10-inch nonstick frying pan or a dedicated crepe pan with cooking spray or a small amount of butter. Place the pan over medium heat. To test if the pan is at the correct temperature, drop a tiny bit of batter onto the surface. It should sizzle gently and cook slowly. If it sizzles too rapidly or scorches, the pan is too hot; reduce the heat. If it doesn’t sizzle at all, the pan isn’t hot enough; increase the heat slightly. Achieving the right temperature is key for even cooking and preventing sticking.
- Cook the First Crepe: Measure out precisely ¼ cup of the rested batter. Pour it into the center of the heated pan. Immediately pick up the pan by its handle, tilt it to one side, and gently swirl it in a diagonal circular motion. Continue swirling until the batter thinly and completely covers the entire bottom surface of the pan. Place the pan back on the heat and cook for about 1½ to 2 minutes, or until the edges of the crepe begin to curl slightly and the underside turns a beautiful light golden brown. You can carefully lift the edge with a spatula to check. Once browned, gently flip the crepe with a thin spatula and cook the second side for an additional 1 minute, or until lightly browned.
- Continue the Process: As each crepe finishes cooking, remove it from the pan and transfer it to a plate. To keep the finished crepes warm and pliable, cover the stack with a clean kitchen towel or a lid. Before cooking the next crepe, quickly wipe down the pan with a paper towel and apply a fresh, light coating of cooking spray. This prevents residue buildup and ensures a perfect nonstick surface for every crepe. Continue this process until all the batter has been used.
- Serve and Enjoy: Once all your delicate crepes are prepared, it’s time to enjoy! Serve them immediately with your favorite sweet or savory fillings and toppings. The possibilities are truly endless!
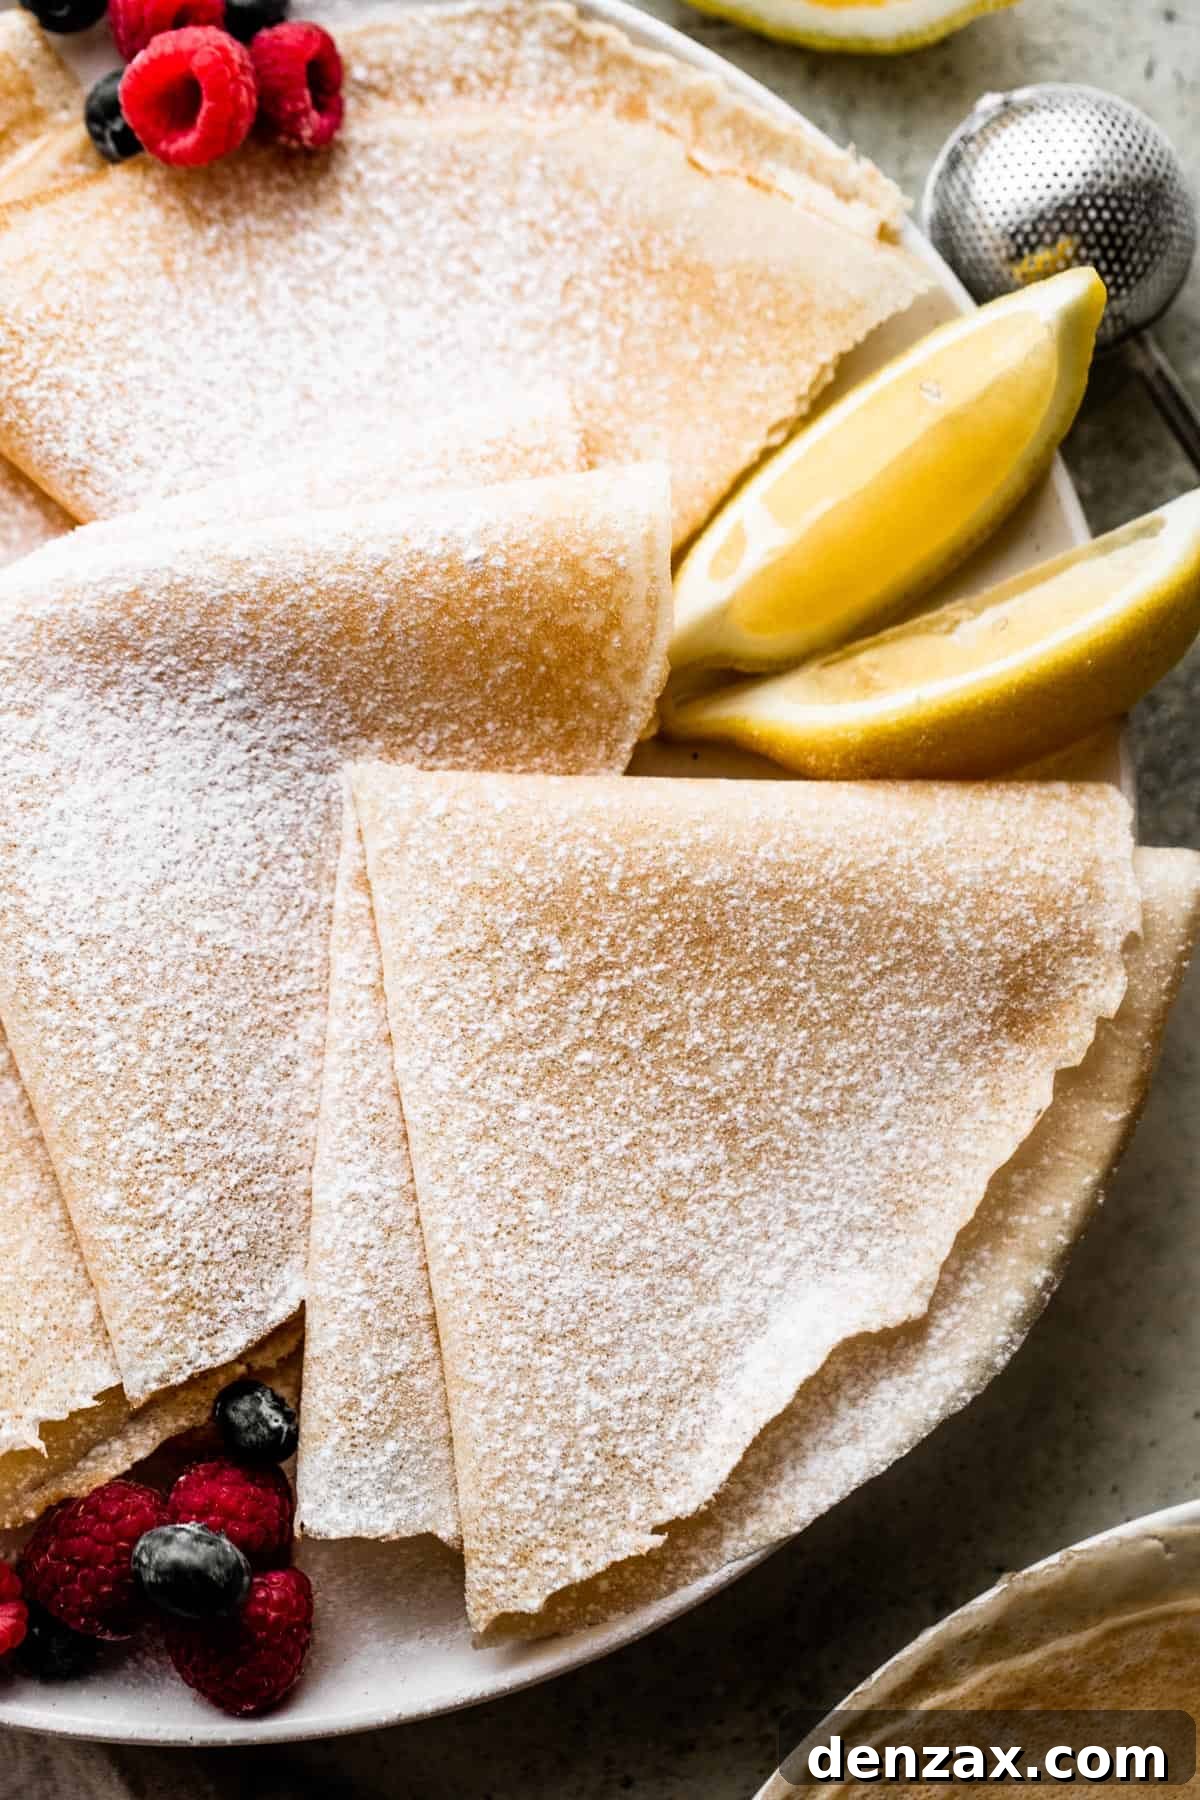
Expert Tips for Crepe-Making Success
I hope you’re feeling inspired to try this wonderfully easy crepe recipe! I promise, once you taste these delicate creations with their perfect balance of vanilla and lemon, you’ll find them utterly addictive. Before you start, here are some additional helpful tips to ensure your crepes turn out perfect every single time:
- Utilize Your Blender for Batter: For an incredibly quick and smooth batter, consider using a blender. Simply add all the wet ingredients first, then gradually add the dry ingredients while blending on low speed until completely smooth. A blender does an exceptional job of thoroughly mixing the ingredients and eliminating any lumps, saving you whisking time.
- Prioritize Batter Resting: While already mentioned, this tip cannot be stressed enough: allow the batter to rest for at least 15-20 minutes at room temperature before cooking. This resting period is crucial. It gives the flour time to fully absorb the liquid, resulting in a more hydrated batter, and allows the gluten to relax, which yields incredibly tender and flavorful crepes that are less likely to tear.
- Maintain a Clean, Greased Pan: Between cooking each crepe, it’s essential to quickly wipe down your pan with a paper towel and apply a fresh, light coating of cooking spray or a tiny knob of butter. This step prevents any leftover cooked batter from burning and sticking, ensuring that each new crepe starts on a perfectly clean and nonstick surface. This consistency is key to uniform results.
- Avoid Overfilling the Pan: It might seem like ¼ cup of batter is too little for a 10-inch pan, but trust the process! The thinner the crepe, the more delicate and desirable its texture. Pour the measured batter into the hot pan and immediately swirl it gently but persistently to spread it out as thinly and evenly as possible before it sets. This technique creates those signature lacy edges.
- Make Ahead for Convenience: Crepe batter is excellent for meal prep. You can prepare the batter up to one day in advance. Simply cover the mixing bowl tightly with plastic wrap and refrigerate. When you’re ready to cook, remove the batter from the fridge and let it sit at room temperature for about 20 minutes before proceeding with step 5 of the cooking instructions. This makes busy mornings much easier!
- Mastering Pan Temperature: The correct pan temperature is vital. Too low, and your crepes will be pale and won’t develop those lovely lacy edges; too high, and they’ll burn before you can even swirl the batter. Start with medium heat and adjust as needed. Listen for a gentle sizzle when the batter hits the pan.
- Use the Right Spatula: A thin, flexible spatula is your best friend when flipping crepes. It allows you to get under the delicate edge without tearing, making the flipping process much smoother and less daunting.
Delightful and Easy Fillings for Your Crepes
The beauty of crepes truly shines in their remarkable versatility when it comes to fillings. The possibilities are truly boundless, ranging from the beautifully simple, like a dollop of your favorite jam, to the exquisitely complex, such as classic French Beurre Suzette—a rich sauce crafted with caramelized sugar, butter, tangerine or orange juice, citrus zest, and a splash of Grand Marnier. To get you started, here are a few of my favorite, perfectly balanced filling ideas:
- Savory Scrambled Eggs with Bacon & Gruyere: For a delightful savory crepe, omit the vanilla from the batter. Once cooked, fill your crepes with fluffy, soft scrambled eggs, crispy crumbled bacon, and a generous sprinkle of melted Gruyere cheese. Roll them up for a gourmet breakfast or brunch.
- Irresistible Blueberry Sauce: My homemade blueberry sauce is simply the best! Its sweet, tangy burst of fruit complements the delicate crepe perfectly. A drizzle of this warm sauce turns a simple crepe into a comforting treat.
- Chunky Monkey Delight: This sweet filling is a crowd-pleaser! Spread a generous layer of creamy Nutella over the warm crepe, then sprinkle with chopped nuts (walnuts or pecans work wonderfully) and slices of fresh banana. Roll it up and savor every bite!
- Classic Fresh Berry Crepes with Whipped Cream: You can never go wrong with this timeless combination. Fill your crepes with a cloud of freshly whipped cream and an assortment of seasonal fresh berries – strawberries, blueberries, raspberries, or a mix. A light dusting of powdered sugar adds an elegant finish.
- Elegant Smoked Salmon Crepes: For a sophisticated savory option, spread a layer of whipped cream cheese or tangy chèvre (goat cheese) onto your crepe. Top with delicate slices of smoked salmon and a sprinkle of snipped fresh dill. For an extra touch of beauty, garnish with more whipped cheese and a paper-thin slice of crisp cucumber.
Feel free to experiment with these ideas or create your own signature combinations. Crepes are incredibly forgiving and invite culinary creativity!
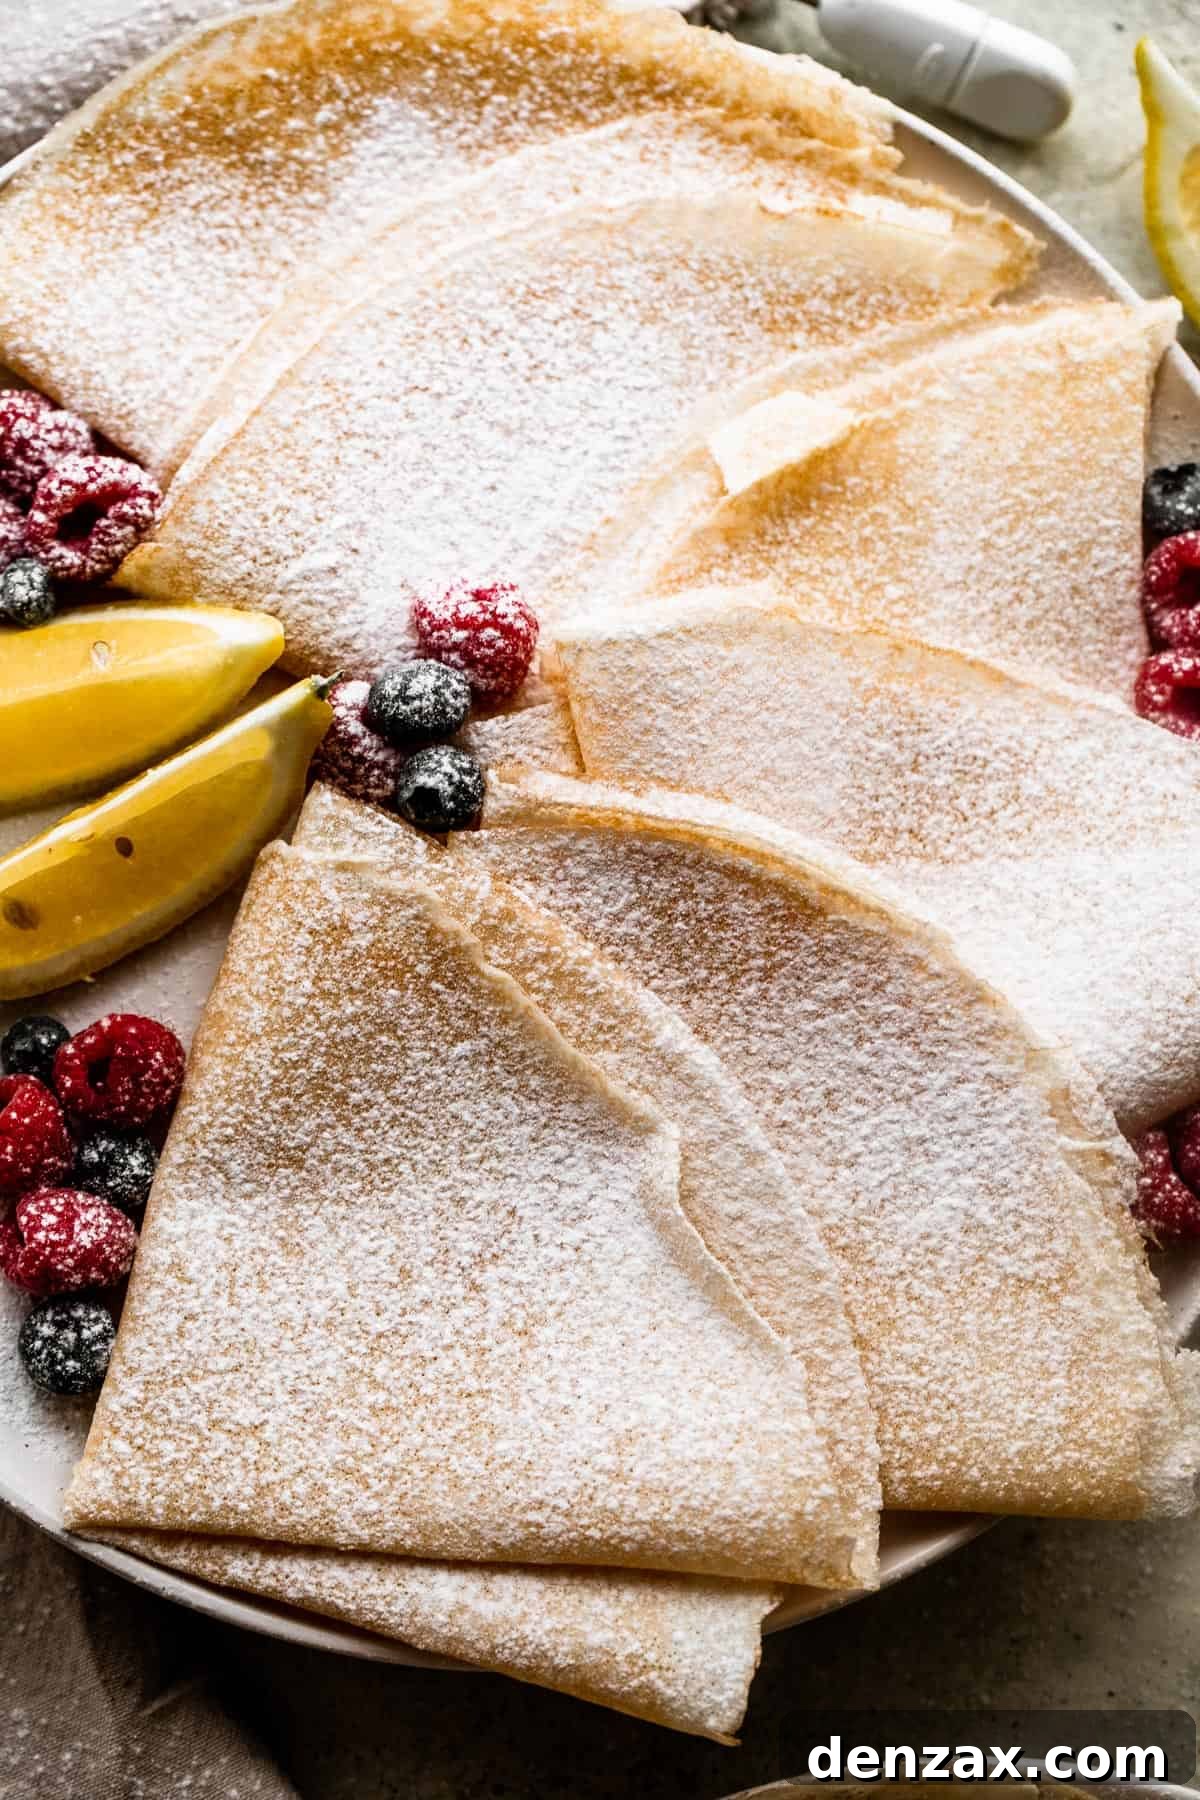
Storing and Reheating Leftover Crepes
For the absolute best texture and flavor, I always recommend serving your freshly made crepes immediately. However, if you happen to have any delicious leftovers, they can certainly be stored and enjoyed another time. Crepes are surprisingly resilient!
- To store, simply allow the cooked crepes to cool completely. Stack them neatly and wrap them tightly in plastic wrap or place them in an airtight container. They will keep well in the refrigerator for one to two days.
- To reheat, you have a couple of easy options. For a quick warm-up, place a crepe on a plate and microwave it for just a few seconds until warm and pliable. Alternatively, you can gently warm them in a covered skillet over low heat on the stovetop. This method helps maintain their delicate texture.
Can I Freeze Crepes for Later Enjoyment?
- Absolutely, crepes freeze beautifully! In fact, it’s a fantastic idea to make a double batch specifically for freezing, allowing you to enjoy homemade crepes whenever the craving strikes.
- To freeze them properly and prevent sticking, I highly recommend layering individual crepes with small squares of parchment paper in between.
- Once layered, stack them up to your desired portion size and carefully place them into an airtight container or a freezer-safe bag.
- Crepes can be frozen for up to 1 month. When you’re ready to enjoy them, simply thaw the frozen stack in the refrigerator overnight before reheating them using your preferred method. This makes for a convenient and delicious future breakfast or dessert!

Pin
How to Make Crepes
Delicate, buttery and light, these easy, homemade Crepes are the ultimate breakfast option!
Ingredients
- 1 ½ cups all-purpose flour
- pinch salt
- 2 cups whole milk
- 2 eggs,, lightly beaten
- 1 tablespoon fresh lemon juice
- 1 tablespoon pure vanilla extract
- cooking spray
Instructions
-
In a medium mixing bowl whisk together flour and salt; set aside.
-
In a larger mixing bowl, whisk together beaten eggs, milk, lemon juice, and vanilla.
-
Gradually add the milk mixture to the flour mixture, whisking until completely smooth and no lumps appear.
-
Set aside for 15 to 20 minutes. You can also cover and refrigerate overnight.
-
Lightly grease a 10-inch nonstick frying pan, or a crepe pan, with cooking spray and set the pan over medium heat.
-
Add 1/4-cup batter to the heated pan and swirl to completely cover the bottom of pan.
-
Cook for 1-½ to 2 minutes, or until edges of crepe start to curl up and the bottom of the crepe is a light golden brown.
-
Flip the crepe and continue to cook for 1 more minute, or until lightly browned.
-
Remove crepe from skillet; transfer to a plate and keep covered while working with the remaining batter.
-
Continue working with the remaining batter, wiping down the pan with a paper towel AND coating with cooking spray in between each crepe.
Notes
- Wipe down the pan with a paper towel AND coat with cooking spray in between each crepe.
- Whole milk is best, but if you want, you can also use 2% or even skim milk.
Nutrition
Nutritional info is an estimate and provided as courtesy. Values may vary according to the ingredients and tools used. Please use your preferred nutritional calculator for more detailed info.
More Irresistible Breakfast Recipes
- Blueberry Scones
- Beignets
- Easy Quiche Lorraine with Bacon