
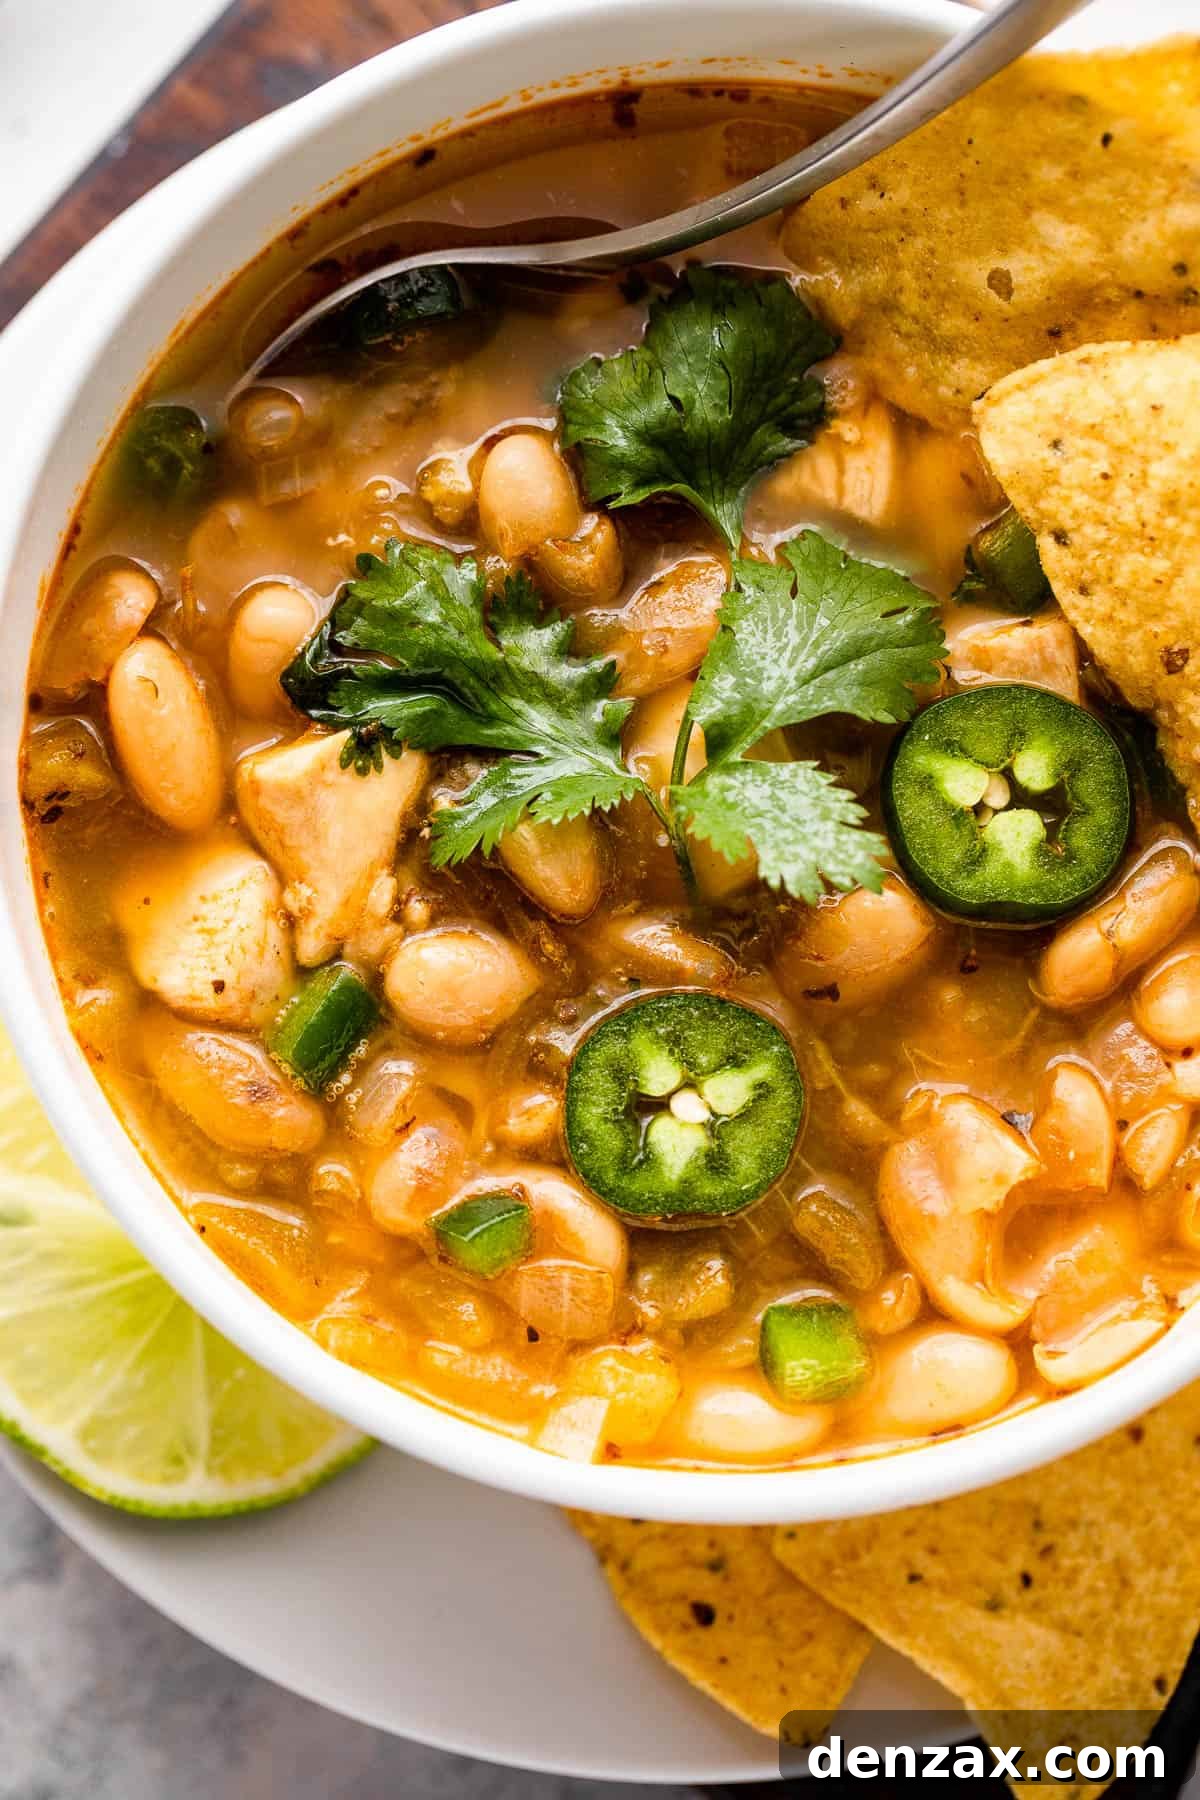
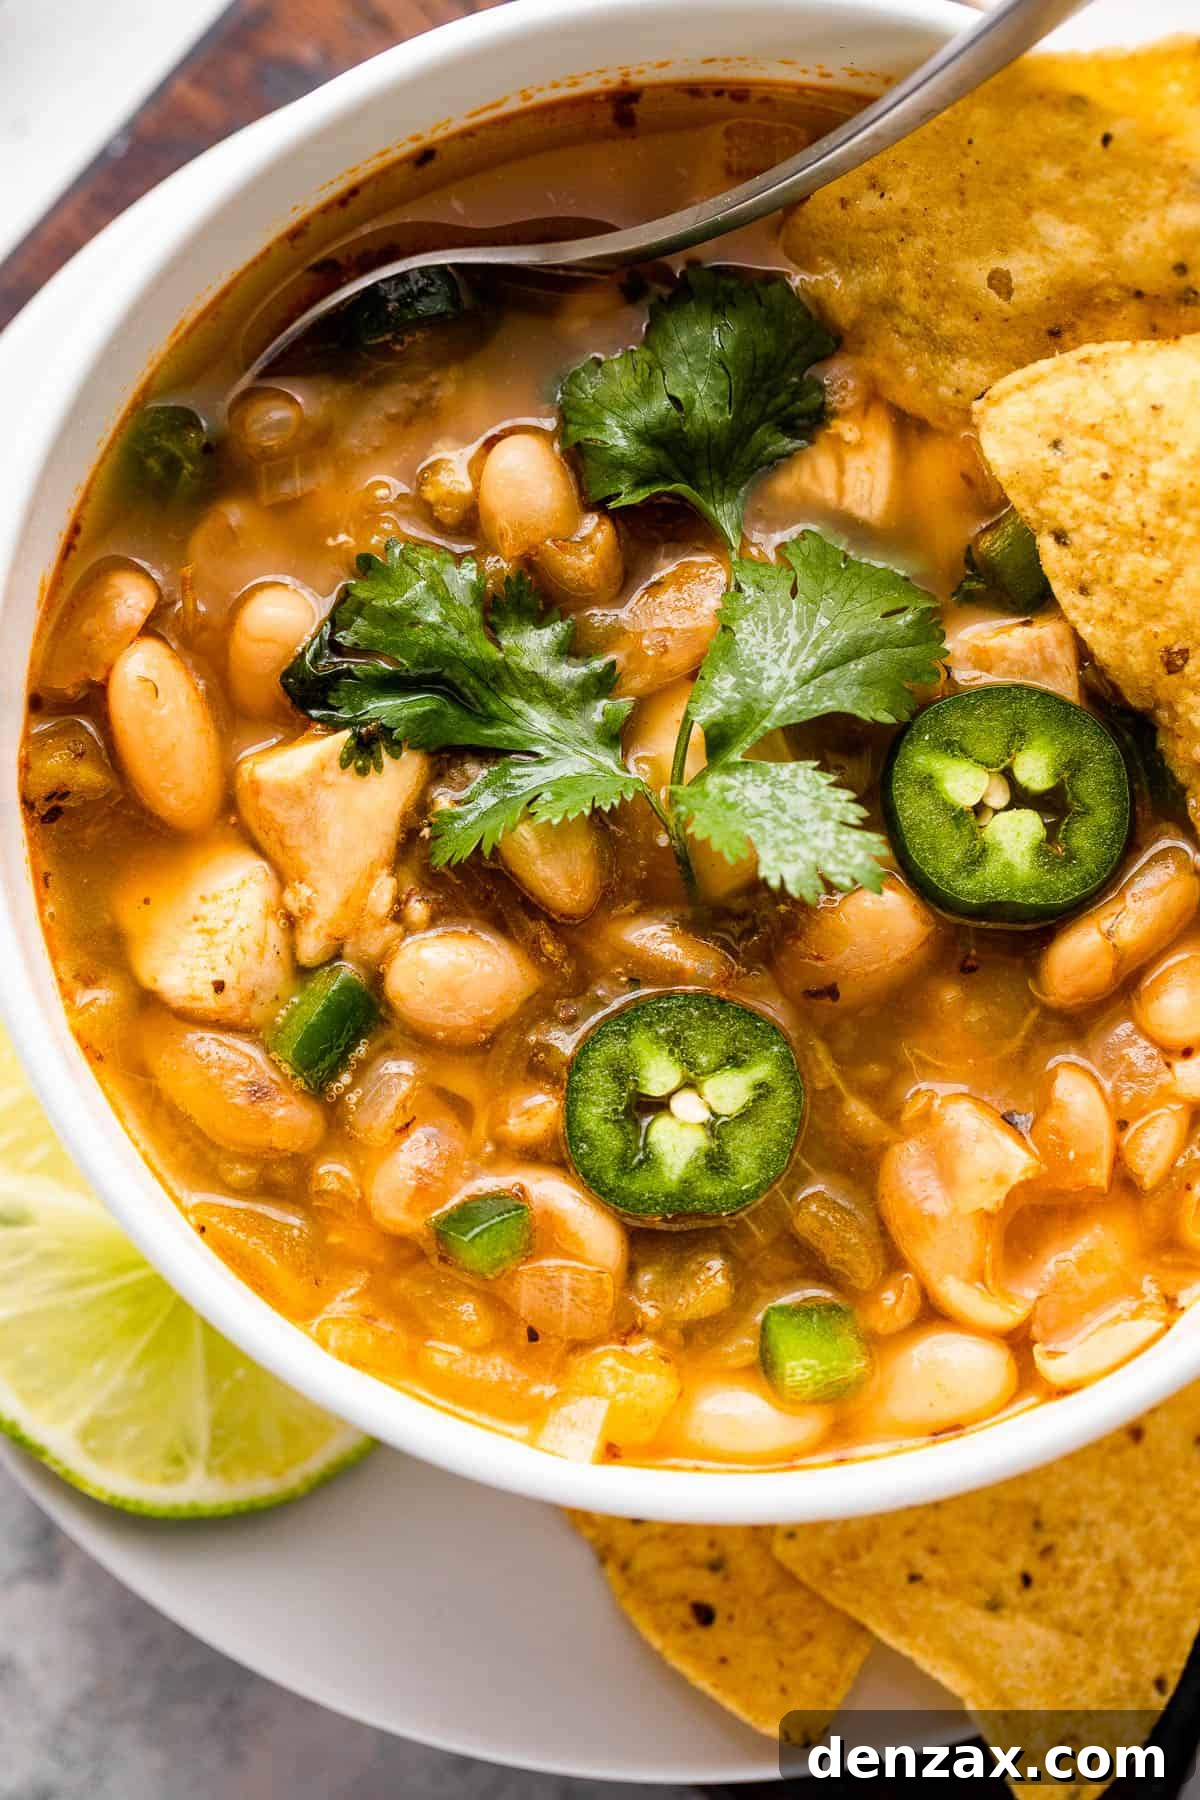
Welcome to the ultimate guide for crafting the most comforting and flavorful Chicken Chili you’ve ever tasted! This incredibly easy, quick, and satisfying recipe combines tender white-meat chicken, hearty cannellini beans, zesty green chilies, and a rich, creamy finish to create a meal that will warm your soul and delight your palate. Perfect for a cozy family dinner or a festive gathering, this chicken chili is seasoned to perfection with classic Southwest spices, promising a robust flavor profile that’s simply irresistible. Get ready to ditch complicated cooking and embrace a hearty, homemade dish that’s on your table in under an hour!

The Ultimate Comfort Food: Cozy Homemade Chicken Chili
There’s something inherently magical about a steaming bowl of chili. It’s a dish that embodies warmth, nourishment, and versatility, making it a perennial favorite for good reason. Imagine the comforting embrace of a hearty soup, infused with the exciting sizzle and spice of your favorite tacos. That’s precisely what our homemade Chicken Chili delivers.
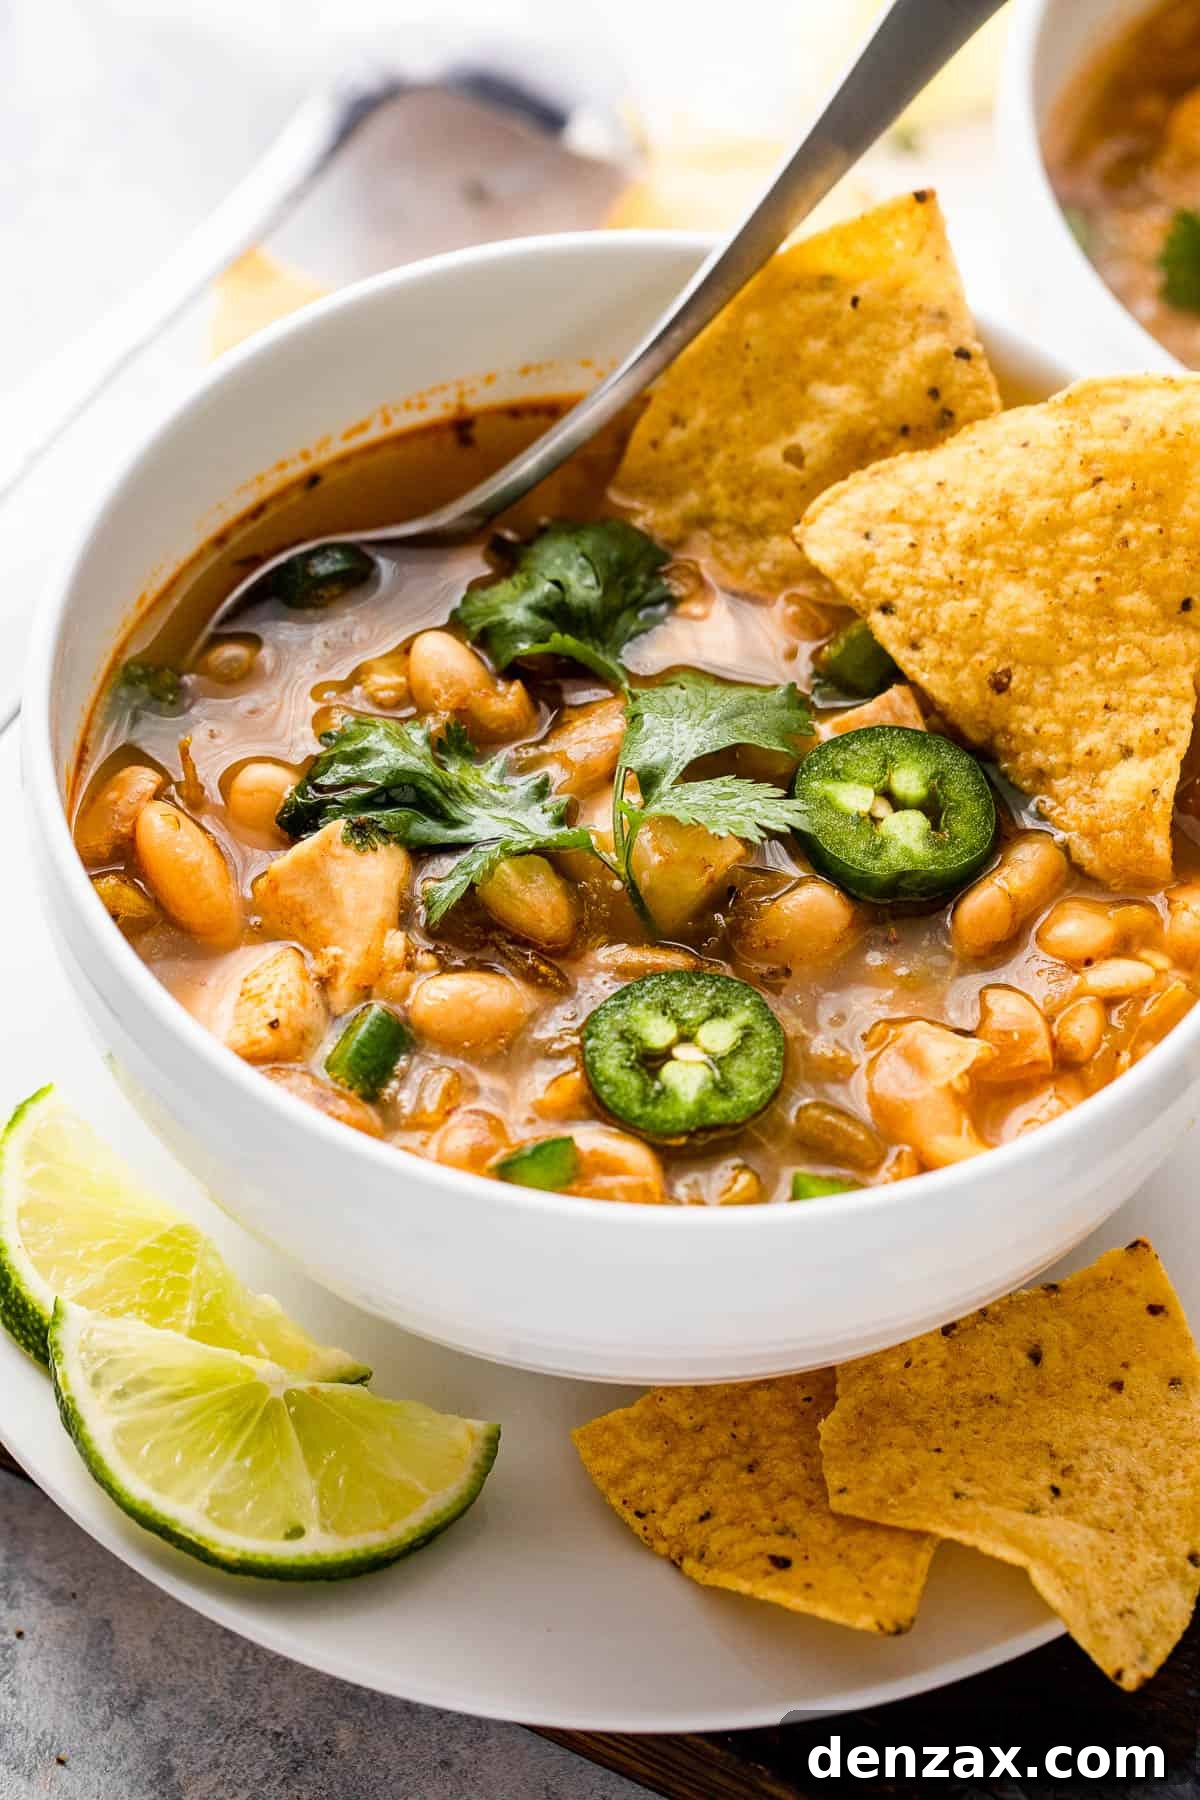
What sets chili apart, beyond its deep, savory flavors, is the sheer joy of customization. From creamy avocado slices and tangy sour cream to spicy jalapeños, crisp tortilla chips, and a sprinkle of sharp cheddar cheese, chili beckons you to make it your own. Each spoonful offers a chance to explore different textures and tastes, turning a simple meal into an interactive culinary experience.
For those evenings when the family needs a little extra warmth and relaxation, this chicken chili recipe is your secret weapon. It’s a dish that not only fills hungry bellies with tender chicken pieces and wholesome beans but also creates an atmosphere of ease and enjoyment. The harmonious blend of chili powder, cumin, paprika, and oregano creates a symphony of flavors that is both familiar and exciting, without being overwhelmingly spicy.
So, the next time you’re searching for a quick weeknight dinner that feels both celebratory and effortlessly simple, look no further. This recipe is designed to impress with minimal effort, guaranteeing a delicious outcome that will earn rave reviews from everyone at your table. Prepare to fall in love with the ease and incredible taste of this delightful chicken chili!
Why Choose Chicken Chili Over Traditional Beef?
While classic beef chili holds a special place in many hearts, chicken chili offers a lighter, often quicker, and equally satisfying alternative that deserves its own spotlight. Here’s why this chicken version might just become your new favorite:
- Leaner Protein Option: Chicken breast provides a lean protein source, making this chili a fantastic choice if you’re looking for a healthier comfort food. It’s lower in fat and cholesterol compared to ground beef, without sacrificing any of the hearty satisfaction.
- Faster Cooking Time: Chicken cooks much faster than beef, especially when cut into small pieces. This significantly reduces the overall preparation and simmering time, making it an ideal candidate for busy weeknights when you need a delicious meal on the table in a flash.
- Delicate Flavor Profile: Chicken offers a milder base flavor, allowing the vibrant Southwest spices and green chilies to truly shine. This creates a slightly different, yet equally delicious, chili experience that’s often described as fresher and brighter.
- Incredible Versatility: Chicken chili is exceptionally versatile. It pairs beautifully with a wider range of toppings and side dishes, and it’s also a fantastic way to utilize leftover cooked chicken or turkey, transforming them into a brand new, exciting meal.
Embracing chicken chili means enjoying all the beloved aspects of a traditional chili while introducing a fresh perspective and some practical benefits that cater to modern lifestyles. It’s a win-win!
Essential Ingredients for Your Best Chicken Chili
One of the beauties of this chicken chili recipe is that many of the ingredients are pantry staples, making it incredibly convenient to whip up spontaneously. If you don’t already keep these items on hand, you might just find yourself stocking up once you discover how delicious and easy this chili is!
- Oil: You’ll need about 2 tablespoons for sautéing. Avocado oil is a fantastic choice for its neutral flavor and high smoke point. Coconut oil can also work, but be mindful that unrefined coconut oils may impart a subtle coconut flavor, which you might want to avoid in chili. Vegetable oil or olive oil are also perfectly acceptable alternatives.
- Chicken: Boneless, skinless chicken breasts are specified here, about one pound’s worth. Cut them into 1-inch to 1 ½-inch pieces to ensure even cooking and tender bites. Chicken thighs can also be used for a richer flavor, though they may require a slightly longer cook time.
- Salt & Pepper: Essential for seasoning the chicken and enhancing the overall flavor of the chili. You’ll use a teaspoon of salt (divided) and ¼ teaspoon of freshly ground black pepper.
- Onion: One small yellow onion, finely diced, forms the aromatic base of the chili. Yellow onions provide a balanced sweetness when cooked down, but white, sweet, or even red onions can be substituted if that’s what you have available.
- Garlic: Three cloves of fresh garlic, minced or pressed, are crucial for adding depth and pungent flavor. Fresh garlic makes a significant difference, so try to avoid garlic powder for this recipe if possible.
- Cumin, Chili Powder, Paprika & Oregano: This quartet of spices creates the signature Southwest flavor profile of the chili. Ground cumin brings warmth, chili powder provides classic chili flavor and mild heat, paprika (smoked paprika is preferred for a deeper, smokier note) adds color and subtle sweetness, and dried oregano offers an earthy aroma. For those who love a bit more kick, you can reduce the paprika slightly and add a pinch or two of cayenne pepper.
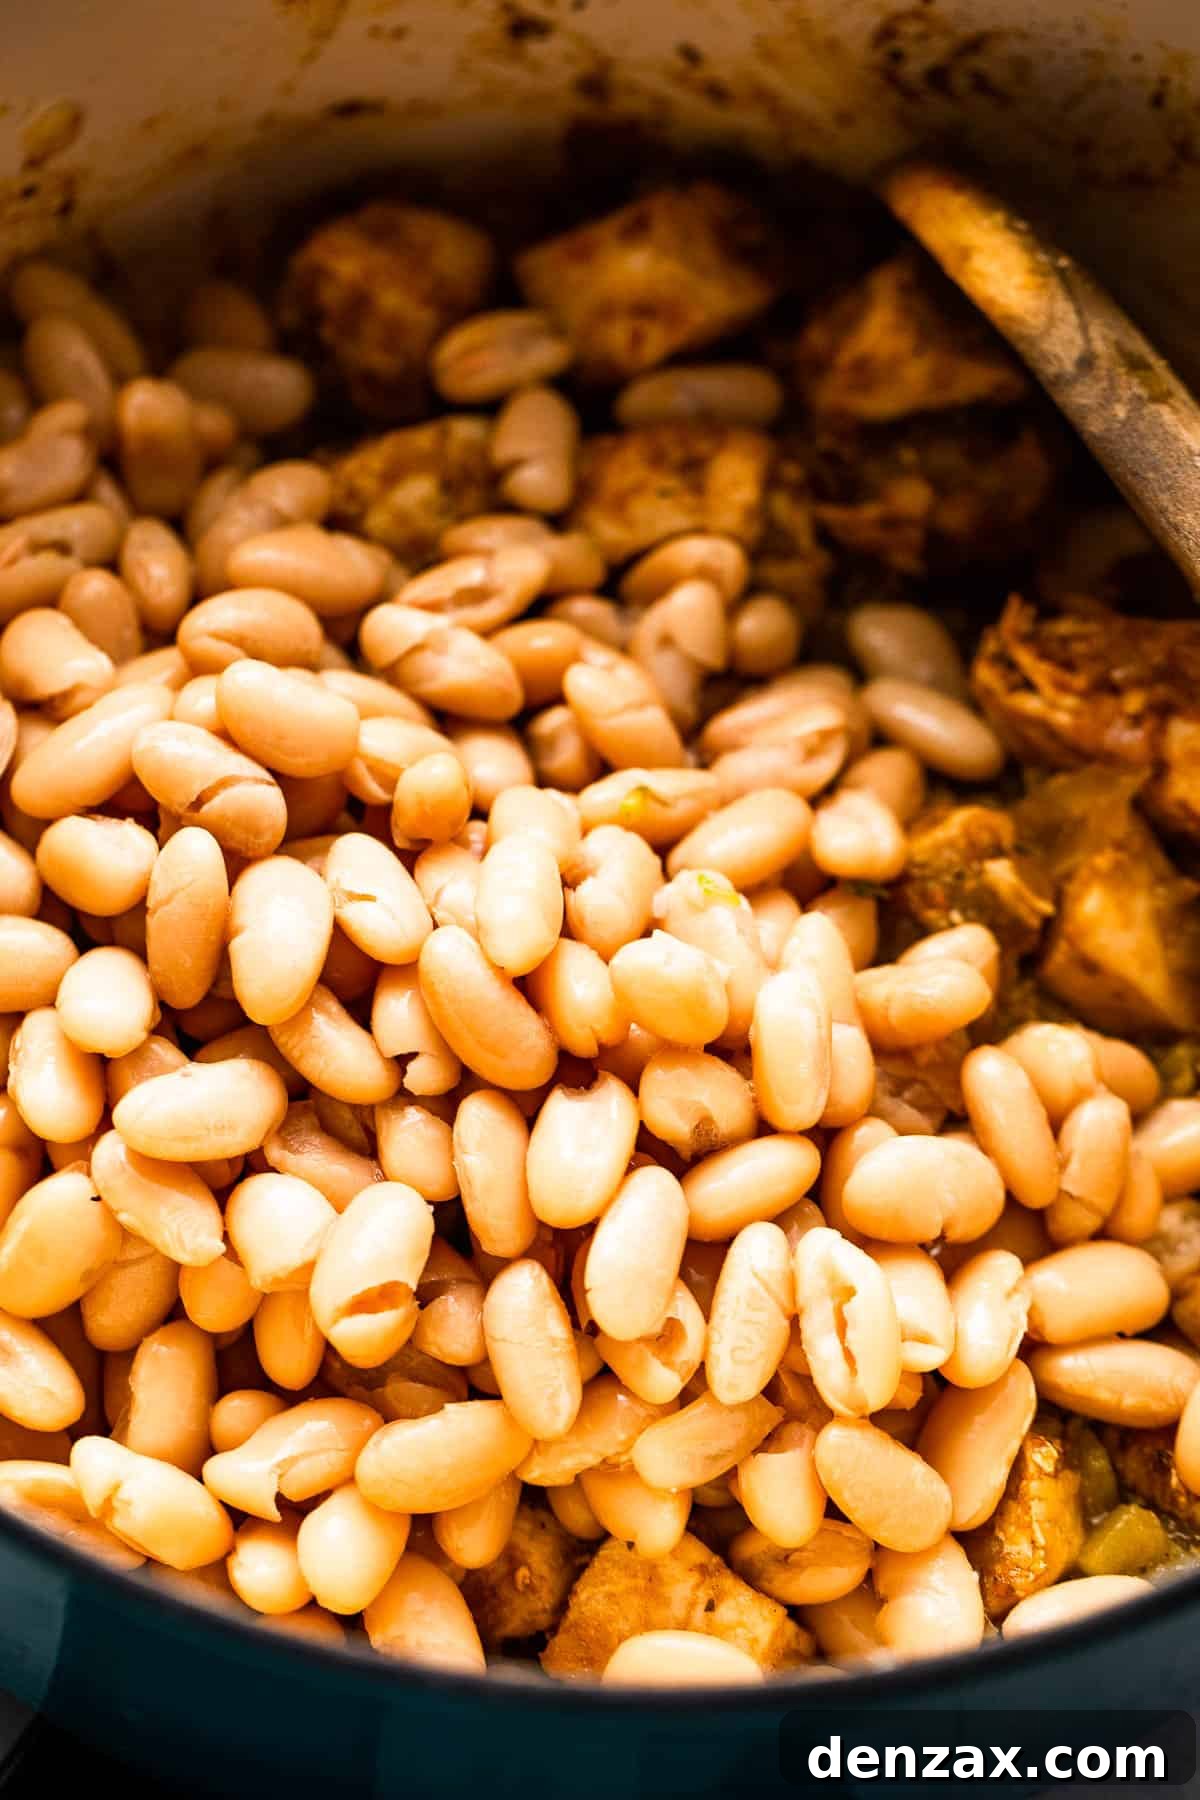
- Cannellini Beans: Two 15-ounce cans of cannellini beans are needed. These white kidney beans are wonderfully creamy and hold their shape well. Remember to rinse and drain them thoroughly before adding to the pot to remove excess sodium and starchy liquid. Other great bean choices include pinto beans, navy beans, or great northern beans. You can even use a mix!
- Canned Green Chilies: Two small 4-ounce cans of chopped green chilies, undrained, are a secret weapon for flavor. They add a mild, tangy kick and a layer of authentic Southwest taste without making the chili overly spicy. Use mild green chilies for a family-friendly dish, or opt for medium for a little more zest.
- Chicken Broth: Approximately 6 cups of chicken broth are required to create the liquid base of your chili. Low-sodium chicken broth is recommended to control the salt content, allowing you to season to taste. Vegetable broth is an excellent vegetarian alternative if needed.
- Fresh Cilantro: A vibrant garnish that adds a burst of fresh, herbaceous flavor. Chop it just before serving to maximize its aromatic impact.
- Lime Wedges & Lime Juice: Fresh lime juice stirred in at the end brightens the entire dish, cutting through the richness and enhancing the other flavors. Lime wedges served alongside allow everyone to add a fresh squeeze to their individual bowls.
How to Craft Your Quick & Easy Chicken Chili
Forget the notion that chili requires an entire day of simmering to achieve rich flavors. This easy chicken chili recipe comes together in a remarkably short time, proving that comfort food can indeed be fast food – but the homemade, delicious kind! Follow these simple steps for a satisfying meal that’s ready in a flash.
- Prepare and Cook the Chicken: Begin by heating 2 tablespoons of oil in a sturdy Dutch oven or a large soup pot over medium-high heat. A Dutch oven is ideal for its even heat distribution, but any heavy-bottomed pot with a lid will work. While the oil heats, season your 1 pound of 1-inch to 1 ½-inch cubed boneless, skinless chicken breasts with ½ teaspoon of salt and ¼ teaspoon of black pepper. Once the oil is shimmering, add the seasoned chicken pieces to the pot in a single layer, being careful not to overcrowd the pan. Cook for about 4 minutes, stirring occasionally, until the chicken is lightly browned on all sides. It doesn’t need to be cooked through at this stage, just nicely seared for flavor. Remove the chicken from the pot and set it aside on a plate; it will finish cooking in the chili.
- Sauté Aromatics and Bloom Spices: Reduce the heat to medium if necessary. Add the finely diced small yellow onion to the same pot, using the residual oil and chicken drippings. Sauté the onion for about 1 minute until it begins to soften and become translucent. Next, stir in the minced garlic, 2 teaspoons of ground cumin, 1 teaspoon of chili powder, ½ teaspoon of smoked paprika (or cayenne for heat), and ½ teaspoon of dried oregano. Sauté these aromatics and spices together for another 3 minutes, stirring constantly. This crucial step “blooms” the spices, releasing their full fragrant flavors and creating a deeply aromatic base for your chili.
- Build the Flavorful Base: Return the cooked chicken to the Dutch oven. Add the two 15-ounce cans of rinsed and well-drained cannellini beans, followed by the two 4-ounce cans of undrained chopped green chilies. Pour in the 6 cups of low-sodium chicken broth. Using a wooden spoon or spatula, scrape up any browned bits (known as “fond”) from the bottom of the pot. These bits are packed with flavor and will dissolve into the broth, adding incredible depth to your chili. Bring the mixture to a steady simmer, then reduce the heat to low, cover the pot, and let it gently cook for 10 minutes. This allows all the flavors to meld beautifully.
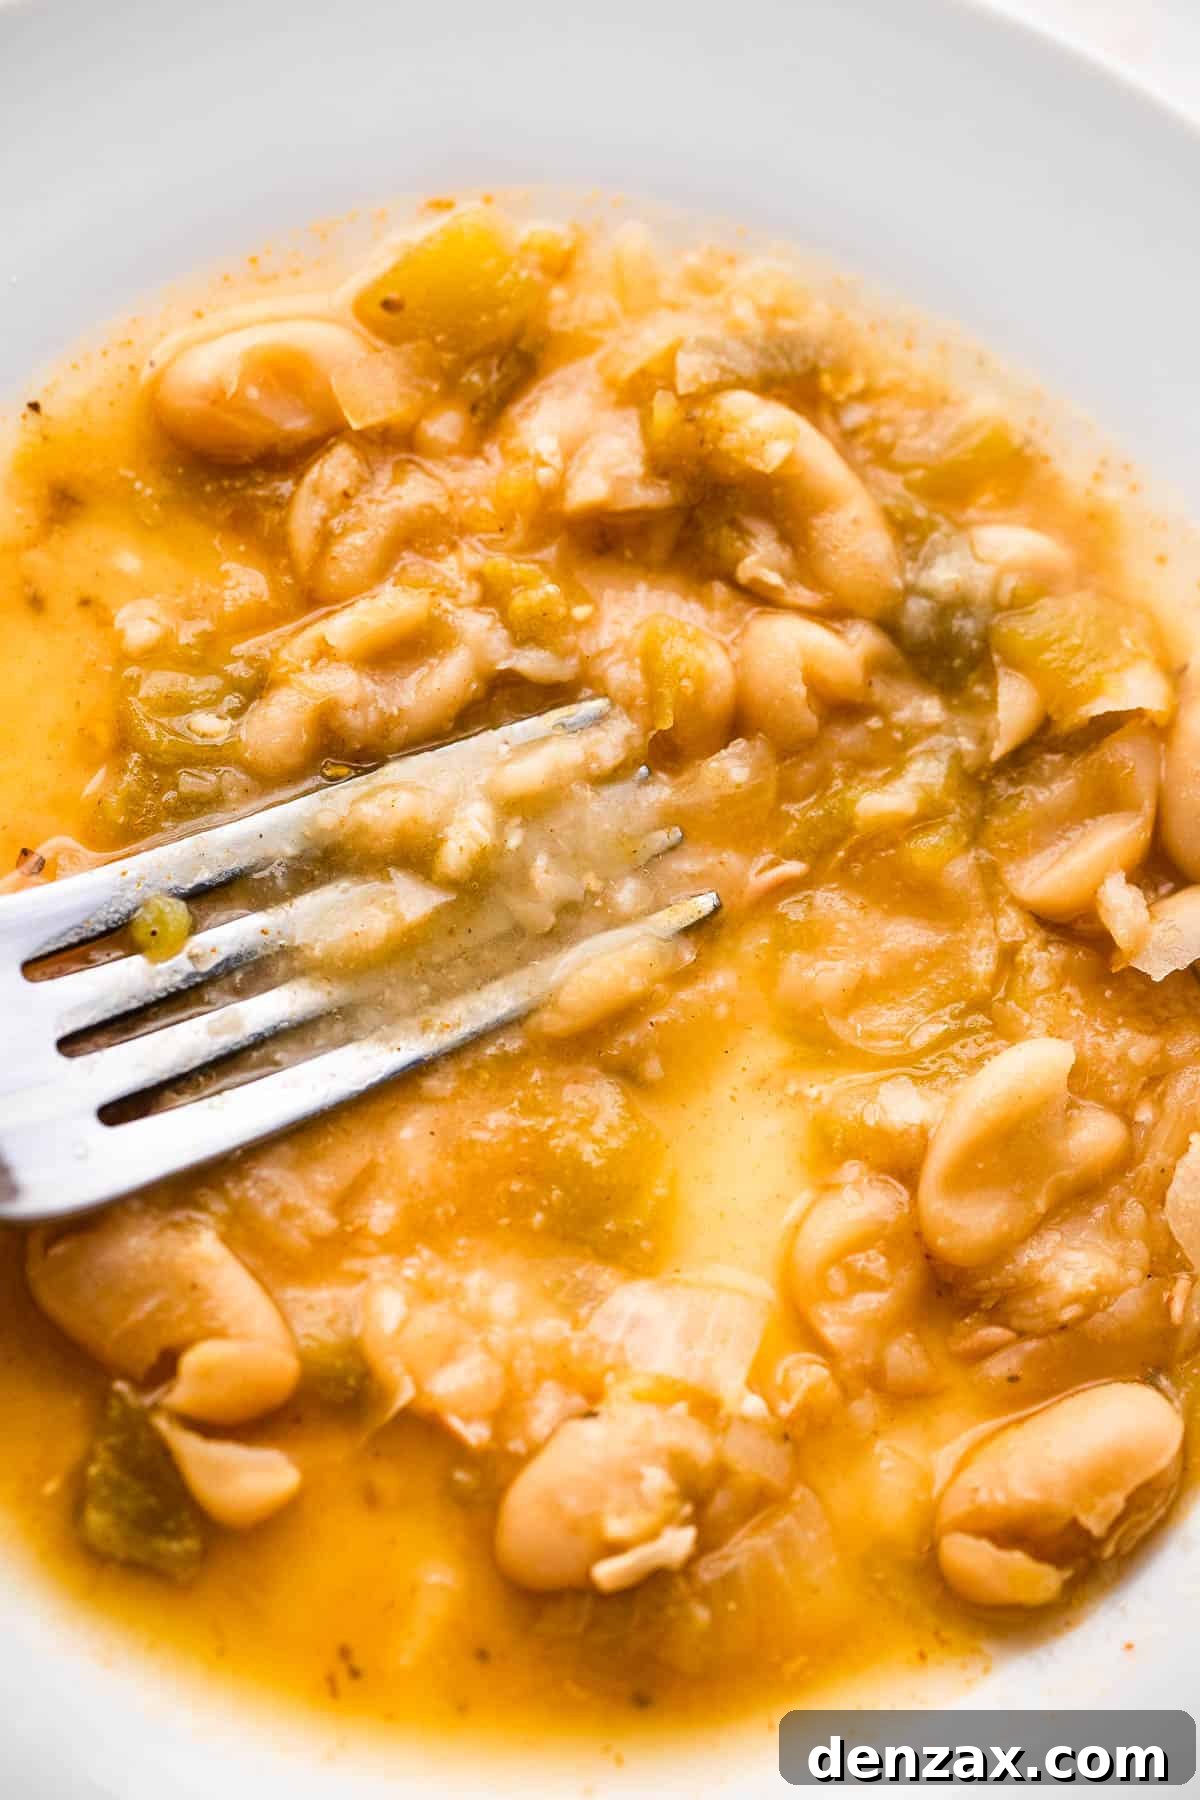
- Thicken with Mashed Beans: To give your chili a wonderfully creamy and slightly thicker texture, carefully remove about ¼ cup of the beans from the pot and transfer them to a small plate or bowl. Using the back of a fork, mash the beans until they form a coarse paste. Return the mashed beans to the pot and stir them in thoroughly. Continue to cook for 1 more minute, stirring, to allow the mashed beans to integrate and naturally thicken the chili.
- Finish and Serve: Remove the pot from the heat. If you like, squeeze in a little fresh lime juice (about 1-2 teaspoons) for a bright, refreshing finish. Taste the chili and adjust seasonings as needed, adding more salt or pepper to your preference. Ladle the hot chili into individual bowls. Garnish generously with fresh chopped cilantro and serve immediately with fresh lime wedges on the side for an extra burst of zest. Your quick and delicious homemade chicken chili is ready to enjoy!
Expert Tips for Customizing Your Chicken Chili
One of the many joys of making chili is its incredible flexibility. This recipe serves as a fantastic foundation, but don’t hesitate to get creative and personalize it to your taste. Here are some expert tips and tricks to make this flavorful chicken chili truly your own:
- Achieve the Perfect Thickness: The recipe’s method of mashing a portion of the beans is a brilliant, natural way to thicken the chili and add creaminess. However, if you prefer an even thicker consistency, consider making a cornstarch slurry. Simply whisk together one tablespoon of cornstarch with one tablespoon of cold milk (or water) until smooth. Gradually whisk this mixture into your simmering chili and allow it to cook for another minute or two until it thickens to your desired level. If you want it even richer, repeat the process with another small batch of slurry.
- Elevate Flavor with Bacon: For an undeniably delicious twist, crisp up some bacon bits and stir them into the chili or use them as a topping. The smoky, salty crunch of bacon perfectly complements the tender chicken and savory spices. Cook the bacon first, remove it, then use a little of the rendered bacon fat to sauté your chicken and aromatics for an extra layer of flavor.
- Utilize Leftover Turkey: This recipe is a fantastic way to give new life to leftover cooked turkey, especially after holidays. If you’re using pre-cooked turkey (ensure it’s thawed if frozen), there’s no need to sauté it. Simply add your shredded or cubed turkey to the pot along with the beans and green chilies, allowing it to heat through and absorb the chili’s flavors during the simmering stage. This is a wonderfully economical and tasty hack!
- Boost the Veggies: Want to sneak in more vegetables? Dice up some bell peppers (any color works, but red and yellow add sweetness), corn (fresh or frozen), or even zucchini, and add them along with the onions. They’ll soften beautifully and add extra nutrients and texture to your chili.
- Spice It Up (or Down!): Adjust the heat level to your family’s preference. For more heat, add an extra pinch of cayenne pepper with the other spices, or include a finely diced jalapeño or serrano pepper when sautéing the onions. If you prefer a milder chili, stick to the recipe as written and use mild green chilies.
- Slow Cooker Variation: For a truly hands-off approach, you can adapt this to a slow cooker. Sauté the chicken, onions, and spices as directed on the stovetop to build flavor. Then, transfer everything to your slow cooker along with the beans, green chilies, and broth. Cook on low for 6-8 hours or on high for 3-4 hours. Mash some beans at the end for thickening, and stir in lime juice before serving.
Perfect Pairings: What to Serve with Chicken Chili
A steaming bowl of chicken chili is a satisfying meal on its own, but it truly shines when paired with the right accompaniments. These sides not only complement the chili’s flavors but also add texture and variety to your meal, creating a complete and utterly delightful dining experience.
- Classic Cornbread: Is there a more iconic duo than chili and cornbread? The slightly sweet, crumbly texture of a good cornbread provides a wonderful contrast to the savory, spicy chili. It’s perfect for dipping into the rich broth or simply enjoying alongside each spoonful. We recommend a Light Skillet Cornbread for a traditional taste and delightful texture.
- Crispy Potato Wedges: For a heartier side that offers satisfying crunch, consider serving crispy potato wedges. Their earthy flavor and fluffy interior make them an excellent vehicle for scooping up the chili. Our Crispy Garlic Parmesan Baked Potato Wedges are quick to prepare and incredibly flavorful, making them a fantastic match for this savory chicken chili.
- Bacon Wrapped Jalapeño Poppers: If you love a bit of extra heat and a cheesy, smoky kick, homemade jalapeño poppers are a brilliant addition. These little bundles of joy, often filled with cream cheese and wrapped in bacon, offer a burst of flavor that harmonizes wonderfully with the chili. They’re great for special occasions or just to add an extra smile to your family’s faces. Try these Bacon Wrapped Jalapeño Poppers.
- Fresh Green Salad: To lighten up the meal and add a refreshing contrast, a simple green salad with a zesty vinaigrette can be a perfect accompaniment. It provides a cool, crisp counterpoint to the warm, rich chili.
- Rice: A bed of fluffy white or brown rice can absorb all the delicious chili juices, making each bite even more satisfying. It also helps to stretch the meal further and provides a neutral base for the chili’s bold flavors.
- Crusty Bread or Crackers: Don’t underestimate the simple pleasure of a piece of crusty bread or a handful of your favorite crackers for dipping. They’re excellent for soaking up every last drop of chili goodness.
And don’t forget the toppings! A spread of options like shredded cheddar cheese, sour cream or Greek yogurt, diced avocado, extra fresh cilantro, sliced green onions, and more tortilla chips will allow everyone to customize their bowl to perfection.
How to Store and Reheat Leftovers for Maximum Flavor
One of the best things about chili is that it often tastes even better the next day, as the flavors have more time to meld and deepen. Proper storage and reheating are key to enjoying your leftovers safely and deliciously.
- Refrigeration: Once your chicken chili has cooled to room temperature (within two hours of cooking), transfer it to an airtight container. It will keep beautifully in the refrigerator for up to 3-4 days. For convenience, you can store it in one large container for a family-style second dinner, or portion it out into individual containers for quick grab-and-go lunches throughout the week.
- Reheating on the Stovetop: The stovetop is often the best method for reheating chili as it allows for gentle, even heating without drying it out. Place the desired amount of chili in a covered saucepan over low to medium-low heat. Stir occasionally to prevent sticking and ensure uniform heating. Continue to heat until the chili is piping hot all the way through. If the chili appears too thick after refrigeration, you can add a splash or two of water or extra chicken broth to reach your desired consistency.
- Reheating in the Microwave: For individual servings, the microwave is a quick and efficient option. Transfer your portion of chili to a microwave-safe bowl. Cover it loosely with a microwave-safe lid or a piece of plastic wrap, leaving a small vent. Heat on high for 1-2 minutes, then stir thoroughly. Continue heating in 30-second increments, stirring after each, until the chili is heated through. Again, a little liquid can be added if it’s too thick.
Freezing for Future Comfort: Can I Freeze Extras?
- Absolutely! Chicken chili is an excellent candidate for freezing, making it perfect for meal prep or saving for those busy days when you need a quick, homemade meal. It freezes and thaws exceptionally well, retaining its delicious flavor and texture.
- Freezing Instructions: Allow the chili to cool completely to room temperature before freezing. This prevents ice crystals from forming and helps maintain quality. While you can freeze the entire batch in a large freezer-safe container, I highly recommend portioning it out into smaller, individual servings. This way, you can easily thaw and reheat just the amount you need. You can use sturdy freezer bags (lay them flat to freeze for easy stacking) or airtight freezer-safe containers. Leave a little headspace in containers as the chili will expand slightly when frozen.
- Storage Duration: Properly stored chicken chili will keep well in the freezer for up to 3 months. Beyond this time, it might start to lose some of its optimal flavor and texture, though it will likely still be safe to eat.
- Thawing and Reheating: When you’re ready to enjoy your frozen chili, the best method is to transfer the frozen portion to the refrigerator overnight to thaw. Once thawed, reheat it on the stovetop or in the microwave using the methods described above. If you’re in a pinch, you can reheat it directly from frozen on the stovetop over very low heat, stirring frequently, or in the microwave using shorter intervals and stirring often. A little extra broth might be needed during reheating.


Chicken Chili
Ingredients
- 2 tablespoons vegetable oil
- 1 pound boneless skinless chicken breasts, cut into 1-inch cubes
- 1 teaspoon salt, divided
- ¼ teaspoon freshly ground black pepper
- 1 small yellow onion, finely diced
- 3 cloves garlic, finely minced or pressed
- 2 teaspoons ground cumin
- 1 teaspoon chili powder
- ½ teaspoon smoked paprika (or ground cayenne pepper for more heat)
- ½ teaspoon dried oregano
- 2 (15-ounce) cans cannellini beans, rinsed and well drained
- 2 (4-ounce) cans chopped green chiles, undrained
- 6 cups low sodium chicken broth
- Tortilla chips, for serving
- Fresh Cilantro, chopped, for garnish
- Lime wedges and lime juice, for serving
Instructions
- Heat oil in a Dutch oven or large soup pot over medium-high heat.
- Season chicken with ½ teaspoon salt and ¼ teaspoon black pepper.
- Add chicken pieces to the hot oil and cook for 4 minutes until lightly browned. Remove chicken and set aside.
- Add onions to the pot and cook for 1 minute until softened.
- Stir in garlic, cumin, chili powder, paprika, and oregano; sauté for 3 more minutes until fragrant.
- Return chicken to the Dutch oven. Add the rinsed beans and green chiles.
- Pour in the chicken broth, scraping up all the browned bits from the bottom of the pot with a wooden spoon.
- Bring to a steady simmer, then reduce heat to low, cover, and cook for 10 minutes.
- Remove ¼ cup of the beans, transfer to a plate, and mash with the back of a fork. Return mashed beans to the pot and stir well, cooking for 1 more minute to thicken.
- Stir in a squeeze of lime juice (about 1-2 teaspoons). Remove pot from heat.
- Taste chili for salt and pepper; adjust accordingly.
- Ladle chili into bowls and top with tortilla chips, cilantro, and serve with lime wedges.
Equipment
- Dutch oven or Large Soup Pot
Nutrition
Calories: 288kcal | Carbohydrates: 29g | Protein: 29g | Fat: 8g | Saturated Fat: 5g | Trans Fat: 1g | Cholesterol: 48mg | Sodium: 1009mg | Potassium: 584mg | Fiber: 8g | Sugar: 1g | Vitamin A: 263IU | Vitamin C: 16mg | Calcium: 130mg | Iron: 5mg
Nutritional info is an estimate and provided as courtesy. Values may vary according to the ingredients and tools used. Please use your preferred nutritional calculator for more detailed info.
Discover More Cozy Comfort Food Creations
Craving more heartwarming and satisfying meals to share with your family? These beloved recipes are guaranteed to be a hit and become new staples in your kitchen!
- Hearty Guinness Beef Stew: A rich, robust stew perfect for chilly evenings, slow-cooked to perfection with tender beef and savory Guinness.
- Tuscan Baked Rigatoni: A creamy, cheesy pasta bake bursting with Italian flavors, ideal for a comforting family dinner.
- Creamy Chicken Gnocchi Soup: A velvety, delightful soup featuring tender chicken and soft potato gnocchi, offering pure comfort in every spoonful.