
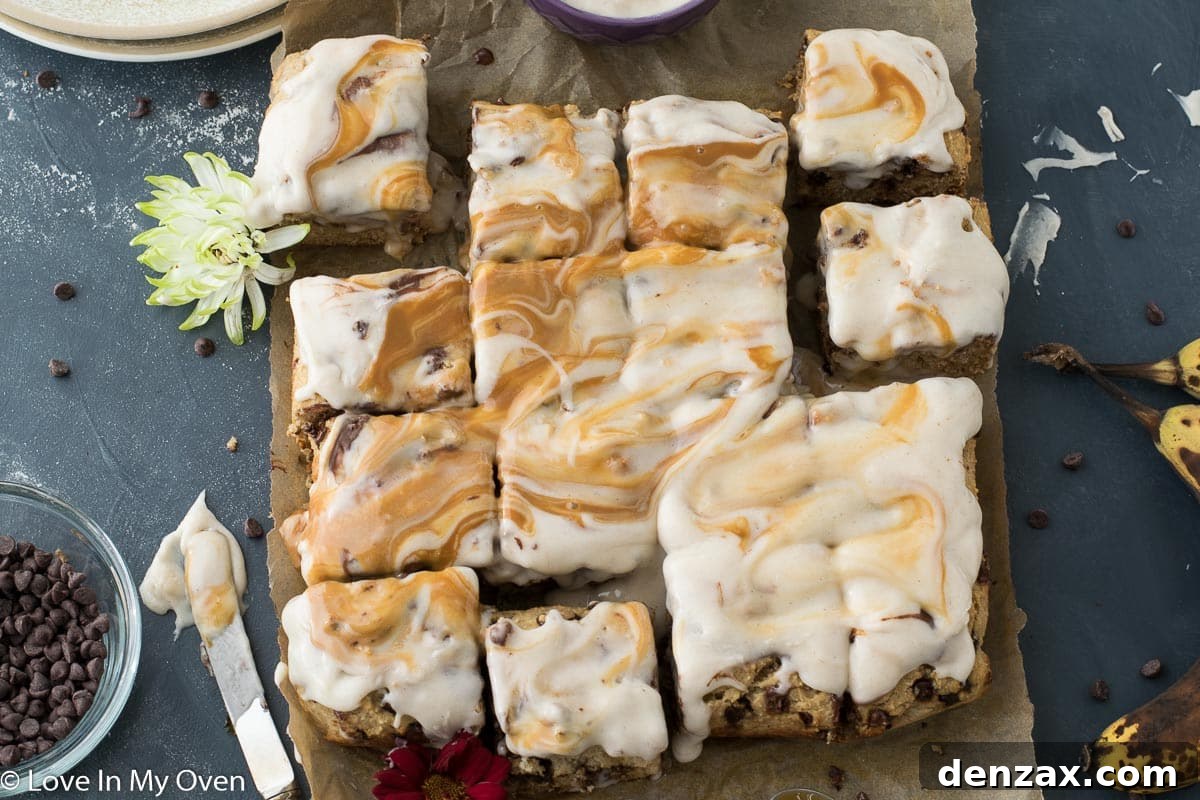
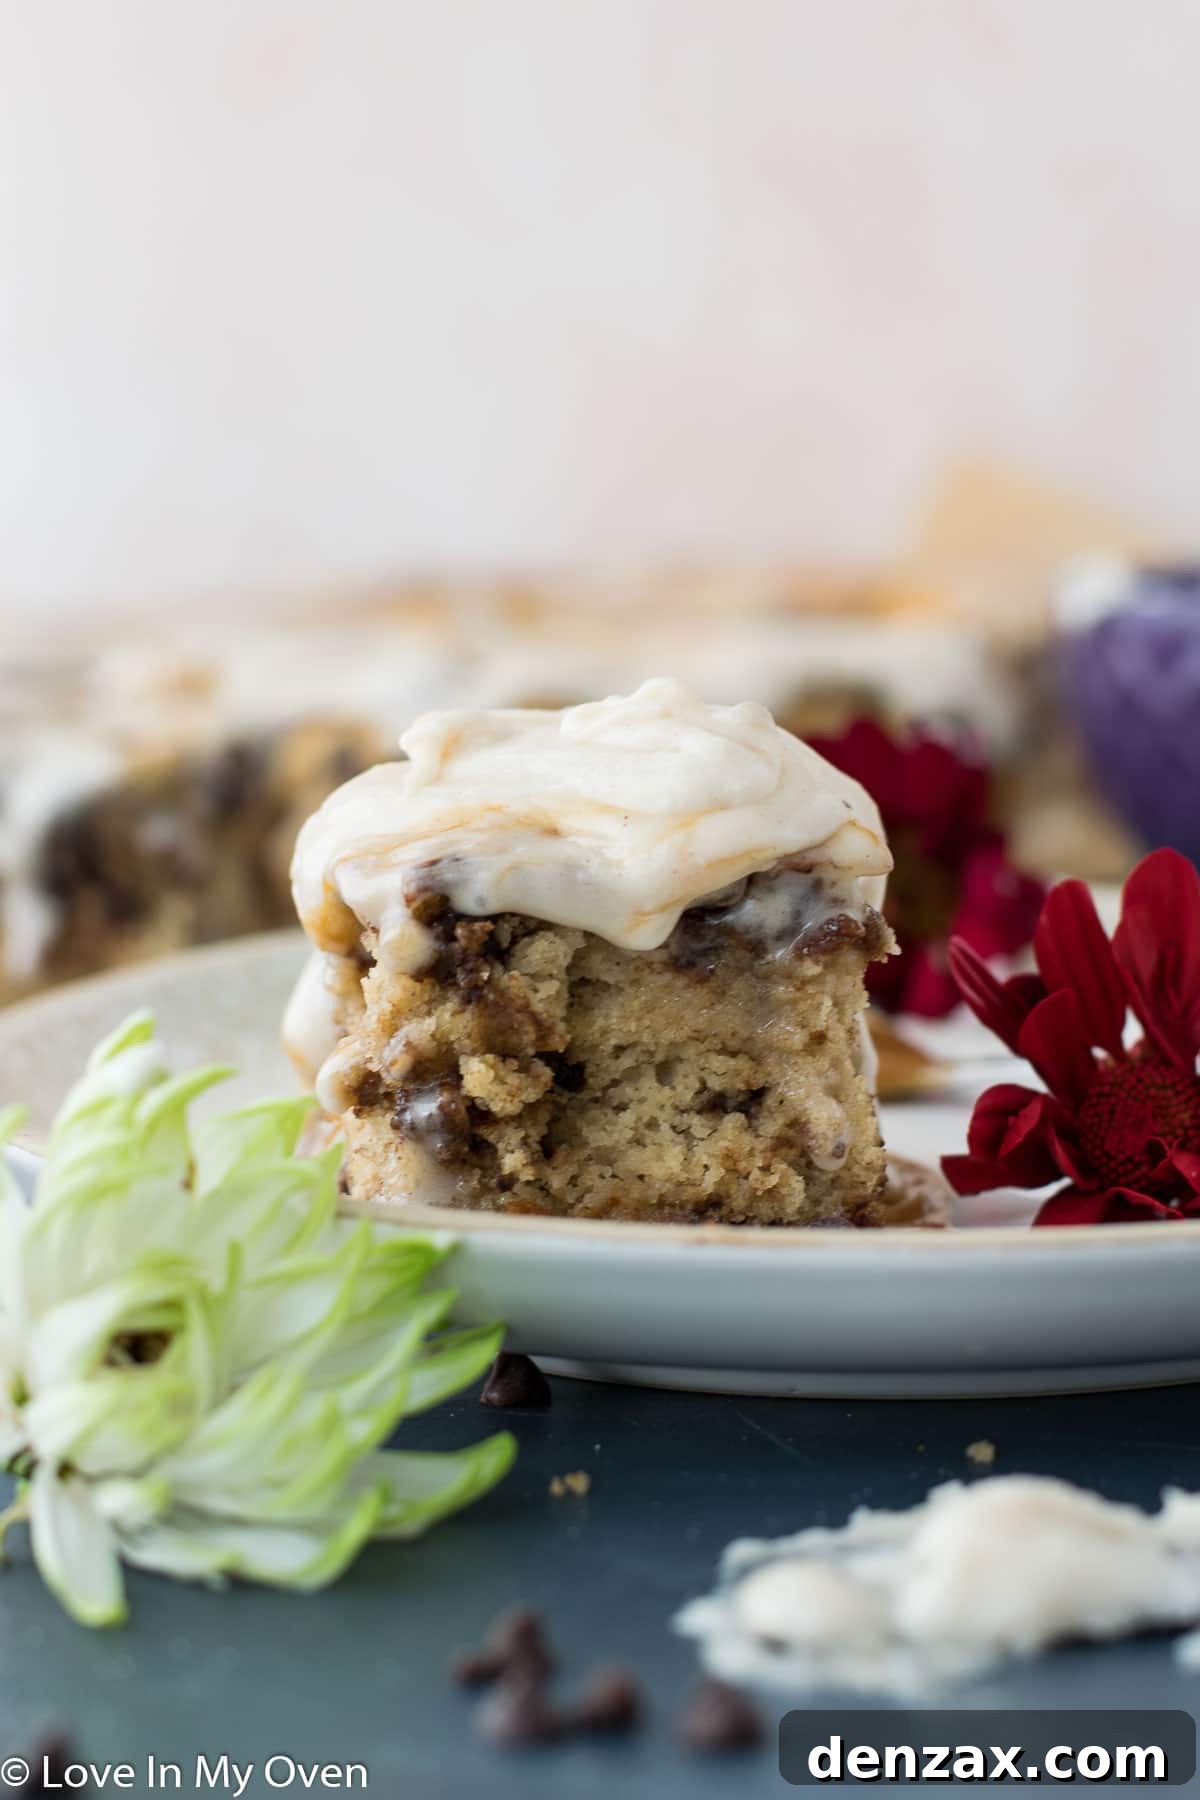
Indulge in a truly delightful treat with our Gluten-Free Banana Cake. Crafted with wholesome almond flour, a carefully selected gluten-free blend, and naturally sweetened, this moist and flavorful cake offers the perfect guilt-free pleasure for any afternoon snack, beautifully paired with your favorite coffee or tea.
Every home baker knows the familiar sight: a bunch of bananas sitting on the counter, slowly but surely transforming into a deep, mottled brown. While these overly ripe bananas might not look appealing for a fruit salad, they are a golden ticket to baking perfection, brimming with intense sweetness and moisture. When faced with these deliciously dark specimens, many of us default to time-honored solutions:
- Fluffy banana muffins, perfect for a quick breakfast or lunchbox treat.
- A classic, comforting banana bread, a staple that never disappoints.
- Chopping and freezing them for vibrant smoothies or a creamy, dairy-free “nice cream.”
These are all fantastic options, to be sure. But sometimes, the occasion calls for something a little different, a touch more celebratory, or simply an extra special indulgence. That’s when the thought of cake enters the picture! In our home, there’s rarely a shortage of cake, and I can assure you, no one’s complaining – well, perhaps my husband, Etienne, on days his trousers feel a little snug!
This particular Gluten-Free Banana Cake stands out as a lighter, more wholesome snack cake. It offers a wonderful alternative to traditional banana bread, providing that “extra special treat” feeling without being laden with excessive amounts of refined sugar or unhealthy fats. It’s a recipe designed to satisfy your sweet tooth while aligning with a healthier lifestyle, making it a perfect addition to your gluten-free baking repertoire.
What Makes This a Healthier Gluten-Free Banana Cake?
When we talk about a “healthier” cake, we’re not suggesting it’s a salad. Instead, it’s about making conscious choices that boost nutritional value and reduce less desirable ingredients, without compromising on flavor or texture. This healthy gluten-free banana cake recipe achieves exactly that through several key substitutions and inclusions:
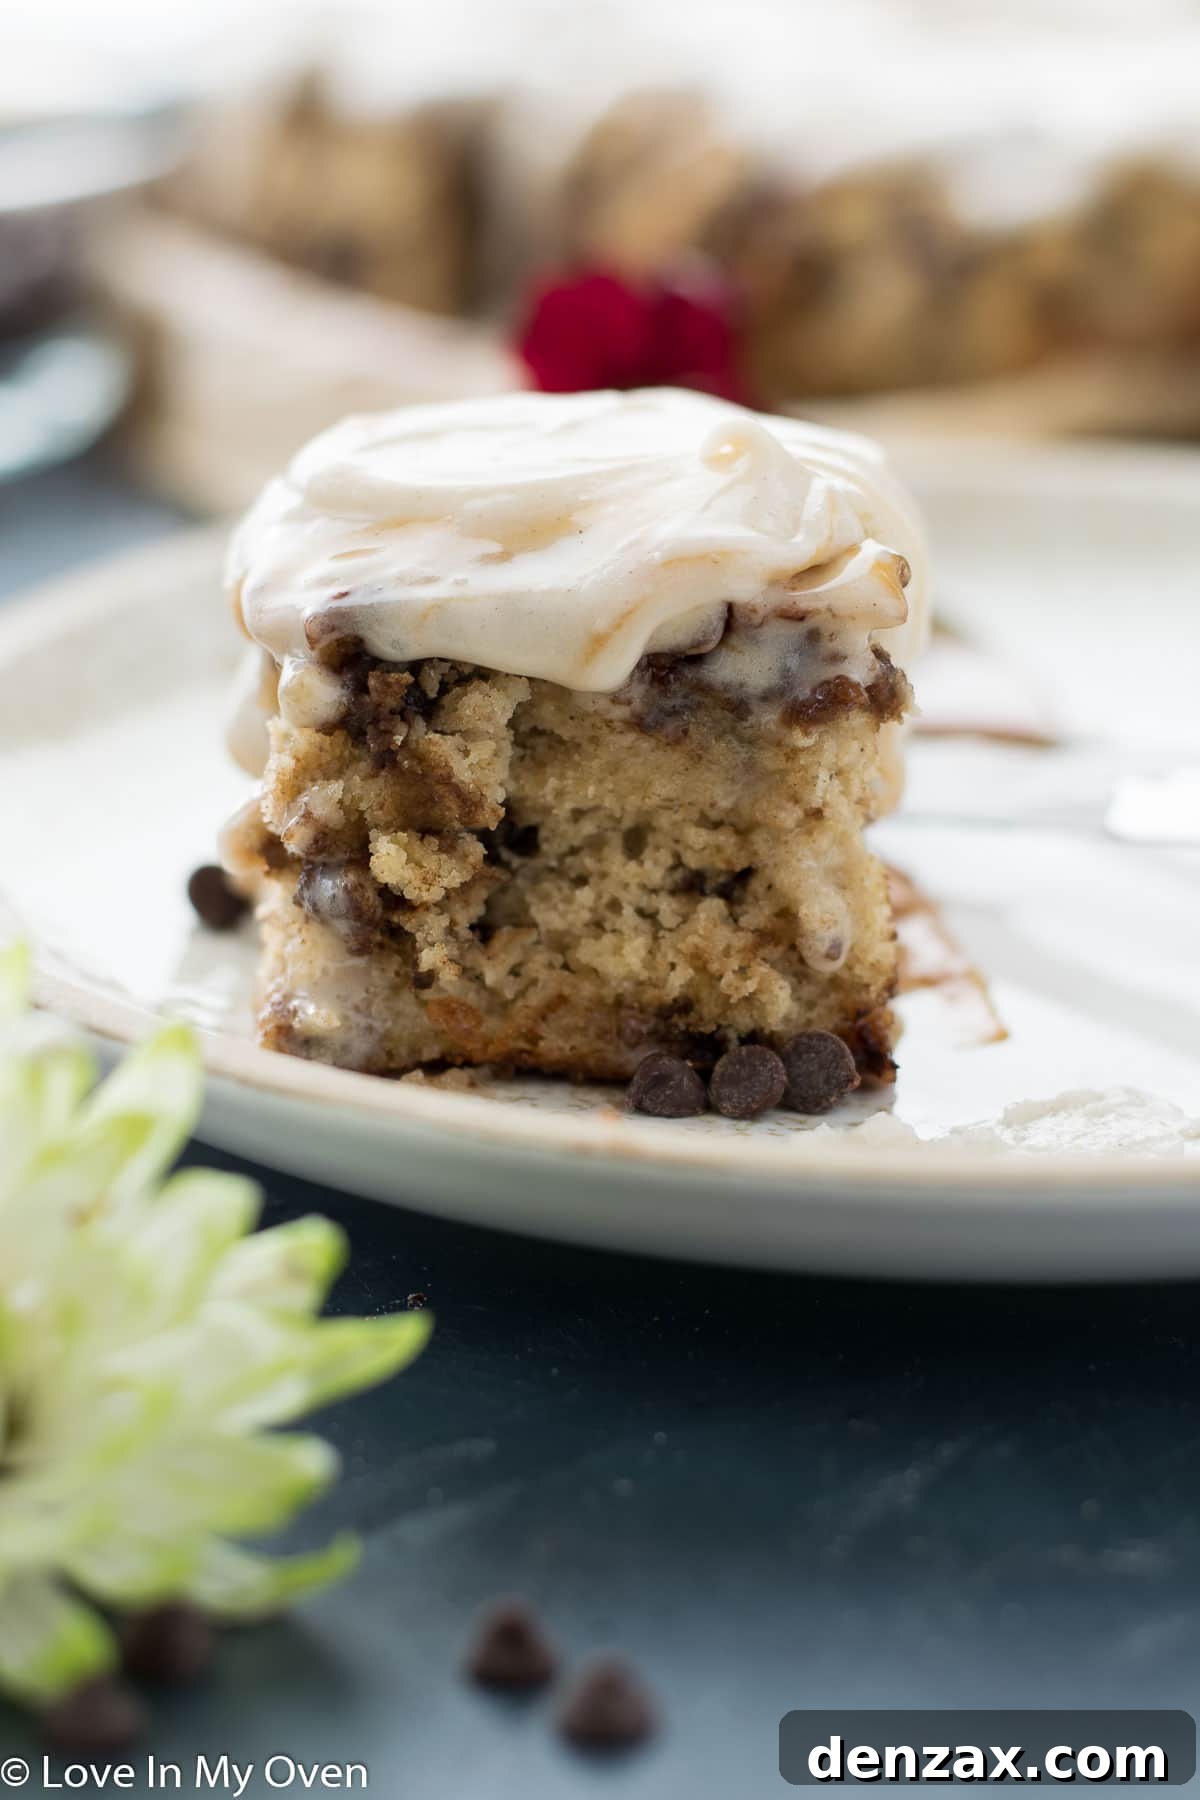
- The Power of Bananas: Beyond their inherent sweetness, ripe bananas are nutritional powerhouses. They provide essential vitamins like B6 and C, dietary fiber for digestive health, and potassium, which is crucial for heart function. Their natural sugars allow us to significantly cut back on added sweeteners, while their high moisture content contributes to the cake’s incredibly tender crumb.
- Maple Syrup for Natural Sweetness: Unlike many conventional banana cake recipes that rely on large quantities of refined white sugar, our recipe utilizes pure maple syrup. Maple syrup, a natural sweetener, offers a distinctive flavor profile that beautifully complements the bananas. While still a sugar, it contains beneficial minerals like manganese and zinc, and has a slightly lower glycemic index than table sugar. It adds depth and a rich, earthy sweetness without the harshness of refined sugars.
- Dairy-Free Yogurt and Avocado Oil for Moisture: Traditional cakes often call for copious amounts of butter or vegetable oil. Here, we achieve superb moisture and a tender texture using dairy-free yogurt and a modest two tablespoons of avocado oil. Dairy-free yogurt contributes a creamy tang and helps create a soft, moist crumb without adding saturated fat. Avocado oil is an excellent source of monounsaturated fats, which are heart-healthy, and has a neutral flavor that won’t overpower the delicate banana notes. This combination significantly reduces the overall fat content compared to recipes using a full cup of oil or butter, while enhancing both flavor and texture.
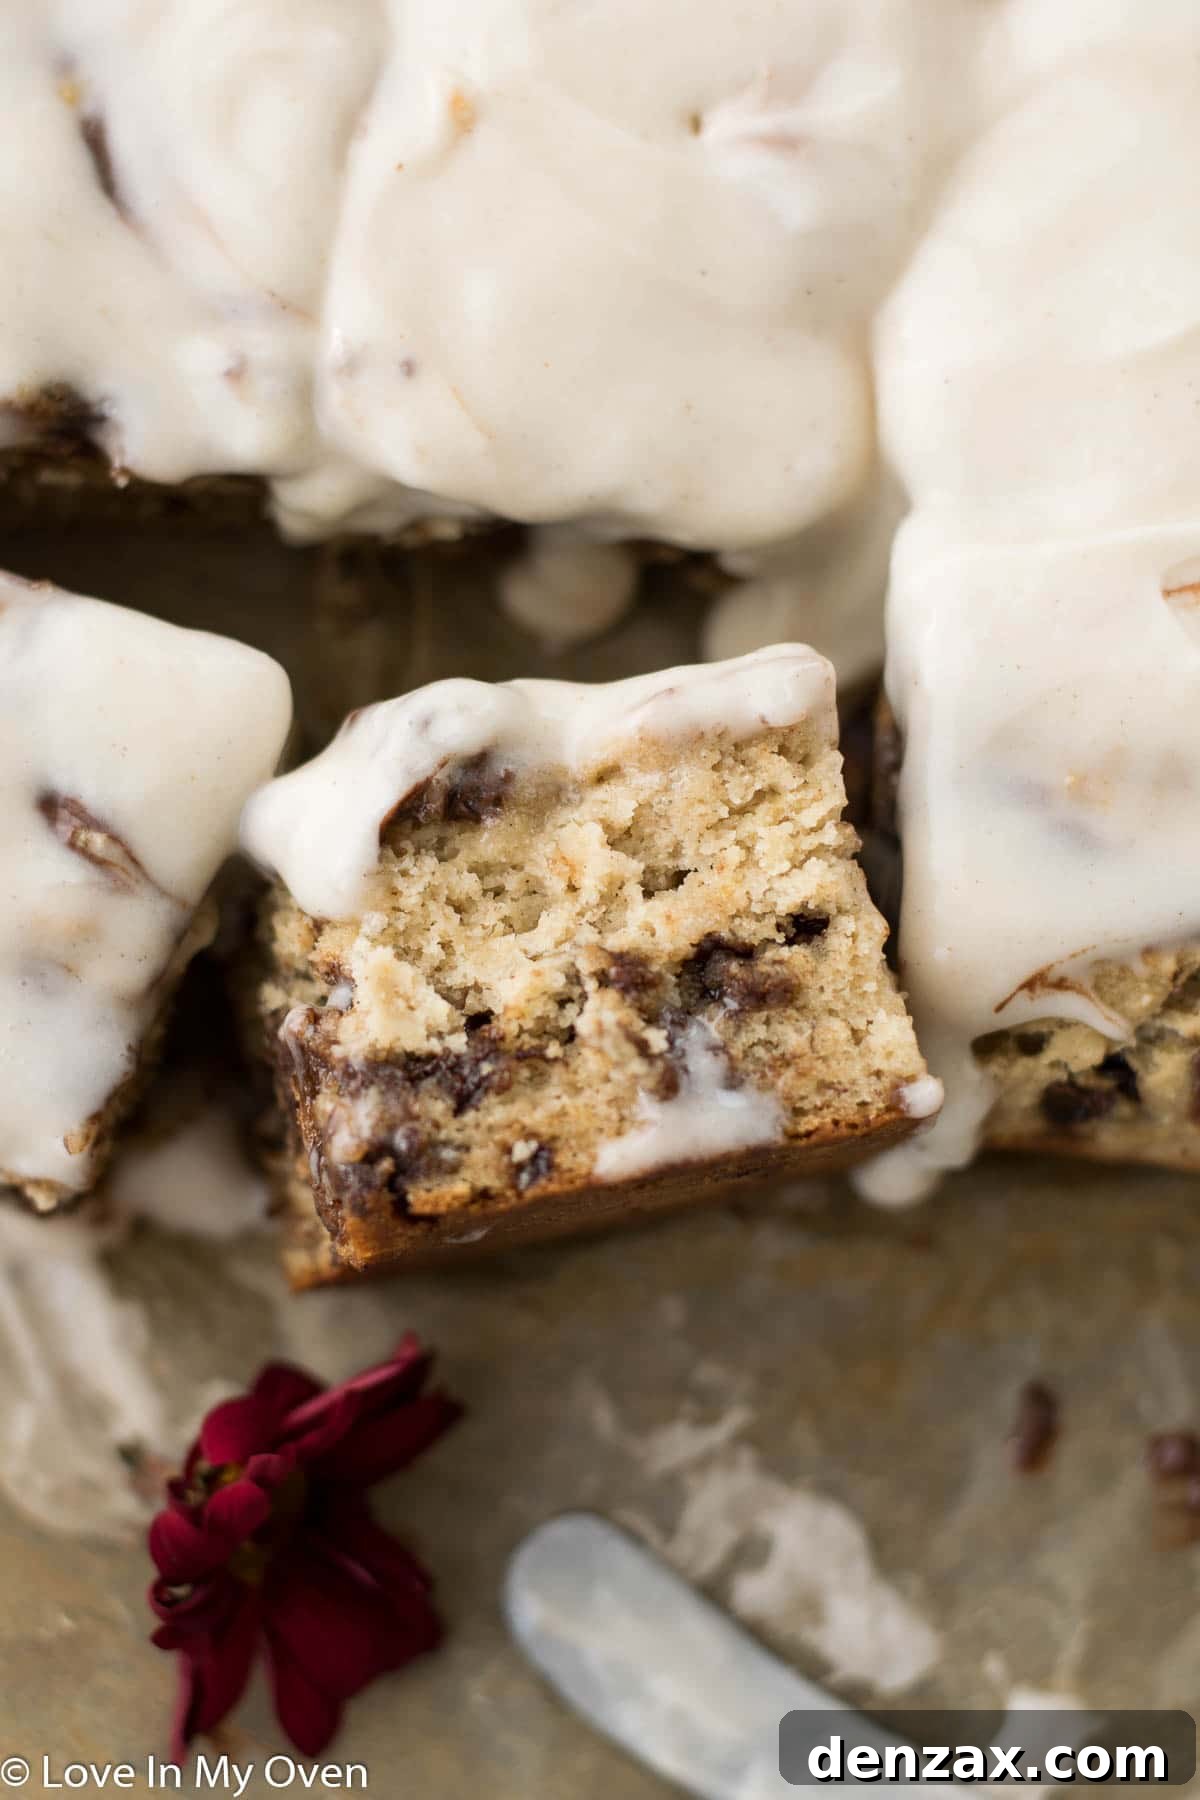
- Nutrient-Rich Flour Blend: To ensure this cake is truly gluten-free without sacrificing structure or taste, we’ve combined a versatile gluten-free flour blend with almond flour. Almond flour is a fantastic choice for gluten-free baking, adding a boost of protein, healthy fats, and fiber. It also contributes to a wonderfully moist and tender crumb, preventing the dry, crumbly texture sometimes associated with gluten-free baked goods. The blend ensures the cake holds together beautifully while offering superior nutritional benefits.
You can enjoy this gluten-free snack cake as is, without frosting, for a truly “cleaner” treat. Or, for those moments when you desire a touch of indulgence, enhance it with our simple low-fat frosting, or even your personal favorite frosting recipe. The versatility means you can tailor it perfectly to your preference and dietary goals.
Crafting Your Perfect Gluten-Free Banana Cake: A Step-by-Step Guide
Creating this delicious and healthier banana cake is a straightforward process, making it accessible even for novice bakers. The key to its success lies in careful ingredient selection and gentle mixing. Let’s walk through each step to ensure your homemade gluten-free banana cake turns out perfectly moist and flavorful.
1. Selecting and Preparing Your Bananas
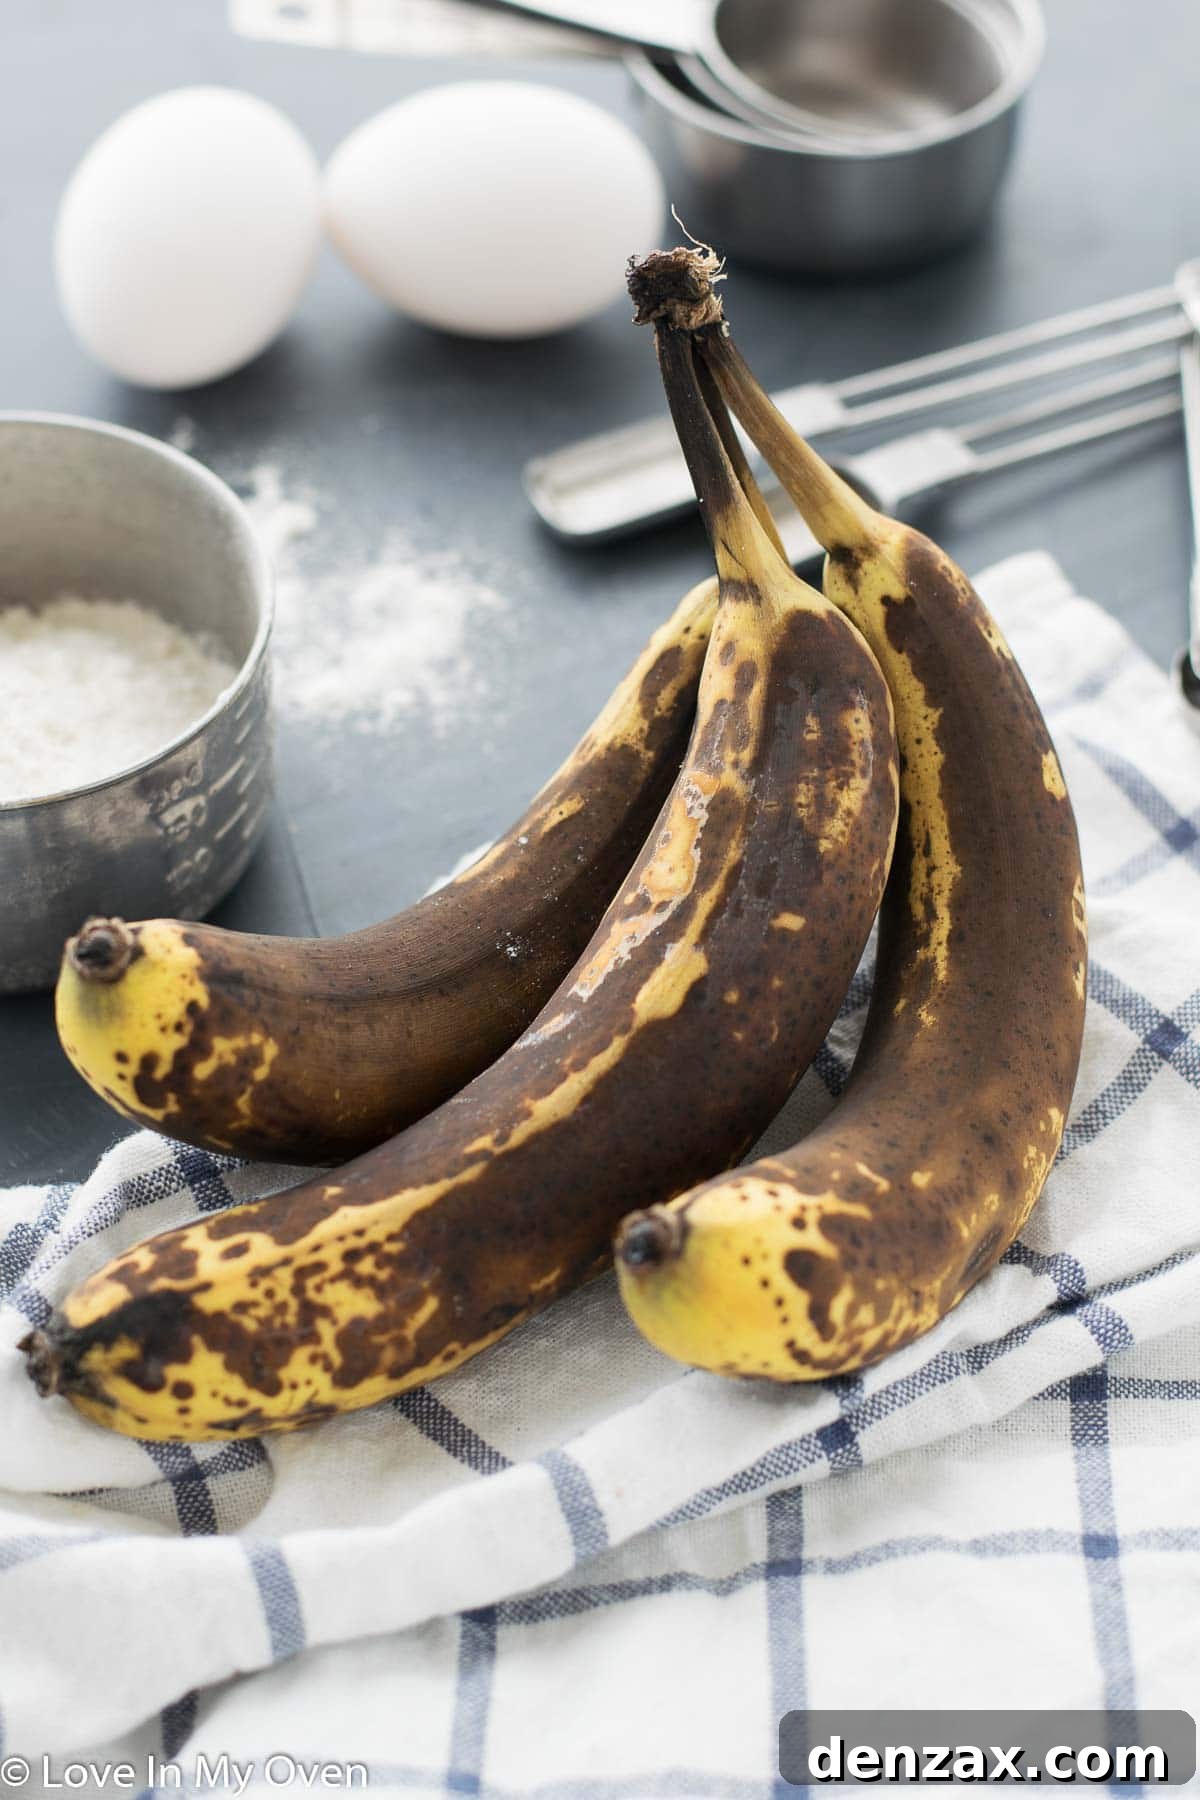
First and foremost, the secret to the ultimate sweetness and moisture in this banana cake lies in your bananas. Be sure to choose VERY ripe bananas – those with plenty of brown spots and even some black areas on their skins. This ripeness indicates a higher sugar content and a softer texture, making them easier to mash and ensuring a naturally sweet and intensely banana-flavored cake. Less ripe bananas will result in a drier, less flavorful cake that might require additional sweetener.
Once you have your perfectly ripe bananas, mash them thoroughly in a large mixing bowl. The goal is to achieve a completely smooth, lump-free consistency. You can use a fork, a potato masher, or even an electric mixer for this step. Ensuring the bananas are fully incorporated will give your cake a uniform texture.
2. Combining the Wet Ingredients
After mashing your bananas, whisk in the eggs until the mixture is completely smooth and evenly combined. The eggs serve as a binder, adding structure and moisture to the cake. Next, incorporate the maple syrup and dairy-free yogurt, whisking well after each addition to ensure everything is thoroughly blended. The yogurt contributes to the cake’s tender crumb and tangy flavor, while the avocado oil adds healthy fats and ensures a rich, moist texture. Finally, add the pure vanilla extract, giving the wet mixture a fragrant aroma. Set this bowl aside while you prepare your dry ingredients.
3. Preparing the Dry Ingredients
In a separate, medium-sized bowl, it’s crucial to sift together your dry ingredients. Sifting helps to aerate the flours and leavening agents, preventing lumps and ensuring an even distribution throughout the batter. This step is particularly important in gluten-free baking to achieve a light, consistent texture. Sift together:
- Almond flour
- Gluten-free flour blend
- Baking soda (for lift and tenderness)
- Baking powder (additional lift)
- Ground cinnamon (for warmth and spice)
- Salt (to balance the sweetness and enhance flavors)
Gently whisk these sifted dry ingredients together until they are well combined. This ensures that the leavening agents are evenly distributed, leading to a beautifully risen cake.
4. Bringing it All Together
Now, carefully add the wet ingredients from the first bowl to the sifted dry ingredients. Using a large mixing spoon or spatula, gently fold everything together. Mix just until there are no remaining dry streaks of flour. It’s essential not to overmix, especially with gluten-free flours, as overmixing can lead to a dense or gummy texture. A few small lumps are perfectly fine and often preferred. If you’re using them, now is the time to add the mini dairy-free chocolate chips. Give the batter another gentle stir to distribute them evenly throughout the mixture.
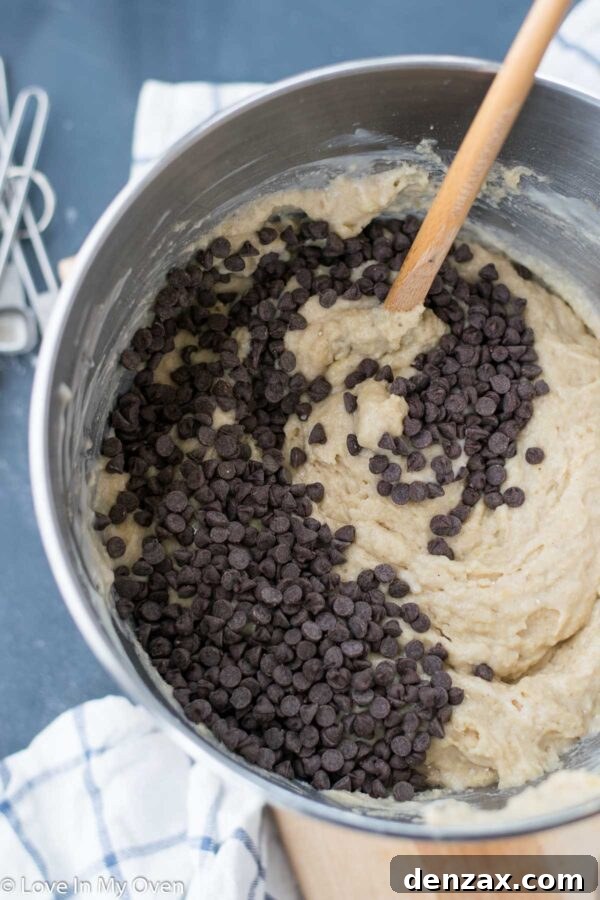
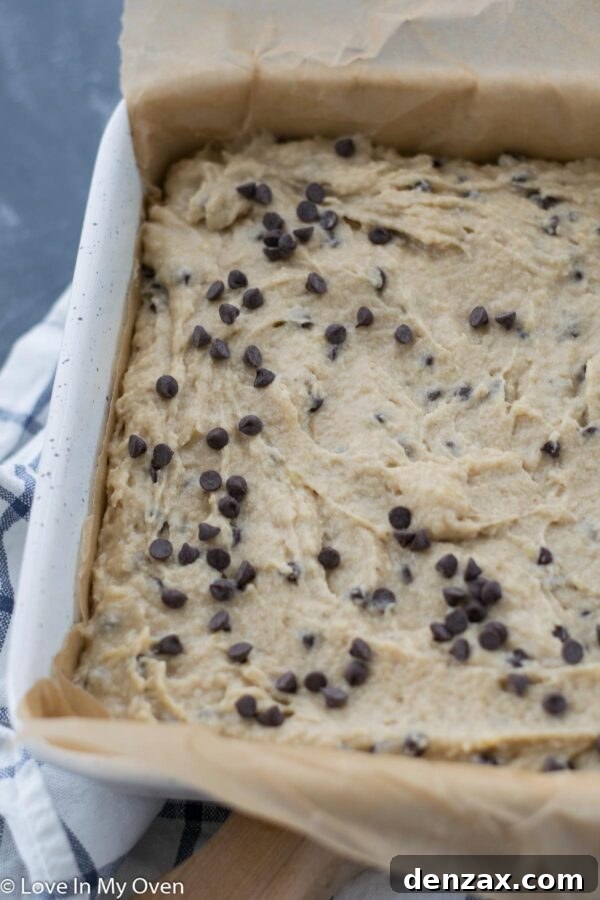
5. Baking and Cooling
Preheat your oven to 350°F (175°C). Prepare an 8×8 inch baking pan by lining it with parchment paper, allowing a bit of overhang on the sides. This thoughtful step will make it incredibly easy to lift the cooled cake out of the pan without any sticking or breakage. Pour the prepared batter evenly into the lined baking pan and use the back of your spoon or a spatula to gently smooth out the top.
Bake the cake for approximately 26-28 minutes, or until a wooden toothpick inserted into the center comes out clean. Baking times can vary depending on your oven, so keep an eye on it. The cake should be golden brown and spring back slightly when gently pressed. Once baked, remove the cake from the oven and allow it to cool completely in the pan on a wire rack before attempting to serve or frost. Cooling completely is crucial for the cake’s structure and makes frosting much easier.
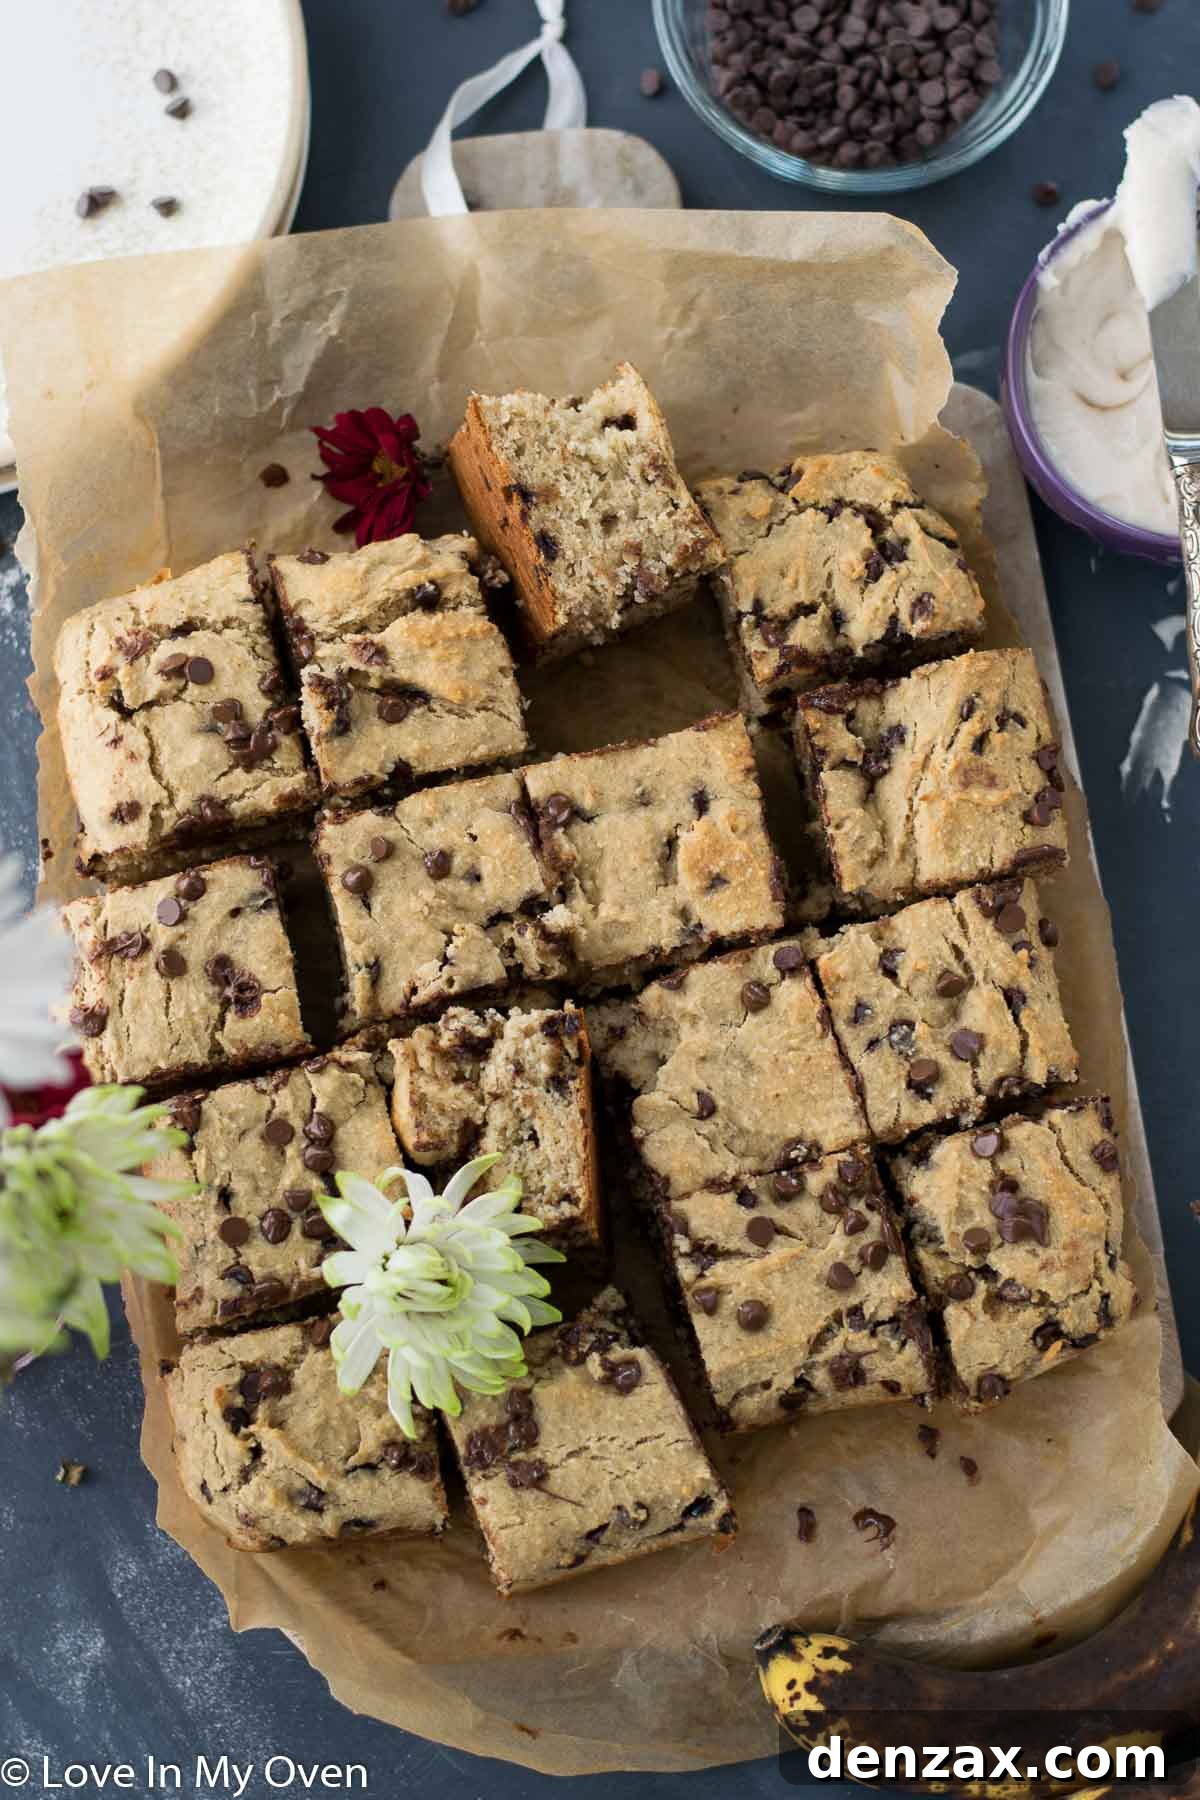
Elevating Your Gluten-Free Banana Cake with Frosting
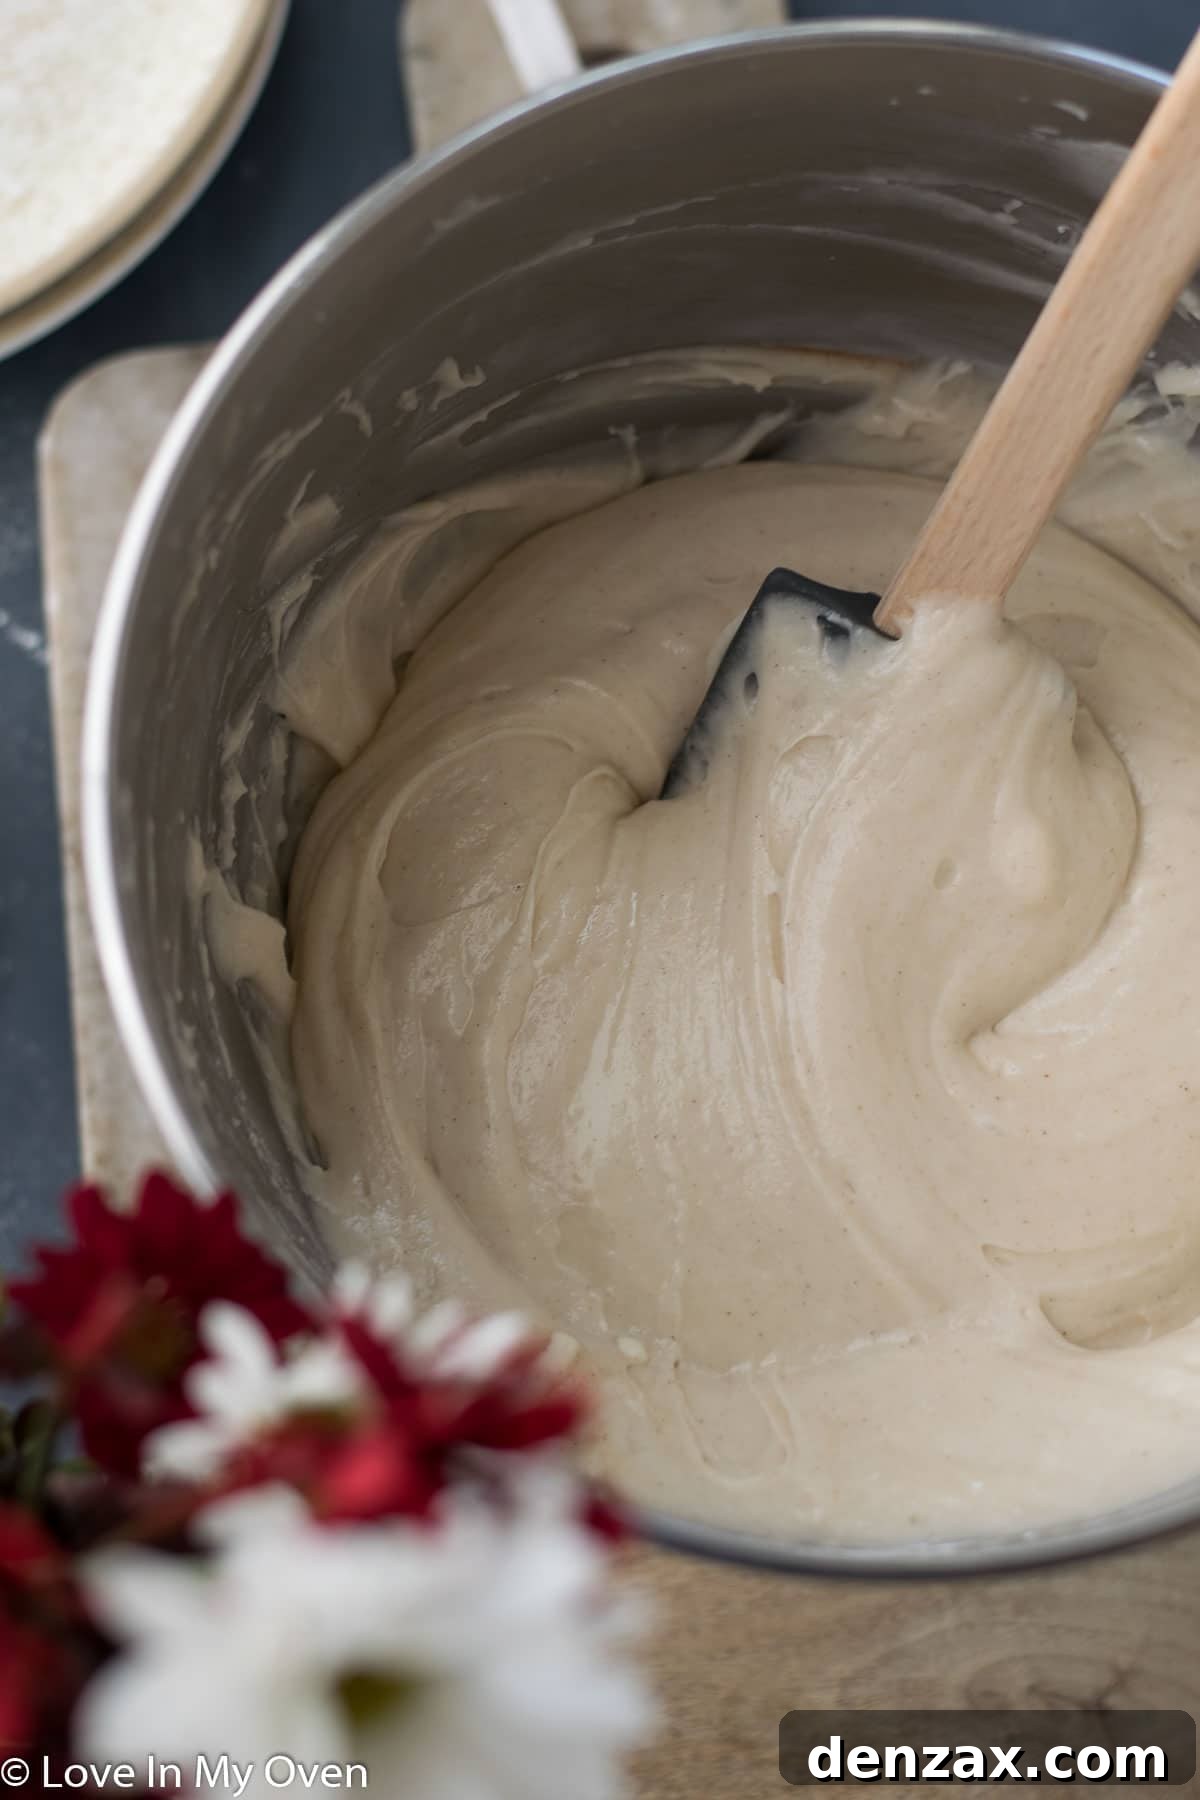
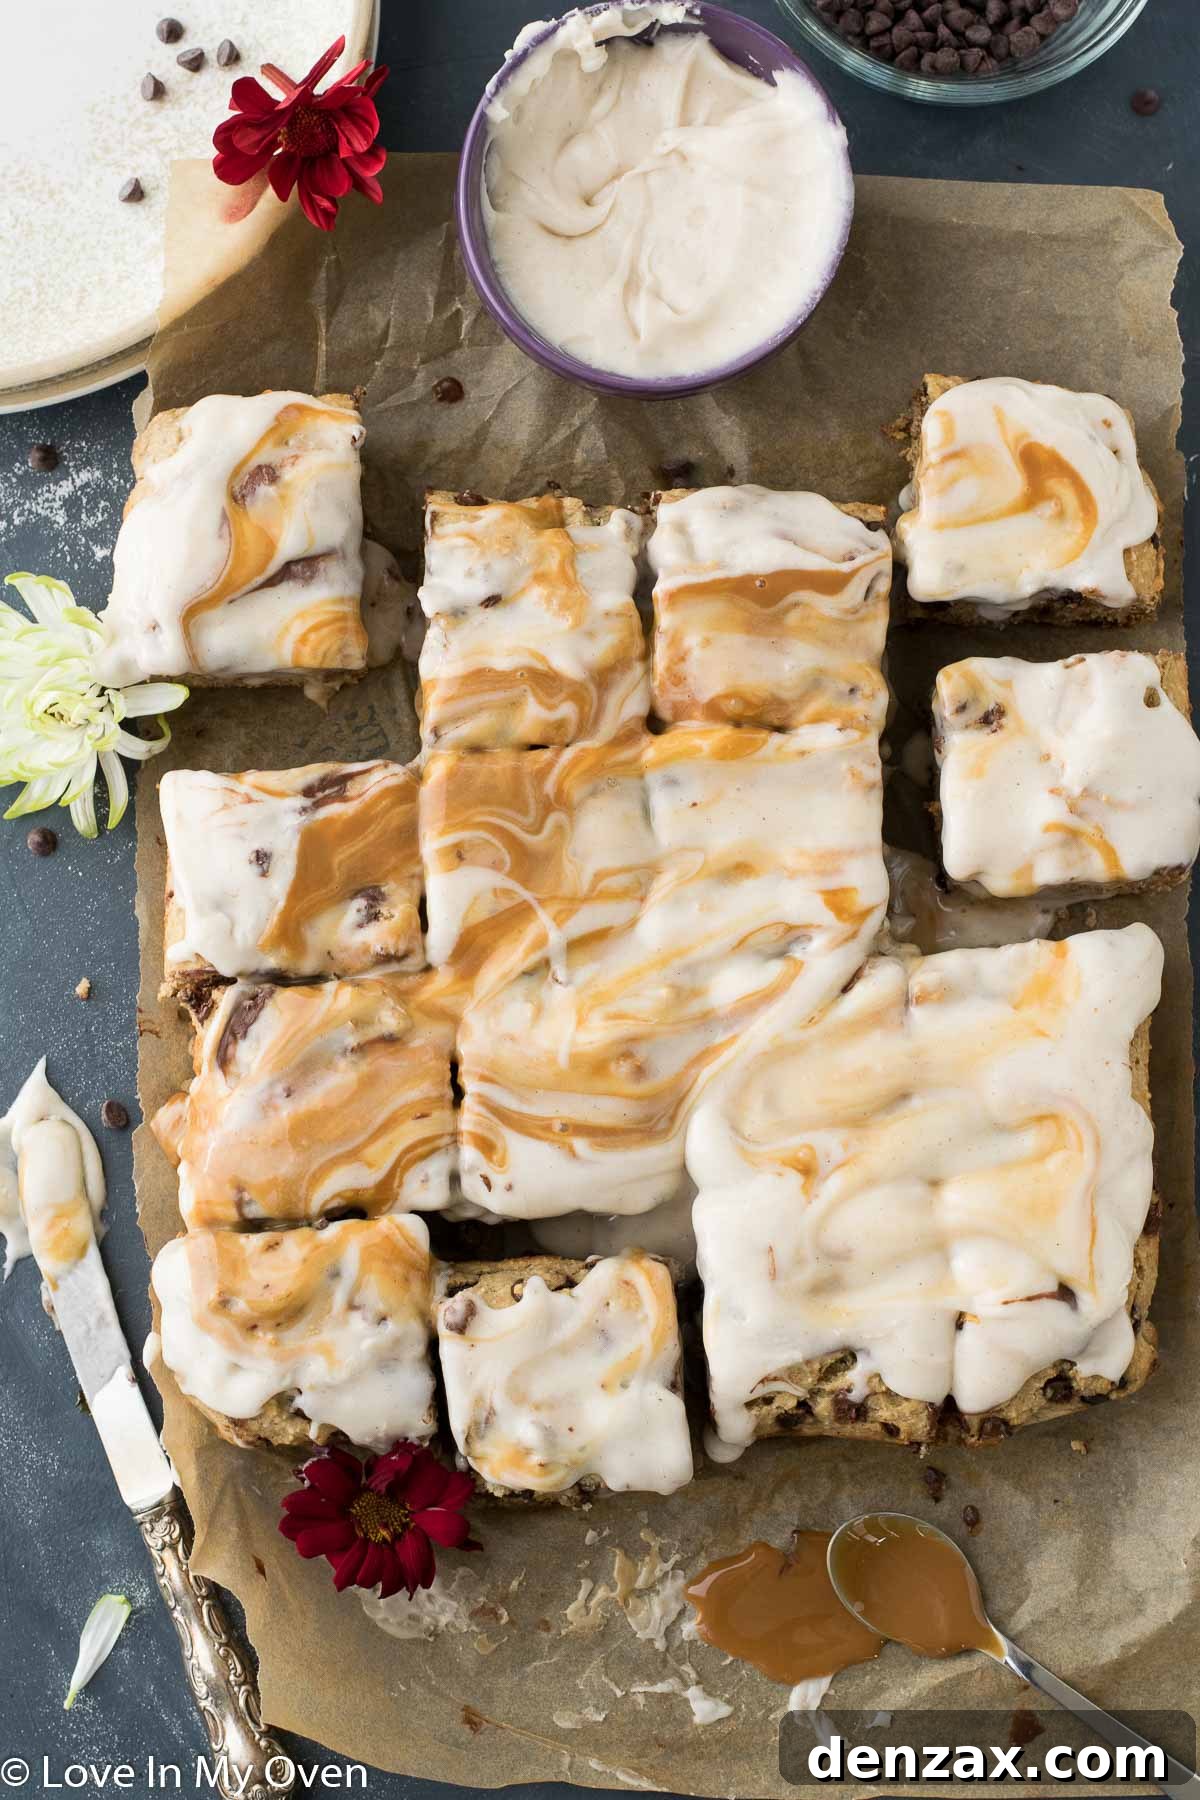
While this gluten-free banana cake is absolutely delicious on its own, adding a layer of frosting can transform it into an even more decadent dessert. We’ve included a recipe for a simple yet incredibly flavorful dairy-free cinnamon vanilla frosting that perfectly complements the rich banana flavors. It’s a delightful way to add an extra touch of sweetness and creamy texture. Do note that the addition of powdered sugar means this part of the cake will be a bit less “healthy” than the cake itself, but it’s a worthwhile indulgence!
Preparing the Dairy-Free Cinnamon Vanilla Frosting
To whip up this luscious frosting, you’ll need the following ingredients: 1/2 cup of softened vegan (dairy-free) butter, approximately 1 1/2 to 2 cups of powdered sugar, 1 teaspoon of ground cinnamon, and 2 teaspoons of pure vanilla extract. The key to a smooth, spreadable consistency is the gradual addition of dairy-free milk.
- In the bowl of a stand mixer fitted with the paddle attachment (or using a hand mixer), beat the softened vegan butter on medium speed until it’s light and fluffy, usually for about 2-3 minutes. This step is crucial for achieving a smooth, creamy base.
- Gradually add the powdered sugar, one cup at a time, beating until fully incorporated. You might start with 1 1/2 cups and add more if you prefer a thicker, sweeter frosting.
- Stir in the ground cinnamon and pure vanilla extract. The cinnamon adds a wonderful warmth that pairs beautifully with the banana, and vanilla enhances the overall sweetness.
- Finally, add the dairy-free milk, starting with one tablespoon and adding more (up to two tablespoons total) until you reach your desired smooth, spreadable consistency. You want it loose enough to spread easily but firm enough to hold its shape.
A Touch of Dulce de Leche Magic (Optional)
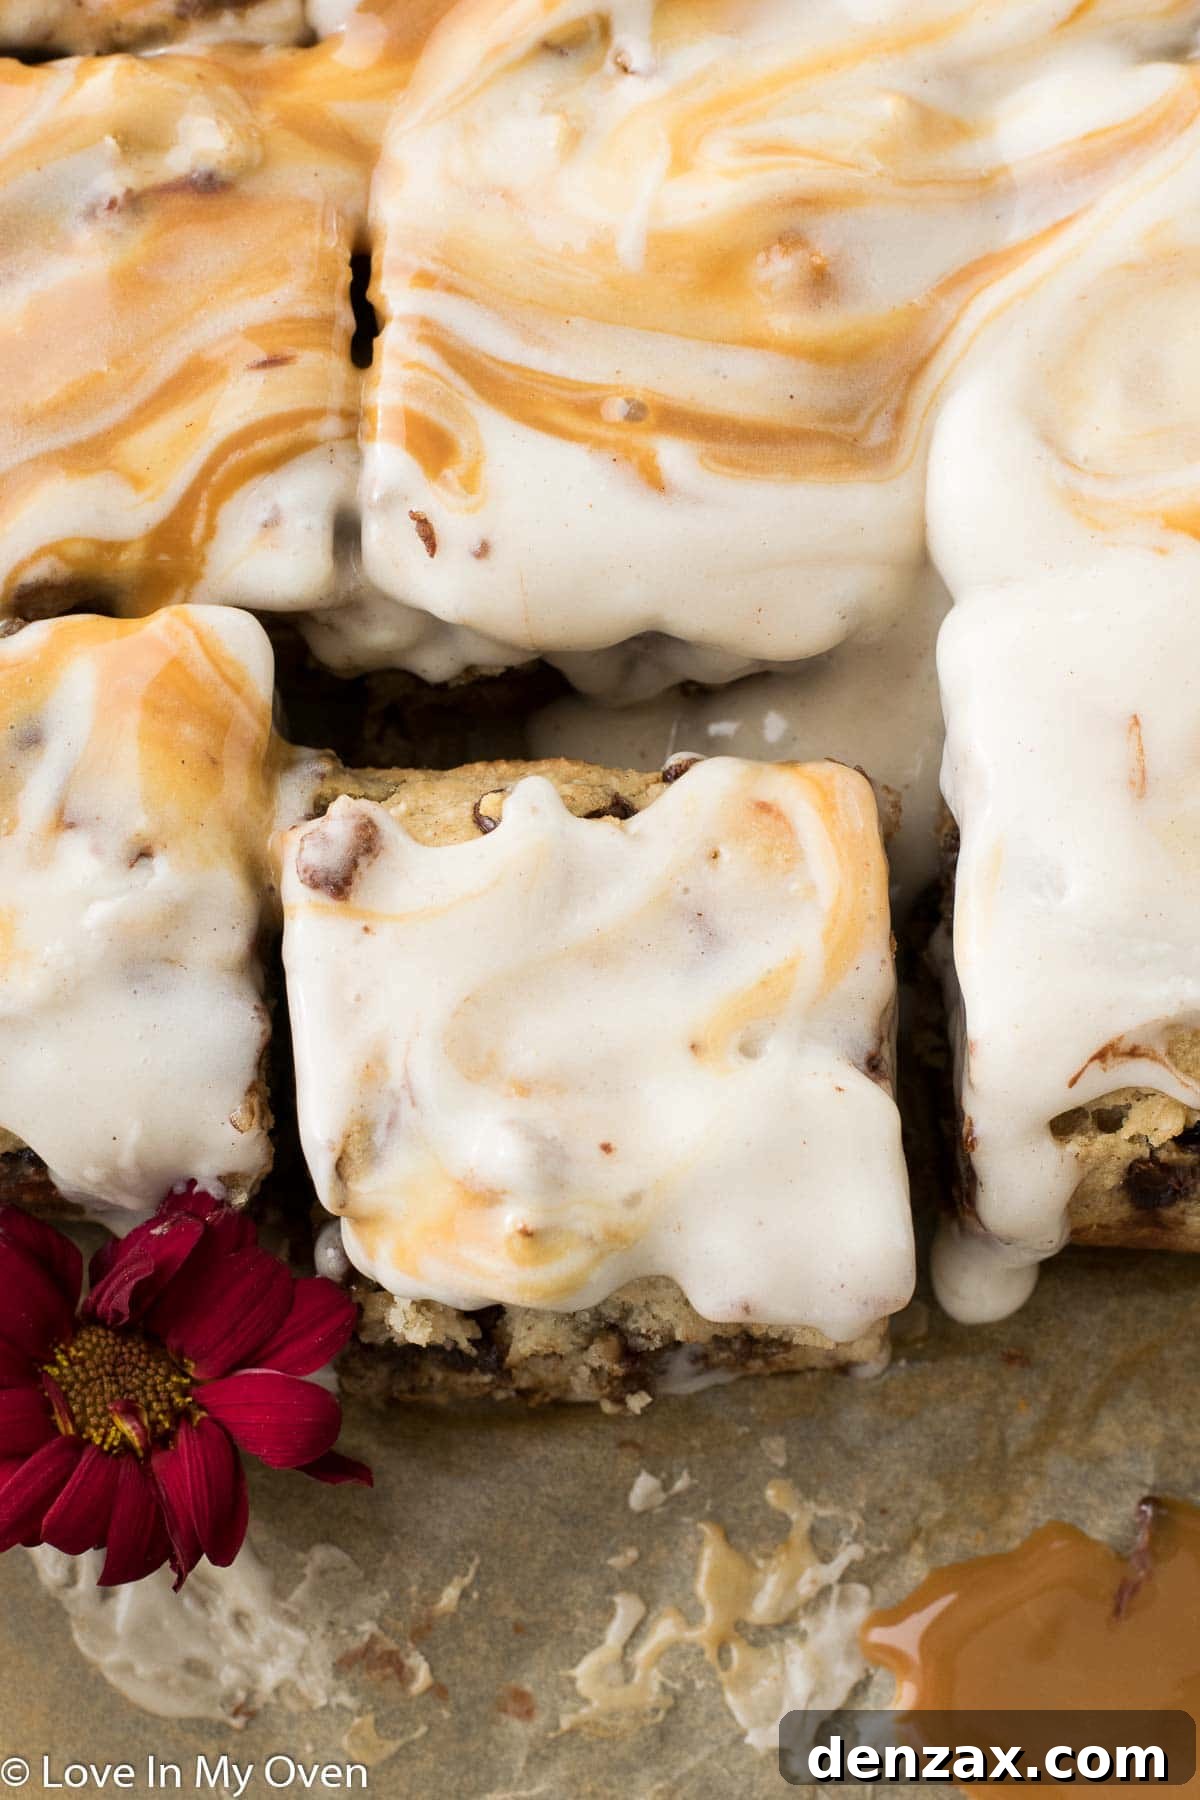
For those feeling a little extra creative and craving an additional layer of rich, caramel-like flavor, swirling in some dulce de leche on top of your frosted cake is an absolute game-changer. The creamy caramel notes beautifully enhance the banana and cinnamon, creating a truly irresistible treat. To do this, simply drop a couple of tablespoons of dulce de leche randomly over your freshly frosted cake. Then, take a knife or a skewer and gently swirl it through the frosting, creating beautiful marble patterns. The combination of textures and flavors is incredibly delicious!
Is This Gluten-Free Banana Cake Vegan?
This gluten-free banana cake recipe is designed to be both gluten-free and dairy-free, catering to those with specific dietary needs or preferences for a lighter treat. However, it is important to note that the cake, as written, is not vegan due to the inclusion of two eggs in the batter. The eggs play a vital role in the cake’s structure, acting as a binder to hold the gluten-free flours together and contributing to its moist, tender texture.
While I have not personally tested substituting the eggs with a vegan alternative, such as flax eggs (1 tablespoon ground flaxseed meal + 3 tablespoons water per egg), or commercial egg replacers, it might be possible to adapt the recipe. If you decide to experiment with vegan egg substitutes, please do let me know your results! The success of a vegan conversion often depends on the specific characteristics of the egg replacer and how it interacts with the other ingredients in a gluten-free context.
Regardless of whether you opt for the frosting or not, I’m confident you can feel pretty good about indulging in this wholesome and flavorful banana cake. It’s a treat that balances deliciousness with mindful ingredients, making it a perfect choice for nearly everyone.
Scaling and Storing Your Gluten-Free Banana Cake
One of the beauties of this easy gluten-free banana cake recipe is its flexibility. If you’re hosting a larger gathering, preparing for meal prep, or simply want more delicious cake on hand, you can absolutely double the recipe!
Doubling the Recipe
To double this recipe, simply multiply all the ingredient quantities by two. Instead of an 8×8 inch pan, you’ll want to use a larger 9×13 inch baking pan. The increased surface area means the bake time should remain approximately the same, around 26-28 minutes, but always use the toothpick test to confirm doneness. If you plan to frost the doubled cake, you can also easily double the frosting ingredients to ensure you have plenty to spread generously.
Storage and Freezing Tips
This moist gluten-free banana cake is best enjoyed fresh, within a day or two of baking. It tends to become a bit drier after a couple of days at room temperature, which is common for many gluten-free baked goods due to the absence of gluten structure.
- Room Temperature: Store unfrosted cake in an airtight container at room temperature for up to 2 days. If frosted, refrigerate after the first day.
- Refrigeration: For longer storage, or if your cake is frosted, keep it in an airtight container in the refrigerator for up to 5 days. Be aware that refrigeration can sometimes alter the texture of gluten-free cakes, making them a little firmer. Allow slices to come to room temperature before serving for the best experience.
- Freezing: This banana cake freezes beautifully, making it an excellent option for long-term storage or for having individual portions ready to thaw. If you anticipate not finishing the entire cake within a few days, I highly recommend freezing half of it.
- To freeze: Ensure the cake is completely cooled. You can freeze it whole, in halves, or as individual slices. Wrap the cake tightly in plastic wrap, then an additional layer of aluminum foil to prevent freezer burn.
- Storage time: Frozen cake can be stored for up to 2 months.
- To thaw: Transfer the desired pieces from the freezer to the refrigerator overnight. You can also quickly thaw individual slices at room temperature for an hour or two, or gently warm them in the microwave for 15-30 seconds until soft.
By following these tips, you can enjoy this delicious healthy banana cake for days, or even weeks, to come!
Enjoy every delightful bite!
If you loved this recipe, be sure to explore some of our other fantastic cakes and cupcakes from the blog:
- Healthy Chocolate Peanut Butter Sheet Cake
- 3-Ingredient Chocolate Mug Cake
- Healthy Birthday Cake
Print Recipe

Gluten Free Banana Cake
5 Stars
4 Stars
3 Stars
2 Stars
1 Star
5 from 1 review
- Author: Katherine | Love In My Oven
- Total Time: 45 minutes
- Yield: 14–16 pieces
- Diet: Gluten Free
Description
Made with almond flour, gluten-free flour, and naturally sweetened, this gluten-free banana cake is a great afternoon snack with a coffee or tea!
Ingredients
- 3 very ripe bananas (about 1 1/2 cups)
- 2 eggs
- 1/2 cup dairy-free plain yogurt
- 2 tbsp avocado oil
- 1/4 cup pure maple syrup
- 1 tsp pure vanilla extract
- 1 cup almond flour
- 1 1/2 cups gluten-free flour blend
- 1 tsp baking powder
- 1 tsp baking soda
- 1/2 tsp ground cinnamon
- 1/4 tsp salt
- optional: 1/2 cup mini dairy-free chocolate chips
Frosting
- 1/2 cup vegan (dairy-free) butter, softened to room temperature
- 1 1/2 – 2 cups powdered sugar
- 1 tsp ground cinnamon
- 2 tsp pure vanilla extract
- 1–2 tbsp dairy-free milk
Prevent your screen from going dark
Instructions
- Preheat the oven to 350°F (175°C) and line an 8×8 inch baking pan with parchment paper, leaving a bit of overhang on the sides. In a large mixing bowl, mash the bananas until nearly liquid, with no large lumps remaining. Add the eggs and whisk thoroughly. Add in the yogurt, avocado oil, maple syrup, and vanilla and combine. Set aside.
- In another large bowl, sift together the almond flour with the gluten-free flour. Add in the baking powder, baking soda, cinnamon, and salt. Add the dry ingredients to the wet ingredients and stir gently with a large wooden spoon. If you’re using the chocolate chips, add them now and gently stir them into the batter.
- Pour the batter into the prepared cake pan and place the cake in the oven to bake for 26-27 minutes, or until a toothpick inserted in the center comes out clean. Remove the cake from the oven and allow it to cool completely before grabbing the sides of the parchment, and lifting the cake out of the pan and onto a cooling rack. Cut and serve, or make the frosting.
- Make the frosting. In the bowl of a stand mixer fitted with the paddle attachment, beat the dairy-free butter until smooth, before adding in the powdered sugar, cinnamon, and vanilla extract. Add the dairy-free milk, a little at a time, until a smooth consistency is met. Frost the cooled cake and serve immediately.
Leftover cake can be stored at room temperature for a day or two, but then should be refrigerated or frozen any longer than that. It can be frozen for up to 2 months.
Notes
*Any dairy-free options can be substituted for full dairy products if dairy is not a concern for you.
- Prep Time: 20 minutes
- Cook Time: 25 minutes
- Category: cake
- Method: oven bake
- Cuisine: american