
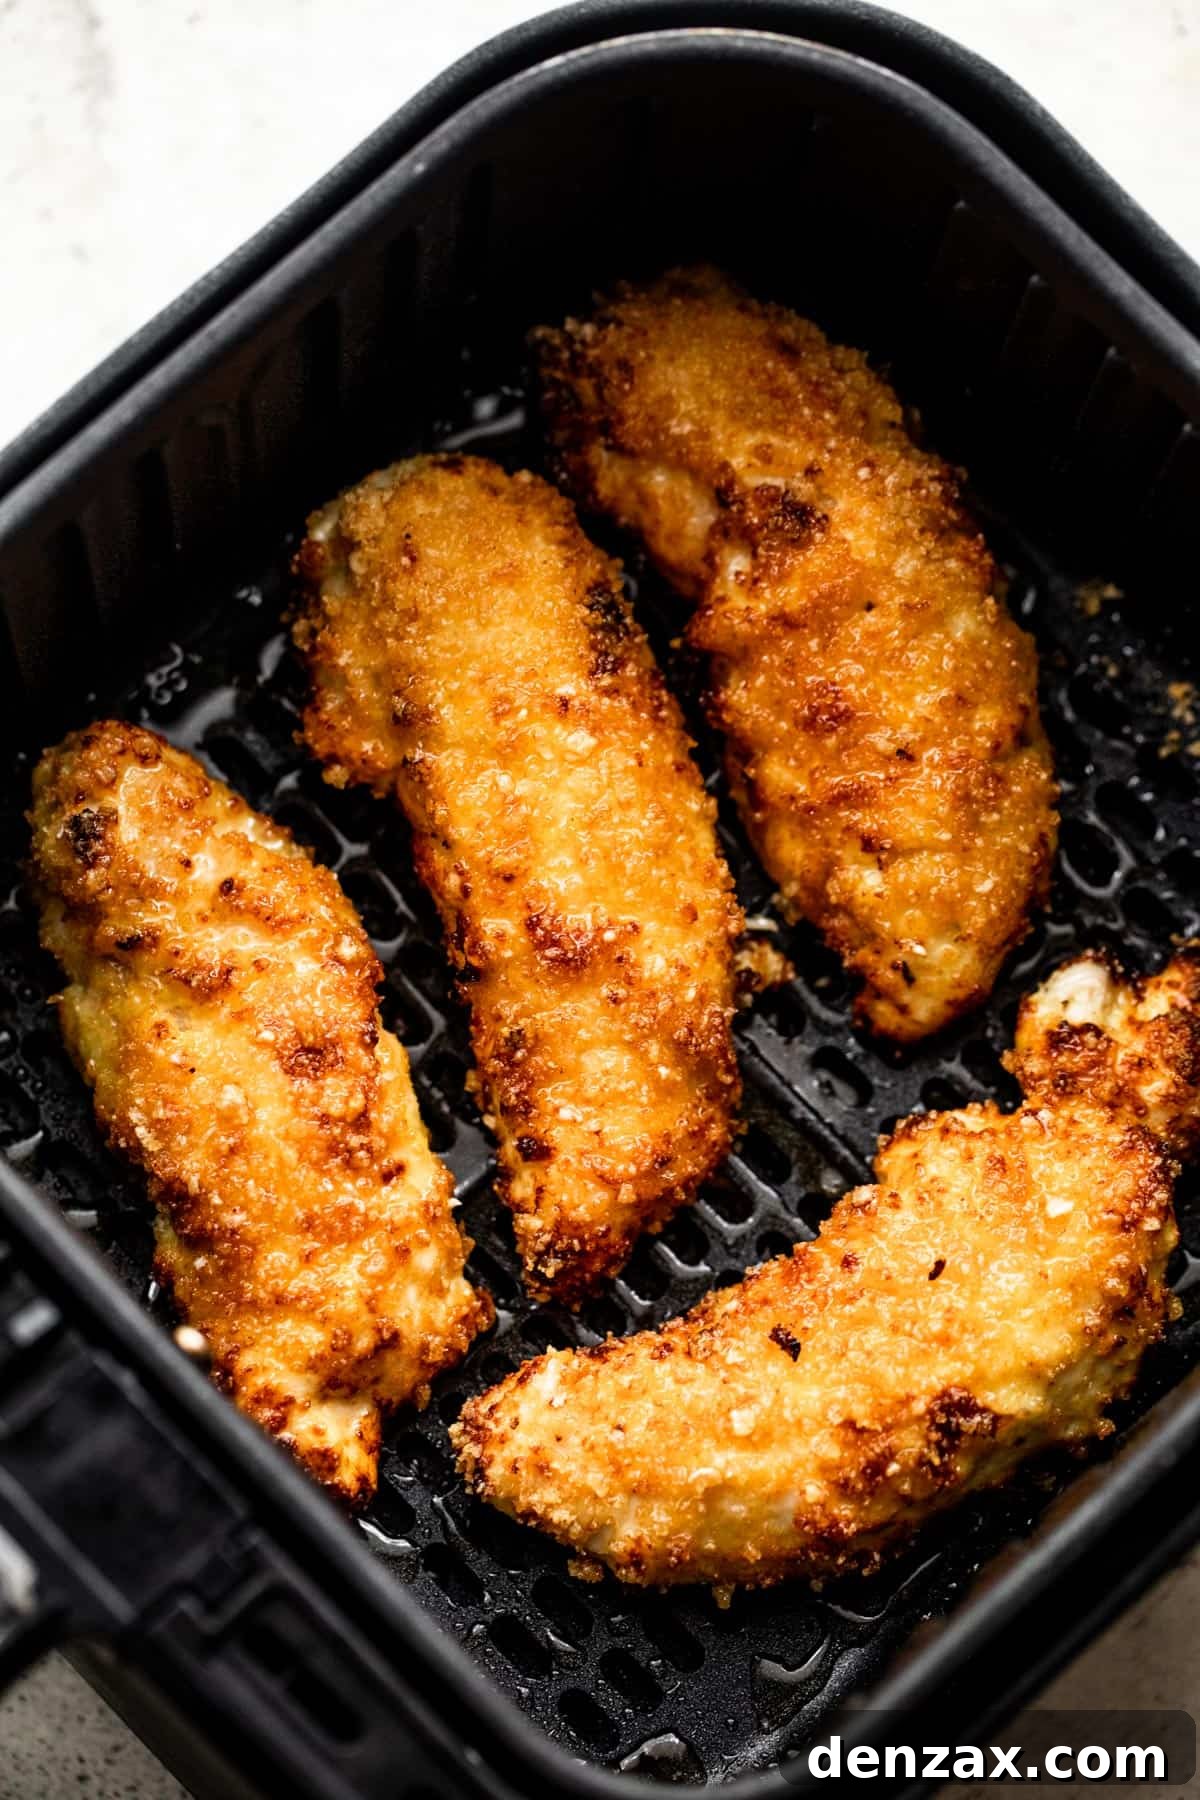
Tired of bland fast food? Prepare to revolutionize your weeknight dinners with these golden, exceptionally juicy Air Fryer Chicken Tenders! Forget the greasy drive-thru; our homemade version delivers unparalleled flavor and a perfectly crispy, seasoned breading that will have everyone asking for more. You’ll be amazed at how quickly and easily you can whip up this family favorite, complete with options for a low-carb diet. Get ready for a healthier, tastier alternative that doesn’t compromise on that satisfying crunch you crave!
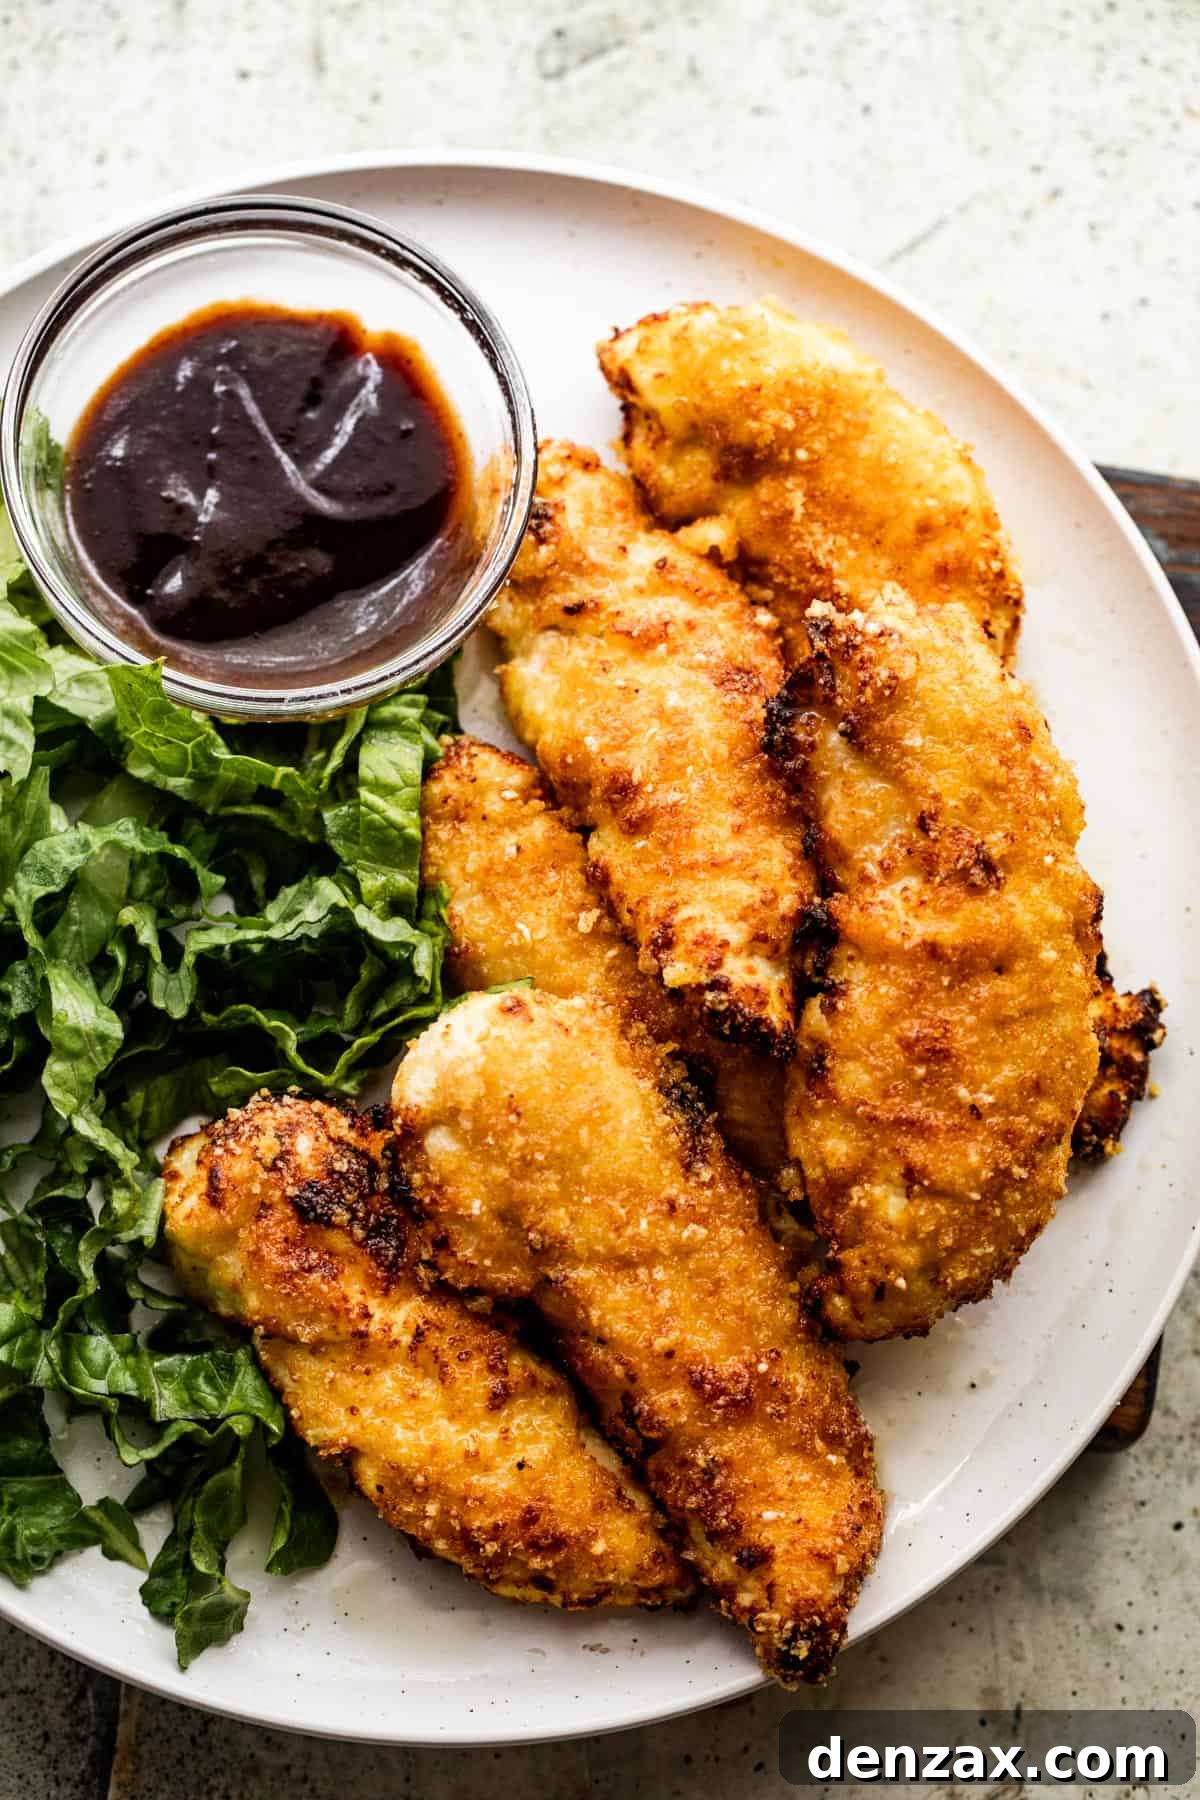
Healthy Homemade Chicken Strips in the Air Fryer
Chicken tenders hold a special place in the hearts of diners young and old. From the pickiest eaters to the most discerning foodies, there’s an undeniable charm to these perfectly portioned chicken pieces. Their appeal lies in their irresistible combination of a golden-brown, crispy exterior yielding to tender, juicy white meat inside. They are the ultimate versatile comfort food, pairing effortlessly with an array of side dishes and sauces.
While the classic deep-fried chicken tender is a delight, the health implications and mess of traditional frying often deter home cooks. Baking offers a lighter alternative, but for those who truly yearn for that deep-fried texture and flavor without the guilt, the air fryer emerges as a kitchen hero. This innovative appliance uses rapid air circulation to achieve incredible crispiness with minimal oil, transforming your kitchen experience. Our recipe harnesses the “magic” of the air fryer to deliver homemade chicken strips that taste remarkably like their deep-fried counterparts, but are significantly healthier and ready in mere minutes. Say goodbye to excessive oil and hello to perfectly golden, crispy, and moist chicken tenders every time!
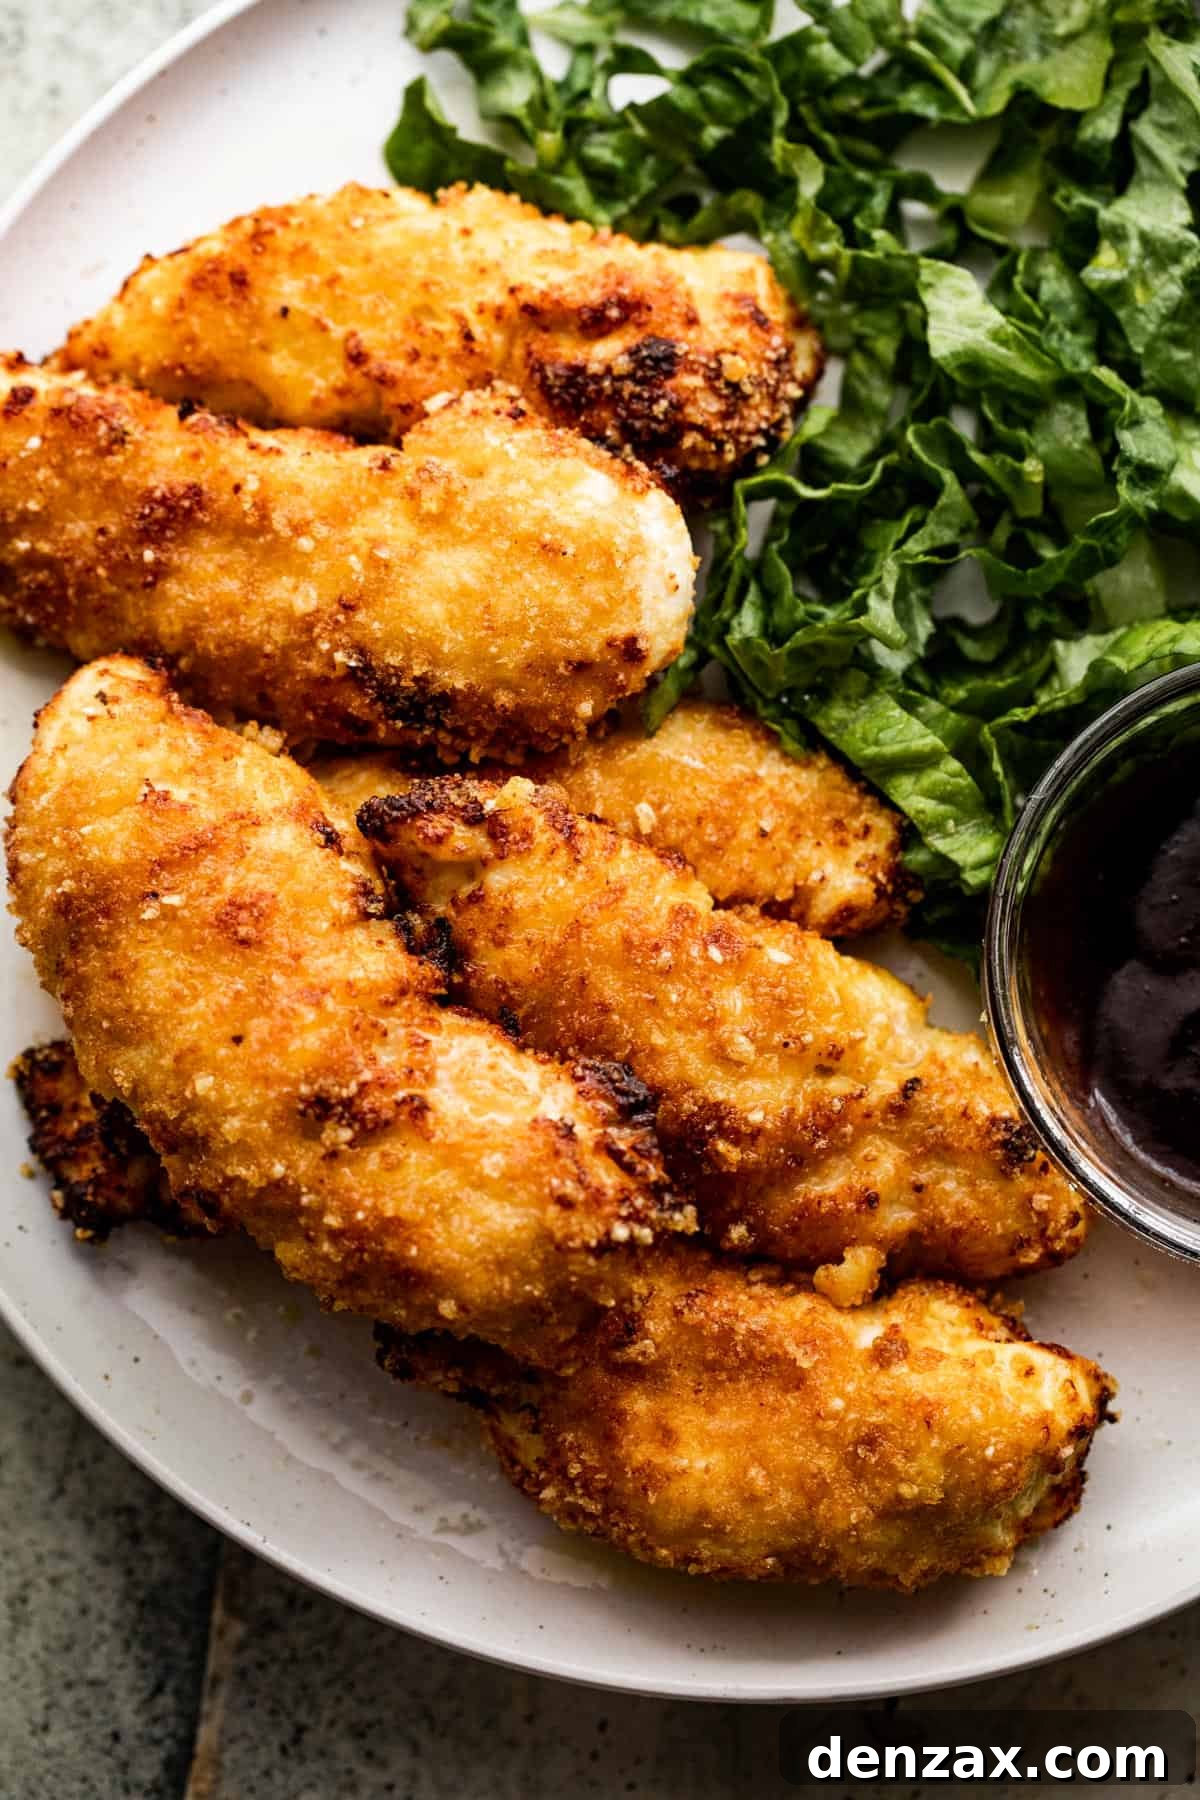
Essential Ingredients for Crispy Air Fryer Chicken Tenders
Creating these sensational air fryer chicken tenders requires just a few basic ingredients and simple pantry staples. We’ve also included versatile low-carb options, making this recipe accessible for various dietary preferences. Here’s what you’ll need to gather:
- Chicken Tenders: Opt for high-quality chicken tenderloins. These are naturally cut portions of chicken breast, ideal for even cooking and consistent texture. If using full chicken breasts, simply slice them into uniform, finger-sized strips. Patting them thoroughly dry before breading is crucial for optimal crispiness.
- All-Purpose Flour: This forms the foundational layer of our breading, helping other ingredients adhere to the chicken and creating a light crust. For a low-carb alternative, finely ground coconut flour or almond flour can be used, though adjustments to liquid content might be necessary as they absorb moisture differently.
- Panko Breadcrumbs: Panko crumbs are renowned for their light, airy texture, which contributes significantly to the superior crunch of air-fried food compared to regular breadcrumbs. If you’re following a low-carb or keto diet, crushed pork rinds make an excellent substitute, providing a fantastic crispy coating with zero carbs.
- Salt and Freshly Ground Black Pepper: These fundamental seasonings enhance the natural flavor of the chicken and the breading. Feel free to adjust quantities to your taste, or add other spices for more complexity.
- Buttermilk: A crucial ingredient for tenderizing the chicken and infusing it with a subtle tangy flavor. Buttermilk also acts as a binder, helping the flour and breadcrumbs adhere beautifully. If you don’t have buttermilk on hand, you can easily make a substitute by adding one tablespoon of white vinegar or lemon juice to a measuring cup, then filling the rest with regular milk to ¼ cup. Let it sit for 5 minutes until it curdles.
- Large Eggs: Eggs serve as the primary binding agent, creating a sticky surface for the breadcrumbs to cling to, ensuring a thick, even, and crispy coating. Using whole eggs provides richness, but egg whites can be used for a lighter option.
- Your Favorite Dipping Sauces: The perfect accompaniment to any chicken tender! Consider classic ketchup, tangy BBQ sauce, sweet and savory honey mustard, creamy ranch, or zesty sweet and sour sauce. Offer a variety to please every palate!

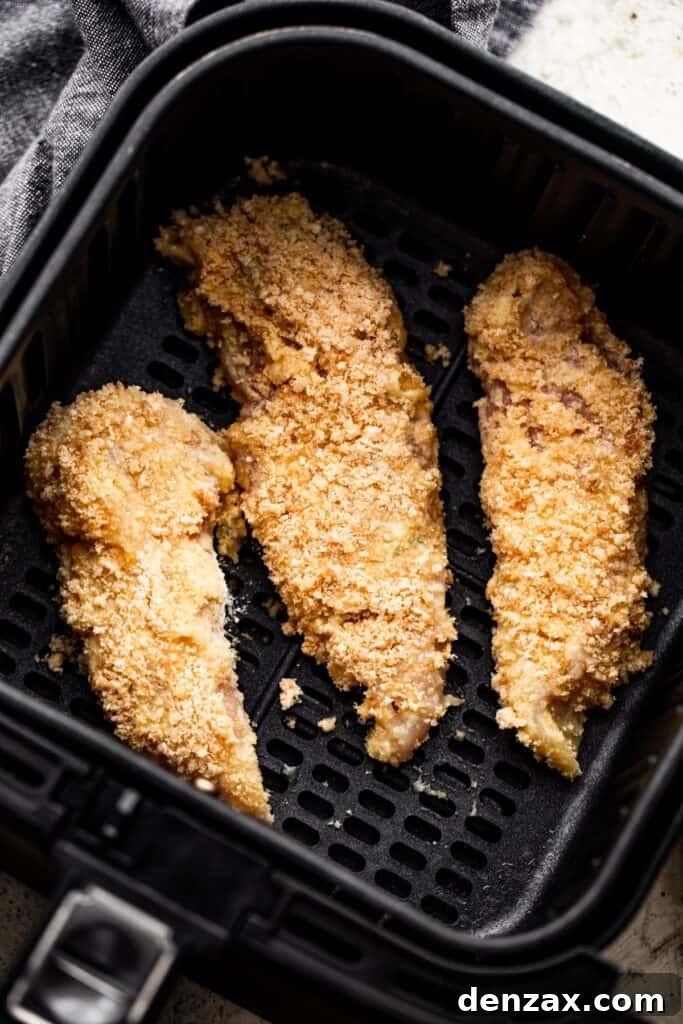
Step-by-Step Guide: How to Make Air Fryer Chicken Tenders
Achieving perfectly crispy air fryer chicken tenders is incredibly straightforward, especially when you set up an efficient breading station. This method streamlines the process and minimizes mess. Here’s a detailed breakdown of each step:
- Prepare Your Breading Station: Begin by patting your chicken tenders thoroughly dry with paper towels. This crucial step removes excess moisture, which is key to achieving that desirable crispy texture. Place the dried tenders on a clean plate and set aside. Next, arrange three shallow bowls in an assembly line. In the first bowl, place your all-purpose flour (or low-carb substitute), seasoned with a pinch of salt and pepper. In the second bowl, add your panko breadcrumbs (or crushed pork rinds), also lightly seasoned. In the third bowl, whisk together the buttermilk and eggs until well combined. Having a couple of damp paper towels nearby is always helpful for keeping your fingers clean between steps.
- Breading the Chicken and Loading the Air Fryer: Preheat your air fryer to 400°F (200°C) as you begin the breading process. Lightly mist the air fryer basket with a non-aerosol cooking spray or brush with a small amount of oil to prevent sticking. Take one chicken tender at a time, first dredging it completely in the seasoned flour, ensuring it’s fully coated. Shake off any excess. Next, dip it into the egg and buttermilk mixture, allowing any extra liquid to drip off. Finally, press the chicken tender into the breadcrumbs, ensuring an even and generous coating on all sides. As you bread each piece, carefully arrange it in a single layer within the preheated air fryer basket. It’s imperative not to overcrowd the basket; leave ample space between each tender to allow for proper air circulation, which is essential for uniform crispiness. Cook in batches if necessary.
- Air Fry to Golden Perfection: Once your first batch of chicken tenders is loaded, air fry them for 5 minutes. After this initial cooking time, carefully open the air fryer, and using tongs, flip each chicken tender over. Continue air frying for another 5 to 7 minutes, or until the chicken is golden brown, cooked through, and registers an internal temperature of 165°F (74°C) on a meat thermometer. Transfer the hot, crispy chicken tenders to a clean plate.
- Complete Remaining Batches: Depending on the size of your air fryer and the amount of chicken, you will likely have additional batches to cook. Repeat the breading and air frying process for the remaining chicken tenders, following the exact same steps. This ensures every piece is cooked to crispy, juicy perfection.
- Serve and Enjoy!: Once all your chicken tenders are cooked, serve them immediately with your favorite dipping sauces and a selection of delicious side dishes. Prepare for a chorus of compliments!
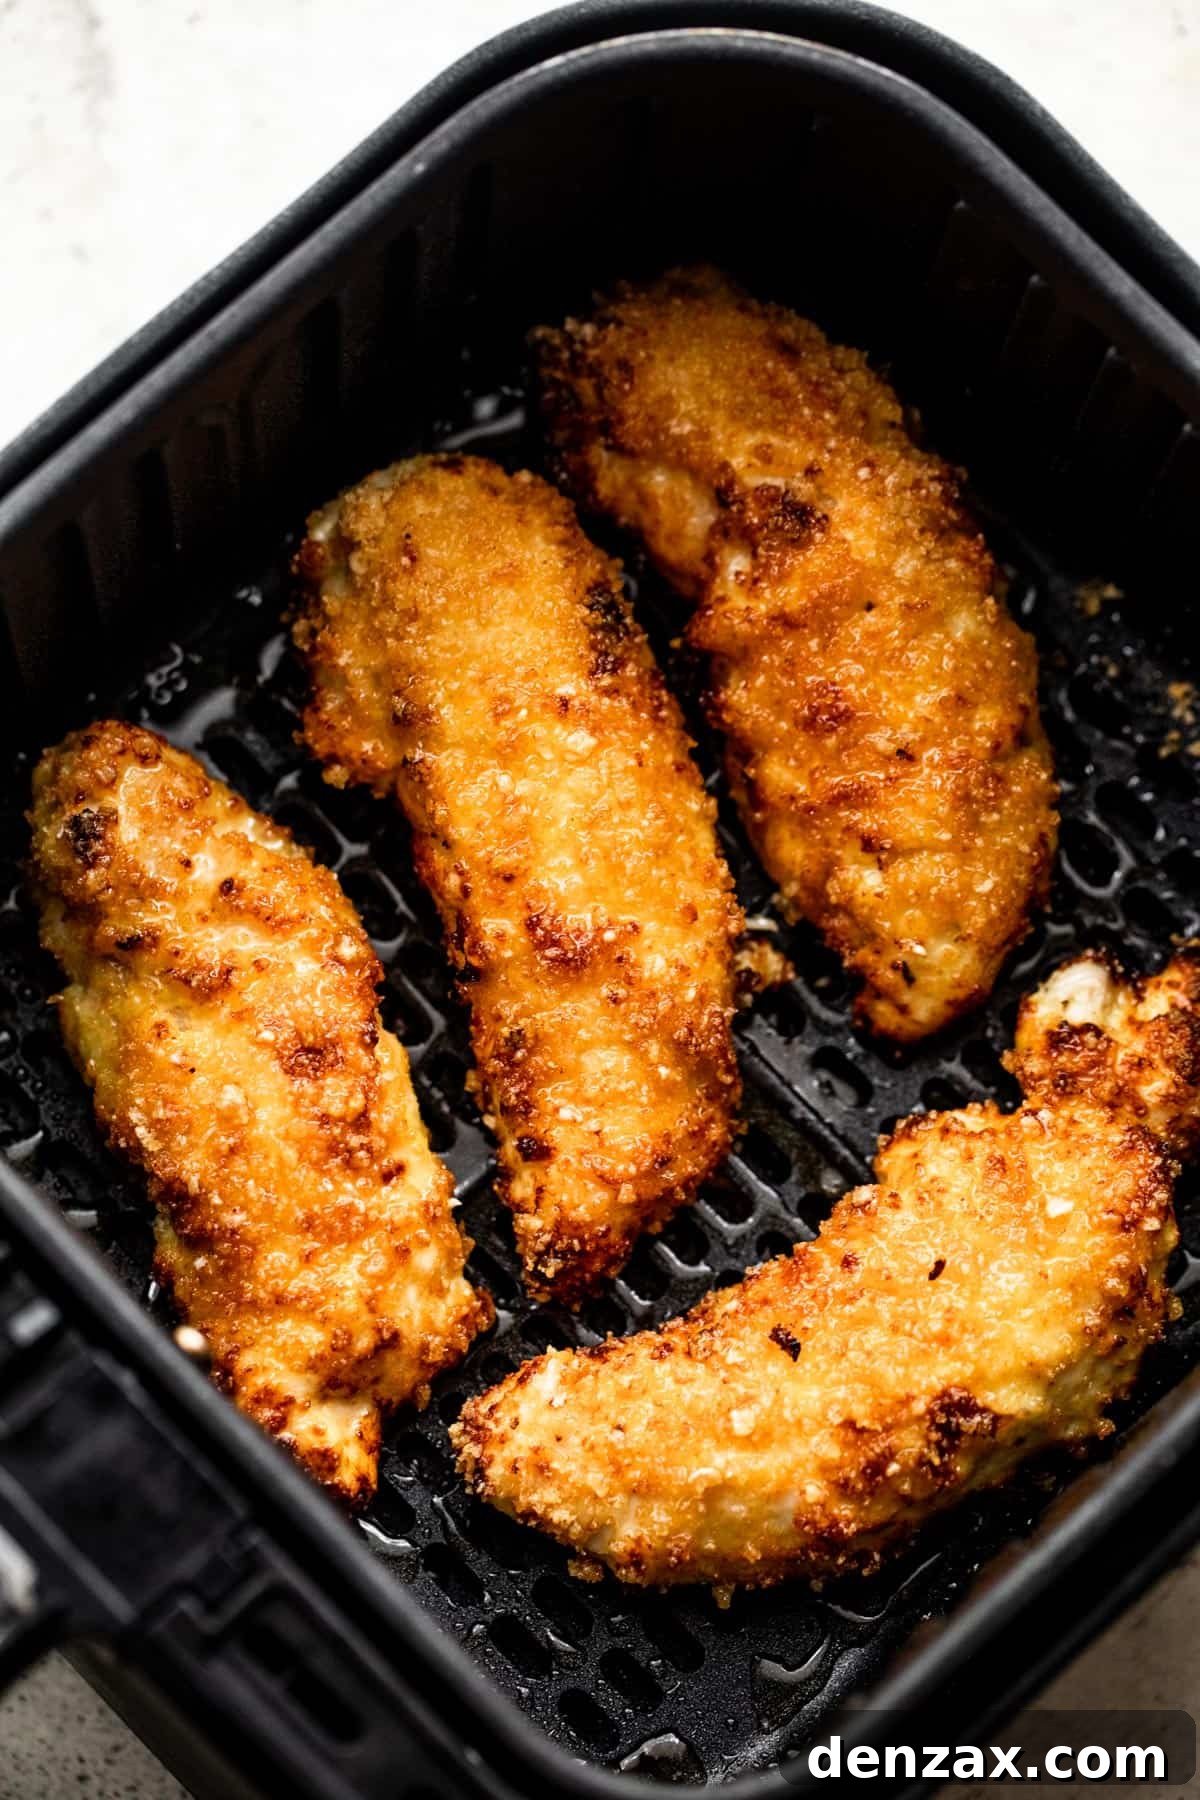
Do You Have to Preheat an Air Fryer?
The question of preheating an air fryer often sparks debate among home cooks. While some argue it’s an unnecessary step that adds a few minutes to cooking time, the consensus among culinary experts, myself included, leans towards the benefits of preheating. Air fryers are essentially compact convection ovens, designed to circulate hot air rapidly around your food, creating a crispy exterior. Though they heat up much faster than a conventional oven due to their smaller size, introducing food to an already hot environment offers distinct advantages.
Preheating ensures that your food, especially breaded items like chicken tenders, begins cooking immediately at the desired temperature. This initial burst of intense heat helps to set the crust quickly, preventing it from becoming soggy and promoting superior crispness. It also contributes to more even cooking and consistent results across different batches. While skipping preheating might save a minute or two, the marginal effort is well worth the enhanced texture and flavor you achieve. Typically, preheating an air fryer only takes about 2-3 minutes, a small investment for perfectly cooked meals.
Can You Put Aluminum Foil in an Air Fryer?
Yes, you can absolutely use aluminum foil in an air fryer, and it can be a fantastic tool for easier cleanup, especially with messier foods. Parchment paper liners designed for air fryers are another excellent option, offering similar benefits. However, there are a few important guidelines to keep in mind to ensure safety and optimal cooking results:
- Secure Placement is Key: Always ensure that the foil or parchment is securely placed within the air fryer basket and weighted down by food. Never place loose foil or parchment in an empty or partially filled basket, as the powerful circulating air can lift it, causing it to come into contact with the heating element. This poses a fire hazard.
- Check Temperature Limits for Parchment: While foil is generally safe at high temperatures, some parchment paper brands have specific temperature limits. Always check the manufacturer’s recommendations for your parchment paper, especially when cooking at higher air fryer temperatures.
- Maintain Airflow: The core principle of air frying is the circulation of hot air. When lining your basket with foil or parchment, you must poke plenty of holes into it using a sharp knife or fork. These perforations allow the hot air to circulate freely around and under your food, ensuring it cooks evenly and achieves maximum crispiness. Without these holes, the bottom of your food might steam rather than crisp, defeating the purpose of air frying.
By following these simple rules, you can enjoy the convenience of easier cleanup without compromising the performance of your air fryer or the quality of your meal.
Tips for Success: Achieve Perfect Air Fryer Chicken Tenders Every Time
Ready to master the art of air fryer chicken tenders? These expert tips will elevate your cooking game and ensure every batch is nothing short of delicious:
- Never Crowd the Air Fryer Basket: This is arguably the most critical rule for air frying. While it’s tempting to load up the basket to save time, overcrowding prevents proper air circulation. When the basket is too full, the hot air cannot reach all surfaces of the chicken, leading to uneven cooking and a steamed, rather than crispy, result. Instead, cook your chicken tenders in batches, ensuring there’s ample space around each piece. This allows the air to crisp up every single bite beautifully. Patience here truly pays off!
- Avoid Aerosol Sprays: For the longevity of your air fryer, steer clear of aerosol cooking sprays like PAM. The propellants and certain chemicals in these sprays can, over time, degrade and damage the non-stick coating of your air fryer basket, making it sticky and difficult to clean. Instead, invest in a reusable oil mister or a manual spray bottle and fill it with 100% pure olive oil, avocado oil, or your preferred cooking oil. This offers more control and is much healthier for your appliance.
- Easily Double the Recipe: This recipe is perfect for serving a family of four, but its quick cooking time makes it incredibly easy to scale up for larger gatherings or meal prepping. Simply double (or even triple) the ingredients and cook the chicken in multiple batches. Since each batch cooks so rapidly, you won’t be spending an excessive amount of time in the kitchen, but you will have plenty of crispy tenders to go around.
- Adjust the Seasoning to Your Liking: The beauty of homemade chicken tenders is the freedom to customize the flavor profile. While our simple recipe is deliciously savory as written, don’t hesitate to experiment with additional spices and herbs. Consider adding garlic powder, onion powder, paprika (sweet or smoked), cayenne pepper for a kick, Italian seasoning, or a touch of dried oregano to the flour or breadcrumb mixture. Create your signature blend to match your family’s preferences!
- Ensure Even Sizing: For consistent cooking, try to make your chicken tenders of similar size and thickness. This ensures they all cook through at roughly the same rate, preventing some pieces from drying out while others are still undercooked.
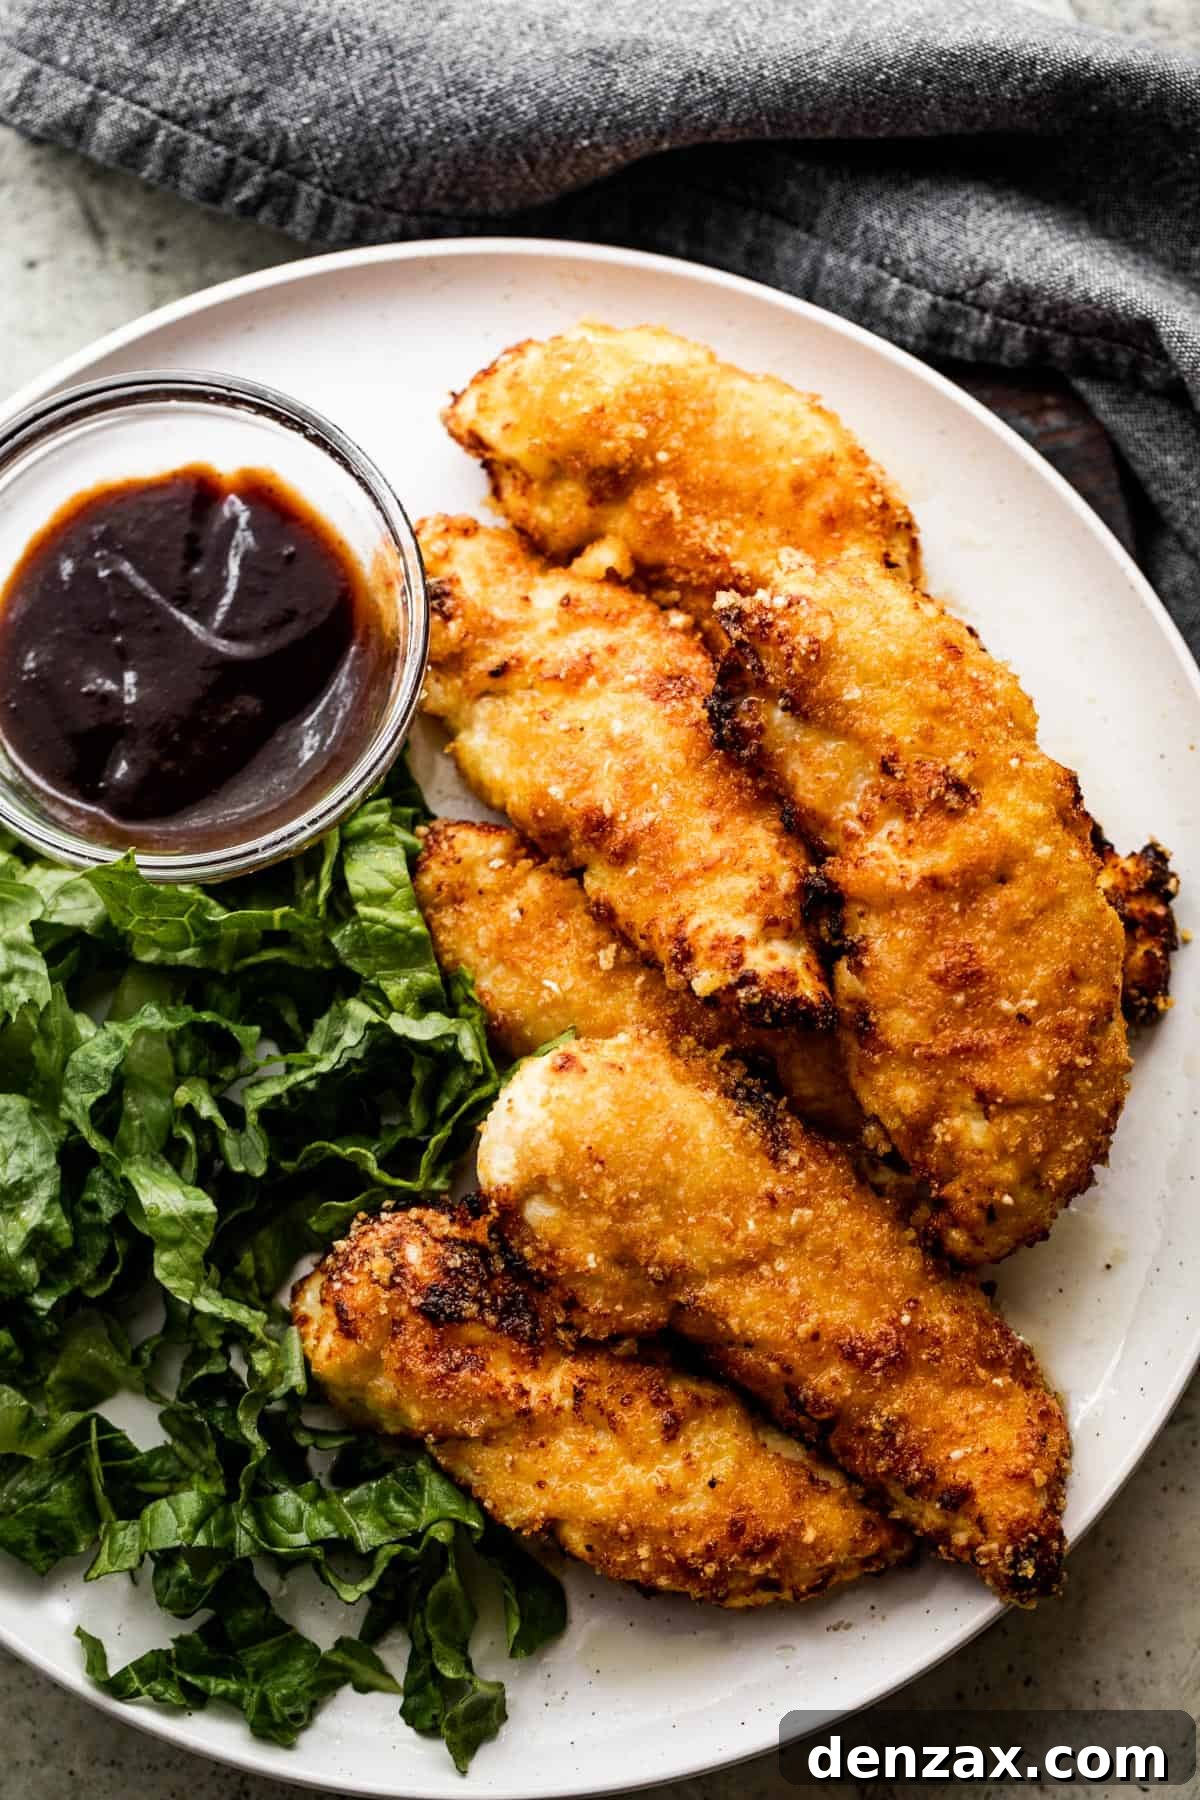
Yummy Serving Suggestions for Your Crispy Tenders
Air fryer chicken tenders are incredibly versatile, making them ideal as a satisfying appetizer or the star of a hearty family dinner. Pair them with a few complementary sides to create a well-rounded and delicious meal. Here are some inspiring ideas:
- Crispy Potato Wedges: Move over, classic fries! Perfectly seasoned, oven-roasted or air-fried potato wedges offer a rustic and satisfying alternative. Their fluffy interior and crisp exterior provide a delightful contrast to the chicken tenders. Toss them with your favorite herbs like rosemary or thyme for an extra flavor boost.
- Fresh Garden Salad with Ranch: For a lighter, fresher complement, a vibrant garden salad is always a winner. Crisp mixed greens, cherry tomatoes, cucumber slices, and shredded carrots, all drizzled with a creamy homemade ranch dressing, provide a refreshing balance to the savory chicken.
- Creamy Macaroni Salad: A classic picnic side dish that translates perfectly to a weeknight dinner. This flavorful, creamy, and colorful macaroni salad, packed with tender elbow pasta, crunchy celery, and perhaps some bell peppers, offers a delightful texture and tangy-sweet flavor profile. The best part? You can often make it a day in advance, making dinner prep even more convenient.
- Caprese Stuffed Avocado: For a unique and healthy twist, consider Caprese stuffed avocados. Halved avocados filled with fresh mozzarella balls, juicy cherry tomatoes, basil leaves, and a balsamic glaze offer a rich, creamy, and flavorful “side salad” that’s loaded with healthy fats and vibrant tastes.
- Garlic Parmesan Mashed Potatoes: Nothing beats the comfort of fluffy mashed potatoes. Infuse them with roasted garlic and grated Parmesan cheese for an elevated side that provides a smooth, savory counterpoint to the crispy chicken. A drizzle of rich brown gravy would make this a truly decadent meal.
Storing and Reheating Air Fryer Chicken Tenders
Proper storage and reheating are key to enjoying your homemade chicken tenders even after the initial meal. Here’s how to keep them fresh and delicious:
- To Store: Allow any leftover chicken tenders to cool completely to room temperature. Once cooled, transfer them to an airtight container or a resealable bag. Store them in the refrigerator, where they will maintain their quality for approximately three to four days.
- To Reheat: The best way to revive leftover chicken tenders and bring back their crispiness is by using the air fryer or oven.
- Air Fryer Method: Place the chilled chicken tenders in a single layer in your air fryer basket. Air fry at 350°F (175°C) for 3-5 minutes, or until heated through and re-crisped. The exact time will depend on the thickness of the tenders and your air fryer model.
- Oven Method: Preheat your oven to 375°F (190°C). Arrange the chicken tenders on a baking sheet in a single layer. Bake for 10-15 minutes, flipping halfway, until they are hot throughout and the coating is crispy.
Avoid reheating in the microwave, as this method tends to make the breading soggy.
Can I Freeze Homemade Chicken Strips?
Freezing chicken tenders, whether cooked or uncooked, is a fantastic way to prepare meals ahead of time and ensure you always have a quick, delicious option on hand. Here are the best practices for freezing and reheating:
- To Freeze Raw, Battered Chicken Tenders: This method is perfect for preparing future meals. After breading your chicken tenders, arrange them in a single layer on a parchment-lined baking sheet. Ensure the tenders are not touching each other to prevent them from freezing together. Place the baking sheet in the freezer for about 1 to 2 hours, or until the tenders are completely frozen solid. Once frozen, transfer the individual tenders to a heavy-duty freezer bag or an airtight freezer-safe container. This “flash freezing” technique prevents them from sticking. Label and date the bag, then store them in the freezer for up to one month for best quality. When ready to cook, you can air fry or bake them directly from frozen. Simply increase the cooking time by 5-10 minutes, or as needed, checking for an internal temperature of 165°F (74°C).
- To Freeze Cooked Chicken Tenders: If you have cooked leftovers you wish to save, follow a similar freezing procedure. Allow the cooked chicken tenders to cool completely. Arrange them on a parchment-lined baking sheet in a single layer and flash freeze for 1-2 hours until solid. Then transfer them to a freezer bag or airtight container, label, and date. Cooked, frozen chicken tenders will keep well in the freezer for about three to four months. For reheating, it is generally recommended to thaw them in the refrigerator overnight before reheating, as this helps maintain their texture and prevents them from overcooking and drying out. However, you can reheat them directly from frozen in the air fryer or oven (as described in the reheating section), increasing the cooking time as necessary until thoroughly heated.

Crispy Air Fryer Chicken Tenders
by Katerina | Easy Weeknight Recipes
Skip the fast food restaurant – these golden, juicy Air Fryer Chicken Tenders are way better! You’ll be amazed how fast and easy they are to make, complete with a crispy seasoned breading.
Prep Time: 10 minutes
Cook Time: 10 minutes
Total Time: 20 minutes
Servings: 4
Ingredients
- 1 to 1-½ pound chicken tenders
- 1 ½ cups all-purpose flour (or coconut flour for low-carb)
- 2 cups panko breadcrumbs (or pork rind crumbs for low-carb)
- Salt and fresh ground black pepper, to taste
- ¼ cup buttermilk
- 2 large whole eggs
- Dipping sauces, for serving (ketchup, BBQ, honey mustard, ranch, etc.)
Instructions
- Pat dry the chicken tenders with paper towels; set aside on a clean plate.
- Prepare your breading station: Place flour in one shallow bowl, breadcrumbs in another. Whisk together buttermilk and eggs in a third bowl. Season flour and breadcrumbs with salt and pepper.
- Lightly grease the air fryer basket with cooking spray (non-aerosol recommended).
- Working with one chicken tender at a time, first dip it in the seasoned flour, ensuring a full coating. Shake off excess.
- Next, dip the floured tender into the egg and buttermilk mixture, allowing excess to drip off.
- Finally, coat the chicken generously in the seasoned breadcrumbs, pressing gently to adhere.
- Preheat the air fryer to 400°F (200°C).
- Arrange the breaded chicken tenders inside the preheated air fryer basket in a single layer. Do not overcrowd; cook in batches if necessary to ensure proper air circulation.
- Air fry the chicken tenders for 5 minutes. Carefully flip each piece over and continue to cook for another 5 to 7 minutes, or until golden brown, crispy, and cooked through (internal temperature of 165°F / 74°C).
- Transfer cooked tenders to a plate and repeat with any remaining batches.
- Serve immediately with your favorite dipping sauces and sides. Enjoy!
Nutrition
Nutritional info is an estimate and provided as courtesy. Values may vary according to the ingredients and tools used. Please use your preferred nutritional calculator for more detailed info.
Did you make this recipe? We’d love to hear your feedback! Leave a rating and comment below.
More Easy Chicken Recipes to Explore
If you loved these crispy air fryer chicken tenders, you’re in for a treat! Here are more delicious and convenient chicken recipes to add to your rotation:
- Homemade Popcorn Chicken (perfect for parties or quick bites!)
- Easy Instant Pot Orange Chicken (sweet, tangy, and super fast)
- One-Pan Chicken and Vegetables Dinner (minimal cleanup, maximum flavor!)