
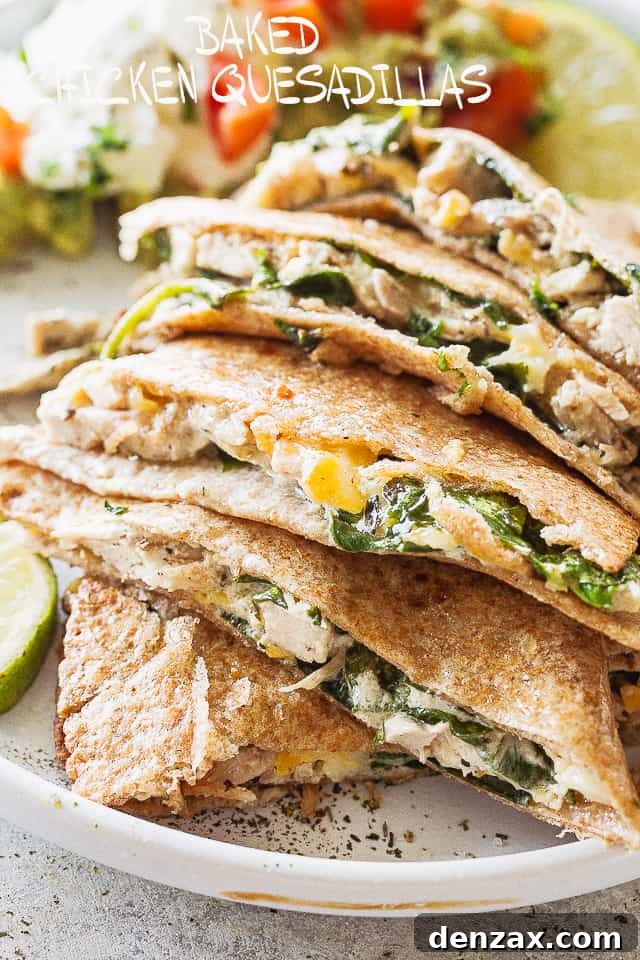
Welcome to your new favorite weeknight dinner: these incredible Crispy Baked Chicken Quesadillas! Imagine warm, perfectly golden-brown tortillas, generously stuffed with a savory blend of tender shredded chicken, fresh, vibrant spinach, and rich, creamy melted cheese. This isn’t just a meal; it’s a hassle-free culinary delight designed to bring smiles to every face at the dinner table. Forget the endless struggle of cooking quesadillas one-by-one in a frying pan – we’re taking this family favorite to the oven for a batch-cooking revolution!
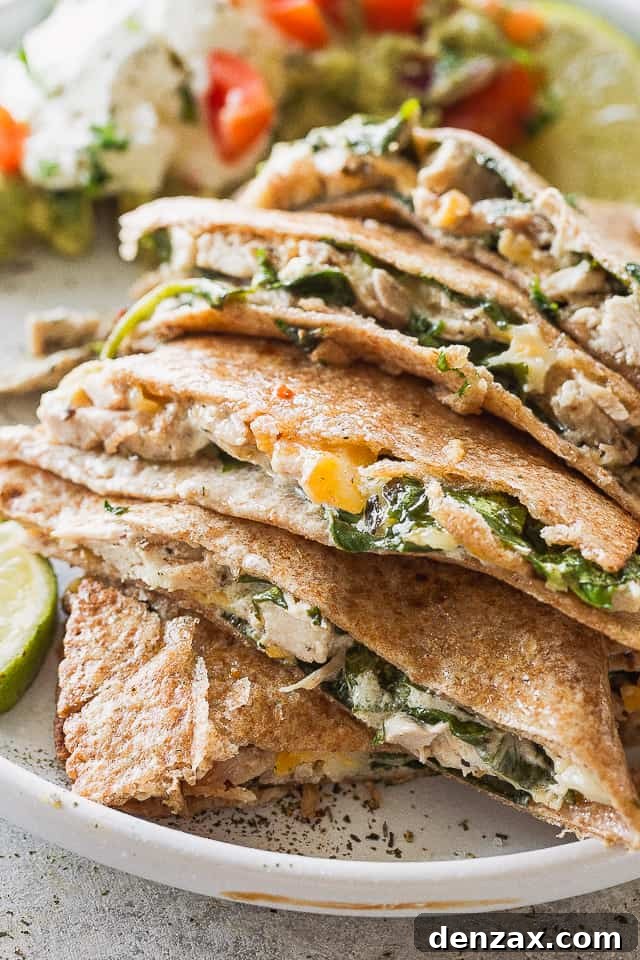
For years, quesadillas have been a staple in my household. My kids adore them—seriously, they’d eat quesadillas for breakfast, lunch, and dinner if they could! But for me, making them often felt like running a short-order diner, constantly flipping individual tortillas in a single pan while everyone else ate. I was always on the lookout for ways to elevate them, to sneak in a little more nutrition, and most importantly, to make the cooking process less chaotic. The revelation came one day: why not bake them? Baking multiple quesadillas simultaneously seemed like a game-changer. After some experimenting, I perfected this specific blend of ingredients, which has earned 100% approval from my picky eaters. Now, these Crispy Baked Chicken Quesadillas have rightfully claimed their spot as one of our top go-to weeknight dinners, simplifying mealtime without sacrificing flavor or that much-loved crispiness.
Why You’ll Fall in Love with This Baked Chicken Quesadilla Recipe
This recipe isn’t just a meal; it’s a solution for busy families and anyone looking for a delicious, no-fuss dinner. Here’s why these Crispy Baked Chicken Quesadillas will quickly become a favorite in your kitchen:
- Effortless Preparation: Say goodbye to standing over the stove, flipping quesadillas one by one. Baking a whole batch at once means you get to enjoy dinner with your family, instead of eating alone after all the cooking is done. It’s a huge time-saver and makes cleanup a breeze.
- Unanimously Kid-Approved: Chicken and cheese quesadillas are inherently irresistible to kids. This recipe takes that universal appeal and enhances it, cleverly hiding a boost of fresh spinach within the creamy, cheesy filling. Your little ones will devour their veggies without even knowing it!
- Perfect for Any Gathering: Whether you’re hosting an impromptu get-together or feeding a hungry crowd, these baked quesadillas are an ideal choice. They bake simultaneously, making them perfect finger food that’s easy to serve and always a hit.
- Customizable to Your Liking: While our classic filling is a winner, this recipe serves as a fantastic base for endless variations. Easily swap proteins, add different veggies, or experiment with various spice blends to suit everyone’s preferences.
- Guaranteed Crispy Texture: The baking method, combined with a simple olive oil spray, ensures each tortilla achieves a wonderfully crispy, golden-brown exterior that perfectly complements the soft, gooey interior. No more soggy quesadillas!
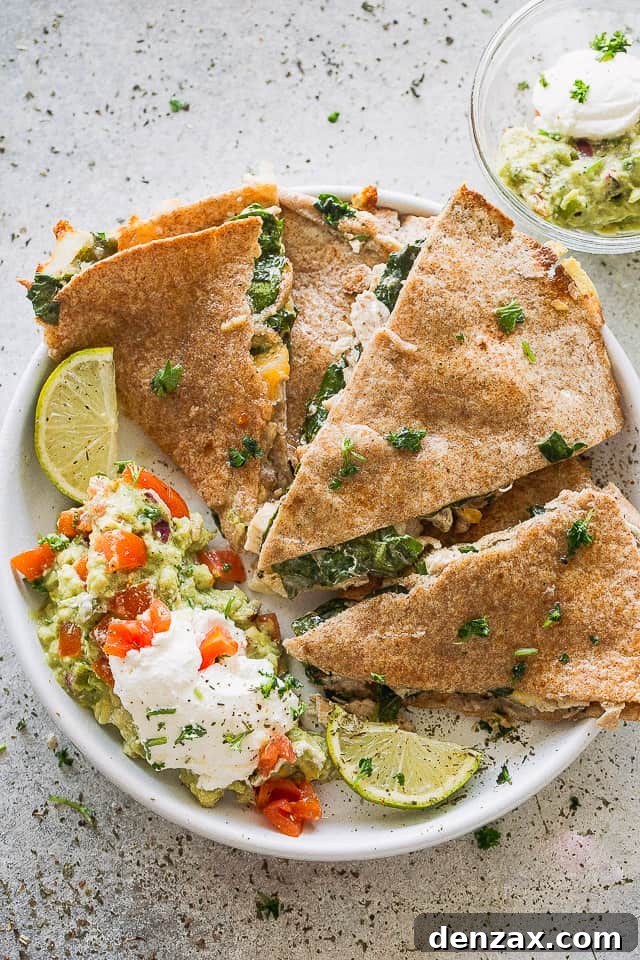
Essential Ingredients for Your Baked Chicken Quesadillas
Crafting the perfect quesadilla starts with fresh, quality ingredients. Here’s what you’ll need to gather:
- Flour Tortillas: We recommend using 10-inch flour tortillas for a good-sized quesadilla that holds plenty of filling. Low-carb varieties work wonderfully too if you’re watching your intake.
- Shredded Chicken: For ultimate convenience and flavor, a store-bought rotisserie chicken is your best friend here. It’s already cooked, seasoned, and shreds beautifully, saving you precious prep time. If rotisserie isn’t an option, any cooked, shredded chicken will do.
- Fresh Baby Spinach: This adds a fantastic boost of nutrients and a subtle earthy flavor without overpowering the dish. The spinach wilts down nicely within the warm filling, making it almost undetectable to picky eaters.
- Sour Cream: Beyond being a delightful topping, sour cream is a crucial ingredient in the filling. It binds the chicken and spinach together, adding a creamy texture and rich tang that makes the quesadillas incredibly moist and flavorful.
- Signature Seasoning Blend: Our expertly balanced blend includes cumin, garlic powder, sweet paprika, chili powder, salt, and freshly ground black pepper. This combination delivers a warm, inviting, and distinctly Tex-Mex flavor profile that truly makes these quesadillas shine.
- Shredded Mexican Cheese Blend: A good quality Mexican cheese blend is key for that perfect melty, gooey interior. These blends typically include Monterey Jack, Cheddar, and other mild, meltable cheeses that are ideal for quesadillas.
- Optional Toppings: Elevate your serving experience with classic quesadilla accompaniments. Freshly made guacamole and your favorite salsa are highly recommended for dipping!
Step-by-Step Guide: How to Make Crispy Baked Chicken Quesadillas
Making these quesadillas is incredibly straightforward, perfect for even the busiest evenings. Follow these steps for a delicious, crispy result every time:
- Preheat and Prepare: Start by preheating your oven to a hot 425˚F (220˚C). Line two large baking sheets with parchment paper. This prevents sticking and ensures easy cleanup. Lightly spray the parchment paper with cooking spray to further enhance crispiness and prevent sticking.
- Craft the Flavorful Filling: In a spacious mixing bowl, combine your shredded chicken, fresh baby spinach, sour cream, cumin, garlic powder, sweet paprika, chili powder, salt, and black pepper. Use your hands or a spoon to thoroughly mix all the ingredients until everything is well combined and the spinach begins to wilt slightly from the moisture of the sour cream. Taste the mixture and adjust the seasonings as desired. This is your chance to make it perfect for your palate!
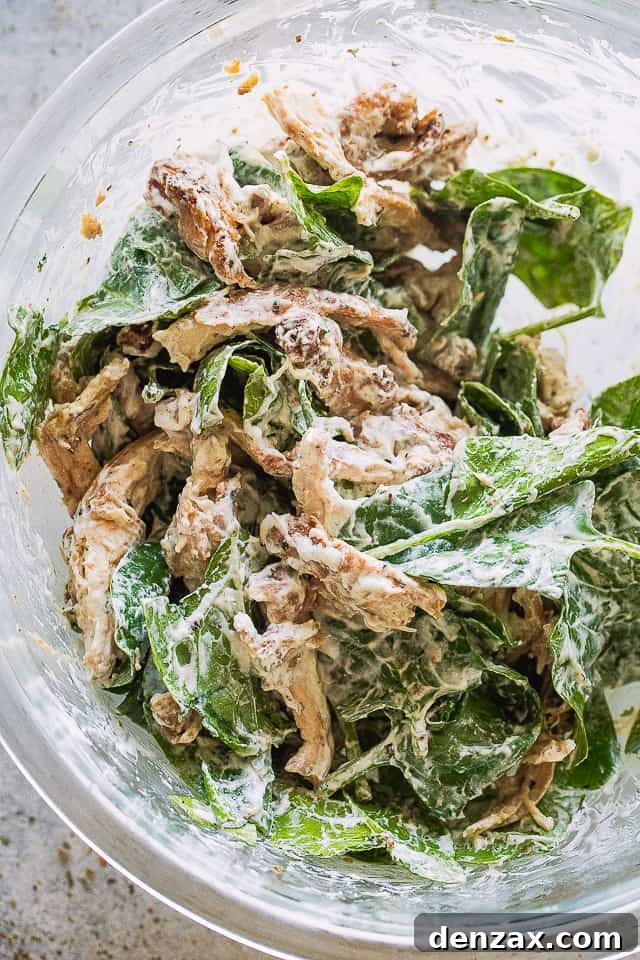
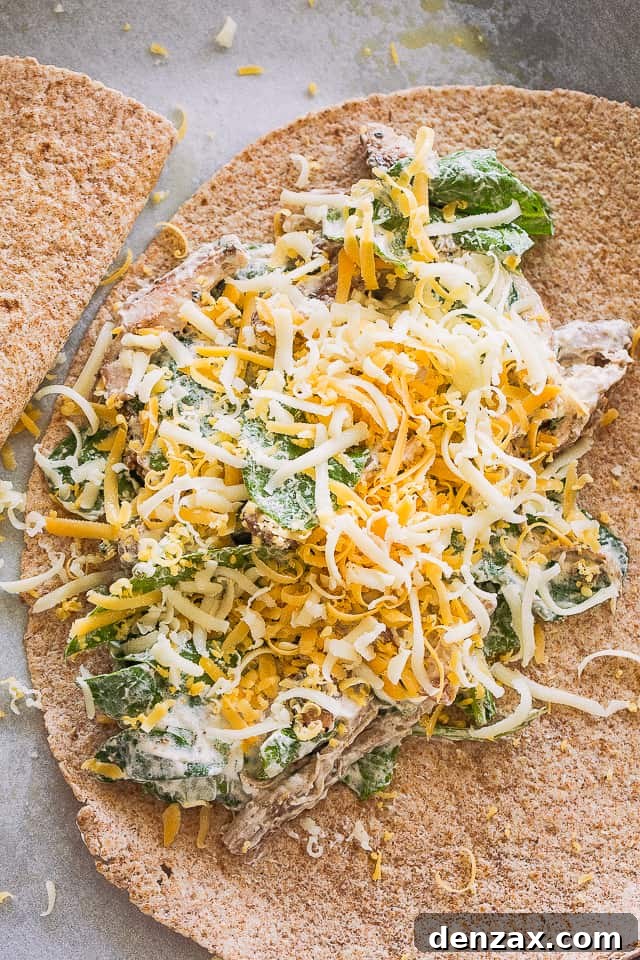
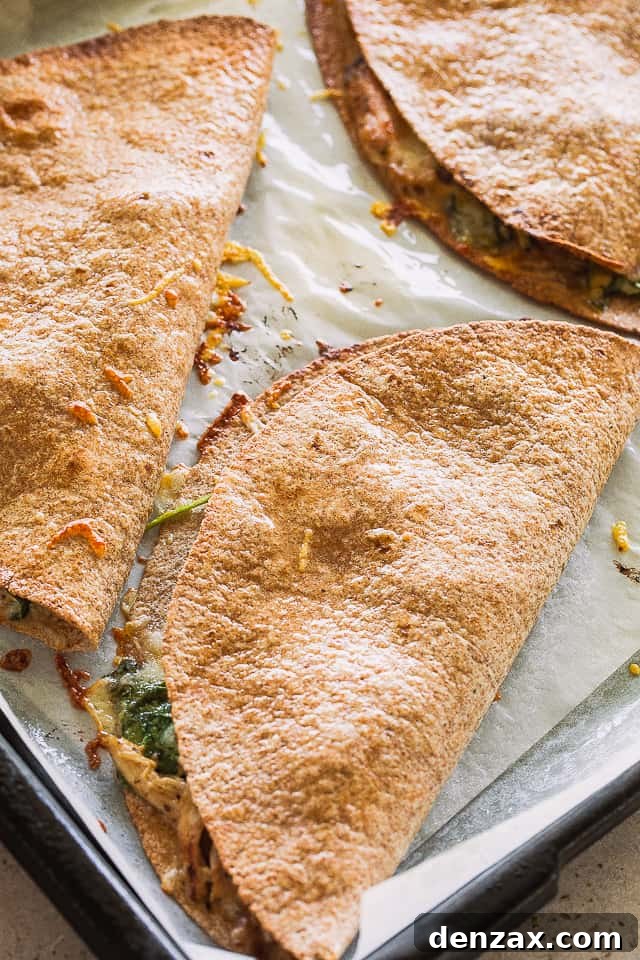
- Assemble Your Quesadillas: Working with one flour tortilla at a time, lay it flat. Spoon a generous amount of the chicken and spinach filling onto one half of the tortilla. Don’t overfill, or it will be difficult to fold and seal. Evenly sprinkle a good layer of shredded Mexican blend cheese over the filling. Fold the other half of the tortilla over the filling to create a crescent shape. Gently press down along the edges to help seal the quesadilla. Repeat with the remaining tortillas, arranging them on your prepared baking sheets.
- Bake to Golden Perfection: Once all your quesadillas are assembled and on the baking sheets, lightly spray the tops of each quesadilla with olive oil. This is a crucial step for achieving that coveted crispy, golden-brown exterior. Transfer the baking sheets to the preheated oven and bake for approximately 15 minutes, or until the tortillas are visibly golden brown and crispy, and the cheese inside is fully melted and bubbling. Keep a close eye on them, as tortillas can brown quickly in a hot oven.
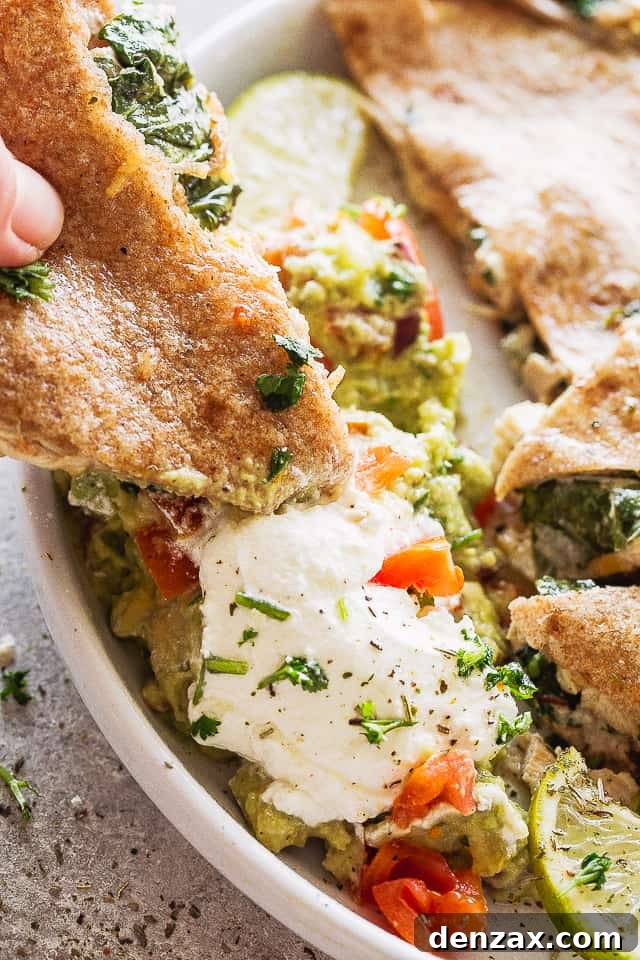
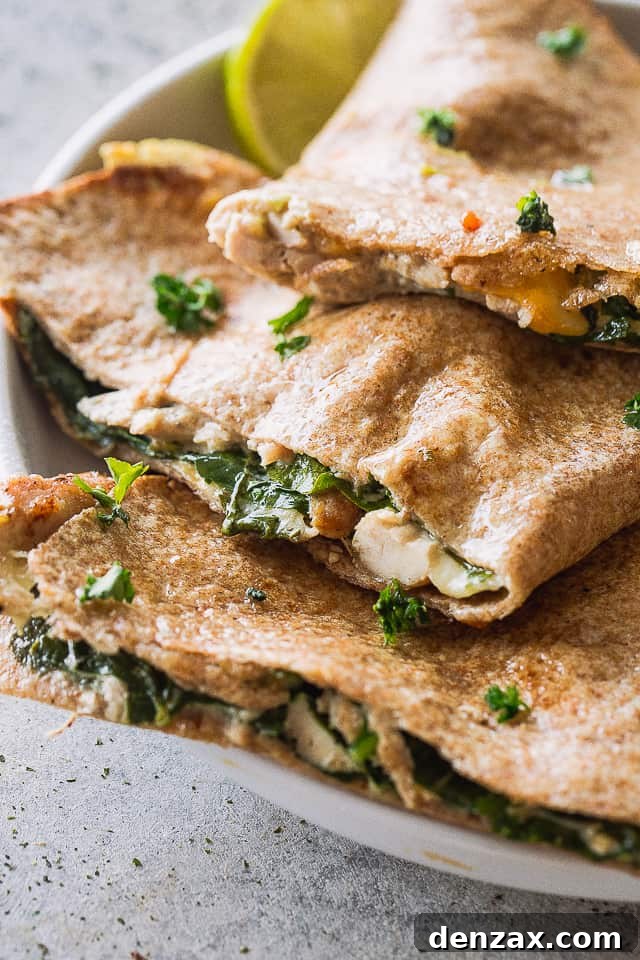
- Slice and Serve: Carefully remove the baking sheets from the oven. Allow the quesadillas to cool for just a minute or two before handling, as the filling will be very hot. Using a sharp knife or pizza cutter, slice each quesadilla in half (or into thirds, depending on size preference). Serve immediately while warm, accompanied by bowls of extra sour cream, homemade guacamole, and your favorite salsa for dipping.
Pro Tips for the Crispiest Baked Chicken Quesadillas
Achieving perfectly crispy, delicious quesadillas every time is easy with a few simple tricks:
- The Olive Oil Secret for Crispiness: Don’t skip spraying the tops of your assembled tortillas with olive oil! This thin layer of oil is essential for helping the tortillas brown evenly and develop that irresistible, crispy texture in the oven. Without it, they might come out a bit dry or less golden.
- Monitoring for Doneness: Keep a watchful eye on your quesadillas as they bake. Ovens can vary, and tortillas can go from perfectly golden to overly browned quite quickly, especially at 425˚F. Check them around the 12-minute mark and continue baking until they reach your desired level of crispness.
- Don’t Overfill: While it’s tempting to pack your quesadillas with as much filling as possible, resist the urge to overstuff them. Overfilled quesadillas are harder to fold and seal, leading to messy spills and potentially uneven cooking. A generous, but manageable, amount of filling ensures perfect results.
- Warm Tortillas for Flexibility: If your tortillas seem a bit stiff, gently warm them in the microwave for 10-15 seconds before filling. This makes them more pliable and easier to fold without cracking, especially helpful for larger tortillas or colder environments.
- Evenly Shredded Chicken: Ensure your shredded chicken is in relatively small, uniform pieces. This helps the filling distribute evenly, makes for easier eating, and prevents large chunks from tearing the tortilla.
Endless Variations: Customize Your Chicken Quesadillas
One of the best things about quesadillas is how incredibly versatile they are! Feel free to get creative and adapt this recipe to your taste or what you have on hand:
- Alternative Proteins: Not a chicken fan, or simply want to switch it up? These quesadillas are equally delicious with other proteins. Try using finely shredded pulled pork, seasoned ground beef or turkey, or thinly sliced steak for a different flavor profile.
- Chicken Prep Options: If you don’t have a rotisserie chicken, no problem! You can easily poach and then shred chicken breasts, or use any leftover cooked chicken you have. For maximum tenderness, cooking chicken breasts in an Instant Pot or slow cooker before shredding also works beautifully.
- Tortilla Choices: While flour tortillas are classic, feel free to experiment with corn tortillas for a gluten-free option or a distinct corn flavor. Many low-carb or whole wheat tortilla varieties also work well, offering different textures and nutritional benefits.
- Vegetable Power-Ups: Enhance the nutritional value and flavor by adding more vegetables to your filling. Sautéed bell peppers and onions, sliced mushrooms, corn kernels, black beans, or even diced zucchini would be fantastic additions. Just make sure any added veggies are cooked and drained of excess moisture to prevent soggy quesadillas.
- Spice it Up: Completely transform the flavor profile by swapping out the seasoning blend. For a kick, make Buffalo chicken quesadillas by tossing the shredded chicken in Frank’s Red Hot sauce and using a blend of blue cheese and cheddar. Experiment with taco seasoning, fajita seasoning, or even a touch of smoked paprika for a deeper flavor.
- Cheese Please: Don’t limit yourself to just Mexican blend cheese! Pepper Jack will add a spicy kick, while a mix of sharp cheddar and Monterey Jack offers a richer flavor. For a truly indulgent experience, try a combination of creamy Oaxaca cheese.
- Add Beans or Corn: For a heartier quesadilla, mix in some well-drained black beans or corn kernels with your chicken and spinach filling. They add texture, flavor, and extra protein/fiber.
Serving Suggestions: What to Pair with Your Baked Quesadillas
These crispy chicken quesadillas are wonderfully balanced on their own, offering protein from the chicken, dairy from the cheese, a green veggie from the spinach, and carbs from the tortilla. However, pairing them with a delicious side or two can make for a more complete and satisfying meal.
For a classic complement, serve them alongside a fluffy side of Mexican rice, or try this delightful garlic butter parmesan rice for a unique twist. A simple bowl of black beans, either plain or seasoned with a touch of cumin and lime, also makes a great addition. For a lighter option, a large southwestern-style salad, complete with crisp lettuce, corn, black beans, avocado, and a zesty lime vinaigrette, pairs beautifully. You could also serve them with a fresh corn and avocado salsa, or a simple side of roasted vegetables like bell peppers and zucchini. Don’t forget your favorite dipping sauces beyond sour cream, guacamole, and salsa – a creamy cilantro-lime sauce or even a spicy chipotle mayo would be fantastic!
Storage and Reheating Tips for Leftover Quesadillas
While these quesadillas are undeniably best enjoyed fresh out of the oven, leftovers can be stored and reheated to maintain their deliciousness and crisp texture.
- Storing Leftovers: If you find yourself with extra quesadillas, allow them to cool completely before storing. Place them in an airtight container. To prevent them from sticking together and to help maintain their crispiness, it’s a good idea to separate each quesadilla with a layer of parchment paper. Store them in the refrigerator for up to 3-4 days. For longer storage, you can freeze individual quesadillas wrapped tightly in plastic wrap and then foil, for up to 1-2 months.
- Reheating for Optimal Crispness: The key to good leftover quesadillas is reheating them properly to restore their crispy exterior.
- Oven Method (Recommended): For the best results, reheat quesadillas in a preheated oven at 375°F (190°C) for about 10-15 minutes, or until thoroughly heated through and crispy. If reheating from frozen, increase the baking time.
- Skillet Method: You can also reheat them in a non-stick skillet over medium-low heat. Cook for 3-5 minutes per side, until the tortilla is crispy again and the filling is warm. Avoid high heat, as it can burn the tortilla before the filling is heated.
- Air Fryer Method: For a quick and crispy reheat, place quesadillas in a single layer in your air fryer basket. Air fry at 350°F (175°C) for 3-5 minutes, flipping halfway, until hot and crispy.
Frequently Asked Questions About Baked Chicken Quesadillas
- Can I prepare the filling ahead of time?
- Absolutely! The chicken and spinach filling can be prepared up to 24 hours in advance. Store it in an airtight container in the refrigerator. This makes assembly even quicker on the day you plan to bake them.
- How do I prevent my quesadillas from getting soggy?
- The main culprits for soggy quesadillas are overfilling and lack of proper heat. Ensure you don’t overstuff them, and always lightly spray the tortillas with olive oil before baking. Also, use a hot oven (425°F) to ensure quick crisping. If adding juicy vegetables, make sure they are cooked and well-drained first.
- What kind of chicken is best for quesadillas?
- Cooked, shredded chicken is ideal. Rotisserie chicken is perfect for convenience. You can also use poached, baked, or slow-cooked chicken breasts or thighs, simply shredding them once cooked. The key is tender, easily shreddable chicken.
- Can these be made vegetarian?
- Yes! Simply omit the chicken and replace it with more vegetables like sautéed mushrooms, bell peppers, onions, corn, and black beans. You could also use a plant-based shredded “chicken” substitute or seasoned tofu.
- Can I freeze assembled quesadillas?
- Yes, you can! Assemble the quesadillas but do not bake them. Wrap each one individually in plastic wrap, then place them in a freezer-safe bag or container. Freeze for up to 1-2 months. When ready to bake, you can either thaw them in the refrigerator overnight or bake directly from frozen, adding about 5-10 minutes to the baking time (ensure they are defrosted and heated through). For best results, it’s usually better to bake, then freeze and reheat.
More Easy Weeknight Chicken Recipes
If you loved these Crispy Baked Chicken Quesadillas, you’re in for a treat! Discover more quick and delicious chicken recipes perfect for busy evenings:
- Chicken Alfredo Pizza
- Chicken Burrito Skillet
- Easy Chicken Stir Fry
- Creamy Sun-Dried Tomato Chicken Pasta
- Sheet Pan Lemon Herb Chicken and Veggies

Recipe: Crispy Baked Chicken Quesadillas
These crispy baked chicken quesadillas are a family favorite, perfect for busy weeknights. Enjoy warm, cheesy tortillas packed with savory shredded chicken and fresh spinach, baked to golden perfection in under 30 minutes!
- Prep Time: 10 minutes
- Cook Time: 15 minutes
- Total Time: 25 minutes
- Yields: 8 servings
Ingredients
- 8 (10-inch) flour tortillas (low carb optional)
- 4 cups cooked shredded chicken (store-bought rotisserie chicken recommended for ease)
- 8 ounces fresh baby spinach
- 1½ cups sour cream (plus more for serving)
- 1 teaspoon cumin
- 1 teaspoon garlic powder
- 1 teaspoon sweet paprika
- ½ teaspoon chili powder
- Salt and freshly ground black pepper, to taste
- 2 cups shredded Mexican blend cheese
- Guacamole, for serving (optional)
- Salsa, for serving (optional)
- Olive oil spray, for baking
Instructions
- Preheat your oven to 425˚F (220˚C). Line two large baking sheets with parchment paper and lightly grease the paper with cooking spray; set aside.
- In a spacious mixing bowl, combine the shredded chicken, fresh baby spinach, sour cream, cumin, garlic powder, sweet paprika, chili powder, salt, and pepper. Mix thoroughly until all ingredients are well incorporated. Taste the mixture and adjust seasonings as needed, adding more salt, pepper, or other spices to suit your preference.
- Take one flour tortilla at a time. Spread a generous amount of the chicken and spinach filling onto one half of the tortilla. Sprinkle a good layer of shredded Mexican blend cheese over the filling. Carefully fold the other half of the tortilla over the filling to create a crescent shape. Gently press down along the edges to help seal. Repeat this process for the remaining tortillas.
- Arrange the prepared quesadillas in a single layer on the lined baking sheets. Lightly spray the tops of the quesadillas with olive oil. This step is crucial for achieving that desirable crispy, golden-brown crust.
- Bake for 15 minutes, or until the tortillas are golden brown and crispy, and the cheese inside is fully melted and bubbly. Keep a close eye on them to prevent over-browning, as tortillas can cook quickly in a hot oven.
- Once baked, remove the quesadillas from the oven. Let them cool for a minute or two before slicing. Cut each quesadilla in half (or into thirds if desired) for easier serving.
- Serve immediately while warm, accompanied by extra sour cream, fresh guacamole, and your favorite salsa for dipping.
Nutrition Information (Estimated Per Serving)
- Calories: 400 kcal
- Carbohydrates: 19g
- Protein: 28g
- Fat: 23g
- Saturated Fat: 12g
- Cholesterol: 102mg
- Sodium: 513mg
- Potassium: 464mg
- Fiber: 1g
- Sugar: 3g
- Vitamin A: 3300 IU
- Vitamin C: 8mg
- Calcium: 303mg
- Iron: 3mg
Nutritional information is an estimate and provided as a courtesy. Values may vary according to the ingredients and tools used. Please use your preferred nutritional calculator for more detailed info.