
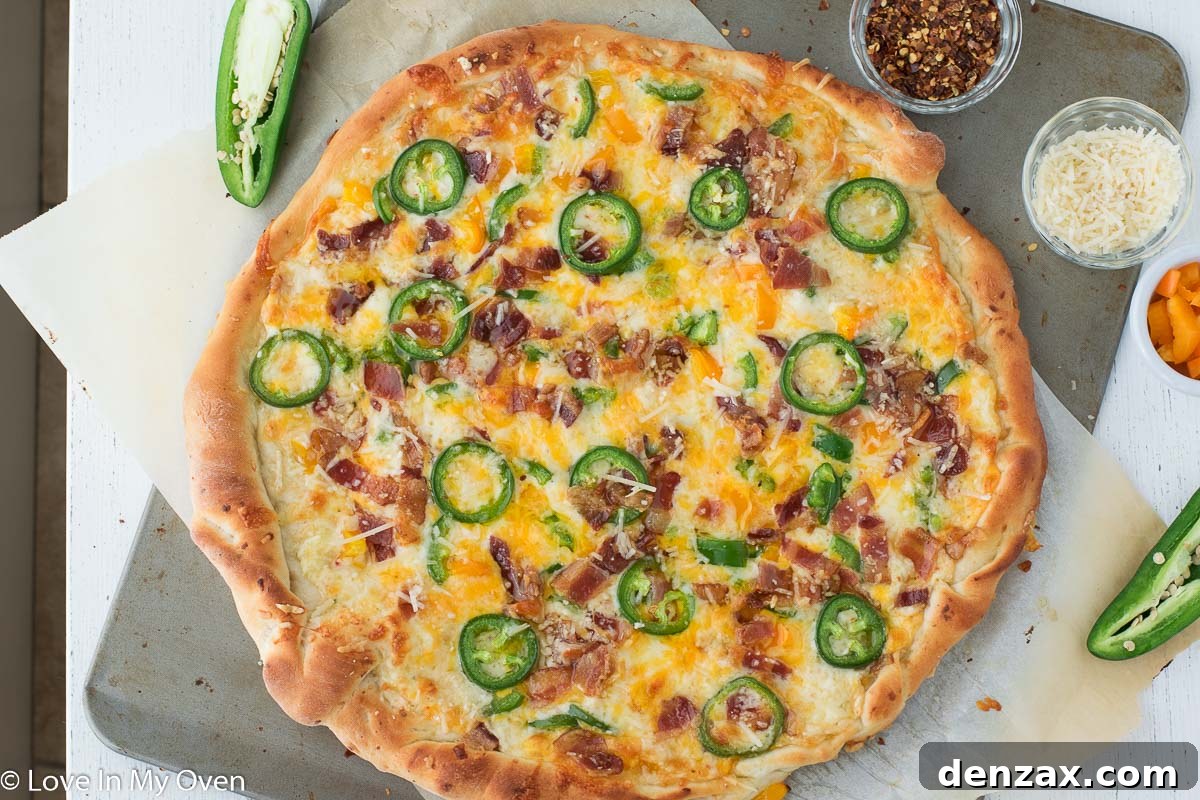
Indulge in the ultimate fusion of comfort food favorites with this incredibly creamy, cheesy, and perfectly spiced Jalapeño Popper Pizza. It’s not just a meal; it’s an experience, bringing your beloved appetizer to the dinner table in a whole new, irresistible form. Featuring a rich cream cheese base, layers of savory cheddar, Monterey Jack, and Parmesan, and generously topped with crispy bacon and fresh jalapeños, this pizza promises to be a culinary dream come true for spice lovers and cheese aficionados alike.

As the chill of winter sets in and we find ourselves seeking warmth and comfort, there’s nothing quite like gathering around a table laden with cozy, cheesy delights. This time of year often calls for hearty soups and comforting casseroles, but what if you could transform a beloved appetizer into a satisfying main course? That’s precisely the inspiration behind this sensational Jalapeño Popper Pizza.
If you’ve never had the pleasure of tasting a traditional jalapeño popper, prepare to have your world (and your taste buds) rocked. These iconic appetizers typically feature fresh jalapeño peppers, halved and deseeded, then generously stuffed with a creamy blend of cheeses. The pièce de résistance? A crispy strip of bacon wrapped around each one, baked to golden perfection. They are, in a word, phenomenal – a perfect balance of creamy, salty, and spicy. While my blog doesn’t yet host a dedicated recipe for classic poppers, I do have a delightful, kid-friendly version using mini bell peppers, offering a milder, equally delicious experience.
The genesis of this jalapeño popper pizza masterpiece struck during a brainstorming session for Super Bowl party snacks just a few weeks ago. Envisioning a casual gathering with friends, I wanted to create something truly memorable. While the idea of serving traditional poppers was always an option, a sudden flash of inspiration led me to rethink the format. Why confine such incredible flavors to a small bite when they could adorn a grand canvas? And just like that, the Jalapeño Popper Pizza was conceived, destined to become a new favorite for game nights, family dinners, or any occasion demanding serious flavor.

Understanding the Jalapeño Popper: The Inspiration
Let’s take a moment to fully appreciate the classic appetizer that sparked this pizza revolution. A jalapeño popper, at its core, is a culinary marvel. It begins with fresh jalapeño peppers, carefully sliced lengthwise and meticulously scraped clean of their seeds and membranes. This critical step tames much of the pepper’s intense heat, leaving behind a pleasant warmth. The hollowed-out halves are then generously filled with a decadent mixture of cream cheese and sharp cheddar, often seasoned with a hint of garlic. Finally, each cheese-filled pepper is lovingly wrapped in a strip of bacon, then baked until the bacon is delightfully crisp and the cheese filling is warm and bubbly. The result is a symphony of textures and flavors: the gentle crunch of the pepper, the creamy, tangy cheese, and the smoky, salty bite of bacon. They are an absolute joy to share, whether with a crowd or simply as a treat for yourself.
My mission with this recipe was simple yet ambitious: to meticulously deconstruct these beloved flavors and ingredients and seamlessly integrate them into the structure of a pizza. The goal was to capture the essence of a jalapeño popper – its creamy, cheesy core, its smoky bacon wrap, and its signature spicy kick – and translate it into a format that’s perfect for slicing, sharing, and savoring as a full meal.
Crafting Your Own Jalapeño Popper Pizza: A Step-by-Step Guide
The journey to creating this extraordinary pizza begins with the foundation: the crust. While a store-bought pizza crust offers convenience, I wholeheartedly encourage you to embrace the magic of making your own. This recipe features a special twist – a homemade Parmesan pizza dough that elevates the entire experience, adding an extra layer of savory depth right into the crust itself. The aroma of freshly baked bread combined with the rich cheese is simply unparalleled.
If you opt for the homemade dough, plan to start about 1.5 to 2 hours before you intend to bake, as the dough requires time to rise and develop its full flavor and texture. For those fortunate enough to own a stand mixer with a dough hook attachment, this process becomes wonderfully simple and efficient. The mixer effortlessly kneads the dough to perfection. However, if you’re without a stand mixer, fear not! The satisfying process of kneading by hand is equally effective and a truly rewarding experience.
The Parmesan pizza dough is adapted from my go-to, tried-and-true pizza crust recipe, but with the delightful addition of two tablespoons of grated Parmesan cheese. This small but significant change infuses the dough with a nutty, umami flavor that perfectly complements the rich toppings. Once your dough has patiently risen, becoming light and airy, you’re ready for the exciting part: rolling it out and meticulously layering on the incredible jalapeño popper toppings.
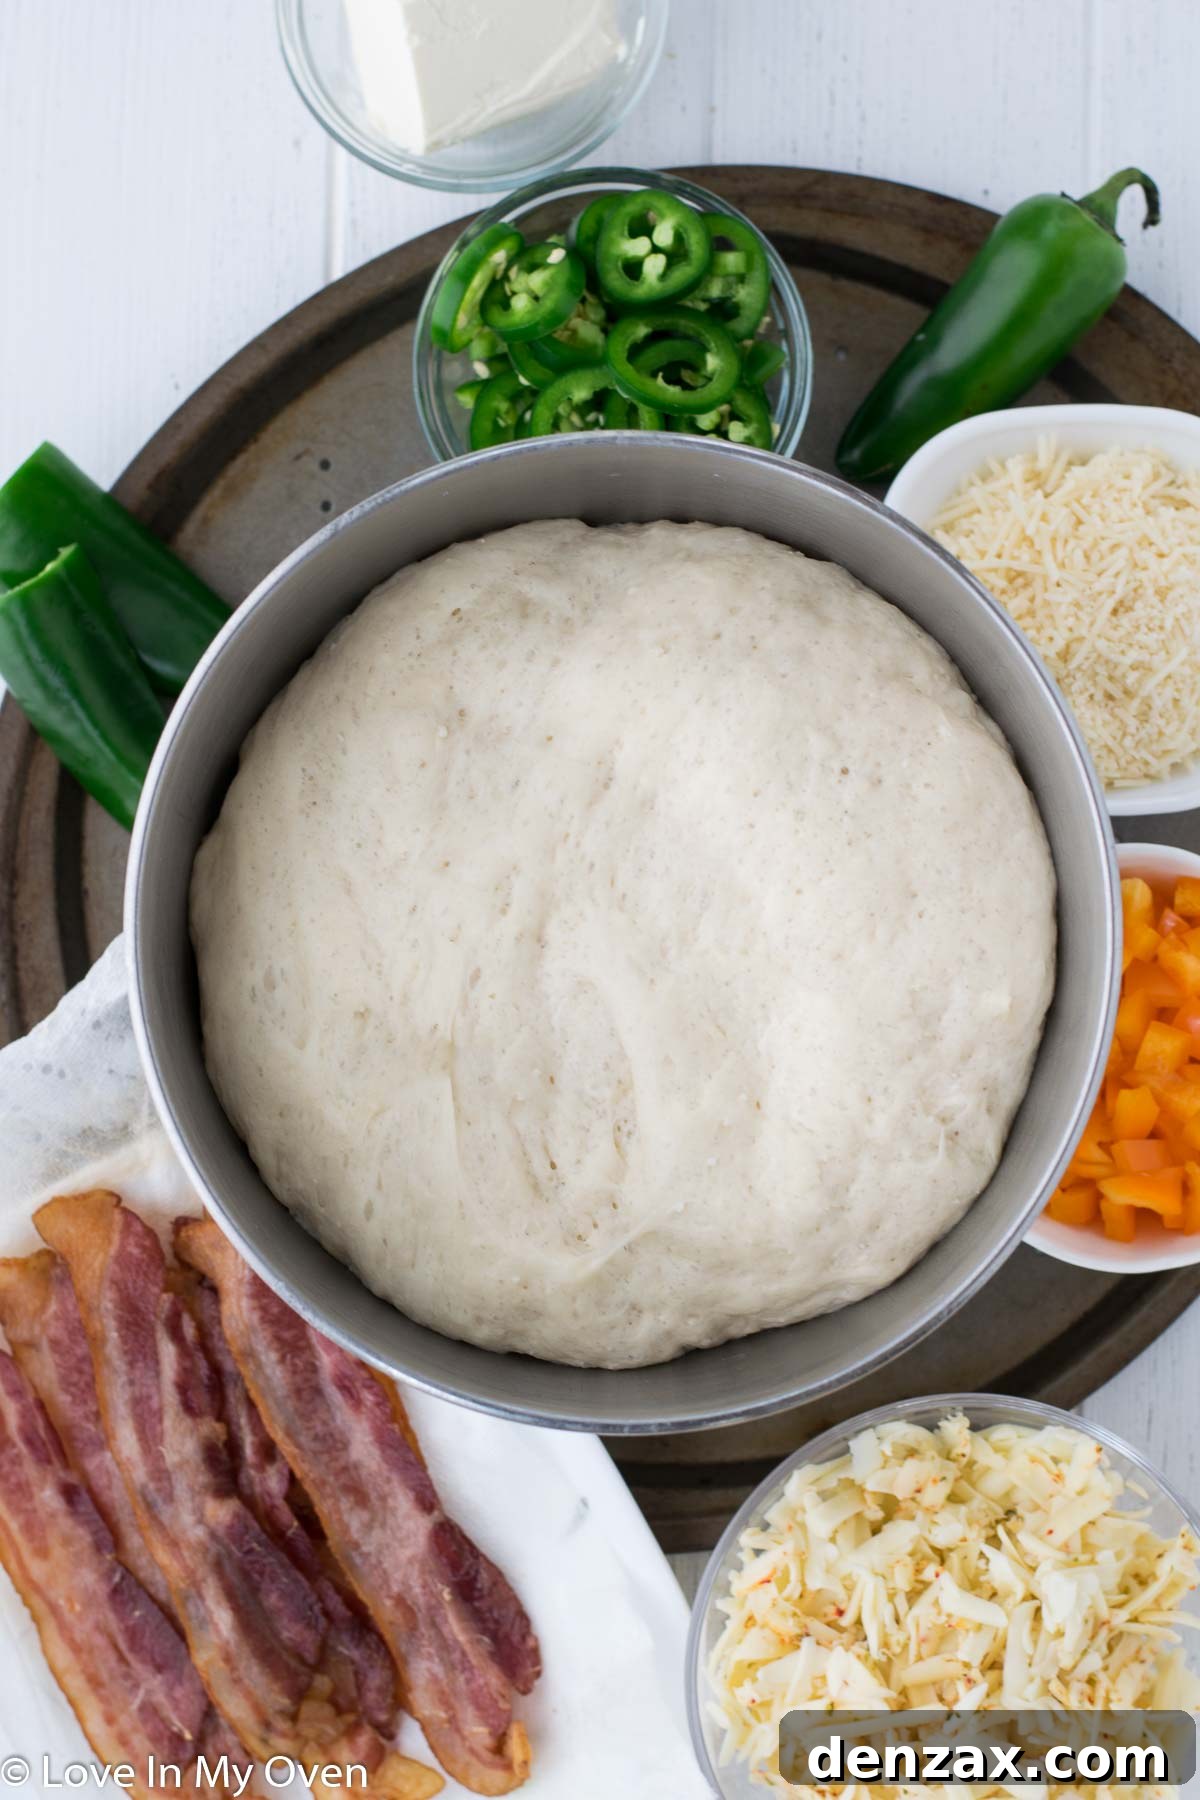
Before you embark on the assembly of your pizza, ensure all your delicious components are prepped and ready to go. Having everything at your fingertips streamlines the process and ensures a smooth culinary adventure. Here’s a checklist of the essential ingredients you’ll need:
- Crispy, crumbled bacon: Approximately 5 slices, cooked until perfectly crunchy.
- Shredded Monterey Jack cheese: For its excellent melt and mild flavor.
- Shredded sharp cheddar cheese: Adding a classic, tangy cheese profile.
- Diced jalapeños: With seeds removed for controlled heat (but save some if you crave extra spice!).
- Softened cream cheese: The essential base for that signature popper creaminess.
- Grated Parmesan cheese: For the dough and a finishing flourish.
- Diced bell pepper: Orange or red varieties add sweetness and a pop of vibrant color.
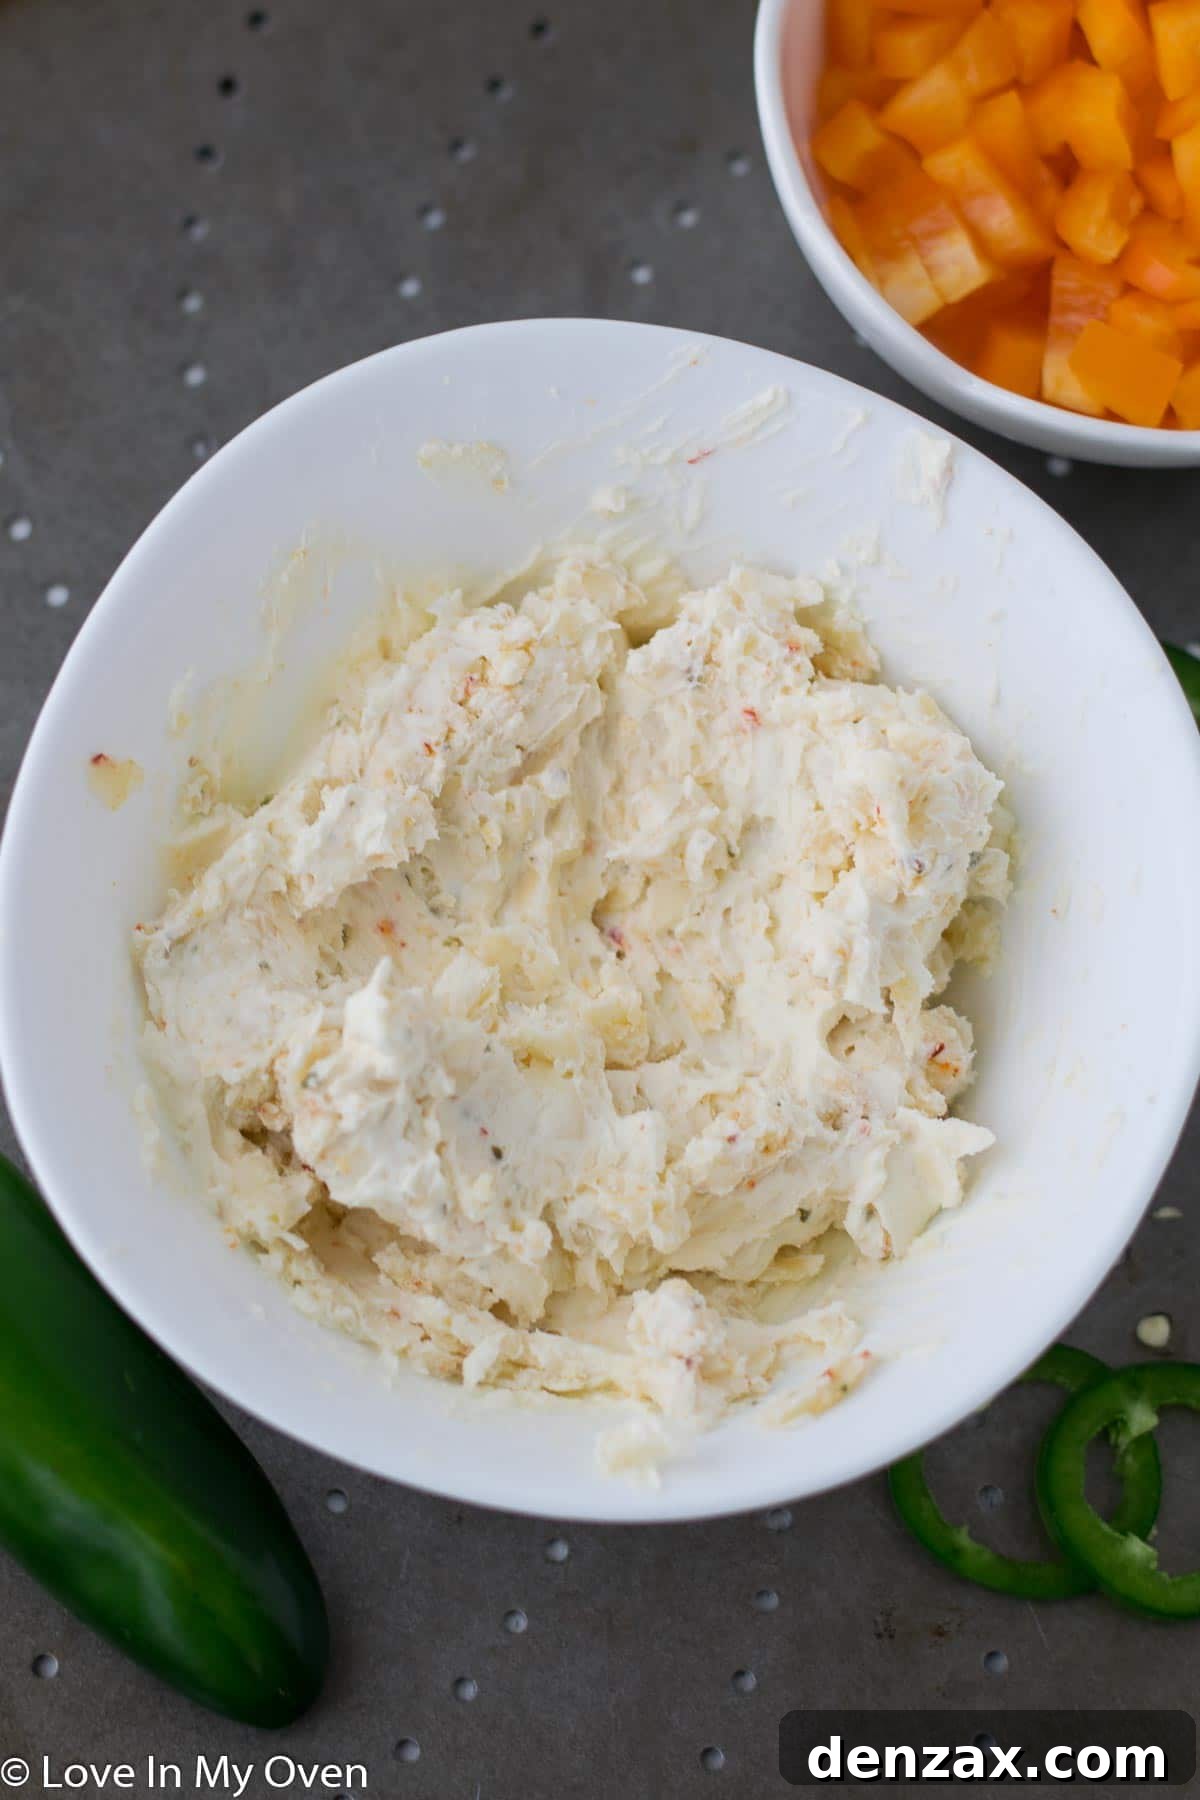
With your ingredients prepped, preheat your oven to a robust 425°F (220°C). Now, it’s time to create the creamy, dreamy foundation for your pizza. In a small bowl, combine the softened cream cheese with a quarter cup of shredded Monterey Jack cheese and a generous half teaspoon of garlic powder. Mix these ingredients thoroughly until they form a smooth, well-combined spread. This luscious mixture will then be generously smeared across the surface of your rolled-out pizza crust, creating a flavorful and wonderfully creamy canvas.
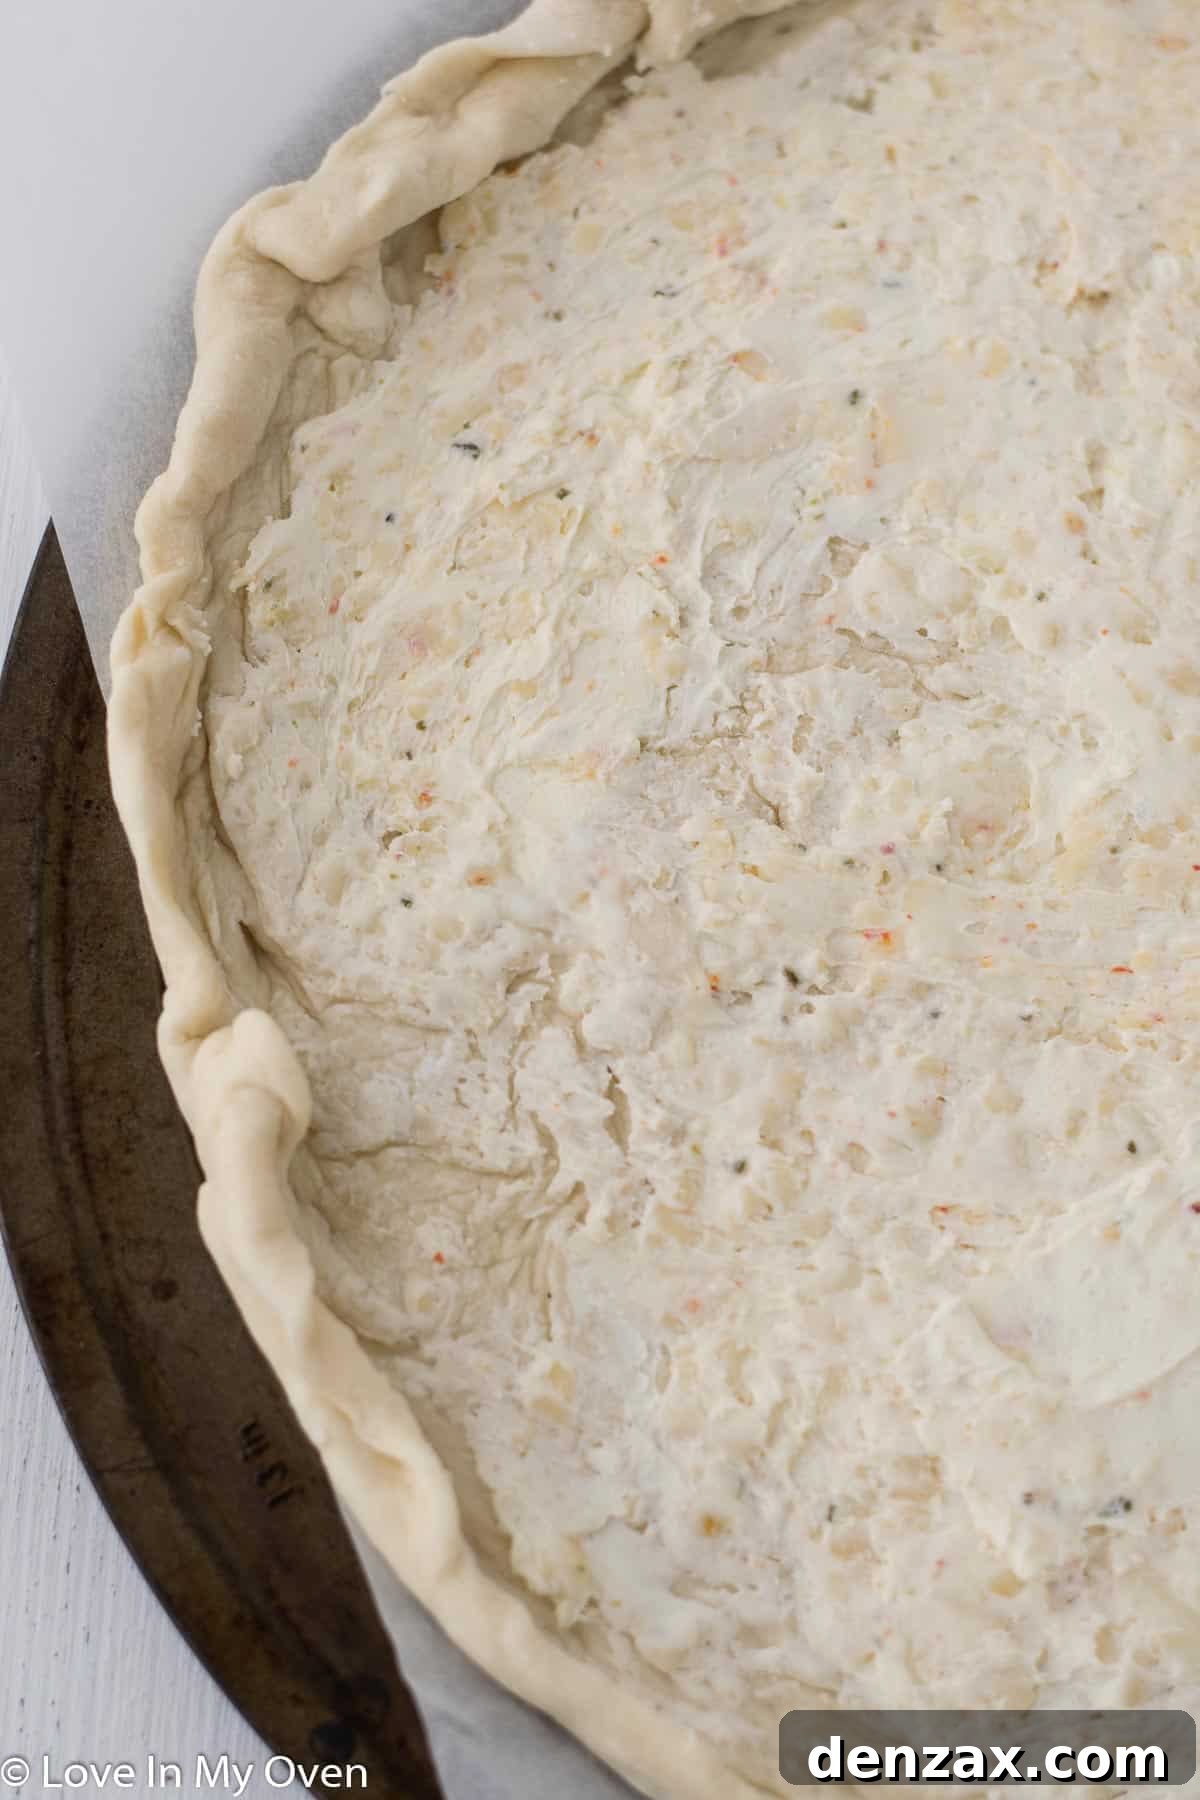
Now comes the truly enjoyable part: loading up your pizza with all the delicious toppings! Start by sprinkling a generous layer of both Monterey Jack and cheddar cheeses over the cream cheese base. This double layer ensures maximum cheesiness in every bite. Next, evenly distribute the diced crispy bacon, the colorful bell peppers, and the prepared jalapeños across the surface. Don’t be shy with the toppings – abundance is key for a truly satisfying pizza!
For a beautiful and appetizing finish, layer the ingredients thoughtfully, concluding with a final sprinkle of extra cheddar and Parmesan cheese. I always recommend placing a few extra sliced jalapeños on top, clearly visible to anyone you’re serving. This visual cue helps guests gauge the level of spice to expect and adds an appealing pop of vibrant green color, making the pizza as visually delightful as it is delicious.
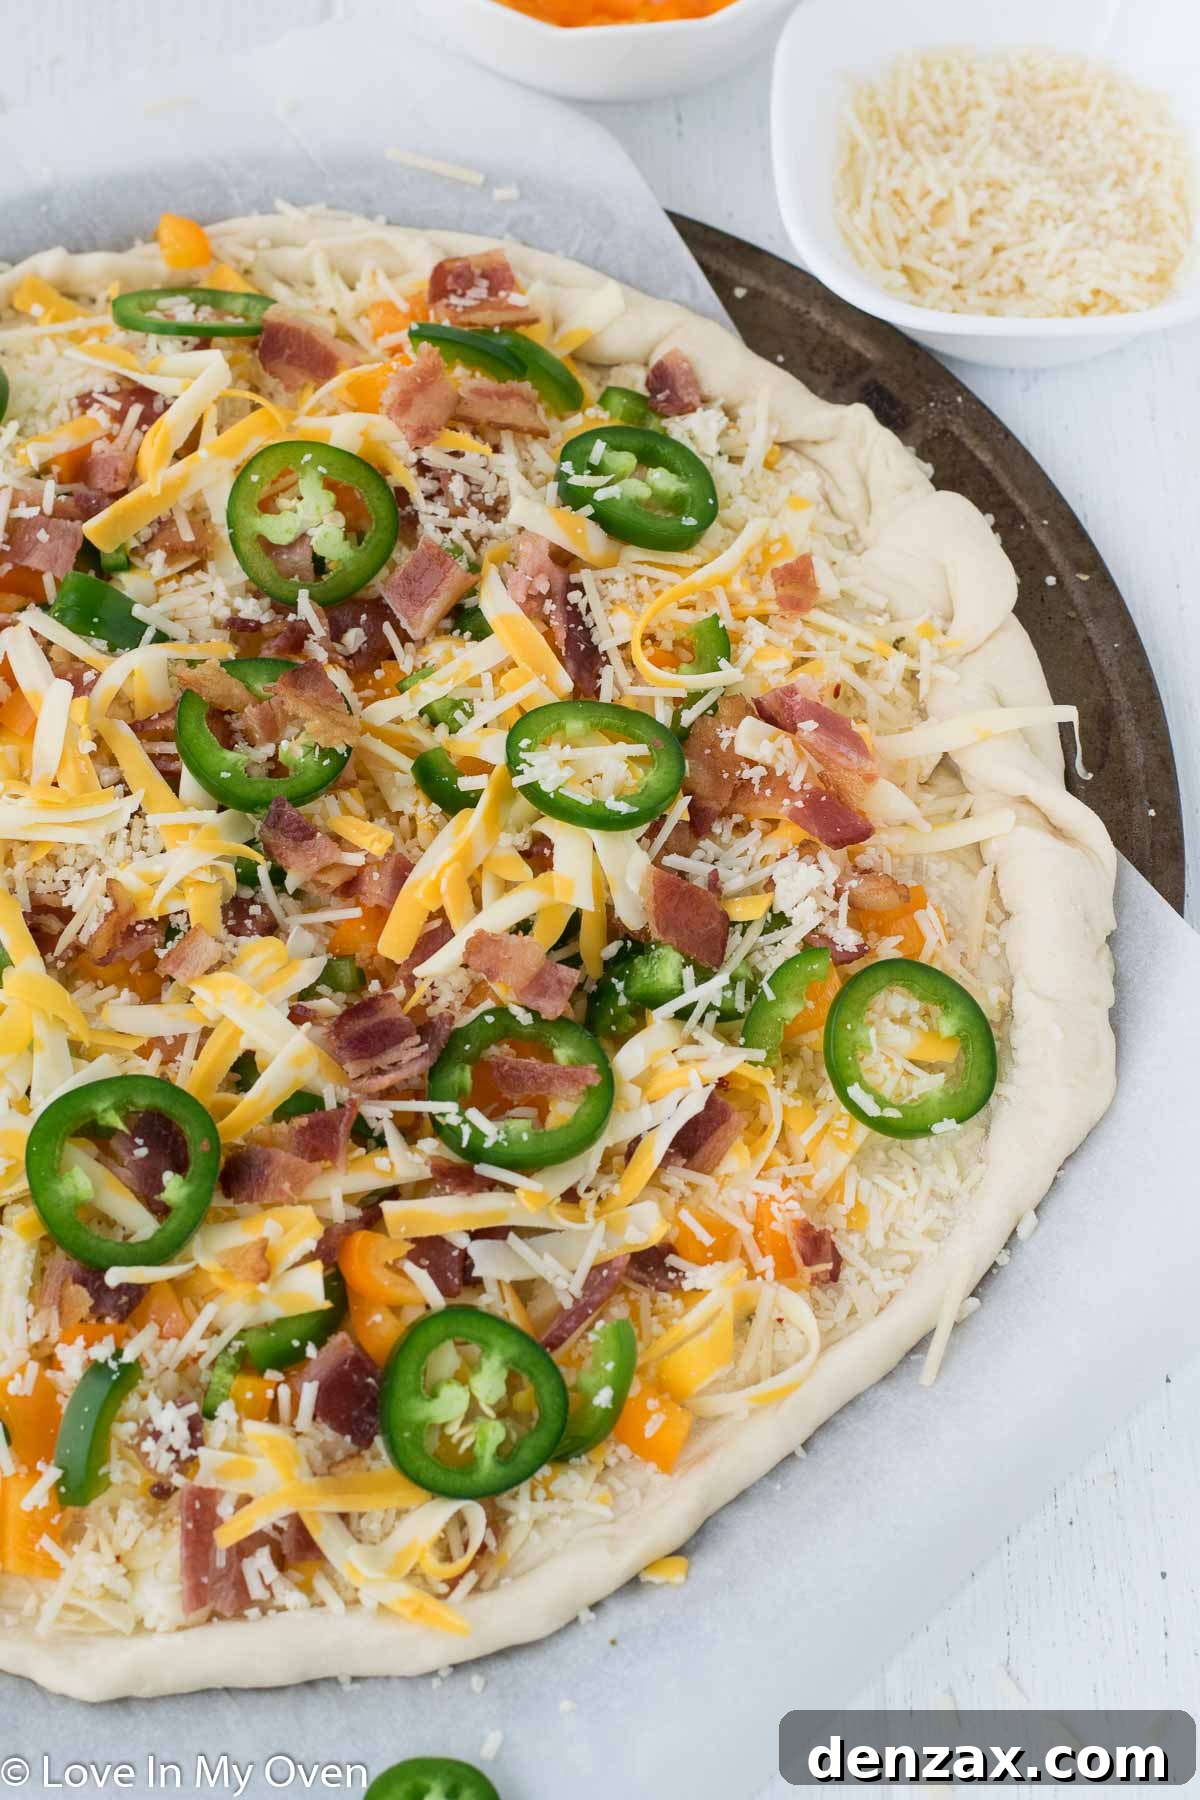
Once assembled, your magnificent pizza is ready for its transformation in the hot oven. It will typically bake for about 15 minutes, during which time the crust turns golden, the cheeses melt into a gooey perfection, and the flavors meld beautifully. For that irresistible, bubbly, and slightly crispy cheese topping, I highly recommend activating your oven’s broiler for the final 1-2 minutes of cooking. Keep a close eye on it during this stage, as broilers work quickly, and you want a golden finish, not a burnt one!
After pulling your glorious pizza from the oven, the hardest part begins: waiting! Allow the pizza to rest for a few minutes before slicing into it. This crucial resting period allows the cheese to set slightly, preventing all the toppings from sliding off when you cut. We usually enjoy our Jalapeño Popper Pizza just as it is, letting its bold flavors shine. However, for those who love to customize, a drizzle of hot sauce or a side of cool ranch dressing would make a phenomenal accompaniment, adding another layer of flavor and texture.
Tips for the Best Jalapeño Popper Pizza
- Perfectly Crispy Bacon: Cook your bacon until it’s very crispy, then crumble it into small pieces. This ensures a delightful crunch in every bite.
- Softened Cream Cheese: Make sure your cream cheese is at room temperature. This makes it much easier to mix with other ingredients and spread evenly on the crust.
- Toasting the Crust: For an even crispier crust, consider pre-baking your homemade or store-bought crust for 5-7 minutes before adding the toppings.
- Fresh Jalapeños are Key: While pickled jalapeños can be used in a pinch, fresh ones offer a superior texture and a brighter, more nuanced heat.
- Don’t Overload: While generous toppings are good, avoid piling them too high, which can lead to a soggy crust or uneven cooking.
- Broiler Watch: When using the broiler, never walk away from the oven. Cheese can go from perfectly golden to burnt in a matter of seconds.
Frequently Asked Questions
Can I use a store-bought crust for this pizza?
Absolutely, yes! Using a pre-made pizza crust is a fantastic way to save time and streamline the preparation process without sacrificing flavor. If you opt for a store-bought crust, simply bypass the dough-making and rising steps. You can go straight to preparing the creamy cream cheese base and assembling your toppings. For a slightly crispier base, you might want to pre-bake the crust for 5-7 minutes before adding any toppings, depending on the product’s instructions.
Can you make this pizza extra spicy?
This pizza already carries a pleasant level of heat from the fresh jalapeños and the subtle kick of Monterey Jack cheese. However, if you’re a true heat seeker and want to amplify the spice, there are a couple of excellent ways to do so. When dicing your jalapeños, consciously leave some of the seeds and internal membranes intact. These are where much of the capsaicin (the compound responsible for the heat) resides. For an even more intense fiery experience, you can lightly sprinkle a few of the reserved seeds directly onto the creamy base of the pizza before adding the main layers of cheese and other toppings. Just be mindful that a little goes a long way when it comes to jalapeño seeds!
Can I prepare this pizza ahead of time?
For the freshest taste, it’s best to assemble and bake the pizza just before serving. However, you can prepare certain components in advance:
- Bacon: Cook and crumble the bacon a day or two ahead and store it in an airtight container in the fridge.
- Jalapeños and Bell Peppers: Dice these vegetables a day ahead and store them in separate containers.
- Cream Cheese Mixture: Prepare the cream cheese base up to 24 hours in advance and keep it covered in the refrigerator. Let it come to room temperature before spreading.
- Dough (if homemade): You can make the dough, let it rise, and then refrigerate it for up to 2 days, or even freeze it for longer storage. Thaw and bring to room temperature before rolling out.
How should I store and reheat leftover pizza?
Leftover Jalapeño Popper Pizza stores wonderfully. Place any remaining slices in an airtight container or wrap them tightly in plastic wrap or aluminum foil. It will keep fresh in the refrigerator for 3-4 days.
To reheat, my preferred method is in a toaster oven or a conventional oven. Preheat your oven to 350°F (175°C), place the slices directly on the rack or on a baking sheet, and bake for about 8-12 minutes, or until the cheese is melted and bubbly and the crust is crisp again. For a quick reheat, a microwave works, but the crust won’t be as crispy.
What are some variations I can try?
This recipe is highly adaptable! Consider these delicious variations:
- Add Protein: Cooked shredded chicken or pulled pork would make excellent additions.
- Different Cheeses: Experiment with smoked gouda, pepper jack for extra heat, or provolone.
- Onions: Caramelized onions or thinly sliced red onions can add a lovely depth of flavor.
- Herbs: Fresh cilantro or chives sprinkled after baking would be fantastic.
- Vegetarian Version: Simply omit the bacon for a delicious vegetarian option. You could add smoked paprika for a hint of smoky flavor.
With its vibrant flavors and satisfying textures, this Jalapeño Popper Pizza is more than just a recipe; it’s an invitation to elevate your pizza night. It’s a testament to the joy of combining beloved classics into something entirely new and utterly delicious. Whether you’re entertaining guests or simply treating your family to a special meal, this pizza is sure to impress and delight.


For more culinary inspiration, explore some of my other favorite pizza creations from the blog:
- Spicy Chorizo and Caramelized Onion Pizza: A flavorful skillet pizza with sweet and savory notes.
- Pear and Goat Cheese Pizza: An elegant and surprising combination of sweet pears and tangy goat cheese.
- Gluten-Free Zucchini Pizza: A fresh and lighter option for those seeking a gluten-free crust.
Print Recipe

Jalapeno Popper Pizza
5 from 1 review
- Author: Katherine | Love In My Oven
- Total Time: 2 hours
- Yield: 1 pizza
Description
This creamy, cheesy jalapeno popper pizza has just the right amount of spice! It’s your favorite appetizer in pizza form. Cream cheese, cheddar cheese and crispy bacon make this the pizza of your dreams!
Ingredients
Scale
Parmesan Pizza Dough
- 3/4 cup warm water
- 1 pkg (2 1/4 tsp) active dry yeast
- 1 tbsp honey
- 1 tsp salt
- 1 tbsp olive oil
- 2 cups all-purpose flour
- 2 tbsp parmesan cheese
Toppings
- 6 oz full-fat cream cheese, room temperature
- 1/4 cup + 1 cup shredded Monterey jack
- 1/2 tsp garlic powder
- 3 jalapenos, deseeded and sliced*
- 1/2 bell pepper, diced
- 5 slices bacon, cooked and crispy
- 1 cup shredded cheddar cheese
- 1/4 cup grated Parmesan cheese
Instructions
- Make the dough. In the bowl of a stand mixer fitted with the dough hook, gently stir together the warm water with the yeast and allow it to sit for 5 minutes or until foamy. Add the honey, salt and olive oil and 1 cup of the flour and Parmesan cheese. Mix on low until things are combined, then add the remaining flour and turn the mixer to medium-high. Mix and knead the dough for 4-5 minutes or until the dough bounces back when poked with a finger. If the dough is starting to stick to the sides too much, add a tablespoon or two of flour at a time until the dough pulls away from the sides. Remove the dough, spray the inside of the bowl with nonstick spray and place the dough back inside. Cover the bowl and let the dough rise for 1-2 hours or until doubled in size.
- Preheat the oven to 425 F. Roll out the dough to a 12″ circle and place on a pizza stone or a pan lined with parchment paper. In a small bowl, mix together the cream cheese with 1/4 cup of Monterey Jack and garlic powder then spread the mixture all over the rolled out pizza dough.
- Cover the pizza with a layer of cheddar and Monterey Jack cheese, then add the diced jalapeno, bell pepper, crumbled bacon and the remaining cheese. Top with Parmesan cheese. Place the pizza in the oven and bake for 15 minutes, before switching the oven to broil on high for 1-2 minutes, until the cheese is golden and bubbly.
- Remove the pizza from the oven and allow it to sit for 5 minutes before slicing into it and serving!
Leftover pizza can be stored in the fridge, in an airtight container, for 3-4 days.
Notes
*If you like things spicier you can include some of the seeds
- Prep Time: 20 minutes
- Cook Time: 20 minutes
- Category: dinner
- Method: oven bake
- Cuisine: american