
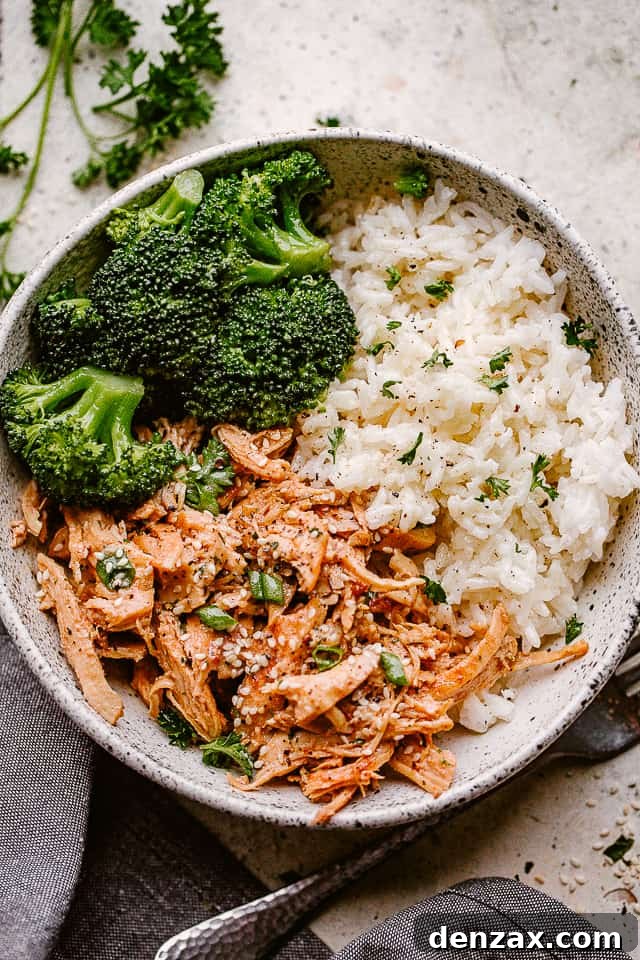
Transform your weeknight dinner routine with this incredibly flavorful and easy-to-make Instant Pot Honey Garlic Chicken. This recipe delivers a perfectly balanced sweet and savory taste that will captivate every member of your family, turning an ordinary meal into an extraordinary experience. Thanks to the magic of your Instant Pot, this delightful dish, complete with tender chicken and fluffy rice, can be on your table in just under 30 minutes, making it the ultimate solution for busy evenings. Prepare for this speedy, one-pot wonder to become a regular fixture in your culinary repertoire!
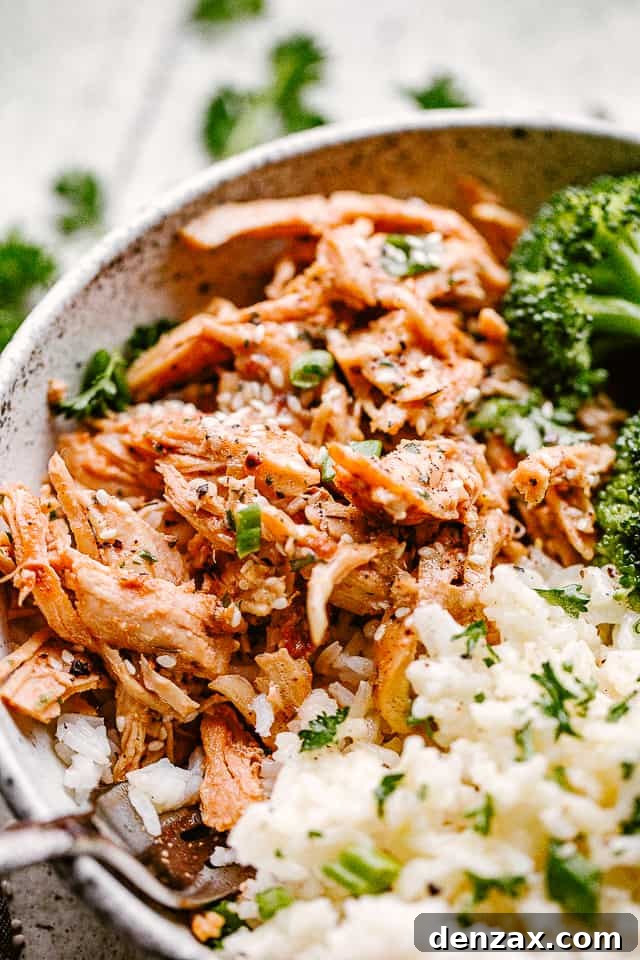
There’s a special kind of satisfaction that comes from serving a delicious, wholesome meal without spending hours in the kitchen or facing a mountain of dishes afterwards. Our Instant Pot Honey Garlic Chicken and Rice epitomizes this convenience. It’s a harmonious blend of classic flavors – the rich sweetness of honey perfectly complemented by the pungent depth of garlic, all brought together with savory soy sauce. This exquisite sweet and savory combination is what makes the dish so utterly addictive. But beyond the incredible taste, the true genius of one-pot meals like this lies in their unparalleled simplicity. Once your ingredients are prepped and loaded into the Instant Pot, you’re free to relax, tackle other tasks, or simply enjoy a moment of peace before dinner. The minimal cleanup is just the cherry on top, granting you significant dinner-time freedom and reducing stress.
Why This Instant Pot Honey Garlic Chicken Will Become Your Go-To Recipe
- Effortless One-Pot Preparation: Imagine cooking a complete meal with minimal fuss and only one main pot to wash! This recipe is designed for maximum convenience. Everything from searing the chicken to simmering the luscious honey garlic sauce and perfectly cooking the rice happens right in your Instant Pot. This significantly reduces cleanup time, giving you back precious moments in your busy day. It’s the ideal solution for easy weeknight dinners when time is of the essence.
- Irresistible Sweet and Savory Flavor: Prepare your taste buds for an explosion of flavor. The honey garlic sauce is truly the star of this dish – a beautifully crafted blend of sticky sweetness from the honey, aromatic garlic, and the umami richness of soy sauce, balanced with a hint of tang from ketchup and earthy oregano. This thick, glossy sauce coats every piece of tender chicken and infuses the rice with its delicious essence, ensuring every single bite is packed with incredible taste and comfort.
- Remarkably Versatile and Customizable: This Instant Pot chicken recipe is a fantastic canvas for your culinary creativity. While chicken breasts are classic, feel free to substitute them with succulent chicken thighs for an even richer flavor profile and juicier texture. If you prefer, swap white rice for brown rice for added fiber and a nuttier taste. Don’t hesitate to boost the nutritional content by incorporating your favorite vegetables like vibrant broccoli florets, crisp snap peas, or sweet carrots during the last few minutes of cooking. For those who crave a bit of heat, a pinch of red pepper flakes or a drizzle of sriracha will elevate the sauce with a delightful kick.
- Perfect for Meal Prep and Leftovers: This recipe is designed to yield four generous servings, making it perfect for feeding a family or ensuring you have delicious leftovers for the next day’s lunch or dinner. Honey garlic chicken is one of those magical dishes that often tastes even better the second day, as the flavors have more time to meld and deepen. Should you need to feed a larger crowd or simply want extra portions for meal prepping throughout the week, this recipe doubles with incredible ease, maintaining its consistent quality and flavor.
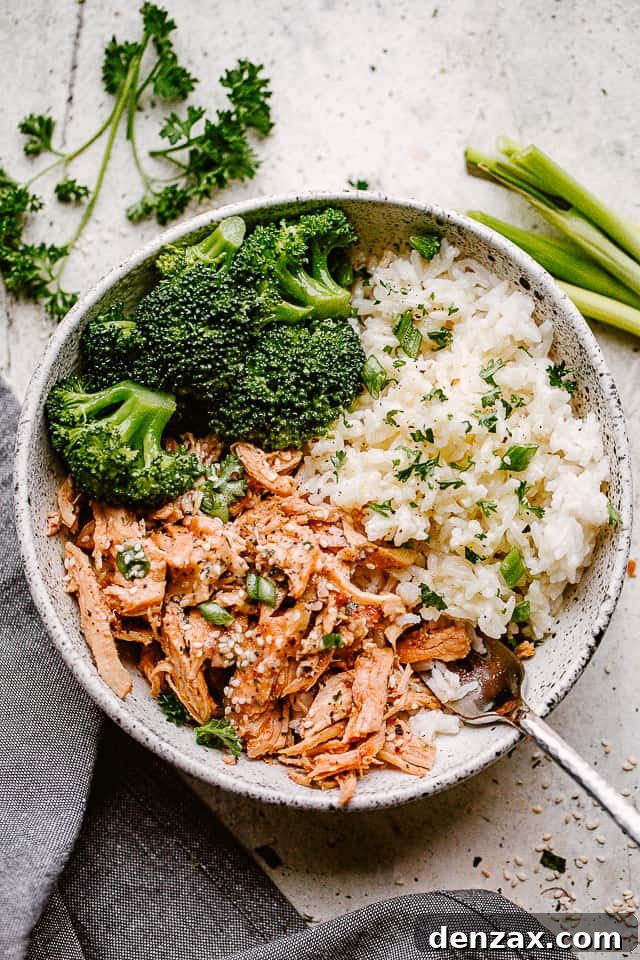
Essential Ingredients for Your Instant Pot Honey Garlic Chicken
Gathering your ingredients is the first step towards this delightful meal. Most of these are pantry staples, ensuring a quick and convenient start to your cooking adventure.
- For the Chicken: You’ll need boneless, skinless chicken breasts for lean protein, seasoned simply with salt and pepper to enhance their natural flavor.
- For the Rice: Short grain white rice is preferred for its tender, slightly sticky texture, accompanied by water for perfect cooking.
- For the Luscious Sauce: The heart of this dish! A blend of golden honey for sweetness, robust chicken broth for depth, savory low-sodium soy sauce for umami, a touch of ketchup for tang and color, minced garlic for pungent aroma, dried oregano for earthy notes, fresh parsley for brightness, and a cornstarch slurry (cornstarch mixed with water) to create that irresistible thick, glossy consistency.
Step-by-Step Guide: Crafting Your Instant Pot Honey Garlic Chicken
Follow these simple steps to create a truly delicious and satisfying meal with minimal effort.
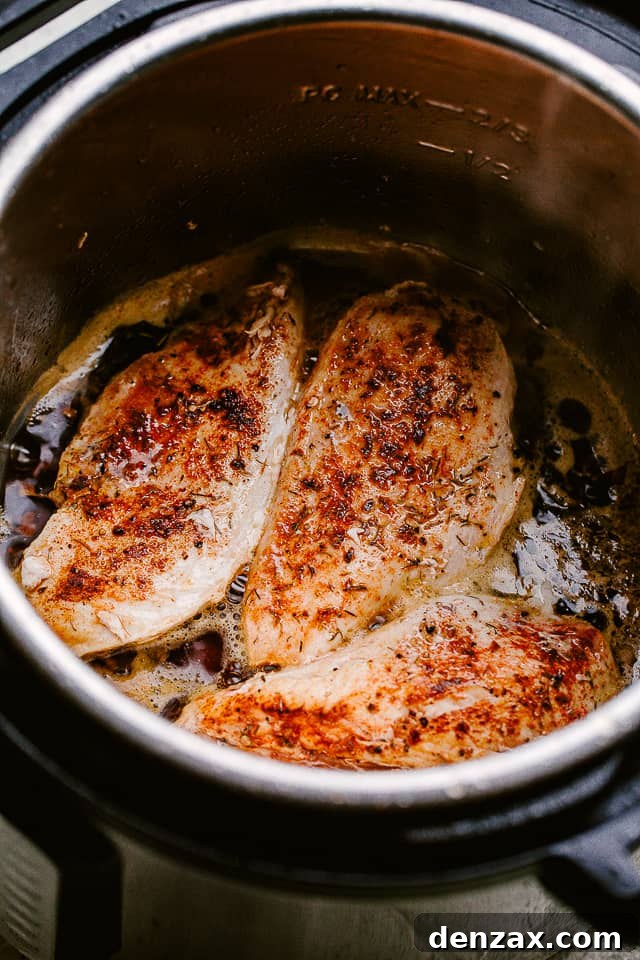
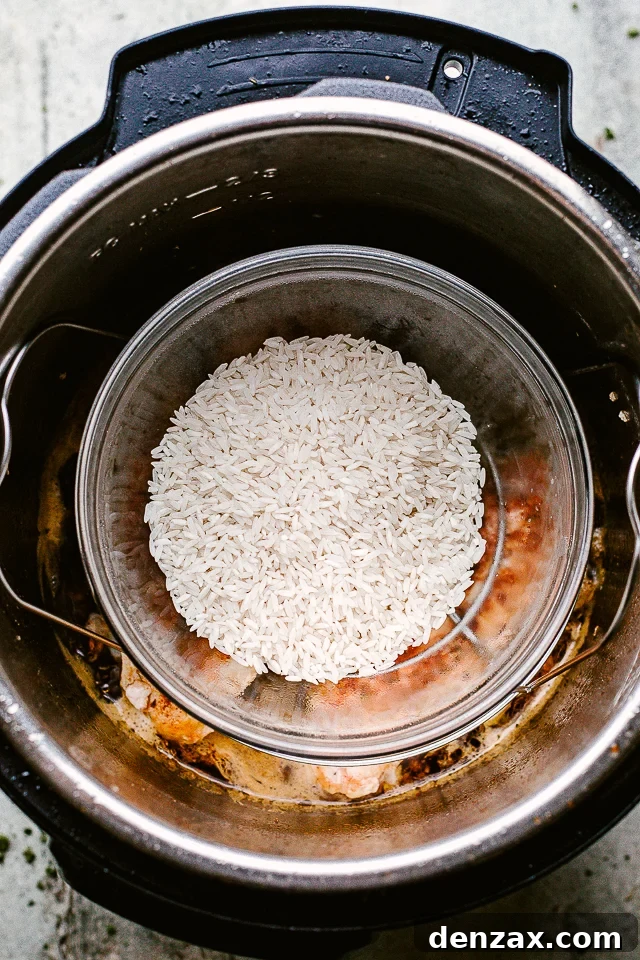
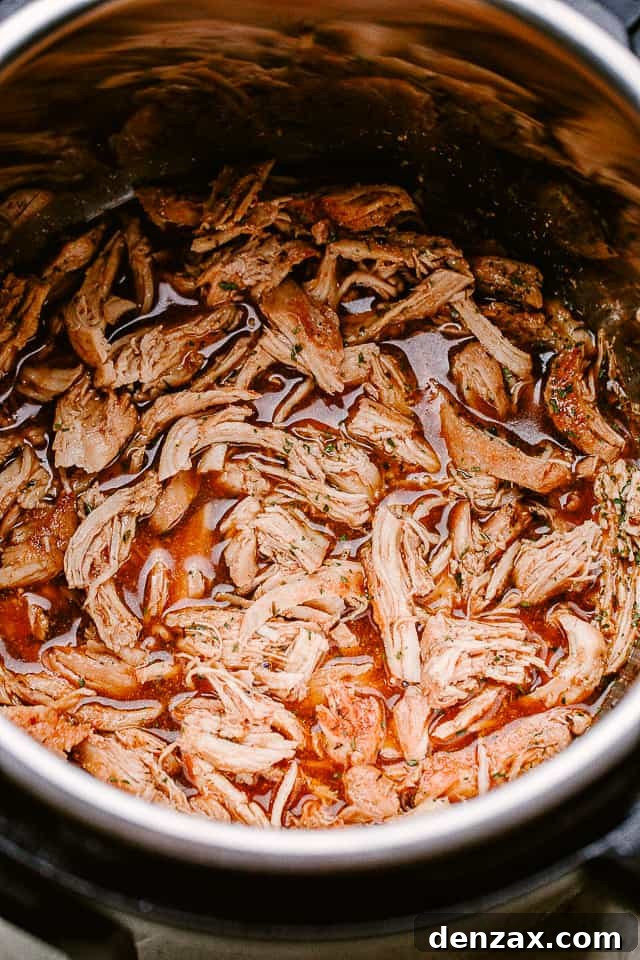
- Sear the Chicken for Flavor: Begin by setting your Instant Pot to the ‘Sauté’ mode. Add a splash of olive oil and let it heat thoroughly. While the oil warms, generously season your boneless, skinless chicken breasts with salt and freshly ground black pepper. Carefully place the seasoned chicken into the hot Instant Pot and sear each side for approximately 2 minutes, or until a light golden-brown crust forms. This crucial step develops a rich layer of flavor known as fond, which will later enhance your sauce. Once seared, remove the chicken and set it aside on a plate.
- Whisk Together the Honey Garlic Sauce: In a medium-sized bowl or a large measuring cup, combine all the sauce ingredients: honey, chicken broth, soy sauce, ketchup, minced garlic, dried oregano, and fresh parsley. Whisk everything vigorously until all ingredients are well incorporated and the sauce appears uniform.
- Build the Flavor Base and Return Chicken: Carefully pour your prepared honey garlic sauce into the warmed Instant Pot. Using a wooden spoon or a silicone spatula, gently scrape up any browned bits that may have adhered to the bottom of the pot after searing the chicken. These bits are packed with flavor and will dissolve into the sauce, deepening its complexity. Once the pot is deglazed, carefully place the seared chicken breasts back into the Instant Pot, ensuring they are partially submerged in the sauce.
- Prepare and Cook the Rice Concurrently: Rinse your short grain white rice thoroughly under cold water until the water runs clear. This removes excess starch, preventing sticky rice. Place the rinsed rice into an oven-safe dish that comfortably fits inside your Instant Pot on top of its trivet (a standard Pyrex glass mixing bowl often works perfectly). Add 2¼ cups of water to the rice dish, then cover it tightly with aluminum foil to ensure even cooking and to prevent water from the main pot from entering. Carefully position the Instant Pot’s trivet over the chicken and then gently place the foil-covered rice dish on top of the trivet. Secure the Instant Pot lid, ensuring the sealing valve is set to the ‘Sealing’ position. Select the ‘Manual’ or ‘Pressure Cook’ setting and set the cooking time for 15 minutes on High Pressure.
- Natural Pressure Release and Resting: Once the Instant Pot timer signals that cooking is complete, resist the urge to immediately release the pressure. Allow the pressure to release naturally for 10 minutes. This “natural pressure release” is vital as it allows the chicken to continue cooking gently and reabsorb its juices, resulting in incredibly tender and moist chicken. After 10 minutes, carefully switch the valve to ‘Venting’ to release any remaining pressure. Once all pressure has dissipated, open the lid. Using oven mitts or hot pads, carefully remove the hot rice bowl and set it aside. Then, transfer the cooked chicken to a cutting board and let it rest for about 5 minutes. Resting allows the juices to redistribute, ensuring maximum tenderness.
- Thicken the Sauce and Shred the Chicken: While the chicken rests, turn your Instant Pot back to ‘Sauté’ mode. In a small separate bowl, combine ¼ cup cornstarch with ¼ cup cold water, stirring until a smooth slurry forms (no lumps!). Slowly whisk this cornstarch slurry into the simmering honey garlic sauce in the Instant Pot. Stir constantly for a couple of minutes until the sauce thickens to your desired consistency – it should be glossy and cling to a spoon. Meanwhile, use two forks to shred the rested chicken breasts into bite-sized pieces.
- Combine and Serve: Turn off the Instant Pot to prevent the sauce from over-reducing. Stir the shredded chicken back into the thick, flavorful honey garlic sauce, ensuring every piece is beautifully coated. Fluff your perfectly cooked rice with a fork. Spoon generous portions of the succulent honey garlic chicken and sauce over the warm rice. For an extra touch of elegance and flavor, garnish with a sprinkle of toasted sesame seeds and a scattering of fresh green onions. Serve immediately and savor every delicious bite!
Exploring Alternatives: Making Honey Garlic Chicken Without an Instant Pot
While the Instant Pot truly excels at delivering this dish with unmatched speed and convenience, it’s entirely possible to create a delicious honey garlic chicken even if you don’t own one. However, it’s important to note that these alternative methods will require more cooking time and won’t offer the signature one-pot, simultaneous rice cooking benefit of the Instant Pot. You’ll typically need to cook your rice separately.
Slow Cooker Method: This approach is fantastic for hands-off cooking and deeply tender chicken, though it requires several hours.
- Sear (Optional but Recommended): For added depth of flavor, first sear your chicken breasts in a separate skillet over medium-high heat for 2-3 minutes per side until lightly browned. This step is optional but significantly enhances the final taste.
- Combine Sauce and Chicken: In your slow cooker, whisk together all the sauce ingredients (honey, chicken broth, soy sauce, ketchup, minced garlic, oregano, and parsley). Add the seared (or unseared) chicken breasts to the sauce, ensuring they are well coated.
- Cook: Cover and cook on low for 3-4 hours or on high for 2-3 hours, or until the chicken is easily shredded with two forks. Cooking times may vary based on your slow cooker and the thickness of the chicken breasts.
- Shred and Thicken: Remove the chicken from the slow cooker and shred it. In a small bowl, whisk together cornstarch and water to create a slurry. Stir the slurry into the sauce in the slow cooker. Turn the slow cooker to high (or even ‘Sauté’ if your model has it and allows browning), and cook for another 15-30 minutes, stirring occasionally, until the sauce thickens.
- Serve: Return the shredded chicken to the thickened sauce and serve over separately cooked rice.
Stovetop / Dutch Oven Method: This method offers quicker cooking than a slow cooker but still involves more active participation and multiple pots.
- Sear Chicken: In a large Dutch oven or a deep, heavy-bottomed skillet, heat olive oil over medium-high heat. Season chicken breasts with salt and pepper and sear for 3-4 minutes per side until well browned. Remove chicken and set aside.
- Deglaze and Simmer Sauce: Pour off any excess fat from the pot, leaving behind the flavorful browned bits. Add a splash of chicken broth and scrape the bottom of the pot to deglaze. Then, whisk in the remaining sauce ingredients (honey, soy sauce, ketchup, minced garlic, oregano, parsley) and bring to a gentle simmer.
- Cook Chicken: Return the seared chicken breasts to the sauce. Reduce heat to medium-low, cover, and simmer for 15-20 minutes, or until the chicken is cooked through (internal temperature reaches 165°F / 74°C). The cooking time will depend on the thickness of your chicken.
- Shred and Thicken: Remove the chicken to a cutting board, let it rest for 5 minutes, then shred it. While the chicken rests, increase the heat under the sauce to medium. Whisk in a cornstarch slurry (cornstarch mixed with water) and cook, stirring constantly, until the sauce thickens to your liking.
- Combine and Serve: Stir the shredded chicken back into the thickened sauce. Serve hot over separately cooked rice.
No matter your cooking method, the sweet and savory appeal of honey garlic chicken is sure to be a hit!
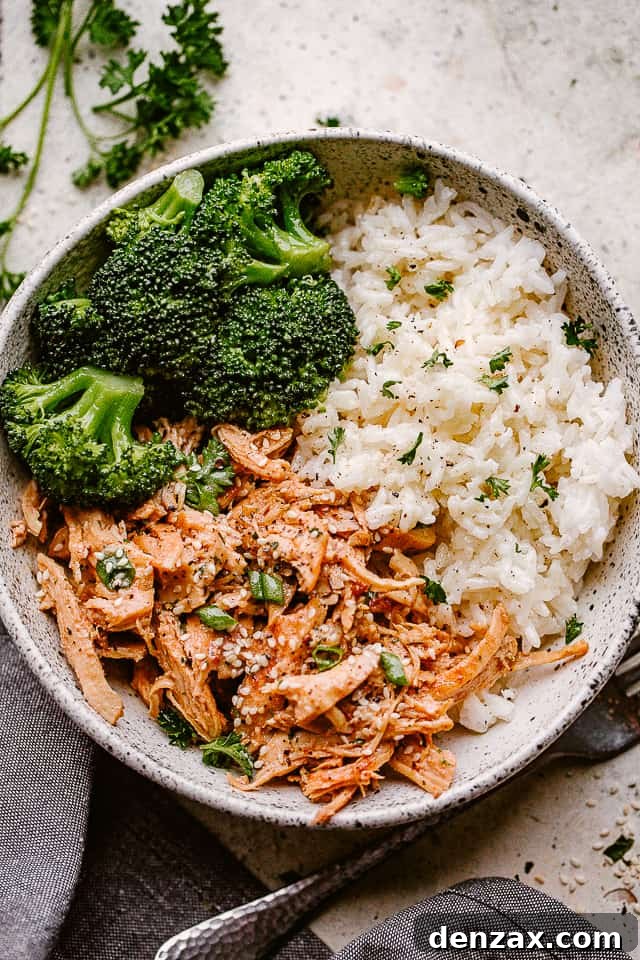
Expert Tips for the Best Honey Garlic Chicken
- Elevate with Garnishes: While delicious on its own, a few simple garnishes can truly elevate your honey garlic chicken. Toasted sesame seeds add a wonderful nutty flavor and a delicate crunch. To toast them, simply place them in a small dry skillet over medium heat, stirring frequently, until they turn golden brown and become fragrant – this usually takes only a few minutes, so watch them carefully to prevent burning. A sprinkle of freshly sliced green onions (scallions) provides a burst of fresh, mild oniony flavor and vibrant color. You could also add a drizzle of sesame oil for an extra layer of nutty aroma just before serving.
- Achieving the Perfect Sauce Thickness: For that restaurant-quality, glossy, and slightly sticky sauce that perfectly coats the chicken and rice, a cornstarch slurry is your best friend. While the sauce will naturally reduce slightly, a slurry made from cornstarch and cold water is essential for achieving optimal thickness and that delightful “cling.” Without it, the sauce tends to be too thin and runny, missing that satisfying texture we all love in honey garlic dishes. Always mix cornstarch with cold water *before* adding it to a hot liquid to prevent lumps.
- The Importance of Natural Pressure Release: When the Instant Pot beeps to signal the end of the cooking cycle, it can be tempting to immediately hit the quick release valve. However, for this chicken recipe, allowing for a 10-minute natural pressure release is absolutely crucial. During this period, the internal pressure gradually decreases, and the chicken continues to cook gently in the residual heat. This slow depressurization helps the chicken fibers relax, reabsorbing juices, resulting in incredibly tender, moist, and perfectly cooked chicken. Rushing the process with a quick release can lead to tougher, drier chicken, so patience here truly pays off!
Complementary Sides: What to Serve With Honey Garlic Chicken
This Instant Pot Honey Garlic Chicken and Rice is a complete meal in itself, thanks to the protein, carbohydrates, and rich sauce. However, pairing it with a fresh and vibrant vegetable side can beautifully round out the meal, adding texture, color, and additional nutrients. I often opt for something straightforward and healthy, like a simple steamed or roasted broccoli, which offers a lovely contrast to the sweetness of the sauce. However, don’t limit yourself! Almost any vegetable will pair wonderfully. Consider a crisp green salad with a light vinaigrette, sautéed green beans with a hint of garlic, or roasted asparagus. If you’re feeling a bit more adventurous, you might explore options like our flavorful romano beans in garlic butter sauce, tender roasted Brussels sprouts, or perfectly seasoned garlic butter roasted asparagus. The key is to choose a side that offers a fresh counterpoint to the rich, savory chicken.
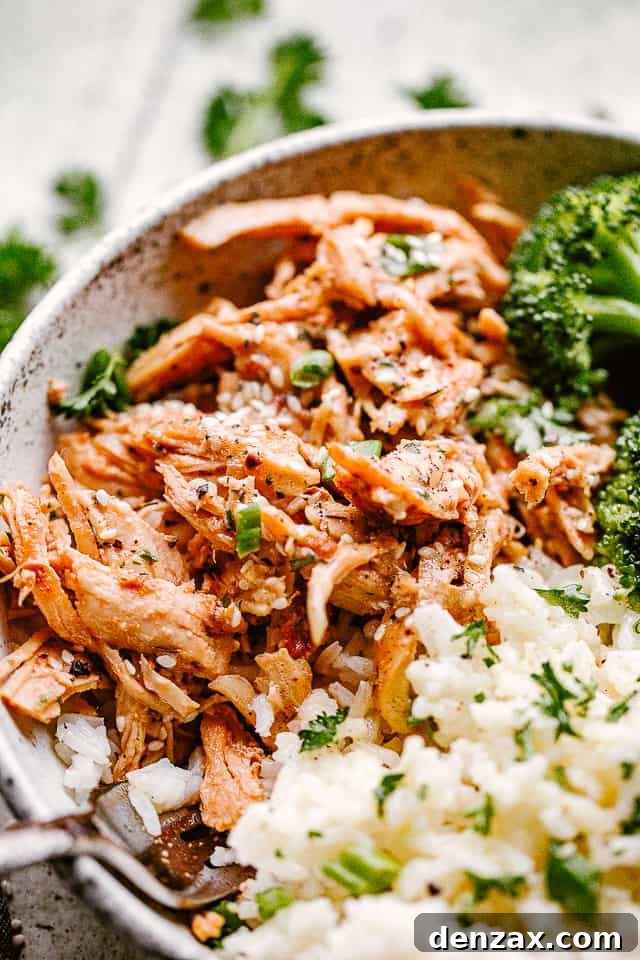
Storing and Reheating Your Honey Garlic Chicken Leftovers
One of the many benefits of this delicious Instant Pot Honey Garlic Chicken recipe is how well it stores and reheats, making it fantastic for meal prepping or enjoying throughout the week.
- To Store: Allow any leftover honey garlic chicken and rice to cool completely to room temperature before storing. This prevents excess condensation which can make the food soggy. Transfer the chicken (preferably separated from the rice to maintain texture) into an airtight container and store it in the refrigerator for up to 4-5 days. For longer storage, this dish freezes beautifully. Place the cooled chicken in a freezer-safe bag or an airtight container, ensuring as much air as possible is removed. It will stay fresh in the freezer for up to 3 months. When freezing, it’s particularly helpful to separate the chicken from the rice if possible, as rice can sometimes become a bit drier upon thawing and reheating compared to the chicken.
- To Reheat: Reheating your honey garlic chicken is incredibly simple. For best results, allow the refrigerated chicken to come closer to room temperature on your counter for about 15-20 minutes. Then, you can reheat it gently on the stovetop over low heat, adding a splash of chicken broth or water if the sauce seems too thick, stirring occasionally until heated through (approximately 10 minutes). Alternatively, you can reheat individual portions in the microwave until warm, stirring halfway through. Serve the reheated chicken and sauce with freshly cooked or reheated rice and your favorite veggies. Leftovers are also fantastic for repurposing – try stuffing the shredded honey garlic chicken into tortillas for quick and easy honey garlic chicken tacos!
More Delicious Chicken Breast Recipes to Try
If you loved the simplicity and flavor of this Instant Pot Honey Garlic Chicken, you might enjoy exploring other fantastic chicken breast recipes for your weeknight rotation:
- Coconut Chicken Breast Tenders: A delightful blend of crispy texture and tropical flavor.
- Bang Bang Chicken: A spicy and creamy Asian-inspired dish that’s bursting with flavor.
- Copycat KFC Chicken Sandwich: Recreate your favorite fast-food classic at home with this satisfying recipe.
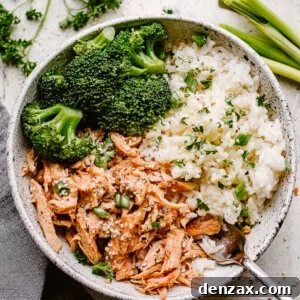
Instant Pot Honey Garlic Chicken and Rice
Sweet and savory honey garlic chicken is a quick and flavorful dinner that will make your entire family happy. And because we’re using an Instant Pot, it’s ready in just 30 minutes. This easy chicken recipe will become one of your favorite one-pot meals!
Ingredients
- 2 tbsp olive oil
- 4 boneless, skinless chicken breasts
- salt and pepper, to taste
- 1/3 cup honey
- 2/3 cup low sodium chicken broth
- ⅔ cup low sodium soy sauce
- 2 tbsp ketchup, (I use no-salt ketchup)
- 4 cloves garlic, minced
- ½ tsp dried oregano
- 2 tbsp fresh parsley
- 1½ cups short grain white rice
- 2¼ cups water
- ¼ cup cornstarch
- ½ tbsp toasted sesame seeds, for garnish
Instructions
- Heat the Instant Pot on “Sauté” mode. Add olive oil to the instant pot and heat it up. Season chicken with salt and pepper; transfer to the instant pot and cook for about 2 minutes per side, or until just browned. Remove chicken and set aside.
- In a mixing bowl combine honey, chicken broth, soy sauce, ketchup, garlic, oregano, and parsley; mix until incorporated.
- Slowly Pour the honey mixture into the Instant Pot and, using a wooden spoon, scrape up all the browned bits from the bottom of the pot. Add chicken back into the pot.
- Rinse the rice really well; add rinsed rice to an oven safe dish that will fit inside your Instant Pot on top of the trivet. I always use my Pyrex glass mixing bowls. Add 2 1/4 cups water into the dish with the rice and cover the dish with foil. Place the dish on top of your trivet (the one that comes with the Instant Pot). Carefully place the trivet down into the pot on top of the chicken. Lock the lid of the Instant Pot and set valve to “sealing”. Press the manual button and set the timer for 15 minutes on High Pressure.
- When the timer beeps let the pressure release naturally for 10 minutes. Once all the pressure is released, remove the lid and carefully remove the rice bowl using oven mitts or hot pads. Then remove the chicken and set on a cutting board. Let rest 5 minutes.
- Turn the Instant Pot to “Saute”. In a small bowl stir together 1/4 cup cornstarch and 1/4 cup water until smooth. Stir the slurry mixture into the pot; and let cook for couple minutes, stirring often. In the meantime, shred the chicken.
- Turn off the Instant Pot and stir shredded chicken back into the sauce. Serve chicken over rice and garnish with toasted sesame seeds.
Equipment
- Instant Pot
Video
Nutrition
Carbohydrates: 92g |
Protein: 32g |
Fat: 11g |
Saturated Fat: 2g |
Cholesterol: 72mg |
Sodium: 1674mg |
Potassium: 646mg |
Fiber: 1g |
Sugar: 25g |
Vitamin A: 202IU |
Vitamin C: 5mg |
Calcium: 45mg |
Iron: 2mg
Nutritional info is an estimate and provided as courtesy. Values may vary according to the ingredients and tools used. Please use your preferred nutritional calculator for more detailed info.
Did you make a recipe? Leave a rating