
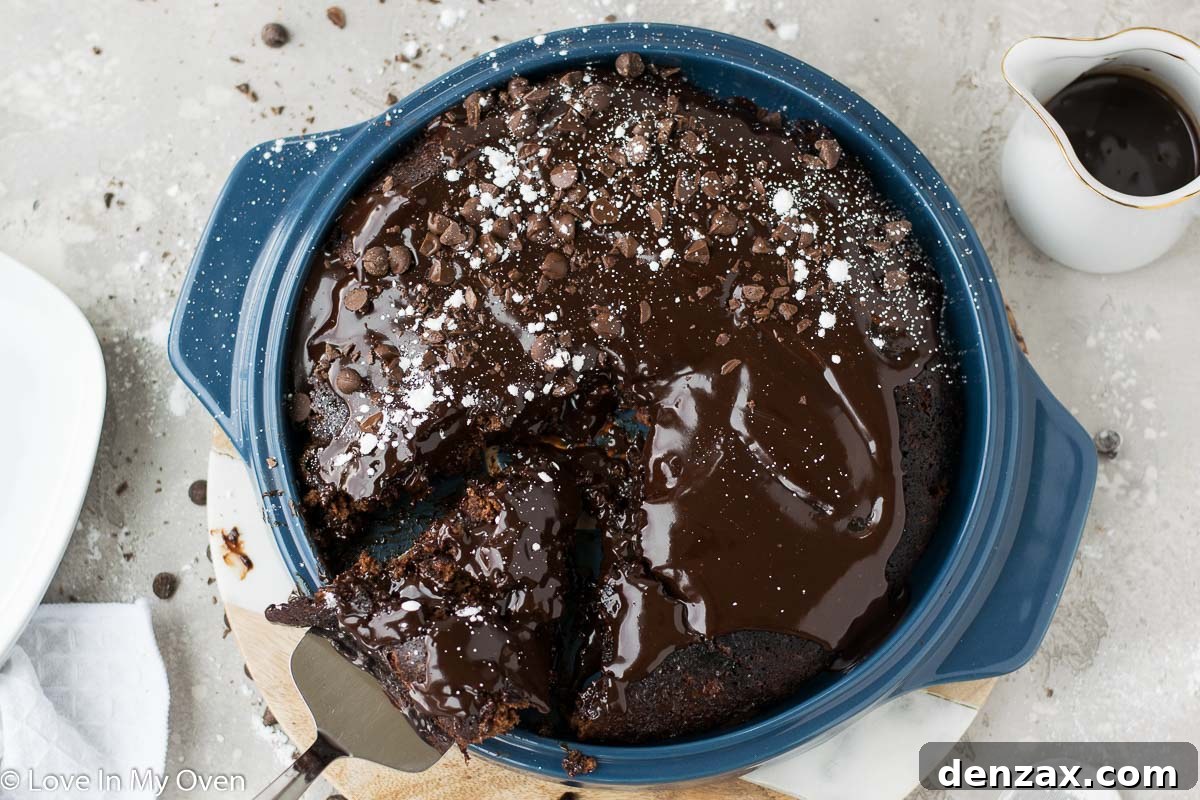
Forget everything you thought you knew about traditional baking! This rich, decadent, and incredibly easy chocolate upside-down cake is here to revolutionize your dessert game. With its remarkably gooey top and deep chocolate flavor, it’s a delightful treat that can be baked right on your stovetop or in the oven, offering ultimate flexibility for any kitchen.
There’s a saying that you can never have too much cake, and I wholeheartedly believe it, especially after a week filled with birthday celebrations! We recently indulged in delicious cakes for Hattie’s birthday, first with family, then a party with friends, leaving us with a delightful surplus. Yet, even amidst all that sweetness, I couldn’t wait to share this exceptional chocolate upside-down cake recipe.
I’ve spent the past month perfecting this recipe, and the anticipation to finally bring it to the blog has been immense! What makes this cake truly special is its stovetop preparation method. Yes, you read that right – a cake baked entirely on the stove! It was a fascinating discovery for me, and I’m thrilled to introduce you to this innovative and wonderfully convenient baking technique.
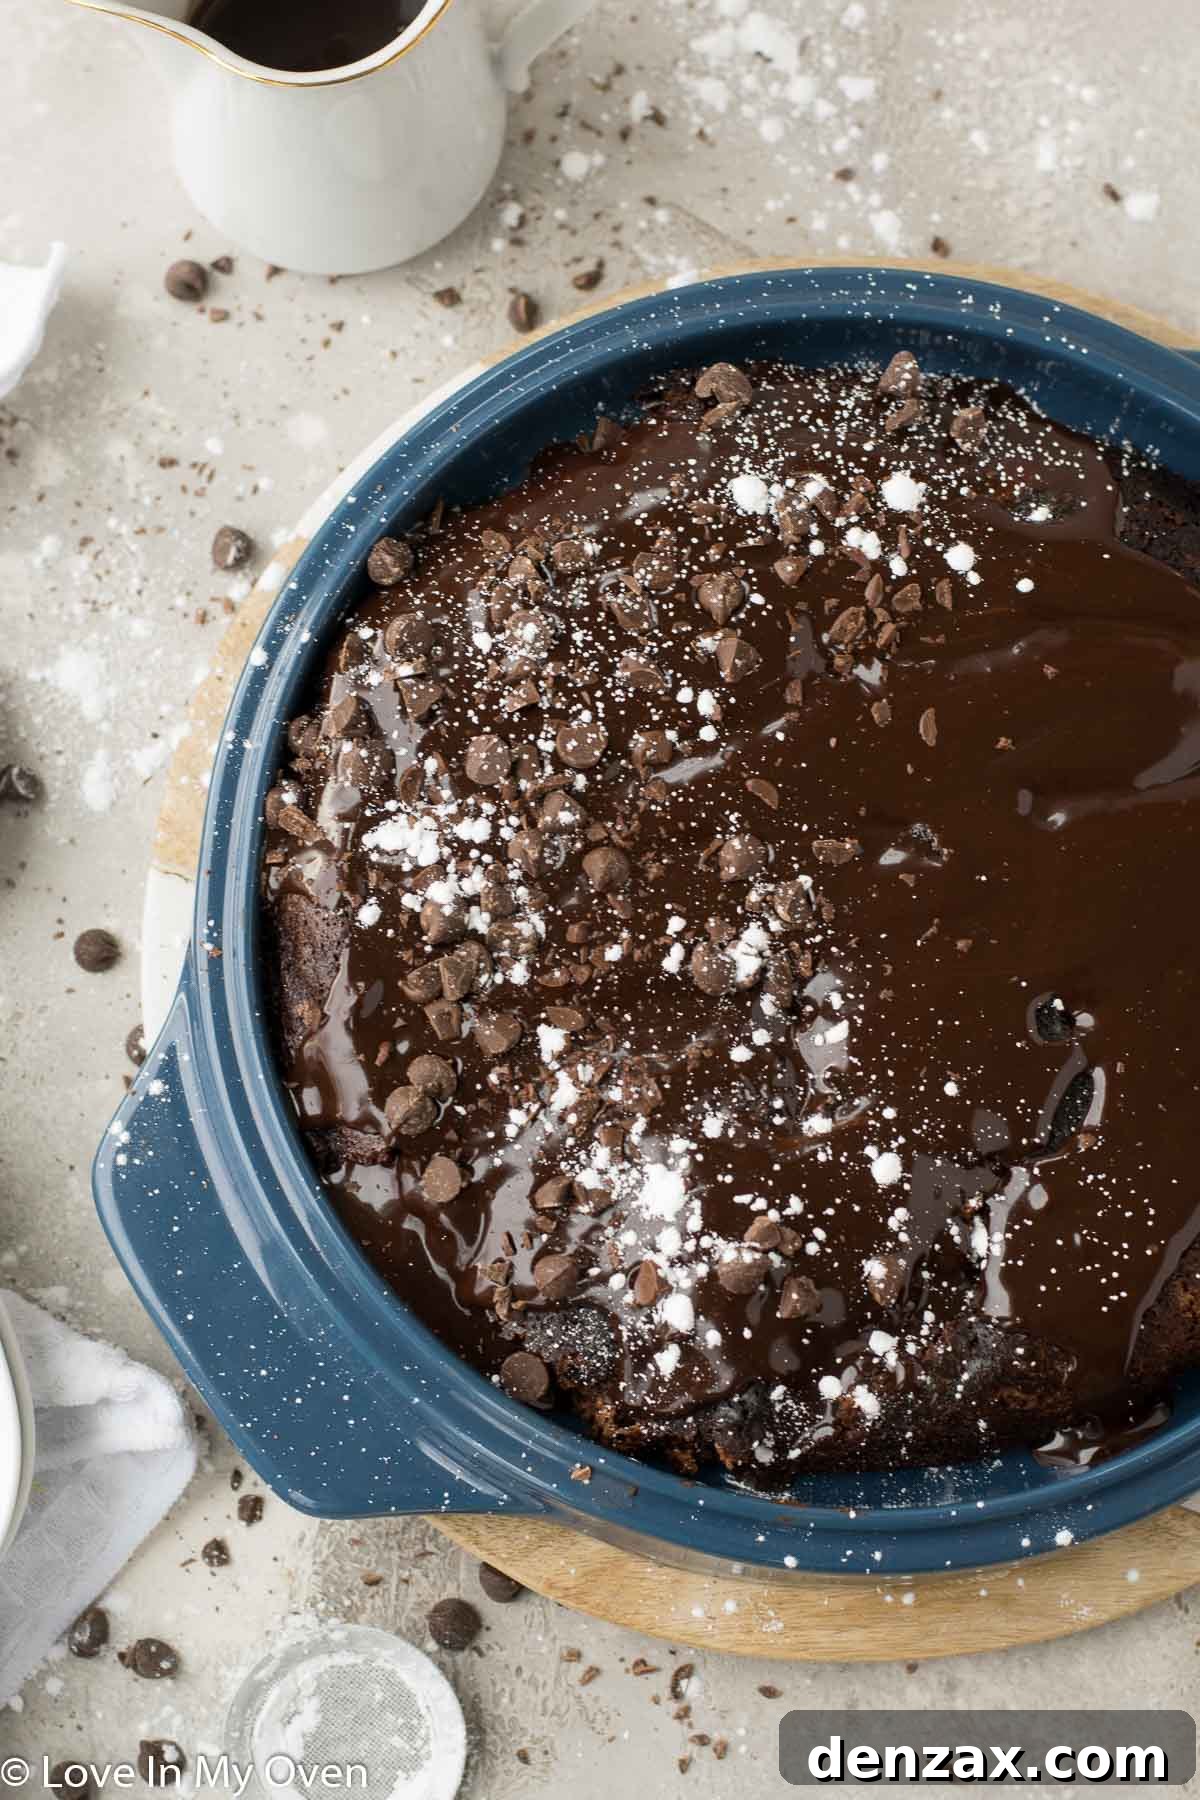
What Makes a Chocolate Upside Down Cake So Special?
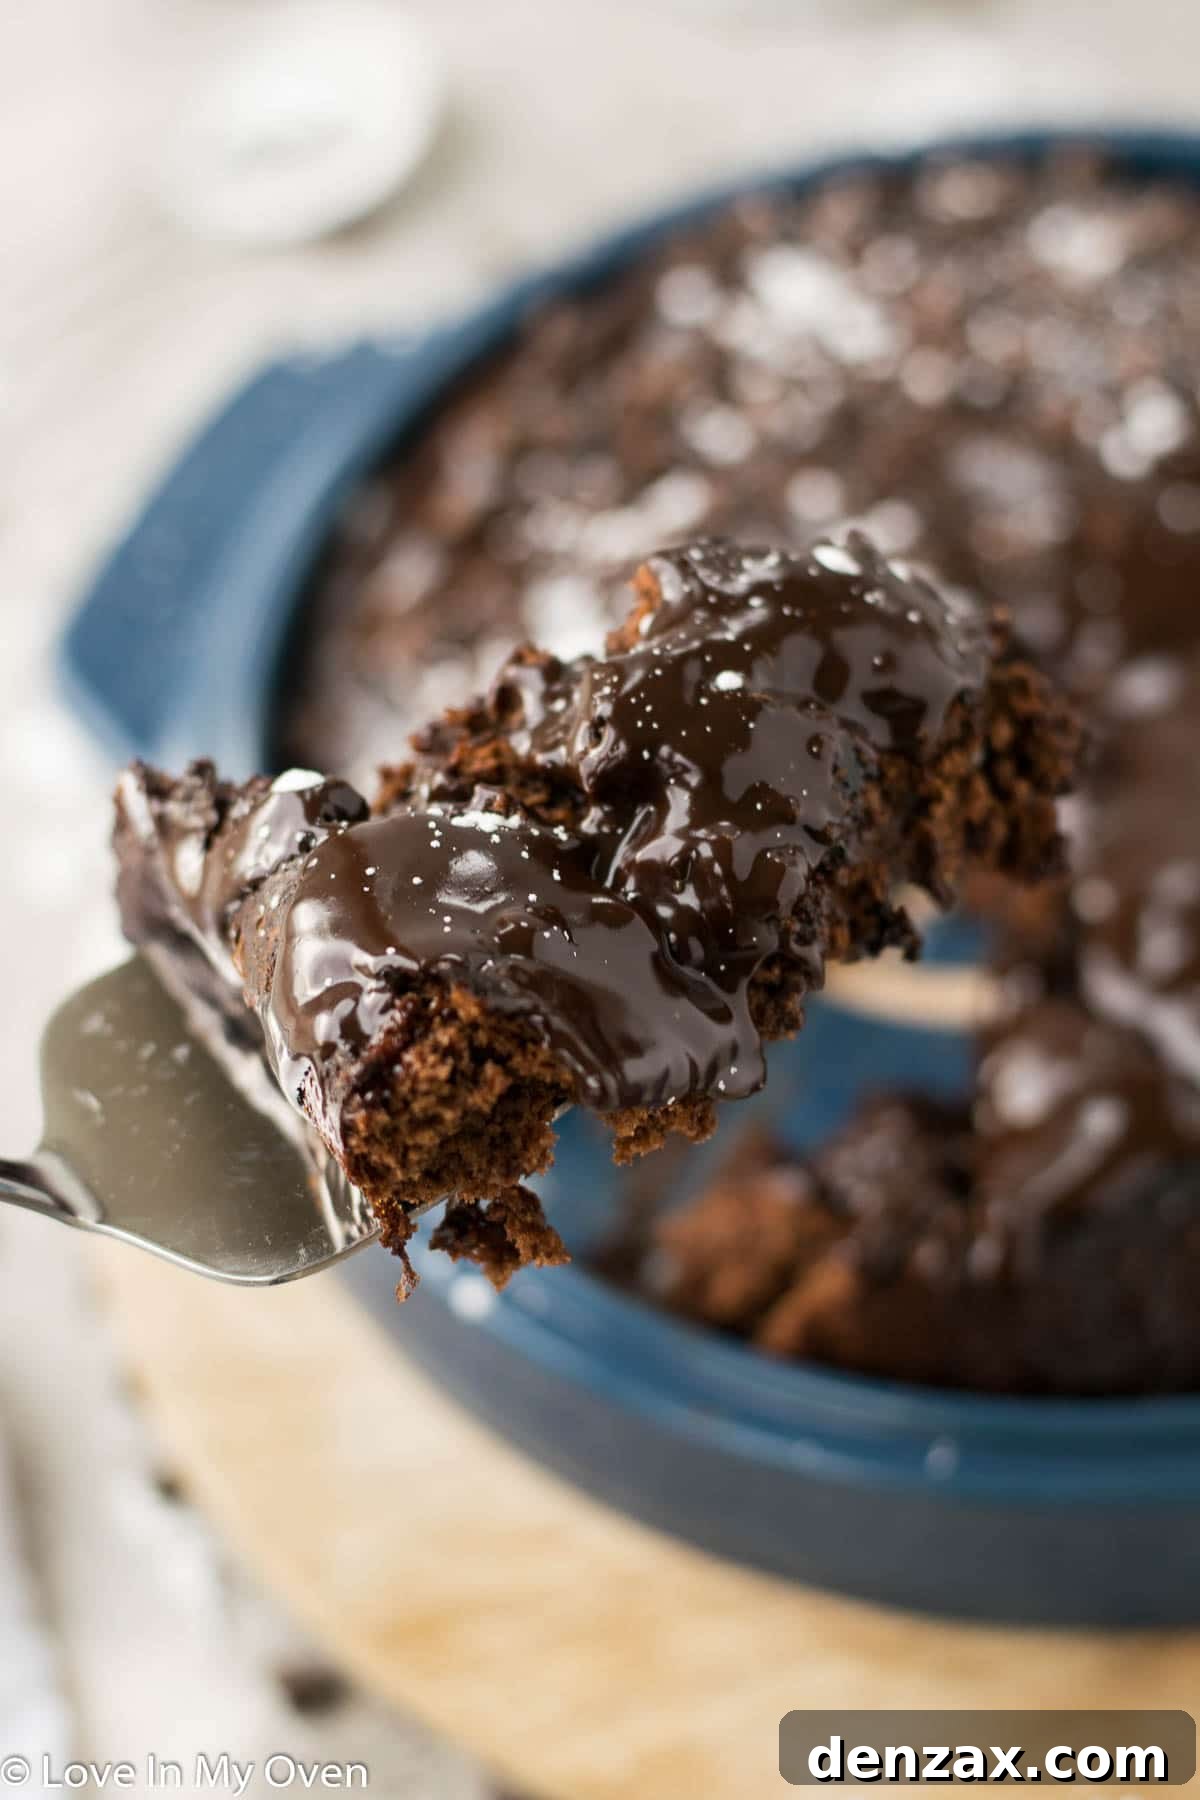
A chocolate upside-down cake is a delightful twist on a classic, offering a unique texture and presentation that sets it apart. Imagine all the rich, moist goodness of a classic chocolate cake, but with an incredible, luscious, gooey topping that becomes the star of the show. This signature gooey layer is achieved by pouring boiling water directly over the cake batter before it bakes. As the cake cooks, this boiling water works its magic, sinking to the bottom of the pan and transforming into a sticky, syrupy, caramelized chocolate layer. Once inverted, this irresistible, gooey base becomes the beautiful, glistening top, making every slice a truly indulgent experience.
The beauty of an upside-down cake lies in this inversion. Instead of a traditional frosting or glaze applied after baking, the “topping” is created within the baking process itself. This method locks in moisture and creates a deep, intense chocolate flavor that is both comforting and surprisingly sophisticated. It’s a dessert that not only tastes incredible but also has a stunning visual appeal when served.
How Do You Bake a Cake on the Stove? An Innovative Baking Method
Baking a cake on the stovetop might sound unconventional, but it’s a method that has truly impressed me, and I’m now eager to explore more stovetop dessert possibilities! This technique is an absolute game-changer, especially during those sweltering summer months when turning on your oven feels like an impossible task. It allows you to enjoy freshly baked goods without heating up your entire kitchen, making it an energy-efficient and comfortable alternative to conventional baking.
The core principle involves baking the cake in a lidded pan on your stovetop, utilizing the gentle steam created by boiling water to cook it. This method mimics a steaming process, resulting in an exceptionally moist and tender cake. The controlled, indirect heat from the steam ensures even baking without the risk of drying out your cake. Once the cake has finished cooking and cooled for a brief 10-minute period, you simply flip it out onto a serving platter, revealing its glorious gooey top.
For the flipping process, I personally love using my specialized flipping platter from Our Place, which makes the inversion seamless. However, don’t feel limited – any sturdy serving platter or even a large cutting board will work perfectly. The key is to be swift and confident when flipping to ensure the cake releases cleanly and retains its beautiful shape.
Crafting Your Stovetop Chocolate Upside Down Cake: A Simple Guide
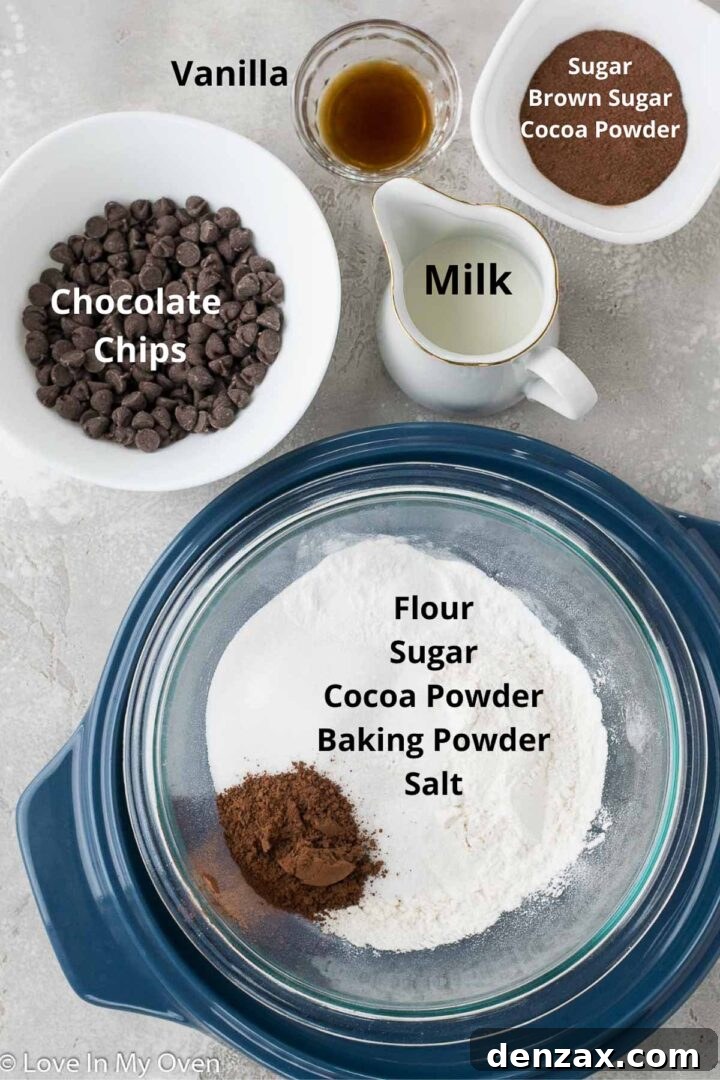
Creating this delicious chocolate upside-down cake requires surprisingly few ingredients, most of which you likely already have in your pantry. The simplicity of the ingredient list doesn’t compromise on flavor; instead, it highlights the quality of each component, resulting in a deeply satisfying dessert. You’ll need:
- **All-purpose flour:** The structural foundation of our cake.
- **Granulated sugar:** Provides sweetness and contributes to the cake’s tender crumb.
- **Unsweetened cocoa powder:** Essential for that rich, intense chocolate flavor. Opt for a good quality cocoa for best results.
- **Baking powder:** Our leavening agent, ensuring a light and airy texture.
- **Salt:** A pinch enhances all the other flavors, balancing the sweetness.
- **Milk:** Adds moisture and richness to the batter.
- **Vanilla extract:** A classic flavor enhancer that complements chocolate beautifully.
- **Chocolate chips, melted:** Infuses the cake batter with an extra layer of chocolatey goodness.
- **Boiling water:** The magical ingredient for creating that signature gooey top.
For the Irresistible Topping:
- **Granulated sugar:** Contributes to the caramelized sweetness.
- **Brown sugar:** Adds a deeper, molasses-rich flavor and helps create a wonderfully sticky texture.
- **Cocoa powder:** Reinforces the chocolate theme in the topping layer.
These straightforward ingredients come together to form a truly extraordinary cake, proving that you don’t need a complicated list to achieve remarkable results. Each element plays a crucial role in developing the cake’s unique texture and profound chocolate flavor.
Step-by-Step Instructions for Your Perfect Chocolate Upside Down Cake:
1. **Prepare the Dry Ingredients:** Begin by thoroughly mixing the all-purpose flour, granulated sugar, cocoa powder, baking powder, and salt in a large bowl. It’s crucial to sift these dry ingredients together. Sifting helps to aerate the flour and, more importantly, breaks up any lumps of cocoa powder, ensuring a smooth, even batter free from pockets of dry powder. This step guarantees a consistent texture throughout your finished cake.
2. **Combine Wet Ingredients and Chocolate:** To your dry mixture, add the milk and vanilla extract. Stir gently until just combined. Next, prepare your melted chocolate chips: microwave them on high in 30-second intervals, stirring well after each interval, until the chocolate is perfectly smooth and glossy. Be careful not to overheat it. Incorporate this melted chocolate into your cake batter, stirring just until no streaks of flour remain. Overmixing can lead to a tough cake, so stop as soon as everything is incorporated.
3. **Pan Preparation and Batter Spreading:** Lightly spray a 10-11 inch pan (preferably non-stick or well-greased cast iron) with nonstick cooking spray, ensuring all surfaces are covered to prevent sticking. Carefully transfer the thick chocolate batter into the bottom of the prepared pan. Since the batter will be quite dense, use the back of a spoon or a spatula to gently spread it out evenly across the pan, creating a smooth, consistent layer. In a separate small bowl, quickly mix together your topping ingredients: granulated sugar, brown sugar, and cocoa powder. Generously sprinkle this flavorful topping mixture over the entire surface of the cake batter in the pan.
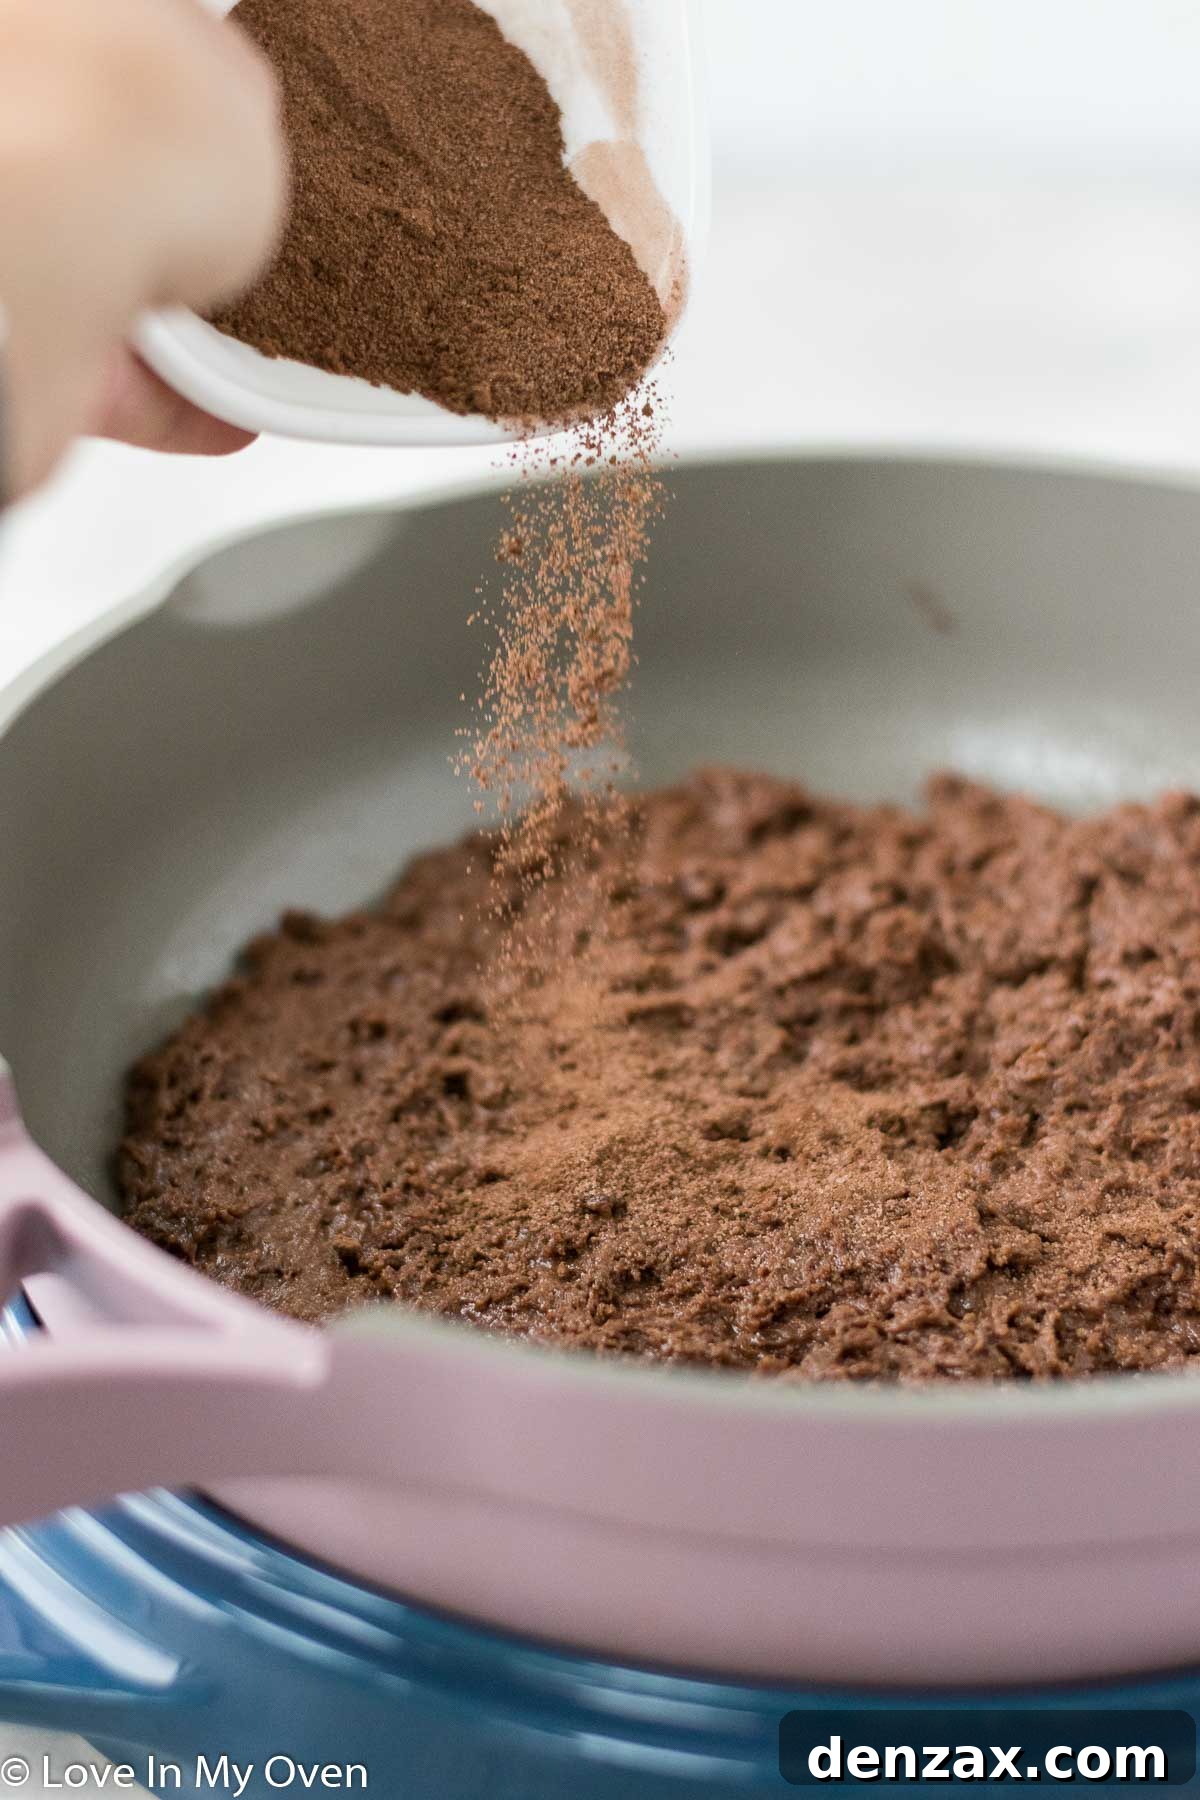
4. **The Magic of the Boiling Water and Stovetop Cooking:** This is where the “upside-down” magic truly begins! Carefully pour the freshly boiled water all around the edges of the cake batter and gently over the top. This hot water will create the unique gooey, syrupy layer when the cake is inverted. Immediately place a tight-fitting lid on the pan to trap the steam. Transfer the covered pan to your stove and place it over medium heat. It’s crucial to maintain a consistent low-to-medium temperature throughout the cooking process. This prevents the bottom of the cake from burning while allowing the steam to gently cook the cake to perfection.
5. **Baking and Cooling:** Allow the cake to cook undisturbed for approximately 20-25 minutes. To check for doneness, carefully lift the lid (be mindful of steam!) and insert a toothpick into the center of the cake. If it comes out clean, your cake is ready. You might also notice the edges of the cake gently pulling away from the sides of the pan, another indicator of doneness. Once baked, remove the pan from the heat, but keep the lid on. Let the cake cool in the pan for about 10 minutes. This cooling period is vital; it allows the cake to set slightly and makes the flipping process much easier.
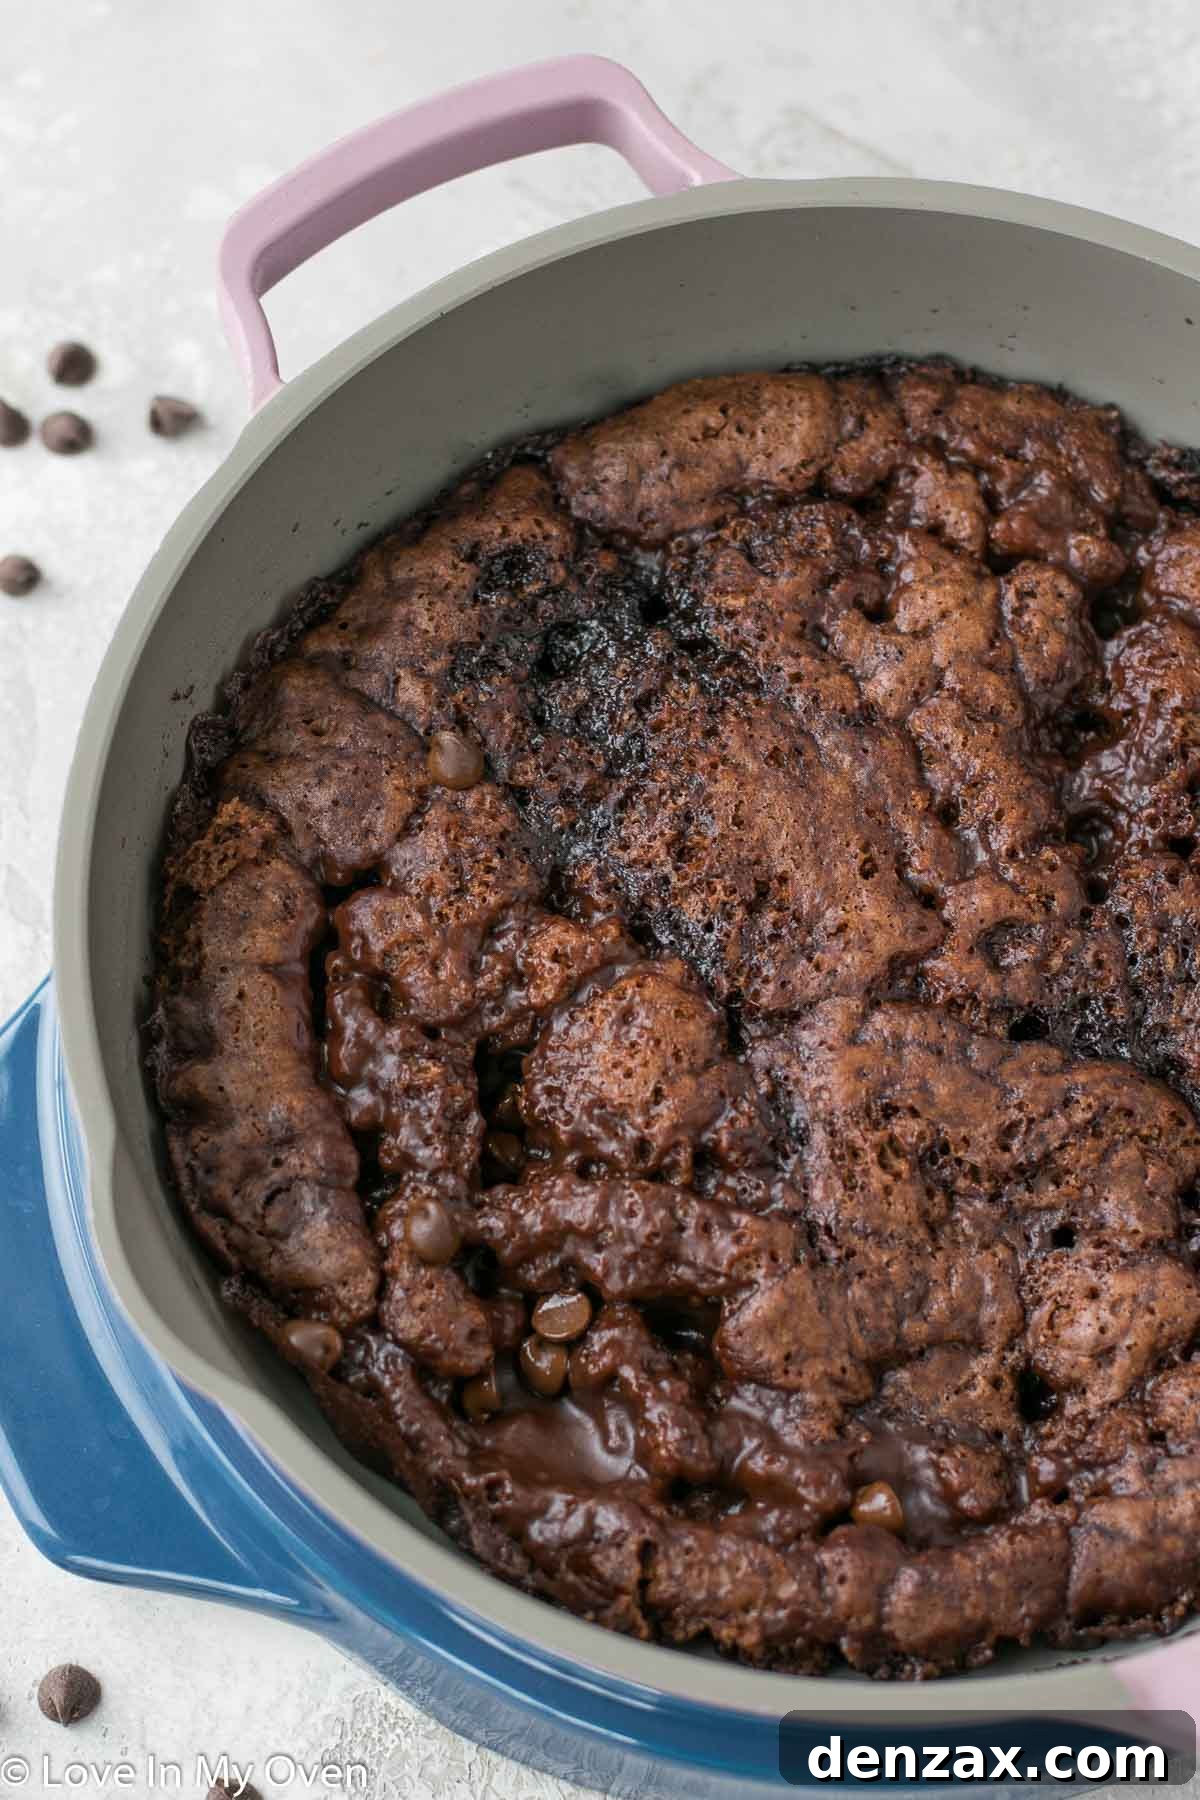
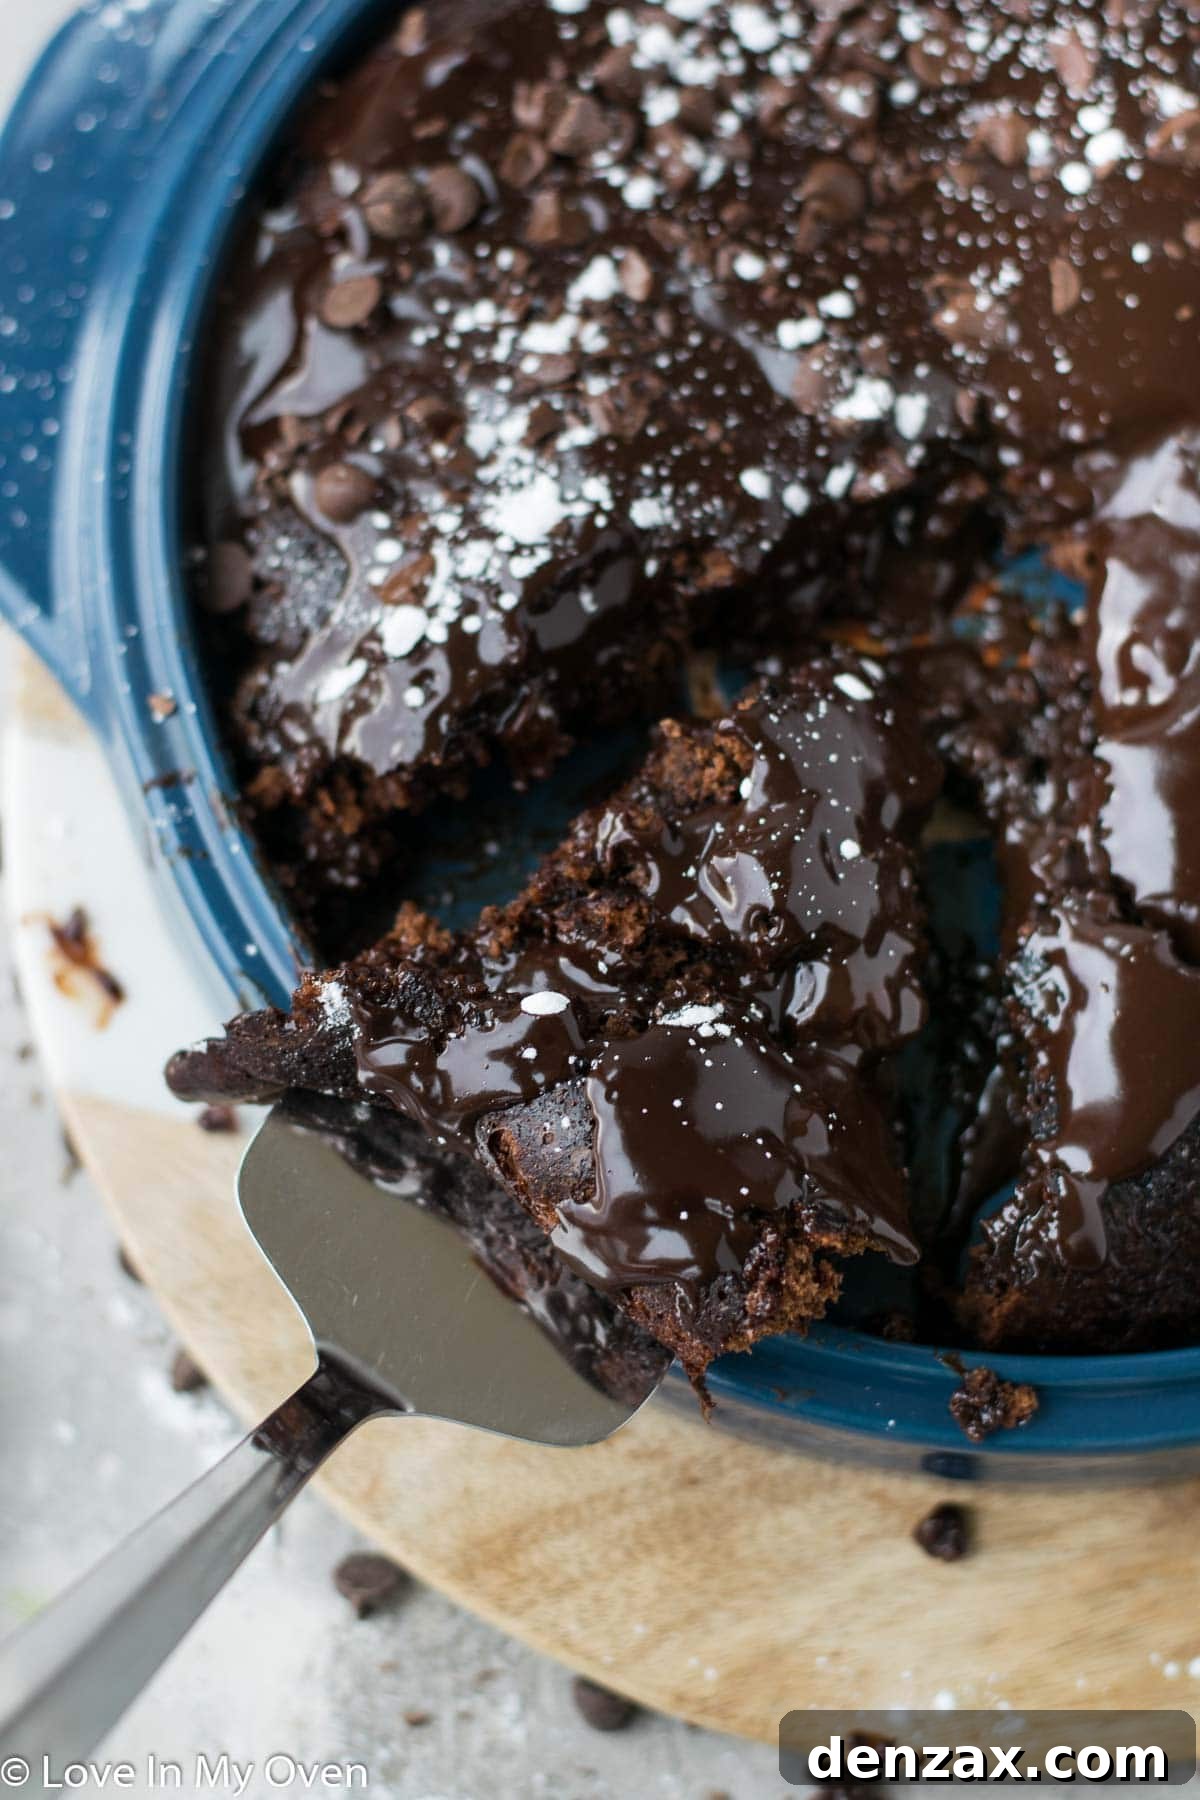
6. **The Grand Flip!** Now for the exciting part! Place your chosen serving platter (or a specialized flipping platter) firmly on top of the cake pan. With a swift, confident motion, carefully but quickly flip the entire pan upside down onto the serving platter. Give the bottom of the pan a few gentle but firm thumps to help release the cake from its base. Slowly lift the pan away, revealing your magnificent chocolate upside-down cake with its gloriously gooey and rich topping.
7. **Prepare and Serve the Silky Chocolate Ganache:** To elevate this cake further, a luscious chocolate ganache is the perfect complement. In a saucepan over medium heat or in the microwave, gently heat 1/2 cup of heavy cream until it’s warm but not boiling. Remove from heat and immediately add 1 cup of chocolate chips to the warmed cream. Let the mixture sit undisturbed for 1 minute to allow the chocolate to melt. Then, continuously stir with a whisk or spatula until the chocolate ganache is completely smooth, shiny, and wonderfully silky. Pour this decadent ganache evenly over the top of your still-warm upside-down cake. Serve immediately for a warm, molten dessert experience, or allow it to cool completely for a firmer ganache and easier slicing. Either way, it’s an absolute dream!
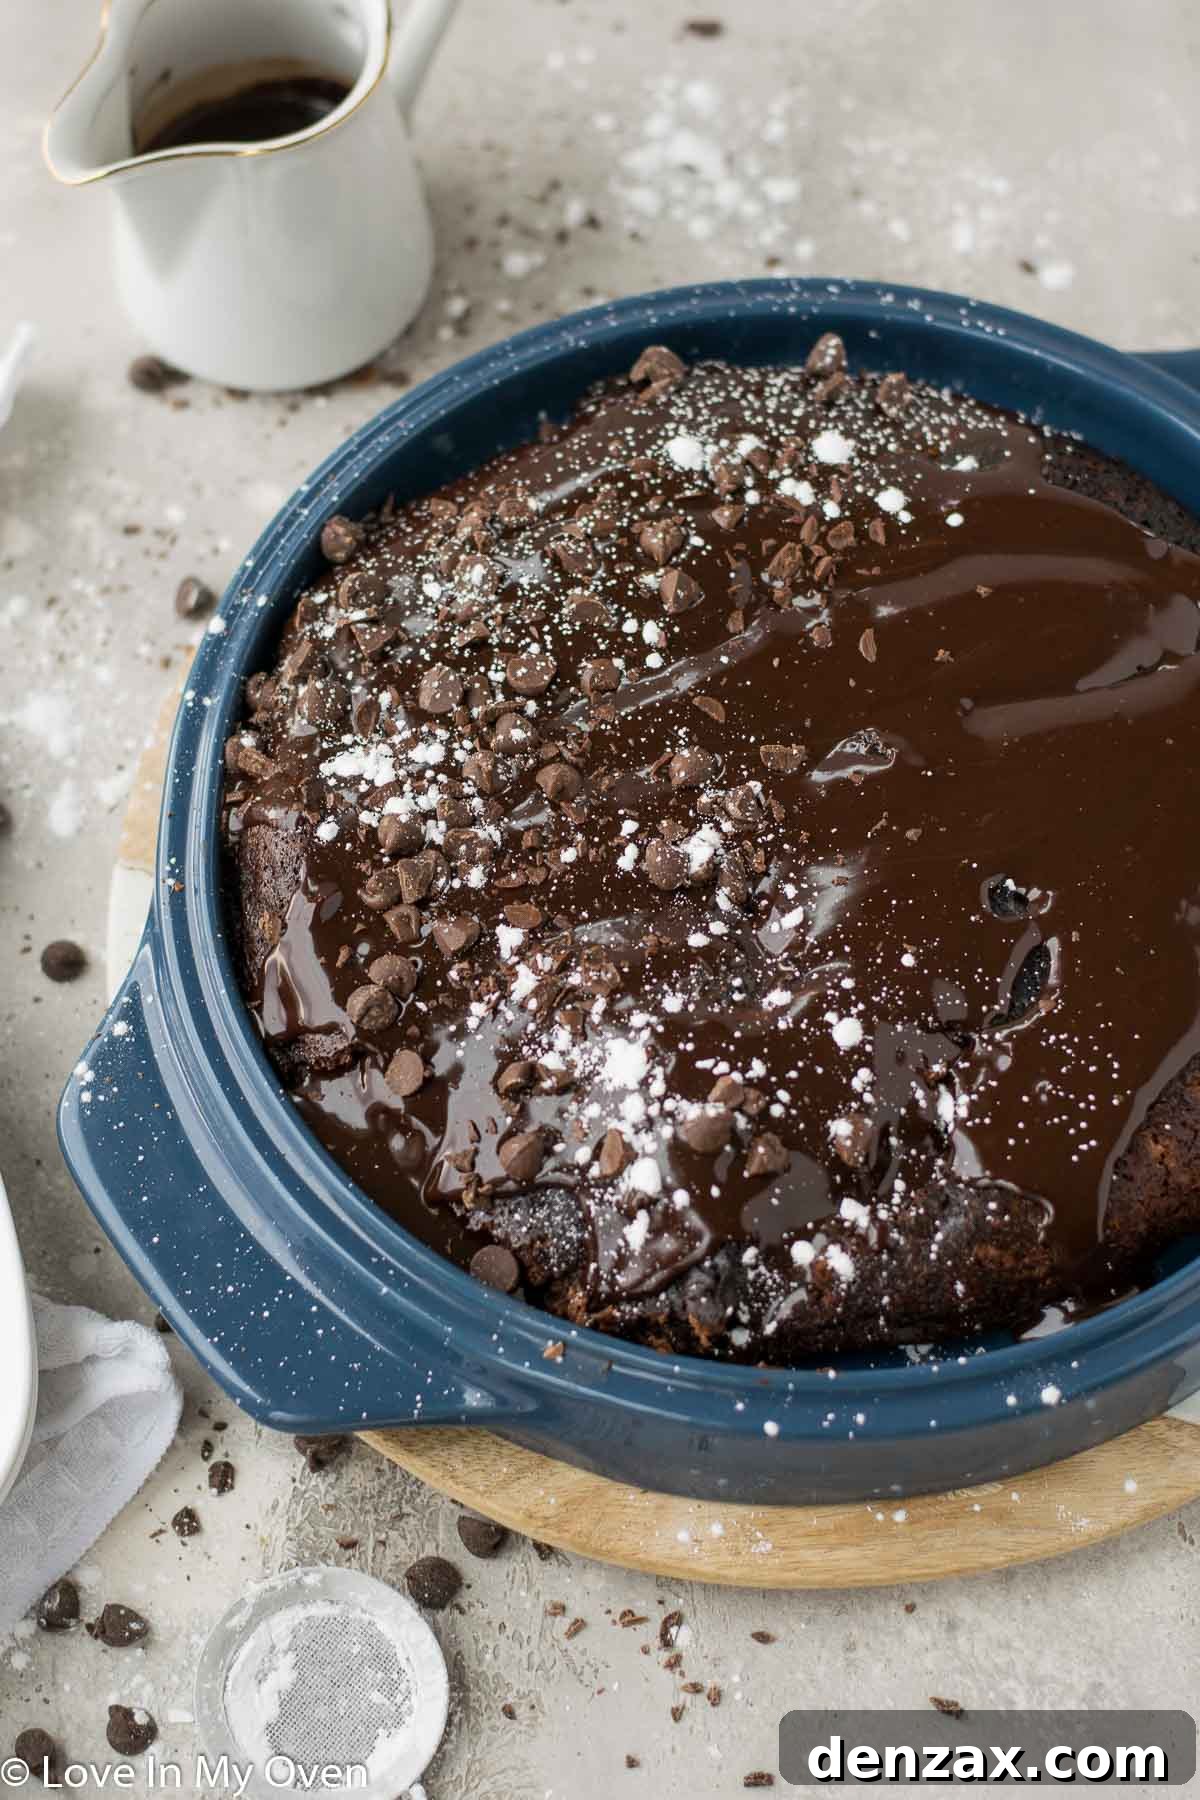
Can This Chocolate Upside Down Cake Recipe Be Made Vegan? Absolutely!
Yes, this decadent chocolate upside-down cake can be effortlessly adapted to be entirely vegan without sacrificing any of its rich flavor or gooey texture. The modifications are minimal and straightforward. While my primary recipe uses full-dairy chocolate chips and milk, transforming it into a plant-based delight is simple. You’ll need to make two key substitutions:
First, replace the dairy milk in the cake batter with your favorite dairy-free milk alternative. Almond milk, soy milk, oat milk, or cashew milk all work wonderfully. Choose an unsweetened variety to maintain control over the cake’s sweetness profile. Second, ensure you use vegan chocolate chips for both the cake batter and the luscious ganache. Many excellent brands of vegan chocolate chips are readily available in most grocery stores today, often made with cocoa butter and plant-based sweeteners.
For the ganache, instead of heavy cream, I highly recommend using full-fat coconut milk. The rich, creamy texture of full-fat coconut milk creates a ganache that is just as silky and luxurious as its dairy counterpart. Ensure you use the thick cream from the top of a can of refrigerated full-fat coconut milk for the best results. These simple swaps ensure that everyone, regardless of dietary preferences, can enjoy a slice of this incredible chocolate upside-down cake.
Serving Suggestions: Warm Indulgence vs. Room Temperature Perfection
The beauty of this chocolate upside-down cake lies in its versatility, especially when it comes to serving temperature. Each option offers a distinctly different, yet equally delightful, experience. The cake is absolutely divine when served warm, straight after the ganache has been poured. At this stage, the cake is incredibly moist and tender, and the ganache is molten and gooey, melting into every forkful. It’s a truly comforting and intensely indulgent experience, perfect for a cozy evening treat. However, be aware that serving it warm means it will be quite soft and gooey, making it a bit challenging to cut into neat, perfect slices.
Alternatively, allowing the cake to cool completely to room temperature before serving offers a different kind of perfection. As the cake cools, the ganache will set and harden slightly, providing a beautiful contrast to the moist cake beneath. This firmer texture makes the cake much easier to slice cleanly, offering picture-perfect portions. At room temperature, the flavors also meld and deepen further, resulting in a more pronounced chocolate experience. The decision, ultimately, is entirely up to your personal preference and how you envision enjoying this delicious dessert.
Any leftover cake should be stored in an airtight container at room temperature. It will remain wonderfully fresh and moist for approximately 2-3 days, allowing you to savor its deliciousness over multiple sittings. For longer storage, you can freeze the chocolate upside-down cake *before* adding the ganache. Once the cake has cooled completely, wrap it tightly in plastic wrap and then in aluminum foil, or place it in a freezer-safe container. It will keep well in the freezer for up to 2 months. When you’re ready to enjoy it, simply thaw the cake at room temperature and then prepare and pour the fresh ganache before serving.
Should you fall in love with this cake, here are some of my other favorite cake recipes from the blog that I know you’ll absolutely adore:
- 3-Ingredient Flourless Chocolate Cake: Pure, intense chocolate bliss with minimal effort.
- Orange Upside Down Cake: A bright and citrusy counterpart to our chocolate favorite.
- Mini Chocolate Cake: Perfect for smaller gatherings or a romantic dessert for two.

Ultimate Stovetop Chocolate Upside Down Cake
5 Stars 4 Stars 3 Stars 2 Stars 1 Star
5 from 2 reviews
Author: Katherine | Love In My Oven
Total Time: 40 minutes
Yield: 5–6 servings 1x
Description
You’ve heard of pineapple upside down cake, but prepare to be amazed by this chocolate rendition! This rich, gooey, and utterly delicious chocolate upside down cake can be prepared right on your stovetop or baked in the oven, offering ultimate flexibility for a fantastic dessert experience.
Ingredients
Scale
- 1 cup all-purpose flour
- 3/4 cup granulated sugar
- 1 tbsp unsweetened cocoa powder
- 2 tsp baking powder
- 1/2 tsp salt
- 3/4 cup milk*
- 1 tsp vanilla extract
- 1/2 cup chocolate chips, melted
- 3/4 cup boiling water
Topping
- 1/4 cup granulated sugar
- 2 tbsp brown sugar
- 2 tbsp cocoa powder
Decadent Chocolate Ganache
- 1/2 cup heavy cream
- 1 cup chocolate chips
Instructions
- **Prepare Dry Ingredients:** Spray a 10-11″ pan with nonstick spray and set aside. In a large bowl, whisk together the flour, sugar, cocoa powder, baking powder, and salt. Sift these ingredients well to ensure no large lumps of cocoa powder remain, creating a smooth mixture.
- **Add Wet Ingredients & Melted Chocolate:** Add the milk and vanilla extract to the dry mixture and stir gently until just combined. In a microwave-safe bowl, microwave the chocolate chips on high for 30-second intervals, stirring thoroughly between each interval, until the chocolate is smooth and glossy. Fold the melted chocolate into the cake batter, stirring until just combined and no dry streaks are visible.
- **Spread Batter & Add Topping:** Pour the thick chocolate batter into the bottom of the prepared pan. Use a spoon or spatula to gently spread the batter evenly across the pan. In a small separate bowl, combine the granulated sugar, brown sugar, and cocoa powder for the topping, then sprinkle this mixture generously over the top of the cake batter.
- **Add Boiling Water & Cook on Stovetop:** Carefully pour the boiling water all around the edges and over the top of the cake batter. Immediately place a tight-fitting lid on the pan. Place the pan on the stove over medium heat. Maintain a consistent low-to-medium temperature to ensure the bottom of the cake does not burn while the steam gently cooks the cake.
- **Check for Doneness & Cool:** Cook for about 20-25 minutes. The cake is done when a toothpick inserted into the center comes out clean. The edges of the cake should also be slightly pulling away from the sides of the pan. Remove the cake from the heat and allow it to cool, still covered, for 10 minutes.
- **The Grand Flip:** Place a large serving platter (or a specialized flipping platter) firmly on top of the cake pan. With one swift and confident motion, carefully flip the pan upside down onto the serving platter. Give the bottom of the pan a few gentle thumps to ensure the cake releases completely, then slowly lift the pan away to reveal your upside-down cake.
- **Prepare the Silky Ganache:** Heat 1/2 cup of heavy cream in a saucepan over medium heat or in the microwave until warm. Remove from heat and add 1 cup of chocolate chips to the warmed cream. Let it sit for 1 minute, allowing the chocolate to melt, then continuously stir until the chocolate ganache is silky smooth and glossy. Pour the ganache generously over the top of the cake. Serve immediately for a warm, gooey treat, or allow it to cool completely to room temperature before serving for easier slicing.
Leftover cake can be stored in an airtight container at room temperature for 2-3 days. For longer storage, the completely cooled cake (prior to adding the ganache) can be frozen in an airtight container for up to 2 months.
Notes
*For a delightful vegan version of this cake, simply use your preferred dairy-free milk in the batter and ensure you select dairy-free chocolate chips. When preparing the ganache, full-fat coconut milk is highly recommended for achieving that perfect creamy texture and rich flavor.
- Prep Time: 15 minutes
- Cook Time: 25 minutes
- Category: Cake
- Method: Stovetop, Baking
- Cuisine: American