

Indulge in the heartwarming taste of Eastern Europe with this incredible, easy-to-follow Homemade Pierogi Recipe. Topped with sweet caramelized onions and savory crispy bacon, these traditional dumplings feature a rich, creamy potato and cheese filling. Perfect as a comforting appetizer, a satisfying side dish, or a delightful light dinner, these pierogi are sure to become a family favorite.

Authentic Homemade Pierogi Recipe: Classic Potato and Cheese Dumplings
Pierogi, a beloved culinary staple across Eastern and Central Europe, holds a special place in the hearts and on the tables of many. These delightful dumplings are more than just food; they are a symbol of tradition, comfort, and celebration. While often associated with festive occasions like Christmas and Easter, their versatile nature makes them a perfect dish for any day of the week.
This comprehensive recipe will guide you through crafting classic Pierogi Ruskie, a savory variation filled with a luscious blend of mashed potatoes and various cheeses. Making pierogi from scratch might seem daunting at first, but with our detailed instructions and helpful tips, you’ll discover the joy and satisfaction of creating these tender, flavorful parcels right in your own kitchen.
Like many dumpling recipes, the assembly of pierogi can be a time-honored activity, perfect for gathering family or friends to create a delicious assembly line. The effort is truly rewarding, especially since homemade pierogi freeze beautifully, allowing you to stock your freezer with ready-to-cook meals. So, roll up your sleeves, perhaps enlist a helper or two, and prepare to embark on a culinary journey to make the best homemade pierogi you’ve ever tasted!
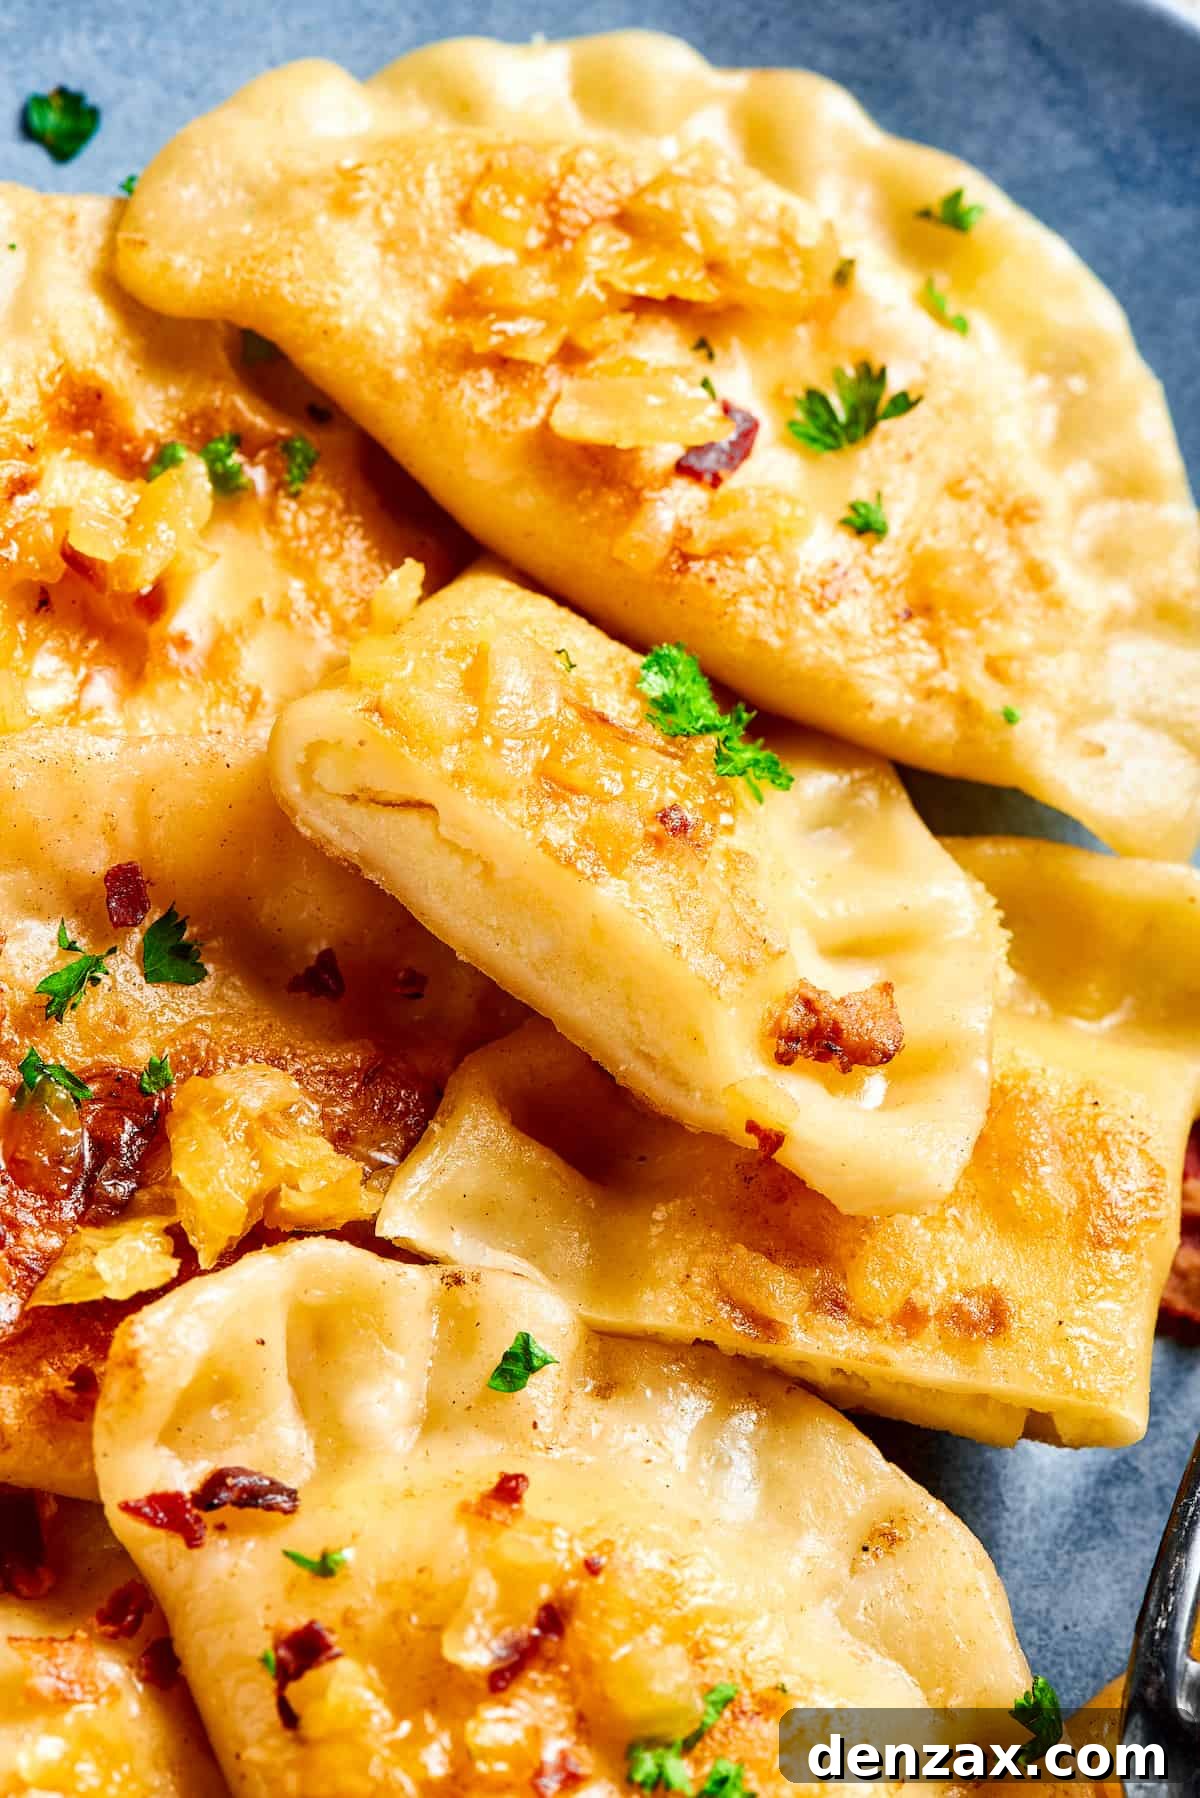
What Are Pierogi? A Taste of Eastern European Tradition
Pierogi are essentially filled dumplings, traditionally made by wrapping unleavened dough around a savory or sweet filling and then boiling or frying them. They are a culinary icon in countries such as Poland, Ukraine, Russia, and Slovakia, with each region boasting its own unique variations and names. The term “Pierogi Ruskie” specifically refers to the popular Polish style featuring a potato and cheese filling, often topped with fried onions and bacon or sour cream.
Their history traces back centuries, evolving from simple peasant fare to a cherished dish served at family gatherings and holidays. While savory pierogi with fillings like meat, sauerkraut, mushrooms, or cheese and potato are most common, sweet versions filled with fruit (like blueberries, cherries, or plums) are also incredibly popular, especially during warmer months. The versatility of pierogi makes them a fantastic canvas for various flavors, ensuring there’s a type of pierogi for every palate.
Why Make Your Own Pierogi From Scratch?
While store-bought pierogi offer convenience, nothing compares to the authentic taste and texture of homemade. Making pierogi from scratch allows you to control the quality of your ingredients, tailor the flavors to your preference, and avoid unwanted additives. The dough, when freshly made, has a superior tenderness and chew that is difficult to replicate with pre-packaged versions. Furthermore, the act of preparing pierogi can be a therapeutic and rewarding experience, connecting you to culinary traditions and creating memorable moments in the kitchen. Plus, the sheer joy of seeing your family and friends savoring your handmade dumplings makes every minute of effort worthwhile.
Essential Ingredients for the Perfect Pierogi
Crafting exquisite pierogi starts with selecting the right ingredients. Below is a detailed breakdown of what you’ll need for the dough, the classic potato-cheese filling, and the irresistible topping. For precise measurements, please refer to the dedicated recipe card further down this article.
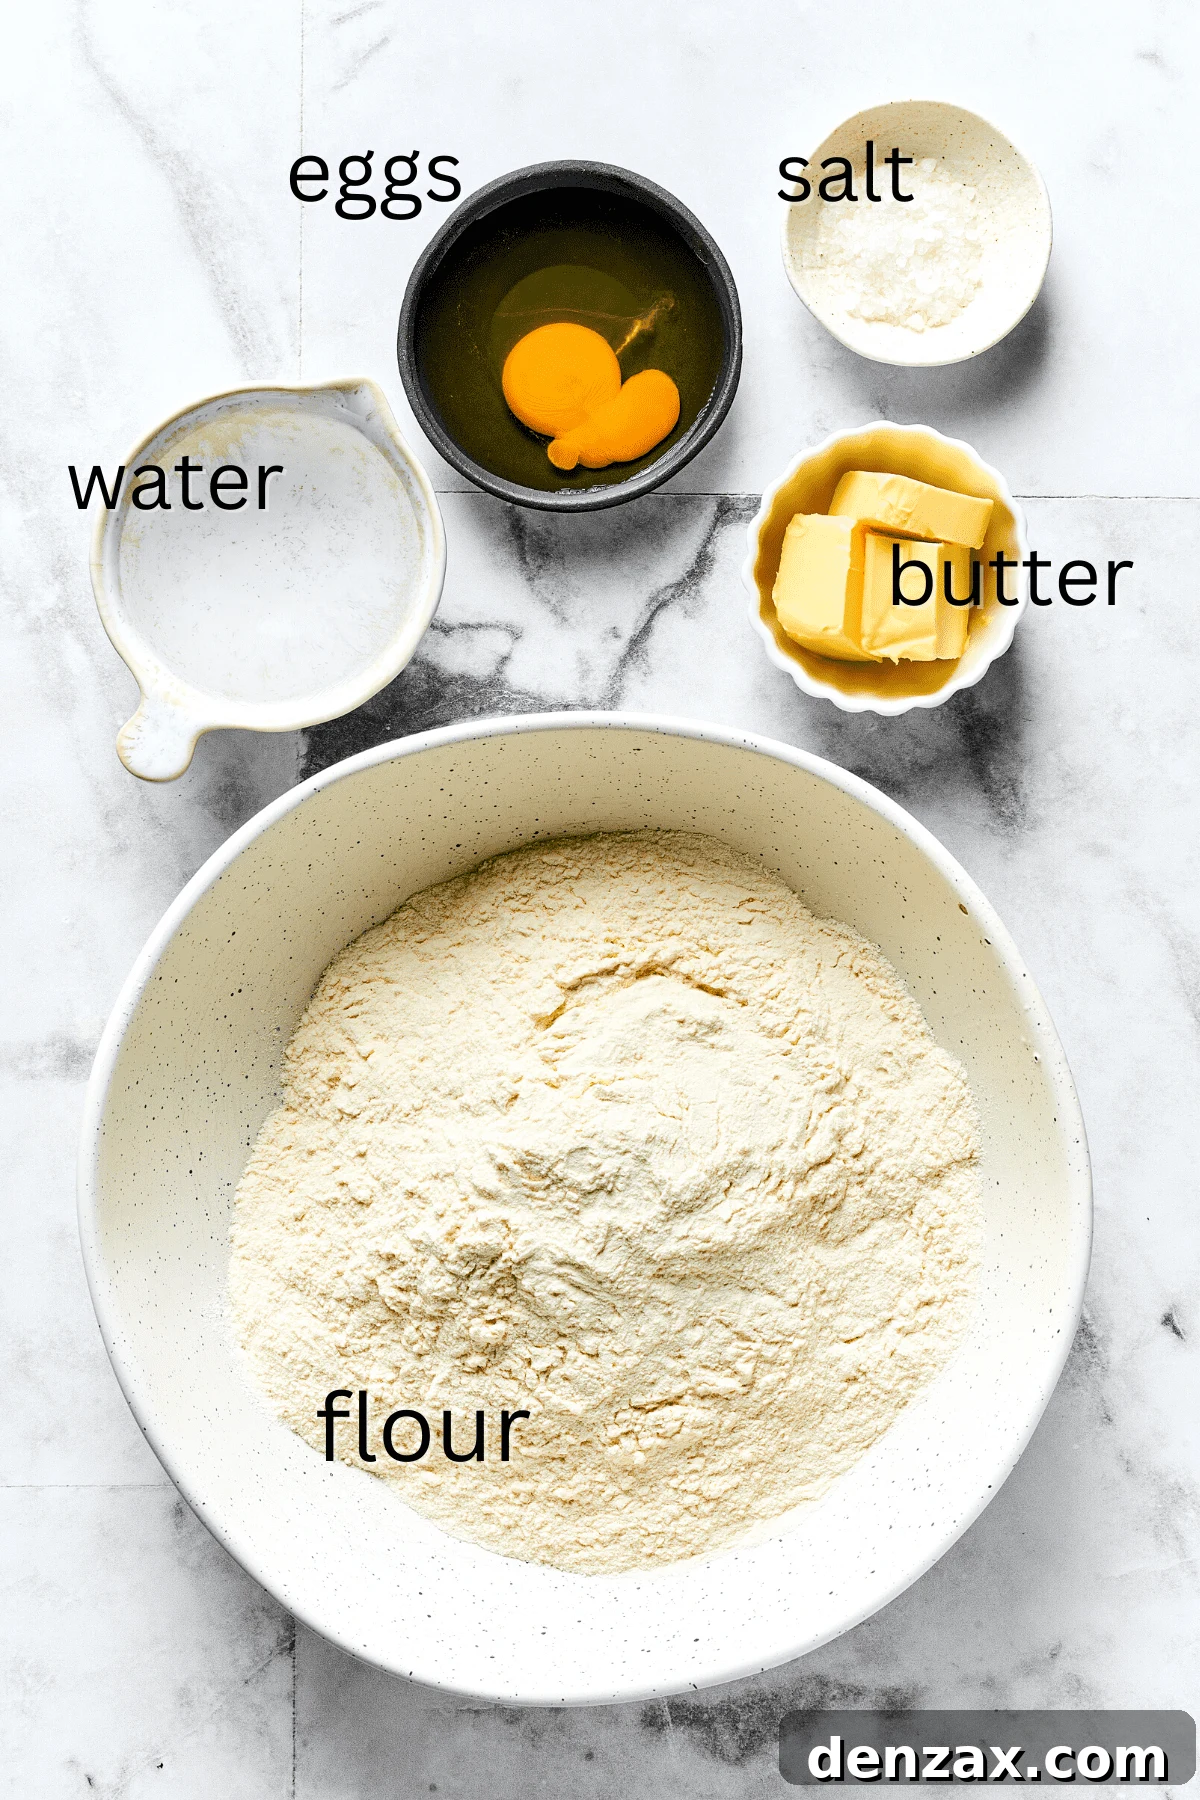
For the Tender Pierogi Dough
- All-Purpose Flour: The foundation of our dough, providing structure and elasticity. Using good quality all-purpose flour will ensure a tender, pliable dough that’s easy to work with.
- Salt: Essential for enhancing the flavor of the dough and balancing the overall taste of the pierogi.
- Unsalted Butter: Adds richness and helps create a soft, supple dough texture. Using unsalted butter allows you to control the overall saltiness of the recipe.
- Warm Water: Crucial for activating the gluten in the flour and bringing the dough together smoothly. Ensure it’s warm, not hot, to avoid cooking the egg prematurely.
- Large Egg: Acts as a binding agent, enriching the dough and contributing to its tender consistency and golden hue when cooked.
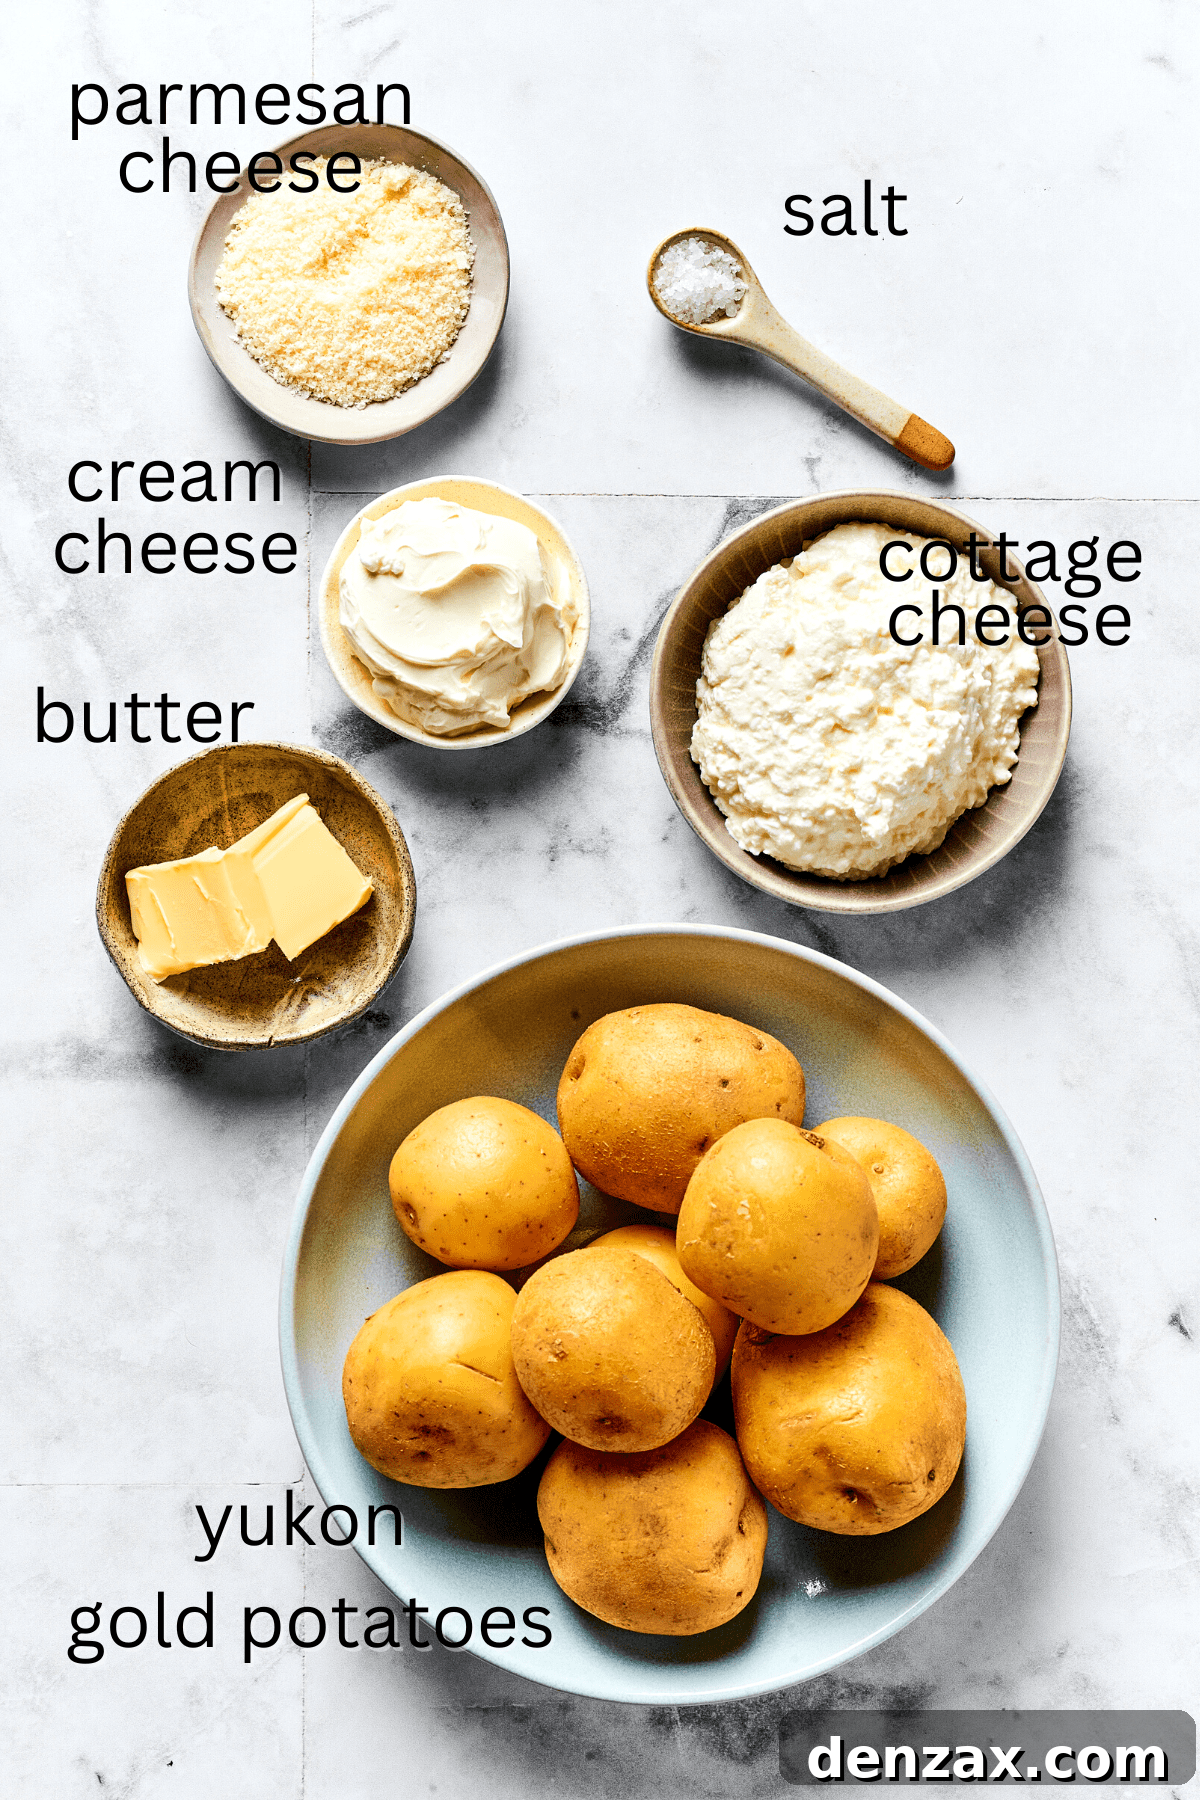
For the Creamy Potato and Cheese Filling (Pierogi Ruskie)
- Potatoes: Yukon Gold potatoes are highly recommended for their creamy texture and naturally buttery flavor, which mash beautifully without becoming gluey. Russet potatoes are another excellent choice for their starchiness, resulting in a fluffy mash.
- Sea Salt: Used to season the potato and cheese filling, bringing out all the delicious flavors. Adjust to your taste preferences.
- Unsalted Butter: Adds moisture and a rich, indulgent flavor to the potato filling. If using salted butter, remember to reduce the additional sea salt.
- Cheeses: A harmonious blend of cream cheese, cottage cheese, and Parmesan cheese creates an irresistibly creamy, tangy, and savory filling. Cream cheese provides richness, cottage cheese adds a subtle tang and texture, while Parmesan brings a salty, umami depth.
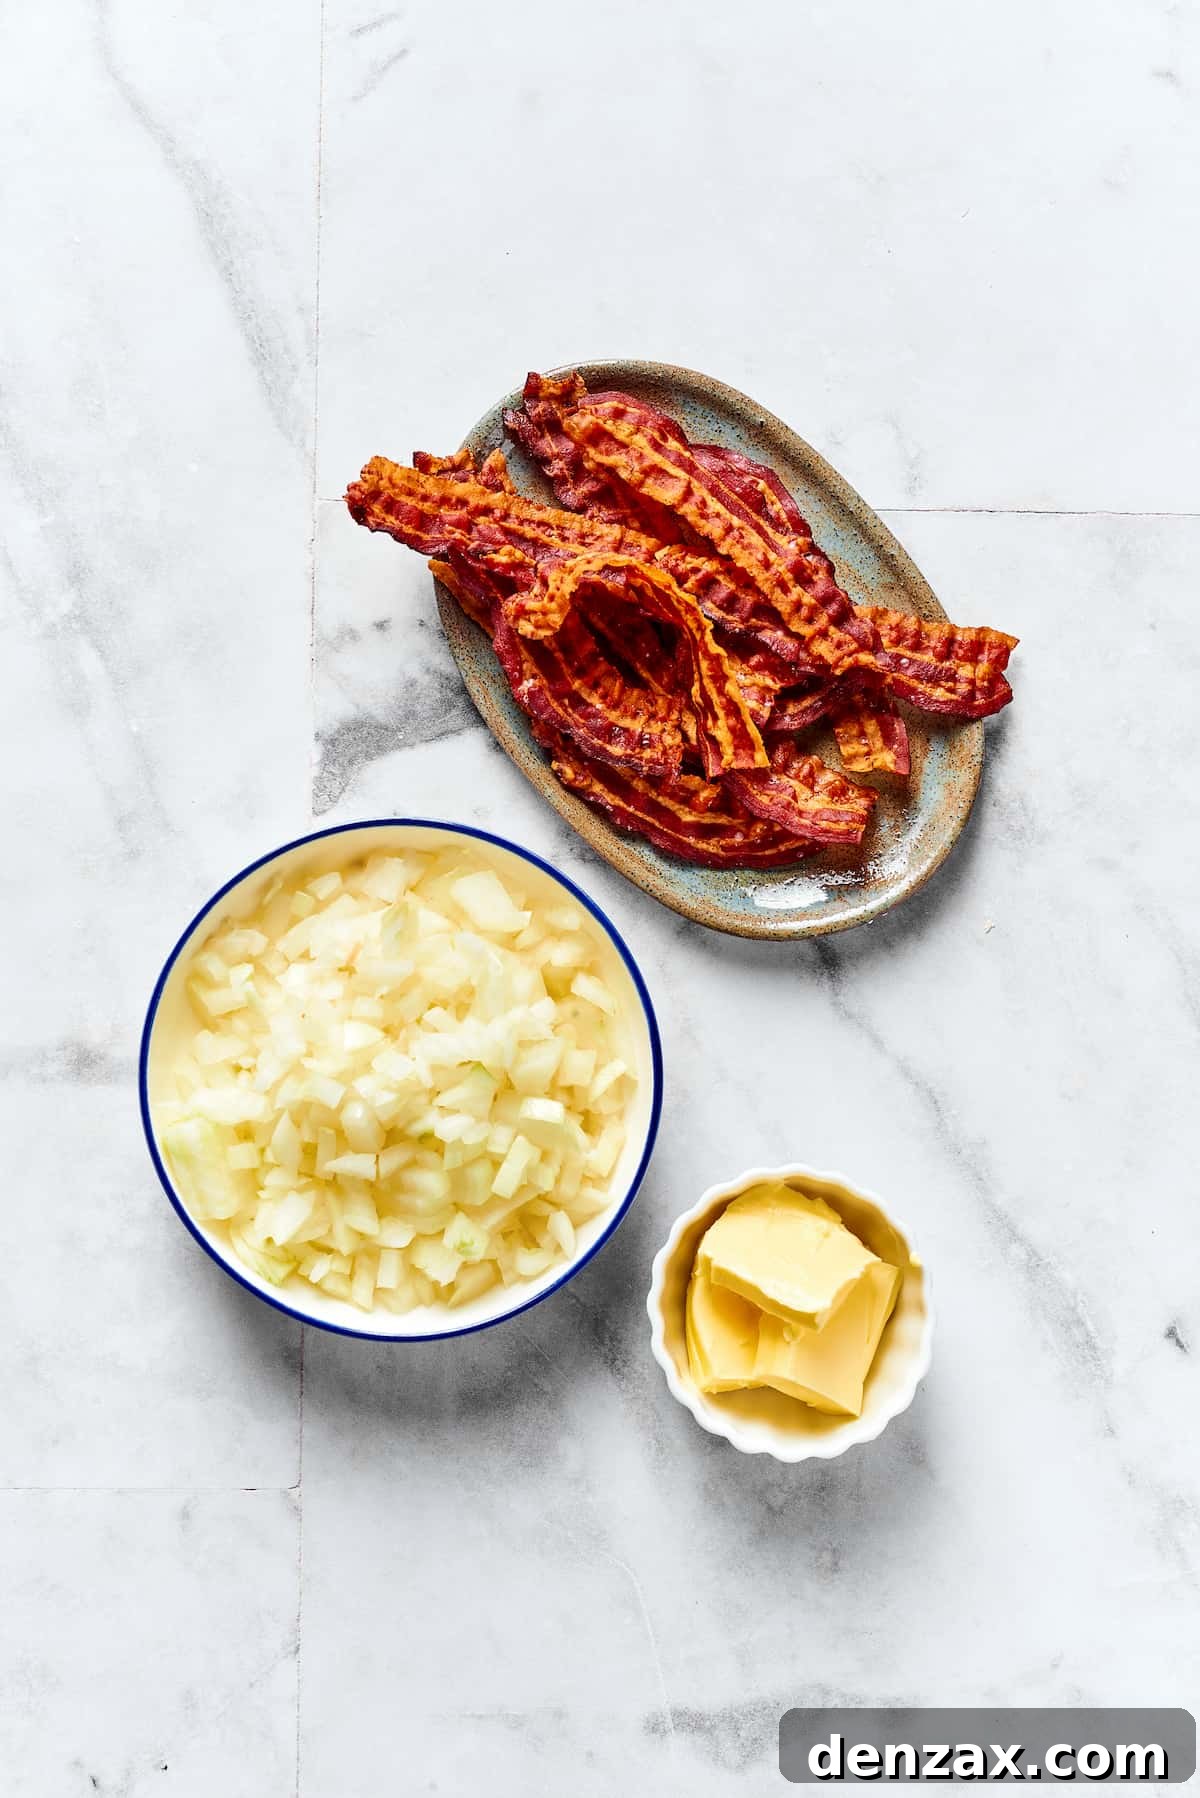
For the Savory Caramelized Onion and Bacon Topping
- Bacon: Cooked until perfectly crisp and then crumbled into small, bite-sized pieces. The smoky, salty crunch of bacon is a classic accompaniment that perfectly complements the soft pierogi.
- Butter: Used to caramelize the onions, imparting a rich, sweet, and nutty flavor to the topping.
- Onions: Yellow onions are ideal for caramelization, transforming into a sweet, jam-like topping that balances the savory pierogi. White onions can be used as a substitute if preferred.
- Fresh Parsley: Finely chopped fresh parsley serves as a beautiful garnish, adding a touch of vibrant color and a fresh, herbaceous note to the finished dish.
Step-by-Step Guide to Making Homemade Pierogi
Now that you’ve gathered all your ingredients, it’s time for the most enjoyable part: cooking! Follow these detailed, step-by-step instructions to create perfect homemade pierogi from scratch.
Preparing the Rich Potato-Cheese Filling
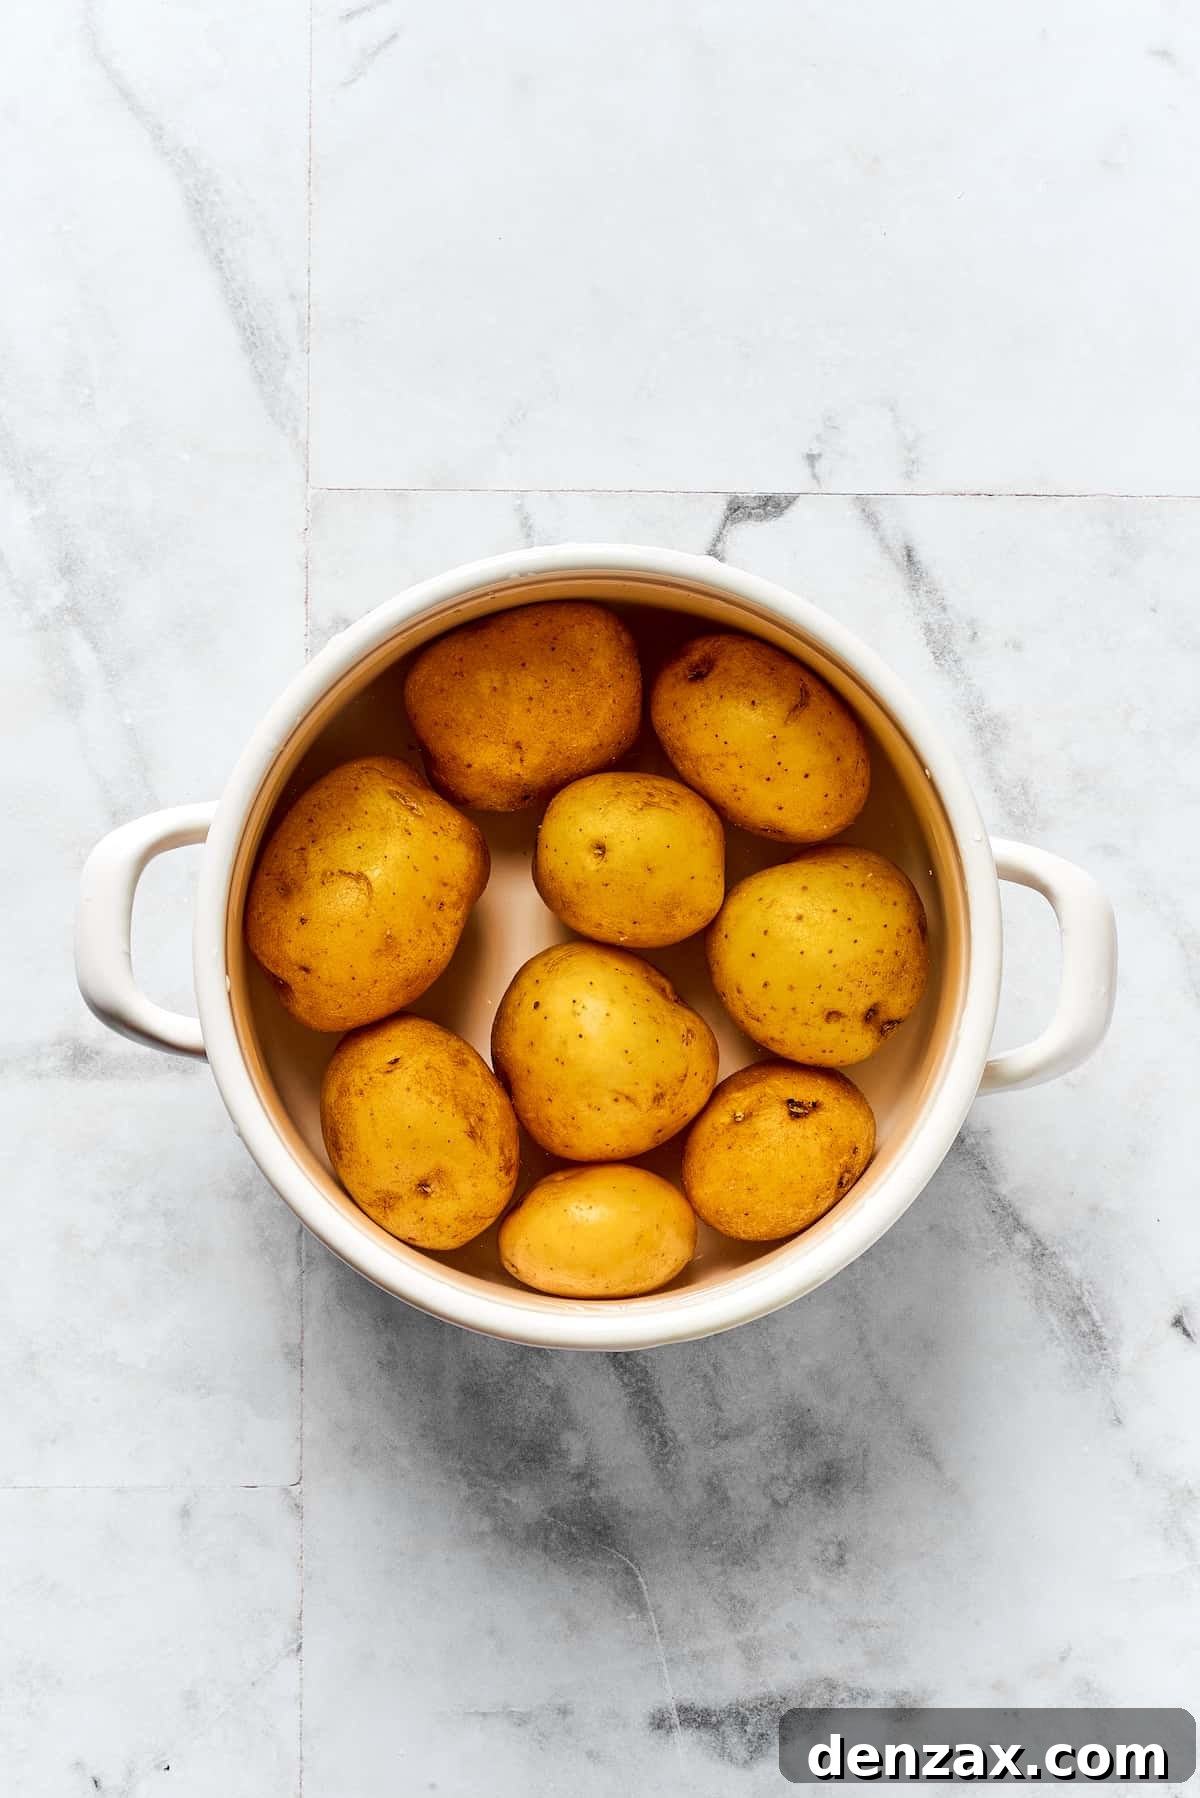
- Cook the Potatoes: Begin by placing the peeled and diced potatoes into a medium-sized pot with a lid. Cover the potatoes completely with cold water, ensuring they are submerged. Bring the water to a boil over medium heat. Once boiling, reduce the heat slightly, cover the pot with the lid (leaving it slightly ajar to allow some steam to escape), and cook for approximately 25 minutes, or until the potatoes are fork-tender.
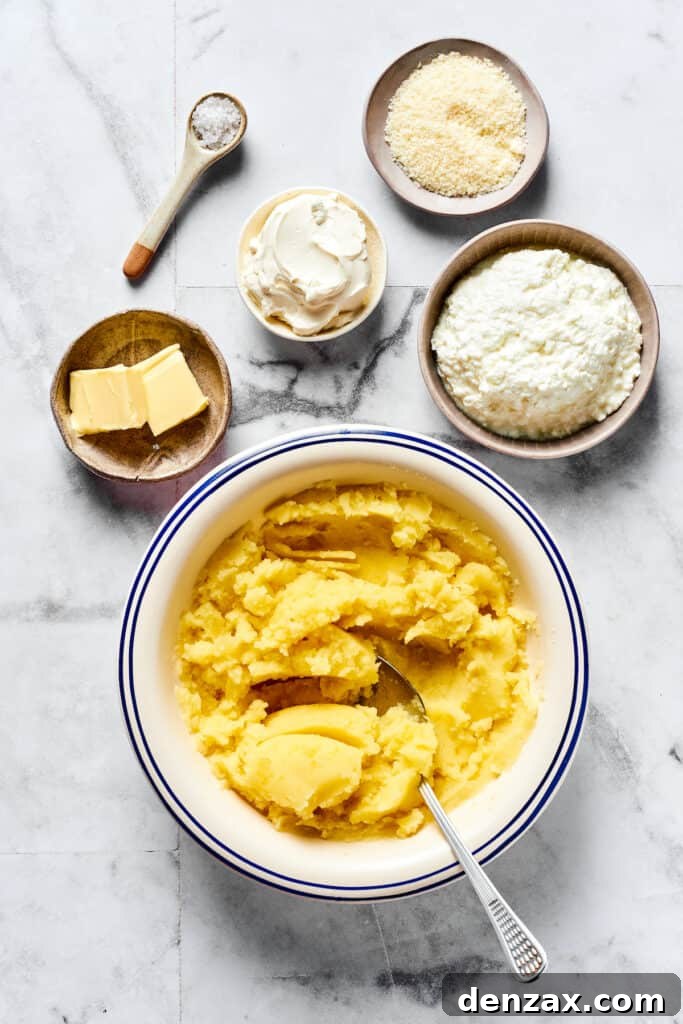
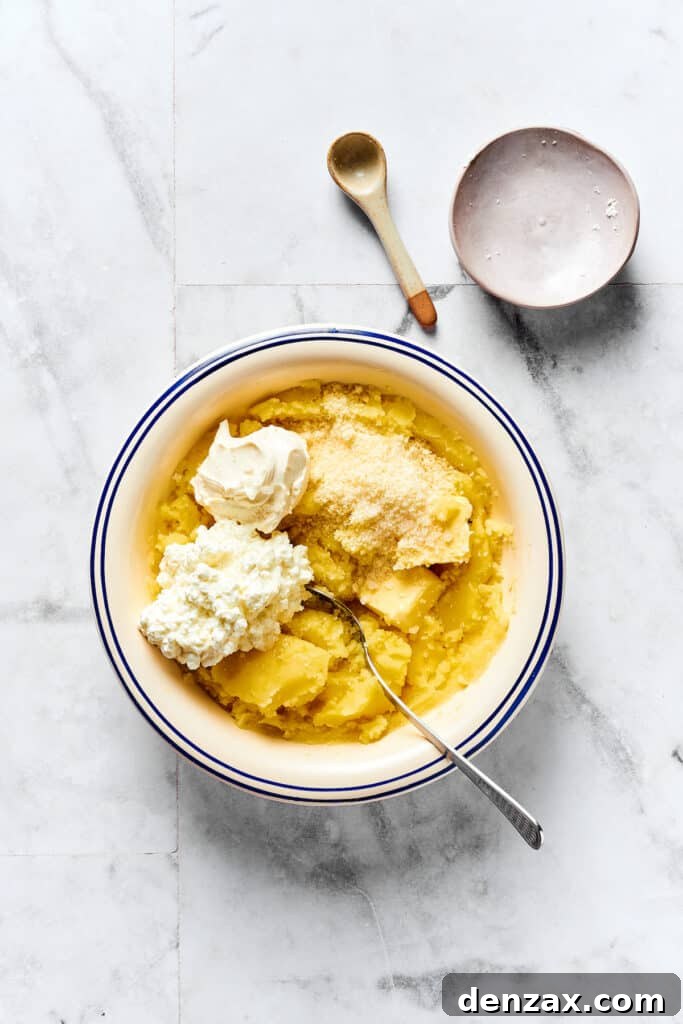
- Mash and Mix the Filling: Once the potatoes are cooked, thoroughly drain them using a colander. Return the hot potatoes to the pot. Using a potato masher, mash the potatoes until they are smooth and free from any large lumps. Immediately add the cottage cheese, cream cheese, Parmesan cheese, unsalted butter, and sea salt to the mashed potatoes. Mix vigorously until all ingredients are well combined and the filling is creamy and uniform. Set this delectable filling aside to cool slightly while you prepare the dough.
-

-
Crafting the Perfect Pierogi Dough
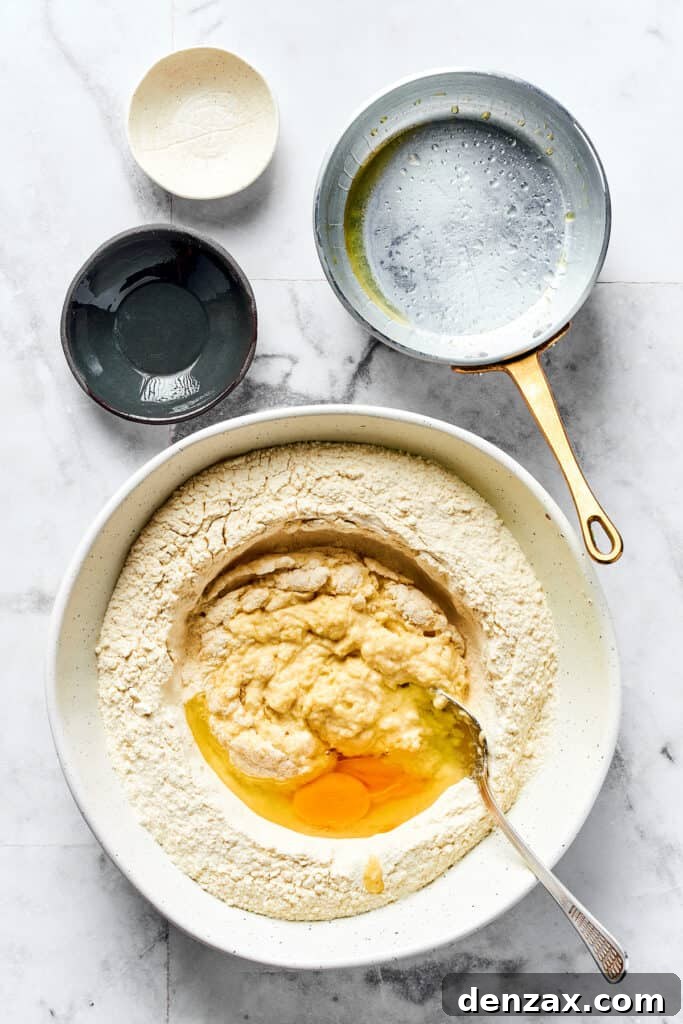
- Prepare the Dough: In a medium-sized mixing bowl, whisk together the all-purpose flour and salt until well combined. In a separate small pot or microwave-safe bowl, gently warm the water and 3 tablespoons of unsalted butter until the butter is completely melted. Ensure the mixture is warm, not hot, as excessively hot water can affect the dough’s texture. Pour this warm butter-water mixture into the flour mixture, stirring with a wooden spoon until a shaggy dough forms. Next, add the lightly beaten egg and continue to knead the dough by hand on a lightly floured surface for about 5 minutes, or use a stand mixer with a dough hook attachment. The goal is a smooth, elastic, and non-sticky dough.
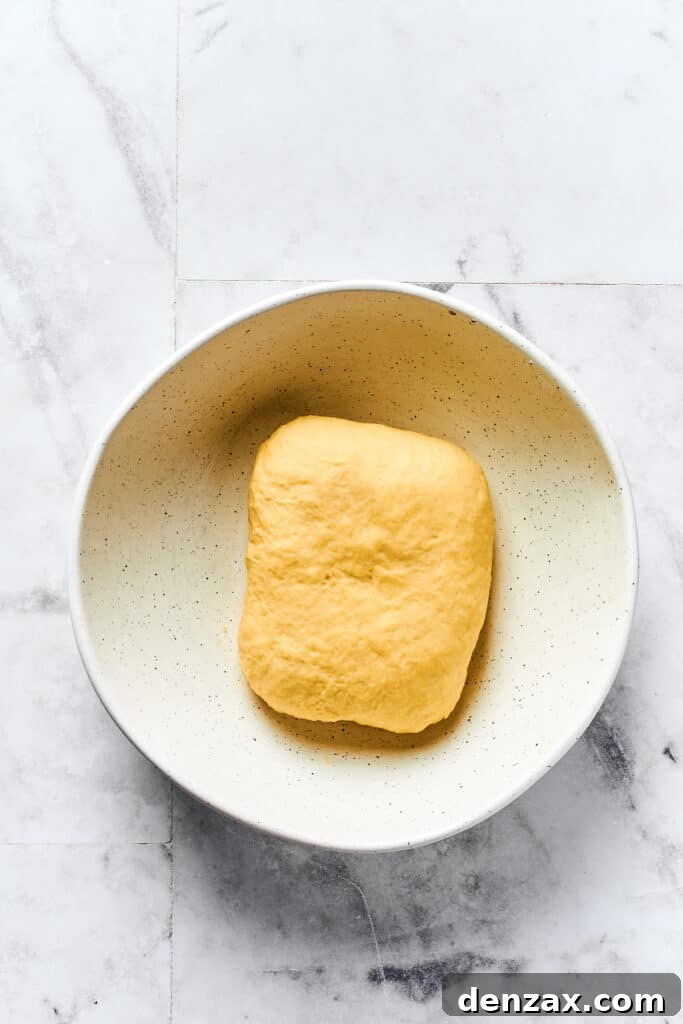
- Rest the Dough: Once kneaded, gather the dough into a ball and place it back in the medium bowl. Cover the bowl tightly with a clean kitchen towel or plastic wrap. Let the dough rest at room temperature for a minimum of 40 minutes. This resting period is crucial as it allows the gluten to relax, making the dough much easier to roll out thinly without snapping back.
-
-
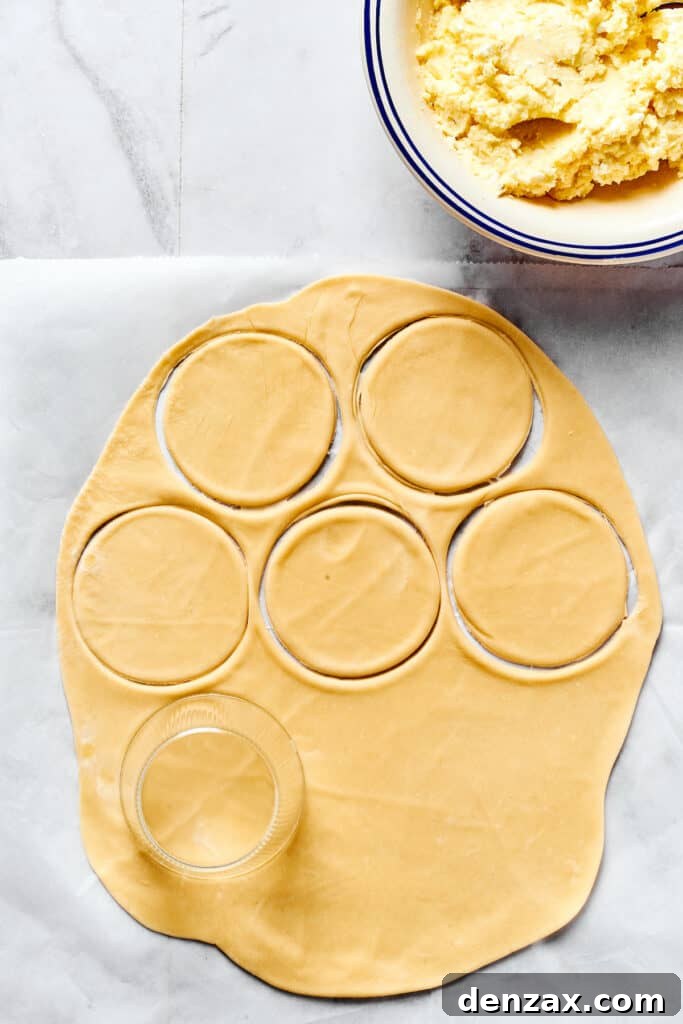
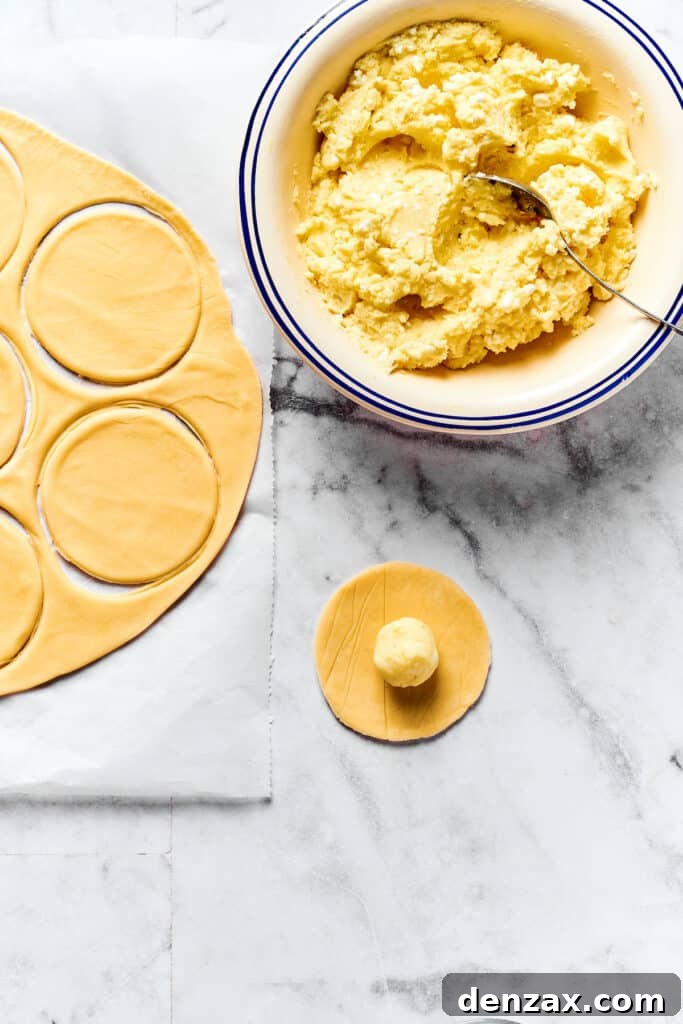
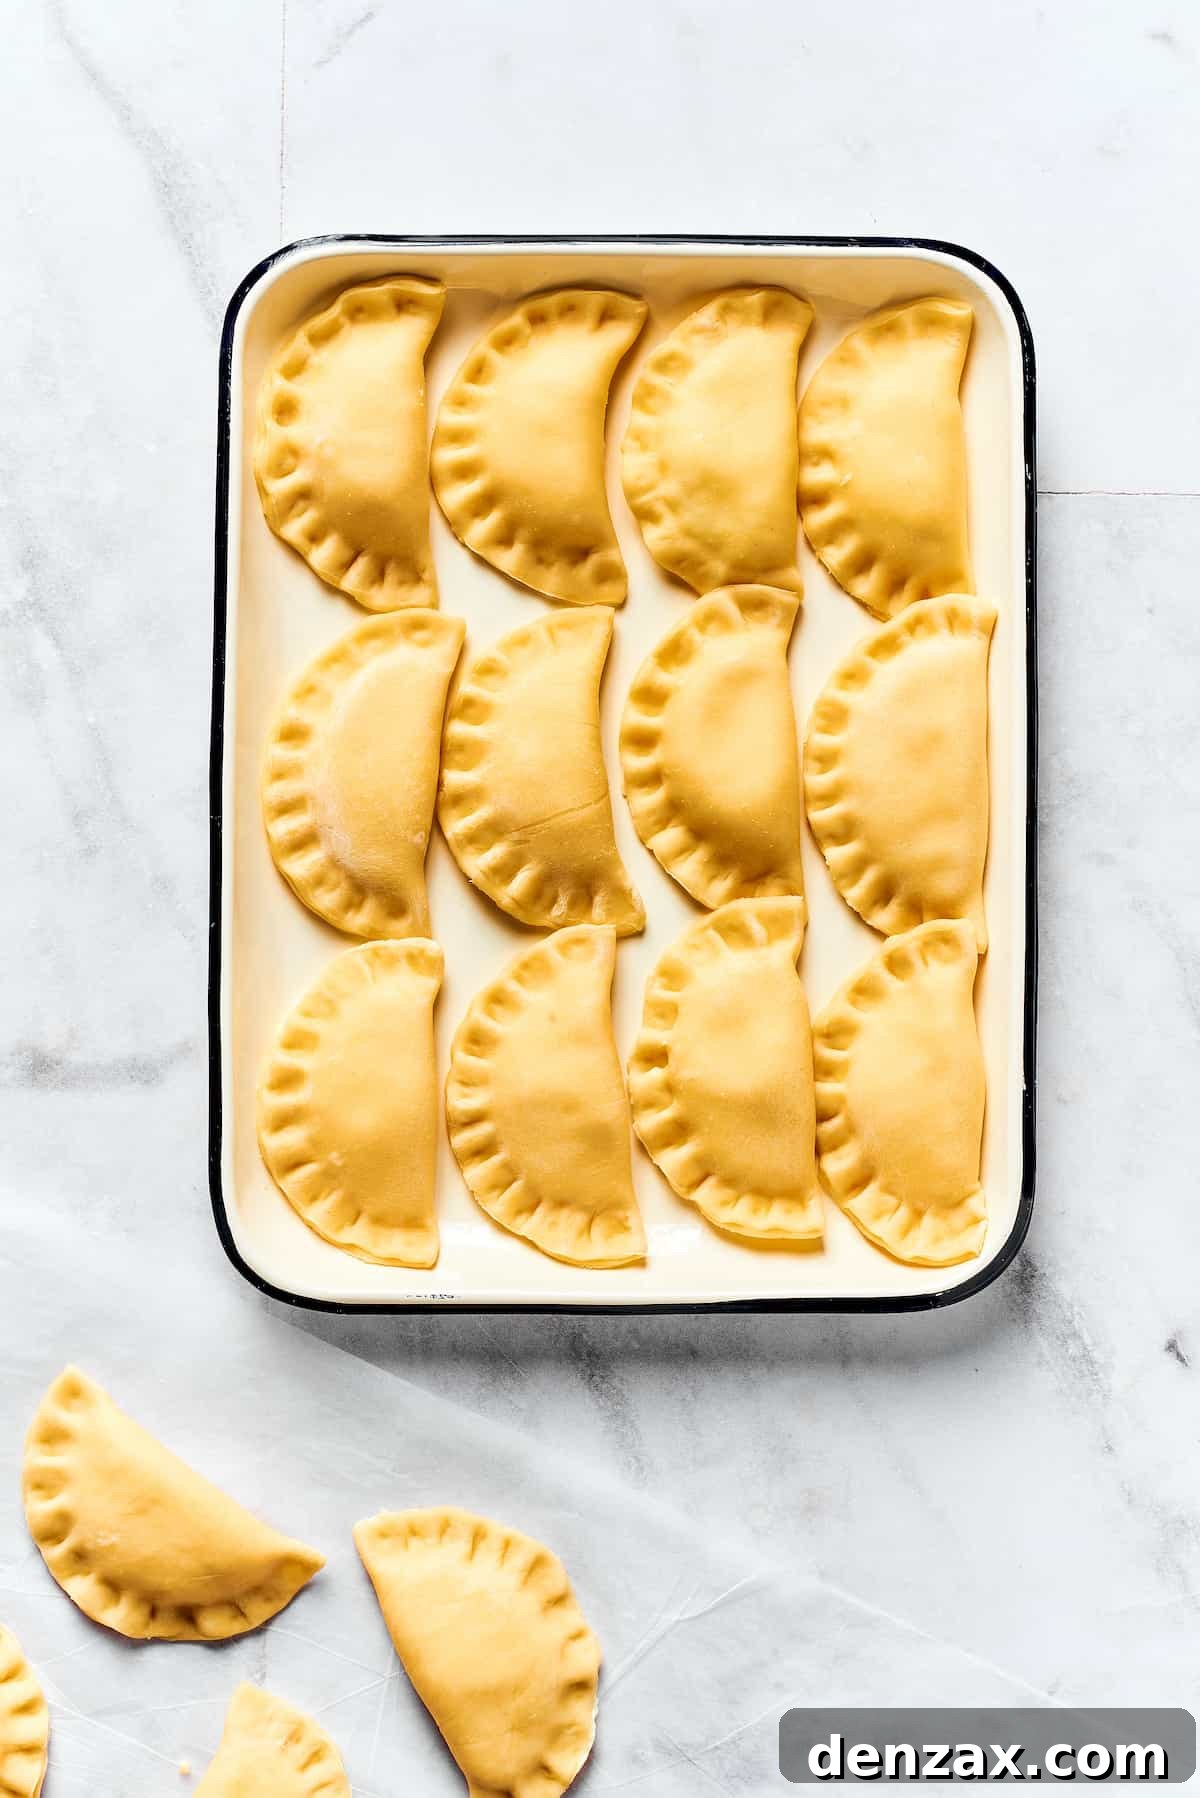
- Shape the Pierogi: Divide the rested dough in half. Keep one half covered with plastic wrap to prevent it from drying out while you work with the other. On a lightly floured surface, roll out the dough very thinly, aiming for approximately 1/8 inch thickness. Using a pierogi cutter or a standard drinking glass (roughly 2-3 inches in diameter), cut out even rounds from the rolled dough. Spoon about 1 tablespoon of the potato-cheese filling onto the center of each dough round. Lightly brush the edges of each dough circle with water; this helps create a strong seal. Fold the dough in half over the filling, forming a crescent shape. Firmly press the edges together with your fingers to seal the pierogi, ensuring no filling can escape. For a classic look, you can crimp the edges with a fork.
-
-
- Complete the Pierogi Assembly: As you finish shaping each pierogi, carefully place it on a parchment-lined baking sheet. Lightly cover the assembled pierogi with a clean kitchen towel to prevent them from drying out. Continue the process of rolling, cutting, filling, and sealing with the remaining half of the dough and the rest of the potato-cheese filling until all ingredients are used.
Cooking Your Homemade Pierogi: Boiling and Frying
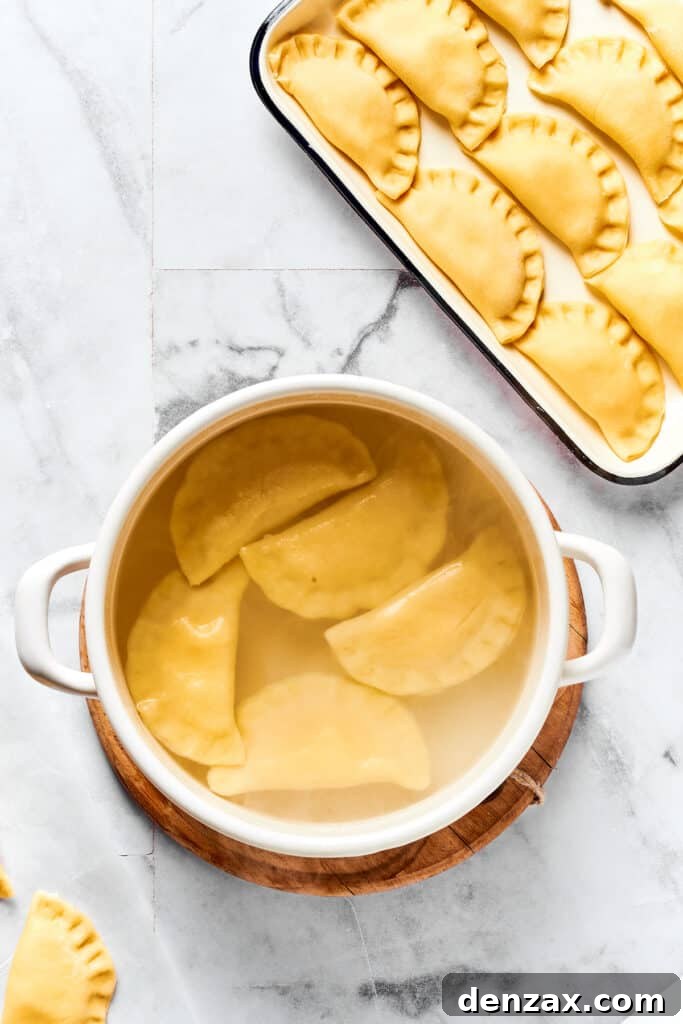
- Boil the Pierogi: Bring a large pot of generously salted water to a rolling boil. Carefully add the pierogi to the boiling water in a single, even layer. It is crucial not to overcrowd the pot, as this can lower the water temperature and cause the pierogi to stick together. Cook in batches if necessary. Allow the pierogi to cook for about 2 minutes, or until they gracefully float to the surface. Once they float, continue cooking for an additional 1-2 minutes to ensure the dough is fully cooked and tender. Using a slotted spoon, carefully remove the cooked pierogi from the water and transfer them to a plate. Continue this process until all pierogi are boiled.
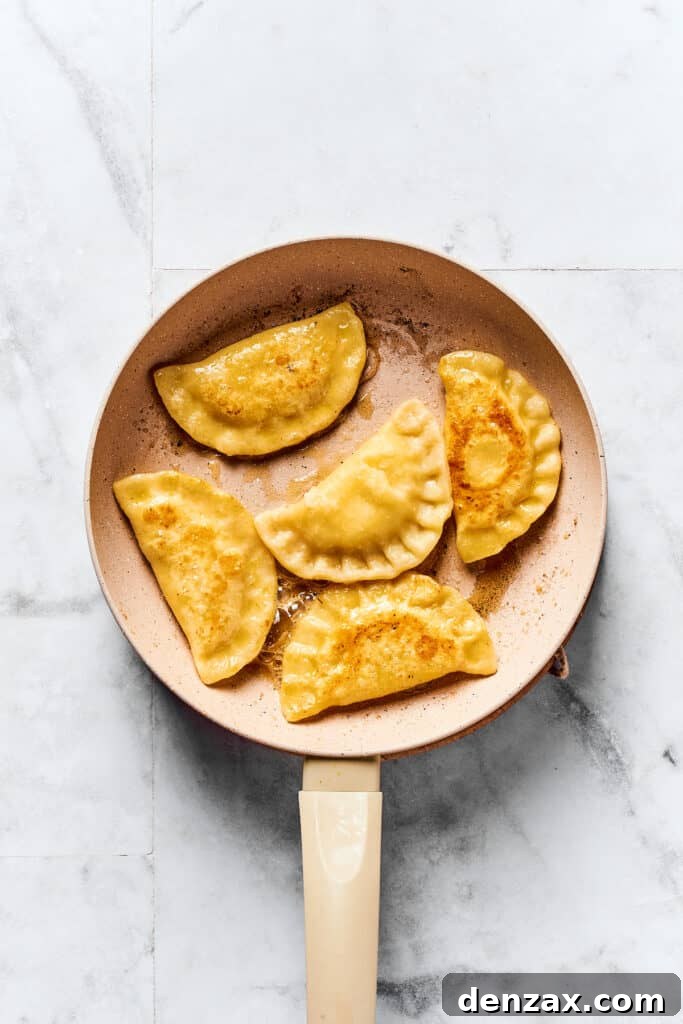
- Fry for Golden Perfection: After all the pierogi have been boiled, heat 3-4 tablespoons of unsalted butter in a large skillet over medium heat. Once the butter is melted and slightly shimmering, add the drained, boiled pierogi to the skillet in an even layer. Fry them for approximately 1 minute per side, or until they achieve a beautiful golden-brown color and a slightly crispy exterior. This step adds a wonderful textural contrast and depth of flavor. Set the fried pierogi aside on a clean plate.
-
-
Preparing the Irresistible Topping
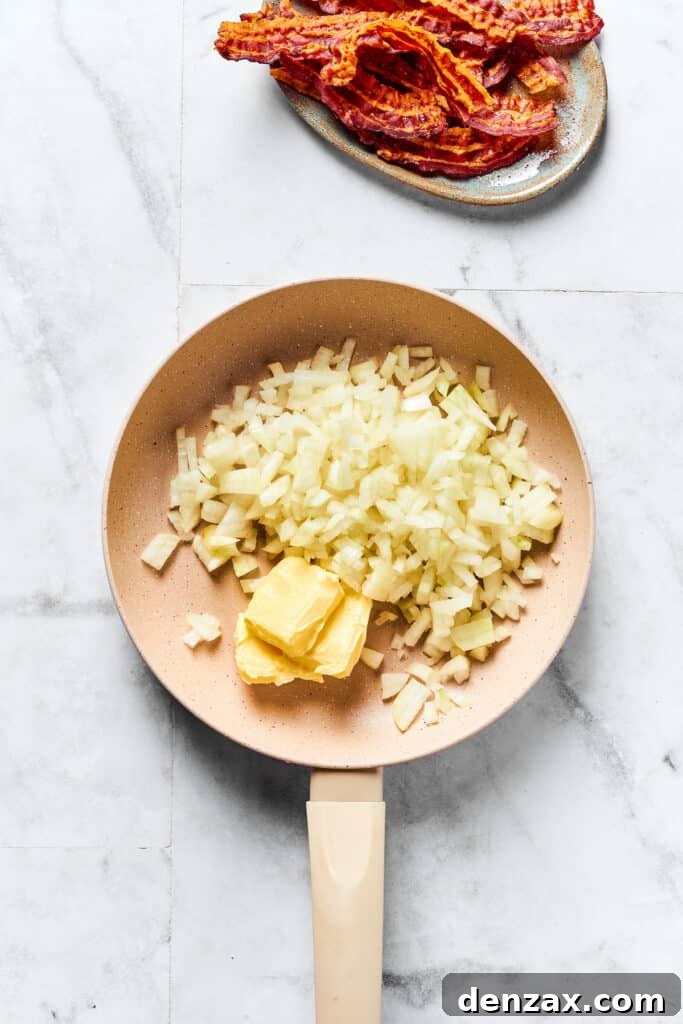
- Crispy Bacon Crumbles: To create the topping, start by cooking the sliced bacon in a large skillet over medium heat until it is wonderfully crispy. Drain the cooked bacon thoroughly on a paper towel-lined plate to remove excess grease, then crush or chop it into small, flavorful pieces.
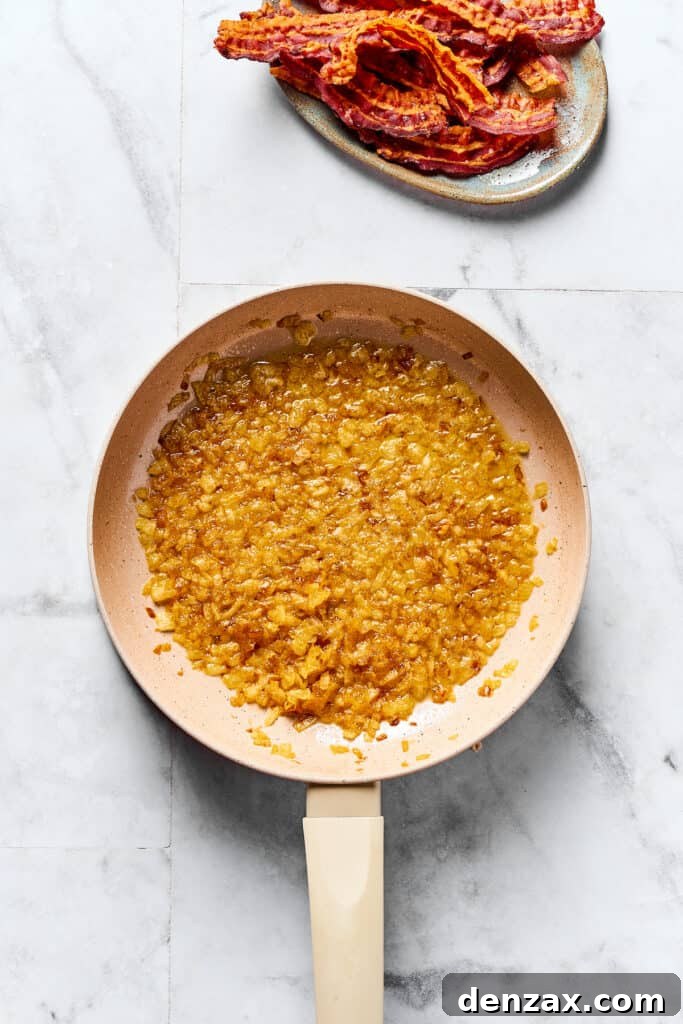
- Caramelized Onions: Carefully wipe the skillet clean to remove any residual bacon grease. Return the clean skillet to medium heat. Add 4 tablespoons of unsalted butter and the chopped yellow onions to the skillet. Season with a pinch of salt and pepper. Cook the onions for 10 to 12 minutes, stirring occasionally, until they become soft, translucent, and beautifully caramelized to a light golden-brown hue. These sweet, savory onions are key to the classic pierogi experience.
-
-
Serving Your Freshly Made Pierogi
- To serve, artfully arrange the warm, pan-fried pierogi on a large serving platter. Generously top them with the sweet caramelized onions and the savory crispy bacon crumbles. For an extra touch of freshness and color, garnish with freshly chopped parsley, if desired. Serve immediately and savor the comforting, authentic taste of your homemade pierogi!

Homemade Pierogi Recipe Card
For your convenience, here’s a concise overview of this delicious homemade pierogi recipe:
- Yields: Approximately 12 servings
- Prep Time: 30 minutes
- Cook Time: 45 minutes
- Resting Time: 40 minutes
- Total Time: 1 hour 55 minutes
Ingredients
For the Potato Filling:
- 1 ½ pounds Yukon Gold potatoes
- ½ cup cottage cheese
- 3 tablespoons Parmesan cheese
- 2 tablespoons cream cheese
- 2 tablespoons unsalted butter
- 1 teaspoon sea salt
For the Pierogi Dough:
- 4 cups all-purpose flour
- 1 ½ teaspoons salt
- ⅔ cup warm water
- 3 tablespoons unsalted butter, plus more for frying
- 1 large egg, lightly beaten
For the Topping:
- 4 ounces bacon slices, cooked and crumbled
- 4 tablespoons unsalted butter
- 2 yellow onions, chopped
- Fresh parsley, chopped (for garnish, optional)
Instructions
Make the Potato Filling:
- Place the potatoes in a medium pot and cover with water. Bring to a boil over medium heat. Cover, leaving the lid slightly ajar, and cook until the potatoes are tender, about 25 minutes.
- Once the potatoes are cooked, drain thoroughly. Use a potato masher to mash the potatoes until smooth and free from lumps.
- To the mashed potatoes, add the cottage cheese, Parmesan cheese, cream cheese, butter, and salt. Mix thoroughly until well combined and creamy. Set aside.
Make the Pierogi Dough:
- Meanwhile, prepare a large baking sheet by lining it with parchment paper; set aside.
- In a medium bowl, whisk together the all-purpose flour and salt.
- In a small pot or microwave-safe bowl, gently warm the water and 3 tablespoons of unsalted butter until the butter is just melted. Ensure the mixture is warm but not hot.
- Add the warm butter-water mixture to the flour mixture. Stir with a spoon until roughly combined. Add the lightly beaten egg and knead by hand, or with a stand mixer for 5 minutes, until the dough is smooth and elastic.
- Cover the dough with a clean kitchen towel or plastic wrap and let it rest at room temperature for 40 minutes.
Assemble the Pierogi:
- Divide the rested dough in half. Keep one half covered with plastic wrap to prevent it from drying out.
- On a lightly floured surface, roll out the first half of the dough very thinly (approximately 1/8 inch thick).
- Using a pierogi cutter or a round drinking glass (about 2-3 inches in diameter), cut out circles from the rolled dough.
- Place about 1 tablespoon of the potato filling in the center of each dough round.
- Lightly brush the edges of each dough round with water. Fold the dough in half over the filling, creating a crescent shape.
- Carefully seal the edges by pressing down firmly with your fingers. For a decorative edge, you can crimp with a fork.
- Place the sealed pierogi on the prepared parchment-lined baking sheet and cover lightly with a clean kitchen towel.
- Repeat the rolling, cutting, filling, and sealing steps with the remaining dough and filling until all are used.
Cook the Pierogi:
- Bring a large pot of salted water to a rolling boil.
- Carefully add the pierogi to the boiling water in a single layer. Do not overcrowd; cook in batches if necessary.
- Cook for about 2 minutes, or until they float. Once floating, continue to cook for another 1-2 minutes.
- Using a slotted spoon, remove the cooked pierogi and transfer them to a plate. Continue with remaining batches.
- When all pierogi are boiled, heat some unsalted butter (3-4 tablespoons) in a large skillet over medium heat. Fry the drained, boiled pierogi for about 1 minute per side, until golden brown. Set aside.
Prepare the Topping:
- Cook 4 ounces of bacon slices in a clean large skillet over medium heat until crisp. Drain well, then crush into small pieces.
- Carefully wipe the skillet clean, then return to the heat. Add 4 tablespoons of unsalted butter and the chopped yellow onions. Sprinkle with salt and pepper, and cook for 10-12 minutes, stirring occasionally, until lightly golden and caramelized.
Serve Your Homemade Pierogi:
- Serve the pierogi hot, topped generously with the caramelized onions and crispy bacon. Garnish with chopped parsley if desired.
Do You Need to Boil Pierogi Before Frying? A Common Question
This is a frequently asked question, and the answer largely depends on the type of pierogi you’re preparing. For store-bought pierogi, especially those found in the frozen aisle, the boiling step is often optional because they are typically pre-cooked or partially cooked. These can often be pan-fried or baked directly from frozen.
However, when making pierogi from scratch, as in this recipe, boiling is highly recommended, if not essential. Boiling ensures that the fresh dough cooks through evenly, developing that characteristic tender, soft, and slightly chewy dumpling texture. Skipping this step with raw dough would result in pierogi that are tough, undercooked in the center, or simply don’t have the desired consistency. The brief boil allows the dough to absorb a little water, plump up, and become ready for the final frying step, which then adds a delicious golden crust and another layer of flavor.

Pro Tips for Perfect Homemade Pierogi
Making pierogi can be a delightful culinary adventure. Here are some expert tips to ensure your homemade pierogi turn out perfectly every time:
- Chill the Filling for Easier Handling: If you find the potato-cheese filling a bit soft or sticky, consider making it a day ahead and chilling it overnight in an airtight container. A firm, chilled filling is much easier to portion and place onto the dough rounds, streamlining the assembly process.
- Preventing Dry Dough: Pierogi dough, especially when rolled thin, can dry out quickly. Always keep any portion of dough you are not actively working with covered tightly with plastic wrap or a clean, damp kitchen towel. Dry dough is prone to cracking, making it difficult to seal the pierogi properly.
- Utilizing a Pasta Machine: While rolling by hand with a rolling pin works perfectly well, a pasta machine can be a game-changer for achieving uniformly thin sheets of dough. This ensures consistent cooking and texture across all your pierogi. Simply feed small portions of dough through the rollers, gradually decreasing the thickness setting until you reach your desired thinness.
- Don’t Overfill: It can be tempting to add extra filling, but resist the urge! Overfilling pierogi can make them difficult to seal and prone to bursting during boiling. About a tablespoon of filling per round is usually ideal for a standard 2-3 inch dough circle.
- Sealing is Key: A proper seal prevents the filling from escaping into the boiling water. Take your time to firmly press the edges together. For extra security and a pretty finish, use the tines of a fork to crimp the edges after pressing them with your fingers.

What to Serve with Pierogi: Delicious Pairings
These classic potato and cheese pierogi, especially with their savory bacon and caramelized onion topping, are incredibly satisfying on their own. However, if you’re looking to build a more elaborate meal, pierogi are wonderfully versatile and pair well with a variety of dishes. Here are some delicious serving suggestions to complete your comforting meal:
- Hearty Meats: Pierogi make an excellent side to robust meat dishes. Consider serving them alongside slow-cooked pot roast, roasted chicken, or succulent pork chops. The creamy filling and rich toppings perfectly complement savory meats. Try these Instant Pot Pork Chops, spooning their rich mushroom gravy over the pierogi for an ultimate comfort food experience.
- Fresh Salads: To balance the richness of the pierogi, a crisp and refreshing salad is an ideal accompaniment. A light vinaigrette-dressed green salad or a creamy cucumber salad offers a wonderful contrast in flavors and textures. This Cucumber Salad with Sour Cream Dressing would be a perfect match, offering a cool and tangy counterpoint to the warm, buttery pierogi.
- Creamy Sauces & Soups: Beyond the provided topping, pierogi are often served with a dollop of sour cream or a sprinkle of fresh dill. They can also be fantastic alongside a light, creamy mushroom soup or a clear beef broth, allowing the pierogi to soak up additional flavors.
- Other Classic Pairings: For a true Eastern European spread, consider serving pierogi with a side of sautéed sauerkraut or a tangy beet salad. The sour notes provide an excellent contrast to the potato-cheese filling.

Storage and Reheating Homemade Pierogi
- Storing Leftovers: Cooked pierogi can be stored in an airtight container in the refrigerator for up to 3-4 days. Ensure they are completely cooled before storing to prevent condensation, which can make them soggy.
- Reheating for Best Texture: To reheat, pan-fry them in a little butter until golden and warmed through. This method helps restore some of their crispy exterior. You can also warm them gently in the microwave, though they may lose some crispiness. For a softer texture, steaming them briefly can also work.
Can You Freeze Homemade Pierogi? Absolutely!
Pierogi are an excellent meal-prep candidate because they freeze exceptionally well, both cooked and uncooked. This makes them perfect for preparing large batches to enjoy later.
- Freezing Cooked Pierogi: After boiling and frying your pierogi, let them cool completely. Spread them out in a single layer on an oiled baking sheet and place them in the freezer until they are solid (about 1-2 hours). Once frozen, transfer the solid pierogi to freezer-safe bags or containers. Label with the date. They can be stored in the freezer for up to 3 months.
- Freezing Uncooked Pierogi: If you want to freeze them before cooking, follow the same method: arrange the freshly assembled (but uncooked) pierogi in a single layer on a parchment-lined or oiled baking sheet. Freeze until solid. Once hard, transfer them to freezer bags, removing as much air as possible, and label. Uncooked pierogi can be frozen for up to 1 month.
- How to Cook from Frozen: To cook frozen pierogi (either previously boiled/fried or uncooked), simply drop them directly into boiling salted water. Cook until they float to the surface and are heated through, usually an additional 2-4 minutes compared to fresh pierogi. For a crispy finish, you can then pan-fry them in butter after boiling.
More Comforting and Festive Dinner Ideas
If you loved making and enjoying these homemade pierogi, you might be looking for more comforting and delicious meal ideas to add to your repertoire. Explore these other delightful recipes:
- The Best Cheese Manicotti: A creamy, cheesy pasta dish that’s always a crowd-pleaser.
- Crispy Air Fryer Chicken Tempura: Enjoy perfectly crispy chicken with minimal oil.
- Easy Instant Pot Chicken Burritos: A quick and flavorful weeknight meal.
- Simple Beef Stroganoff: A rich and savory classic perfect for chilly evenings.