
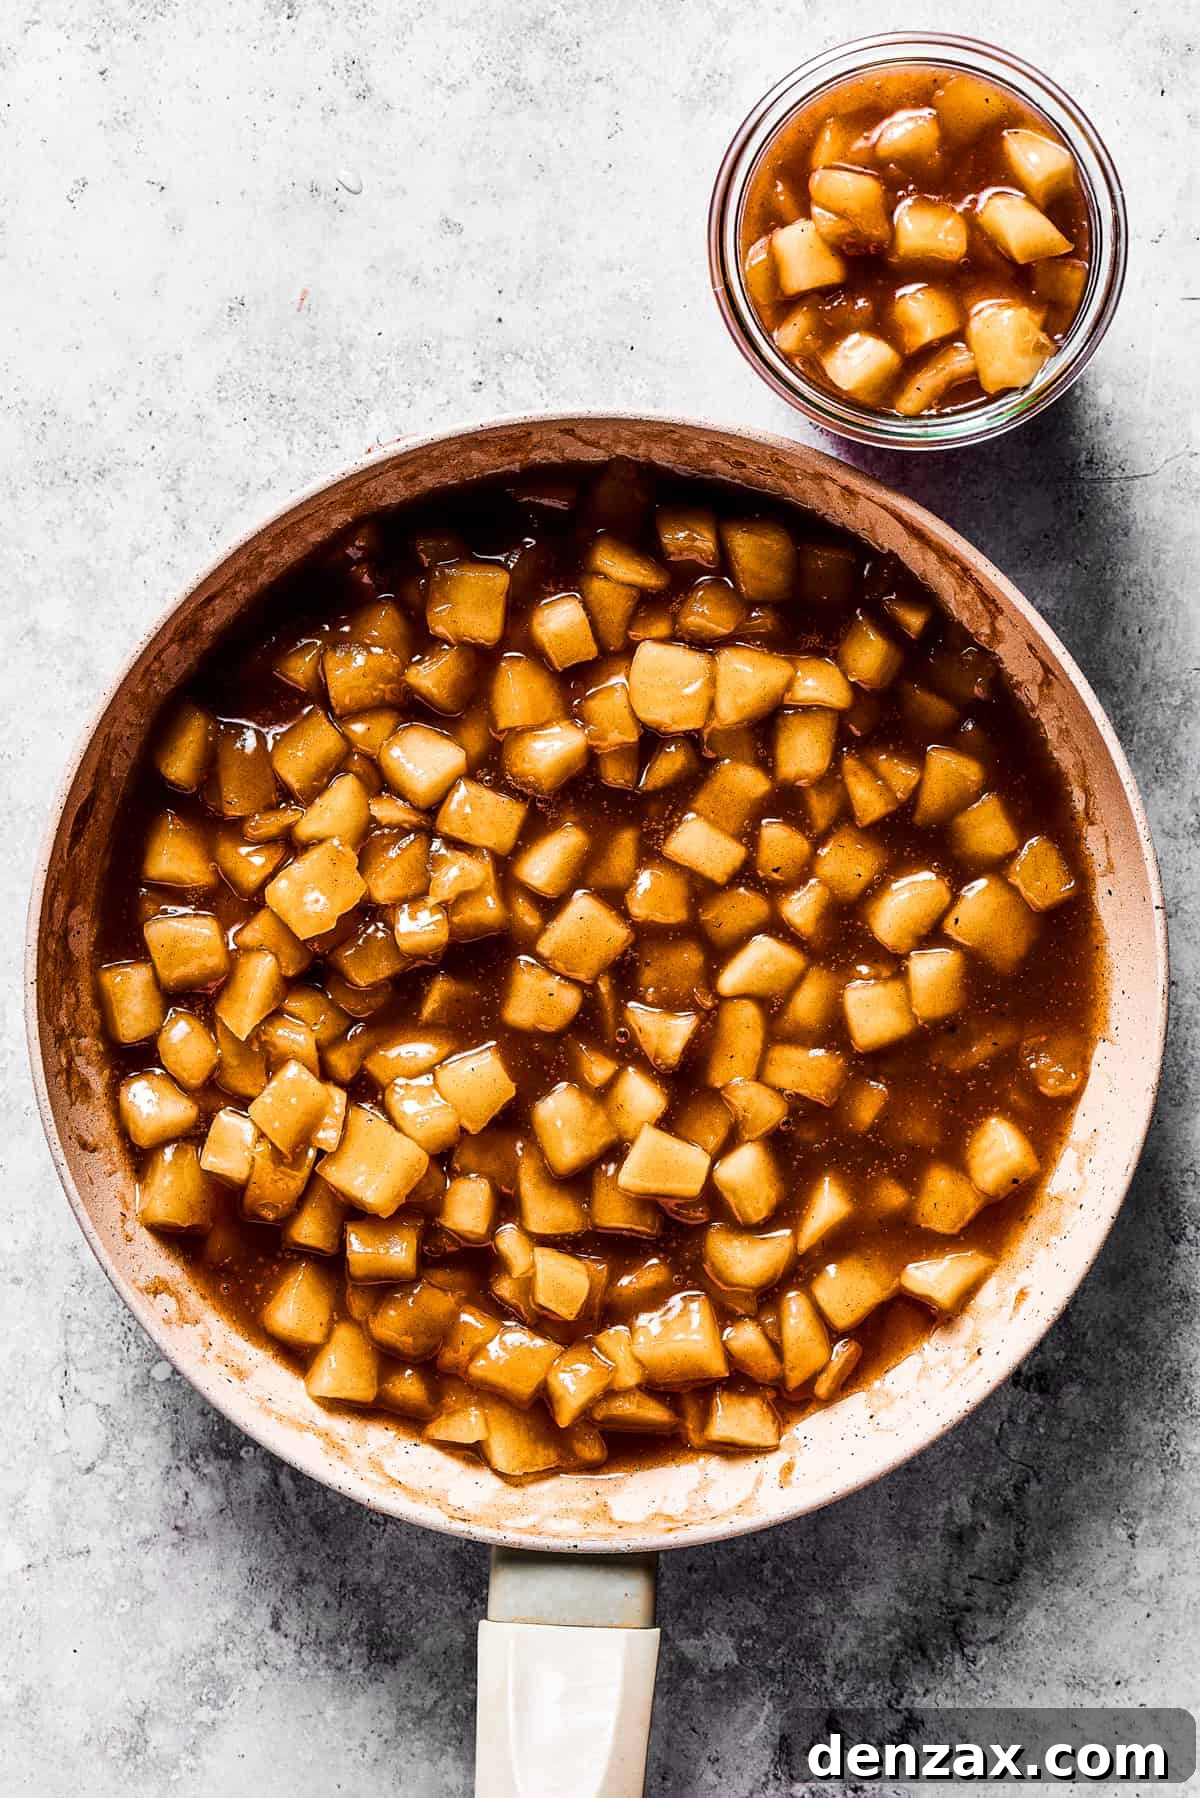
Welcome to the ultimate guide for creating the most luscious, homemade Apple Pie Filling! Forget those store-bought cans; once you experience the tender, perfectly spiced apples simmered in a rich, buttery brown sugar sauce, you’ll never go back. This classic recipe isn’t just for pies; it’s a versatile delight perfect for breakfast, desserts, and beyond. Its simplicity belies its incredible flavor, promising a warm, comforting taste that truly embodies autumn, yet is delightful any time of year.
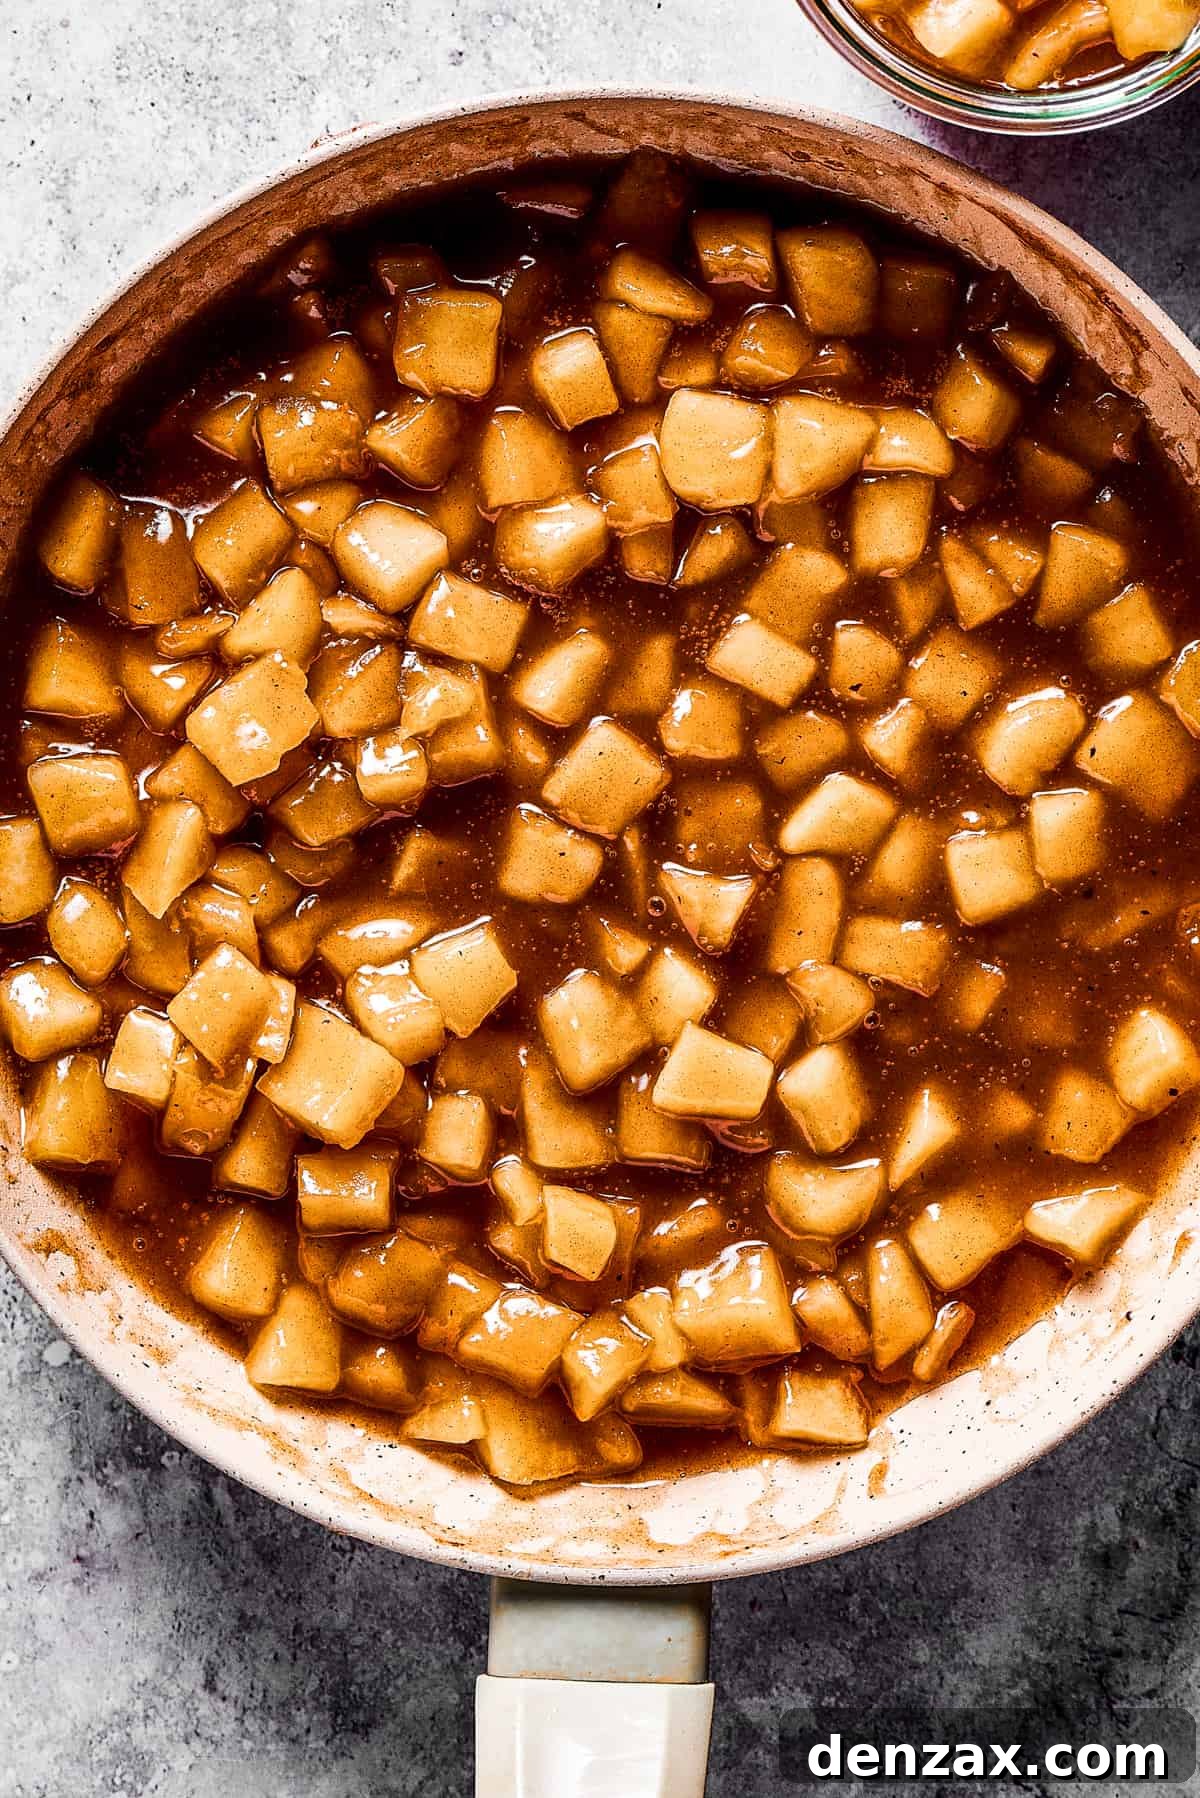
Unlocking the Irresistible Charm of Homemade Apple Pie Filling
There’s something undeniably magical about homemade apple pie filling. The rich aroma of cinnamon and nutmeg mingling with sweet apples as it simmers on the stove is enough to make anyone’s mouth water. While convenience sometimes calls for store-bought pastry, pairing it with your own freshly made apple filling elevates even the simplest pie to a gourmet experience. This recipe empowers you to create a dessert that tastes genuinely exceptional, bursting with fresh apple flavor and the perfect balance of sweetness and spice. It’s so delicious, you might just find yourself sneaking spoonfuls straight from the jar!
Crafting your own filling allows for complete control over ingredients, ensuring the freshest fruit and the highest quality spices. Whether you opt for a rustic deep-dish pie or a more traditional shallow one, the heart of your creation will be this exquisite apple filling. It’s a timeless dessert that brings warmth and joy, cherished by families across generations. And I’m thrilled to share the secrets to my favorite recipe with you!
To Cook or Not to Cook: The Apple Pie Filling Dilemma
A common question among home bakers is whether apples need to be cooked before being placed into a pie. The answer often depends on the specific recipe and desired outcome. For certain pie recipes, like a classic Apple Pie from Scratch or a Dutch Apple Slab Pie, raw apples are perfectly acceptable. They soften beautifully in the oven alongside the crust, resulting in a fresh, vibrant apple flavor and a slight crispness that some prefer.
However, when making apple pie filling designed for storage, versatility, or a consistently soft texture, pre-cooking the apples is highly recommended. Cooking the filling beforehand ensures that the apples achieve the desired tenderness and absorb all the delightful spices and sugars, creating that signature syrupy consistency. This method also prevents the dreaded “gap” often found in pies made with raw apples, as the pre-cooked fruit won’t shrink as much during baking. Furthermore, a pre-cooked filling is ready to use straight from the jar, making it incredibly convenient for quick desserts, breakfast toppings, or last-minute baking projects. This flexibility is one of the main reasons why a cooked apple pie filling is a staple in many kitchens.
The Essential Ingredients for Perfect Apple Pie Filling
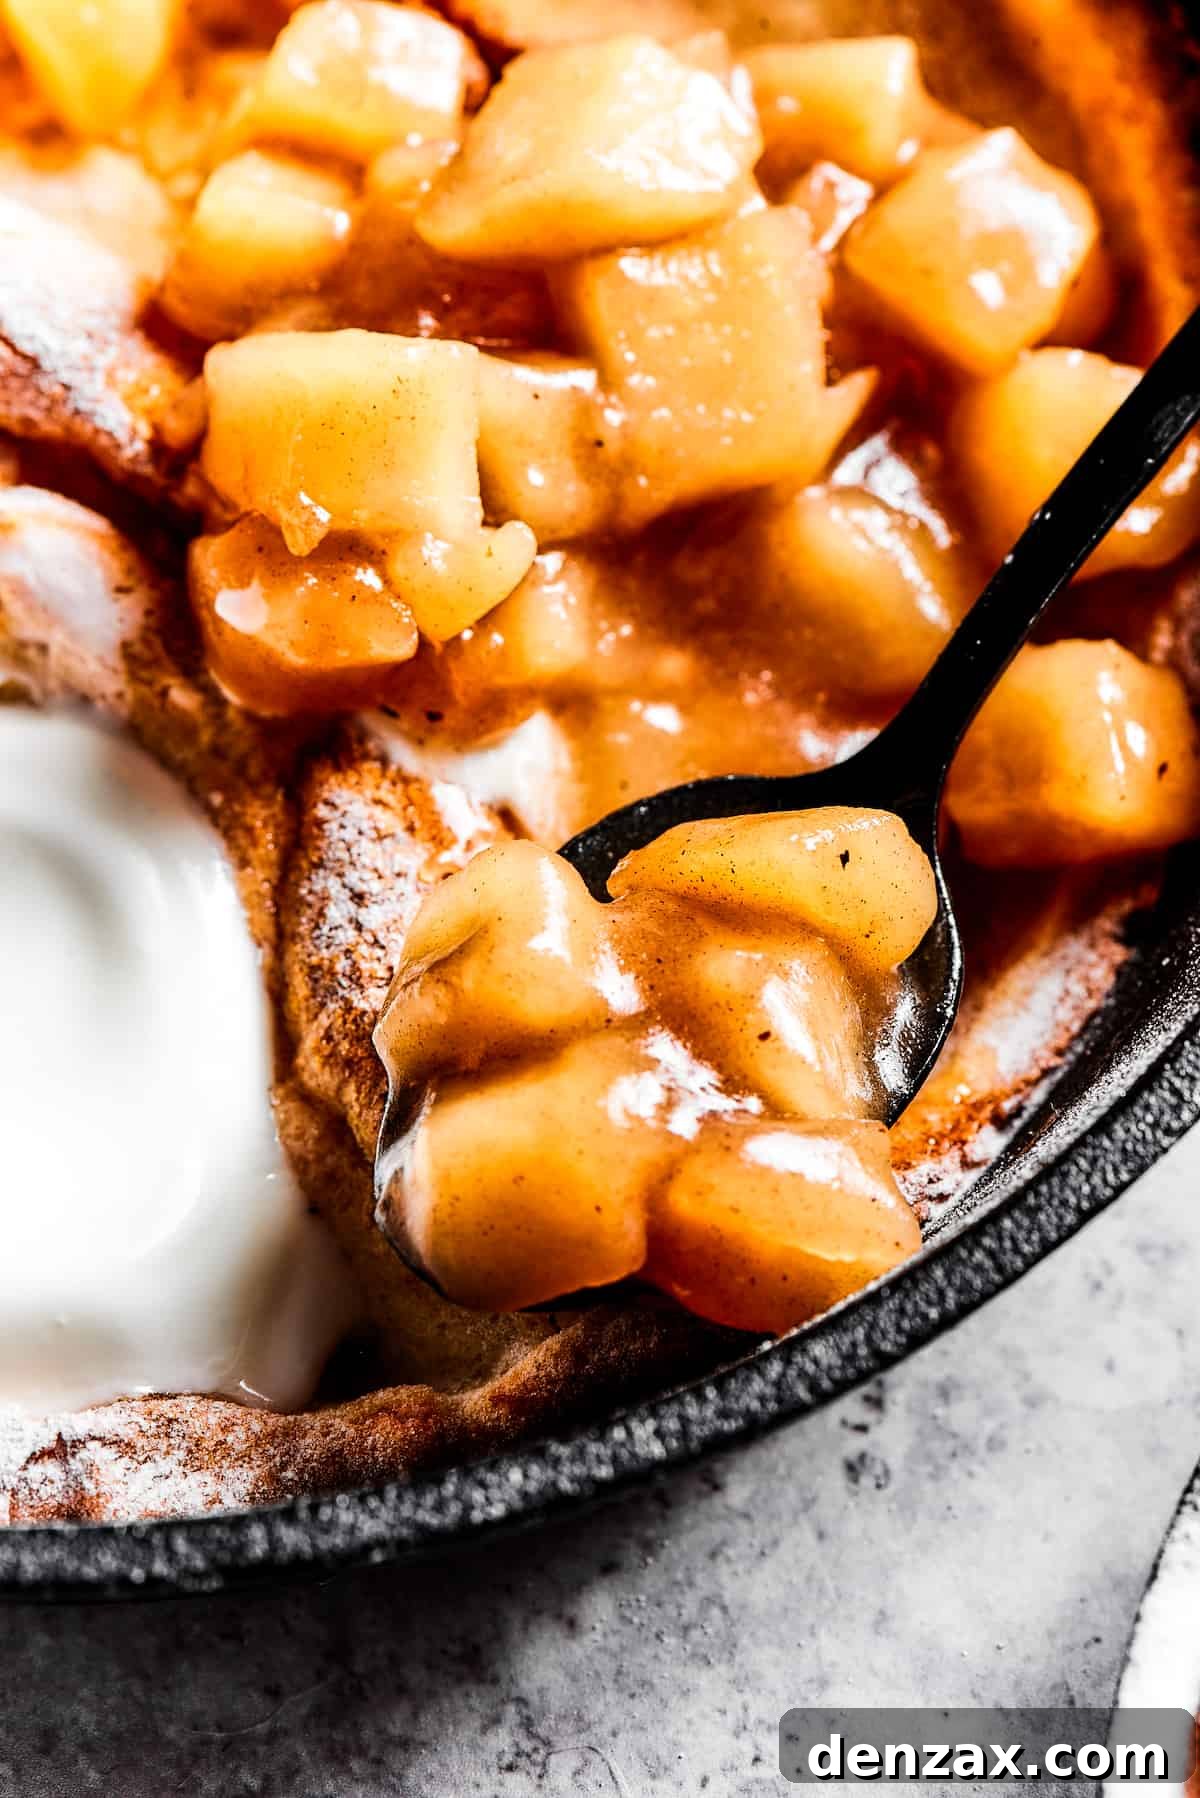
Creating a truly magnificent apple pie filling starts with a thoughtful selection of ingredients. Each component plays a crucial role in achieving the perfect balance of flavor, texture, and aroma. Here’s a detailed look at what goes into this traditional, mouthwatering recipe:
- Butter: I always opt for unsalted butter, which allows me to control the salt content precisely. If salted butter is all you have, simply reduce or omit the additional pinch of salt later in the recipe. Butter adds a rich, velvety mouthfeel and deepens the overall flavor, making the filling incredibly luxurious.
- Sugar: A harmonious blend of light brown sugar and granulated sugar is key. Brown sugar introduces a wonderful molasses flavor and moisture, contributing to a more complex, warm taste profile. Granulated sugar provides clean sweetness without overpowering the apples. While using all brown sugar is an option for a deeper caramel note, I strongly advise against using only granulated sugar, as it lacks the nuanced depth that makes this filling truly special.
- Spices: The soul of apple pie filling lies in its warm spices. Ground cinnamon is non-negotiable, offering its classic sweet and woody notes. A touch of ground nutmeg adds a complementary earthy warmth. These two spices create that instantly recognizable, comforting aroma and flavor that defines apple desserts.
- Apples: The star of the show! It’s crucial to select the right kind of apples. They should be peeled, cored, and uniformly cut into cubes (or slices, depending on preference). The quality and type of apple will significantly impact the final texture and taste of your filling.
- Lemon Juice: Don’t skip this! A splash of fresh lemon juice is essential. It brightens the apple flavor, preventing the filling from becoming overly sweet, and adds a subtle tang that balances the richness. It also helps prevent the apples from browning too quickly, maintaining their fresh appearance.
- Salt: A tiny pinch of salt might seem counterintuitive in a sweet dish, but it’s a flavor enhancer. It magnifies all the other sweet and spicy notes, bringing them into sharper focus.
- Water: Used to achieve the ideal syrupy consistency, helping the apples cook down evenly and creating a beautiful, glossy sauce.
- Cornstarch: This is your secret weapon for thickening the filling. When mixed with water to form a slurry, it creates a perfectly viscous, transparent sauce that coats the apples without being gummy.
- Vanilla: Pure vanilla extract is a must. Its aromatic, sweet notes round out the spice profile and add an extra layer of gourmet flavor. For an even more intense vanilla experience, consider using vanilla bean paste or the scraped seeds of a fresh vanilla bean.
Selecting the Best Apples for Your Pie Filling
The success of your apple pie filling hinges significantly on the choice of apples. You’re looking for cooking apples – varieties that are firm, tart, and juicy, which hold their shape well during cooking and offer a good balance to the sweetness of the sugar. Avoid apples that are too soft, mealy, or bland, as they will turn mushy and lack character in your filling. Here are some excellent choices:
- Granny Smith: A classic for a reason. Its intense tartness and firm texture provide the perfect counterpoint to sweet spices and sugars.
- Pink Lady: Offers a delightful balance of sweet and tart, with a crisp texture that holds up well.
- Northern Spy: Known for its exceptional flavor and ability to retain shape, making it a favorite among pie bakers.
- Jonathan: A juicy, slightly tart apple with a good aroma, contributing a bright flavor.
- Braeburn: Provides a crisp texture and a lovely sweet-tart taste.
- Honeycrisp: While sweeter, its incredible crispness and juiciness make it a fantastic choice, especially when combined with a tarter apple.
For a more complex flavor profile, consider using a blend of two or three different apple varieties. For instance, combining Granny Smith with Honeycrisp or Pink Lady offers both tartness and sweetness, along with varied textures.
Cornstarch vs. Flour: The Ultimate Thickener Showdown
When it comes to thickening your apple pie filling, both flour and cornstarch are effective, but they yield slightly different results. Understanding these differences can help you achieve your desired texture:
- Cornstarch: This is my preferred thickener for apple pie filling. It produces a clear, glossy, and beautifully transparent sauce that showcases the apples. Cornstarch thickens efficiently, so you generally need less of it compared to flour. It also creates a smoother, more syrupy texture.
- Flour: While flour can also thicken a pie filling, it tends to result in a more opaque, sometimes cloudy or milky appearance. You’ll typically need a larger quantity of flour to achieve the same thickening power as cornstarch. The texture can also be slightly less silky.
For a visually appealing and consistently smooth filling, cornstarch is often the superior choice. Always mix your thickener with a small amount of cold water (or juice) to create a “slurry” before adding it to your hot apple mixture to prevent lumps.
Crafting Homemade Apple Pie Filling: A Simple Guide
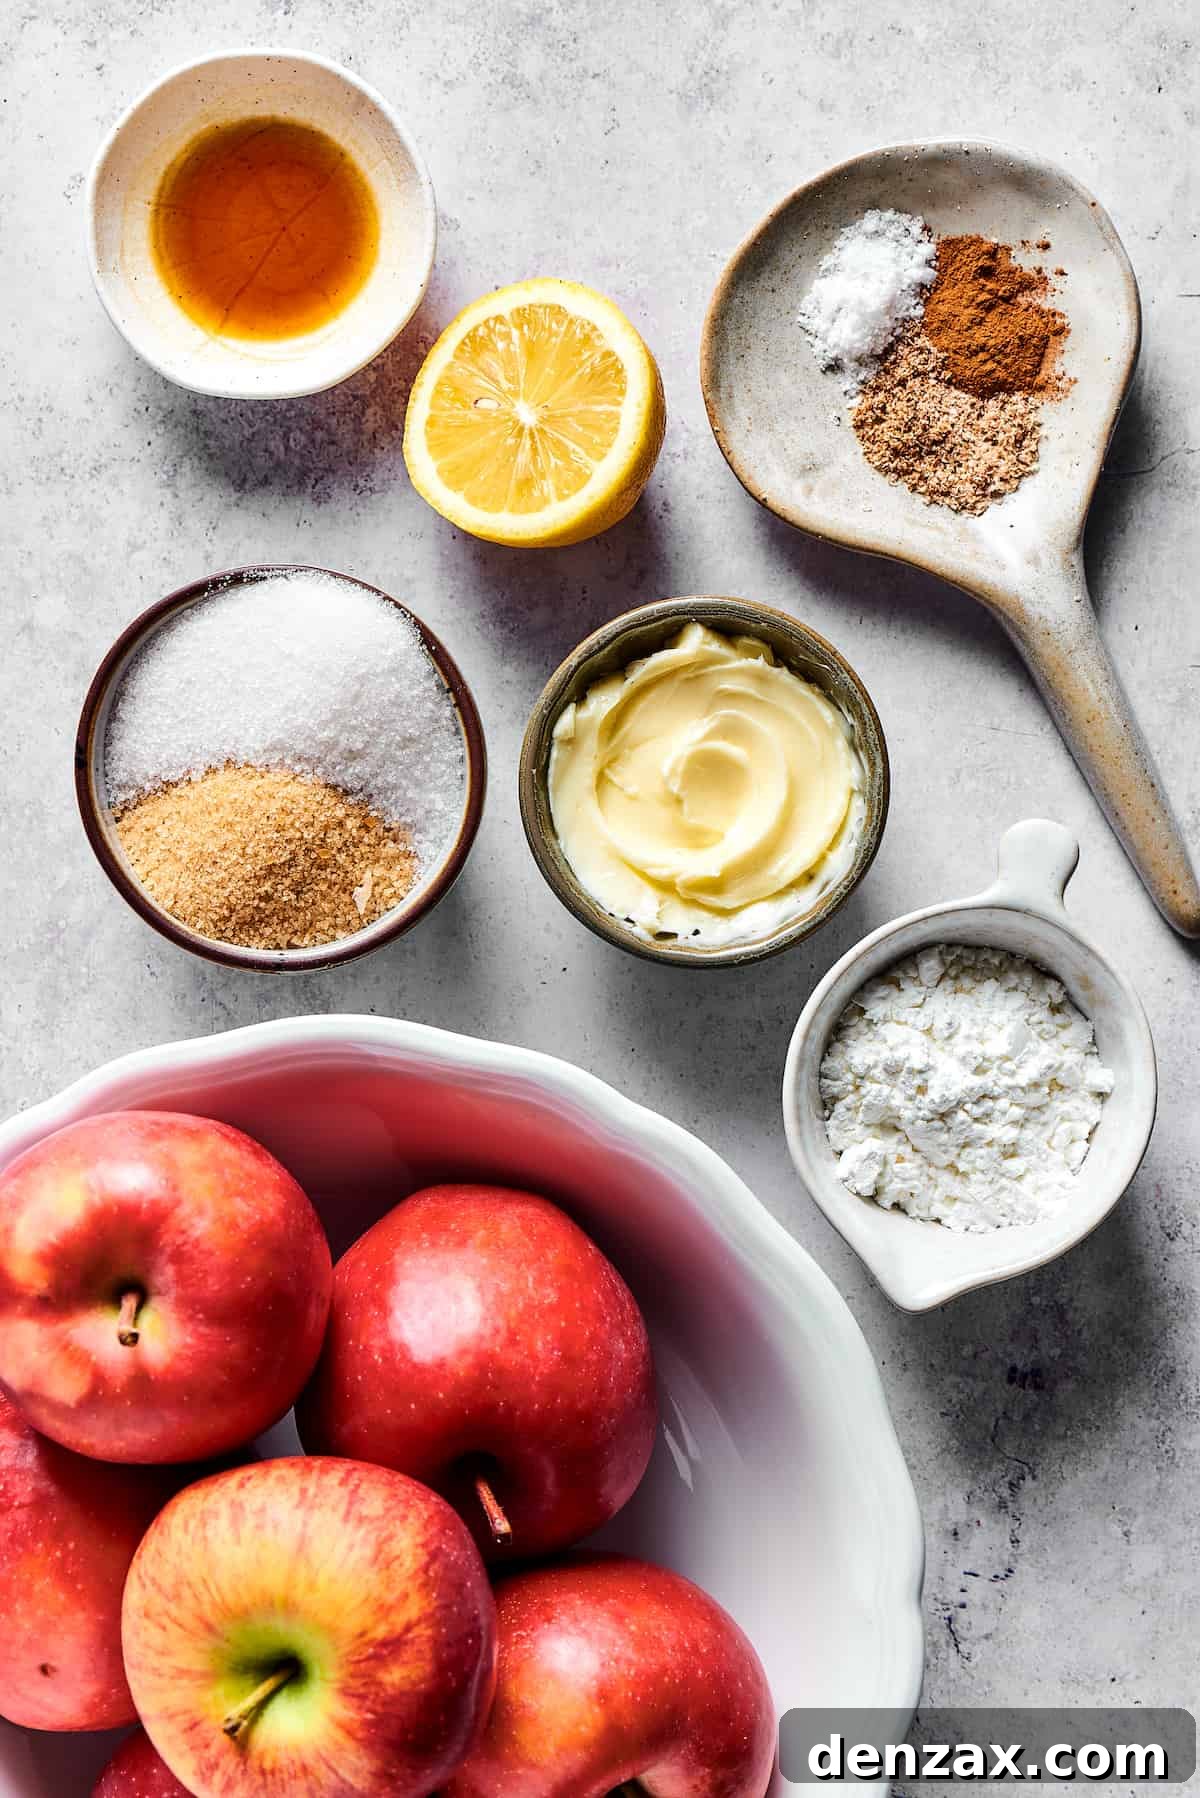
Making homemade apple pie filling is surprisingly straightforward and incredibly rewarding. With just a few simple steps, you’ll have a fragrant, tender, and perfectly spiced filling ready for all your culinary creations. Here’s how to achieve perfection:
- Prepare Your Apples: Begin by washing your chosen apples thoroughly. Then, peel them using a vegetable peeler, core them to remove the seeds and tough center, and chop them into uniform cubes (about ½ to ¾ inch). Consistency in size ensures even cooking. Immediately drizzle the chopped apples with a tablespoon of fresh lemon juice and toss gently. This prevents browning and brightens their natural flavor.
- Infuse the Spices with Butter: In a large, heavy-bottomed skillet or Dutch oven, melt the unsalted butter over medium heat. Once the butter is fully melted and slightly fragrant, add your ground cinnamon and ground nutmeg. Stir constantly for about 30 seconds to a minute, allowing the spices to bloom in the warm butter. This process enhances their aroma and flavor, creating a wonderful base for your apples.
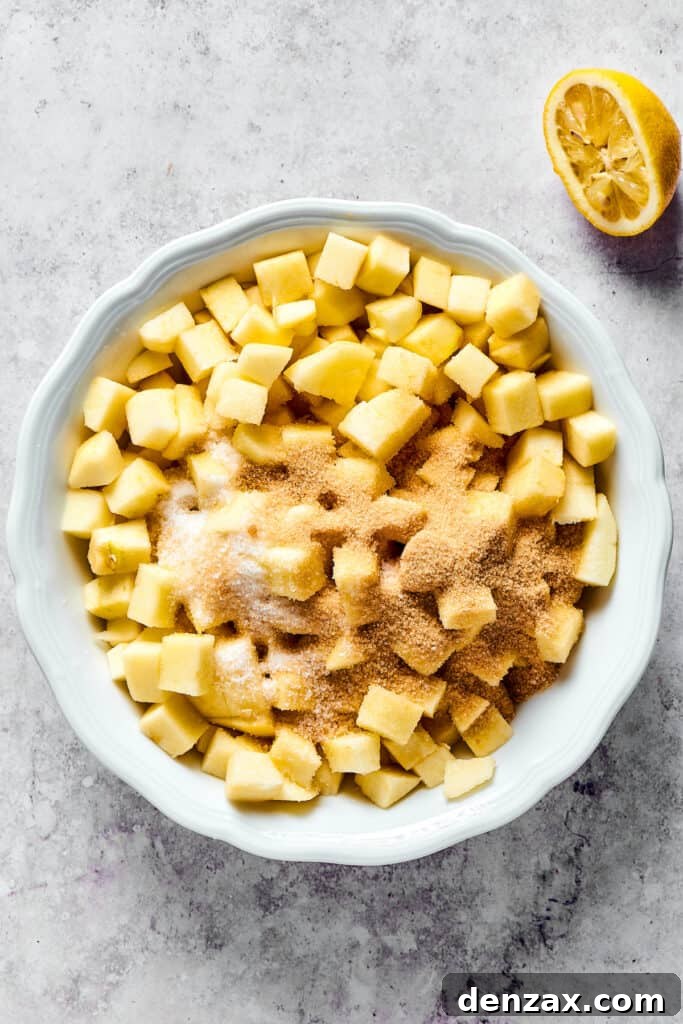
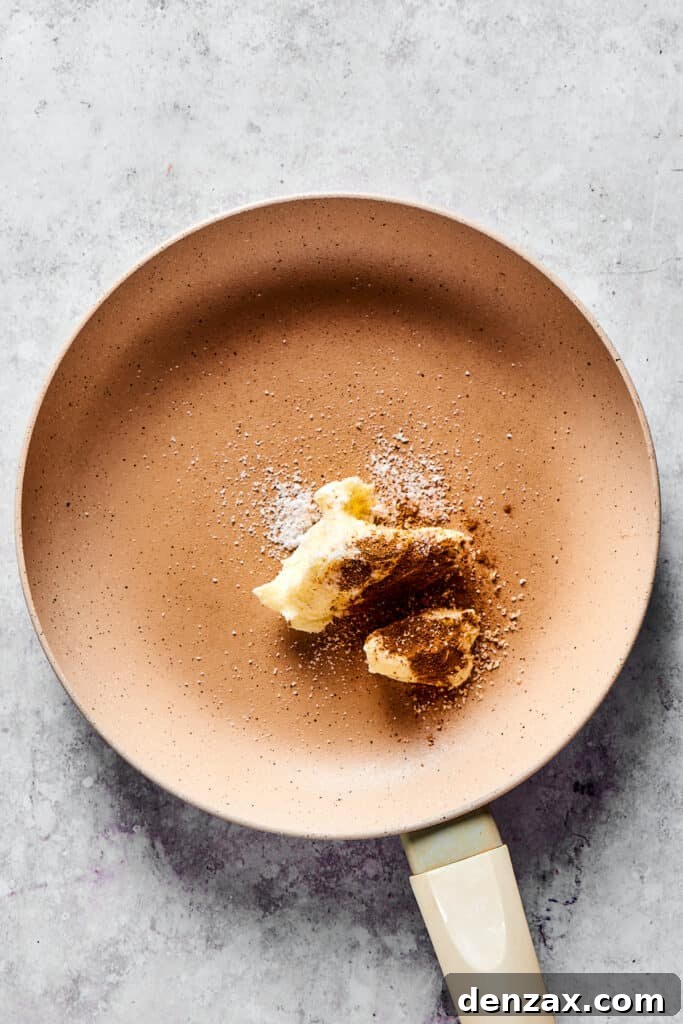
- Combine and Simmer: Add the prepared apples, both brown and granulated sugars, and half a cup of water to the skillet with the fragrant butter and spices. Stir everything thoroughly to ensure the apples are evenly coated. Cover the pan with a lid and let the mixture simmer gently for about 6 to 7 minutes. During this time, stir the apples occasionally to prevent sticking and promote even cooking. The goal is for the apples to soften slightly, becoming tender but not mushy.
- Prepare and Add the Cornstarch Slurry: While the apples are simmering, prepare your thickening agent. In a small bowl or dish, combine one tablespoon of cornstarch with two tablespoons of cold water. Whisk vigorously until you achieve a completely smooth, lump-free paste – this is your cornstarch slurry. Once the apples have reached their desired slight tenderness, remove the lid and stir the cornstarch slurry into the simmering apple mixture. Stir continuously as you add it to ensure it disperses evenly.
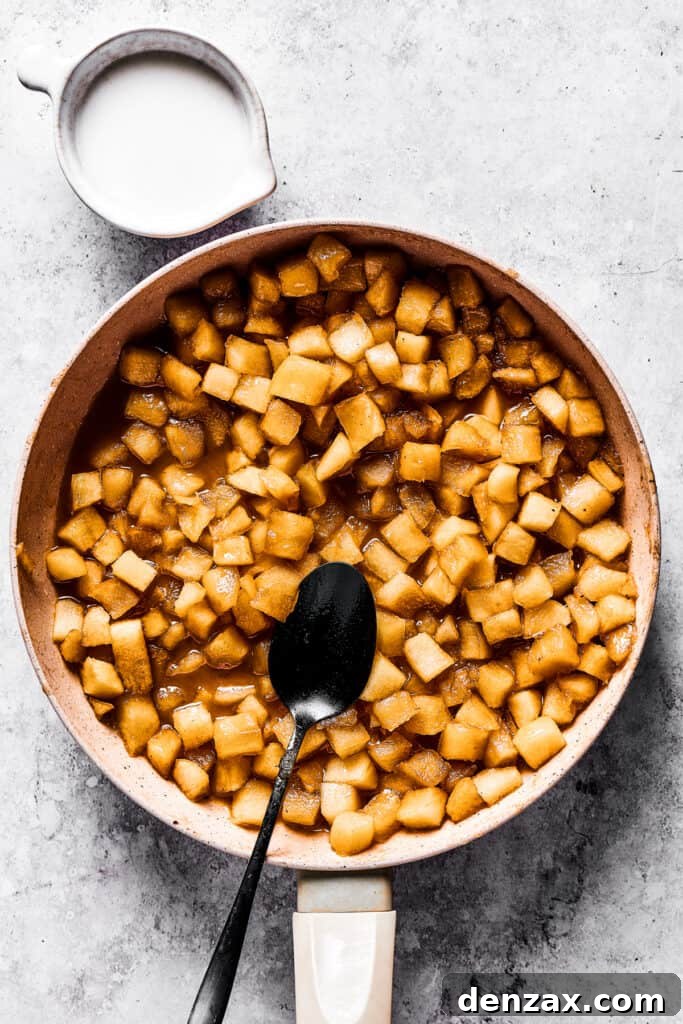
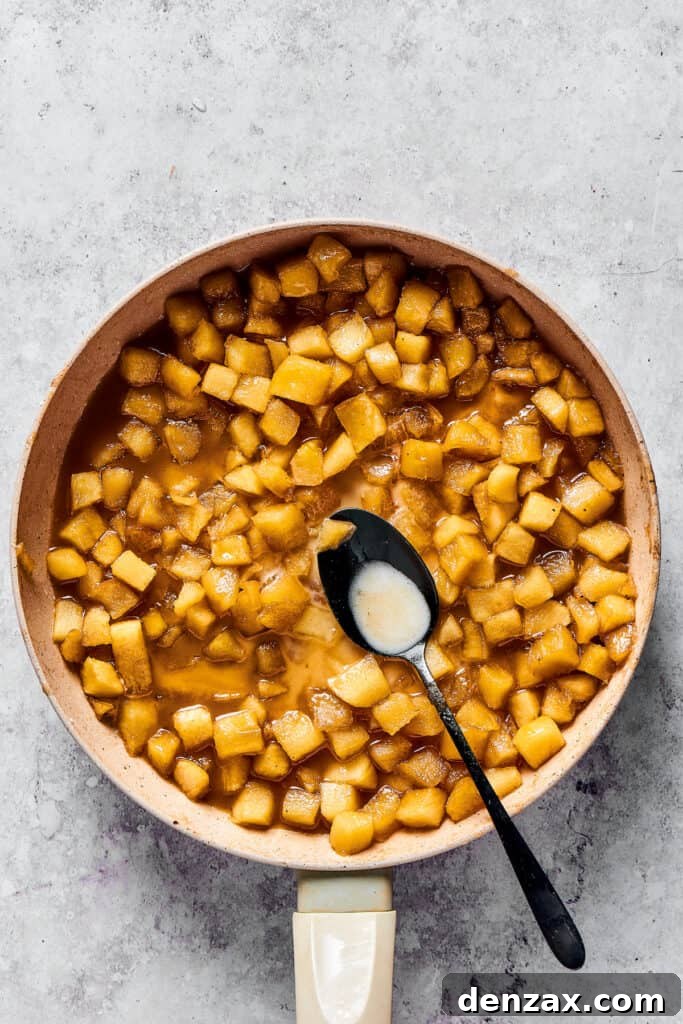
- Thicken and Cool: Continue to cook the apple mixture, stirring constantly, until it comes to a gentle boil and the sauce visibly thickens, which usually takes about 2 minutes. The sauce should become glossy and coat the back of a spoon. Once thickened to your liking, remove the pan from the heat. Stir in the pure vanilla extract at this stage for best flavor. Allow the filling to cool completely. As it cools, the filling will continue to thicken and set, achieving that perfect, luscious texture.
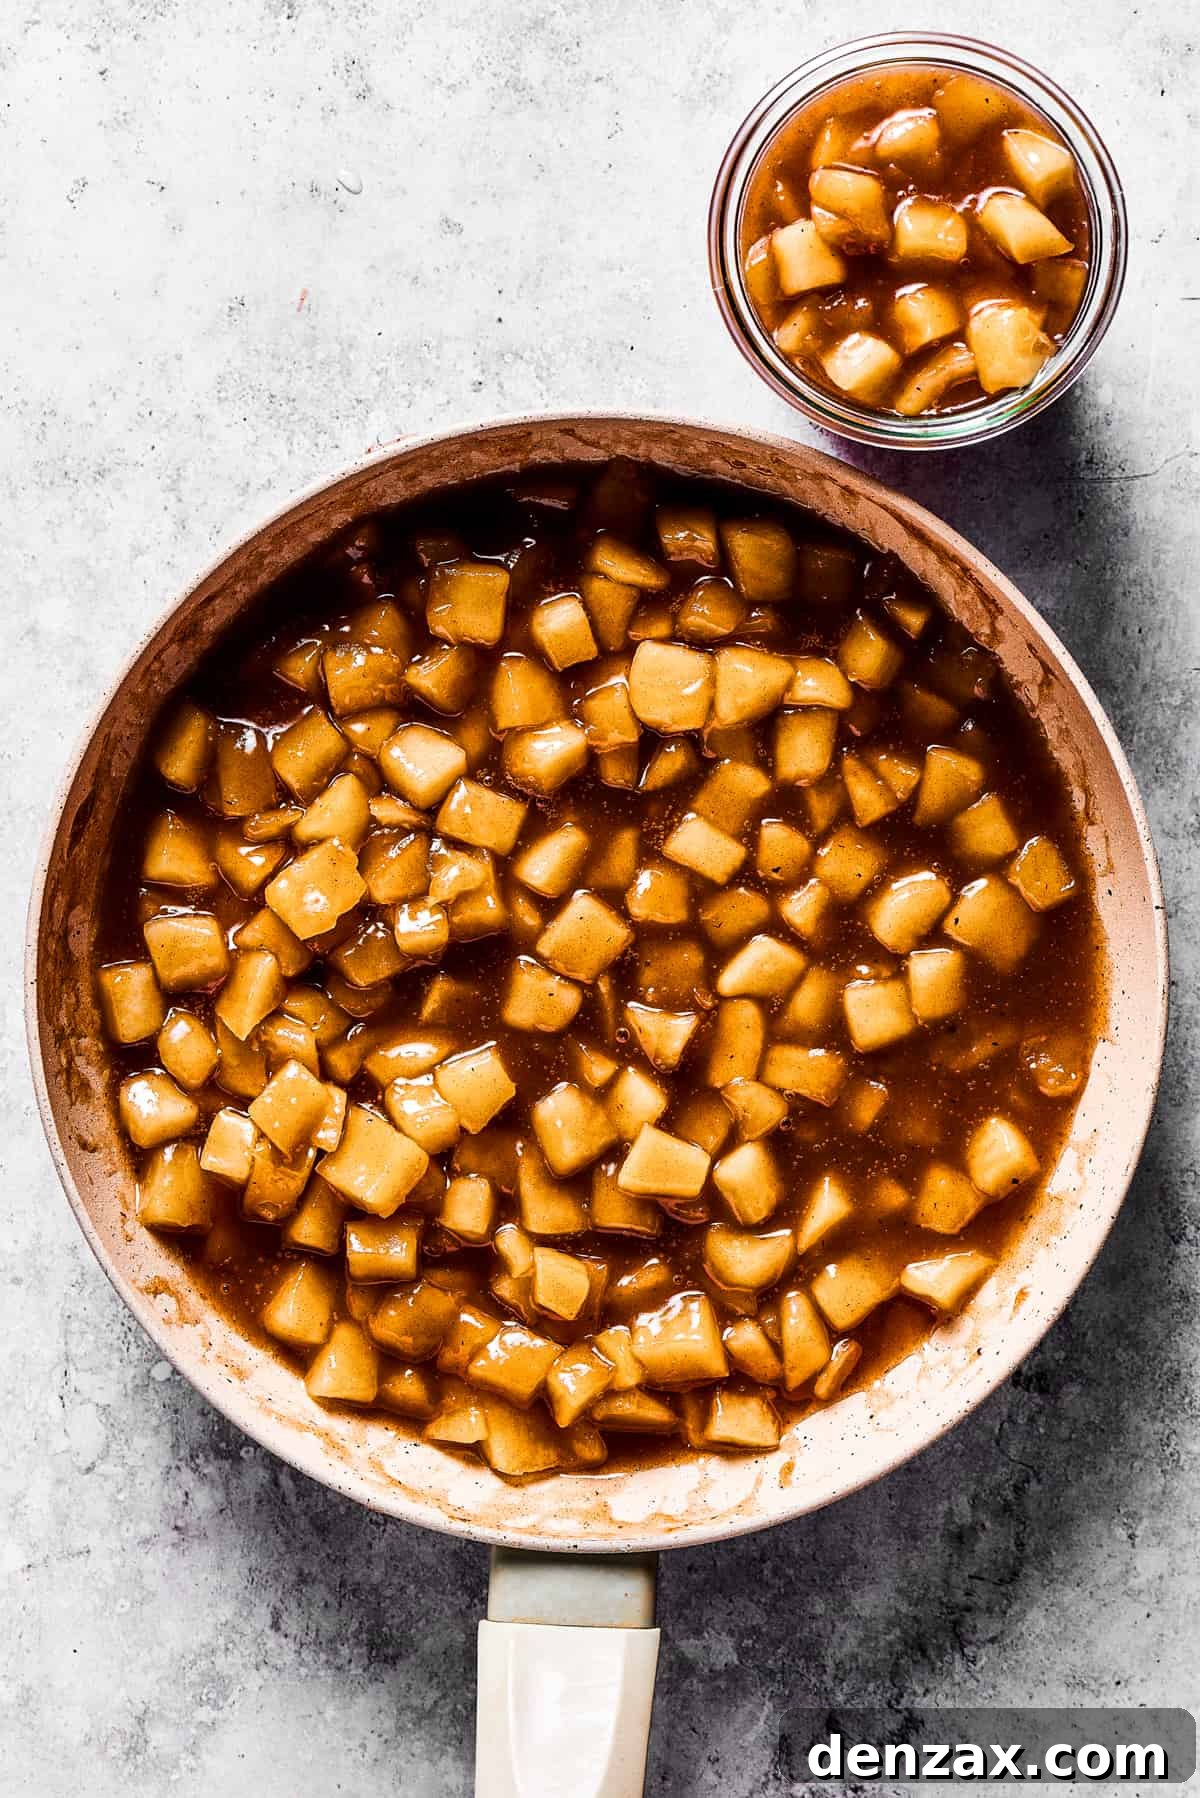
Expert Tips and Customization for Your Apple Pie Filling
While the basic recipe is foolproof, a few expert tips and variations can elevate your homemade apple pie filling even further, allowing you to tailor it to your exact preferences. Here are some insights to help you create a truly personalized masterpiece:
- Apple Cut: Slices vs. Cubes: The recipe calls for cubed apples, which provide a chunky texture. However, many traditionalists prefer sliced apples in their pies. If you choose to slice your apples instead, aim for uniform slices (about ¼ inch thick) to ensure even cooking. Keep in mind that thinner slices will cook more quickly than cubes, so adjust your simmering time accordingly to prevent them from becoming too soft.
- Spice It Up Your Way: The cinnamon and nutmeg blend is a timeless classic, but don’t hesitate to experiment with the spice profile. A pre-made apple pie spice blend can offer a convenient medley of flavors. For a more artisanal touch, consider adding a pinch of ground ginger for a zesty kick, a dash of cardamom for an exotic warmth, or a touch of allspice for a complex, aromatic depth. Pumpkin pie spice can also be an excellent alternative, especially during the fall season.
- The Art of Blending Apples: As mentioned before, using a single variety of apple is perfectly fine, but a mix can create a more nuanced and exciting flavor and texture. For example, combining the tartness and firm texture of Granny Smith with the sweetness and crispness of Honeycrisp or Pink Lady introduces layers of flavor and prevents the pie from being one-dimensional. This blend offers a delightful interplay of sweet, tart, and firm, ensuring a memorable pie experience.
- Adjusting Sweetness: Taste your apples before adding sugar. If they are very sweet, you might reduce the sugar slightly. If they are extremely tart, a little extra sugar can balance the flavors. Always adjust to your personal preference.
- Don’t Overcook: It’s better to slightly undercook the apples during the simmering stage, as they will continue to soften as the filling cools and if baked further in a pie. Aim for tender-crisp rather than fully soft to maintain some structure.
Beyond the Pie: Creative Ways to Use Your Apple Pie Filling
While this homemade apple pie filling is undoubtedly destined for a glorious pie, its deliciousness and versatility extend far beyond the pie crust. Having a jar of this ready in your fridge or freezer opens up a world of delightful possibilities for quick breakfasts, decadent desserts, and even savory pairings. Prepare to get creative!
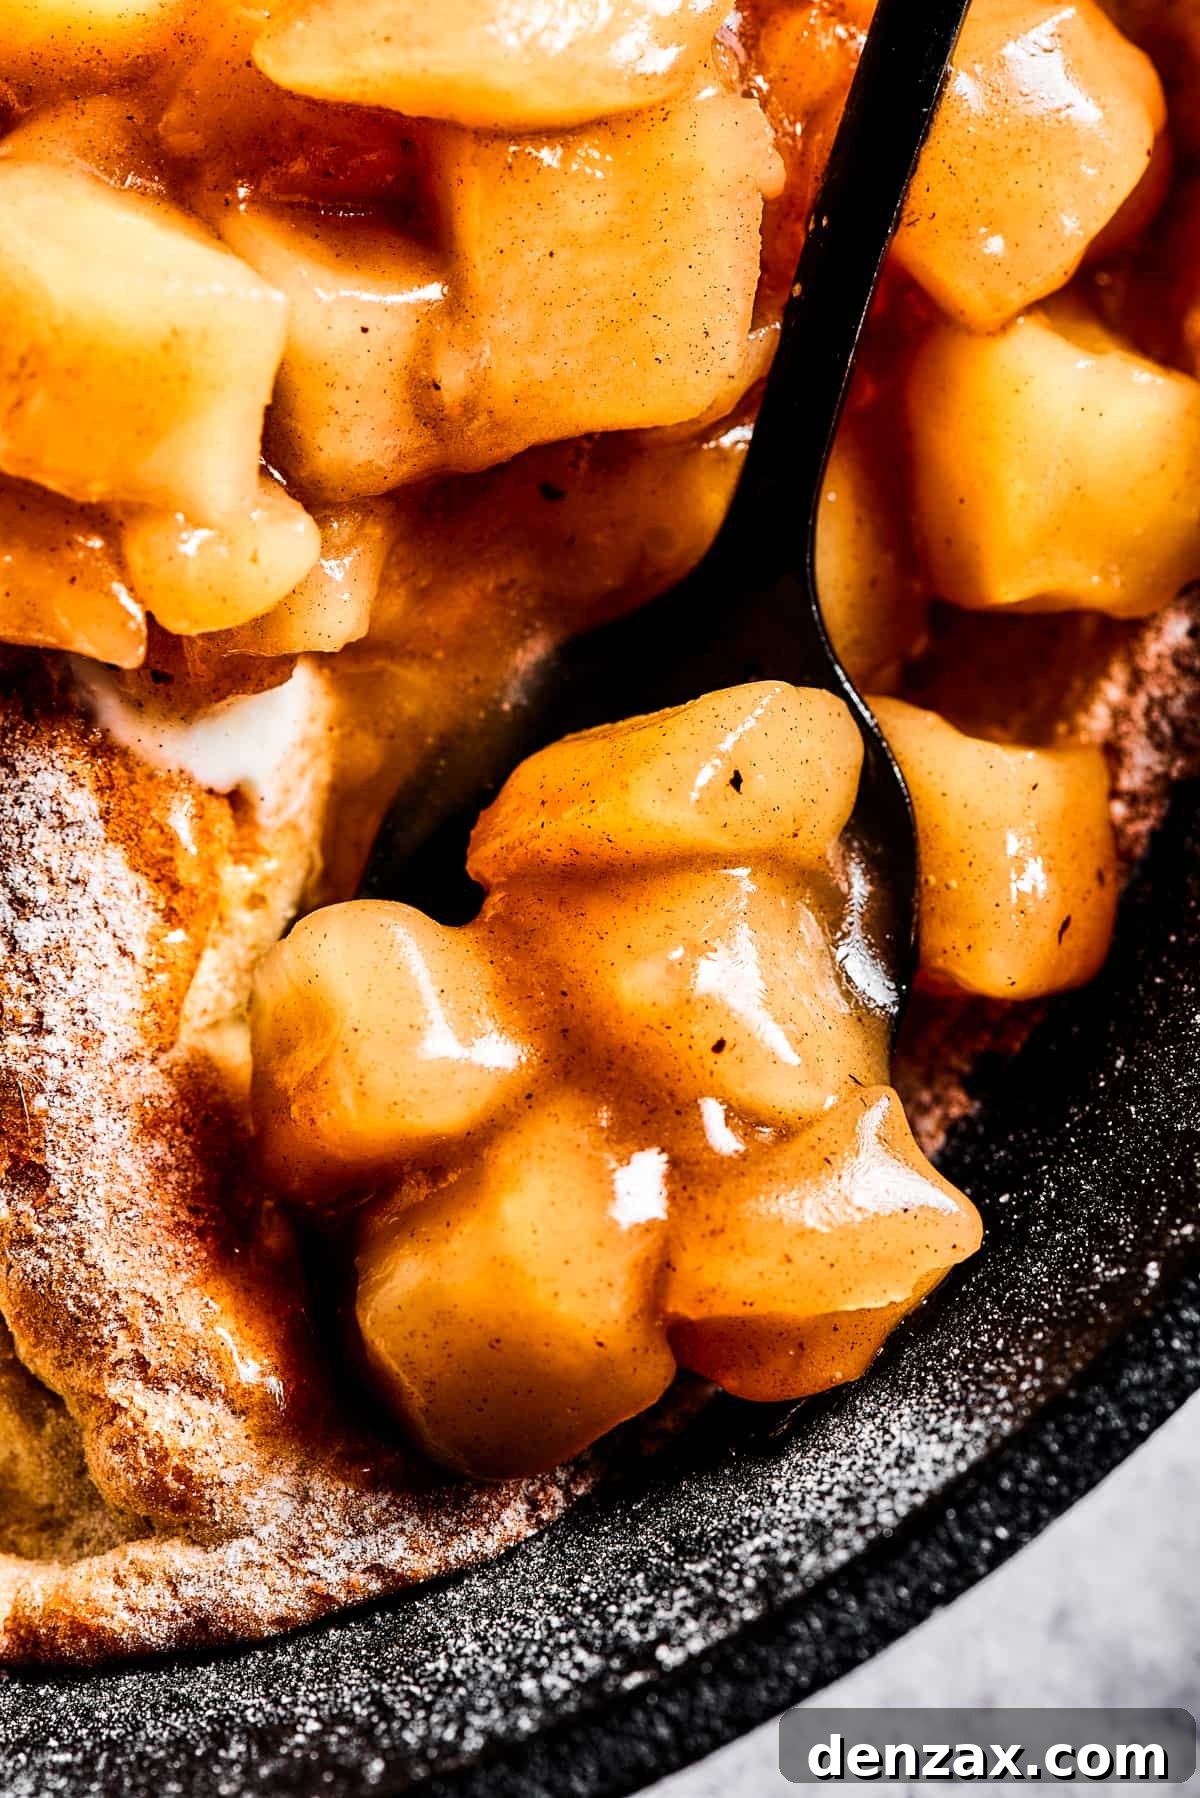
- Elevate Your Breakfast:
- Pancakes & Waffles: Spoon a generous dollop over warm fluffy pancakes, crispy waffles, or French toast for an instant gourmet breakfast. Add a swirl of whipped cream or a dusting of powdered sugar for extra indulgence.
- Oatmeal & Yogurt: Stir a spoonful into your morning oatmeal or Greek yogurt for a naturally sweetened, spiced treat. Top with granola for crunch.
- Crepes: Use it as a delightful filling for sweet crepes, perhaps with a sprinkle of toasted nuts.
- Divine Desserts & Snacks:
- Ice Cream Topping: Warm the filling slightly and spoon it over vanilla ice cream for a classic, comforting dessert.
- Cheesecake or Cake Topping: It makes an incredible layer or topping for cheesecakes, plain pound cakes, or even cupcakes.
- Monkey Bread Companion: Serve it alongside warm, pull-apart Monkey Bread for a perfect fall-themed snack or dessert.
- Stuffed Baked Apples: Core fresh apples, fill them with this mixture, and bake for an extra apple-y treat.
- Turnovers & Empanadas: Use it as the sweet filling for quick puff pastry turnovers or homemade apple empanadas.
- Smoothie Bowls: Blend a small amount into your fruit smoothie for a spiced, autumnal twist, or use it as a topping for a vibrant smoothie bowl.
- Savory Pairings & Unexpected Delights:
- Latkes Twist: Offer it as a unique spin on traditional applesauce alongside crispy potato latkes. The warm spices pair beautifully with the savory potatoes.
- Pork Chops: A small amount of this apple filling can perfectly complement savory dishes like Baked Pork Chops. The sweetness and acidity cut through the richness of the meat, creating a balanced meal.
- Cheese Boards: Serve a small bowl of apple pie filling alongside sharp cheddar cheese, crackers, and nuts on a fall-inspired cheese board.
The possibilities are truly endless! Don’t be afraid to experiment and discover your own favorite ways to enjoy this delicious homemade filling.
Storing and Freezing Your Homemade Apple Pie Filling
One of the greatest advantages of making your own apple pie filling is the ability to prepare it in advance and store it for future use. Proper storage ensures its freshness and flavor remain intact, allowing you to enjoy homemade goodness whenever a craving strikes.
- Refrigeration: Once your apple pie filling has cooled completely, transfer it to an airtight container or a large, clean glass jar. Ensure the container is sealed tightly to prevent air exposure. Stored in the refrigerator, the filling will remain fresh and delicious for up to four days. When you’re ready to use it, simply reheat it gently on the stovetop or in the microwave, stirring occasionally until warmed through. This also helps to restore its smooth, syrupy consistency if it has set too firmly in the cold.
- Freezing: For longer-term storage, freezing is an excellent option. After the filling has cooled completely to room temperature, spoon it into freezer-safe bags or containers. If using freezer bags, remove as much air as possible before sealing to prevent freezer burn. Be sure to label each container with the date. Frozen apple pie filling can be stored for up to three months without compromising quality.
- Thawing: To use frozen filling, simply transfer it from the freezer to the refrigerator and allow it to thaw slowly overnight. Once thawed, you can reheat it as described for refrigerated filling. Avoid thawing at room temperature for extended periods to ensure food safety.
Having a batch of homemade apple pie filling stored away is a true culinary convenience, always ready to transform into a comforting dessert or a delightful breakfast treat.
Apple Pie Filling
Katerina | Easy Weeknight Recipes
10 minutes
10 minutes
20 minutes
8
Ingredients
- 3 tablespoons unsalted butter
- ½ cup light brown sugar
- ¼ cup granulated sugar
- 2 teaspoons ground cinnamon
- ⅛ teaspoon ground nutmeg
- 5 cooking apples,, peeled, cored, and cut into cubes
- 1 tablespoon lemon juice
- pinch salt
- ½ cup + 2 tablespoons water,, divided
- 2 teaspoons pure vanilla extract
- 1 tablespoon cornstarch
Instructions
-
Peel, core, and chop the apples into cubes. Drizzle with lemon juice.
-
In a large skillet or pan, add the butter, cinnamon, and nutmeg, and melt over medium heat.
-
Add the apples, sugar, 1/2-cup water, and vanilla extract to the pan. Stir to combine.
-
Cover the pan and cook, stirring occasionally, for 6 to 7 minutes or until the apples are slightly softened.
-
In a small dish, combine the cornstarch and 2 tablespoons of water. Stir until smooth.
-
Add the cornstarch mixture to the pan while stirring.
-
Continue to cook until the mixture bubbles about 2 minutes. Remove from heat and let cool.
-
Store or serve.
Equipment
-
Skillet
-
Wooden Spoons
-
Measuring Cups and Spoons
Notes
- Cooking Apples include Granny Smiths, Honey Crisp, Pink Lady, Jonathan, and Braeburn, to name a few.
- This Apple Pie Filling makes enough filling for one standard, 9-inch diameter pie.
- Spices: You can tweak the spice blend to your taste, adding whatever you like.
- Aside from filling pies, there are other ways to use homemade apple pie filling. Stir it into a smoothie bowl, make other desserts, use it as a pancake topping, etc…
Nutrition
Calories: 182 kcal | Carbohydrates: 37g | Protein: 0.4g | Fat: 4g | Saturated Fat: 3g | Polyunsaturated Fat: 0.2g | Monounsaturated Fat: 1g | Trans Fat: 0.2g | Cholesterol: 11mg | Sodium: 7mg | Potassium: 147mg | Fiber: 3g | Sugar: 32g | Vitamin A: 194IU | Vitamin C: 6mg | Calcium: 25mg | Iron: 0.3mg
Nutritional info is an estimate and provided as courtesy. Values may vary according to the ingredients and tools used. Please use your preferred nutritional calculator for more detailed info.
More Apple Dessert Recipes You’ll Love
If you’ve fallen in love with the comforting flavors of apple, you’ll be delighted to explore these other fantastic apple-based dessert recipes. Each one offers a unique way to enjoy this beloved fruit.
- Easy Apple Crisp: A classic, comforting dessert with a buttery, oat-filled topping.
- Baked Apple Cider Doughnuts with Maple Glaze: Perfect for fall, these tender doughnuts are bursting with apple cider flavor.
- Homemade Candy Apples Recipe: A fun and festive treat, perfect for holidays or special occasions.