
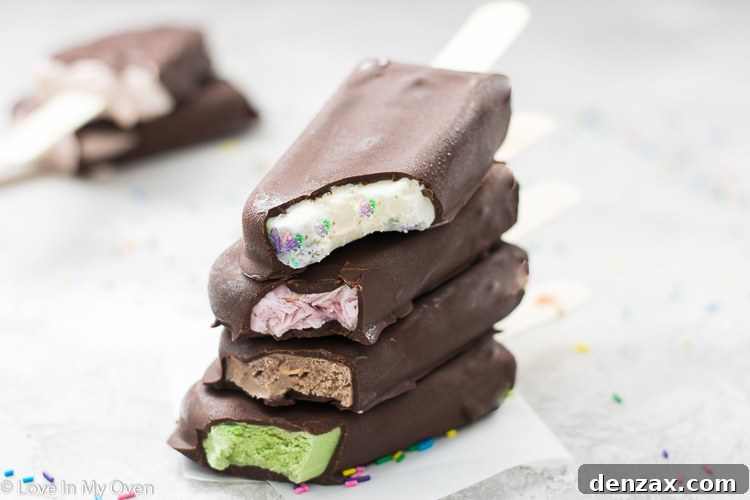
Everything tastes better on a stick! This simple truth is especially apparent with these delightful 3-ingredient chocolate-dipped ice cream bars. Prepare to fall in love with this easy-to-customize frozen treat, perfect for any season. The best part? You can use any flavor of ice cream your heart desires!
Do you remember those classic summer treats from your childhood? For many, the warmer months conjure up sweet memories of refreshing desserts that offered a perfect escape from the heat. Whether it was the tangy swirl of an Orange Creamsicle, the icy burst of a Slushie, or perhaps a regional favorite like what we used to call “revels,” these frozen delights hold a special place in our hearts. While the name “revels” might have been a family tradition or a Canadian peculiarity, the essence remains the same: pure, unadulterated joy in the form of ice cream on a stick, encased in a perfectly crisp chocolate shell. It’s a simple pleasure that truly never gets old, and arguably, could anything be better?
Traditionally, these delightful “revels” – or as we commonly know them, chocolate-dipped ice cream bars – often feature a simple vanilla ice cream base with a rich, dark chocolate coating. However, the true magic of making these at home lies in the boundless customization. Imagine crafting your very own batch using literally ANY flavor of ice cream you can dream up! This flexibility transforms a classic treat into a personalized masterpiece, allowing you to cater to every palate and occasion.
Speaking of favorite flavors, what’s yours? It’s a tough choice, isn’t it? I find myself perpetually drawn to anything that combines the heavenly trio of chocolate, caramel, and a delightful crunch, much like a Rolo candy bar. But I also have a somewhat unconventional fondness for licorice-flavored ice cream. I know, it’s a polarizing flavor for many, but I simply adore its unique taste! The beauty of this recipe is that your personal preference becomes the star.
Now, let’s talk about what makes these homemade ice cream bars an absolute game-changer. Beyond their nostalgic charm and customizable nature, the most astonishing fact is their incredible simplicity. Prepare yourself for a delicious revelation: you only need THREE INGREDIENTS to bring these dreamy frozen treats to life!
Mastering Homemade Chocolate Dipped Ice Cream Bars: A Simple Guide
Creating your own chocolate-dipped ice cream bars is a surprisingly straightforward process, requiring just three essential ingredients: your choice of ice cream, high-quality chocolate, and a touch of coconut oil. The real secret to their irresistible appeal lies in a few simple techniques that ensure a perfect, crunchy shell every time. Let’s break down how you can make these delightful treats in your own kitchen.
Step 1: Preparing Your Ice Cream Base
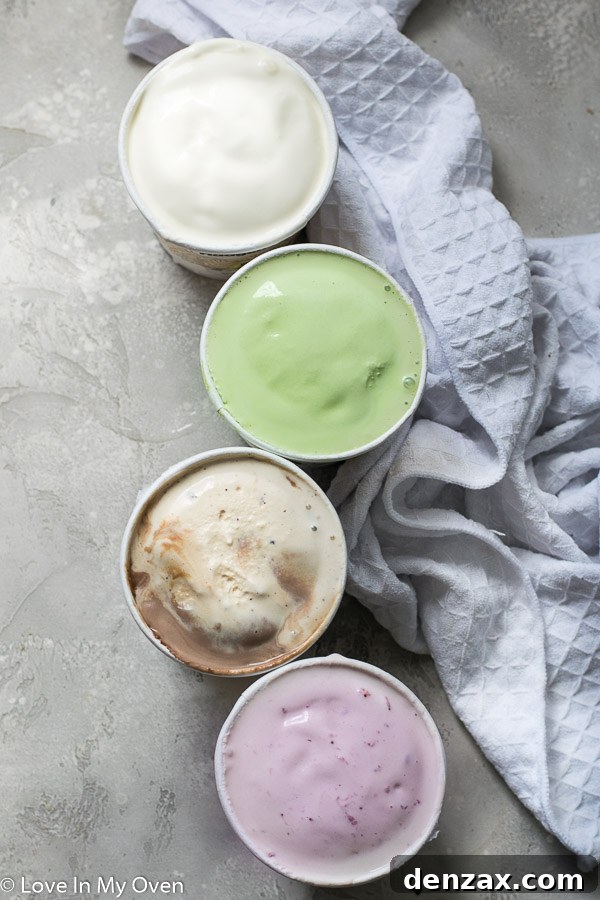
The foundation of a great ice cream bar is, naturally, the ice cream itself. You have two excellent options for getting started, depending on your preference for homemade versus store-bought:
-
From Scratch with No-Churn Ice Cream: If you enjoy the satisfaction of making your own ice cream, a no-churn ice cream recipe is ideal for this project. These recipes are incredibly forgiving and don’t require an ice cream maker, making them perfect for beginners. Simply prepare your no-churn mixture as directed, stopping just before the freezing stage, as you’ll be pouring this luscious liquid directly into your chosen molds.
-
Using Store-Bought Ice Cream: For a quick and effortless approach, store-bought ice cream works beautifully. The key here is to soften it just enough to make it easily scoopable or pourable into your molds, without letting it become completely liquid. Typically, leaving it at room temperature for about 10-15 minutes should achieve the perfect consistency. This slight softening allows for smooth transfer and helps prevent air bubbles, which can compromise the texture of your finished bars.
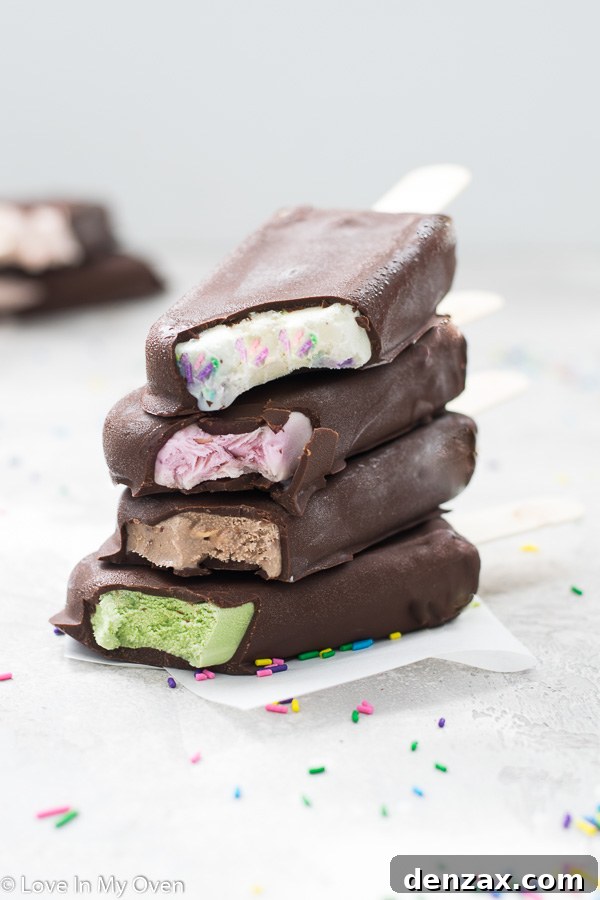
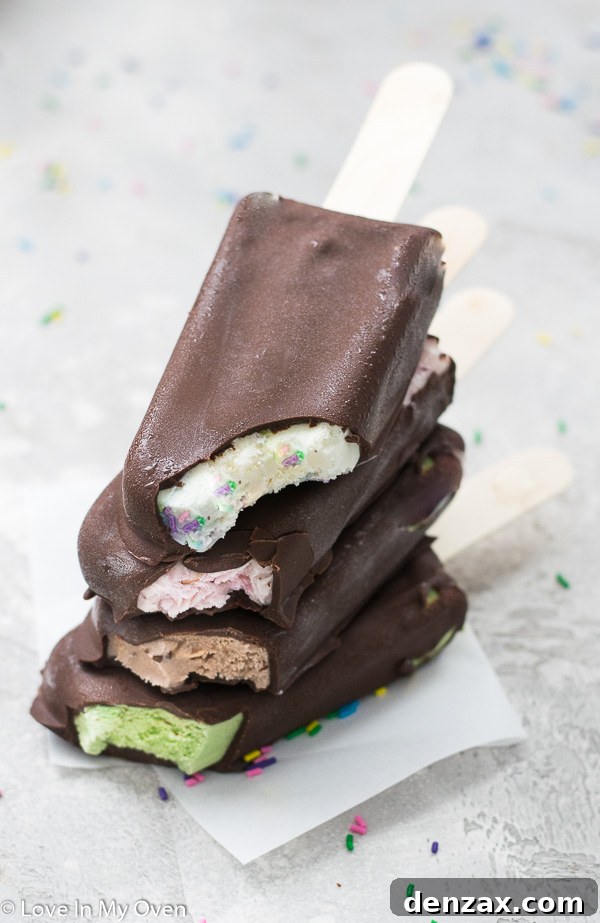
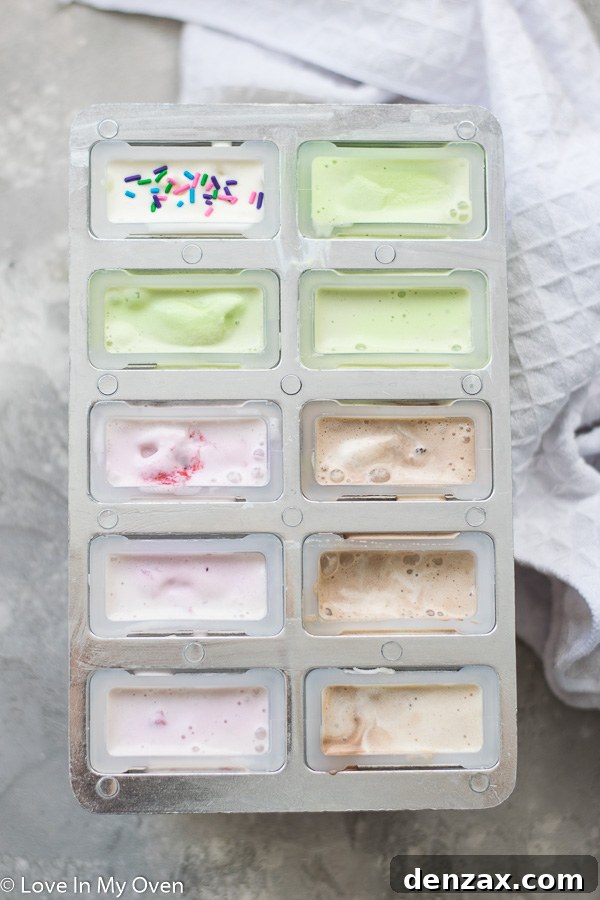
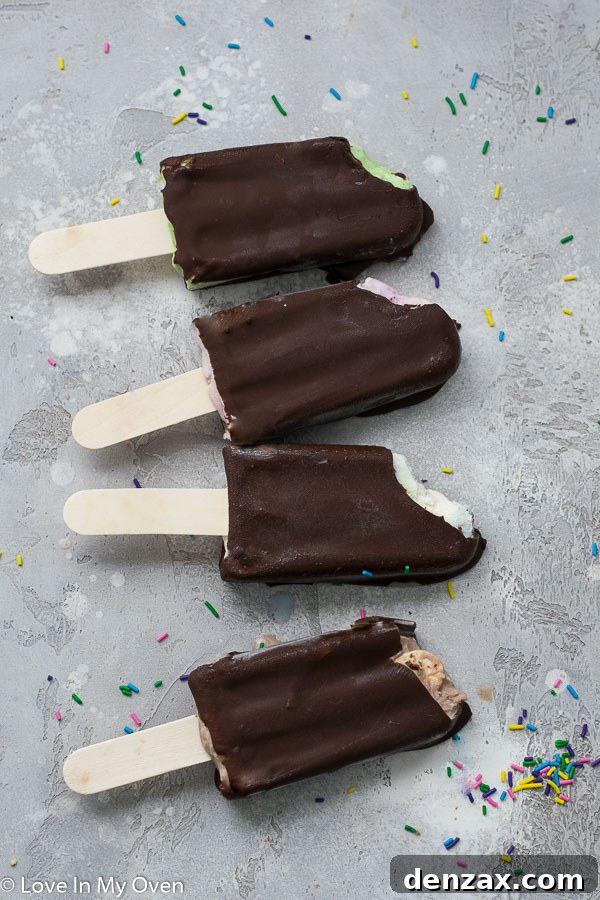
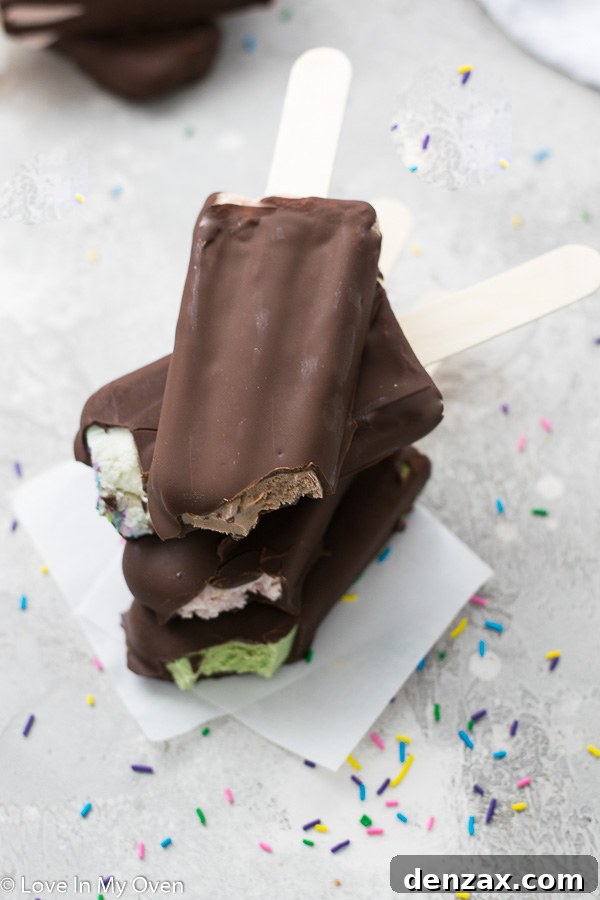
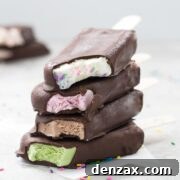
For the ice cream bars featured in the photos, I experimented with four delightful flavors: classic vanilla bean, vibrant matcha, rich salted caramel, and refreshing strawberry. While all were delicious, the salted caramel emerged as a clear favorite, offering a wonderful balance of sweet and savory notes that paired perfectly with the chocolate coating. Don’t be afraid to get creative with your flavor combinations!
Step 2: Molding and Freezing Your Ice Cream Bars
Once your ice cream has reached the ideal pourable or scoopable consistency, it’s time to fill your popsicle molds. Carefully spoon or pour the ice cream mixture into each cavity, ensuring you fill them right up to the top. It’s crucial to pack the ice cream in well, gently tapping the mold against your counter to release any trapped air bubbles. This step is vital for creating smooth, evenly shaped bars that won’t fall apart. After filling, place the molds into the freezer for approximately 40 minutes. This initial freeze is just long enough for the ice cream to firm up slightly, allowing you to easily insert the popsicle sticks without them leaning or falling over. Once the sticks are in place, return the molds to the freezer for a thorough freeze. For best results and to ensure the bars are firm enough for dipping, they should freeze for a minimum of 4-5 hours, or ideally, overnight. The colder and harder they are, the better they will hold up during the dipping process.
While I use a specific popsicle mold, any mold you have on hand will work. Silicone molds, in particular, are excellent as their flexibility makes for incredibly easy removal of the frozen bars.
Step 3: Preparing the Chocolate Shell and Dipping
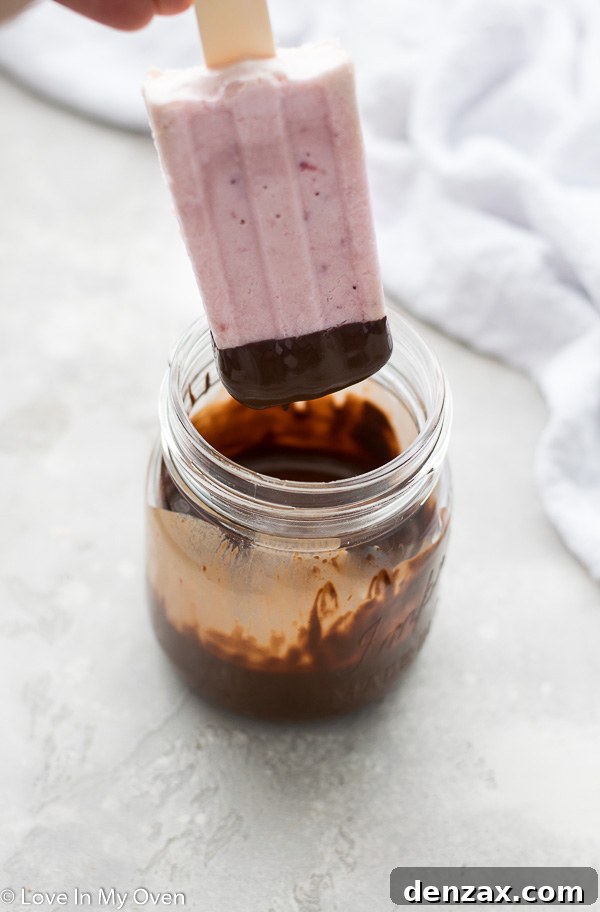
When your ice cream bars are thoroughly frozen, it’s time for the eagerly anticipated chocolate dipping! In a microwave-safe bowl, combine your chosen chocolate with a small amount of coconut oil. Microwave in short 30-second bursts, stirring well after each interval, until the mixture is completely smooth and glossy. The coconut oil is a crucial ingredient here, as it not only helps the chocolate melt into a silky, even consistency but also ensures that signature satisfying “snap” when the chocolate hardens around the cold ice cream. Allow the melted chocolate to cool slightly to room temperature; dipping hot chocolate onto frozen ice cream can cause the ice cream to melt too quickly.
Before dipping, you’ll need to carefully remove the ice cream bars from their molds. A simple trick is to run the base of your popsicle mold under warm water for a few seconds. This gentle warmth helps to loosen the frozen bars, allowing them to slide out easily when you pull on the stick. Once extracted, immediately place the bars on a baking tray lined with wax paper (parchment paper can cause sticking!) or a silicone mat, and pop them back into the freezer to maintain their rock-solid state. Work with one ice cream bar at a time: remove it from the freezer, quickly dunk it into the melted chocolate, ensuring the bar is fully coated up to the stick, and then immediately return it to the wax paper-lined tray in the freezer. The cold temperature of the ice cream will instantly set the chocolate, creating that perfect hard shell. Repeat this process with the remaining bars, working efficiently to keep them as frozen as possible.
Choosing the Perfect Chocolate for Your Ice Cream Bars
The type of chocolate you select can significantly impact the flavor and texture of your homemade ice cream bars. While semi-sweet chocolate chips are a fantastic and convenient option that yields delicious results, don’t hesitate to experiment! For a truly gourmet experience, consider elevating your bars with very high-quality couverture chocolate, such as brands like Callebaut or Lindt. These premium chocolates melt beautifully and offer a richer, more nuanced flavor profile. However, truly any chocolate you love will work – milk chocolate for a sweeter, creamier shell, or even white chocolate for a delightful contrast, perhaps with a sprinkle of colorful toppings for a playful touch. The key is to choose a chocolate you enjoy eating on its own, as its flavor will shine through in the finished product.
Storing Your Homemade Ice Cream Bars: Freshness and Longevity
Once your chocolate-dipped ice cream bars are fully frozen and the chocolate shell has completely set, you can easily transfer them from the baking tray into a freezer-safe bag or an airtight container. Make sure to seal them tightly to prevent freezer burn, which can degrade the quality and taste of your treats over time. Stored properly, these delicious homemade ice cream bars will maintain their quality for up to two months in the freezer. However, if your family is anything like mine, you’ll find they disappear much, much faster than that! These indulgent snacks rarely last more than a week in our household, a testament to their irresistible appeal.
With a hot week of summer ahead of us, there’s no better time to whip up a batch (or two!) of these cooling, decadent treats. They offer a delightful way to beat the heat and share some joy with loved ones. Simple to make and incredibly satisfying, these chocolate-dipped ice cream bars are sure to become a cherished summer tradition.
Enjoy every delightful bite!
More Delicious Ice Cream Creations:
- No-Churn Matcha Ice Cream
- Tiger-Tail No-Churn Ice Cream
- Birthday Cake Ice Cream Sandwiches
Chocolate Dipped Ice Cream Bars
5 Stars 4 Stars 3 Stars 2 Stars 1 Star
4.8 from 17 reviews
Author: Katherine | Love In My Oven
Total Time: 5 hours 30 minutes (20 min active)
Yield: 10 bars 1x
Description
Recreate your favorite childhood frozen treats with these incredibly easy 3-ingredient chocolate-dipped ice cream bars! This customizable recipe allows you to use any ice cream flavor and creates a perfectly crisp chocolate shell, offering a simple yet decadent dessert experience. Perfect for a refreshing summer treat or any time you crave a sweet, frozen indulgence!
Ingredients
Scale
- 2 cups ice cream, any flavor OR 1 no-churn ice cream recipe*
- 12 oz semi-sweet chocolate chips (or your favorite chocolate)
- 2 tbsp coconut oil
Instructions
- Prepare and Mold Ice Cream: If using store-bought ice cream, let it soften at room temperature for about 10 minutes until scoopable. If using a no-churn recipe, prepare the mixture until it’s ready for freezing. Carefully scoop or pour the softened ice cream/mixture into your popsicle molds, filling each cavity to the top. Gently tap the molds to remove any air bubbles, ensuring a smooth finish. Freeze the molds for approximately 40 minutes, then remove from the freezer and insert a popsicle stick into the center of each semi-frozen bar. Return the molds to the freezer and freeze for a minimum of 4-5 hours, or overnight, until completely solid.
- Melt the Chocolate: In a microwave-safe bowl, combine the chocolate chips and coconut oil. Microwave in 30-second intervals, stirring thoroughly after each, until the chocolate is fully melted and forms a smooth, glossy mixture. Allow the melted chocolate to cool to room temperature before dipping; this prevents the ice cream from melting too quickly.
- Release and Chill Bars: Remove the completely frozen popsicle molds from the freezer. To easily release the bars, run the bottom of the mold under warm water for a few seconds (be careful not to melt the ice cream). Gently pull on each popsicle stick to extract the bars. Immediately place the released ice cream bars onto a baking tray lined with wax paper** (parchment paper may stick!) or a silicone mat, and return the tray to the freezer to keep the bars very cold.
- Dip and Final Freeze: Working quickly and one bar at a time, remove an ice cream bar from the freezer. Dunk it into the cooled melted chocolate, ensuring the bar is fully coated up to the stick. The chocolate will set almost instantly due to the cold ice cream. Place the dipped bar back onto the wax paper-lined tray in the freezer. Repeat with the remaining bars. Once all bars are dipped, freeze for at least 1 hour to allow the chocolate shell to fully harden. Enjoy immediately, or transfer the bars from the tray into a freezer-safe bag or airtight container, sealing tightly for storage. These bars can be stored in the freezer for up to 2 months.
Bars should keep just fine for up to 2 months in the freezer bag.
Notes
*If using pre-made ice cream, allow it to sit at room temperature for about 10-15 minutes to soften for easy scooping/pouring. If you’re opting for a no-churn ice cream recipe, prepare the mixture as instructed, but pause before the initial freezing step, as you’ll be pouring this mixture directly into your molds.
**It is crucial to use wax paper for lining your baking tray when dipping and freezing the bars. Parchment paper, unfortunately, will cause the ice cream to stick, making it difficult to remove the finished treats without damage.
- Prep Time: 20 minutes
- Category: Dessert, Frozen Treat, Ice Cream
- Cuisine: American
- Method: Freezer, No Bake