
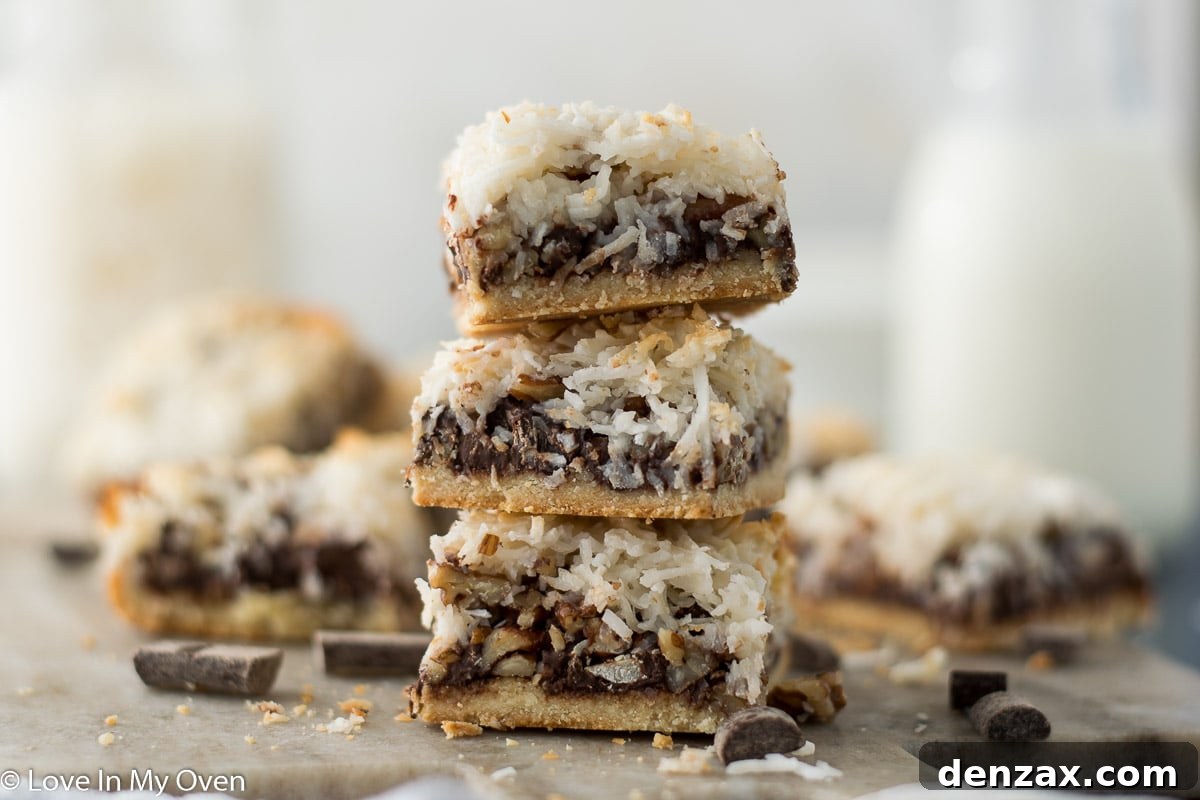
The Ultimate Guide to Irresistible Vegan Magic Bars: A Plant-Based Delight
Discover the enchantment of vegan magic bars, meticulously crafted with wholesome almond flour, rich maple syrup, and decadent vegan chocolate chips. These delightful treats capture all the beloved flavors of your favorite 7-layer bars, but with a nourishing, plant-based twist that’s simply better for you!
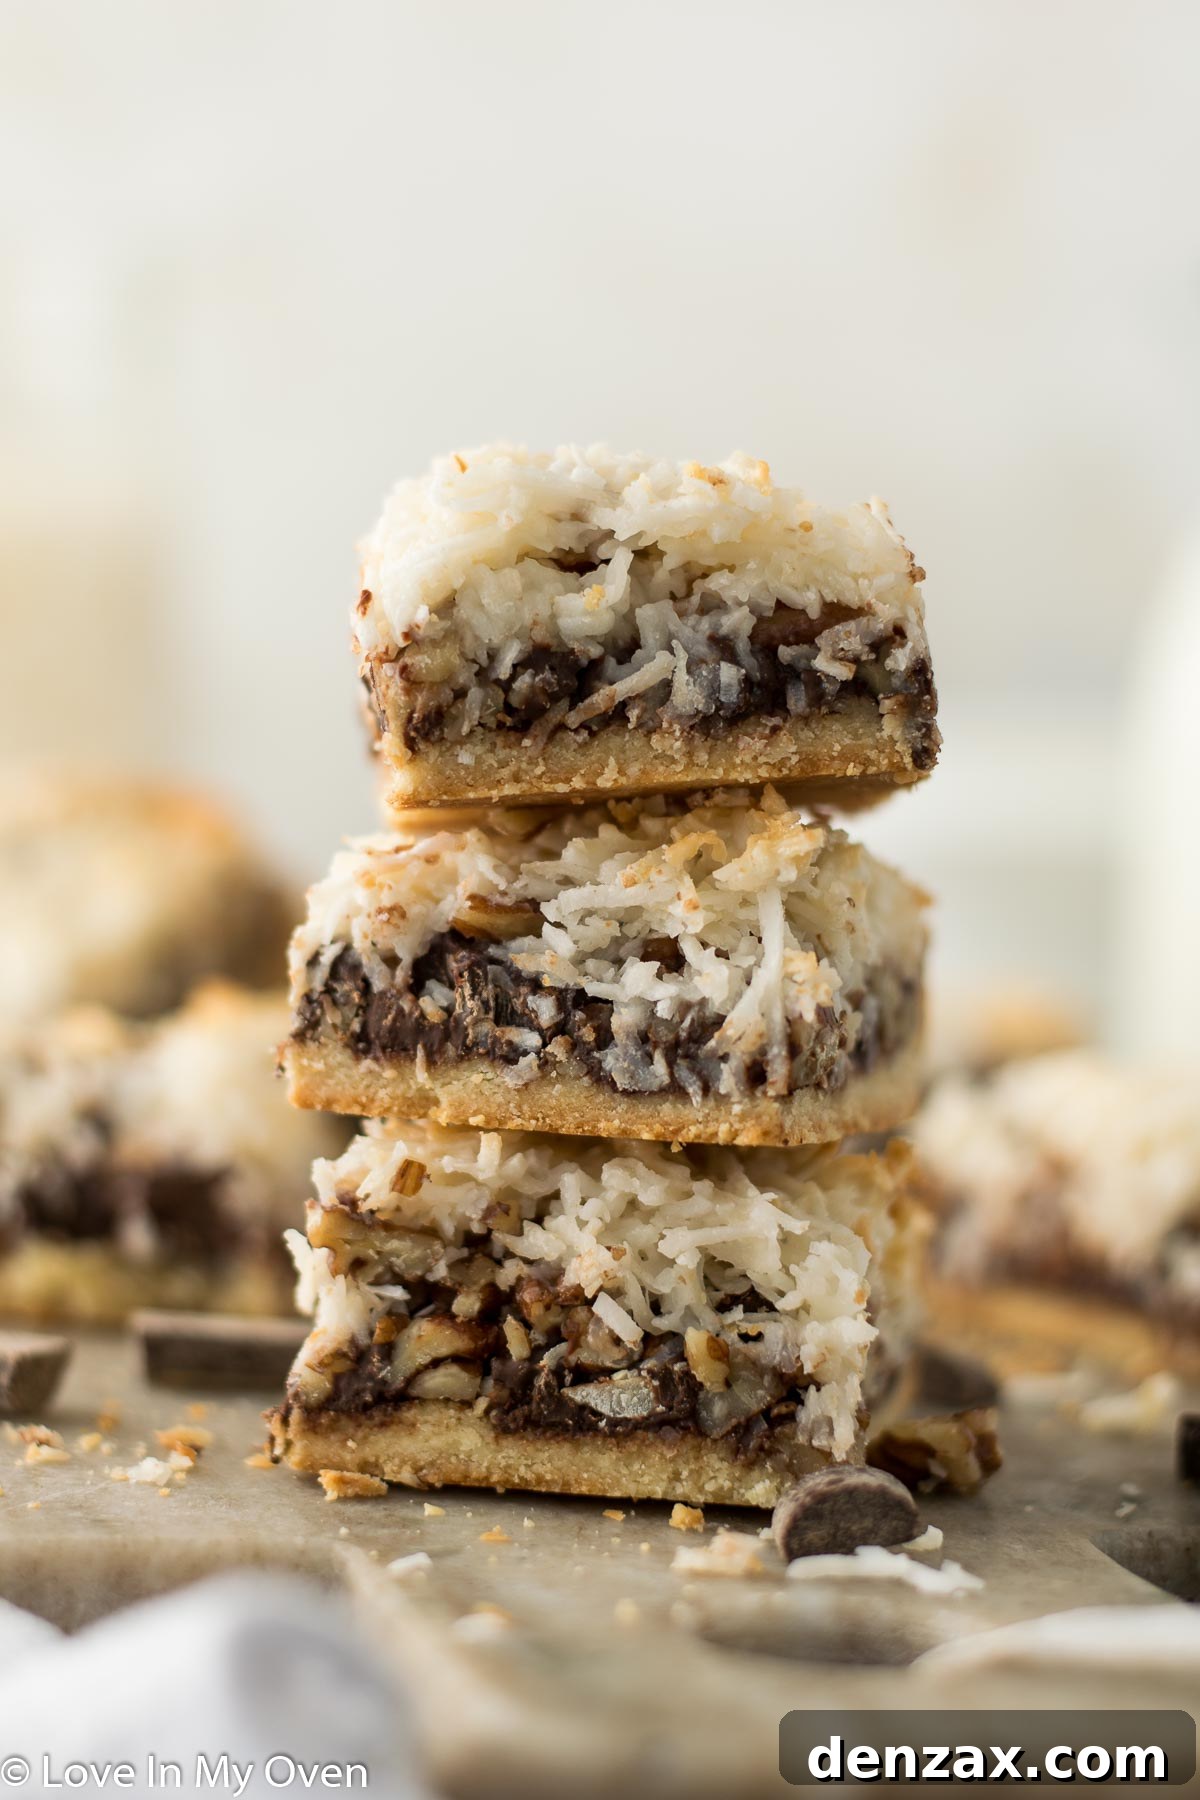
Known by a myriad of names – Hello Dolly bars, 7-layer bars, or simply “magic bars” – these layered dessert squares have captivated taste buds for generations. While the name might change, their universally cherished appeal remains constant. (And no, we’re not talking about millionaire bars, though they too are undeniably spectacular in their own right!) The sheer delight of these bars, with their symphony of textures and flavors, makes them an instant classic for any occasion, especially during the festive holiday season.
My personal journey with these phenomenal bars began just a few years ago at a lively holiday cookie exchange. From that moment on, making them became an annual tradition I simply couldn’t skip. The rich, sweet, and nutty combination is utterly addictive! This year, however, I embarked on an exciting culinary adventure: creating a fully vegan version. And let me tell you, the results were nothing short of DYNAMITE! These plant-based wonders prove that indulgence doesn’t have to come with a hefty side of guilt, offering a slightly healthier twist without compromising on that unmistakable magic.
I’m incredibly grateful I dedicated time last month to perfect these vegan magic bars, as December unexpectedly became a month of extensive travel! Just last week, my partner Etienne and I enjoyed a luxurious escape to a stunning 5-star resort in Cabo, courtesy of his company – a rare, kid-free getaway. Feeling a touch of parental guilt for our solo Mexican adventure, we swiftly booked another trip, this time with the children, for next week! So, it seems we’ll be spending a good portion of our month soaking up the sun in Mexico. Certainly not the worst way to embrace the festive spirit!
This unexpected travel schedule made me particularly glad I tackled most of my holiday baking early this year. My freezer is now wonderfully stocked with these delicious treats, ready to be enjoyed or shared at a moment’s notice. There’s truly nothing better than having a stash of homemade goodies, especially when life gets busy.
What Exactly Are Magic Bars, and Why Are They So Beloved?
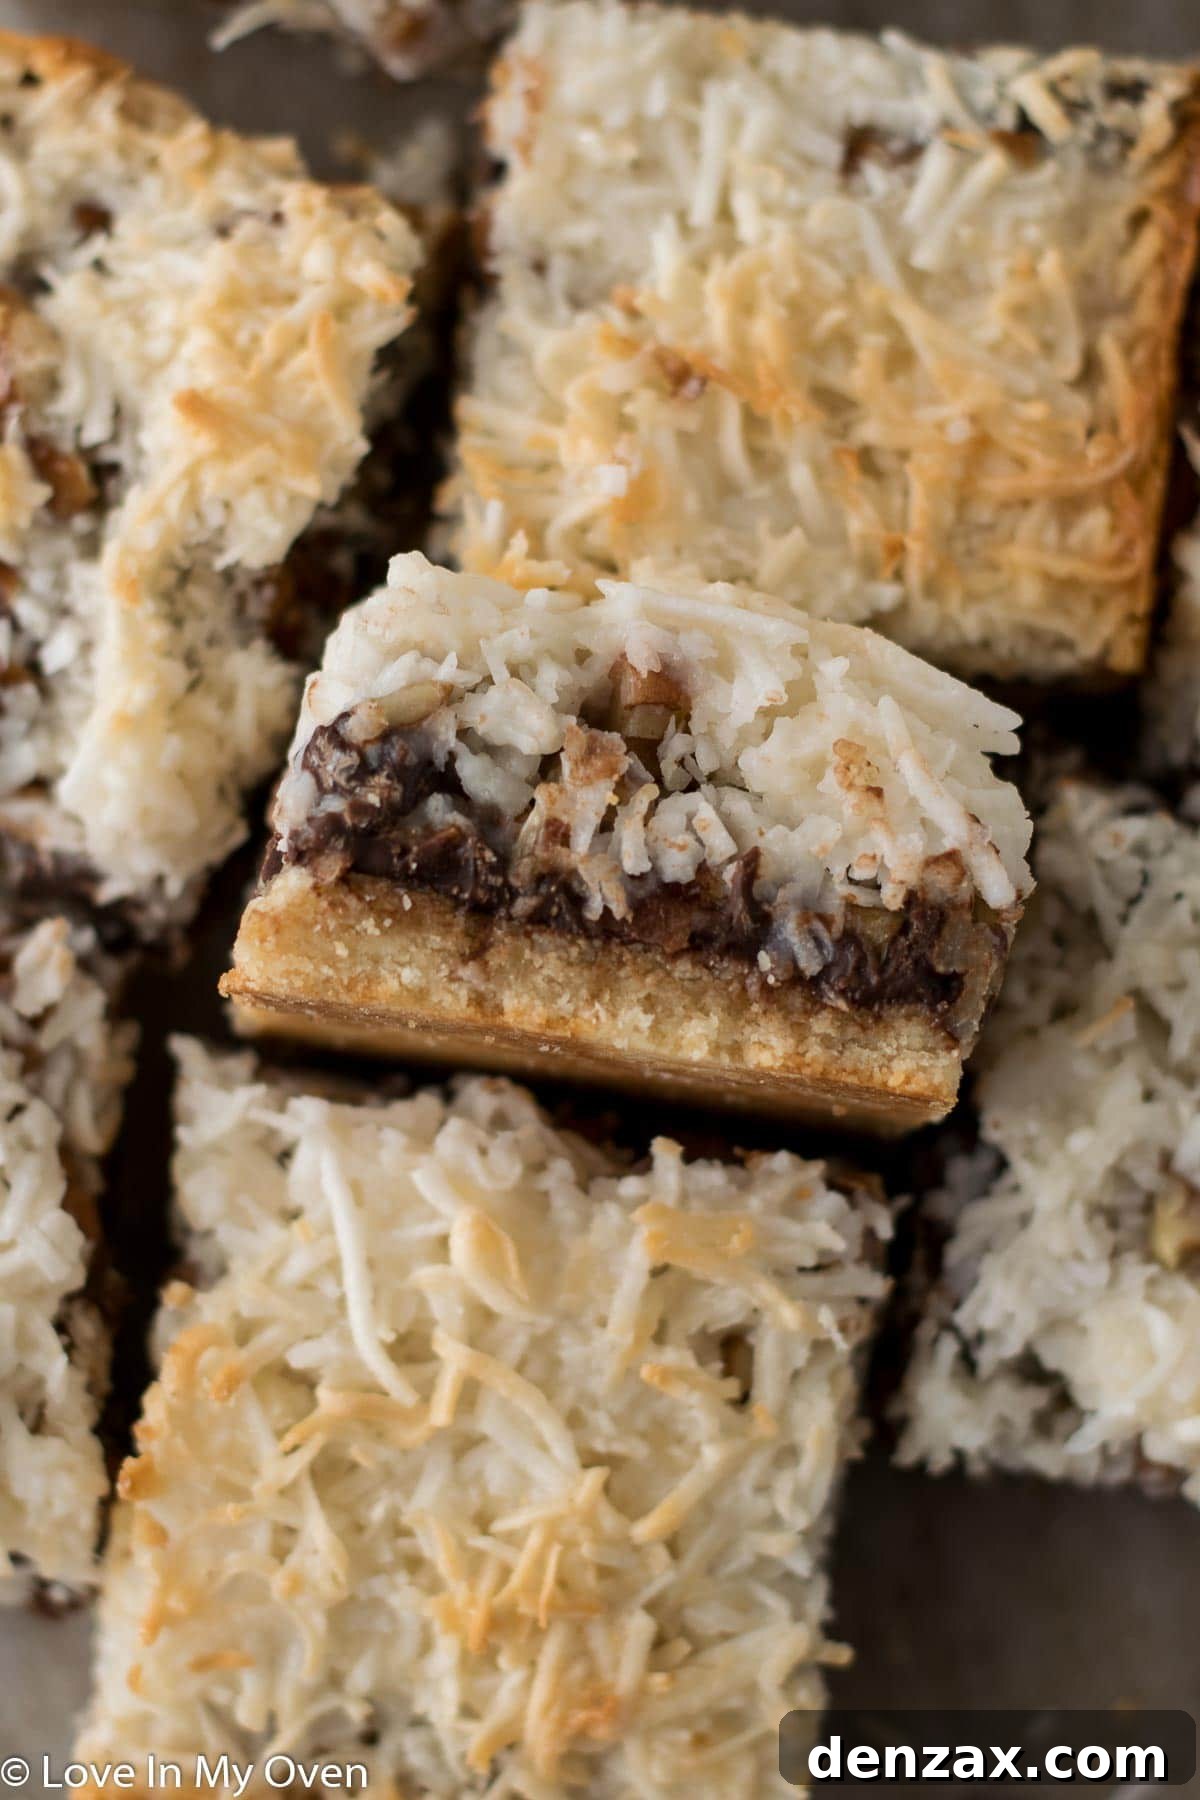
If you’ve yet to experience the pure joy of a magic bar, you’re truly missing out on a dessert icon! Traditionally, these bars are a glorious fusion of textures and tastes, starting with a buttery graham cracker crust. This foundation is then generously layered with a medley of delightful toppings: crunchy pecans, shredded coconut, rich chocolate chips or chunks, and finally, a luscious pour of sweetened condensed milk that magically binds all the layers together during baking. The result is a chewy, gooey, nutty, and intensely flavorful bar that earns its “magic” moniker for a reason – it’s simply irresistible!
Our vegan rendition maintains this beloved structure and delivers the same exceptional taste experience, but with thoughtful plant-based substitutions. We swap out the dairy and gluten to create a treat that everyone can enjoy. Here’s a closer look at the key components that make our vegan magic bars shine:
- Almond Flour: Providing a naturally gluten-free base, almond flour offers a delicate, tender texture for the crust, along with a subtle nutty flavor that complements the other ingredients beautifully. It’s a wonderful alternative to traditional graham cracker crumbs.
- Coconut Oil: This versatile plant-based fat replaces butter in our crust, contributing richness and helping to bind the almond flour and maple syrup into a perfectly pressed foundation. It also infuses a hint of tropical aroma.
- Maple Syrup: As our primary sweetener, pure maple syrup not only sweetens the crust but also adds a unique depth of flavor that pairs wonderfully with coconut and chocolate. Its liquid form helps achieve the ideal crust consistency.
- Pecans: These provide an essential textural crunch and a warm, buttery note that is quintessential to magic bars. Chopped pecans are scattered generously to add delightful bites throughout.
- Shredded Coconut: A crucial layer, coconut contributes chewiness and its signature tropical sweetness, intensifying the overall flavor profile. It toasts beautifully in the oven, adding another layer of texture.
- Vegan Chocolate Chunks or Chips: No magic bar is complete without chocolate! We use high-quality vegan chocolate to ensure rich, melty pockets of cocoa goodness. Whether you prefer chunks for bigger bites or chips for smoother melting, the chocolate is a star here.
- Condensed Coconut Milk: This is the true game-changer and the “magic” ingredient in our vegan version. Replacing traditional condensed milk, condensed coconut milk is thick, creamy, and wonderfully sweet, creating that signature gooey texture and rich, caramel-like binding layer that holds all the goodness together. It’s readily available in most organic or international sections of grocery stores, or conveniently online.
Each ingredient plays a vital role in creating these extraordinary bars, proving that plant-based baking can be just as, if not more, delicious and satisfying than its traditional counterparts. Get ready to fall in love with these healthier, equally decadent treats!
Crafting Your Vegan Magic Bars: A Detailed Step-by-Step Guide
Creating these heavenly vegan magic bars is a straightforward process, primarily involving layering and baking. Precision in each step ensures a perfect, cohesive, and utterly delicious outcome. Let’s walk through the process together, ensuring you achieve that signature magic bar perfection.
Step 1: Preparing the Flawless Crust
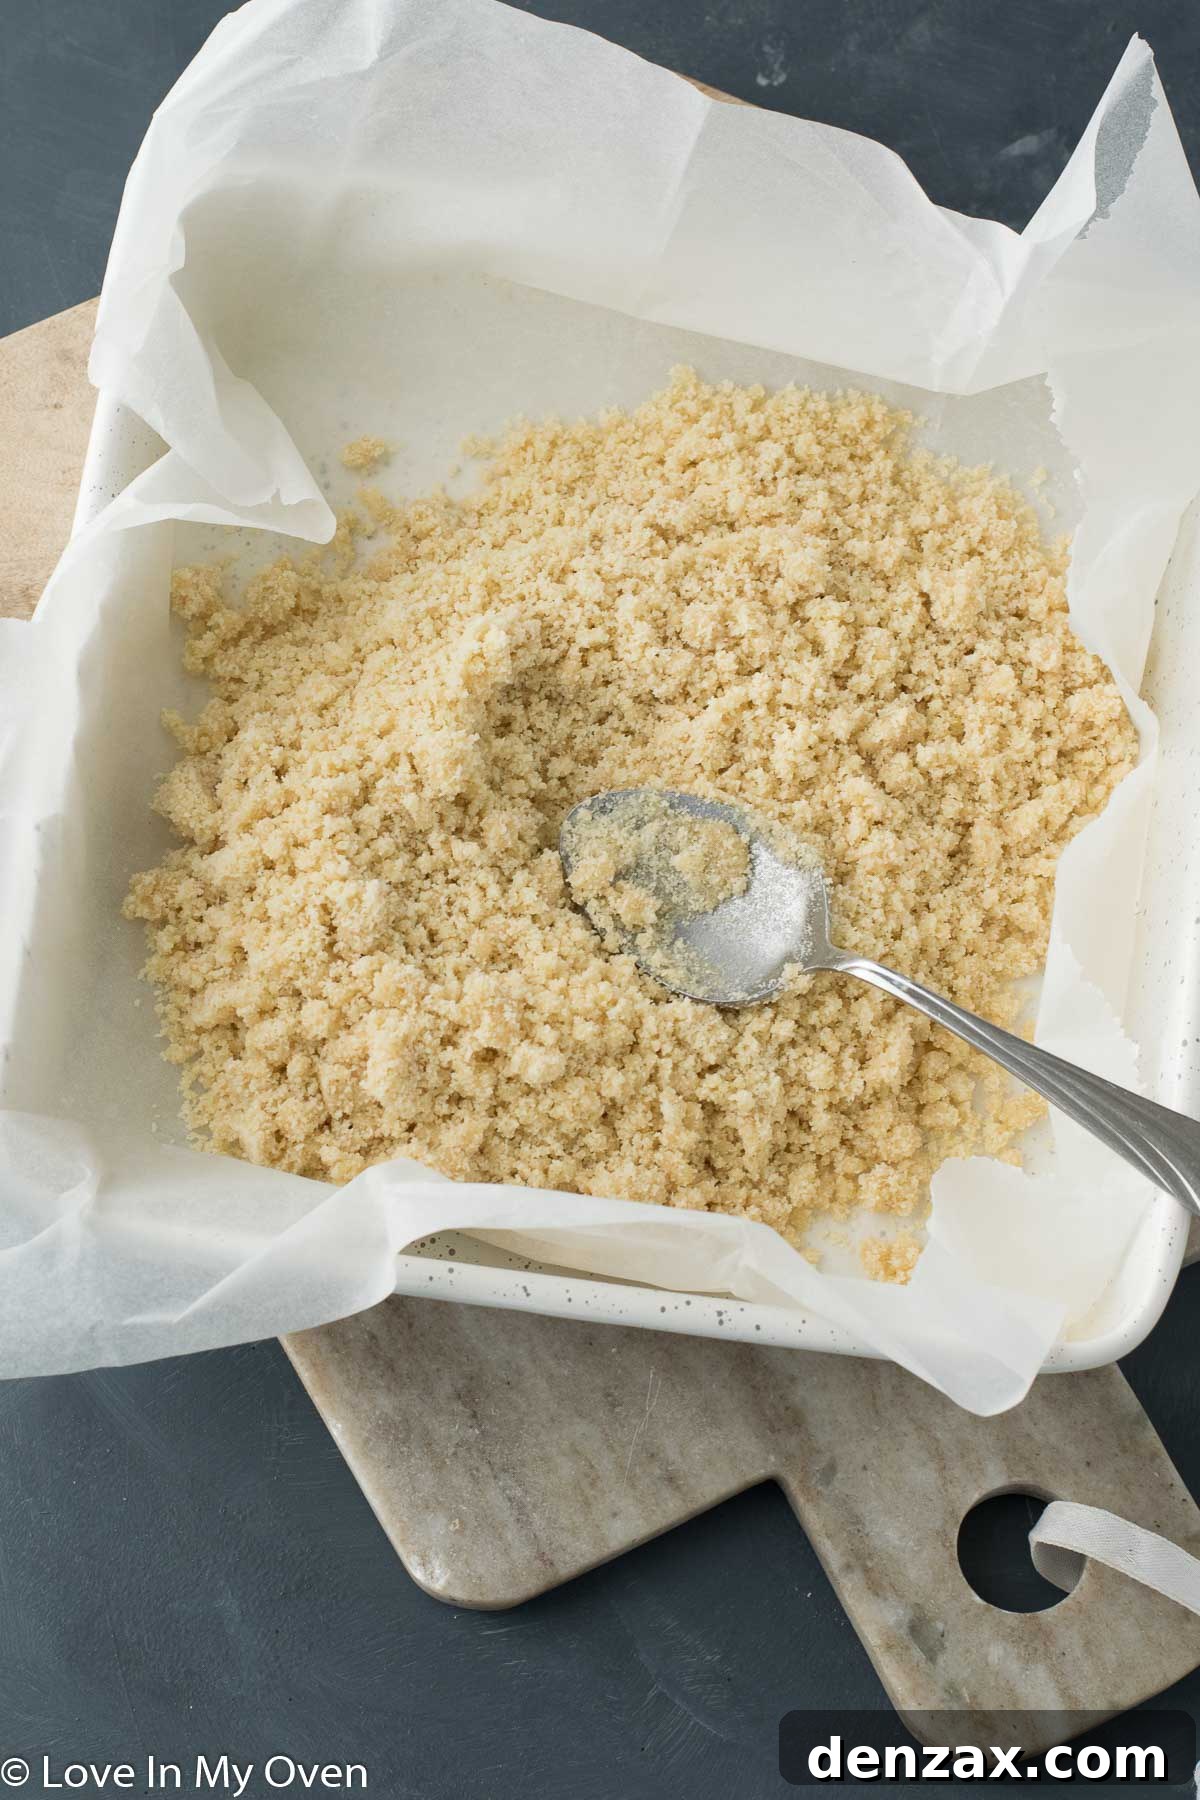
Begin by preheating your oven to 350°F (175°C) and lining an 8×8 inch baking pan with parchment paper, leaving an overhang on two sides. This parchment paper sling will be your best friend when it’s time to lift the cooled bars out of the pan for easy slicing. In a medium mixing bowl, combine the almond flour, pure maple syrup, and melted coconut oil. Mix these ingredients thoroughly until they form a thick, uniform paste. Once combined, transfer this mixture into your prepared baking pan. Using the back of a spoon or your fingertips, spread it out evenly and press it down as firmly as possible. A well-packed crust is essential for a stable base that won’t crumble when sliced. Aim for a consistent, solid layer.
Step 2: The Decadent Chocolate Layer
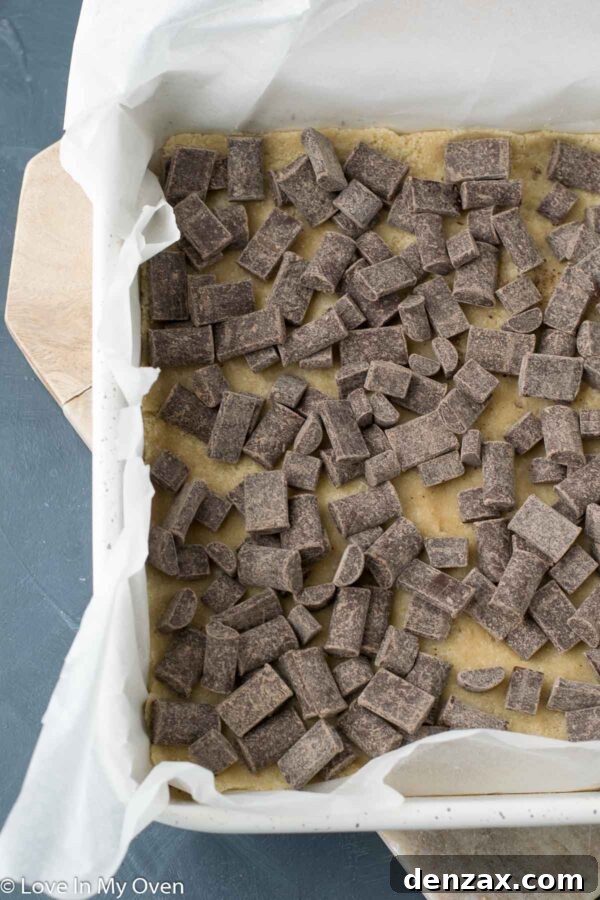
Once your crust is firmly in place, it’s time for the first layer of magic: the chocolate! Generously top the crust with a thick, even layer of your chosen vegan chocolate – whether you opt for chips or chunks. While chocolate chips tend to melt a bit more smoothly, I’ve always been partial to the satisfying pockets of gooey, melted chocolate that chunks provide. Use whatever your heart desires, ensuring good quality vegan chocolate for the best flavor.
Step 3: Adding the Nutty Crunch
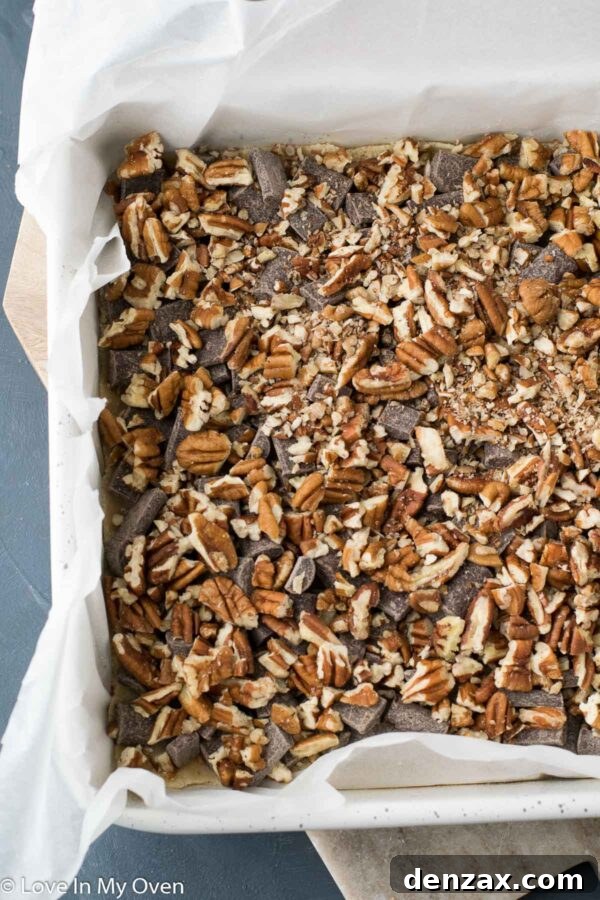
Following the chocolate, the next layer brings a delightful textural contrast with the pecans. Take your pecans and chop them into smaller pieces, but be careful not to mince them too finely – you want distinct nutty bites. Once chopped, sprinkle them evenly all over the chocolate layer, ensuring every corner of the pan gets its share of nutty goodness.
Step 4: The Tropical Coconut Topping
Now, it’s time for the shredded coconut. I typically opt for unsweetened shredded coconut to balance the sweetness of the other ingredients, allowing the natural flavor of the coconut to shine. However, if you desire an extra sweet punch, feel free to use sweetened shredded coconut. Cover the bars thoroughly with the coconut, making sure it forms an even layer that completely conceals the pecans and chocolate underneath. This layer will toast beautifully, adding another dimension of flavor and texture to your finished bars.
Step 5: The Sweetest Binding Layer: Condensed Coconut Milk
Here’s where the true “magic” happens – the condensed coconut milk! This incredibly sweet and creamy ingredient acts as the binder for all the layers, creating that signature gooey texture. You can easily find sweetened condensed coconut milk online (like on Amazon), or check the organic or specialty sections of your local grocery store. For this recipe, you’ll need two small cans, totaling approximately 22 ounces, to ensure a generous and thoroughly saturated topping.
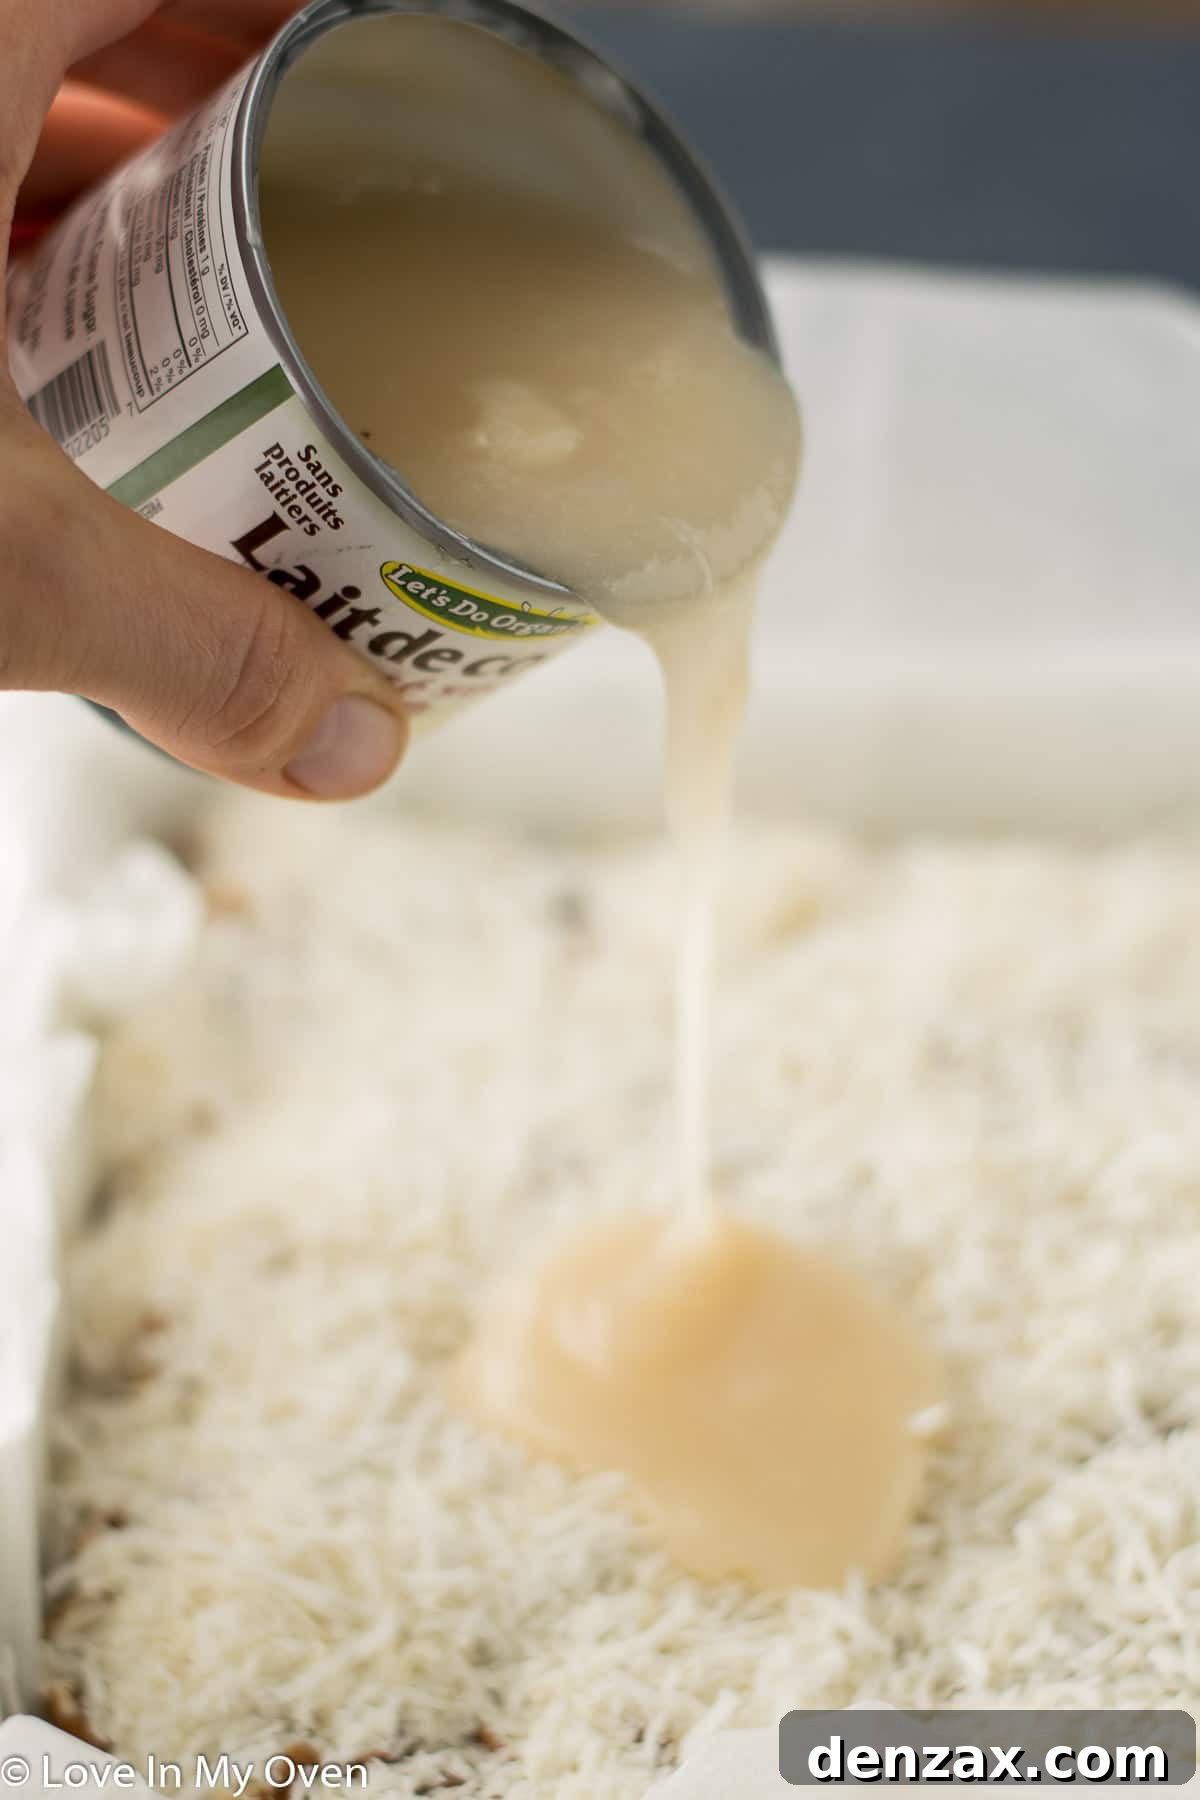
Carefully pour the condensed coconut milk all over the coconut layer. Use a spatula to gently spread it evenly across the entire surface, ensuring every bit of coconut and the layers beneath are coated. This ensures consistent flavor and texture throughout each bar. Once evenly coated, place the baking pan into your preheated oven and bake for 28-30 minutes. Keep a close eye on them; the bars are ready when the coconut topping turns a beautiful light golden brown and the edges appear set.
Step 6: Cooling and Solidifying for Perfect Slices
Patience is key for this final step! Once out of the oven, resist the urge to cut into them immediately. Allow the bars to cool at room temperature for at least one hour. This initial cooling period helps them begin to set. After an hour, transfer the pan to the refrigerator for an additional hour. Chilling is crucial for the condensed coconut milk to fully solidify, allowing you to cut clean, perfect squares. Without proper chilling, the bars will be too gooey and difficult to slice neatly.
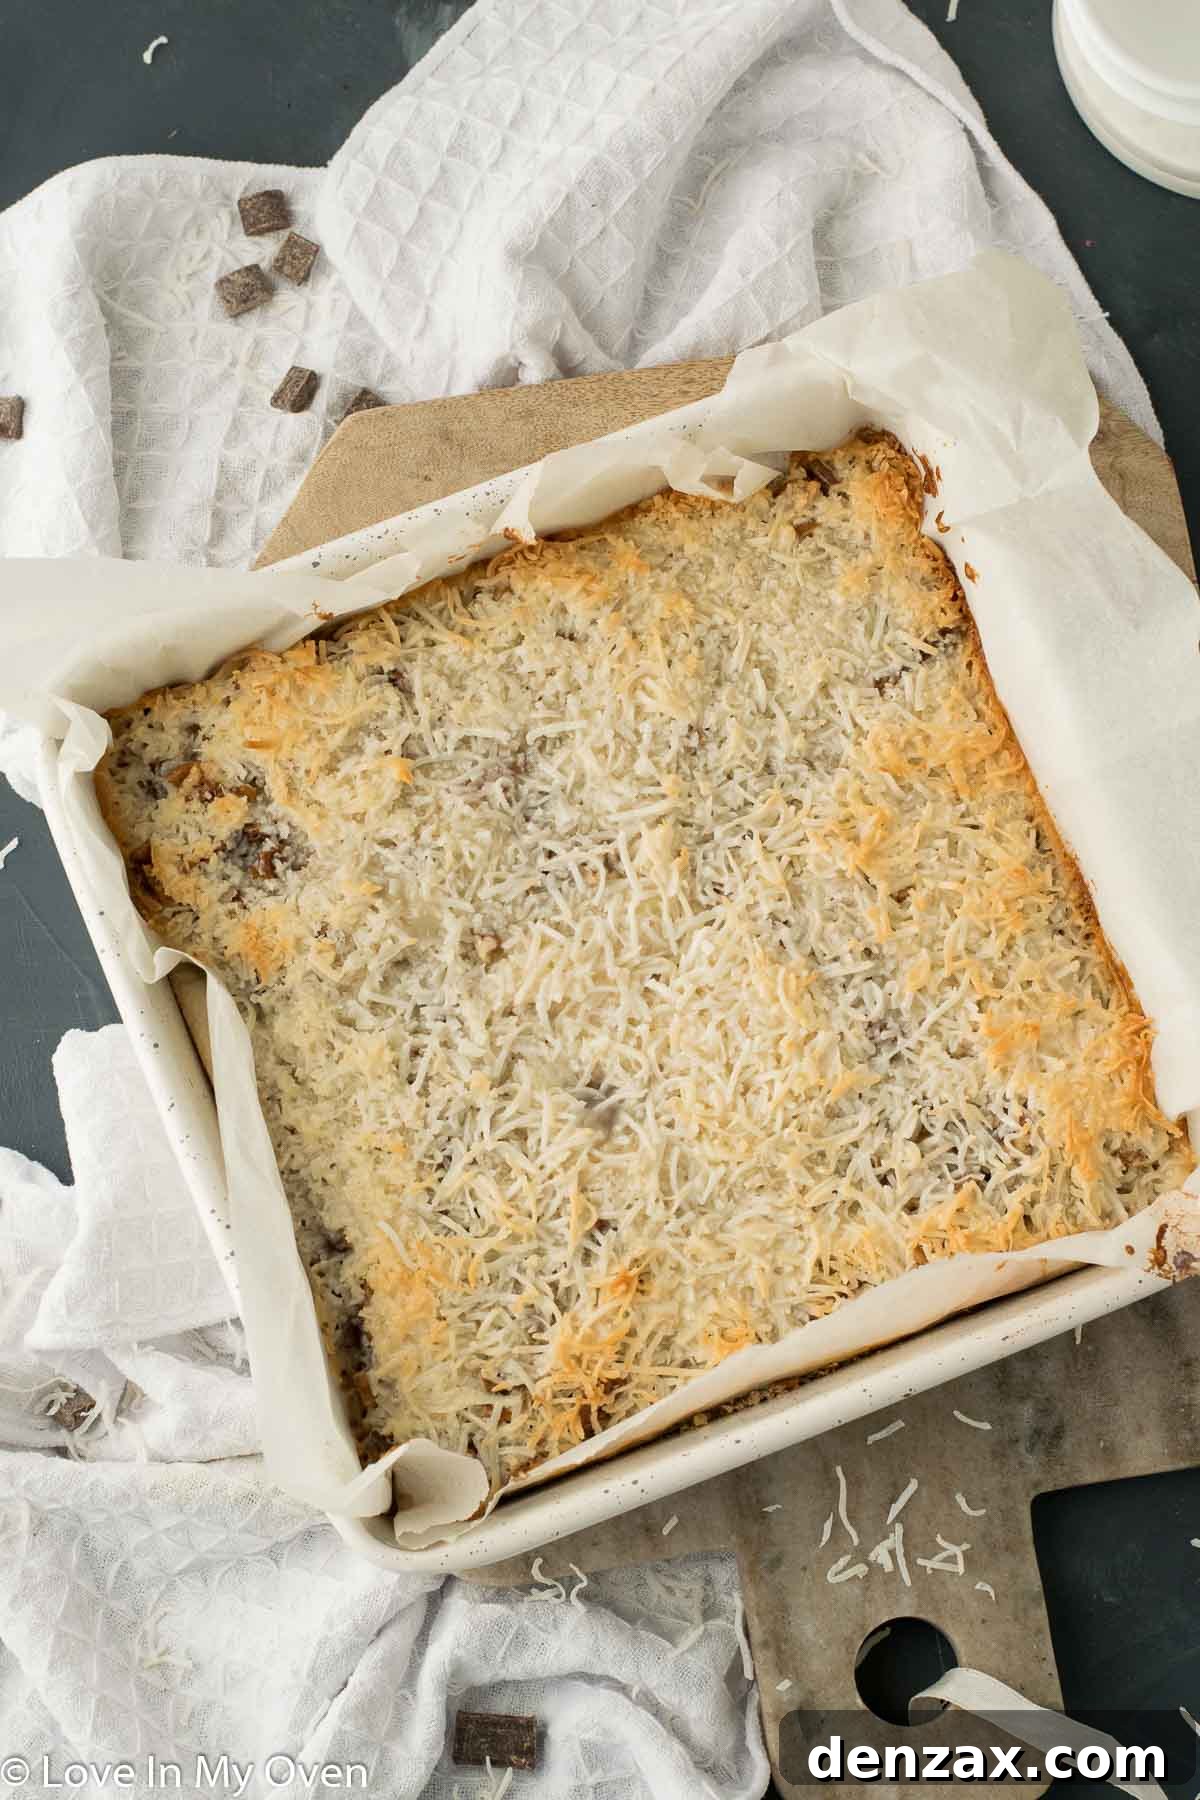
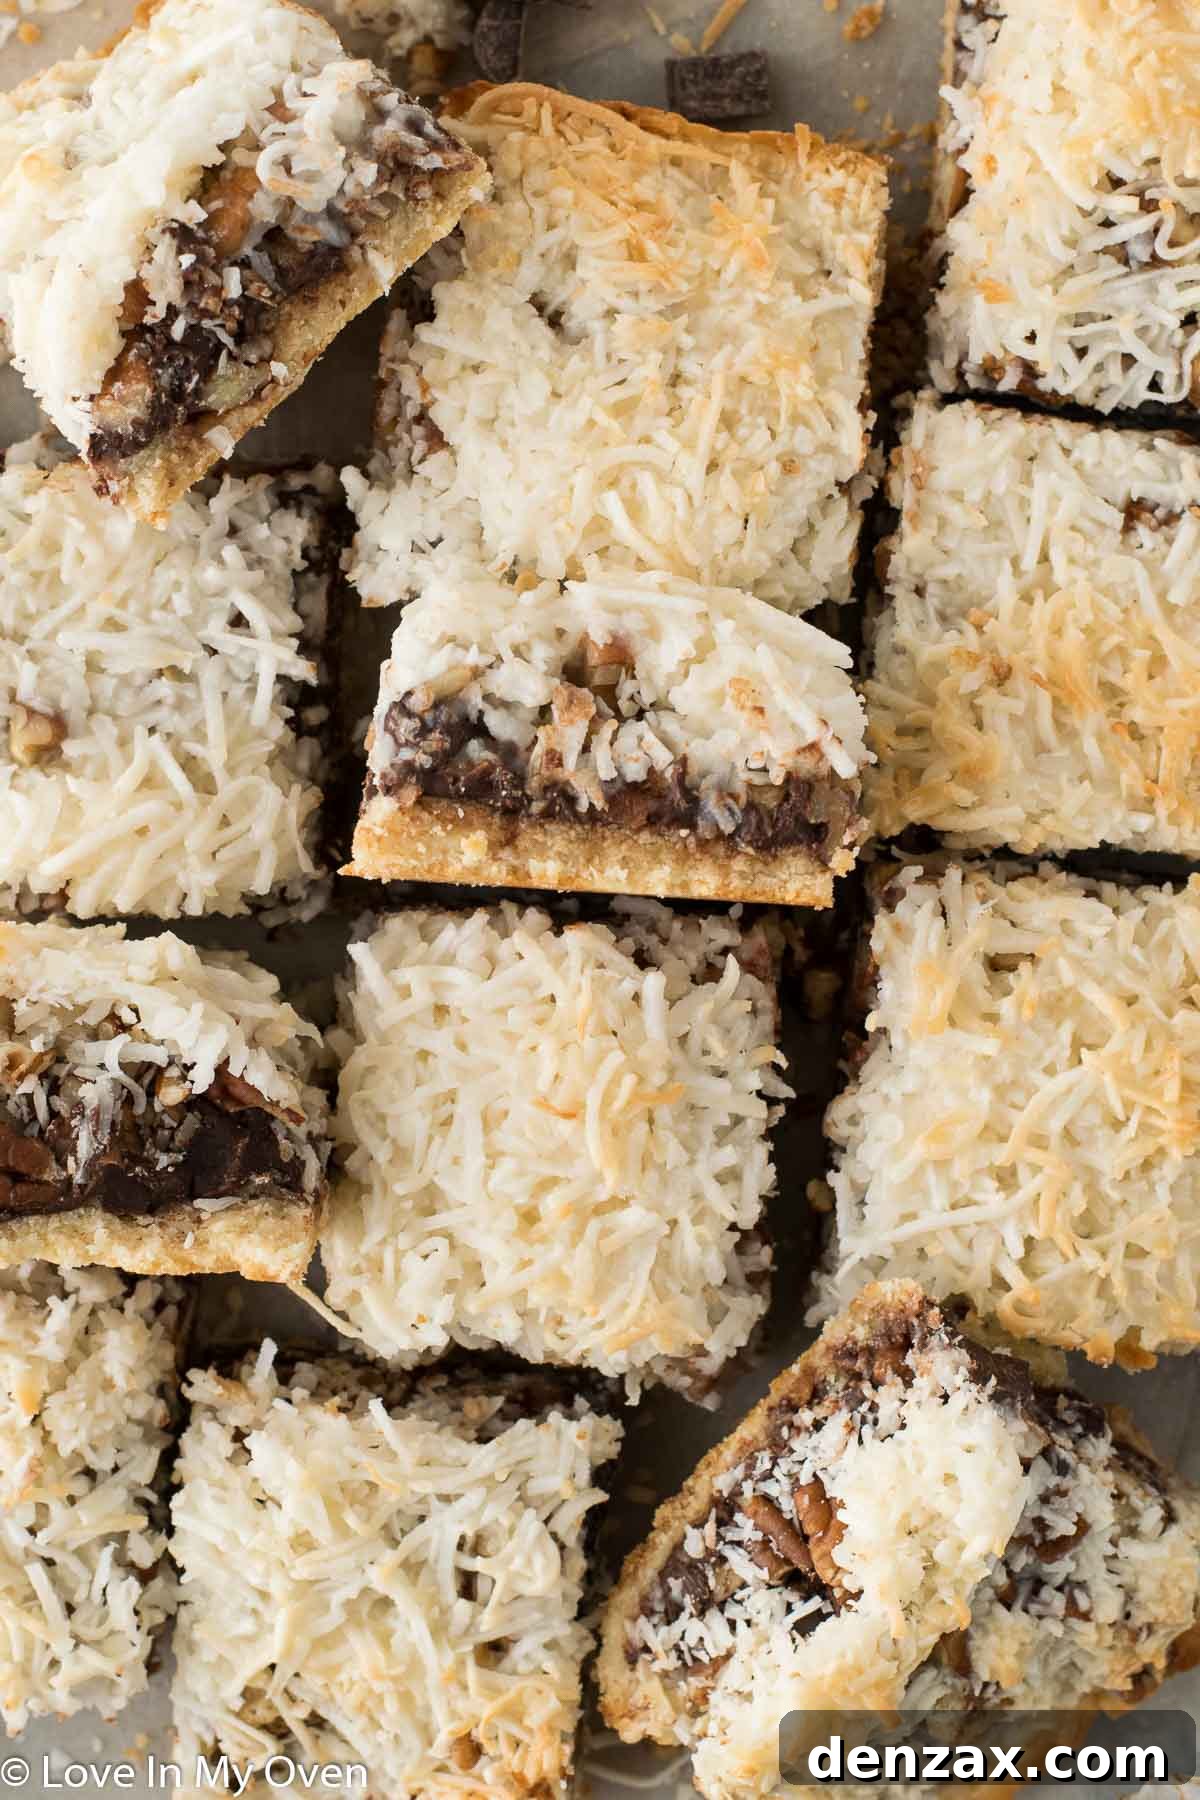
Once thoroughly firmed up, use the parchment paper overhangs to carefully lift the entire slab of bars out of the pan. Place it on a cutting board and slice into 12 equal pieces. They are now ready to serve and enjoy immediately, or to be artfully arranged in a festive box for a holiday cookie exchange. Your vegan magic bars are bound to be a hit!
Tips for Vegan Magic Bar Perfection
- Don’t Skimp on Pressing the Crust: A very firm crust is the foundation of a good bar. If it’s too loose, your bars might fall apart.
- Even Layers: Take your time to spread each layer evenly across the pan. This ensures every bite offers a harmonious blend of flavors and textures.
- Quality Ingredients: Since there are relatively few ingredients, the quality of each shines through. Opt for good quality vegan chocolate and pure maple syrup for the best taste.
- Patience is a Virtue (Especially for Chilling): Resisting the urge to cut warm bars is hard, but essential. Proper chilling ensures the bars set completely and are easy to handle and slice.
- Storage is Key: Store any leftover bars in an airtight container in the refrigerator to maintain their freshness and texture. They can last up to a week.
Customization and Variations to Explore
These vegan magic bars are wonderfully adaptable! Feel free to experiment with different additions to make them uniquely yours:
- Nut Alternatives: Swap pecans for chopped walnuts, almonds, or even a mix of your favorite nuts.
- Chocolate Variety: Use different types of vegan chocolate like white chocolate chips or a mix of dark and “milk” chocolate for varied flavor profiles.
- Dried Fruits: A sprinkle of dried cranberries, chopped apricots, or raisins can add a chewy, fruity burst of flavor.
- Spices: A pinch of cinnamon or nutmeg in the crust can add a warm, cozy touch, especially for holiday baking.
- Vegan Caramel Drizzle: For an extra layer of decadence, drizzle some homemade or store-bought vegan caramel sauce over the bars before or after baking.
Since I tested these a few times before perfecting and publishing the recipe, I now have a freezer FULL of these delectable treats. And that’s fantastic, because they are absolutely divine even when frozen! I confess, I can’t help but sneak them out of the freezer when a sweet craving strikes – not that there isn’t an abundance of other sweet temptations around the house during this time of year!
Regardless of whether you adhere to a strict vegan diet or simply appreciate a phenomenal dessert, these healthier vegan magic bars are guaranteed to win your heart. Hello, Dolly – and hello, truly magical plant-based indulgence!
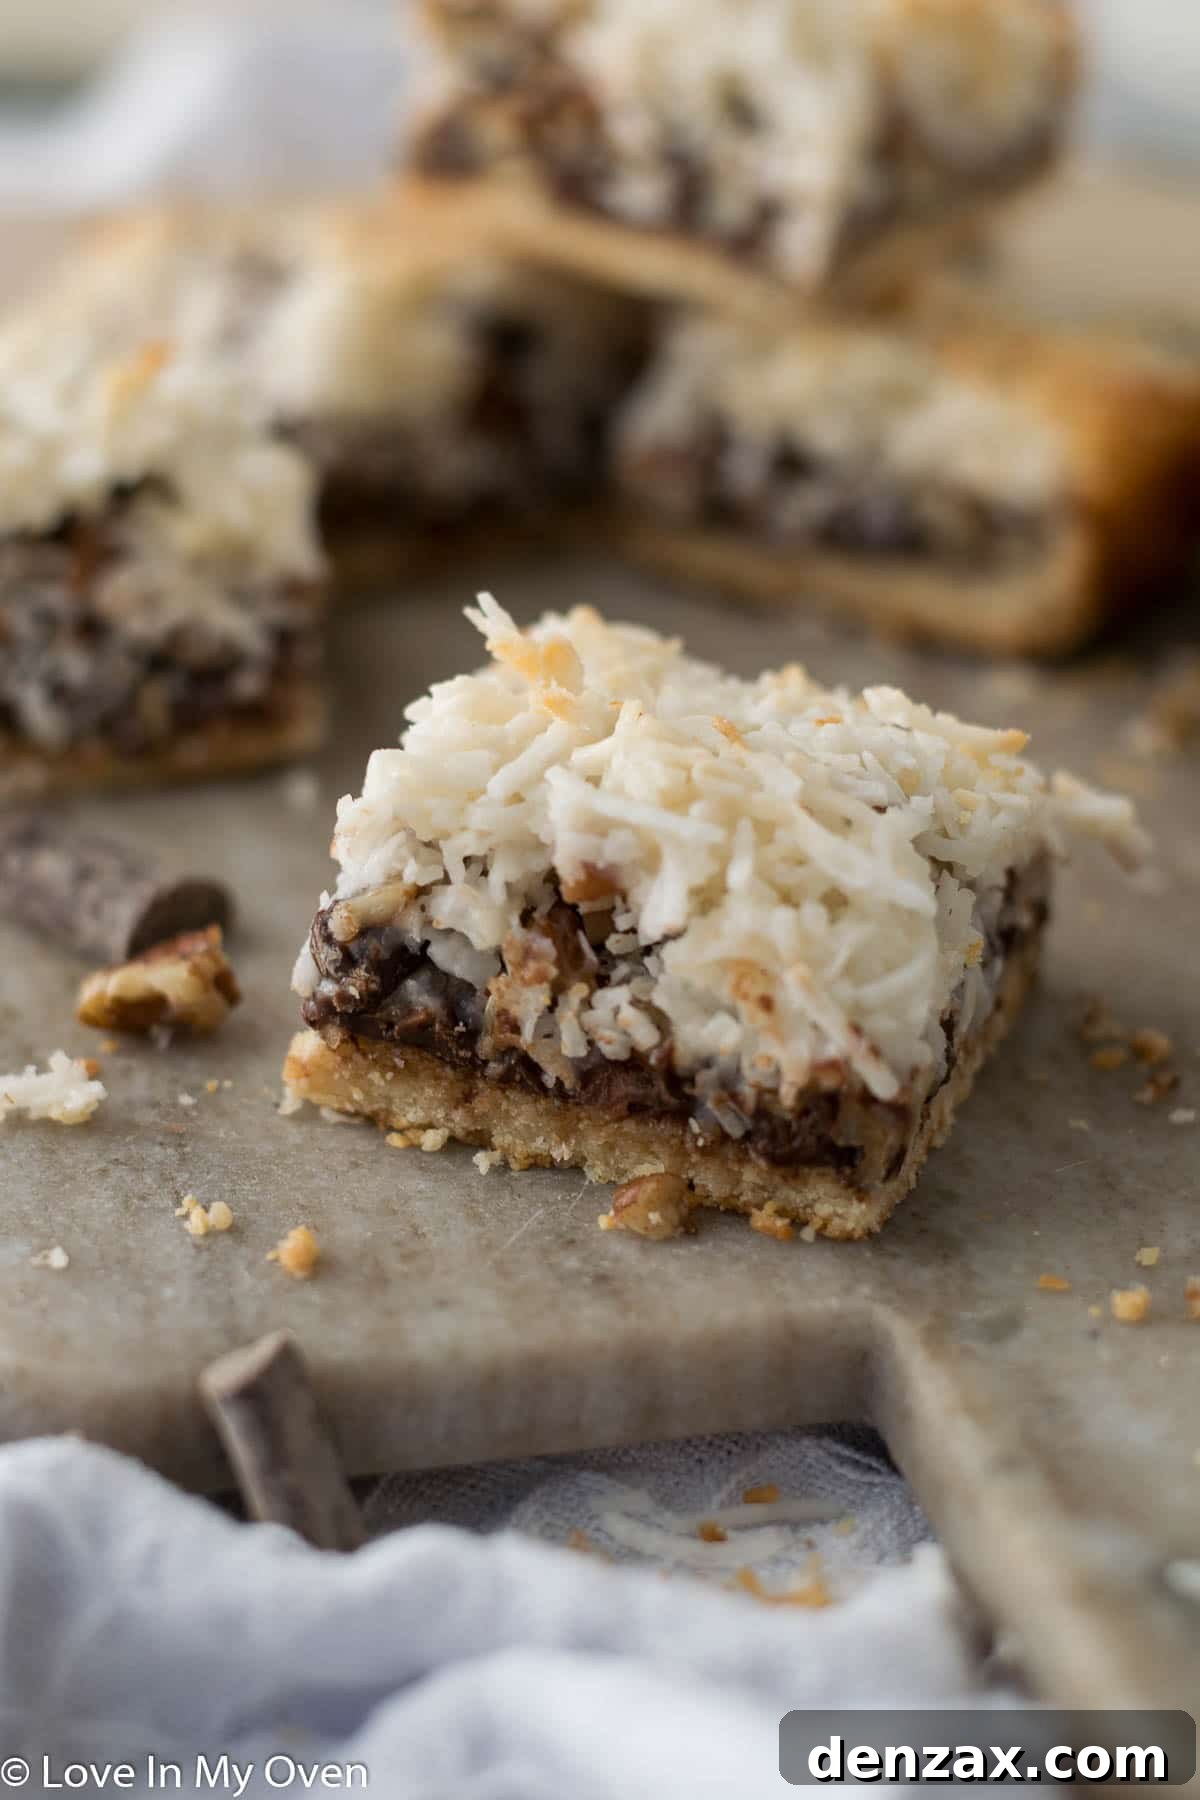
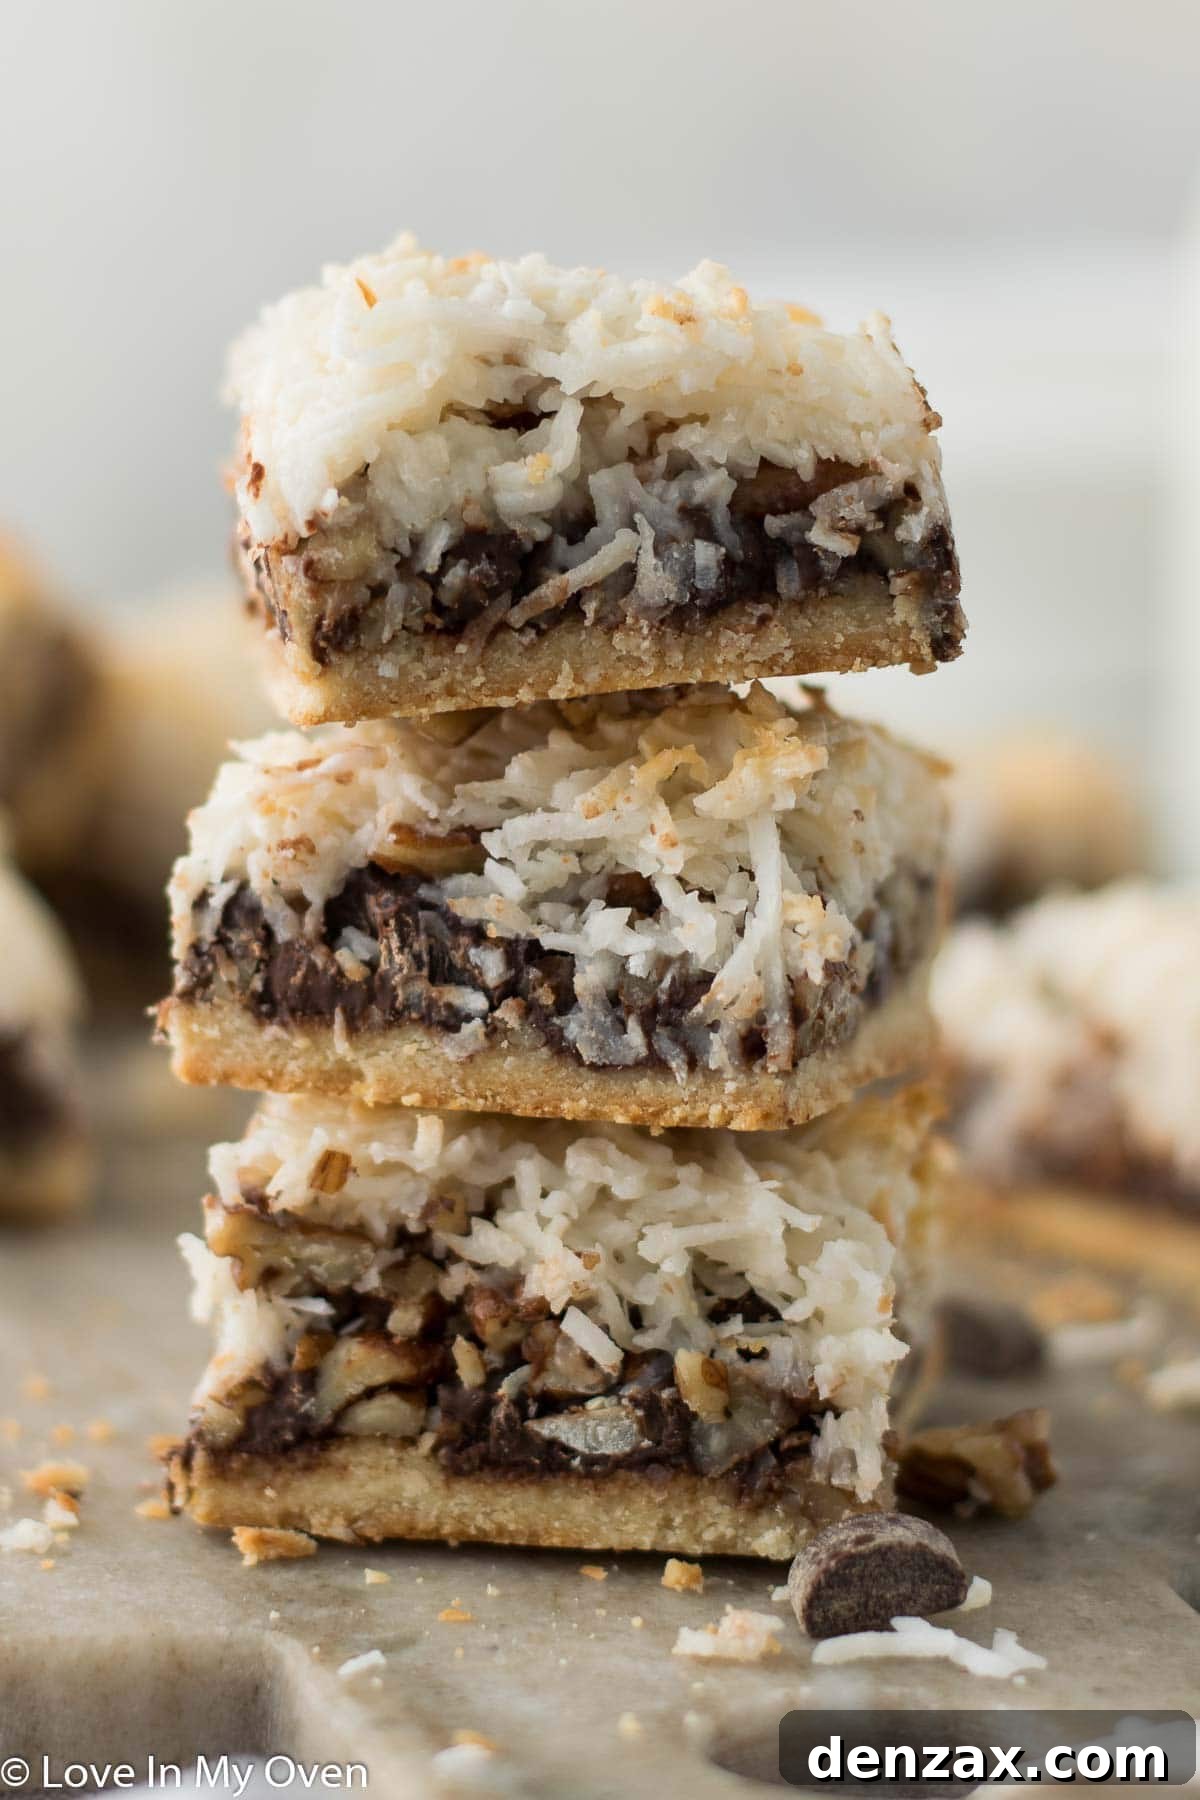
You’ll also adore these other vegan treats from the blog, perfect for expanding your plant-based dessert repertoire:
- Indulgent Vegan Chocolate Beet Cake
- Creamy No-Churn Vegan Chocolate Ice Cream
- Decadent Caramel-Chocolate Pretzel Tart (Vegan)
Print Recipe
Vegan Magic Bars
5 Stars 4 Stars 3 Stars 2 Stars 1 Star
5 from 7 reviews
Author: Katherine | Love In My Oven
Total Time: 45 minutes
Yield: 12 bars 1x
Diet: Vegan
Description
These vegan magic bars are made with almond flour, maple syrup and vegan chocolate chips! All the flavor of your favorite 7 layer bars but a little better for you!
Ingredients
Scale
- 2 cups almond flour
- 1/4 cup pure maple syrup
- 1 tbsp coconut oil, melted
- 2 cups vegan chocolate chips or chunks
- 1 1/2 cups pecans, finely chopped
- 2 cups shredded, unsweetened coconut
- 2 cans (11.5oz each) sweetened condensed coconut milk
Instructions
- Preheat your oven to 350°F (175°C) and line an 8×8 inch baking pan with parchment paper, allowing some overhang on the sides for easy removal. In a mixing bowl, combine the almond flour, maple syrup, and melted coconut oil. Mix well until a uniform mixture forms. Spread this mixture evenly into the prepared pan and press it down as firmly as possible to create a compact crust.
- Generously layer the vegan chocolate chips or chunks over the pressed crust, spreading them evenly. Follow this with the chopped pecans, sprinkling them over the chocolate. Finally, add the shredded coconut, ensuring it completely covers the nuts and chocolate beneath.
- Pour the sweetened condensed coconut milk evenly over the coconut layer. Use a spatula to gently spread the milk across the entire surface for a consistent coating. Place the baking dish in the preheated oven and bake for 28-30 minutes, or until the coconut topping turns a beautiful light golden brown and the edges appear set.
- Once baked, remove the bars from the oven and allow them to cool completely at room temperature for at least one hour. After this initial cooling, transfer the pan to the refrigerator for an additional hour to allow the bars to fully solidify. Once chilled and firm, use the parchment paper overhangs to lift the bars out of the pan. Cut them into 12 equal squares. Serve immediately or store them in an airtight container in the fridge for up to 1 week.
These bars store exceptionally well in the freezer for up to 2 months, making them perfect for meal prepping desserts or holiday gifting.
- Prep Time: 15 minutes
- Cook Time: 30 minutes
- Category: desserts
- Method: oven bake
- Cuisine: american