
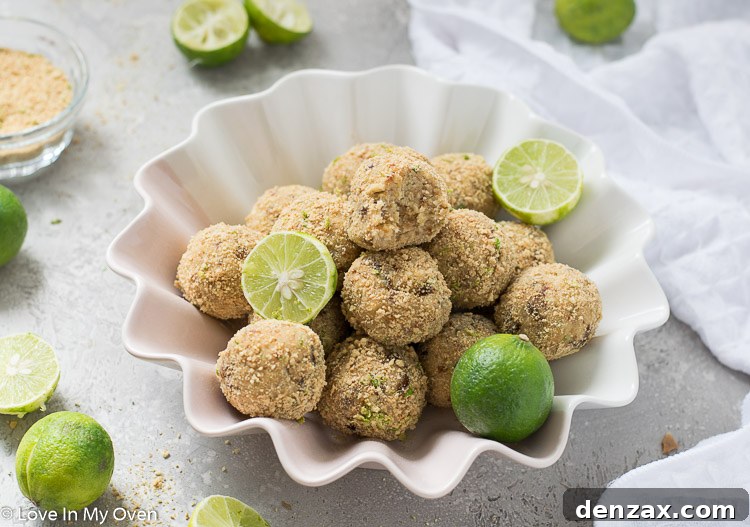
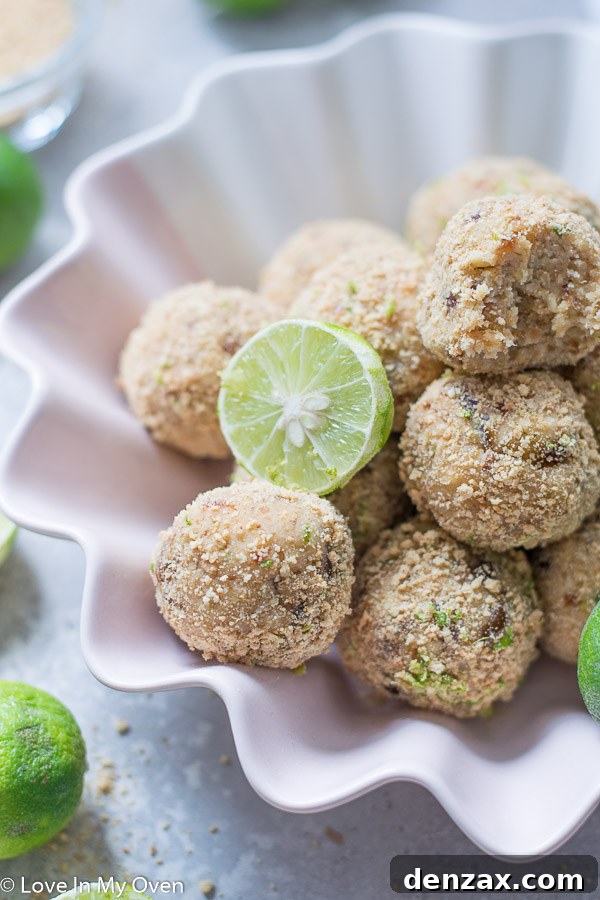
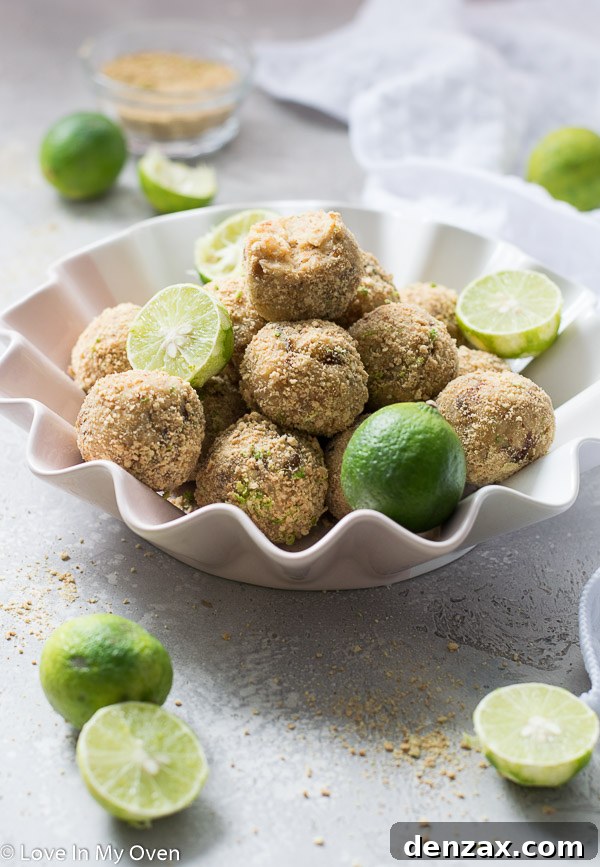
Discover the ultimate healthy indulgence with these Key Lime Cheesecake Bites! Crafted with nutrient-rich Medjool dates, classic graham cracker crumbs, and creamy cheese, these delightful, bite-sized treats offer a perfect blend of deliciousness and wellness.
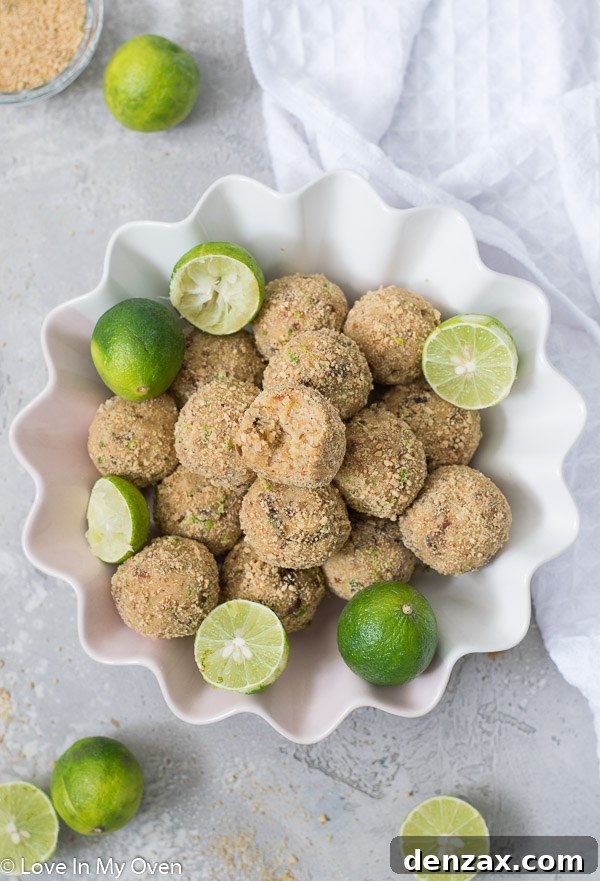
Irresistible Key Lime Cheesecake Bites: Your Healthy No-Bake Treat
Who doesn’t love a good cheesecake? And when you combine that rich, creamy indulgence with the bright, zesty tang of key limes, you’ve got a dessert that’s truly out of this world. But what if you could enjoy all that incredible flavor in a healthier, more convenient, and utterly effortless format? Get ready to raise both hands, because these Key Lime Cheesecake Bites are about to become your new favorite obsession. They capture the essence of traditional key lime cheesecake but transform it into a guilt-free, bite-sized delight that’s perfect for any occasion.
The Story Behind the Zesty Craving
My love for key lime cheesecake runs deep, a passion reignited during a memorable summer trip. Last year, my family and I embarked on what we affectionately called a “camping” trip. While my brother and sister were all set up in their trailers, my husband Etienne, the kids, and I opted for the comfort of a nearby motel each night after enjoying the campground during the day. It was a perfect balance of outdoor fun and cozy evenings.
During this trip, I had brought along some mini key lime cheesecakes, and they were an absolute hit, especially with my son, Oscar. He couldn’t stop talking about them! Their refreshing tang and creamy texture left a lasting impression, and ever since, he’s been reminding me of how much he loved them. The only challenge? Key limes aren’t always easy to find here in Calgary. They make an occasional appearance at local grocery stores, but you have to be quick to snag them.
I promised Oscar that the moment I spotted those elusive little green gems again, I’d stock up and recreate that magical cheesecake experience. And sure enough, the other day, I finally found them! True to my word, I whipped up a batch of those beloved mini cheesecakes. But my culinary adventure didn’t stop there. Inspired by the abundance of fresh key limes, I decided to experiment and create something new – something equally delicious but even more versatile. And that’s how these delightful Key Lime Cheesecake Bites were born!
What Makes These Cheesecake Bites So Special?
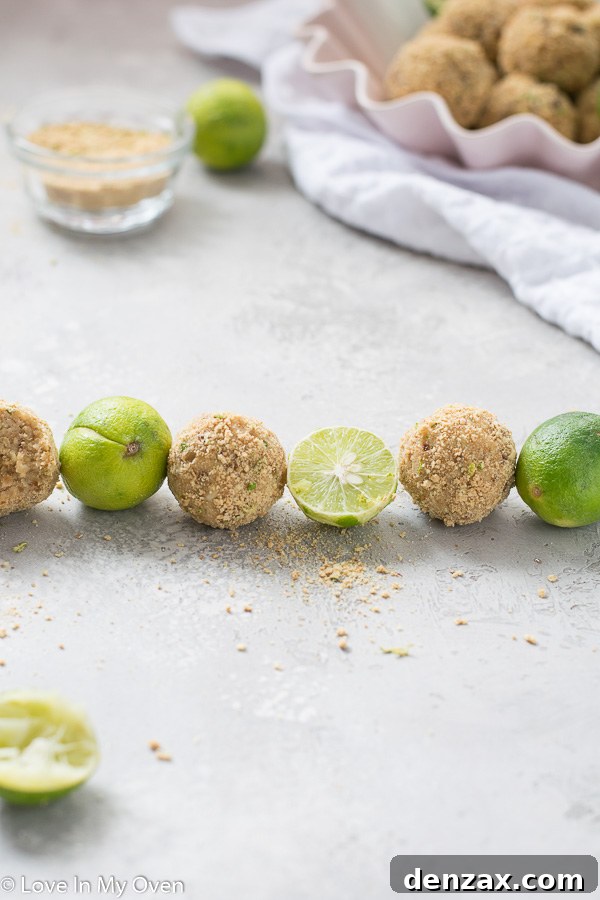
These isn’t just another dessert; they’re a revelation for anyone who loves cheesecake but desires a healthier, easier, and more convenient option. Think of them as the best parts of key lime cheesecake, reimagined into a perfect, portable sphere of flavor. They bring all the creamy, tangy goodness you crave, without the fuss or the guilt often associated with traditional desserts.
A Healthier Take on a Classic Indulgence
One of the primary advantages of these key lime cheesecake bites is their healthier profile. Unlike many baked cheesecakes that rely heavily on refined sugars and butter, these bites leverage the natural sweetness and binding power of Medjool dates. Dates are not only a fantastic source of natural sugars but also bring fiber, potassium, and antioxidants to the table. Combined with healthy fats from cashews and the richness of full-fat cream cheese, you get a treat that satisfies your sweet tooth while offering genuine nutritional benefits. They’re a smart choice for those looking to enjoy dessert without compromising their health goals.
Effortless Preparation: No-Bake, No-Stress!
Forget the fear of cracked cheesecakes, water baths, or long baking times. These key lime bites are a true no-bake marvel, making them incredibly simple to prepare. The entire process takes place in a food processor, transforming raw ingredients into a delectable “dough” in a matter of minutes. This eliminates the complexities of baking, making it an ideal recipe for beginner cooks or anyone short on time. They’re virtually foolproof, ensuring a perfect outcome every time.
Perfectly Portable & Portion-Controlled
Their bite-sized nature makes them incredibly versatile. Heading to a potluck? Need a quick energy boost during the day? Looking for a controlled portion of dessert after dinner? These cheesecake bites fit the bill perfectly. They’re easy to transport, making them an excellent choice for picnics, lunchboxes, or office snacks. Plus, their individual size inherently promotes portion control, allowing you to enjoy a treat without overindulging.
Unpacking the Flavor: Key Ingredients You’ll Love
The magic of these Key Lime Cheesecake Bites lies in the thoughtful combination of a few star ingredients. Each component plays a crucial role in delivering that authentic, refreshing key lime cheesecake experience.
- Raw, Unsalted Cashews: These are the unsung heroes, forming the creamy, rich base that mimics the texture of a traditional cheesecake. When pulsed, they create a buttery foundation, adding healthy fats and a subtle nutty flavor.
- Medjool Dates (Pits Removed): Nature’s candy! Medjool dates provide natural sweetness and act as a wonderful binder, holding the bites together without the need for excessive added sugars. Their caramel-like notes complement the zesty lime perfectly.
- Full-Fat Cream Cheese (Softened to Room Temperature): Essential for that classic cheesecake tang and velvety texture. Using full-fat cream cheese ensures maximum richness and a satisfying mouthfeel. Don’t worry if you only have spreadable cream cheese; it can often work in a pinch, though the block kind is ideal for consistency.
- Coconut Flour: This adds structure and helps absorb moisture, contributing to the perfect texture of the bites. It also lends a very subtle coconut essence, enhancing the tropical key lime flavor.
- Graham Cracker Crumbs: No cheesecake, even a bite-sized one, is complete without the iconic flavor of graham crackers. These are incorporated into the mixture and also used for a delightful outer coating, providing that quintessential “crust” experience.
- Fresh Key Lime Juice and Zest: The unmistakable star! Key limes offer a distinctively aromatic and intensely tart flavor that sets them apart from regular limes. The juice provides the essential tang, while the zest packs a powerful punch of fragrant citrus oils, elevating the overall taste. If key limes are unavailable, regular lime juice and zest can be a delicious substitute, though the flavor profile will be slightly different.
- Full-Fat Coconut Cream: This ingredient adds an extra layer of creaminess and richness, contributing to the luxurious texture of the cheesecake bites. It also enhances the tropical notes, creating a harmonious blend of flavors.
- Honey: A touch of natural honey provides an additional layer of sweetness, balancing the tartness of the key limes beautifully. It also helps with the binding process, ensuring perfectly formed bites.
Each of these ingredients is thoughtfully selected to create a balanced, flavorful, and healthier dessert that truly captures the magic of key lime cheesecake.
Crafting Your Key Lime Cheesecake Bites: A Simple Guide
Prepare to be amazed by how incredibly easy these Key Lime Cheesecake Bites are to create. With just a few simple steps and your trusty food processor, you’ll have a batch of these delectable treats ready in no time. Forget complicated baking techniques; this recipe is designed for maximum flavor with minimal effort.
Step 1: The Cashew Foundation
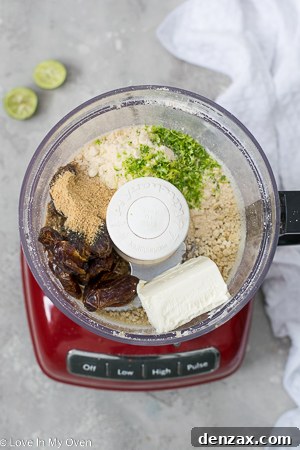
Begin by adding your raw, unsalted cashews to a high-powered food processor. Pulse them for a few minutes until they are finely ground, resembling a coarse flour. Be mindful not to over-process; if you pulse for too long, the cashews will release their oils and turn into cashew butter, which isn’t what we’re aiming for in this step. The goal is a fine, crumbly texture that will form the creamy base of our bites.
Step 2: Mixing Magic
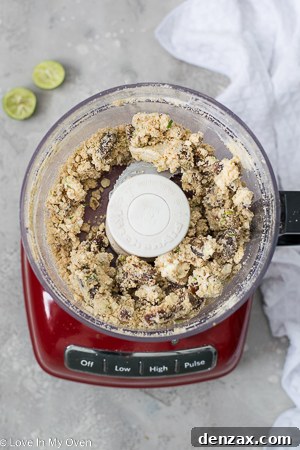
Once your cashews are perfectly ground, add all the remaining ingredients to the food processor: the pitted Medjool dates, softened cream cheese, coconut flour, a portion of the graham cracker crumbs, key lime juice, key lime zest, coconut cream, and honey. Process everything together, pulsing until the mixture combines and starts to form a clumpy, “dough-like” consistency. This might take a few minutes. You’ll know it’s ready when the mixture sticks together easily between your fingers and doesn’t crumble apart. If, after a couple of minutes, it still seems too dry or powdery, add a tablespoon of water and pulse again. This extra liquid will help bind everything together perfectly.
Step 3: Roll and Coat Your Zesty Spheres
Now comes the fun part! Take a portion of the mixture, roughly 1 to 1.5 tablespoons at a time, and roll it firmly between your palms to form a smooth, compact ball. For consistent sizing and to keep your hands from getting too sticky, I highly recommend using a large cookie dough scoop for this step. It makes the process quick and tidy. Continue rolling until all the mixture has been transformed into beautiful cheesecake bites.
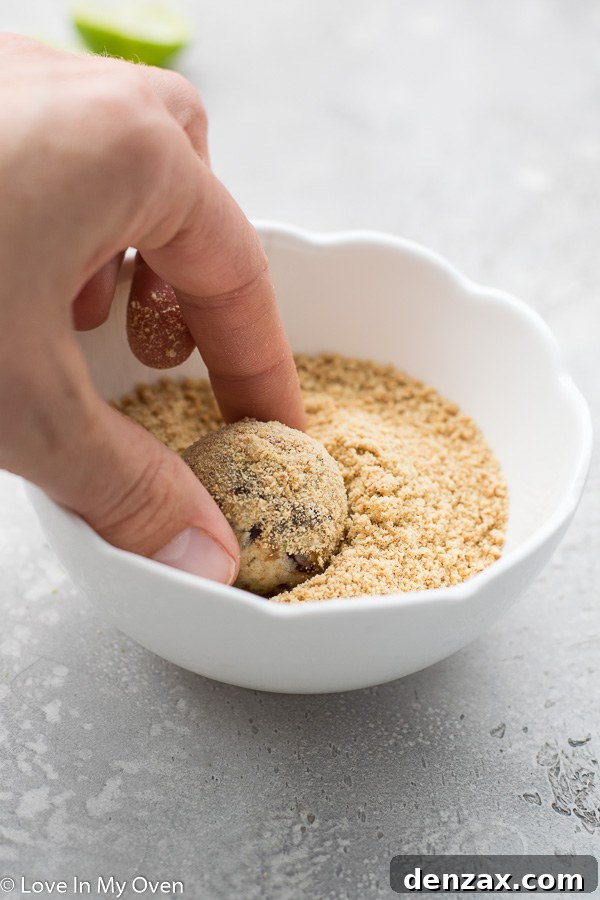
In a separate shallow dish, combine the remaining graham cracker crumbs with the extra lime zest. This coating adds another layer of classic cheesecake flavor and a vibrant citrus aroma. Take each rolled ball, one by one, and gently roll it in the graham cracker and lime zest mixture until it’s evenly coated. The combination of the sweet graham cracker and fragrant lime zest creates a delightful texture and an extra burst of flavor.
Once all your bites are rolled and coated, arrange them on a plate or in an airtight container. Place them in the refrigerator to chill for at least 30 minutes. This chilling time allows the flavors to meld and the bites to firm up, making them even more enjoyable. Your delicious Key Lime Cheesecake Bites are now ready to be savored!
Storing Your Zesty Delights: Longevity and Freshness
Once you’ve made a batch of these delightful Key Lime Cheesecake Bites, you’ll want to ensure they stay fresh and delicious for as long as possible. Proper storage is key to maintaining their creamy texture and vibrant flavor.
Refrigerator Storage
These cheesecake bites are best stored in an airtight container in the refrigerator. When stored properly, they will maintain their freshness and delightful taste for up to a week. While they might last longer, in my experience, they’re usually devoured long before the week is out! The cold helps them retain their firm, cheesecake-like consistency, making them a perfectly refreshing treat straight from the fridge.
Freezing for Longer Enjoyment
For those who like to prepare snacks in advance or want to extend their shelf life significantly, these bites are excellent candidates for freezing. While I haven’t personally tested the exact freezing duration, similar energy balls and no-bake treats typically freeze beautifully for up to two months. To freeze, arrange the coated bites in a single layer on a baking sheet and freeze until solid. Once frozen, transfer them to a freezer-safe airtight container or a heavy-duty freezer bag, separating layers with parchment paper to prevent sticking. When you’re ready to enjoy them, simply take them out of the freezer and let them thaw in the refrigerator for a few hours, or at room temperature for a quicker treat.
Room Temperature Stability
These key lime cheesecake bites also hold up remarkably well at room temperature, making them ideal for parties, picnics, or lunchboxes. They can comfortably sit out for about 8 hours without losing their structure or quality, though their texture will soften slightly. For best results and to preserve their creamy interior, refrigerating them before serving is always a good idea, especially on warmer days.
Whether you’re a fan of protein balls, energy bites, or simply love a healthy treat with a bit of zing, these Key Lime Cheesecake Bites are sure to hit the spot. And remember, if you can’t get your hands on key limes, regular limes work just as wonderfully, providing a slightly different but equally delicious citrus kick!
Beyond Key Limes: Versatile & Delicious Snack Ideas
If you’ve fallen in love with the convenience and deliciousness of these no-bake bites, you’ll be thrilled to know that the concept extends to a variety of other flavors and health-conscious snacks. The world of energy balls and healthy treats is vast and exciting!
Some other snacks you might like:
- Coconut Cream Larabars
- No-Bake Chocolate Coconut Balls
- Peanut Butter Snack Balls
Print
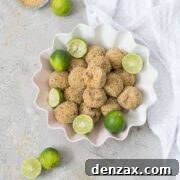
Key Lime Cheesecake Bites
5 Stars
4 Stars
3 Stars
2 Stars
1 Star
5 from 7 reviews
- Author: Katherine | Love In My Oven
Total Time: 20 minutes
Yield: 15–17 balls 1x
Description
Looking for a healthy key lime cheesecake? Don’t go any farther than these key lime cheesecake bites!
Ingredients
Scale
- 1/2 cup raw, unsalted cashews
- 1 cup Medjool dates, pits removed (~10)
- 4 oz full-fat cream cheese, softened to room temperature*
- 1/4 cup coconut flour
- 1/4 graham cracker crumbs + 1/3 for rolling
- 3 tbsp key lime juice (~6 key limes)
- 1 tbsp key lime zest + 2 tsp zest for rolling
- 1/2 cup full-fat coconut cream
- 1 tbsp honey
Instructions
- Add the cashews to a high-powered food processor and pulse for a few minutes or until the cashews are finely ground. Don’t continue pulsing too long or the cashews will turn into flour!
- Add all of the remaining ingredients to the food processor and pulse until everything is combined together and forms a “dough” like structure. If it’s very powdery, add a tablespoon of water and pulse again until things start sticking together!
- Using a spoon or a large cookie scoop, remove portions of the dough and roll between your hands until a ball is formed. Continue with the remaining dough until it’s all used up. Combine the remaining graham cracker crumbs with the remaining lime zest. Roll the balls, one by one in the graham crackers crumbs until coated. Place the balls in the fridge to store, for up to 1 week.
Leftovers can also be stored in the freezer, for up to 2 months. Balls keep ok at room temperature, for 8 hours or so.
Notes
*I use the block kind, but I think you could use the spreadable kind too if that’s all you have
- Prep Time: 20 minutes
- Category: no-bake
- Method: food processor
- Cuisine: american
Frequently Asked Questions about Key Lime Cheesecake Bites
Here are answers to some common questions you might have about making and enjoying these delightful bites:
Q: Can I use regular limes instead of key limes?
A: Absolutely! While key limes offer a distinct aromatic and intensely tart flavor, regular limes are a perfectly acceptable and delicious substitute. The flavor profile will be slightly different – regular limes are typically less aromatic and have a bolder, more straightforward tartness – but the end result will still be wonderfully refreshing and zesty. If using regular limes, ensure you still use both the juice and the zest for maximum citrus impact.
Q: Are these Key Lime Cheesecake Bites gluten-free?
A: The base ingredients like dates, cashews, cream cheese, coconut flour, and limes are naturally gluten-free. However, traditional graham cracker crumbs contain gluten. If you need these bites to be strictly gluten-free, simply substitute the regular graham cracker crumbs with a certified gluten-free brand of graham crackers. Most major grocery stores now offer gluten-free graham cracker options that will work perfectly in this recipe.
Q: Can I make this recipe vegan?
A: Yes, you can! To make these Key Lime Cheesecake Bites vegan, you would need to replace the full-fat cream cheese and honey with plant-based alternatives. Use a high-quality vegan cream cheese (dairy-free cream cheese block is preferred for texture) and substitute honey with maple syrup or agave nectar. Ensure all other ingredients, like coconut cream and graham crackers, are also vegan-friendly.
Q: How can I get the most zest from my limes?
A: To maximize the zest, use a microplane zester or the finest side of a box grater. Gently grate only the vibrant green outer layer, being careful to avoid the bitter white pith underneath. For extra yield, roll the lime firmly on a countertop for a few seconds before zesting and juicing; this helps release the oils and juice.
Q: How do I prevent the cashews from turning into butter?
A: When pulsing cashews in the food processor, it’s crucial to use short bursts. Pulse, scrape down the sides, and pulse again. Monitor their texture closely. You want fine crumbs, not a smooth paste. If your food processor is particularly powerful, check them frequently. If they start looking too wet or clumpy, you’ve gone too far. For this recipe, fine crumbs are ideal for creating the creamy base without becoming overly dense or oily.
Q: My mixture seems too dry/wet, what should I do?
A: The consistency of the mixture can vary slightly depending on the moisture content of your dates and cream cheese. If the mixture appears too dry and crumbly to roll into balls, add an additional tablespoon of water (or a tiny bit more coconut cream) and pulse again until it reaches a sticky, dough-like consistency. If, on the other hand, the mixture seems too wet or soft, you can add a tablespoon of additional coconut flour or graham cracker crumbs and pulse until it firms up slightly. Adjust in small increments to achieve the perfect rollable texture.
Share Your Creations!
We absolutely love seeing your culinary adventures! If you make these incredibly delicious and healthy Key Lime Cheesecake Bites, please share your creations with us. Your photos and feedback inspire our community and help spread the love for homemade treats. Don’t forget to tag us!
Tag @loveinmyoven on Instagram and hashtag it #loveinmyoven. We can’t wait to see your zesty delights!