
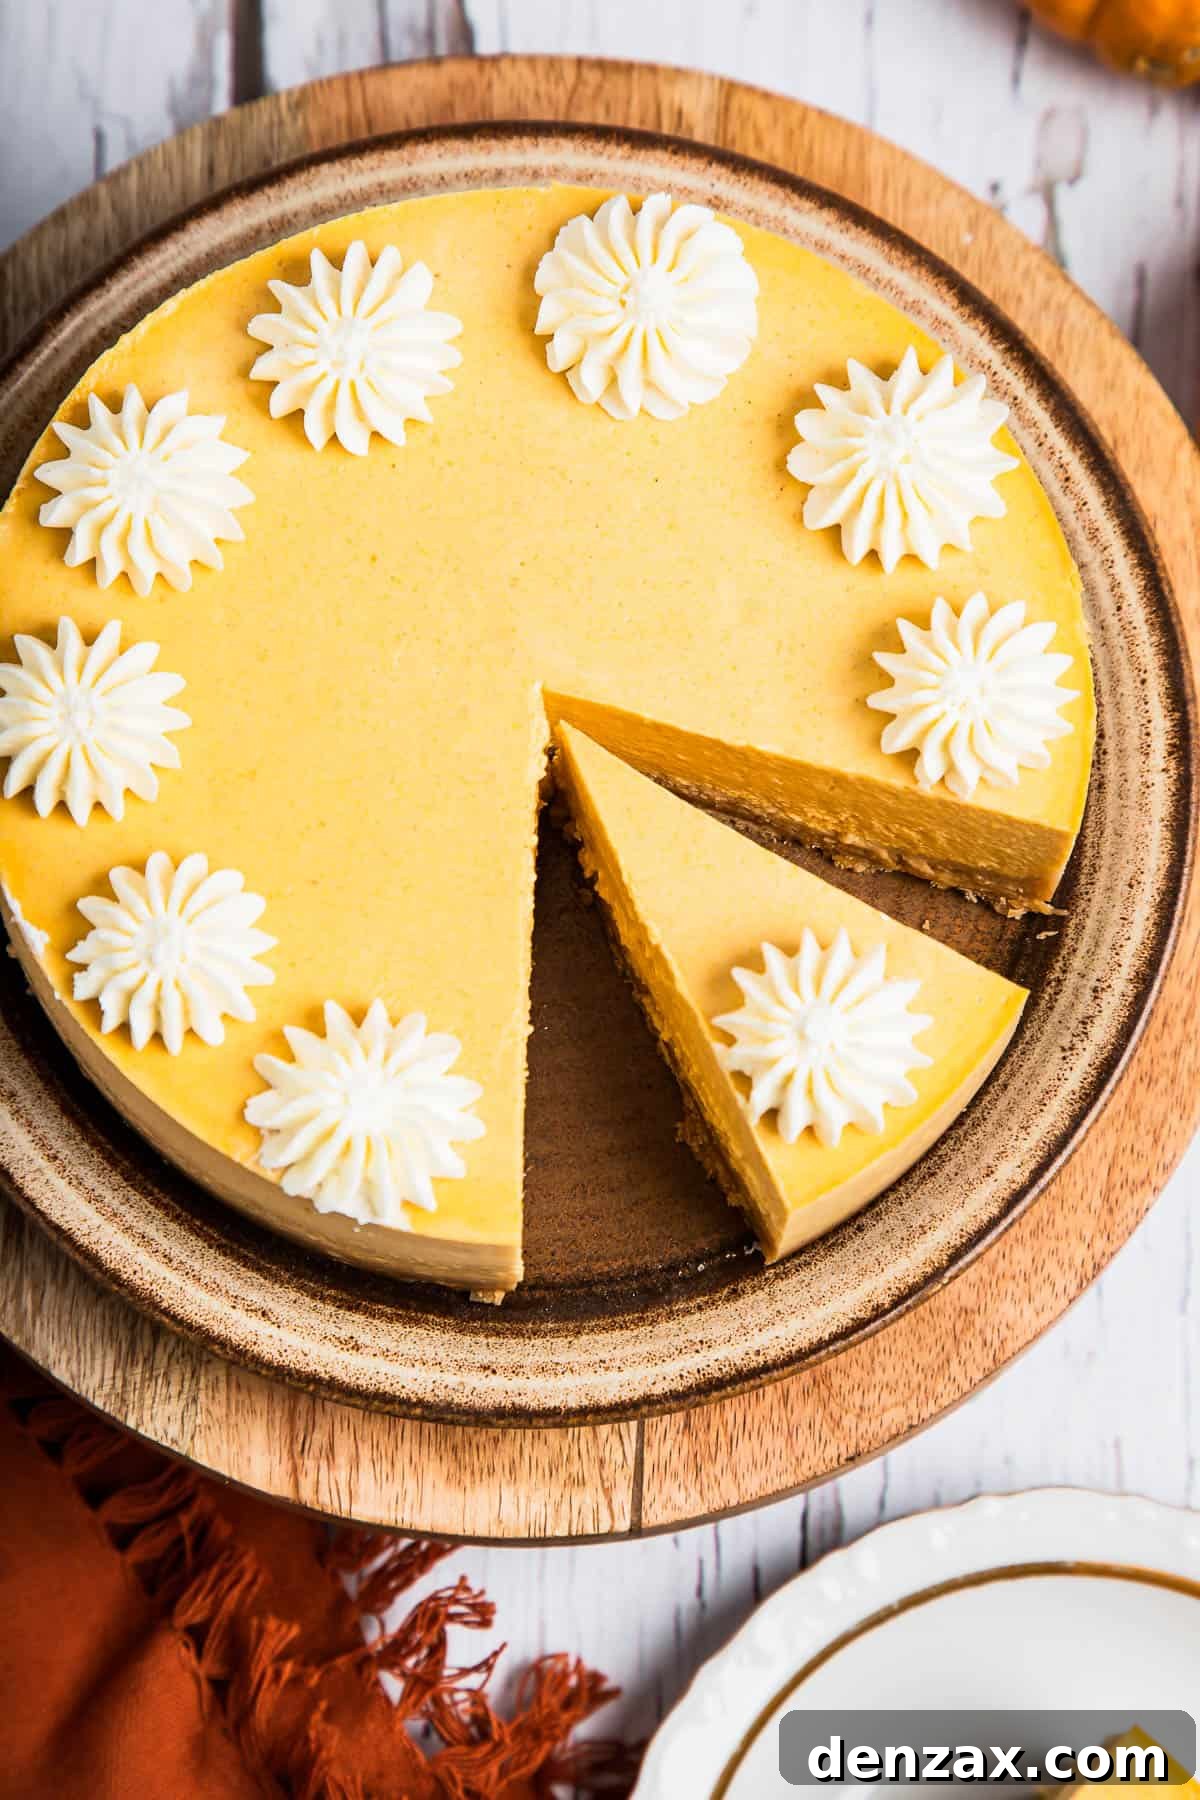
Instant Pot Pumpkin Cheesecake: The Ultimate Creamy Fall Dessert
Indulge in the rich, velvety perfection of this Instant Pot Pumpkin Cheesecake – a delightful twist on a classic dessert. Crafted with real pumpkin puree and a generous infusion of warm pumpkin pie spices, this cheesecake offers a luxurious, creamy texture that promises to be a family favorite. It’s not only incredibly delicious but also surprisingly simple to prepare in your Instant Pot, making it an ideal treat for holidays, gatherings, or any weeknight when a craving for something special strikes.
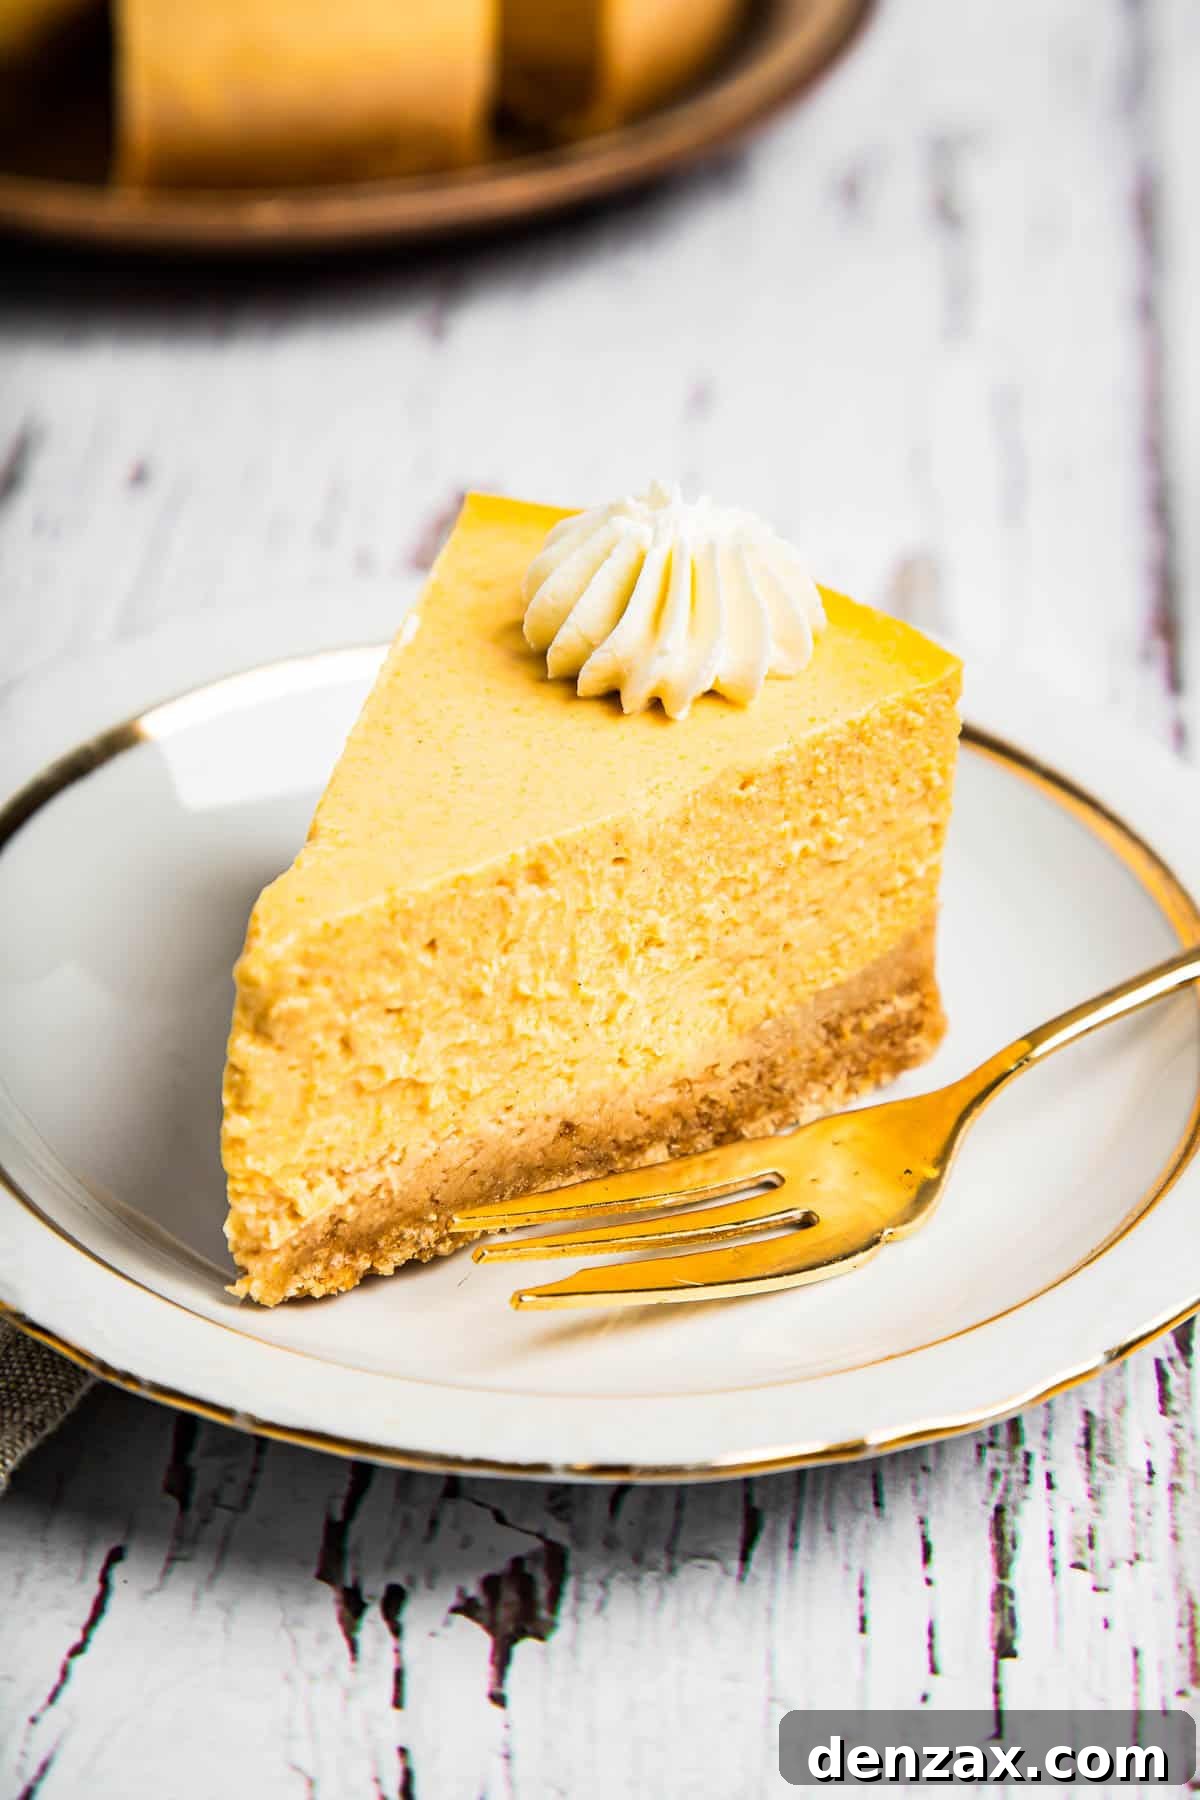
Effortless Homemade Cheesecake in Your Instant Pot!
Are you a devoted cheesecake enthusiast? If so, prepare to be amazed! While traditional cheesecake often requires a delicate water bath and careful oven monitoring, this recipe leverages the magic of your Instant Pot to deliver consistently perfect results with minimal fuss. Imagine a cheesecake so incredibly creamy and smooth, free from dreaded cracks, all achieved in a fraction of the time typically associated with baking. This isn’t just a dessert; it’s a testament to the versatility and convenience of pressure cooking.
The Instant Pot utilizes pressurized steam to cook food evenly and gently. By placing your cheesecake pan on a trivet, keeping it above the water in the pot, the steam creates an incredibly moist cooking environment. This environment is precisely what cheesecake loves, ensuring a delicate texture and preventing the dry edges and cracks often seen in oven-baked versions. It only takes about 30 minutes of pressure cooking to “bake” this magnificent dessert, followed by a crucial chilling period to allow it to firm up and reach its peak deliciousness. Get ready to impress your taste buds and your guests with this surprisingly easy method!
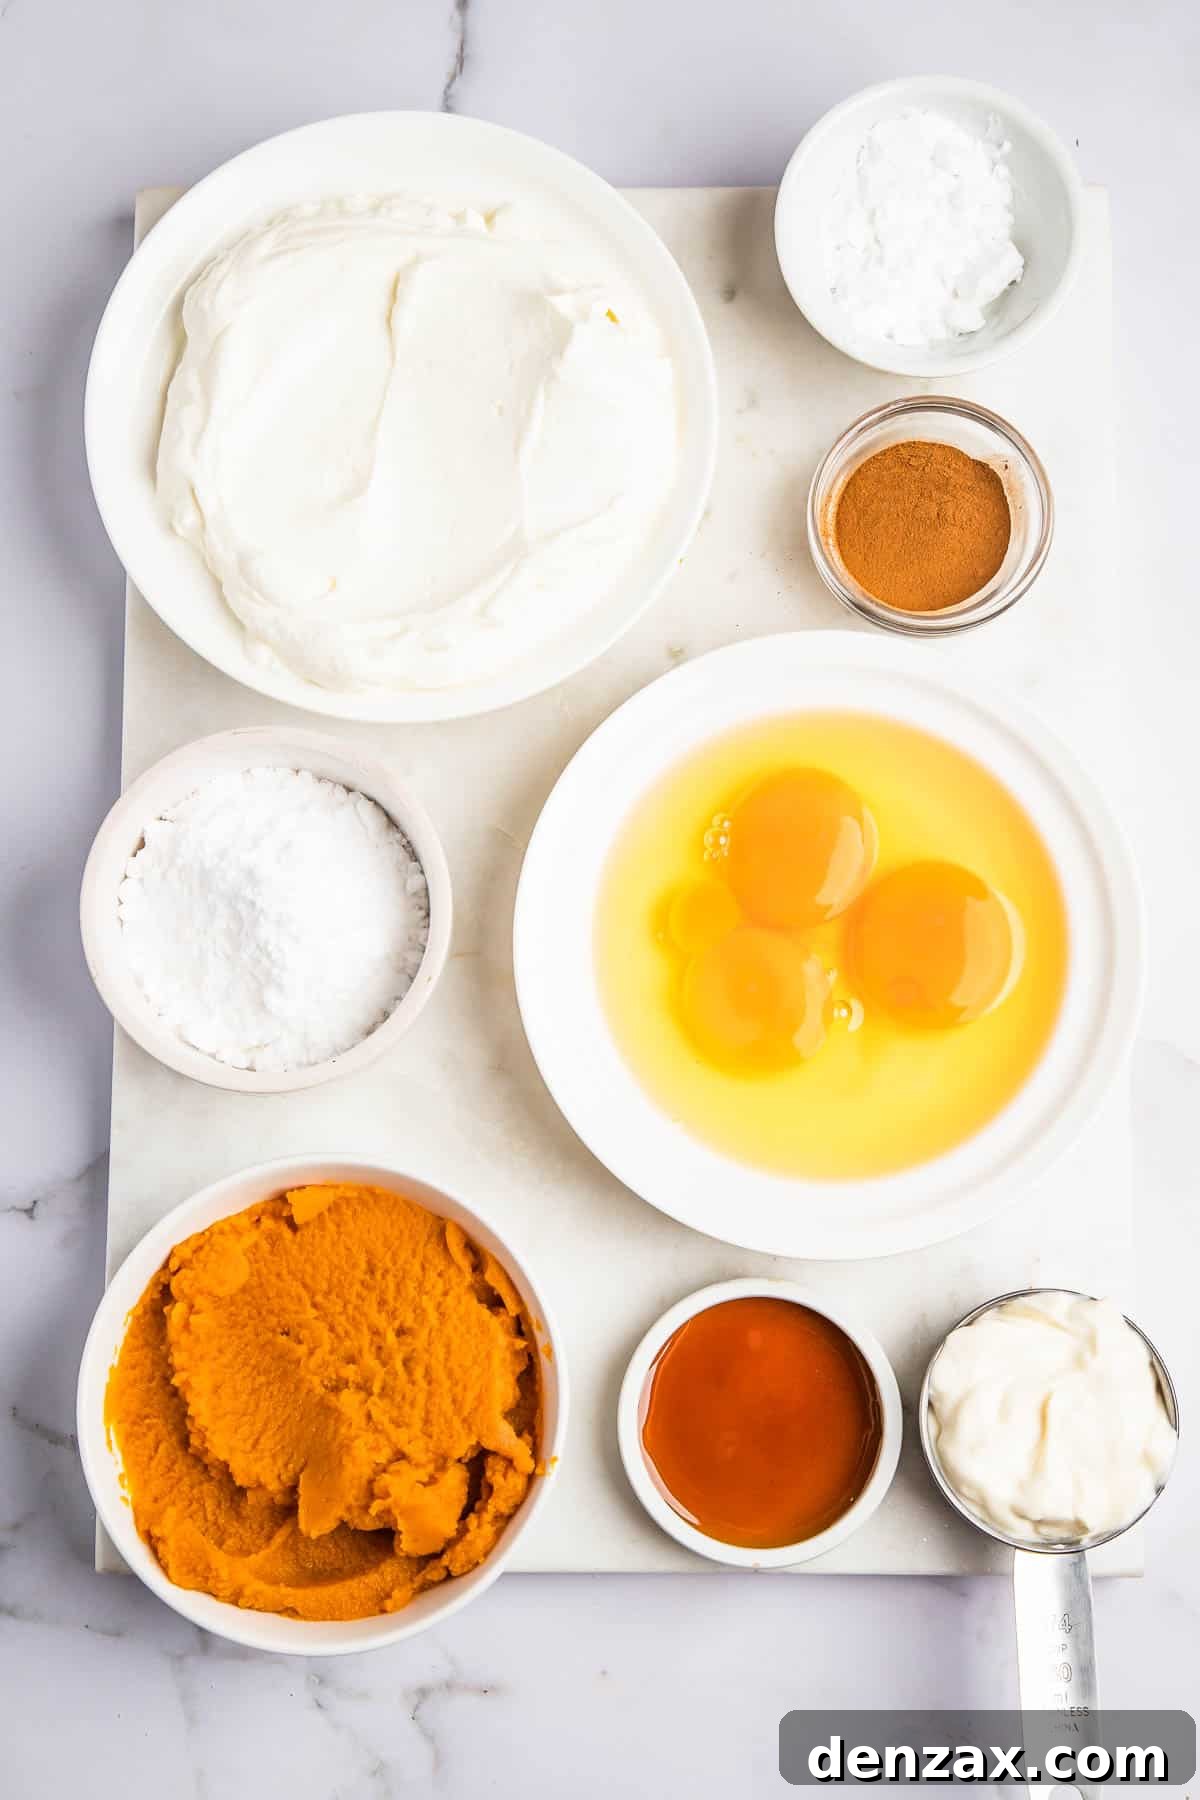
Essential Ingredients for Your Pumpkin Cheesecake Masterpiece
Crafting this Instant Pot Pumpkin Cheesecake requires a blend of classic cheesecake ingredients combined with the seasonal stars that give it its distinctive autumn flavor. Each component plays a vital role in achieving that perfect creamy texture and rich, spiced taste. Below, we’ll break down everything you need, along with tips for selecting the best ingredients. You’ll find the full recipe card with precise measurements and nutritional information further down in this post.
For the Perfect Graham Cracker Crust
- Graham Crackers: These form the sweet, buttery foundation of our cheesecake. For best results, crush them into very fine crumbs. You can achieve this easily using a food processor, or by placing them in a sturdy zip-top bag and crushing them with a rolling pin – a surprisingly satisfying stress reliever! If graham crackers aren’t available, digestive biscuits or even gingersnap cookies make fantastic alternatives, adding their own unique flavor profile.
- Melted Butter: Unsalted butter, once melted, acts as the binding agent for the crust, holding the crumbs together and adding a rich, nutty flavor. Ensure it’s fully melted but not boiling hot when you mix it with the crumbs.
- Brown Sugar: A touch of brown sugar in the crust enhances its sweetness and adds a subtle caramel note that complements the pumpkin filling beautifully. Feel free to adjust the amount or omit it if you prefer a less sweet crust.
For the Dreamy Pumpkin Cheesecake Filling
- Cream Cheese: Opt for full-fat block cream cheese, as it provides the essential richness and creamy texture for a truly decadent cheesecake. It’s crucial to soften the cream cheese to room temperature before mixing. This ensures a smooth, lump-free batter, which is key to a flawless cheesecake.
- Pumpkin Puree: This is the star of our show! Make sure you use 100% pure pumpkin puree, not pumpkin pie filling. Pumpkin pie filling contains added sugars and spices, which will alter the flavor balance and consistency of your cheesecake. Look for cans labeled simply “pumpkin.”
- Sour Cream: Just a couple of tablespoons of sour cream add a subtle tang and an incredibly smooth, luxurious texture to the cheesecake filling. Like the cream cheese, having it at room temperature helps it blend seamlessly into the batter. Full-fat Greek yogurt can be a substitute in a pinch, offering a similar tang and richness.
- Eggs: Two large eggs, plus an additional egg yolk, provide structure, richness, and help bind the cheesecake mixture together. Always use room temperature eggs for easier incorporation and to prevent shocking the cold cream cheese, which can lead to lumps.
- Powdered Sugar: Also known as confectioners’ sugar, powdered sugar is finer and dissolves more readily than granulated sugar, contributing to a wonderfully smooth and silky cheesecake texture without any graininess.
- Pumpkin Pie Spice: The heart of the autumn flavor! This warm spice blend typically consists of cinnamon, ginger, nutmeg, allspice, and cloves. You can use a pre-mixed blend for convenience or mix your own for a custom touch. The spice level can be adjusted to your preference.
- Cornstarch: A small amount of cornstarch (or all-purpose flour) acts as a stabilizer, helping to thicken the filling and prevent cracks in the finished cheesecake. It provides structural integrity without altering the taste significantly.
- Salt: A pinch of salt is vital in any sweet recipe, as it balances the sweetness and enhances all the other flavors, making the pumpkin and spice notes truly sing.
- Vanilla Extract: While optional, a tablespoon of pure vanilla extract adds a wonderful depth and aromatic complexity to the cheesecake, complementing the pumpkin and spices beautifully. Use good quality vanilla for the best flavor.
- Garnishes: Optional but highly recommended! A dollop of freshly whipped cream, a drizzle of rich caramel sauce, or a sprinkle of toasted pecans can elevate your finished cheesecake to an even more impressive dessert.
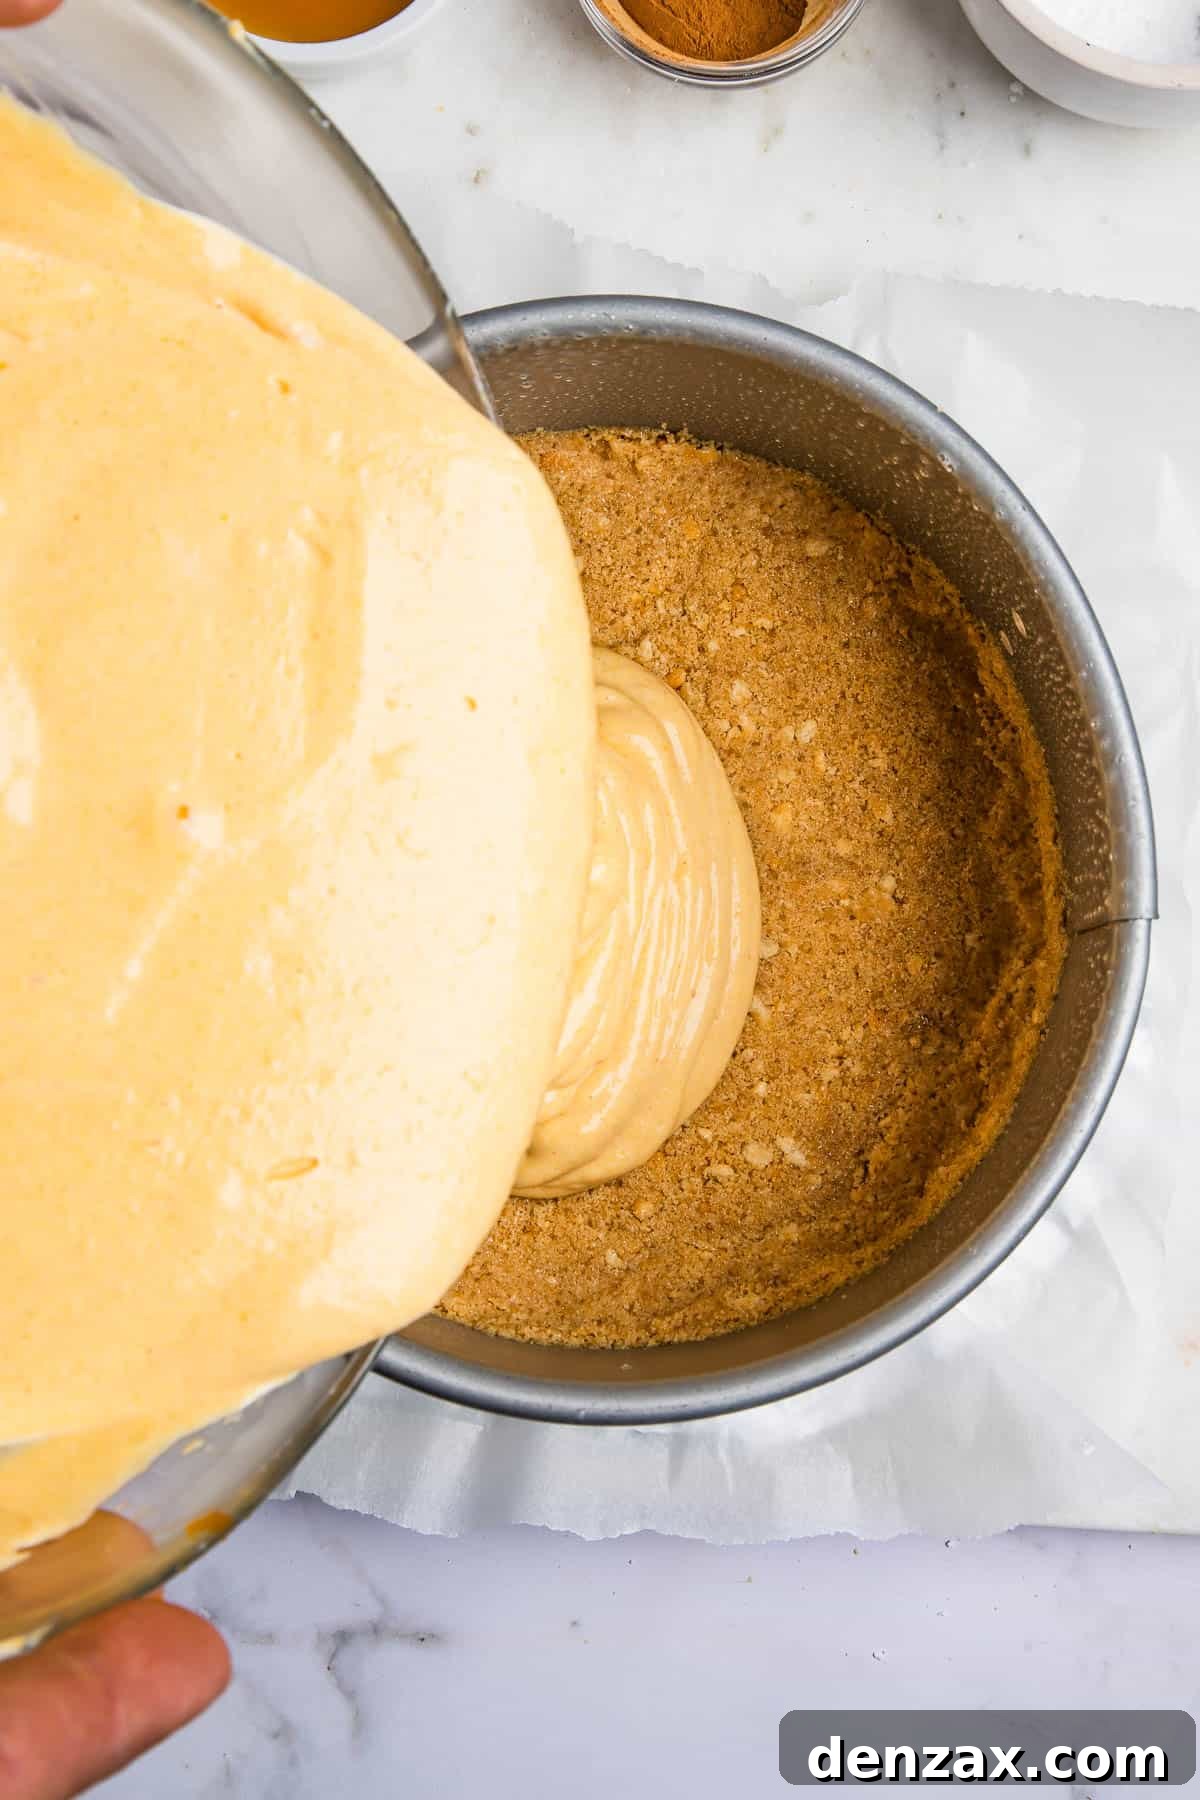
Step-by-Step: Crafting Your Instant Pot Pumpkin Cheesecake
Making cheesecake in the Instant Pot is a straightforward process once you understand the technique. Follow these detailed instructions to achieve a perfectly cooked, beautifully smooth, and utterly delicious pumpkin cheesecake. You’ll need your Instant Pot’s trivet for this; if you don’t have one, you can fashion a makeshift trivet using several metal cookie cutters or tightly scrunched-up pieces of aluminum foil to elevate the cheesecake pan above the water.
- Prepare the Springform Pan: For best results and easy removal, start by preparing your springform pan. Remove the bottom of a 7-inch springform pan, line it with a piece of parchment paper cut to size, and then re-attach it to the springform sides of the pan. This creates a seal that helps prevent any liquid from seeping in and makes transferring the cheesecake a breeze.
- Make the Crust: In a medium-sized mixing bowl, combine your finely crushed graham cracker crumbs, two teaspoons of brown sugar, and five tablespoons of melted butter. Use a fork to stir all the ingredients together until they are thoroughly combined and the mixture resembles wet sand. When pressed, it should hold its shape.
- Form the Crust: Spoon the graham cracker mixture into the bottom of your prepared springform pan. Using the bottom of a flat-surfaced glass, a measuring cup, or the back of a spoon, firmly press the crust mixture evenly across the bottom of the pan. Compact it well to create a sturdy base. Once formed, place the pan with the crust into the freezer for at least 15-20 minutes while you prepare the filling. This helps the crust set and prevents it from becoming soggy.
- Prepare the Filling Base: In a large mixing bowl, or the bowl of a stand mixer fitted with the paddle attachment, combine the softened cream cheese, sour cream, and cornstarch (or flour). Beat these ingredients together with a hand mixer on medium speed for about 30 seconds, or until the mixture is completely smooth and free of any lumps. Ensure all ingredients are at room temperature for the creamiest texture.
- Add Sweeteners and Vanilla: Next, add the powdered sugar and the optional vanilla extract to the cream cheese mixture. Continue beating on medium speed until these ingredients are fully incorporated and the batter is smooth and well-combined.
- Gently Incorporate Eggs: Add the two large eggs and the extra egg yolk to the batter. Mix on low speed *just* until they are combined. Be careful not to overmix at this stage, as incorporating too much air can cause the cheesecake to puff up excessively during cooking and then crack as it cools. You may even prefer to fold them in by hand.
- Fold in Pumpkin and Spice: Finally, add the pumpkin puree, pumpkin pie spice, and the pinch of salt to the cheesecake batter. Mix on low speed until the pumpkin and spices are evenly distributed, and the batter has a uniform, vibrant orange color. Scrape down the sides of the bowl as needed to ensure everything is well mixed.
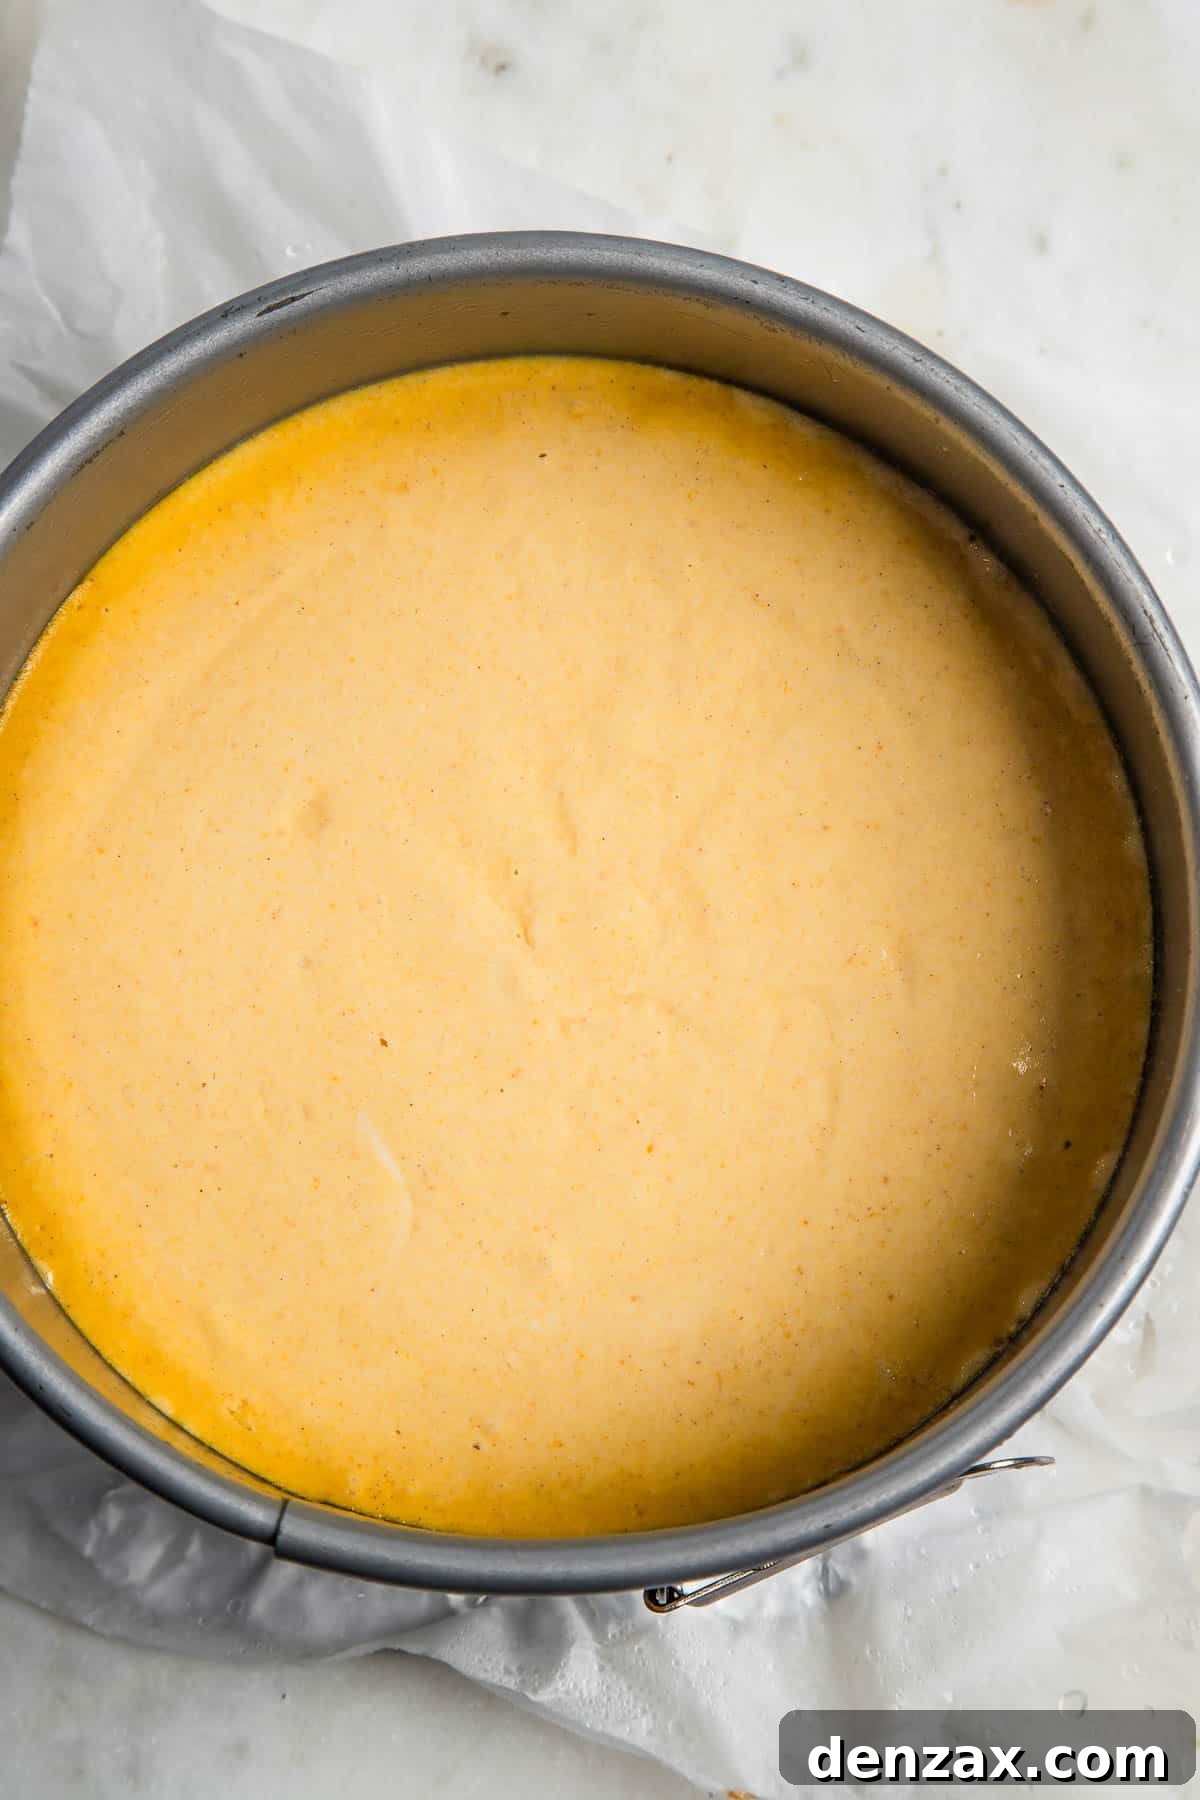
- Fill the Pan and Prepare for Pressure Cooking: Retrieve your chilled crust from the freezer. Carefully pour the smooth cheesecake batter over the prepared graham cracker crust in the springform pan. Gently tap the pan on your countertop a few times to release any trapped air bubbles from the batter.
- Set Up the Instant Pot: Pour approximately 1 cup of water into the bottom of your Instant Pot inner pot. Place the Instant Pot trivet (or your homemade foil sling) into the pot. This trivet will elevate your cheesecake above the water, allowing it to cook by steam without sitting directly in liquid.
- Load the Cheesecake: Carefully lower the springform pan containing the cheesecake onto the trivet in the Instant Pot. For an extra layer of protection against condensation and to prevent any water droplets from falling onto your cheesecake, you can loosely cover the top of the springform pan with aluminum foil, creating a small “tent” over it.
- Pressure Cook: Securely lock the Instant Pot lid into place, ensuring that the steam release valve is set to the “Sealing” position. Select the “Manual” or “Pressure Cook” setting on High pressure and set the cooking time for 30 minutes. The Instant Pot will take some time to come to pressure before the cooking countdown begins.
- Natural Pressure Release: Once the 30-minute cooking cycle is complete, allow the pressure to release naturally for at least 10 minutes. This means you do nothing and let the Instant Pot sit. The floating pressure indicator on the lid will drop once all the pressure has been released. A natural release is critical for cheesecake, as a sudden drop in pressure (quick release) can cause the cheesecake to crack. After 10 minutes, you can carefully turn the valve to “Venting” to release any remaining pressure, then open the lid.
- Cool and Chill: Carefully lift the cheesecake out of the Instant Pot using the handles of the trivet or your foil sling. You might notice some condensation on the surface of the cheesecake; gently blot this away with a paper towel. Place the cheesecake on a wire rack or countertop to cool completely to room temperature, which can take 1-2 hours. Once cooled, cover the cheesecake (still in its springform pan) tightly with plastic wrap and refrigerate for a minimum of 4 hours, or ideally, overnight. This chilling time is essential for the cheesecake to fully set and develop its firm, creamy texture.
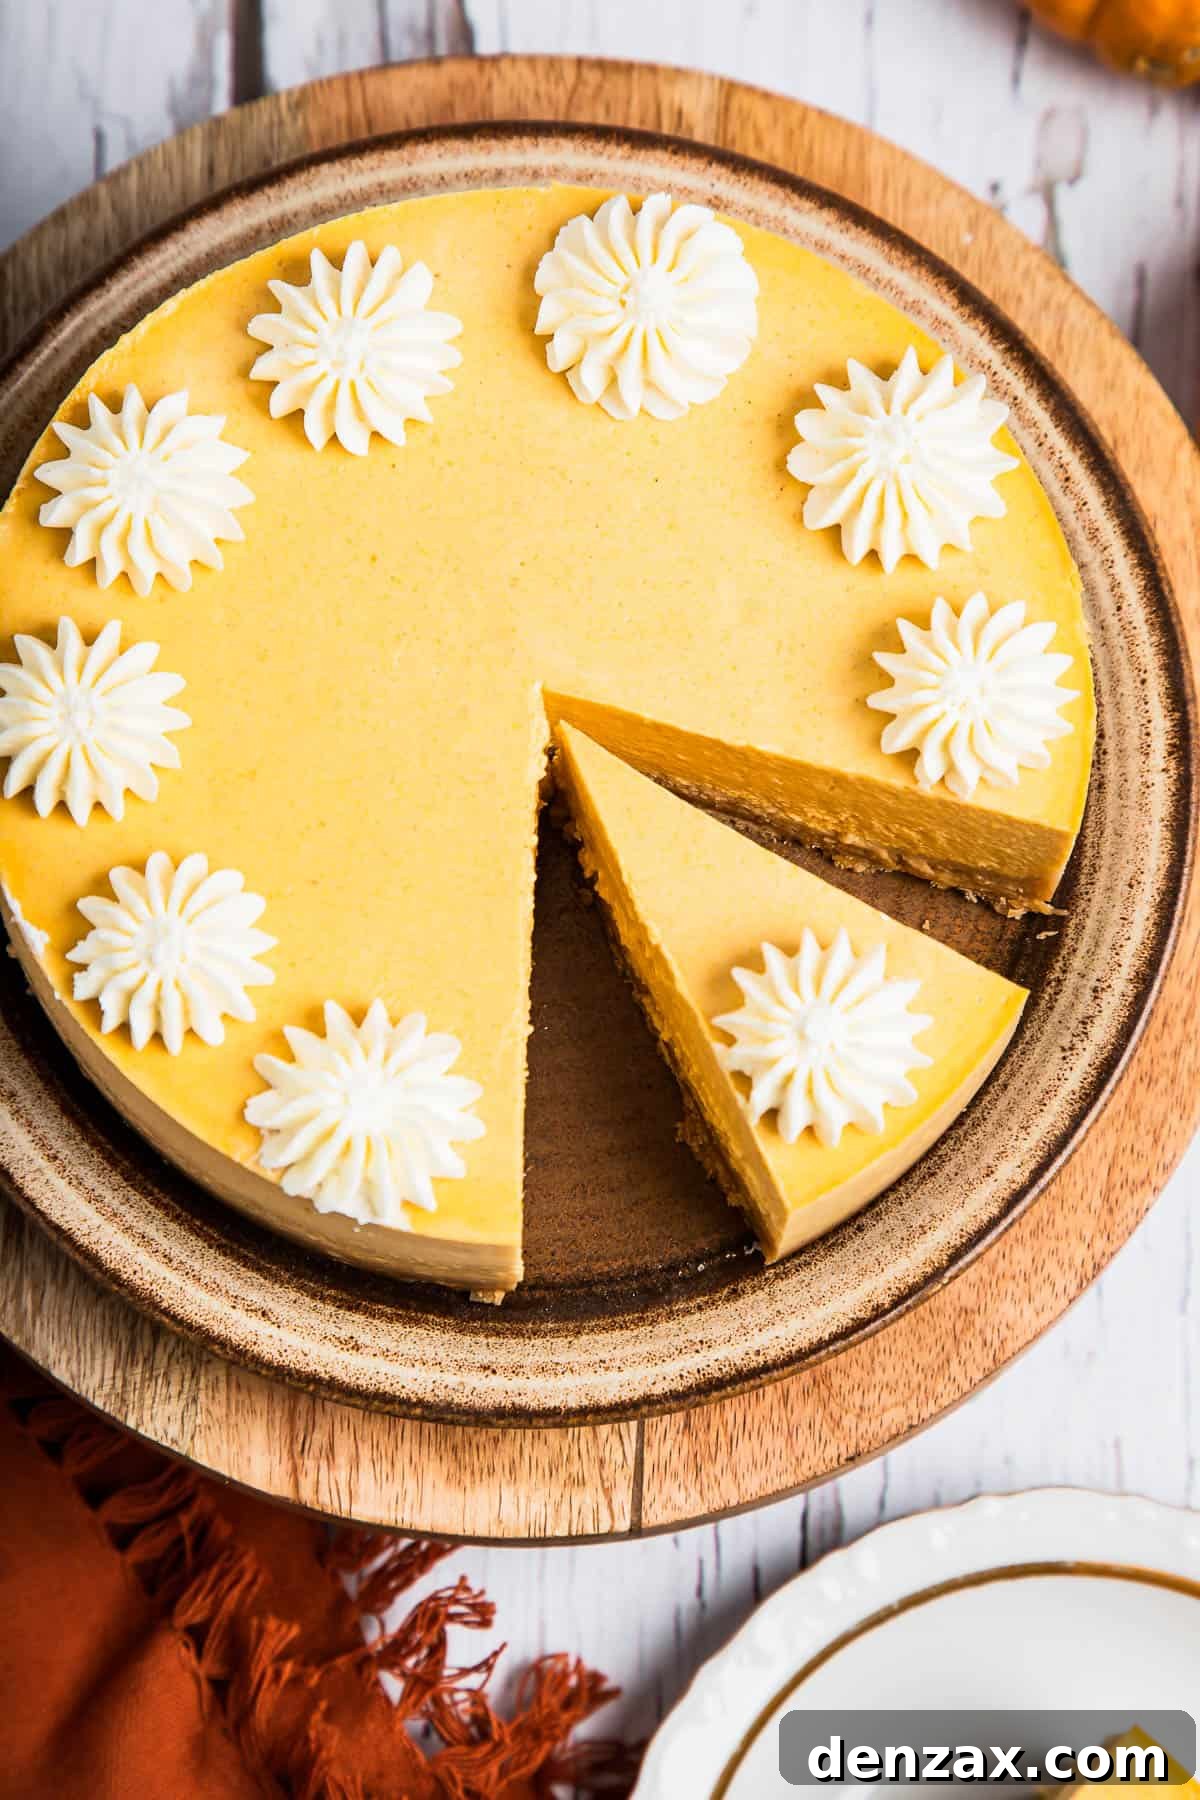
- Serve with Style: Once thoroughly chilled, remove the plastic wrap. Carefully release the springform collar and transfer the pumpkin cheesecake to a serving plate. For clean slices, use a sharp knife warmed under hot water and wiped clean between each cut. Serve your exquisite Instant Pot Pumpkin Cheesecake plain, or garnished with your favorite toppings like whipped cream or caramel sauce. Enjoy this delightful dessert!
Common Questions & Troubleshooting for Instant Pot Cheesecake
Can I make cheesecake without a springform pan?
Yes, absolutely! While a springform pan is highly recommended for its ease of serving and clean presentation, it’s not strictly essential for cooking the cheesecake itself. You can certainly make this Instant Pot Pumpkin Cheesecake in any small, heat-safe baking pan that fits comfortably inside your Instant Pot and is safe for high pressure. A round cake pan with high sides (e.g., 6 or 7 inches in diameter) made of metal or oven-safe glass would work. Just ensure it’s deep enough to hold the batter. When serving, you might need to run a thin knife around the edges and invert the cheesecake onto a plate, or serve it directly from the pan. Line the bottom with parchment paper and grease the sides well to assist with removal.
Why did my cheesecake crack?
Cracks in cheesecake are a common concern, but the Instant Pot method significantly reduces this risk! If cracks still appear, it’s often due to one of a few reasons:
- Overmixing the Batter: Especially after adding the eggs. Overmixing incorporates too much air, which expands during cooking and then collapses rapidly, leading to cracks. Mix just until combined.
- Sudden Temperature Changes: Rapid cooling can shock the cheesecake, causing it to contract unevenly and crack. The Instant Pot’s natural pressure release and subsequent gradual cooling to room temperature are designed to prevent this. Avoid placing a hot cheesecake directly into a cold refrigerator.
- Overcooking: While less common in the Instant Pot due to the moist environment, overcooking can still dry out the edges and lead to cracking. Follow the recommended cooking times and check for the signature “jiggle.”
How do I know when my Instant Pot cheesecake is done?
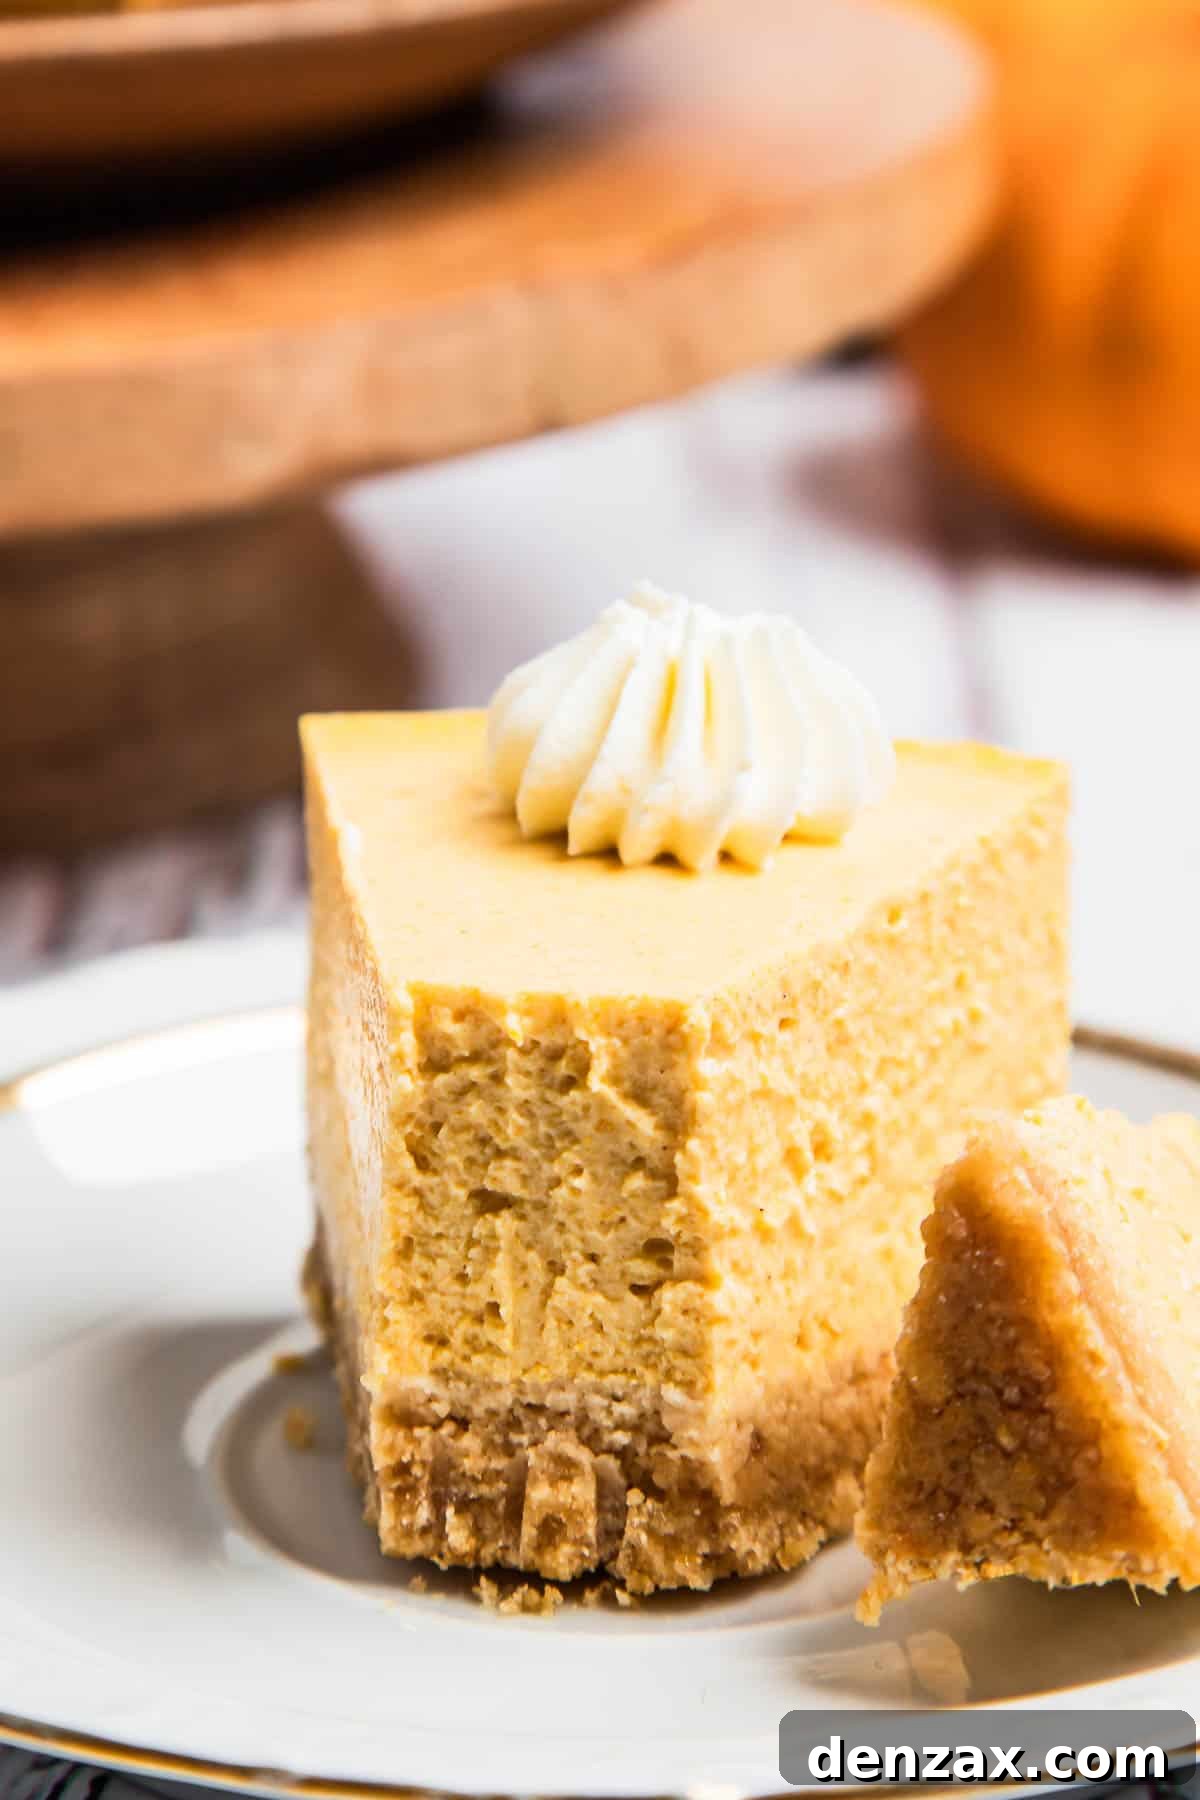
The “jiggle test” is your best friend here! After the natural pressure release and carefully removing the cheesecake from the Instant Pot, give the pan a gentle shake. The very center (about a 1-inch diameter) should still have a slight jiggle, similar to firm Jell-O. The edges should appear set. If more than an inch of the center is very jiggly or liquidy, it’s not quite done. You can return it to the Instant Pot for an additional 5-minute increment of high-pressure cooking, followed by another natural pressure release, until it reaches the desired doneness.
Can I use fresh pumpkin puree?
Yes, you can! If you have homemade pumpkin puree, it can absolutely be used in this recipe. Just ensure it’s thick and has a similar consistency to canned pumpkin puree. If it’s too watery, you might need to gently simmer it down on the stovetop to reduce excess moisture, as too much liquid can affect the cheesecake’s texture.
What size springform pan should I use?
For most standard 6-quart Instant Pots, a 7-inch springform pan is ideal, as it fits perfectly inside with enough clearance for the trivet and easy removal. If you have an 8-quart or larger Instant Pot, you might be able to use an 8-inch pan, but always measure to ensure it fits comfortably and leaves room for the trivet and lid to seal properly.
Pro Tips for Instant Pot Cheesecake Success
Making cheesecake in the Instant Pot is a rewarding experience, and with a few insider tips, you can ensure your pumpkin cheesecake turns out perfectly every single time. These helpful hints will guide you through the process, preventing common pitfalls and guaranteeing a show-stopping dessert.
- Don’t Overmix the Eggs: This is arguably the most crucial tip for any cheesecake! Once you’ve added the eggs to the cream cheese mixture, mix them in *just* until they are barely combined. Overmixing incorporates too much air into the batter, which can cause the cheesecake to puff up significantly during cooking and then sink and crack as it cools. For the best results, consider folding the eggs in gently by hand after the other ingredients are smooth.
- Room Temperature Ingredients are Key: Ensure your cream cheese, sour cream, and eggs are all at room temperature before you begin mixing. Cold ingredients don’t emulsify properly with each other, leading to a lumpy batter. Room temperature ingredients blend smoothly and evenly, resulting in that signature silky, creamy cheesecake texture. Take them out of the fridge at least an hour before you plan to start baking.
- The Jiggle Test for Doneness: After the natural pressure release and once you’ve removed the cheesecake from the Instant Pot, give the pan a slight, gentle shake back and forth. The center of the cheesecake should gently jiggle, much like a firm custard or Jell-O. The outer edges, however, should appear set and firm. If the jiggle extends more than about an inch from the center, the cheesecake needs a little more time. Return it to the Instant Pot and pressure cook on high for additional 5-minute increments until it reaches the correct consistency.
- Proper Cooling is Crucial: The cooling process is as important as the cooking itself. First, allow the cheesecake to cool completely to room temperature on a wire rack outside the Instant Pot (this can take 1-2 hours). During this period, the cheesecake continues to set gently. ONLY after it has reached room temperature should you cover it and transfer it to the refrigerator. Chilling for at least 4 hours, or ideally overnight, allows the cheesecake to firm up fully, intensifying its flavor and achieving the perfect sliceable texture. Impatience here will lead to a gooey, messy slice!
- Prevent Water Droplets: Although the Instant Pot uses steam, sometimes condensation can form on the lid and drip onto the cheesecake surface. To prevent this, you can loosely cover the top of your springform pan with aluminum foil before placing it into the Instant Pot. Create a dome with the foil so it doesn’t touch the cheesecake directly. This acts as a shield, keeping your cheesecake top perfectly smooth and dry.
Elevate Your Dessert: Creative Serving Suggestions
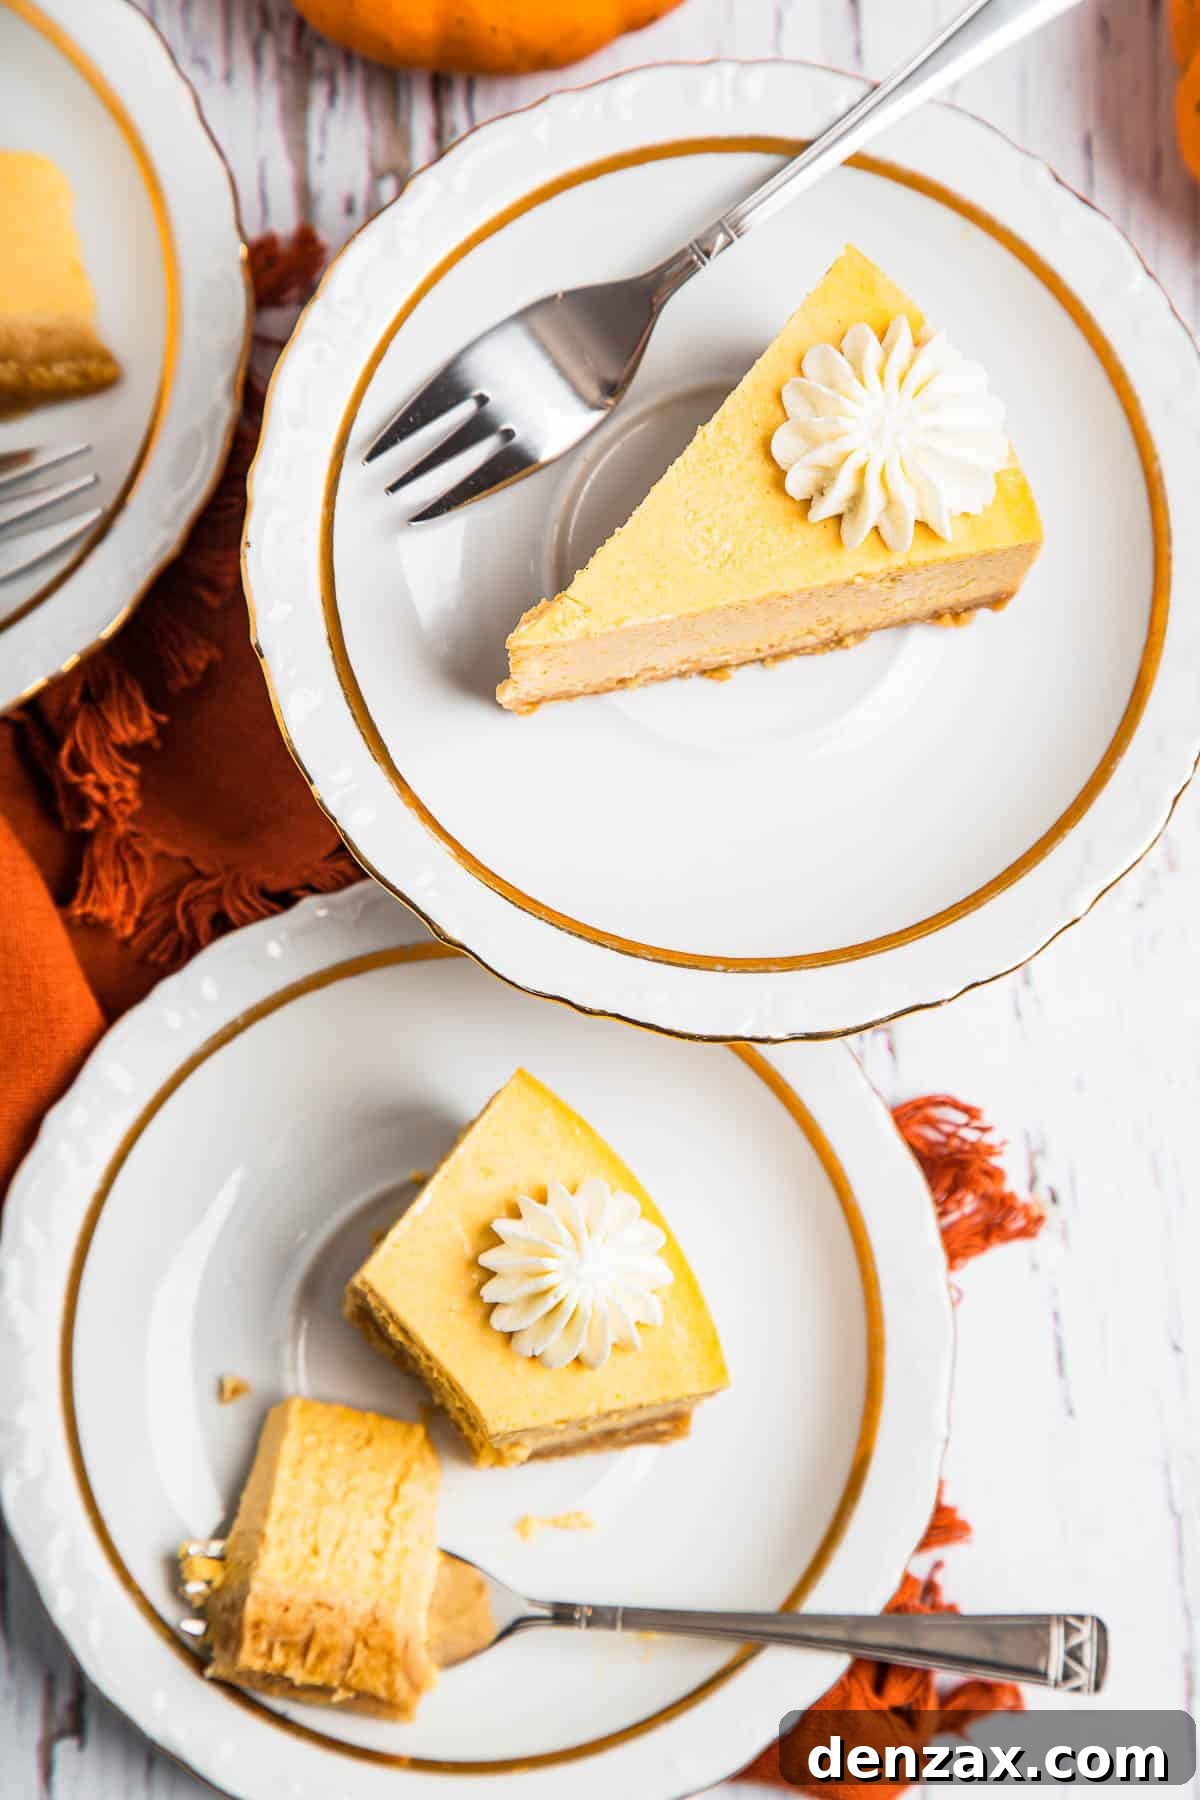
This Instant Pot Pumpkin Cheesecake is an absolute delight served simply on its own, especially when perfectly chilled and perhaps accompanied by a steaming cup of coffee or a warm mug of spiced cider. However, if you’re looking to add an extra touch of elegance or customize it further, here are some fabulous topping ideas to take your dessert to the next level:
- Classic Whipped Cream: A generous dollop of freshly whipped cream is always a crowd-pleaser. For an extra touch, infuse it with a hint of vanilla or a dash of cinnamon.
- Rich Caramel Sauce: A luscious drizzle of caramel sauce, especially a homemade salted caramel, beautifully complements the pumpkin and spice notes.
- Decadent Chocolate: Sprinkle with chocolate shavings (dark, milk, or white chocolate), or perhaps a silky smooth white chocolate ganache or dark chocolate ganache for a touch of bitter-sweet elegance.
- Fruit Compotes: A tart berry compote (like cranberry or mixed berry) can offer a lovely contrast to the richness of the cheesecake, making for a beautiful presentation and flavor profile.
- Chopped Nuts: Toasted pecans, walnuts, or even candied almonds add a delightful crunch and nutty flavor.
- Gingersnap Crumbles: Crush some gingersnap cookies and sprinkle them over the top. The spicy, sweet crunch reinforces the fall flavors and adds fantastic texture.
- Dulce de Leche: A rich, thick, and creamy dulce de leche offers a deep caramel flavor that pairs exquisitely with pumpkin.
- Marshmallow Creme: For a fun and festive touch, pipe marshmallow creme on top and lightly toast it with a kitchen torch for a s’mores-like experience.
- Espresso or Coffee Powder: A light dusting of cocoa powder or finely ground espresso powder can enhance the depth of flavor and add a sophisticated visual appeal.
Storing Your Delicious Pumpkin Cheesecake
Unlike many other baked goods, cheesecake requires refrigeration to maintain its firm texture and ensure freshness. Proper storage is key to enjoying your delicious creation for days after it’s made.
- Cool First: Always allow the cheesecake to cool completely to room temperature before refrigerating it. This prevents condensation from forming excessively on the surface and helps it set properly.
- Airtight is Best: Once cooled, transfer the cheesecake (either whole or in slices) into airtight containers. For a whole cheesecake, a cake plate with a fitted dome lid works wonderfully to protect it. Individual slices can be stored in smaller, airtight food containers.
- Refrigerator Life: When properly stored in the refrigerator, this Instant Pot Pumpkin Cheesecake will stay fresh and delicious for up to 5 days.
Freezing Pumpkin Cheesecake for Later Enjoyment
Yes, you can absolutely freeze pumpkin cheesecake, making it an excellent make-ahead dessert! While the texture may change ever so slightly upon thawing (it might be a touch softer), it will still be incredibly delicious.
- Preparation for Freezing: Ensure the cheesecake is fully cooled and chilled in the refrigerator first. If freezing a whole cheesecake, remove it from the springform pan and place it on a cardboard cake round. Wrap the cheesecake tightly first in plastic wrap, ensuring there are no exposed areas. Then, wrap it again in a layer of heavy-duty aluminum foil. For individual slices, wrap each slice securely in plastic wrap, then foil.
- Freezer Life: Properly wrapped, pumpkin cheesecake can be stored in an airtight container or freezer bag in the freezer for up to 1 month for optimal quality. Beyond this, it’s still safe to eat but might start to lose some flavor or texture.
- Thawing Instructions: When you’re ready to enjoy, transfer the frozen cheesecake (still wrapped) to the refrigerator and allow it to thaw slowly overnight. This gradual thawing process helps maintain the best possible texture. Once thawed, you can slice and serve as usual.
Instant Pot Pumpkin Cheesecake Recipe
This recipe brings together the classic flavors of pumpkin pie and creamy cheesecake, all made effortlessly in your Instant Pot. Enjoy this rich, spiced dessert for any occasion!
Prep Time: 15 minutes
Cook Time: 30 minutes
Pressure Release: 10 minutes (Natural Release)
Total Time: Approximately 1 hour (plus chilling time)
Yields: 8 servings
Ingredients
For the Crust:
- 1 cup graham cracker crumbs (find here)
- 5 tablespoons melted unsalted butter
- 2 teaspoons light brown sugar
For the Cheesecake Filling:
- 16 ounces (two 8-oz blocks) full-fat cream cheese, softened to room temperature
- 1 cup pumpkin puree (not pumpkin pie filling) (find here)
- 2 tablespoons sour cream, at room temperature (find here)
- 2 large eggs, at room temperature
- 1 extra large egg yolk, at room temperature
- ¾ cup powdered sugar
- ½ teaspoon pumpkin pie spice (find here)
- 2 tablespoons cornstarch or all-purpose flour
- Pinch of fine sea salt
- 1 tablespoon pure vanilla extract (optional, but recommended)
- Whipped cream or caramel sauce, for serving (optional garnishes) (caramel sauce)
Instructions
- Prepare the Pan: Remove the bottom of a 7-inch springform pan, line it with a piece of parchment paper, and re-attach it to the springform sides of the pan. This prevents leaks and makes removal easier.
- Make the Crust: In a medium mixing bowl, combine the graham cracker crumbs, brown sugar, and melted butter. Stir thoroughly with a fork until the mixture resembles wet sand and holds together when pressed.
- Form the Crust: Spoon the crust mixture into the prepared springform pan. Use the bottom of a flat-bottomed glass or a measuring cup to firmly press the mixture evenly across the bottom of the pan. Place the pan with the crust into the freezer while you prepare the cheesecake filling to help it set.
- Mix Cream Cheese Base: In a large mixing bowl, using a hand mixer or stand mixer with the paddle attachment, beat the softened cream cheese, sour cream, and cornstarch (or flour) together on medium speed for about 30 seconds until smooth and lump-free.
- Incorporate Sweeteners and Flavor: Add the powdered sugar and vanilla extract to the cream cheese mixture and mix well until fully combined and smooth.
- Add Eggs Carefully: Gently beat in the two eggs and the extra egg yolk, mixing just until they are combined. Overmixing the eggs can incorporate too much air, leading to cracks in the cheesecake.
- Fold in Pumpkin & Spice: Finally, add the pumpkin puree, pumpkin pie spice, and a pinch of salt to the batter. Mix on low speed until everything is evenly incorporated and the batter is smooth and uniformly orange.
- Fill the Pan: Pour the cheesecake batter over the chilled graham cracker crust in the springform pan. Gently tap the pan on the counter a few times to release any large air bubbles.
- Set Up Instant Pot: Pour approximately 1 cup of water into the bottom of your Instant Pot liner. Place the Instant Pot trivet (or a homemade foil sling) into the pot. (Instant Pot Trivet)
- Load Cheesecake: Carefully lower the springform pan onto the trivet. For added protection against condensation, you can loosely cover the top of the springform pan with aluminum foil, creating a “tent” without touching the cheesecake surface.
- Pressure Cook: Secure the Instant Pot lid, ensuring the sealing ring is properly in place, and turn the steam release valve to the “Sealing” position. Select the “Manual” or “Pressure Cook” setting on High pressure and set the timer for 30 minutes.
- Natural Pressure Release: Once the cooking cycle is complete, allow the pressure to release naturally for at least 10 minutes (or until the floating valve drops on its own). This gradual release is crucial to prevent cracking. Do not quick-release.
- Remove & Pat Dry: Carefully open the lid once the pressure is fully released. Gently lift the cheesecake out of the Instant Pot using the trivet handles or a foil sling. There might be some condensation on top; gently pat it dry with a paper towel.
- Cool & Chill: Allow the cheesecake to cool completely on a wire rack at room temperature for at least 1-2 hours. Once it reaches room temperature, cover the cheesecake (still in the springform pan) with plastic wrap and refrigerate for a minimum of 4 hours, or ideally, overnight, to allow it to fully set.
- Serve: Once thoroughly chilled, remove the plastic wrap. Carefully release the springform collar. Transfer the cheesecake to a serving plate. Slice with a sharp, warm knife and serve plain or garnished with whipped cream, caramel sauce, or your preferred toppings. Enjoy!
Nutrition Information
Nutritional values are estimates only, calculated per serving (based on 8 servings). These values can vary significantly based on ingredients used, specific brands, and portion sizes. Please use a trusted nutritional calculator for precise information tailored to your specific preparation.
- Calories: 388 kcal
- Carbohydrates: 27g
- Protein: 6g
- Fat: 28g
- Saturated Fat: 16g
- Polyunsaturated Fat: 1g
- Monounsaturated Fat: 8g
- Trans Fat: 1g
- Cholesterol: 144mg
- Sodium: 323mg
- Potassium: 188mg
- Fiber: 1g
- Sugar: 18g
- Vitamin A: 5813 IU
- Vitamin C: 1mg
- Calcium: 88mg
- Iron: 1mg
More Delectable Dessert Recipes
- Irresistible Peach Crisp Recipe
- Simple & Decadent Easy Chocolate Cake
- Sweet & Tart Cherry Kuchen Bars