
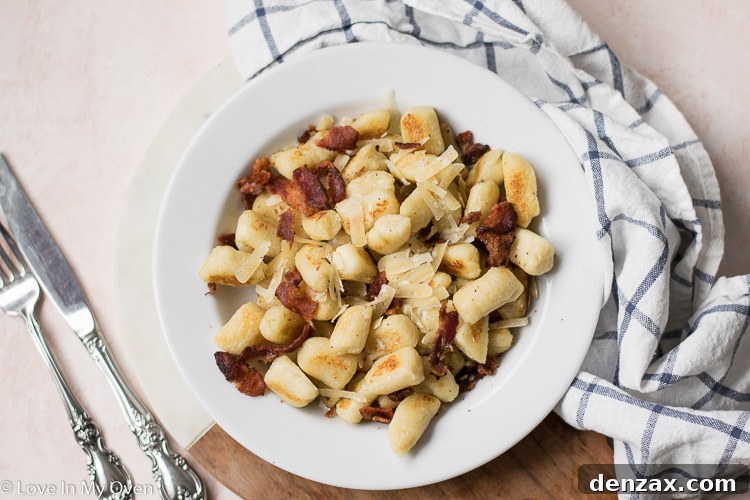
Discover the secret to making delicious homemade cauliflower gnocchi with just 3 simple ingredients and no special equipment! This recipe transforms humble cauliflower into tender, pillowy gnocchi that’s sure to become a family favorite. Say goodbye to store-bought and hello to fresh, wholesome comfort food.
As the crisp winter air descends, there’s nothing quite like wrapping yourself in a warm blanket and indulging in comforting, soul-satisfying dishes. While we’ve been fortunate with mild winter weather so far, the forecast hints at a looming polar vortex, promising a significant drop in temperatures! This means it’s prime time for cozy culinary creations, and I’m thrilled to share a recipe that perfectly fits the bill.
Speaking of ultimate comfort, have you tried my cheesy tuna casserole yet? It’s a true classic for a reason! Today, however, we’re diving into another heartwarming dish that’s surprisingly easy to make and requires only three essential ingredients. Get ready to elevate your comfort food game with homemade cauliflower gnocchi!
Forget everything you thought you knew about making gnocchi from scratch. This recipe is designed to be accessible for everyone, regardless of their culinary experience. With minimal fuss and maximum flavor, you’ll be whipping up these delightful cauliflower dumplings in no time. It’s a fantastic way to enjoy a vegetable-packed meal that feels incredibly indulgent, making it a healthy twist on a beloved Italian staple.
What Exactly is Cauliflower Gnocchi? A Healthy Twist on a Classic
Traditional Italian gnocchi, a beloved pasta alternative, typically consists of just a few simple ingredients: potatoes, flour, and salt. These tender, bite-sized dumplings are celebrated for their soft, pillowy texture. Cauliflower gnocchi, on the other hand, puts a modern, vegetable-forward spin on this classic by substituting the potato with cauliflower. This ingenious swap not only reduces the carb count but also infuses the dish with added nutrients and a subtle, earthy flavor.
Cauliflower gnocchi has surged in popularity recently, largely thanks to versions found in grocery stores like Trader Joe’s, which have garnered a cult following. While I can only dream of a Trader Joe’s here in Canada, the excitement around their cauliflower gnocchi inspired me to create an equally delicious (and even fresher!) homemade alternative. My own journey into gnocchi-making was actually sparked by my son Wally’s cooking kit, which featured a sweet potato gnocchi recipe that we all adored. That experience proved that making gnocchi at home isn’t daunting, but rather a rewarding culinary adventure!
This cauliflower version offers a lighter, yet equally satisfying, alternative to traditional potato gnocchi. It maintains that desirable soft, chewy consistency while providing a fantastic way to incorporate more vegetables into your diet. Whether you’re looking for a healthier pasta option, a gluten-conscious meal, or simply a new way to enjoy cauliflower, this recipe delivers on all fronts.
How to Master Homemade Cauliflower Gnocchi: Step-by-Step
Creating perfect cauliflower gnocchi at home is a straightforward process, especially when you follow these key steps. The secret to achieving that ideal pillowy texture lies in proper cauliflower preparation.
Step 1: Preparing the Cauliflower
Begin with a small head of fresh cauliflower, yielding approximately 5 cups of florets. Precision here is important, as too much or too little cauliflower can affect the flour ratio and overall dough consistency. Once you’ve chopped your cauliflower into florets, give them a quick measure to ensure you’re in the right ballpark. If using frozen cauliflower florets, simply measure them out while still frozen.
Bring a large pot of salted water to a rolling boil. Add your cauliflower florets to the boiling water and cook for about 5-6 minutes until they are tender enough to pierce with a fork, but not mushy. For frozen florets, the cooking time will be similar. If you opt for cauliflower rice, reduce the boiling time to about 3 minutes, as it cooks much faster.
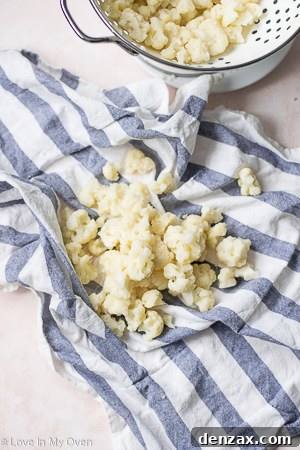
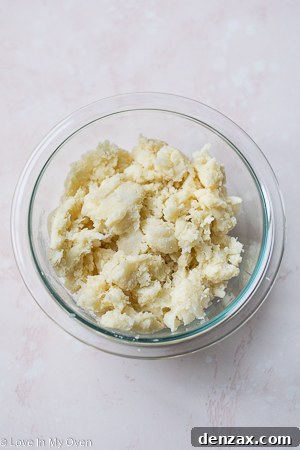
Once cooked, immediately drain the cauliflower thoroughly in a colander. This next step is perhaps the most crucial for perfect gnocchi: allowing it to cool and removing as much moisture as possible. Let the drained cauliflower cool down until it’s no longer hot to the touch and no steam is rising from it. Excess moisture is the enemy of tender gnocchi, making the dough sticky and difficult to work with.
To effectively remove water, transfer the cooled cauliflower to a clean dishtowel or a few layers of cheesecloth. Gather the edges and squeeze, twist, and press the cauliflower with all your might. You’ll be surprised how much liquid comes out! Continue squeezing until the cauliflower is as dry and crumbly as possible. This intensive draining process is vital for achieving a light, firm gnocchi dough that holds its shape and cooks beautifully.
Step 2: Forming the Gnocchi Dough
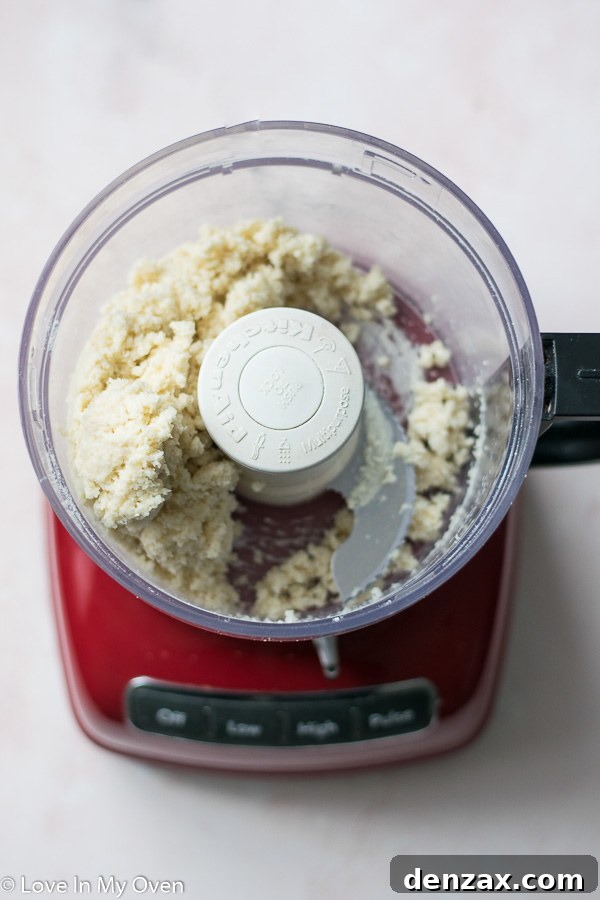
Transfer your dry, crumbly cauliflower to a food processor. Pulse a few times until the cauliflower is finely minced, almost resembling a coarse meal. Be careful not to over-process it into a paste. Next, add the all-purpose flour and salt to the food processor. Pulse again until all the ingredients are well combined and the mixture starts to come together, forming a rough dough “ball.” You might need to pause and scrape down the sides of the food processor with a spatula to ensure everything is evenly incorporated.
To test the consistency of your dough, lightly touch it with your finger. It should feel slightly sticky but shouldn’t leave a significant gooey residue on your finger. If the dough is excessively sticky and wet, add another tablespoon or two of flour and pulse once more. The goal is a pliable dough that is manageable without being overly dry or crumbly. Remember, the exact amount of flour can vary slightly depending on the moisture content of your cauliflower, so trust your instincts and the dough’s feel.
Step 3: Shaping the Gnocchi
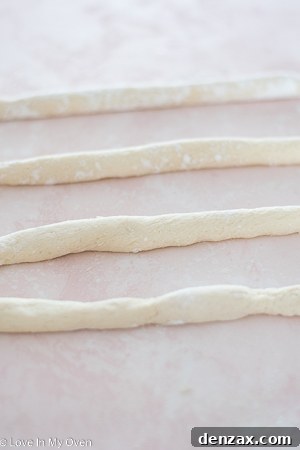
Once your dough is ready, lightly flour your hands and a clean work surface. Divide the dough into four roughly equal portions. Don’t worry about perfect precision; your best guess is good enough. Take one portion of dough and, using your floured hands, gently roll it back and forth on your floured surface to form a long, even rope, about 1 inch in thickness. Repeat this process with the remaining three portions of dough.
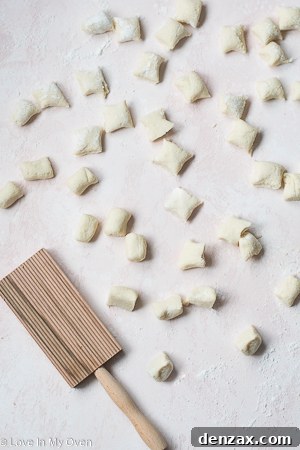
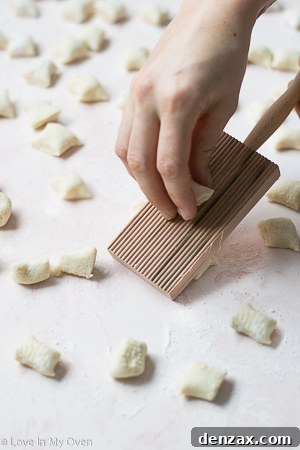
Next, using a sharp paring knife, slice each rope into 1-inch pieces. These will be your individual gnocchi dumplings. For that classic gnocchi appearance and texture, you can roll each piece over a gnocchi board to create ridges. If you don’t have a gnocchi board, the tines of a fork work perfectly! These ridges aren’t just for aesthetics; they help the gnocchi hold onto sauces beautifully, ensuring every bite is packed with flavor. As you finish shaping, place the gnocchi on a lightly floured baking sheet or parchment paper to prevent sticking until you’re ready to cook them.
How to Perfectly Cook Homemade Cauliflower Gnocchi
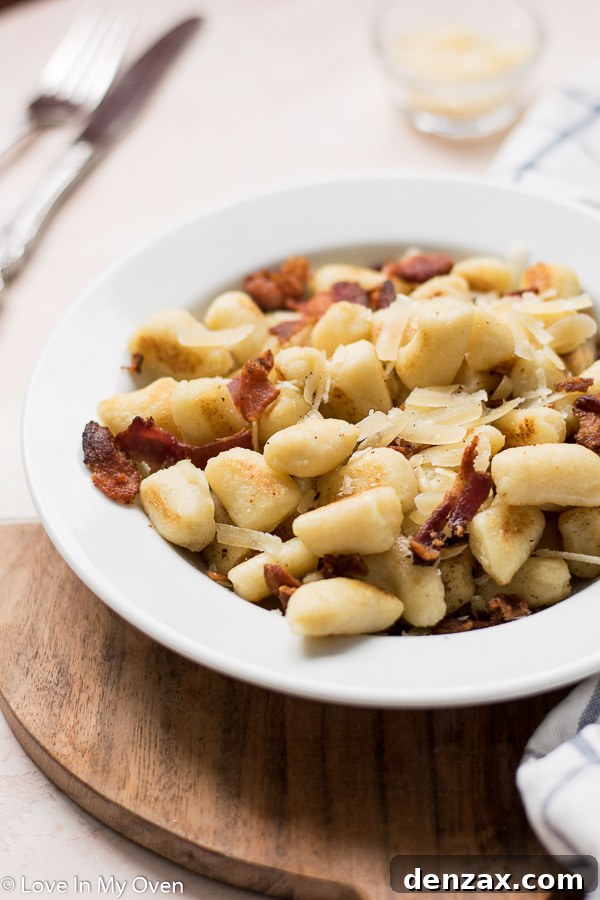
Once your beautiful cauliflower gnocchi are shaped, it’s time to cook them to perfection. While there are several methods, my absolute favorite is sautéing in a pan. This technique creates a delightful golden, crispy exterior while keeping the inside wonderfully soft and pillowy – a truly dreamy combination!
Pan-Sautéing for Crispy Perfection
To achieve that irresistible crispy edge, I often start by frying some bacon in a pan. Once the bacon is cooked to your desired crispness, remove it and most of the rendered fat, leaving behind about 1 tablespoon of that flavorful grease. This bacon fat adds incredible depth of flavor to the gnocchi. If you prefer to skip the bacon, simply heat 1 tablespoon of olive oil or butter in the pan instead.
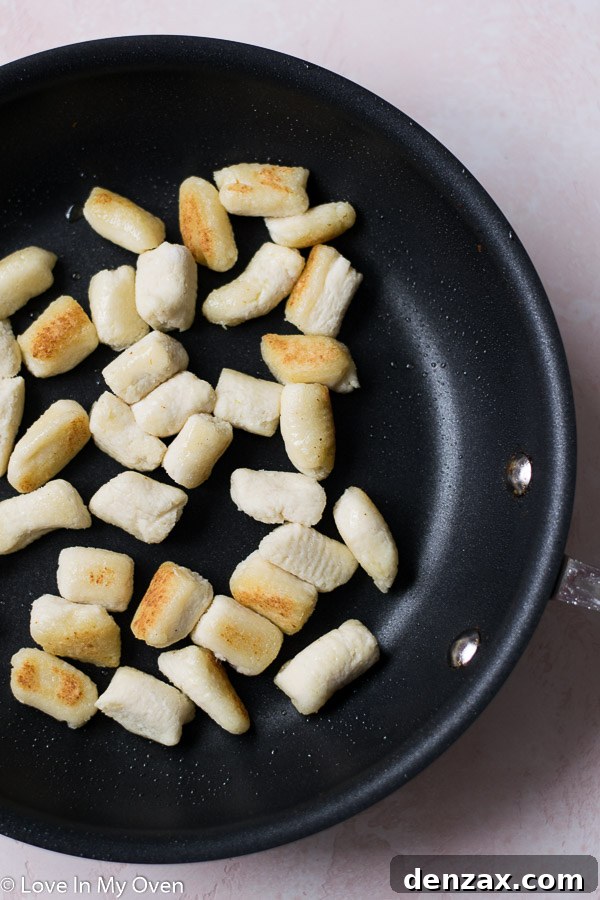
Add half of the gnocchi to the hot pan, ensuring not to overcrowd it (cook in two batches if necessary). Sauté for 2-3 minutes, flipping them once, until they are beautifully golden brown and slightly crispy on the outside. Then, add a small splash of water to the pan and immediately cover it with a lid. This steaming step is key; it gently cooks the interior of the gnocchi, ensuring they are tender and cooked through without becoming dry. After about 1-2 minutes of steaming, remove the lid, and let any remaining water evaporate. Transfer the cooked gnocchi to a plate using a slotted spoon and repeat with the remaining batch.
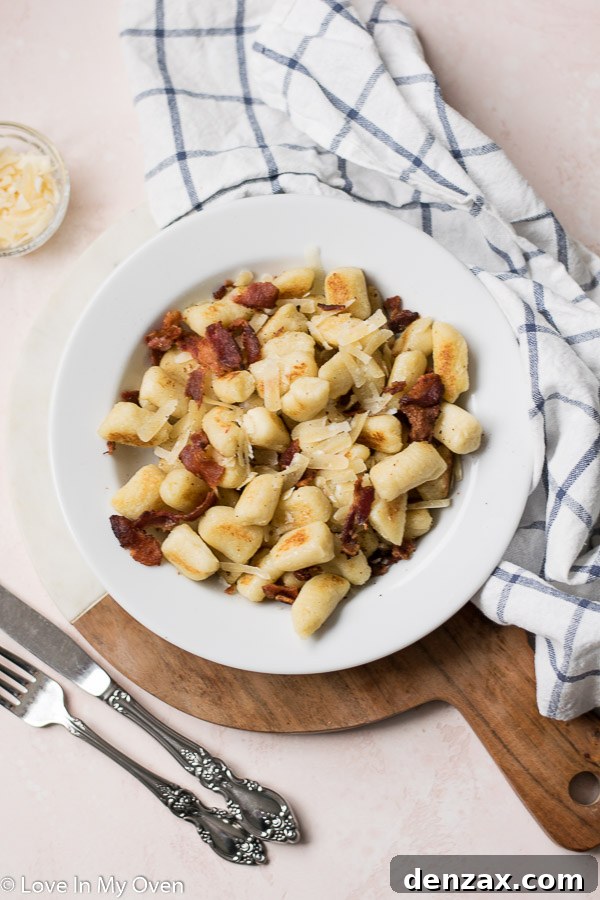
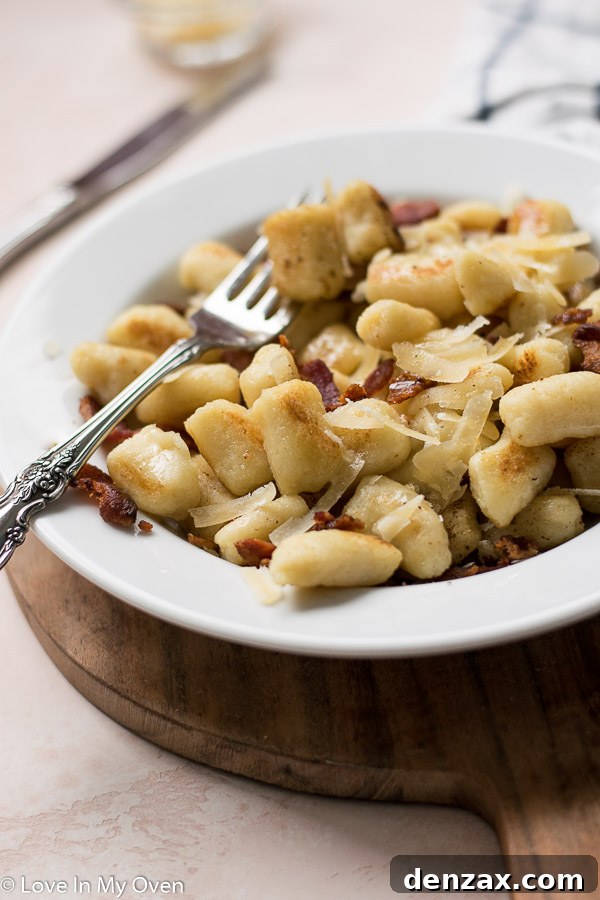
Serve this golden goodness immediately with the fried bacon (if you used it) and a generous sprinkle of freshly grated Parmesan cheese. This method results in a truly luxurious and flavorful dish that highlights the gnocchi’s unique texture.
Alternative Cooking Methods
While sautéing is my top choice, homemade cauliflower gnocchi is versatile enough to be cooked in several other delicious ways:
- Air Frying: For an even quicker crispy result, air fry your gnocchi at 390°F (199°C) for 4-5 minutes, tossing halfway through, until golden and tender.
- Roasting: Spread the gnocchi in a single layer on a baking sheet and roast at 400°F (200°C) for about 15 minutes, or until lightly browned and cooked through. This method also yields lovely crispy edges, similar to my crispy sheet pan gnocchi.
- Boiling: For a more traditional gnocchi texture, boil them in a pot of salted water. The gnocchi will be done once they float to the surface, typically taking 4-5 minutes. This method results in a softer, chewier dumpling.
No matter your cooking method, these homemade cauliflower gnocchi pair wonderfully with your favorite pasta sauce – think a simple marinara, a vibrant pesto, a rich brown butter and sage sauce, or even just a drizzle of good olive oil and fresh herbs.
Frequently Asked Questions About Homemade Cauliflower Gnocchi
Can You Use Frozen Cauliflower for This Recipe?
Yes, absolutely! Frozen cauliflower florets work perfectly well for this recipe and can even save you some prep time. Simply measure out about 5 cups of frozen florets and proceed with the recipe instructions, boiling them for 5-6 minutes. The key remains the same as with fresh cauliflower: ensure you thoroughly drain and squeeze out every last drop of moisture after boiling. For frozen cauliflower rice, reduce the boiling time to around 3 minutes, then drain it through a fine-mesh colander to ensure maximum dryness before processing.
Can Homemade Cauliflower Gnocchi Be Made Low-Carb or Gluten-Free?
The recipe as written uses plain all-purpose flour, so it is not inherently low-carb. While cauliflower itself is low-carb, the flour contributes significantly to the carb count. Achieving a truly low-carb gnocchi that holds its shape and texture can be challenging due to the binding properties of gluten in traditional flour.
For a gluten-free version, you can certainly substitute the all-purpose flour with a good quality gluten-free all-purpose flour blend. Be aware that without gluten, the gnocchi might be slightly less elastic and pillowy, potentially resulting in a slightly denser texture. However, they will still be incredibly tasty and a wonderful gluten-free alternative.
I would advise caution against using single low-carb flour substitutes like almond flour or coconut flour in this recipe. These flours behave very differently from wheat or gluten-free blends and may not provide the necessary structure for the gnocchi to retain its shape when rolled and cooked. If you’re keen to experiment with specific low-carb flours, I recommend starting with a small batch and carefully adjusting moisture levels. If you discover a successful low-carb flour substitute that works, please do let me know – I’d love to hear about it!
How Do I Freeze the Cauliflower Gnocchi?
Making a double batch of this cauliflower gnocchi and freezing half is an excellent way to prepare for quick and easy dinners on busy weeknights! To freeze uncooked gnocchi, follow all the steps up to the point of cutting the gnocchi pieces. Before cooking, spread the freshly shaped gnocchi in a single layer on a large baking sheet lined with parchment paper. Place the baking sheet in the freezer for about 20 minutes, or until the gnocchi are firm and no longer sticking together.
Once individually frozen, transfer the gnocchi to an airtight freezer-safe bag or container. They can be stored in the freezer for up to 2 months. Freezing them individually first prevents them from clumping together, so you can easily grab just the amount you need for a meal.
To cook from frozen, you have a few options: you can boil them directly in salted water until they float to the top (which might take a minute or two longer than fresh), or roast them in the oven as described above. If you choose to sauté them from frozen, you might need to increase the steaming time at the end to about 3-4 minutes to ensure they are cooked through and tender in the center.
This convenient make-ahead option ensures you always have a wholesome and delicious meal ready to go, making weeknight cooking a breeze. Whether served with your favorite sauce, tossed into a hearty soup, or simply enjoyed with a sprinkle of cheese, these gnocchi are a delightful addition to any meal.
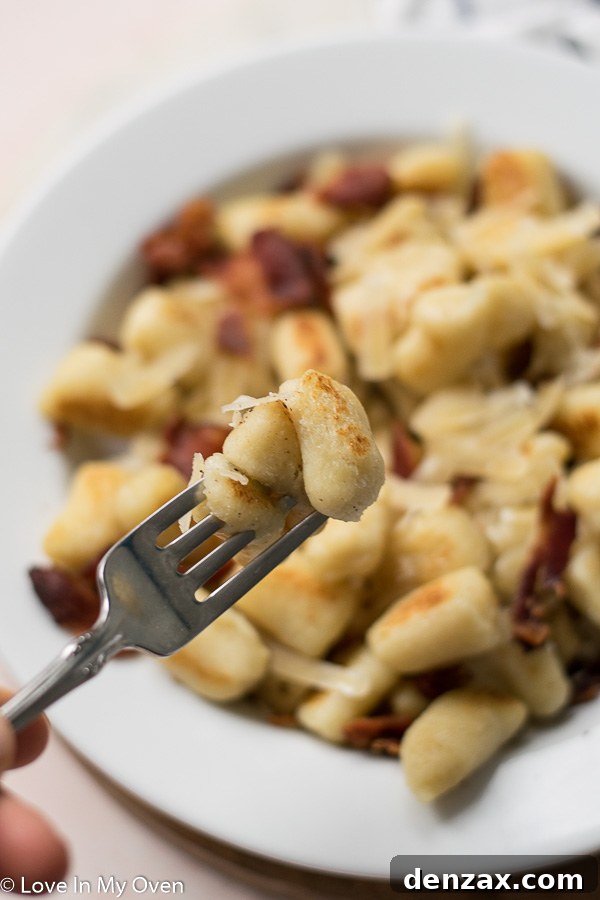
This homemade cauliflower gnocchi recipe proves that healthy and delicious can go hand in hand, and that making comfort food from scratch doesn’t have to be complicated. Give it a try, and prepare to be amazed by the tender texture and rich flavor of these simple, yet elegant, dumplings!
For more easy dinners and delightful cauliflower recipes, explore these favorites:
- Crispy Sheet Pan Gnocchi
- Instant Pot Loaded Cauliflower Soup
- Air Fryer Buffalo Cauliflower
- Crispy Mongolian Cauliflower
Print Recipe
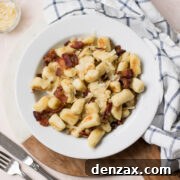
Homemade Cauliflower Gnocchi
5 Stars 4 Stars 3 Stars 2 Stars 1 Star
5 from 4 reviews
Author: Katherine | Love In My Oven
Total Time: 30 minutes
Yield: 3 cups gnocchi
Description
Think homemade cauliflower gnocchi is too difficult to try? Think again! Learn how to make cauliflower gnocchi with only 3 ingredients and no fancy equipment. It’s delicious!
Ingredients
- 1 head cauliflower – about 5 cups cauliflower florets (fresh or frozen)
- 2/3 cups all-purpose flour*
- 1 tsp salt
- Optional: 4 slices bacon, shaved parmesan cheese
Instructions
- Bring a large pot of salted water to a boil. Once boiling, add the cauliflower to the water and cook for 5-6 minutes, then drain it and allow it to cool. Once it’s no longer hot to the touch and there is no more steam coming from it, use a clean dishtowel or cheesecloth to drain the water out of the cauliflower. Be sure to get as much water squeezed out as you can! This step is crucial for perfect gnocchi.
- Add the thoroughly drained and crumbled cauliflower to a food processor and pulse a few times, until finely minced. Then add the flour and salt and pulse until everything is combined together and forms a bit of a dough “ball”. Use a spatula to scrape down the sides as you go. Touch the dough with your finger; it should be sticky but you shouldn’t be left with any goop on your finger. If it’s really sticky, add another tablespoon or two of flour and pulse again until the desired consistency is reached.
- Divide the dough into 4 equal portions. Lightly flour your hands and your work surface. Roll each portion between your hands and on the floured surface to form a rope about 1 inch in thickness. Using a sharp paring knife, slice each rope into 1-inch pieces. For the classic gnocchi lines, roll each piece over a gnocchi board or the tines of a fork (if desired).
- Cooking the gnocchi using the bacon method: Cook 4 slices of bacon in a large pan until crispy. Remove the bacon and most of the grease, leaving 1 tablespoon behind. Add half the gnocchi to the pan and sauté for 2-3 minutes, flipping once, until golden and crispy. Add a splash of water to the pan and place the lid on top, allowing it to steam for 1-2 minutes to finish cooking the inside. Remove the gnocchi with a slotted spoon to a plate, then repeat with the remaining half. Serve the gnocchi with the cooked bacon and some shaved parmesan, or with your favorite pasta sauce!
- To cook without bacon: Follow the same sautéing instructions as above, but heat 1 tbsp of olive oil or butter in the pan instead of using bacon grease.
- Other cooking options: To cook the gnocchi using boiling water, place it in a pot of boiling water until it floats to the top (4-5 minutes). Alternatively, roast it in the oven on a baking sheet at 400°F (200°C) for 15 minutes, or air fry it at 390°F (199°C) for 4-5 minutes.
Leftover or uncooked gnocchi can be stored in an airtight container and kept in the fridge for 3-4 days. For instructions on freezing uncooked gnocchi, please refer to the section above in the article.
Notes
* You may substitute the all-purpose flour for a gluten-free all-purpose flour blend for a gluten-free option. However, I do not recommend using almond flour or other single low-carb flour substitutes, as they may not provide the necessary binding for the gnocchi to hold its shape.
- Prep Time: 20 minutes
- Cook Time: 10 minutes
- Category: pasta
- Method: stovetop
- Cuisine: Italian