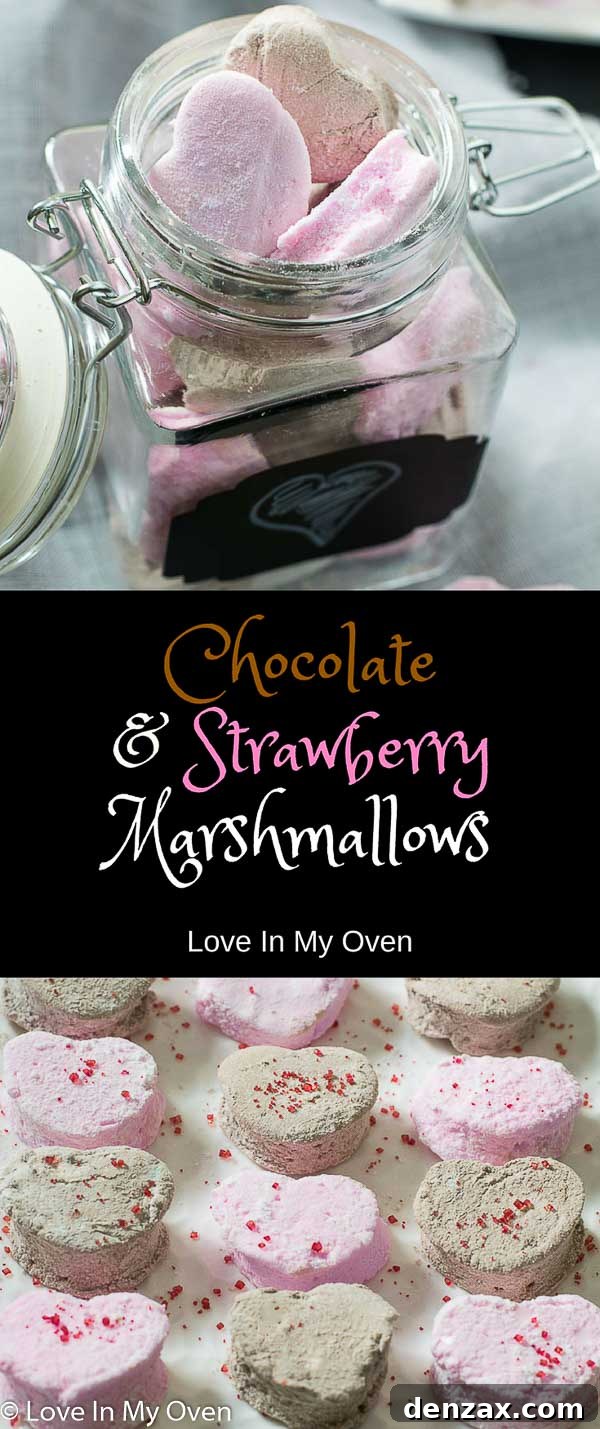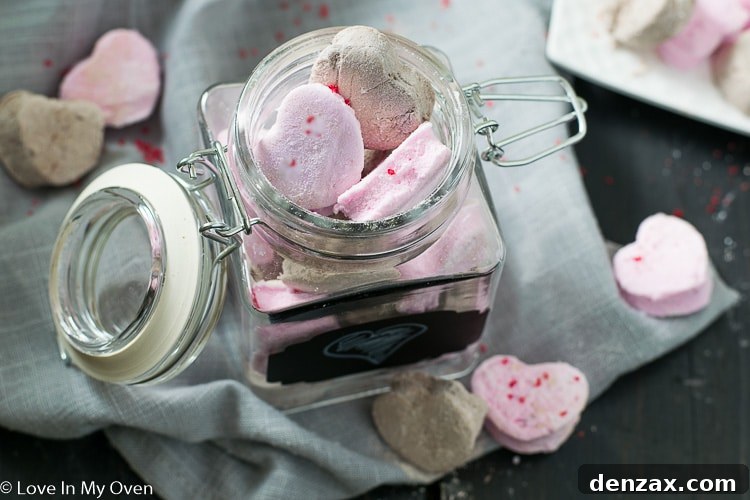
Are you under the impression that crafting homemade chocolate marshmallows is an arduous task? Prepare to have your mind changed! This comprehensive guide provides an incredibly easy recipe for both delectable strawberry marshmallows and rich chocolate marshmallows, all in one place!
Hello there, fellow sweet treat enthusiasts! It feels like time is flying by, doesn’t it? While I eagerly anticipate the warmth of summer, I’m making a conscious effort to savor every moment, even the crisp days of winter, which surprisingly offer their own unique charm. There’s something undeniably cozy about the colder months, perfect for indulging in comforting homemade treats.
Typically, winter evenings find me nestled comfortably indoors, wrapped in a warm blanket with only my eyes peeking out, completely immersed in a good book or movie. However, this past week, I ventured out for a delightful dinner with friends at a newly opened Indian restaurant downtown. It was a wonderful opportunity to catch up and enjoy some social interaction. While the flavors of the Indian cuisine were undoubtedly authentic and delicious, the dishes arrived rather chilled. Despite the server’s kind offer to reheat them, our hunger, combined with the earlier wait, led us to enjoy our meal as served. A bit of a disappointment on the warmth front, but the company made up for it!
As a thoughtful apology, the restaurant presented us with complimentary chai and a lovely dessert. Although both were delightful and warm, I still found myself craving the ultimate comfort food upon returning home: a batch of these incredibly soft and flavorful homemade chocolate marshmallows. There’s simply no substitute for the melt-in-your-mouth goodness of a perfectly crafted marshmallow, especially when you’ve made it yourself!
Crafting the Perfect Homemade Marshmallows: Chocolate and Strawberry Delight!
The thought of making your own marshmallows might seem daunting at first, but let me assure you, it’s a surprisingly simple and incredibly rewarding culinary adventure! For years, I was captivated by the idea of creating these fluffy confections from scratch, but only recently did I truly dive into experimenting with various ingredients and exciting flavor combinations. With Valentine’s Day just around the corner, what could be more fitting than the classic, beloved pairing of chocolate and strawberry? These gourmet marshmallows are not only a feast for the eyes but also a delightful treat for any occasion.
The Secret to Irresistible Marshmallow Texture: Corn Syrup vs. Honey
During my initial explorations into the world of DIY marshmallows, I experimented with different sweeteners. While a batch made with honey was certainly edible, I quickly discovered a strong preference for the texture achieved with corn syrup. I generally lean towards using natural sweeteners in my kitchen, but for certain recipes, a slight deviation for optimal taste, consistency, and a truly perfect texture is completely justifiable. Corn syrup plays a crucial role in creating marshmallows that possess that familiar, delightfully chewy, and light texture we associate with store-bought varieties, but with a superior homemade flavor. In contrast, the honey-based marshmallows, while flavorful, tended to be overly sticky and less pliable – not ideal for that quintessential marshmallow bounce!
Essential Ingredients for Fluffy Perfection
Beyond the choice of sweetener, the core ingredients for these luscious homemade marshmallows are quite straightforward: granulated sugar, water, a pinch of salt, and, of course, gelatin. For the vibrant strawberry marshmallows, a simple strawberry puree lends both its natural sweetness and beautiful pink hue. For the rich chocolate marshmallows, a touch of high-quality cocoa powder and a hint of pure vanilla extract provide that deep, comforting chocolate flavor. These simple components, when combined with the right technique, transform into something truly magical.
The Whipping Process: A Key to Cloud-Like Consistency
Once all the ingredients are gently warmed and thoroughly combined in a saucepan, the real transformation begins. The mixture is then transferred to a stand mixer fitted with a whisk attachment. This is where patience pays off! You’ll need to whip the marshmallow mixture on medium-high speed for a solid 15 to 20 minutes. This extended whipping time is essential for incorporating air, cooling the mixture, and developing that signature thick, fluffy, and stable marshmallow consistency. While a powerful stand mixer is highly recommended for this task (as a handheld mixer would undoubtedly lead to arm fatigue!), the consistent aeration it provides is non-negotiable for achieving the desired results.
Preparing Your Pan for Success
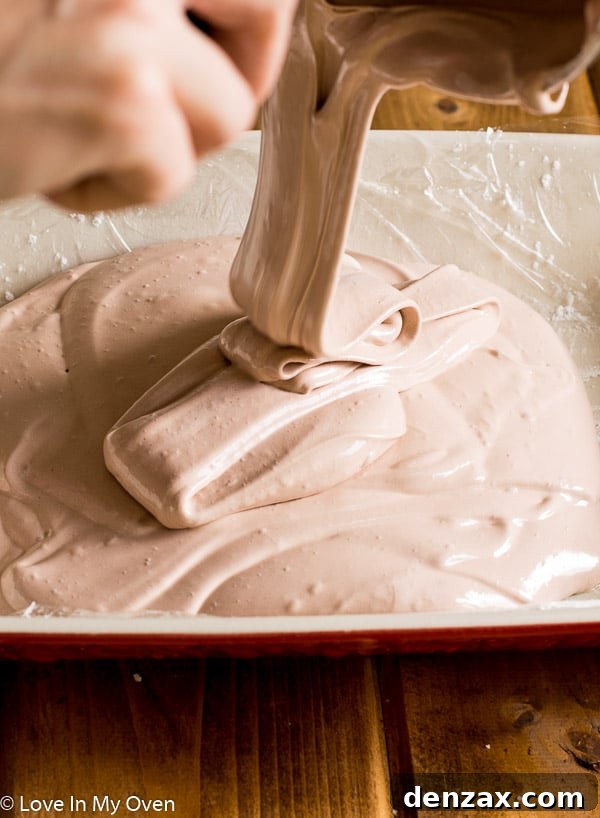
As the marshmallow mixture reaches its peak thickness, you’ll need to work swiftly. Prepare a 9×13 inch baking pan by lining it with plastic wrap, ensuring the wrap extends over the edges for easy removal. Then, lightly spray the plastic wrap with a non-stick cooking spray to prevent any sticking. Immediately pour the warm, thick marshmallow mixture into the prepared pan. Using a greased spatula, spread it out evenly and quickly. The mixture hardens relatively fast, so efficiency here is key to a smooth, uniform batch of homemade marshmallows.
The Anticipation: Setting and Curing Your Homemade Marshmallows
While the hands-on time for whipping up a batch of these glorious homemade marshmallows is surprisingly short – only about 30 minutes of active prep and a few minutes of cooking – the hardest part is the waiting game. Once spread into the pan, the marshmallows require a patient 8 to 12 hours to fully set and cure at room temperature. This crucial resting period allows them to firm up properly, developing that characteristic springy texture. I know, the wait can be quite agonizing when the aroma of fresh chocolate and strawberry fills your kitchen, but trust me, it’s absolutely worth it!
Expert Tips for Perfectly Cut Marshmallows
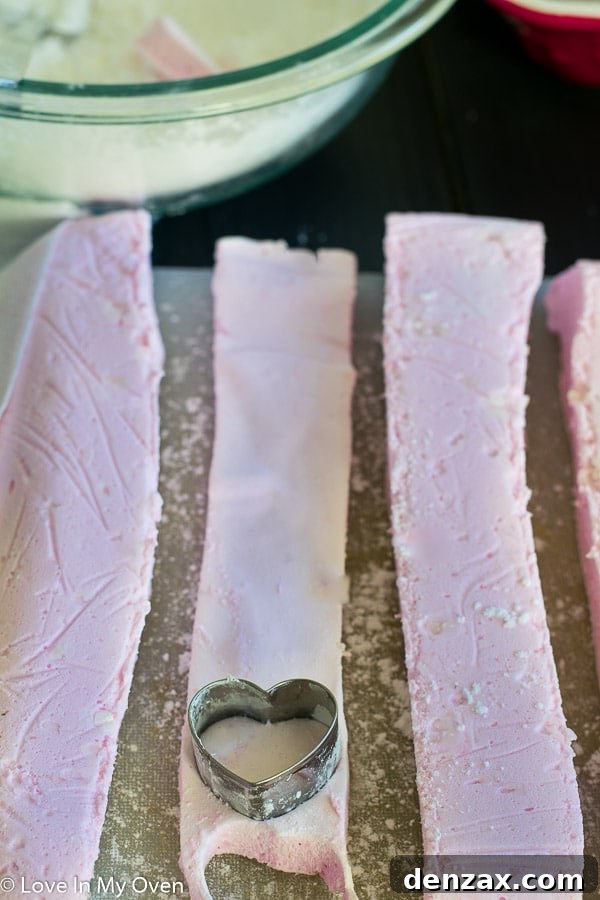
Once your marshmallows are perfectly set, it’s time for the fun part: cutting them! Before you begin, prepare your “dusting powder” by combining powdered sugar and corn starch in a small bowl. This mixture is vital for preventing stickiness. Gently lift the marshmallow slab out of the pan using the plastic wrap handles and invert it onto a large cutting board generously dusted with this powder. For the cleanest cuts, I highly recommend using a pizza cutter. While a large knife can work, it tends to gum up quickly, making the process frustrating. A pizza cutter, frequently dipped into the dusting powder, glides through the soft, bouncy marshmallow with ease, creating perfectly clean edges.
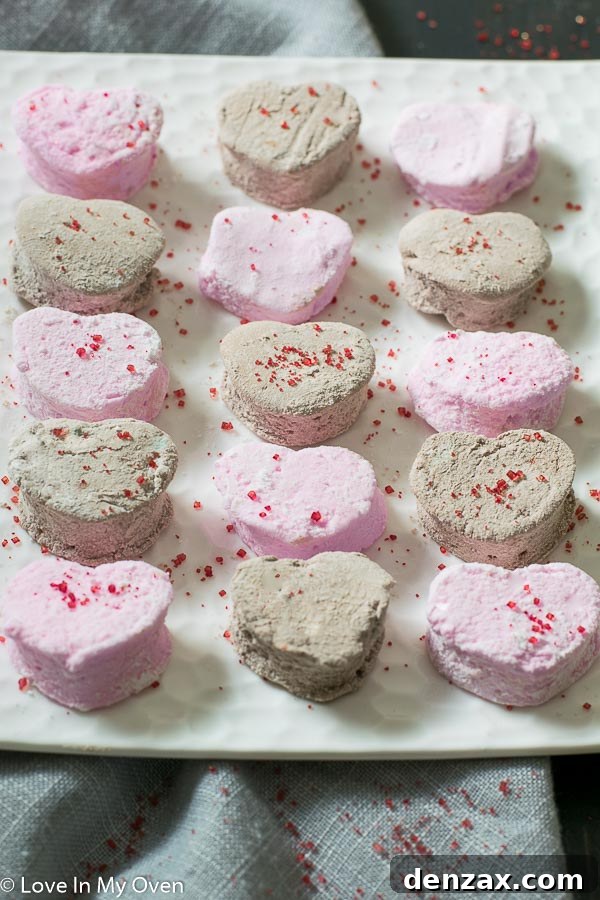
If you’re feeling creative and want to make charming shapes – like little hearts for Valentine’s Day – make sure your cookie cutters are also well-dusted. You’ll likely end up with some delicious scraps when cutting shapes, but fear not! These irregular pieces are just as delightful and perfect for a quick taste test (or five!).
Storing Your Homemade Marshmallows for Lasting Freshness
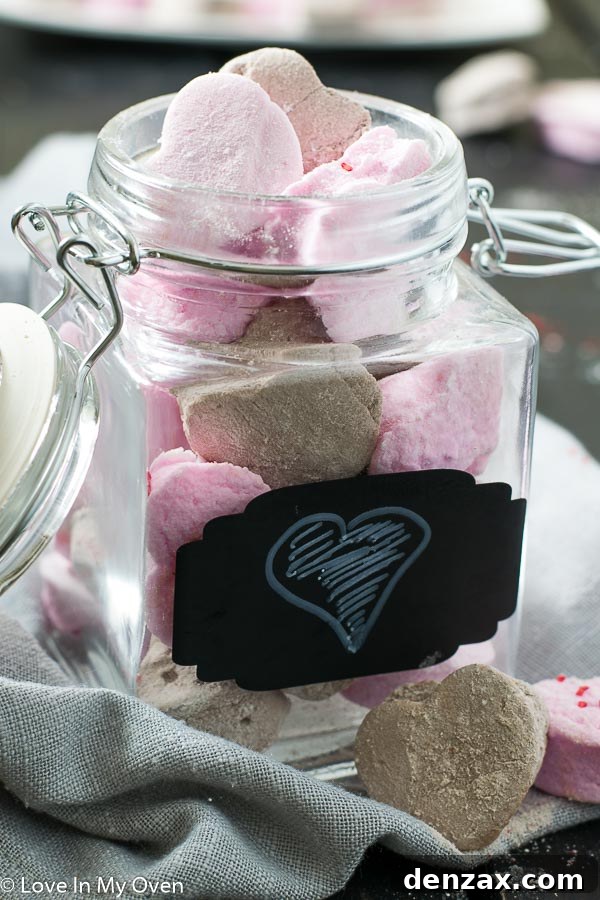
One of the many advantages of making your own marshmallows is their impressive shelf life. When stored in an airtight container at room temperature, these homemade treats will remain fresh and wonderfully soft for up to three to four weeks. That’s assuming, of course, they last that long! Their irresistible taste often means they disappear much faster, especially in a household full of sweet tooths.
Delightful Ways to Enjoy Your DIY Marshmallows
These versatile chocolate and strawberry marshmallows are fantastic simply eaten on their own as a sweet snack. But their utility extends far beyond! Here are some of our favorite ways to enjoy them:
- S’mores Perfection: Elevate your s’mores game by using these gourmet marshmallows. The chocolate melts beautifully, and the strawberry adds a surprising, fruity twist.
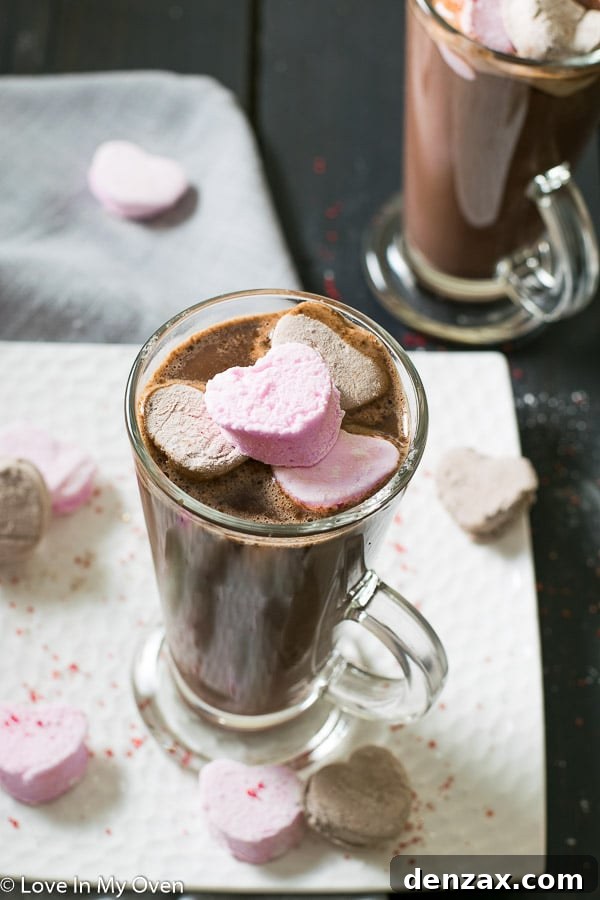
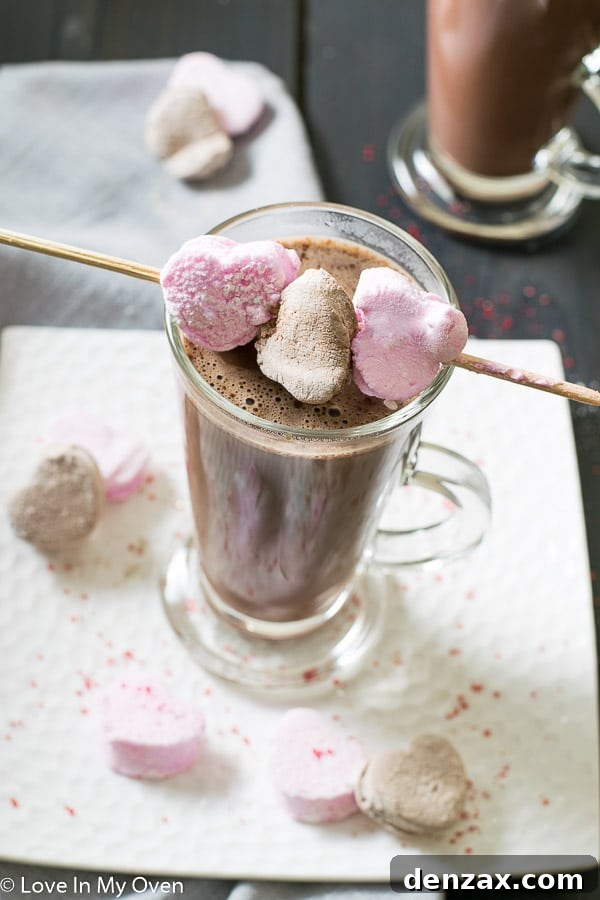
- Upgraded Hot Chocolate: Our absolute favorite pairing! Drop a few of these fluffy creations into a mug of warm hot chocolate. They melt into a creamy, dreamy froth, infusing your drink with delightful flavor. We particularly adore them with this amazing hot chocolate recipe from my wonderful friend, Dawn.
- Rice Krispie Treats Extraordinaire: Take your classic Rice Krispie treats to a new level of deliciousness by incorporating homemade marshmallows. The texture and flavor are simply unmatched.
- Gourmet Gifting: Package these beautiful marshmallows in clear bags tied with a ribbon for a thoughtful and impressive homemade gift. Perfect for holidays, birthdays, or just because!
So, have I managed to ignite your culinary spark? I sincerely hope this guide inspires you to whip up a batch of these incredible homemade marshmallows. I’m already planning to prepare some of these adorable heart-shaped marshmallows to give to my friends as party favors for our upcoming group Valentine’s Day dinner. Imagine the joy of receiving such a charming and delicious homemade treat! It’s a gesture straight from the heart. ♥♥
Looking for more delightful treats to share this Valentine’s Day? Here are a few other sweet dessert ideas:
- Decadent Nutella Strawberry Galette
- Light and Easy Chocolate Raspberry Mousse
- Irresistible Raspberry Filled Sugar Cookies

Homemade Chocolate and Strawberry Marshmallows
5 Stars 4 Stars 3 Stars 2 Stars 1 Star
No reviews
Author: Katherine
Total Time: 10 hours 30 minutes
Yield: 16 cups 1x
Description
Unleash your inner confectioner and elevate your sweet treat game by crafting these irresistible homemade chocolate and strawberry marshmallows! This incredibly easy-to-follow recipe guides you through the process of making light, fluffy, and flavorful marshmallows from scratch using just a handful of basic ingredients. Forget the bland, overly sweet store-bought versions; these DIY marshmallows boast a superior texture and a burst of natural fruit and rich chocolate flavor.
Whether you’re looking for a delightful personal indulgence, a unique dessert for a special gathering, or the perfect heartfelt gift for your loved one this Valentine’s Day, these gourmet marshmallows are sure to impress. Customize them with adorable cookie cutters or enjoy them in classic squares. They’re not just marshmallows; they’re tiny clouds of joy!
Ingredients
Scale
Strawberry Marshmallows
- 1/2 cup strawberry puree (see notes)*
- 3 packages (3 tbsp) gelatin powder
- 1 1/2 cups granulated sugar
- 3/4 cup clear corn syrup
- 1/2 cup water
- 1/4 tsp salt
Chocolate Marshmallows
- 1 cup water, divided
- 3 packages (3 tbsp) gelatin powder
- 1 1/2 cups granulated sugar
- 3/4 cup clear corn syrup
- 1/4 tsp salt
- 1/4 cup cocoa powder
- 2 tsp pure vanilla extract
Dusting Powder
- 1 cup powdered sugar
- 3 tbsp corn starch
Instructions
- Line a 9×13 pan with plastic wrap, and spray it with non-stick spray. Sprinkle powdered sugar over the pan.
- Pour the strawberry puree (or 1/2 cup water for chocolate) into the bowl of a stand mixer fitted with the whisk attachment, and sprinkle the gelatin over the entire surface. Allow this mixture to sit untouched while preparing the remaining ingredients.
- In a medium saucepan, stir together the sugar, corn syrup, water and salt. Heat the mixture over medium-high heat, stirring every minute. When the mixture begins to form large bubbles, immediately remove it from heat and pour it over the puree/water and gelatin in the stand mixer, with the mixer running on low. Turn the mixer up to medium-high and allow it to run for 15-20 minutes, or until the marshmallow mixture has become very thick.
- If making chocolate marshmallows, add the cocoa powder and vanilla extract and whip together until combined.
- Moving quickly, use a spatula to scrape the mixture into the sprayed pan and smooth it out evenly as best as possible. Allow the marshmallows to sit, untouched and uncovered for 8-12 hours.
- In a small bowl, combine the powdered sugar and corn starch to create the “dusting powder”. When ready to cut the marshmallows, grab the ends of the plastic wrap to lift the marshmallows out of the pan and flip them onto a large cutting board that has been sprinkled with dusting powder.
- Using a pizza cutter or large knife dipped into the dusting powder, cut the marshmallows into the size you desire. Frequently dust the cutter/knife to keep it running smoothly. Place the cut marshmallow pieces into the dusting powder, shake off the excess and store. If using a cookie cutter, be sure to keep the cutter dusted to prevent it from gumming up.
Marshmallows will keep in an airtight container for 3-4 weeks.
Notes
- The strawberry puree is simply 1 cup of strawberries pureed with 1 tbsp of water in the blender; frozen can also be used. Measure out 1/2 cup.
- Prep Time: 30 minutes
- Cook Time: 5 minutes
- Category: desserts
- Method: stove