
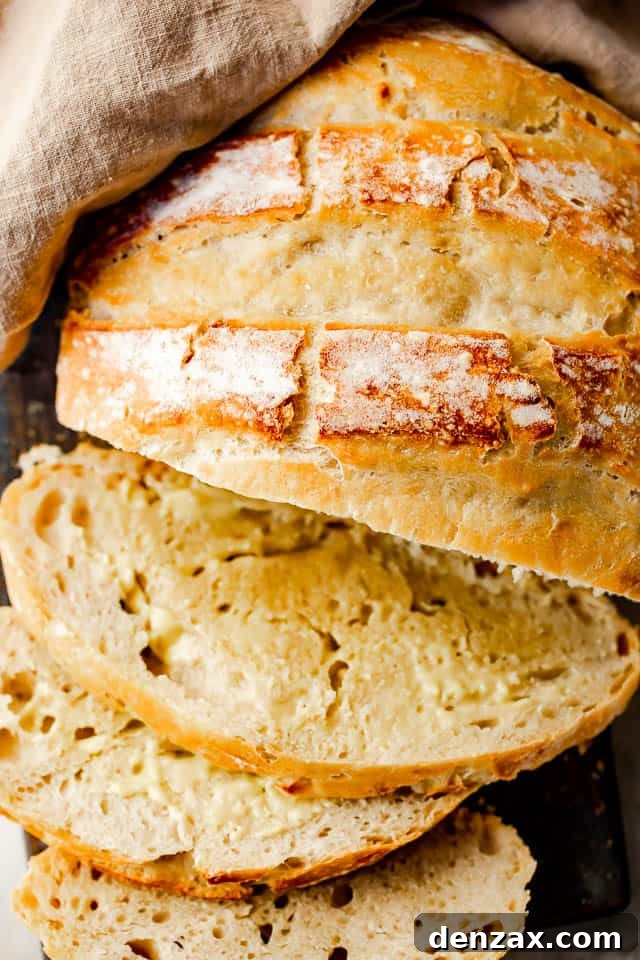
My No Knead Dutch Oven Bread is perfect for busy bakers who want a warm artisan loaf with a crackly, golden crust and a tender crumb—without any kneading. It’s simple, forgiving, and one of the easiest breads you can make at home.
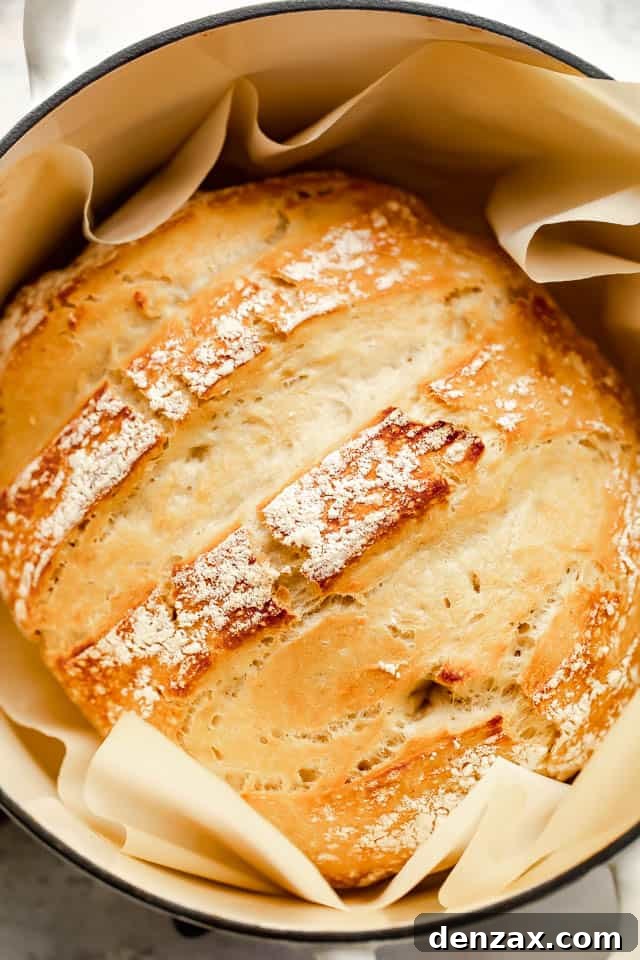
Easiest Ever Homemade Bread
If you love the taste of homemade bread but don’t have time for multiple knead-and-rise sessions, this recipe is for you. No-knead bread relies on a wet dough and a long, slow rise to develop flavor and structure, so you don’t need to spend time working the dough.
The dough can rest for 8 to 12 hours (and sometimes even longer), which makes it ideal as an overnight or day-long project. When it’s time to bake, you roughly shape the dough, place it in a preheated Dutch oven, and let the hot, steamy environment create a lovely crust and open crumb.
What is a Dutch Oven & Why Use It?
A Dutch oven is a heavy cast-iron pot—often enamel-coated—with a tight-fitting lid that traps steam. Preheating the pot gives you a small, humid baking environment that encourages the dough to spring up and form a crisp, artisan-style crust.
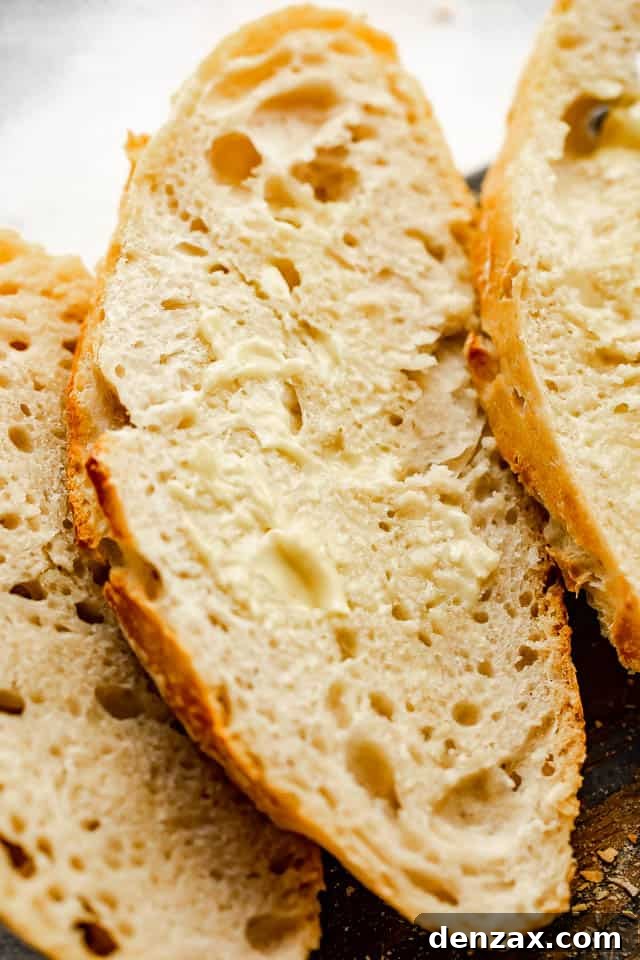
Because the steam is contained, the loaf develops superior oven spring and a crunchy exterior while remaining soft and chewy inside—a hallmark of great rustic bread.
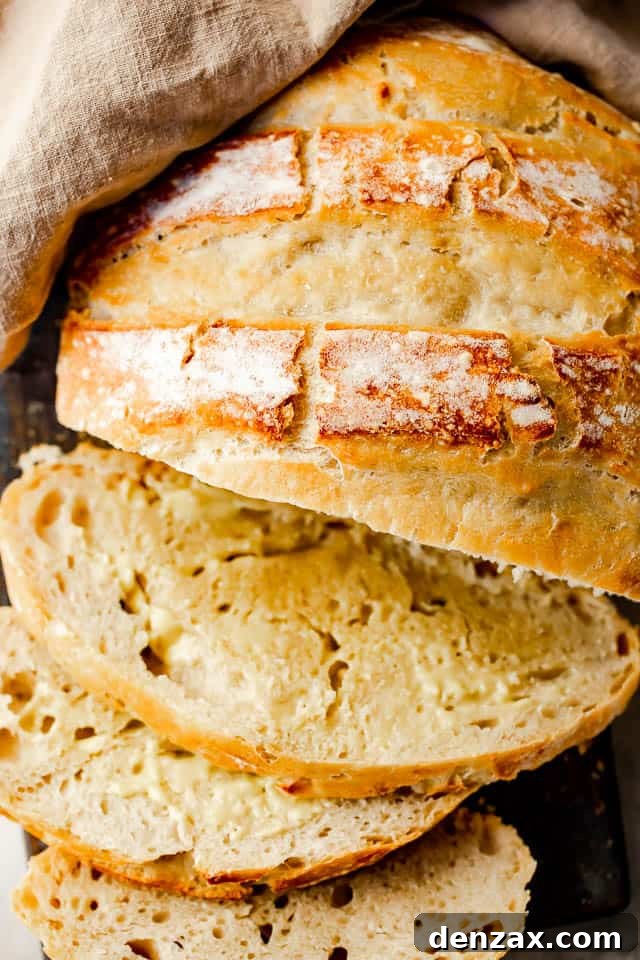
Ingredients
This loaf requires just a few pantry staples. It’s easy to assemble and yields a flavorful, hearty bread:
- Flour: 3 cups all-purpose flour. I don’t recommend gluten-free flour here, as gluten-free recipes usually need extra ingredients to mimic gluten’s structure.
- Yeast: 1 teaspoon active dry yeast.
- Salt: 1 teaspoon, for flavor.
- Water: 1 ½ cups room-temperature water (about 75°F). The dough should be soft and shaggy, not stiff.
How to Make No Knead Dutch Oven Bread
Mixing this dough is quick and easy. After the initial mix, the long rest does the work for you. You can prepare the dough in the morning and bake in the evening, or mix in the evening and bake the next day.
Make the Dough
1. In a large bowl, whisk together the flour, yeast, and salt until evenly combined.
2. Stir in the water using a wooden spoon or dough whisk until a shaggy dough forms. If the dough seems too wet, add a little extra flour, a tablespoon at a time, up to ½ cup. The goal is a very soft dough that still holds together.
Let It Rise
Cover the bowl with plastic wrap or a clean towel and let the dough rise in a cool spot for about 8 hours, or until doubled. This single, long rise develops flavor and structure without needing kneading.
Bake the Bread
1. Preheat your oven to 450°F. Place your Dutch oven (with the lid) on the center rack and heat for 30 minutes so the pot is thoroughly hot.
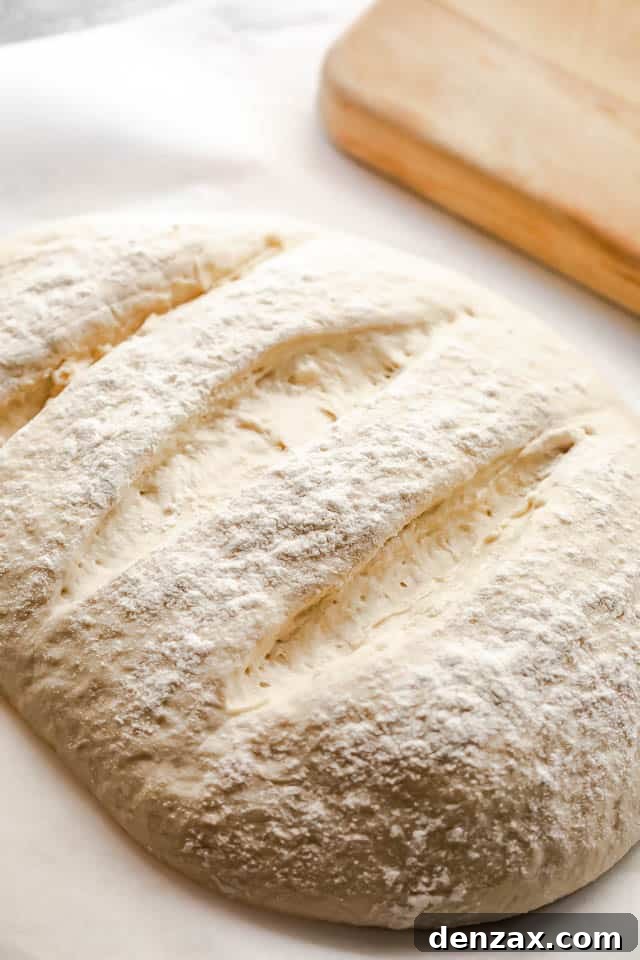
2. Turn the dough out onto a lightly floured surface. Dust your hands and the top of the dough with a bit of flour, then gently shape the dough into a round. Use a bench scraper if you have one to help manage the sticky dough.
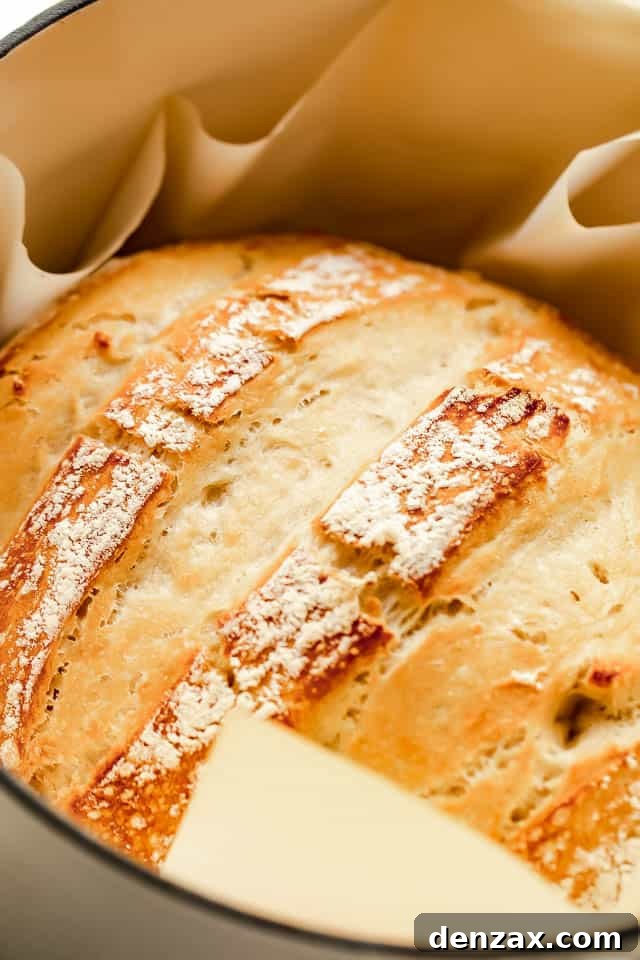
3. Transfer the shaped loaf to a large piece of parchment paper. Use a sharp knife to make a few ¼-inch-deep slashes across the top of the loaf.
4. Carefully remove the preheated Dutch oven from the oven (use oven mitts). Lift the dough by the parchment and lower it into the hot pot. Replace the lid and return the pot to the oven.
5. Bake covered for 30 minutes. Remove the lid and bake an additional 15 minutes, or until the crust is deep golden brown.
6. Transfer the baked loaf to a wire rack and let it cool completely before slicing to ensure clean slices and the best texture.
Tips for the Best Dutch Oven Bread
- Use a bench scraper: No-knead dough is sticky and soft. A bench scraper helps shape and move the dough without tearing it.
- Wait to slice: Let the loaf cool completely before cutting to avoid a gummy interior and uneven slices.
- Make a sandwich loaf: Flatten the dough on parchment into a rectangle, fold it into thirds, and place it in a greased loaf pan for a traditional sandwich shape.
- Grill option: If you don’t want to use your oven, you can bake in a preheated Dutch oven on a grill set between 400°F and 500°F—just monitor heat and cook until the loaf is golden and cooked through.
Serving Suggestions
This crusty loaf pairs well with many dishes. A few ideas:
- Soup: Serve warm bread alongside hearty soups for dipping and soaking up broth.
- Stews and braises: Crusty bread is excellent with saucy dishes—use it to mop up gravies and sauces.
- One-pot meals: Serve slices with skillet or sheet-pan dinners that have pan juices or vegetables to complement the bread’s texture.
How to Store Homemade Dutch Oven Bread
- Store at room temperature in a container that allows slight airflow to preserve the crust. Paper bags, linen bread bags, or a ceramic bread box work well.
- Eat within two days for best texture, or freeze for longer storage.
Can I Freeze Bread?
- Yes. Allow the loaf to cool completely, then wrap tightly in two layers of plastic wrap or plastic wrap plus foil.
- Freeze for up to six months. Thaw at room temperature and refresh in a warm oven if desired.
No Knead Dutch Oven Bread
Ingredients
- 3 cups all-purpose flour
- 1 teaspoon active dry yeast
- 1 teaspoon salt
- 1 ½ cups room temperature water (about 75°F)
Instructions
- In a large bowl, combine flour, yeast, and salt; whisk until well incorporated.
- Stir in the water with a wooden spoon or dough whisk until the dough is shaggy. If too wet, add a little flour, a tablespoon at a time, up to ½ cup.
- Cover and let rise in a cool spot for about 8 hours, or until doubled.
- Preheat oven to 450°F and place a Dutch oven with its lid on the center rack for 30 minutes.
- Turn dough out onto a floured surface. Flour your hands and form a rough round. Transfer to a piece of parchment paper and slash the top about ¼-inch deep.
- Carefully remove the hot Dutch oven from the oven. Lift the dough on the parchment and lower it into the pot. Cover and bake 30 minutes.
- Remove the lid and bake another 15 minutes, until golden brown.
- Transfer the loaf to a wire rack and cool completely before slicing.
Equipment
- Dutch Oven
Notes
Do not cut the bread until it has completely cooled; slicing too soon will affect the texture.
Nutrition
Serving: 1 slice | Calories: 88 kcal | Carbohydrates: 18 g | Protein: 3 g | Fat: 1 g | Fiber: 1 g
Nutritional info is an estimate and provided as a courtesy. Values may vary based on ingredients and tools used.
More Bread Recipes
If you want more homemade bread ideas, try these variations for different flavors and shapes.
- Spinach and Feta No-Yeast Bread
- Cheesy Garlic Pull-Apart Bread
- Easy Homemade Flatbread