
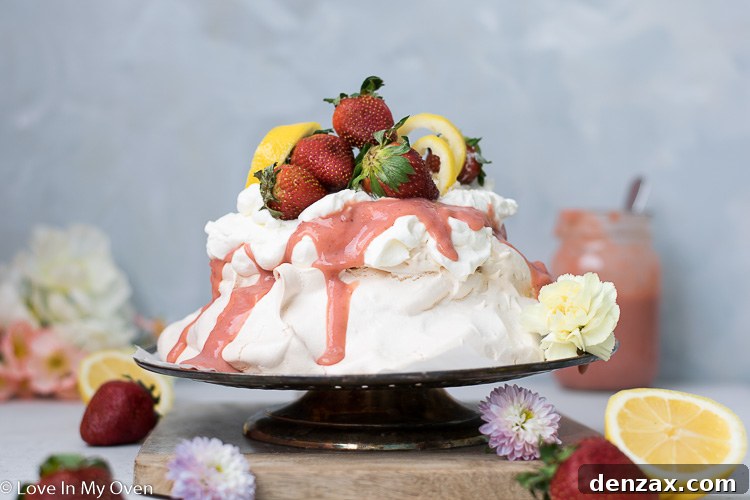
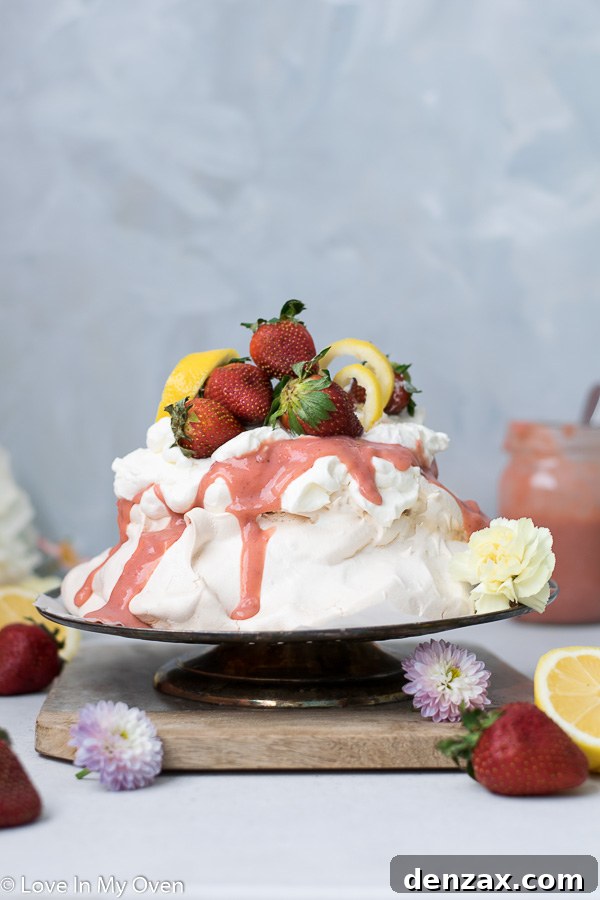
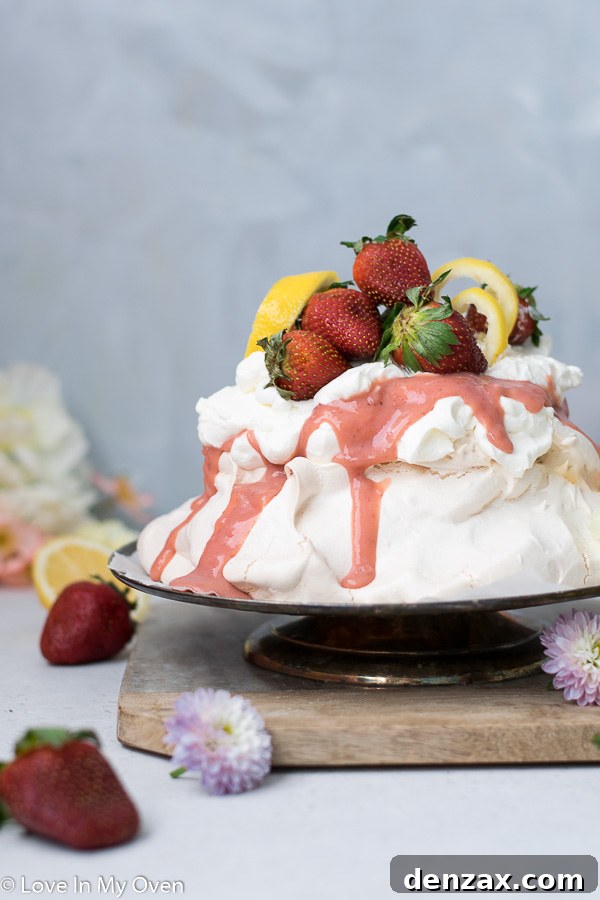
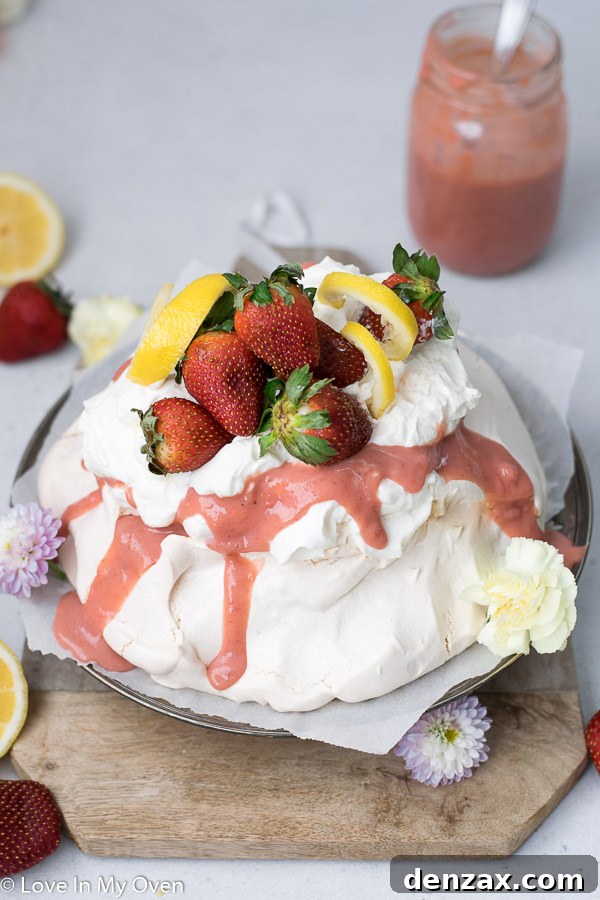
Experience a taste of pure bliss with this exquisite Strawberry Lemon Curd Pavlova. Light, airy, and bursting with vibrant flavors, this dessert is surprisingly easy to create and promises to be the showstopper at any gathering. Imagine a crisp meringue shell yielding to a soft, marshmallowy interior, generously topped with tangy homemade strawberry lemon curd and a cloud of freshly whipped cream. It’s a symphony of textures and tastes that will delight your senses and leave a lasting impression.
The Art of the Pavlova: An Effortlessly Elegant Dessert
If you’re looking for a dessert that offers both impressive aesthetics and delightful flavors without requiring a culinary degree, the pavlova is your answer. Often hailed as a masterpiece of simplicity, this iconic dessert is essentially a giant meringue with a perfectly crisp outer shell and a dreamy, chewy, marshmallow-like center. It serves as a beautiful canvas for an array of toppings, making it incredibly versatile for any occasion.
My journey into pavlova creation often begins with a burst of inspiration. After sharing my beloved strawberry lemon curd recipe, it was only natural to pair it with a dessert that truly highlights its vibrant flavor. While I initially considered combining the curd recipe with the pavlova in a single post, I realized the curd deserved its own spotlight, especially since I have exciting plans for more spring and summer recipes featuring this delightful spread. Think mini tarts crowned with meringue, or perhaps a grand tart – also gloriously topped with meringue! But for now, let’s dive into the sheer joy of this strawberry lemon curd pavlova, a dessert that is truly ready to be devoured.
With its light, refreshing profile, this pavlova is an ideal choice for springtime celebrations, including Easter. You still have plenty of time to whip up this show-stopping dessert, and I promise, its ease and adaptability will surprise you.
What Exactly is a Pavlova? Unveiling Its Charm
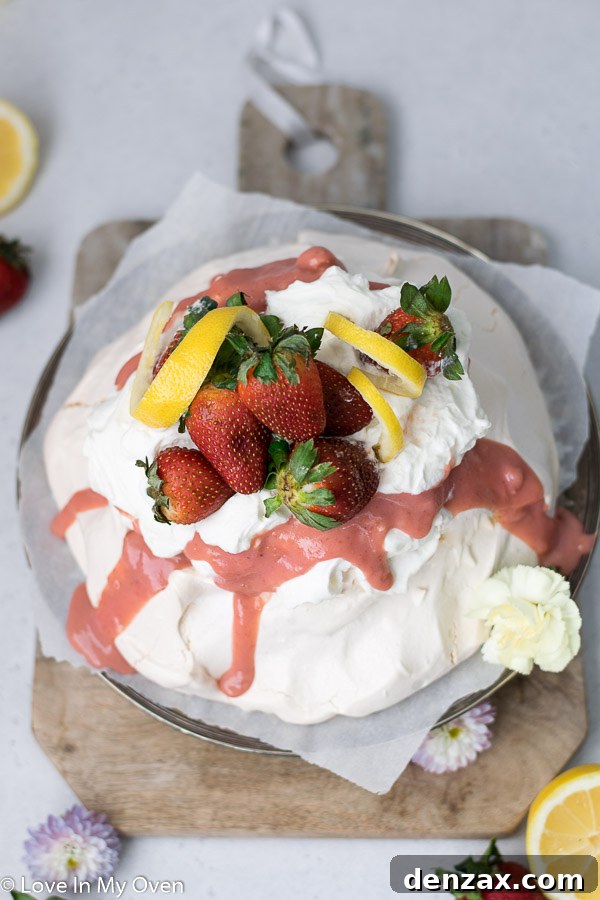
For those unfamiliar with this delightful dessert, you’re in for a truly special experience. Pavlovas are a testament to the fact that sometimes, the simplest ingredients can create the most extraordinary results. At its heart, a pavlova is a baked meringue that’s crispy on the outside and wonderfully soft and chewy on the inside, like a giant marshmallow. It typically serves as a base for whipped cream, fresh fruits, and delectable sauces, allowing for endless flavor combinations.
The beauty of a pavlova lies not only in its taste but also in its minimal ingredient list. You only need a handful of pantry staples to create this impressive dessert:
- Egg Whites: The star of the show, providing the structure and airy volume.
- Super-fine Sugar (Castor Sugar): Essential for a smooth, stable meringue that dissolves easily.
- Cornstarch: This secret ingredient is key to achieving that signature marshmallowy center.
- White Wine Vinegar: A touch of acid helps stabilize the egg whites and contributes to the crisp exterior.
While you might encounter slight variations of these ingredients across different recipes, this specific combination has consistently delivered the best results in my kitchen, ensuring a perfectly balanced texture and flavor every time.
The Perfect Pairing: Strawberry Lemon Curd
When it comes to topping a pavlova, the possibilities are vast, but few combinations are as harmonious and refreshing as strawberry lemon curd. The delicate sweetness and airy texture of the meringue provide an ideal counterpoint to the vibrant, tangy, and slightly sweet flavor of the curd. The zesty lemon cuts through the richness, while the strawberries infuse a delightful fruitiness, making each bite an unforgettable experience. It’s a match made in dessert heaven, especially as we welcome the warmer months.
Crafting Your Strawberry Lemon Curd Pavlova: A Step-by-Step Guide
Making a pavlova, especially one as flavorful as this strawberry lemon curd version, is a straightforward process that yields incredibly rewarding results. Let’s break down each step to ensure your success:
Step 1: Prepare Your Strawberry Lemon Curd
The first step, and one you might want to tackle a day in advance, is preparing your strawberry lemon curd. This allows ample time for the curd to cool completely and thicken to the perfect consistency. You can find the full recipe for this vibrant strawberry lemon curd here. Having it ready beforehand simplifies the pavlova assembly process immensely.
Step 2: Essential Meringue Preparations
Before you begin whipping, ensure your egg whites are at room temperature. This is crucial for achieving maximum volume and stability. I highly recommend using fresh egg whites over boxed varieties, as I’ve found boxed egg whites tend not to whip up as effectively. Additionally, your sugar should be super-fine. If you only have granulated sugar on hand, a quick pulse in a food processor can transform it into castor (berry) sugar, which will dissolve more readily and contribute to a smoother meringue.
Step 3: Whipping the Egg Whites to Soft Peaks
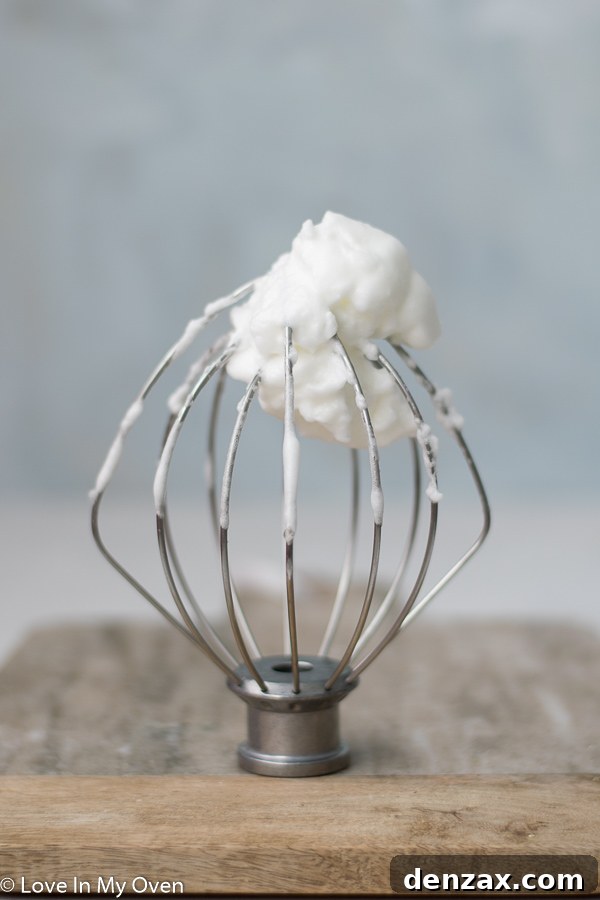
Begin by whipping the room-temperature egg whites in the bowl of a stand mixer fitted with a whisk attachment. Start on high speed. Initially, the egg whites will become foamy and eventually triple in size. Continue whipping until soft peaks begin to form. Soft peaks are characterized by peaks that form when the whisk is lifted, but they gently fold over rather than standing upright.
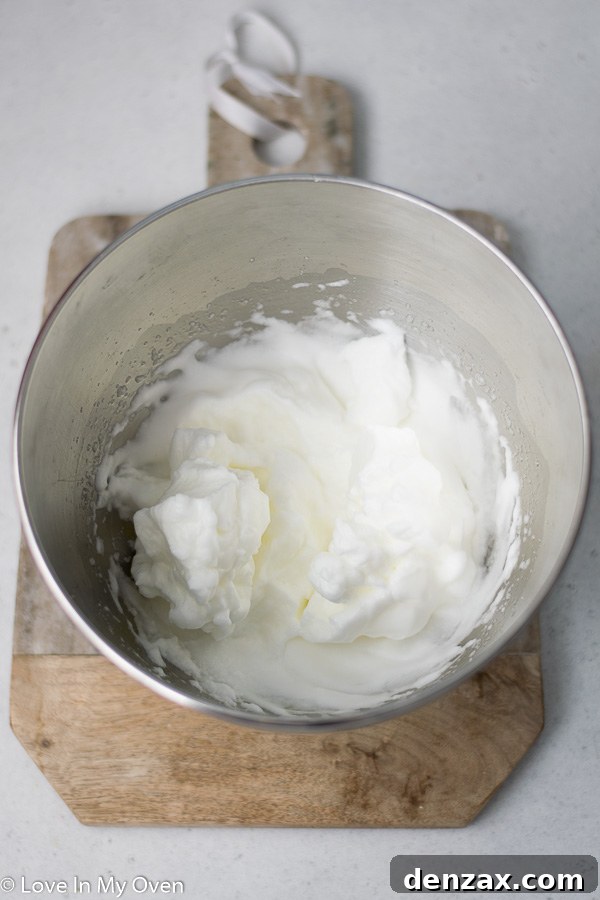
Step 4: Gradually Adding Sugar for Stiff, Glossy Peaks
Once you’ve reached soft peaks, reduce the mixer speed to low and slowly add the super-fine sugar, a tablespoon at a time. This gradual addition is vital for the sugar to fully dissolve and incorporate into the egg whites, resulting in a stable and glossy meringue. After all the sugar is added, increase the mixer speed back to high and continue whipping until the meringue forms stiff peaks. At this stage, when you lift the whisk, the meringue should hold its shape firmly, and when rubbed between your fingers, it should feel completely smooth, without any grittiness. This indicates the sugar has fully dissolved.
Step 5: Incorporating Cornstarch and Vinegar
Finally, add the cornstarch and white wine vinegar to the meringue mixture. Give it just a few turns on low speed to ensure these stabilizers are evenly mixed in. The cornstarch helps create the characteristic marshmallowy interior, while the vinegar contributes to the pavlova’s crisp exterior and helps prevent weeping.
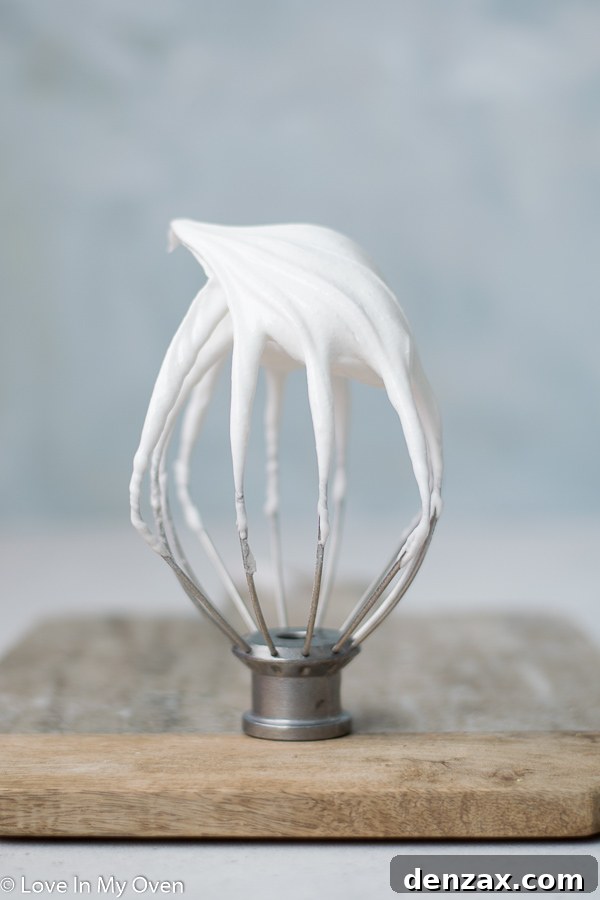
Step 6: Shaping and Baking Your Pavlova
Line a baking sheet with parchment paper. Carefully spoon the meringue onto the center of the prepared baking sheet. Using your fingers or a spatula, gently form the meringue into a round shape, creating a slight well in the center for your toppings. Aim for a smooth, even mound, keeping in mind that the pavlova will puff up slightly in the oven. Once shaped to your liking, place the baking sheet into a preheated oven set to 350°F (175°C), and immediately reduce the temperature to 300°F (150°C).
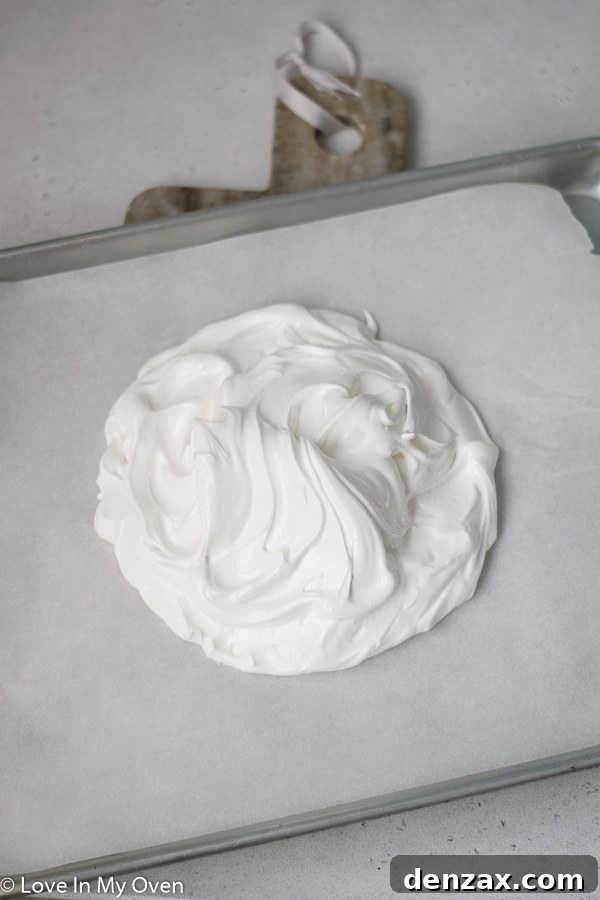
Bake the pavlova for 1 hour and 15 minutes. This baking time is crucial for achieving the perfect texture. During this period, it is paramount that you **do not** open the oven door. After the baking time is complete, turn off the oven and leave the pavlova inside for at least 3 hours, or ideally, up to 12 hours. This slow cooling process allows the meringue to dry out completely and prevents it from cracking or collapsing, ensuring a wonderfully crispy crust.
Step 7: Assembling and Serving
Once your pavlova is completely cooled and removed from the oven, carefully transfer it to a serving plate. Now comes the fun part: assembly! Pile a generous amount of fresh whipped cream onto the pavlova, followed by dollops of your tangy strawberry lemon curd. You can also reverse the order, or even add more whipped cream on top of the curd for a truly decadent look. For an extra touch of freshness and visual appeal, I love to adorn my pavlovas with fresh berries, lemon zest, or a few mint leaves.
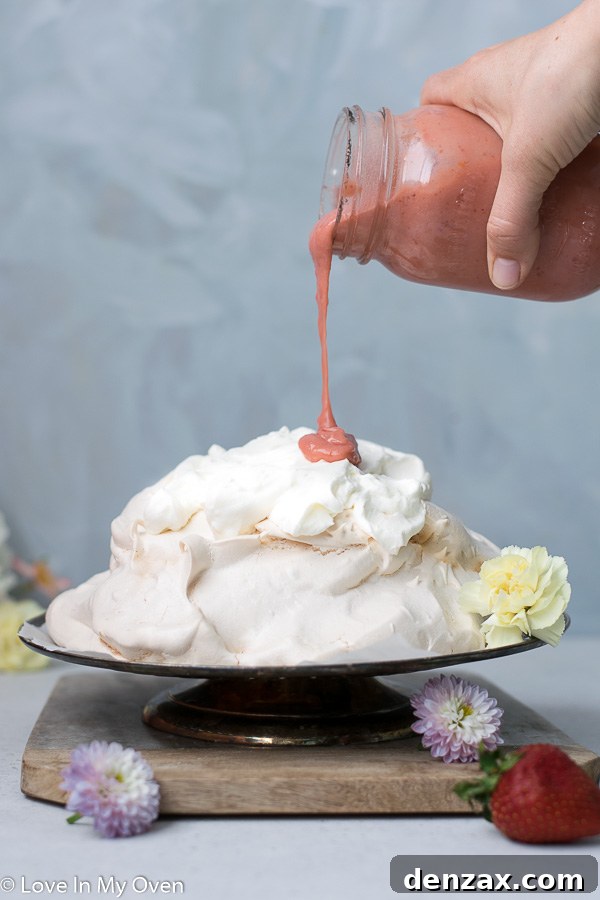
Troubleshooting Common Pavlova Issues
Even with a straightforward recipe, sometimes things don’t go exactly as planned. Here are a few common pavlova issues and how to address them:
- Cracked Pavlova: This is often due to sudden temperature changes. Ensuring a slow cool-down in the oven is key. Avoid opening the oven door during baking and the cooling period. Over-whipping the egg whites can also make the meringue too brittle.
- Soggy Pavlova: A pavlova becomes soggy if it absorbs moisture from the air or its toppings. Always add toppings just before serving. Also, ensure it’s fully baked and thoroughly cooled in the oven to dry out properly.
- Weeping Meringue: If liquid pools at the base of your meringue, it’s usually because the sugar hasn’t fully dissolved or the meringue was under-baked. Make sure your sugar is super-fine and dissolved completely (no grittiness) before shaping and baking.
- Flat Meringue: This can happen if your egg whites aren’t whipped to stiff peaks, or if there’s any fat contamination (even a tiny bit of yolk) in your egg whites. Always use a very clean, dry bowl and separate eggs carefully.
Can You Prepare a Strawberry Lemon Curd Pavlova Ahead of Time?
Absolutely! The meringue base of a pavlova is remarkably stable and can be prepared in advance. If you’re planning to make this dessert for a special occasion, I highly recommend making the pavlova shell ahead of time. Once it has completely cooled in the oven, store it uncovered at room temperature. It will remain crisp and delicious for 2-3 days. In fact, the longer it sits, the drier and crispier the shell will become, which can be a delightful texture!
However, it’s crucial to remember this golden rule: **do not add the strawberry lemon curd and whipped cream until just before serving.** Toppings, especially creamy or moist ones, will soften the delicate meringue shell very quickly. Aim to assemble your pavlova no more than an hour or two before you plan to serve it to maintain its optimal crispness.
This pavlova, with its delightful strawberry and lemon flavors, has become a huge hit with my family. Its light and airy nature means you get to enjoy a truly indulgent dessert without feeling heavy afterward. It’s perfect for Easter, Mother’s Day, summer BBQs, or simply as a special treat any time you crave something sweet and refreshing. I have a feeling this strawberry lemon version will be making many more appearances in our home!
Happy Easter, and happy baking!
Explore More Delightful Desserts and Curd Recipes
If you’re a fan of the bright, tangy flavors of curds or looking for more exquisite dessert ideas, here are some other recipes you might enjoy:
- Keto Coconut Lemon Cheesecake
- Grain-Free Chocolate Coconut Tart
- Meyer Lemon Curd
- Cranberry Curd
Print Recipe
Strawberry Lemon Curd Pavlova
5 Stars 4 Stars 3 Stars 2 Stars 1 Star
5 from 4 reviews
Author: Katherine | Love In My Oven
Total Time: 6 hours
Yield: 4–5 servings
Description
Fluffy and light, this airy strawberry lemon curd pavlova is the easiest dessert you can make! Tasty meringue topped with delicious strawberry lemon curd and a mountain of whipped cream!
Ingredients
- 4 egg whites, room temperature
- 1 cup super-fine sugar*
- 1 1/2 tsp cornstarch
- 1 tsp white wine vinegar
- 1/2 cup strawberry lemon curd
- 1 cup whipped cream, for serving
Instructions
- Preheat the oven to 350 F (175 C) and line a baking sheet with parchment paper. Set aside.
- In the bowl of a stand mixer, whip the egg whites on high until soft peaks begin to form. The egg whites should have tripled in size, look foamy, and form soft peaks that fall over after formed.
- With the mixer running on low, slowly add the sugar. Turn the mixer up to high and whip until the egg whites are glossy and smooth, and form stiff, firm peaks that do not fall over when formed. Pinch the mixture together with your fingers; if it is still gritty feeling, mix a bit longer.
- Add the cornstarch and white wine vinegar and give the meringue mixture a few turns. Pile the meringue on to the center of the prepared baking sheet, using a spatula or your fingers to form it into a smooth mound. Keep the top of the pavlova fairly flat, which will ensure the toppings don’t slide off!
- Place the pavlova in the oven, and immediately turn the temperature down to 300 F (150 C). Bake the meringue for 1 hour and 15 minutes**. Do not open the oven door while the pavlova is baking. Turn the oven off after the bake time is up, then leave the pavlova inside the oven for at LEAST 3 hours, but up to 12 hours. The longer it stays inside the oven untouched, the crispier it will be!
- Once completely cooled, and just before serving, place the pavlova on to a serving plate and top with half the whipped cream, followed by the curd, then the remainder of the whipped cream. Serve immediately.
A cooked pavlova that has not been decorated with curd yet can remain at room temperature, covered, for 2-3 days. If you’re making the pavlova ahead of time, do not add the curd and whipped cream until just before serving.
Notes
*To ensure my sugar is super-fine, I use castor (berry) sugar and grind it up a bit in a food processor until very, very fine
**If you would like your pavlova to be a bit chewier on the inside, bake for 55 minutes instead. Allow the pavlova to cool down for 2-3 hours in the oven before removing it.
- Prep Time: 30 minutes
- Cook Time: 1 hour 15 minutes
- Category: desserts
- Method: oven bake
- Cuisine: Australian