
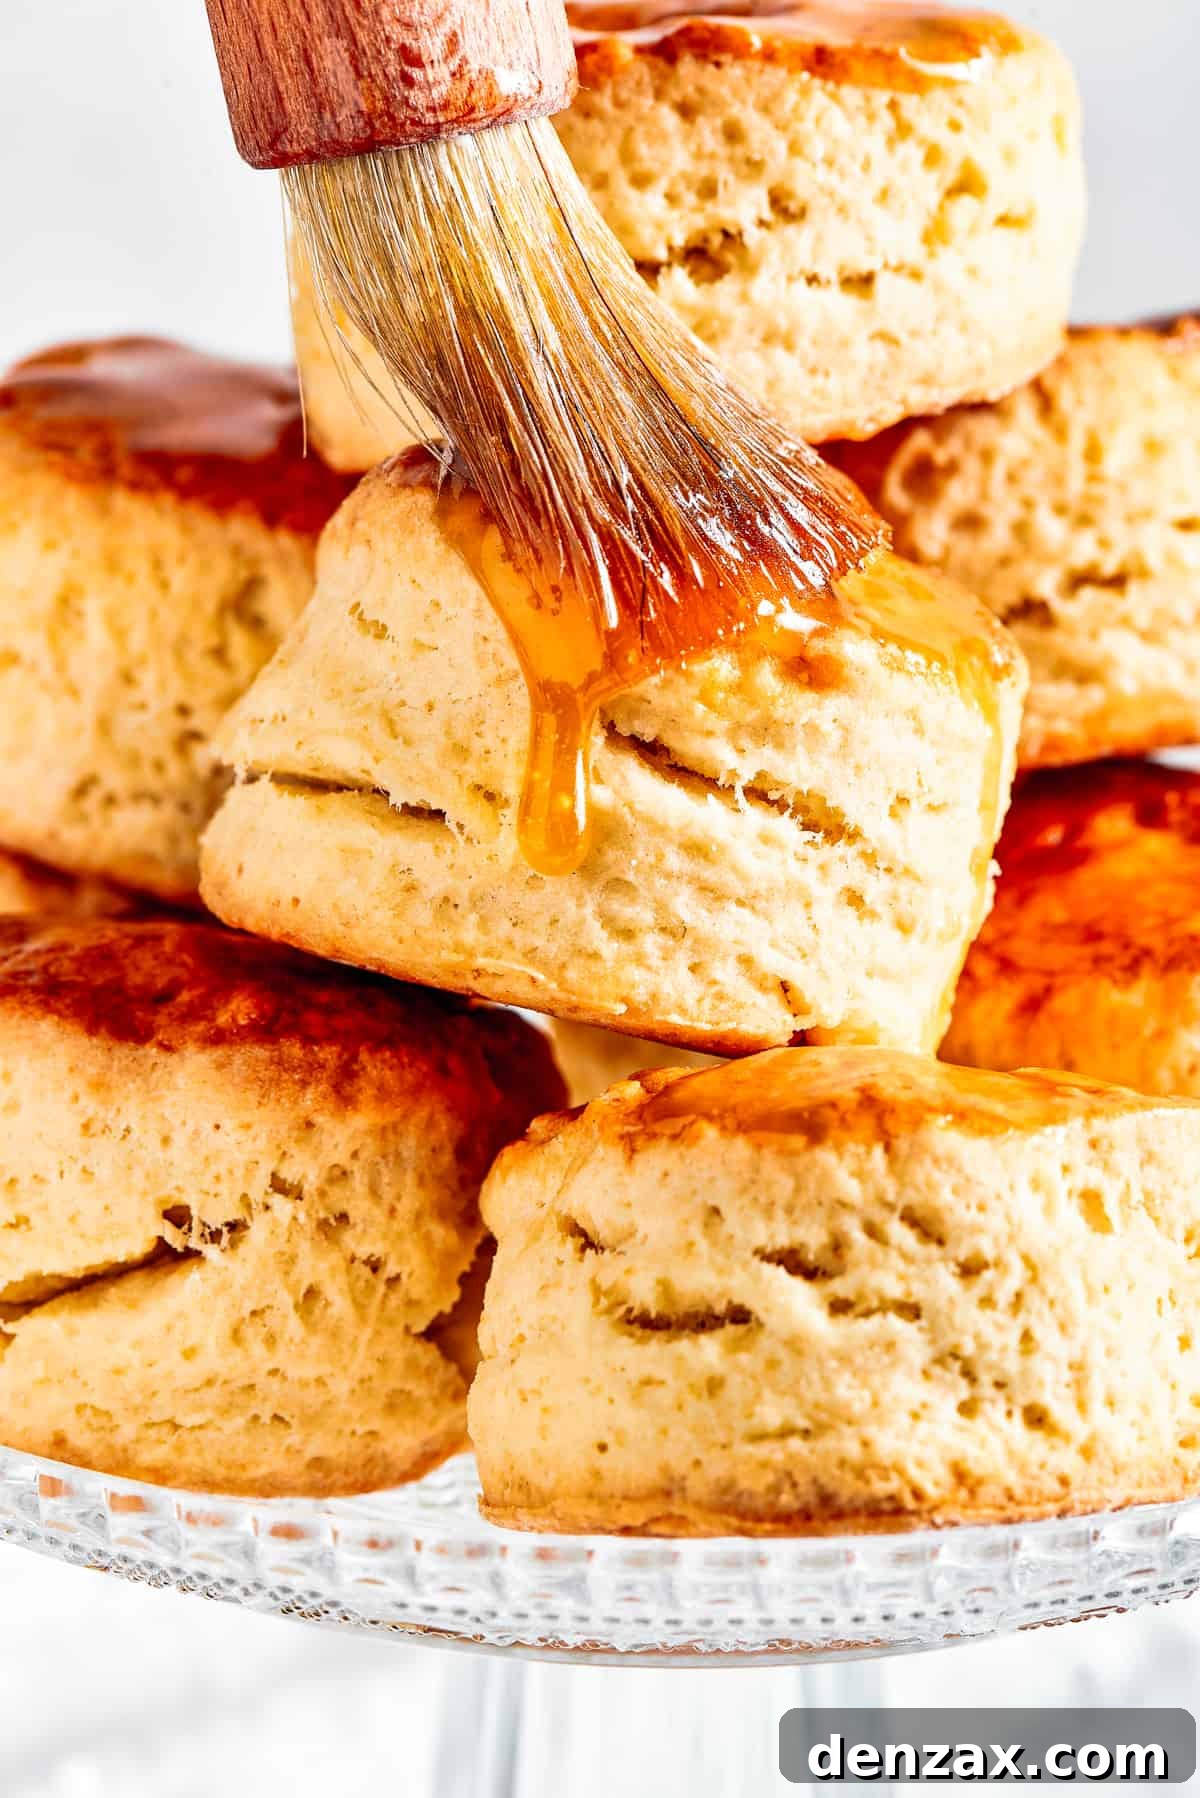
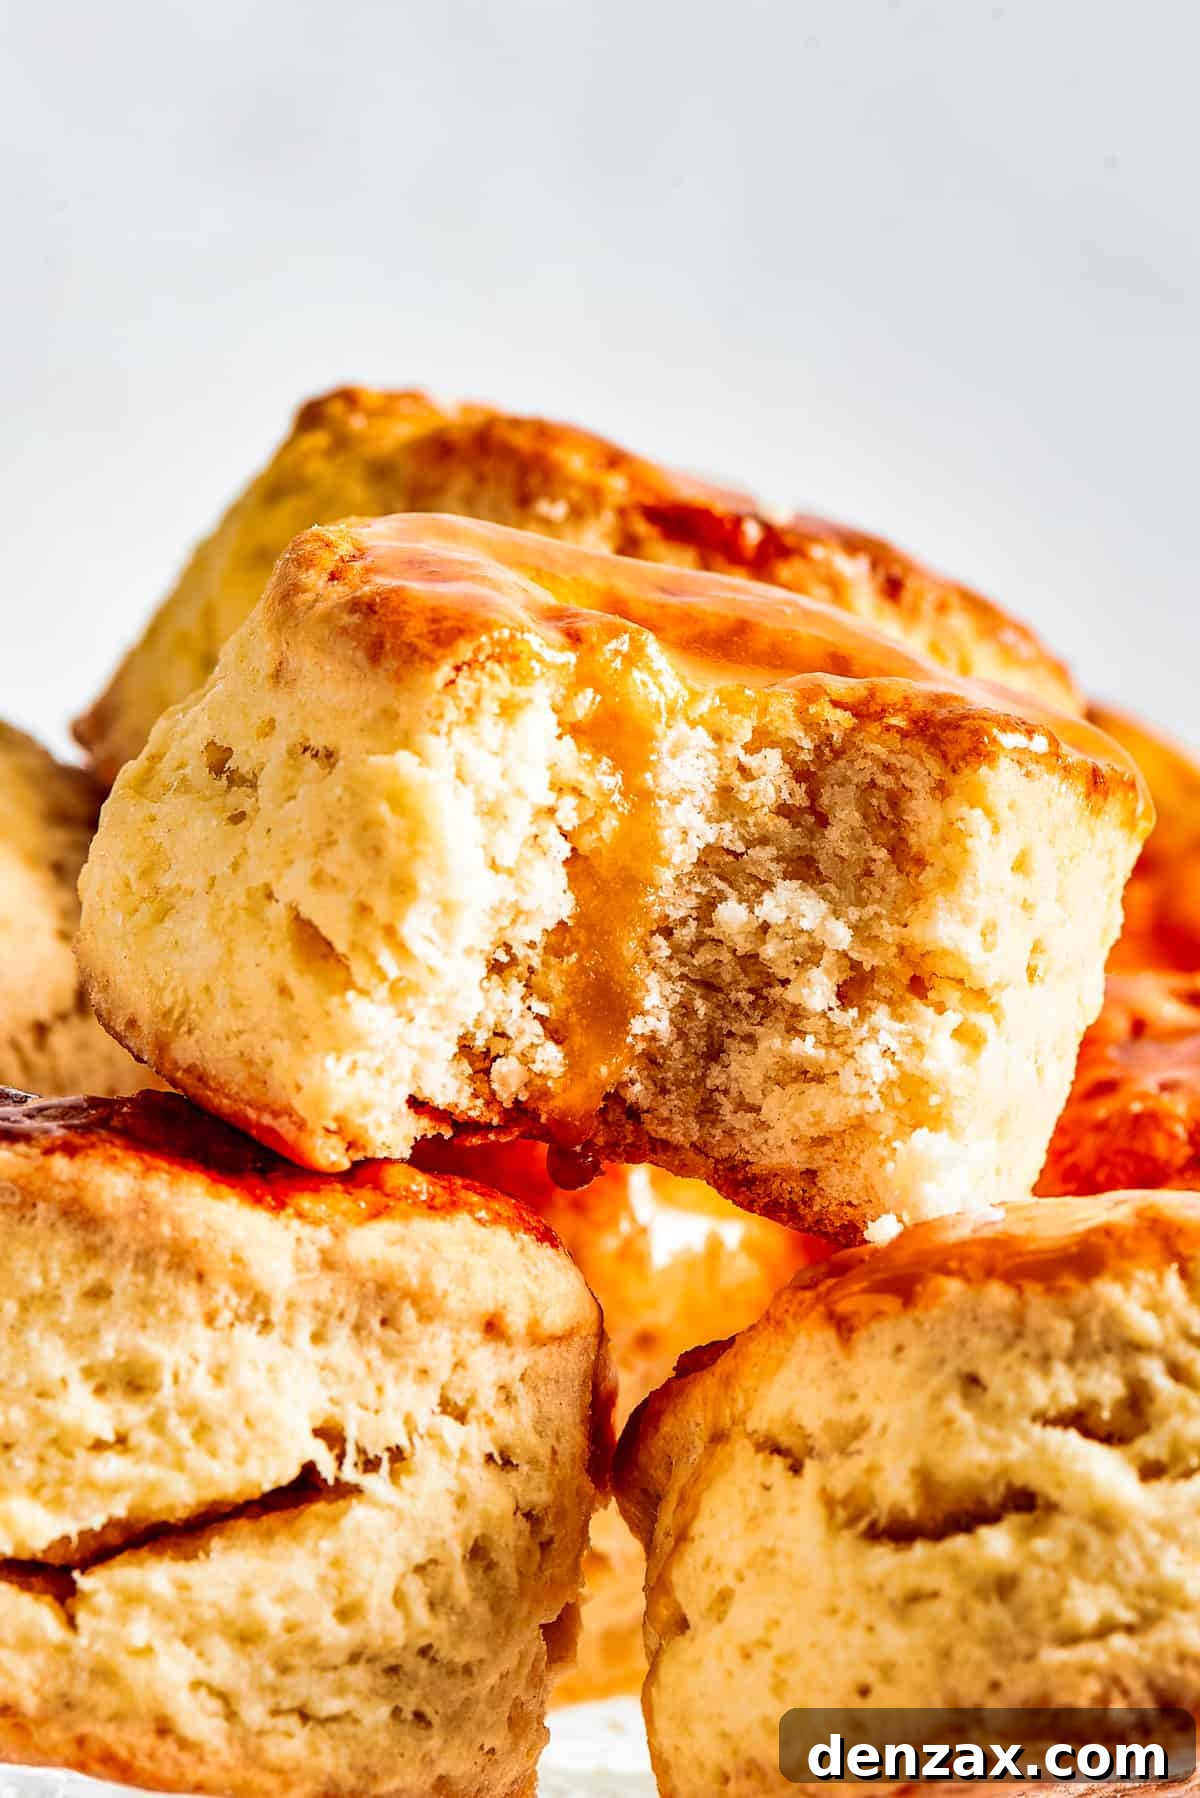
Easy Homemade Biscuits are a timeless culinary delight, transforming any meal into a special occasion. Forget intimidating baking projects; this recipe proves that warm, tender, and high-rising biscuits can be incredibly simple to master. Prepare for biscuits so light and airy, they practically melt in your mouth, leaving behind a buttery, satisfying flavor that will have everyone asking for more.
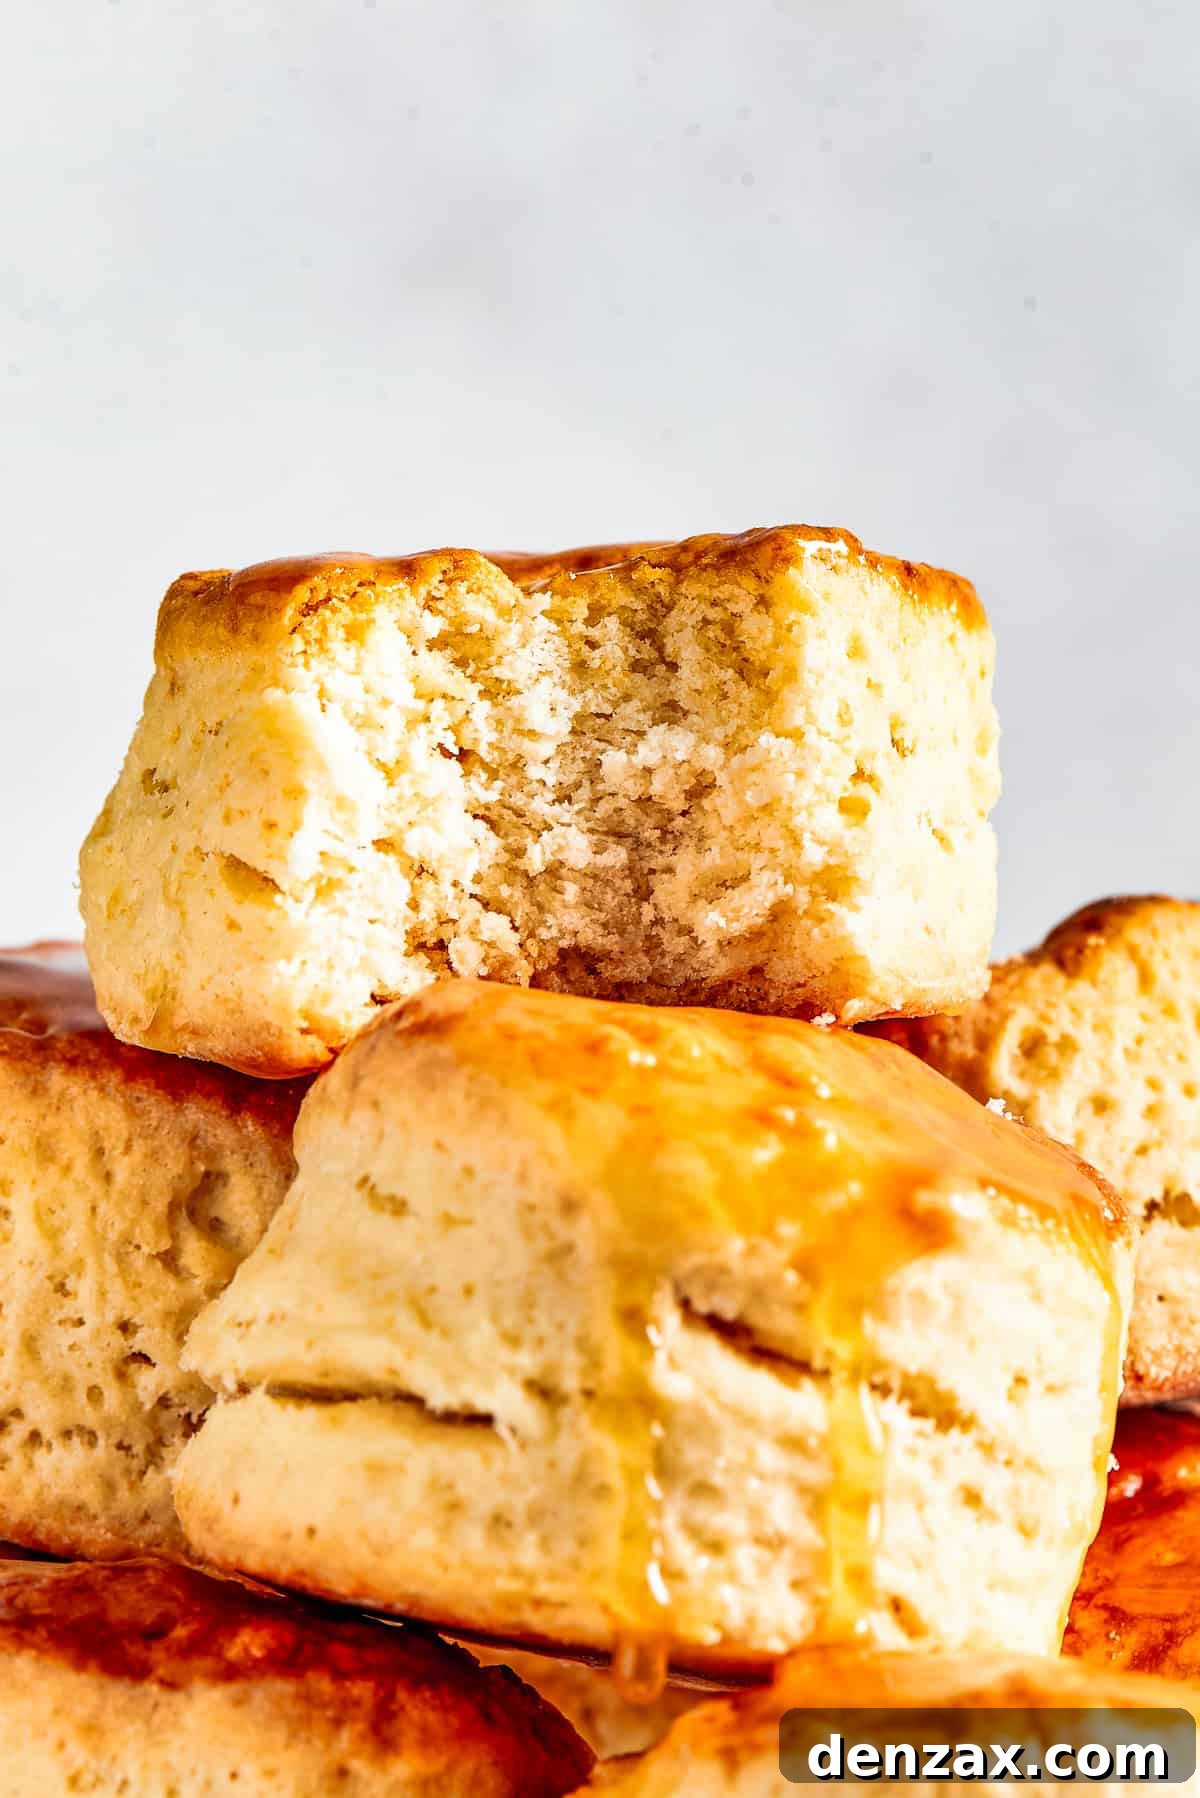
Experience the Joy of Tender, Flaky, Homemade Biscuits
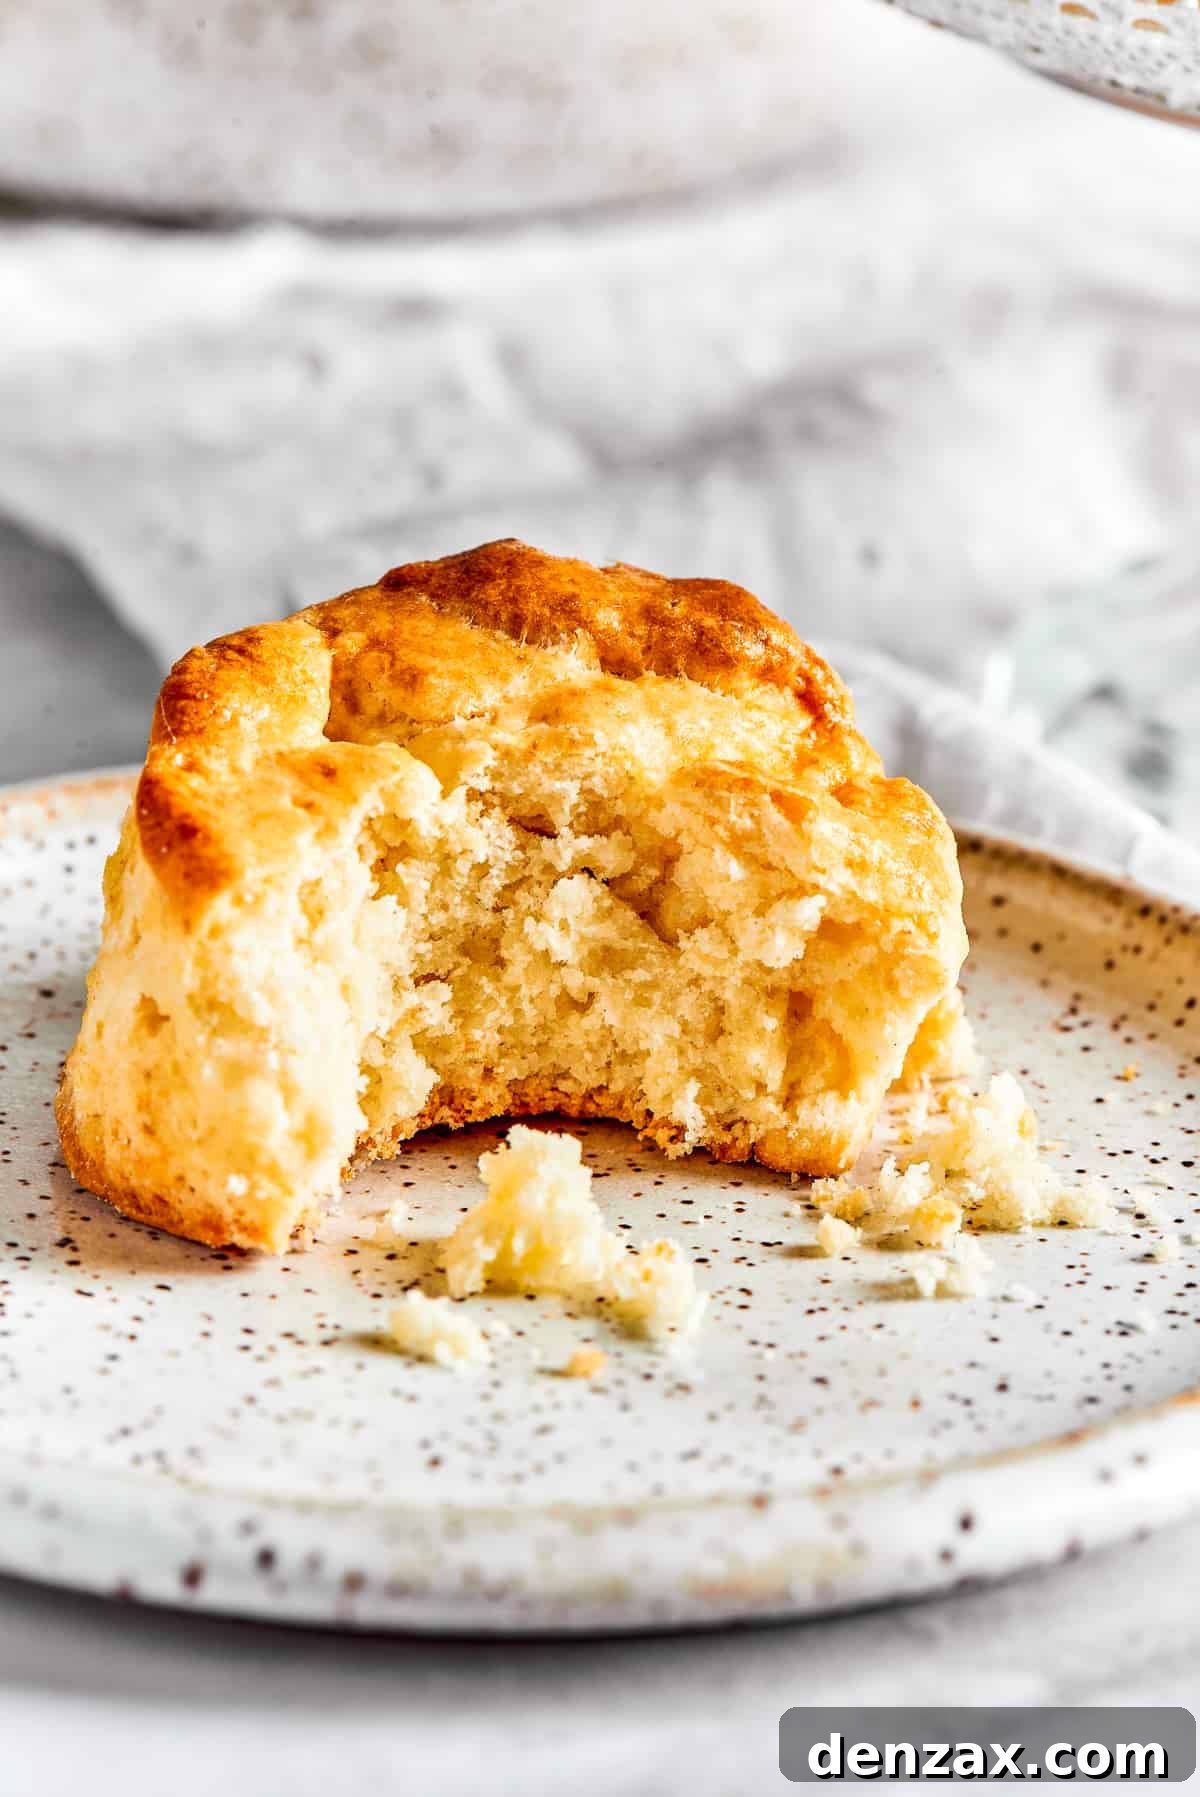
There’s an undeniable magic that happens when a batch of freshly baked biscuits emerges from the oven. The aroma alone is enough to bring smiles, and the first bite confirms their heavenly status. My family, like many others, celebrates whenever these golden-brown gems are on the menu. They embody the perfect balance: light as air, richly buttery, subtly salty, and kissed with just a hint of sweetness.
The versatility of homemade biscuits is truly remarkable. Imagine them served warm alongside a hearty breakfast spread, ready to soak up savory gravy or scrambled eggs. Picture them as the ultimate comfort food accompaniment to a rich chicken pot pie casserole, providing a flaky contrast to the creamy filling. Or perhaps, simply enjoyed as a delightful snack, slathered generously with butter and a dollop of homemade jam. No matter the occasion – be it a casual weeknight dinner or a festive holiday feast – these easy homemade biscuits are guaranteed to be a crowd-pleaser and a memorable addition to your table.
One of the many reasons I adore baking biscuits is their surprising simplicity. Many home bakers feel intimidated by the idea of creating perfect biscuits from scratch, believing it requires years of experience or complex techniques. However, I’m here to tell you that’s simply not true! With a few fundamental tips and tricks, which I’m thrilled to share with you, you’ll discover the ease and joy of rolling, cutting, and baking flawlessly fluffy, melt-in-your-mouth homemade biscuits every single time.
Gather Your Essentials: Simple Ingredients for Extraordinary Biscuits
Crafting these exceptional biscuits doesn’t require a trip to a specialty store. This timeless, old-fashioned recipe relies on common pantry staples and fridge essentials, making it incredibly convenient for spontaneous baking urges. The secret to their incredible flavor and texture lies not in exotic components, but in the quality and proper handling of these simple ingredients. Here’s a detailed look at what you’ll need to create your own batch of buttery, flaky perfection:
For the Ultimate Homemade Biscuits:
- All-Purpose Flour: The foundation of our biscuits. You’ll need 2½ cups for the dough, plus a little extra for dusting your work surface and biscuit cutter. For the best results, always measure your flour correctly, preferably by weighing it or using the spoon-and-level method to avoid dense biscuits.
- Granulated Sugar: While optional, 2 tablespoons of granulated sugar add a lovely subtle sweetness that perfectly balances the savory notes of butter and buttermilk. It also contributes to the beautiful golden-brown crust. If you prefer a purely savory biscuit, you can certainly omit it.
- Baking Powder: Our primary leavening agent! 1½ teaspoons of fresh baking powder are crucial for giving these biscuits their signature high rise and light, airy texture. Ensure your baking powder isn’t expired; old leavening agents can lead to flat, disappointing biscuits.
- Sea Salt: A key flavor enhancer. ½ to 1 teaspoon of sea salt brings out the richness of the butter and buttermilk, creating a well-rounded taste profile. Adjust the amount to your preference, especially if using salted butter.
- Cold Unsalted Butter: This is arguably the most critical ingredient for flaky biscuits. You’ll need ½ cup (one stick) of unsalted butter, cut into small cubes. The butter must be *very cold* to create those desirable pockets of steam in the oven, which separate the dough into distinct, flaky layers. If you only have salted butter, reduce the added sea salt by a quarter to a half teaspoon.
- Cold Buttermilk: Essential for both flavor and texture. ¾ cup of cold buttermilk reacts with the baking powder, providing an extra lift and contributing a distinct tangy flavor and tender crumb that regular milk simply cannot replicate. Keeping it cold is key, just like the butter. (See our tip below for a homemade buttermilk substitute if you don’t have any on hand!)
- Egg or Milk for Glaze: A single, lightly beaten egg, or a splash of milk, brushed over the tops of the biscuits before baking, helps achieve that beautiful golden-brown, slightly glossy crust. This step enhances both appearance and taste.
For the Optional Maple Sauce:
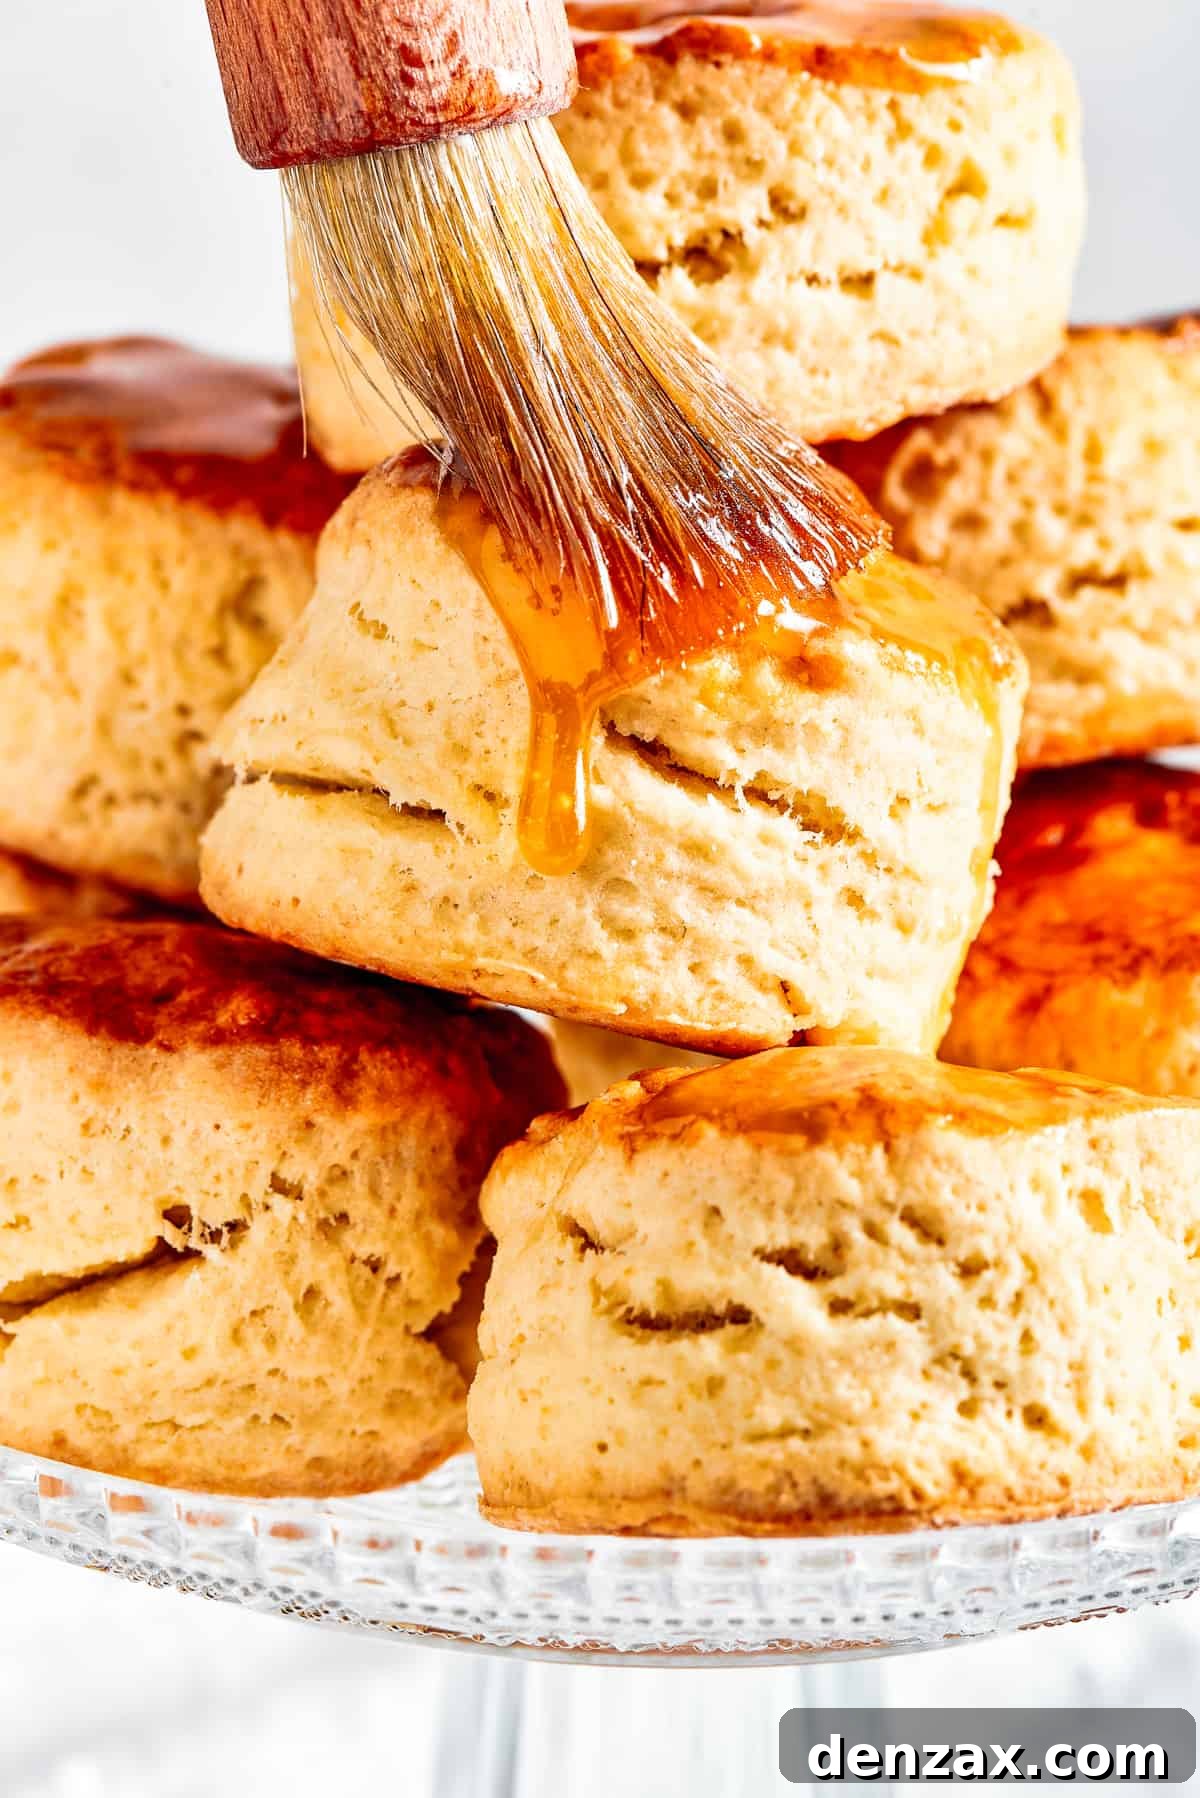
Elevate your warm biscuits with a simple, decadent maple glaze that adds a touch of sweetness and shine. This optional sauce is incredibly easy to make and takes these homemade treats to the next level.
- Maple Syrup: 3 tablespoons of pure maple syrup (or honey for an alternative flavor) forms the base of this luscious glaze. Choose a good quality syrup for the best taste.
- Butter: 1 tablespoon of butter, salted or unsalted according to your preference, is melted with the maple syrup to create a rich, smooth consistency that clings perfectly to the warm biscuits.
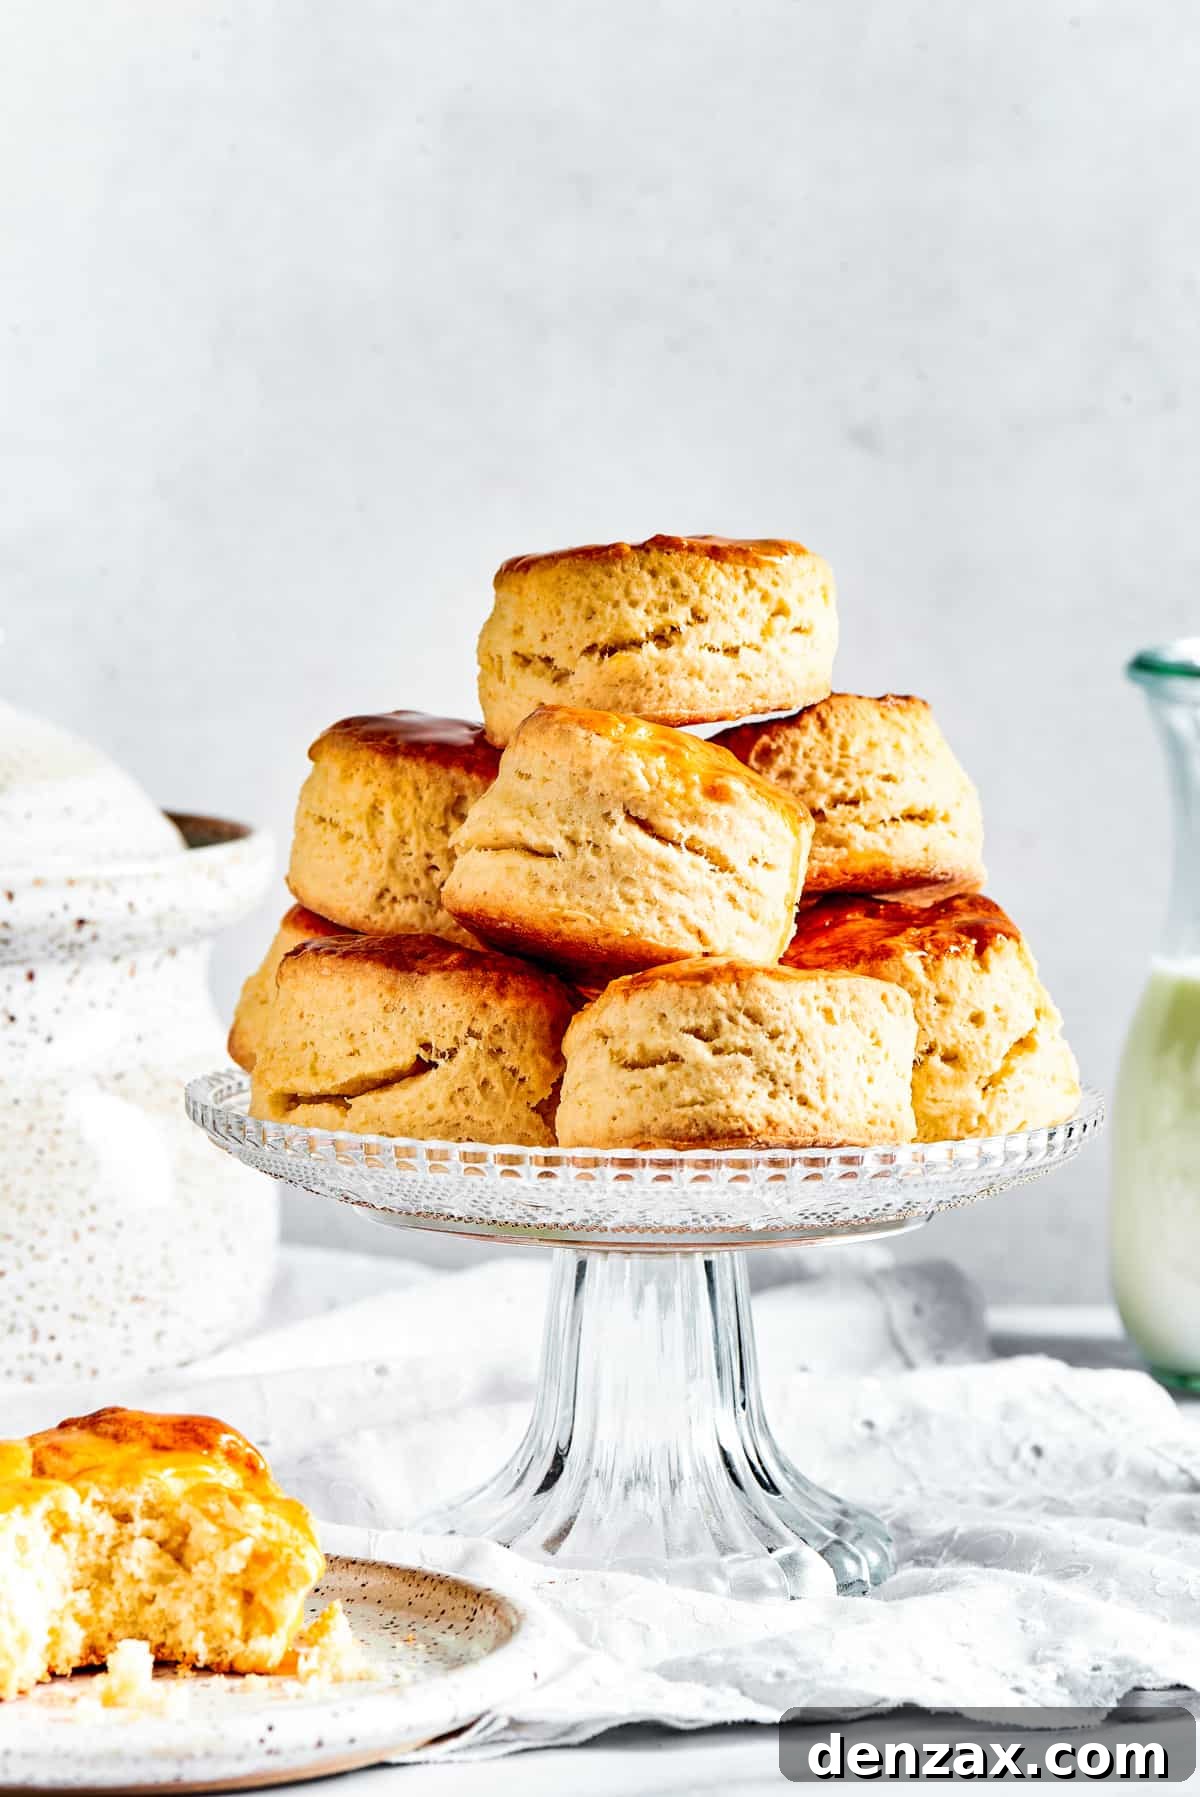
Step-by-Step Guide: How to Bake Fluffy Homemade Biscuits!
Now that we’ve gathered all our fresh ingredients, it’s time to transform them into glorious, golden-brown biscuits. Baking fluffy, flaky biscuits from scratch is a surprisingly straightforward process, especially when you follow these clear, detailed steps. Get ready to impress yourself and your loved ones with your newfound biscuit-making prowess!
- Prepare Your Workspace and Dry Ingredients: Begin by preheating your oven to a blazing 450°F (230°C). This high temperature is crucial for a quick rise and a beautifully browned crust. Next, line a large baking sheet with parchment paper to prevent sticking and ensure even baking, then set it aside. In a spacious mixing bowl, vigorously whisk together the all-purpose flour, granulated sugar (if using), baking powder, and sea salt. Whisking ensures these dry ingredients are thoroughly combined and evenly distributed throughout the dough.
- Incorporate the Cold Butter: The secret to flaky layers lies here! Add your small, cold butter cubes to the dry ingredients. Using your fingertips, a pastry cutter, or even a food processor, work the butter into the flour mixture until it resembles coarse breadcrumbs, with some pea-sized pieces of butter still visible. The key is to handle the butter as little as possible with your hands, as their warmth can soften the butter, compromising the flakiness. Cold butter will melt in the hot oven, creating steam that separates the dough into distinct, tender layers.
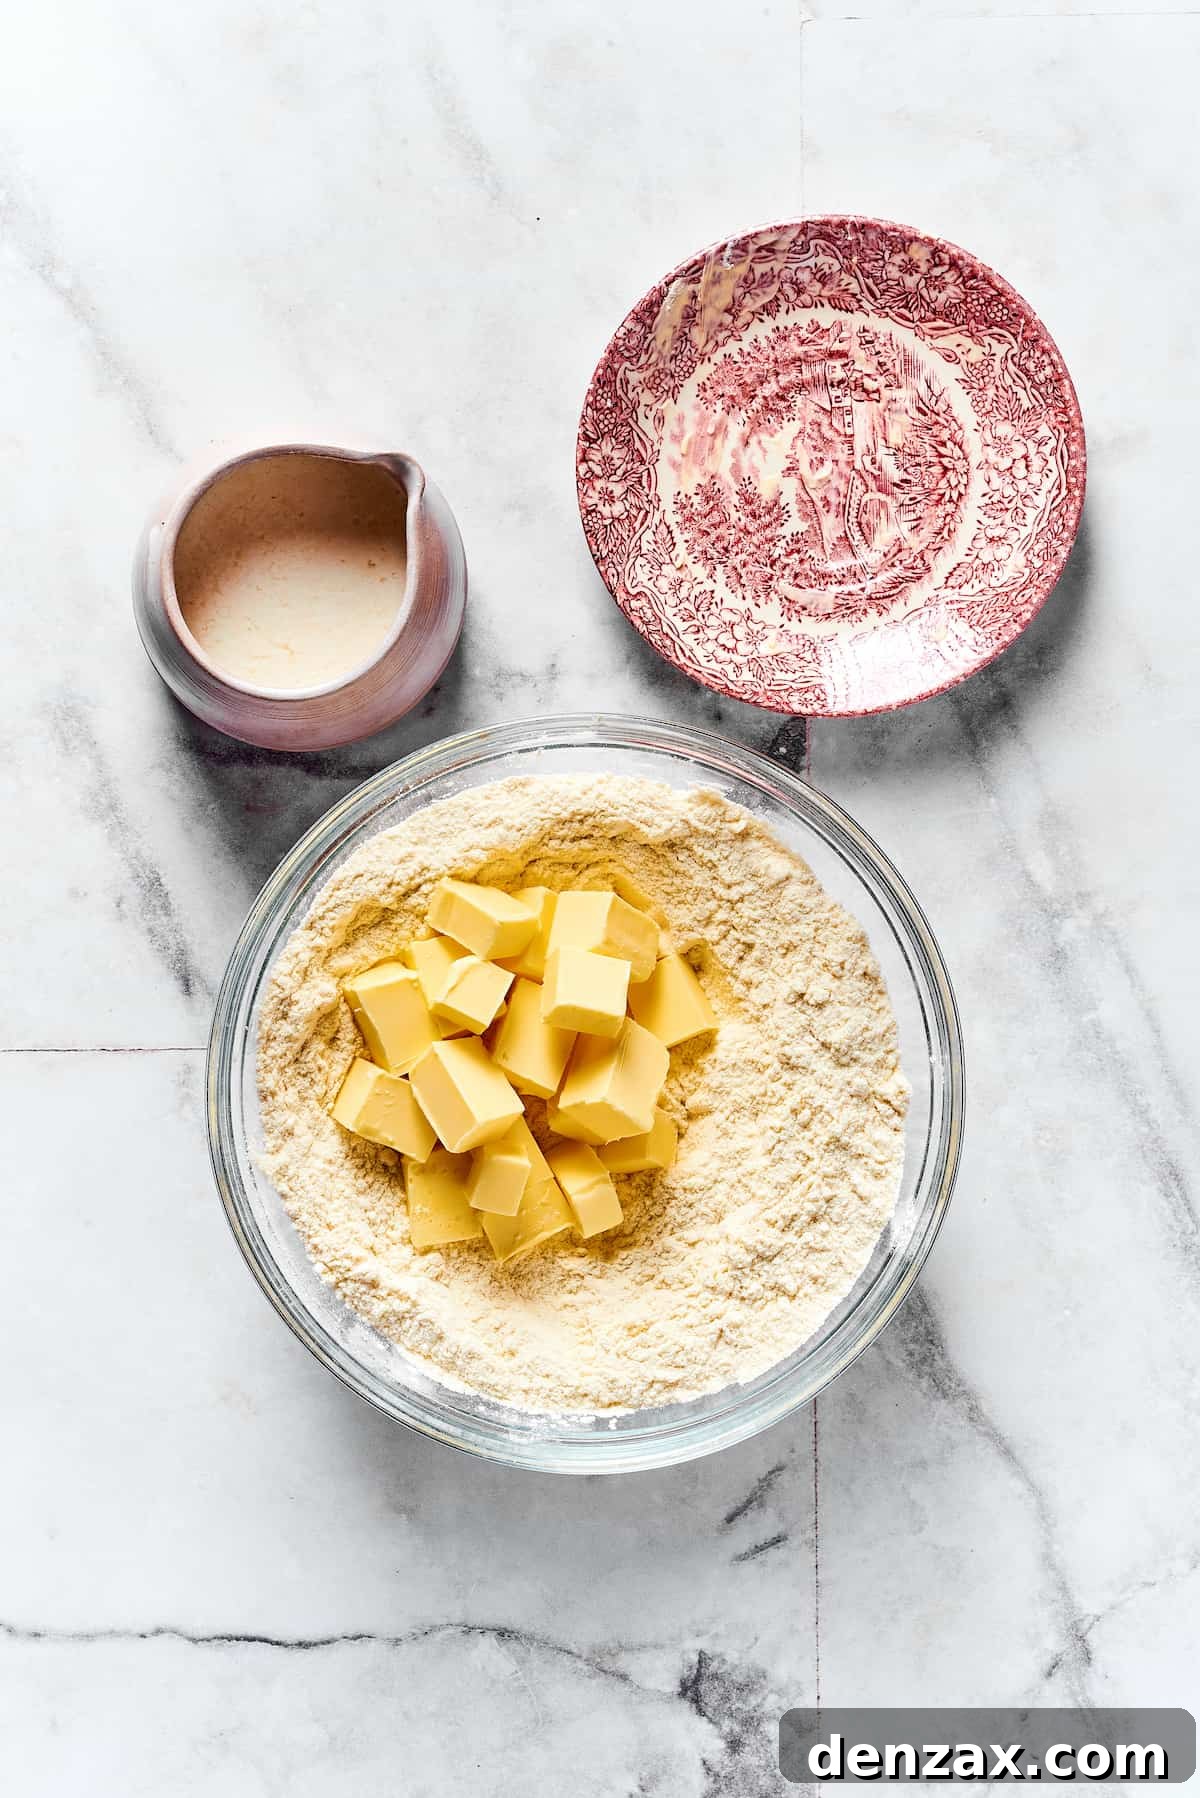
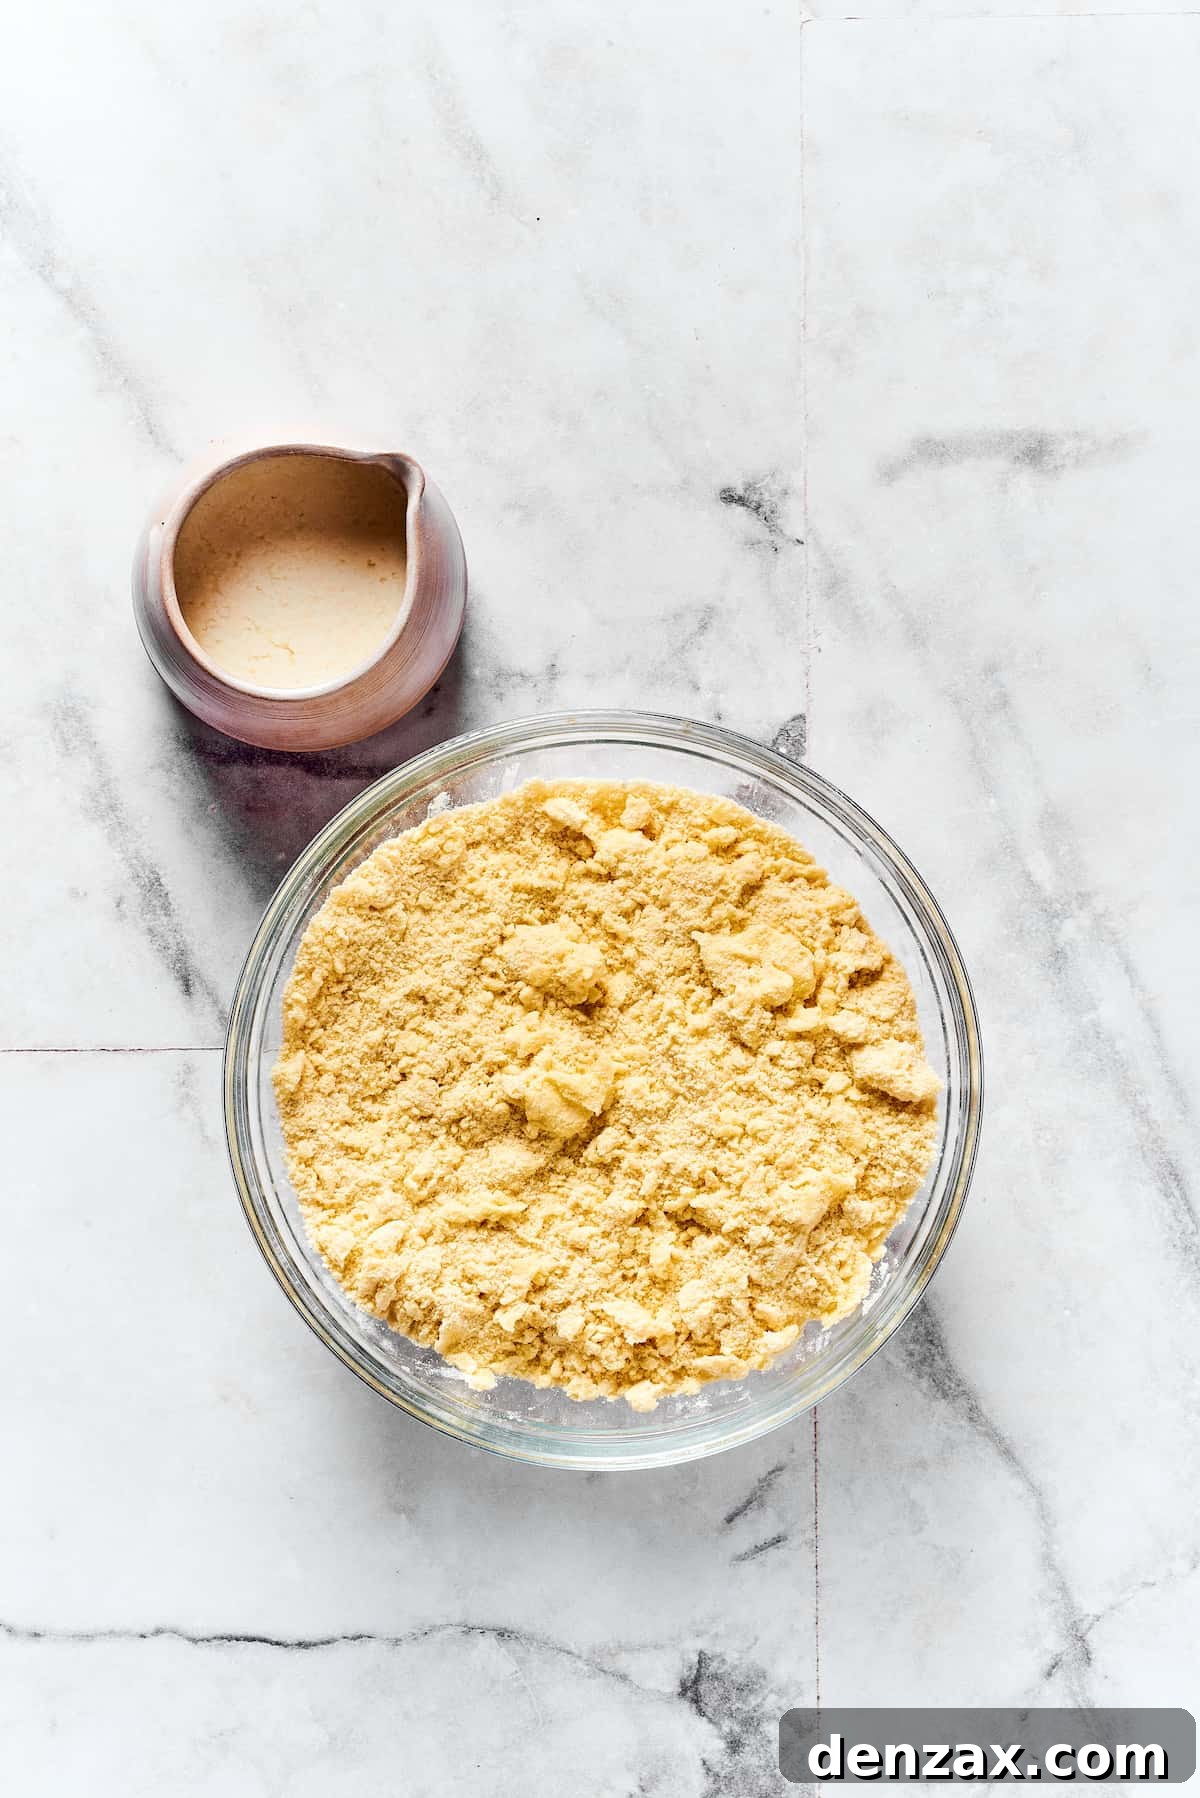
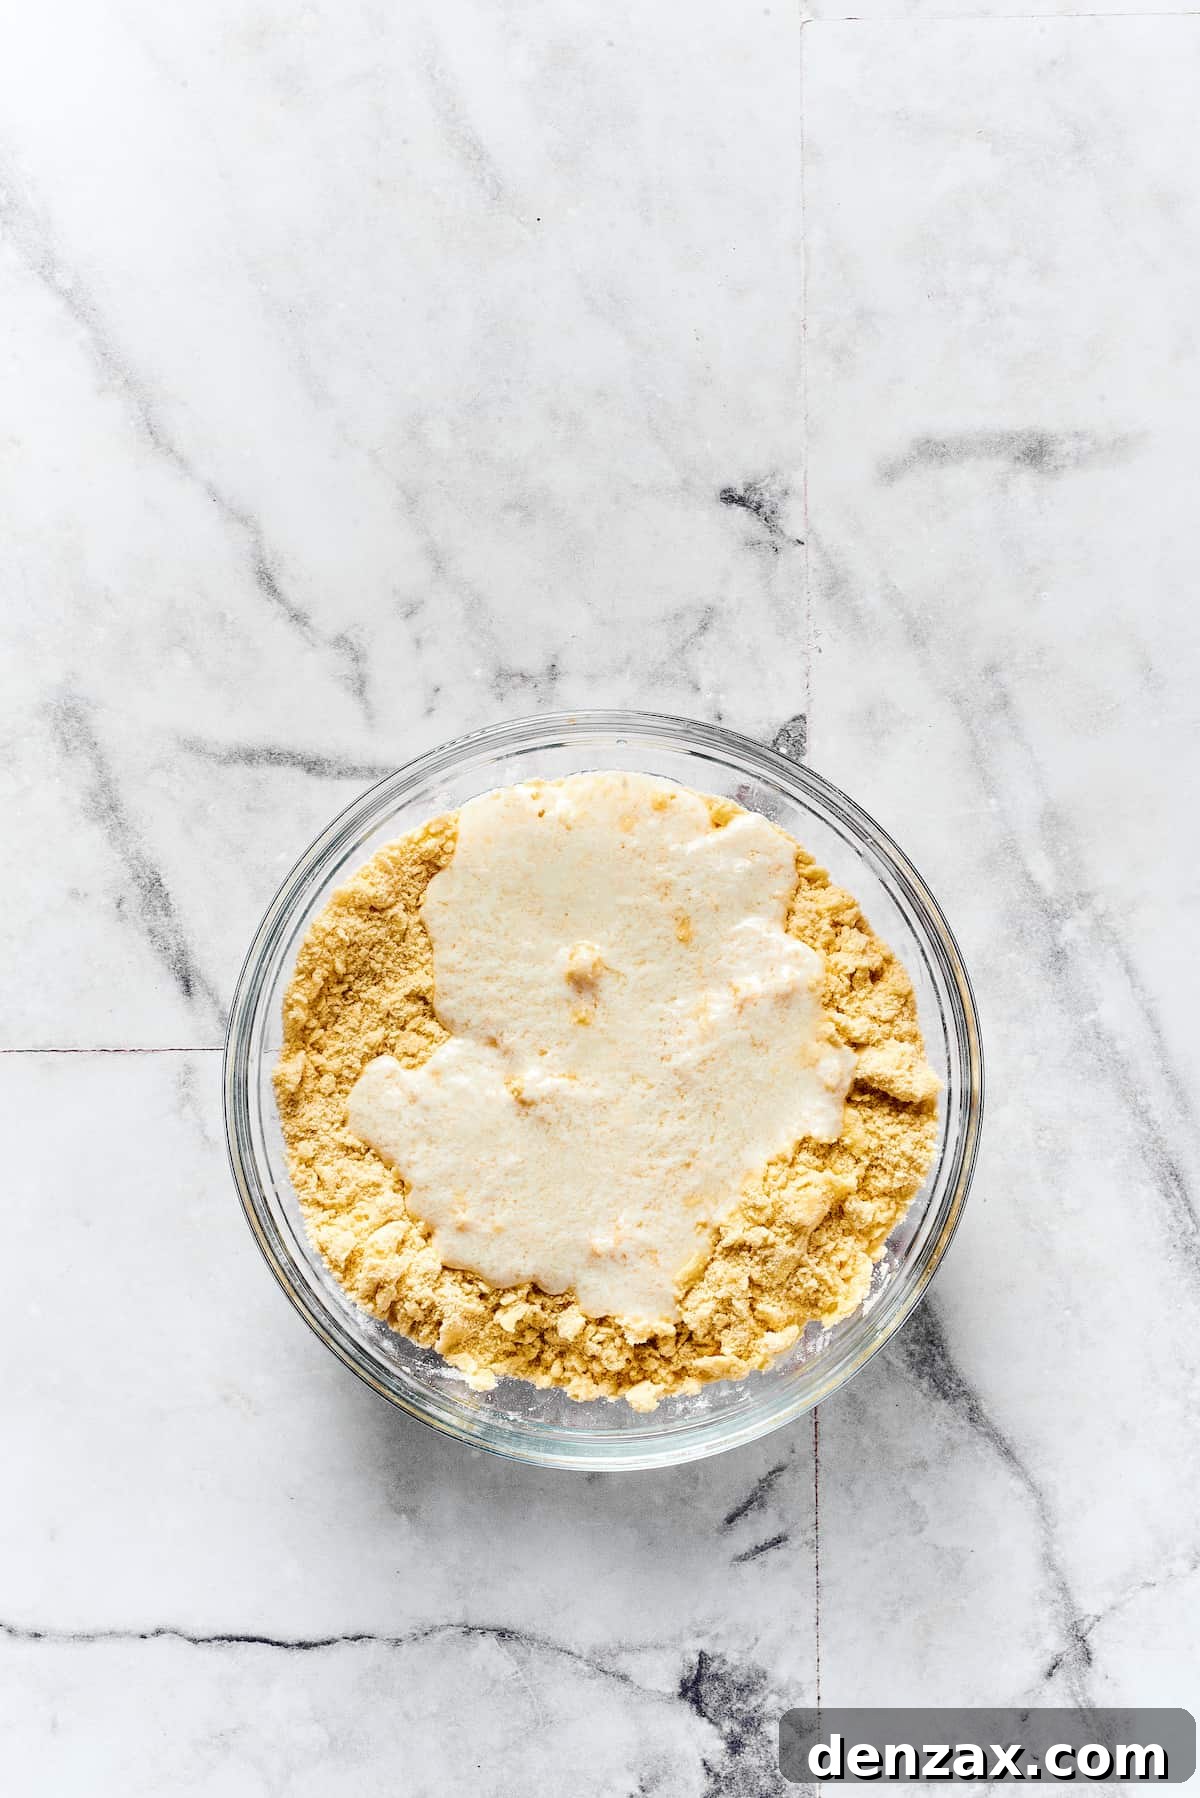
- Add the Buttermilk and Form the Dough: Create a deep well in the center of your flour-and-butter mixture. Pour the cold buttermilk directly into this well. Using a spoon or a rubber spatula, gently mix the ingredients, working from the center outwards, until a soft, shaggy dough begins to form. This step requires a light hand; resist the urge to overwork the dough. Overmixing develops gluten, which can lead to tough, chewy biscuits instead of tender, melt-in-your-mouth ones. It’s perfectly fine if the dough looks a bit sticky or lumpy at this stage.
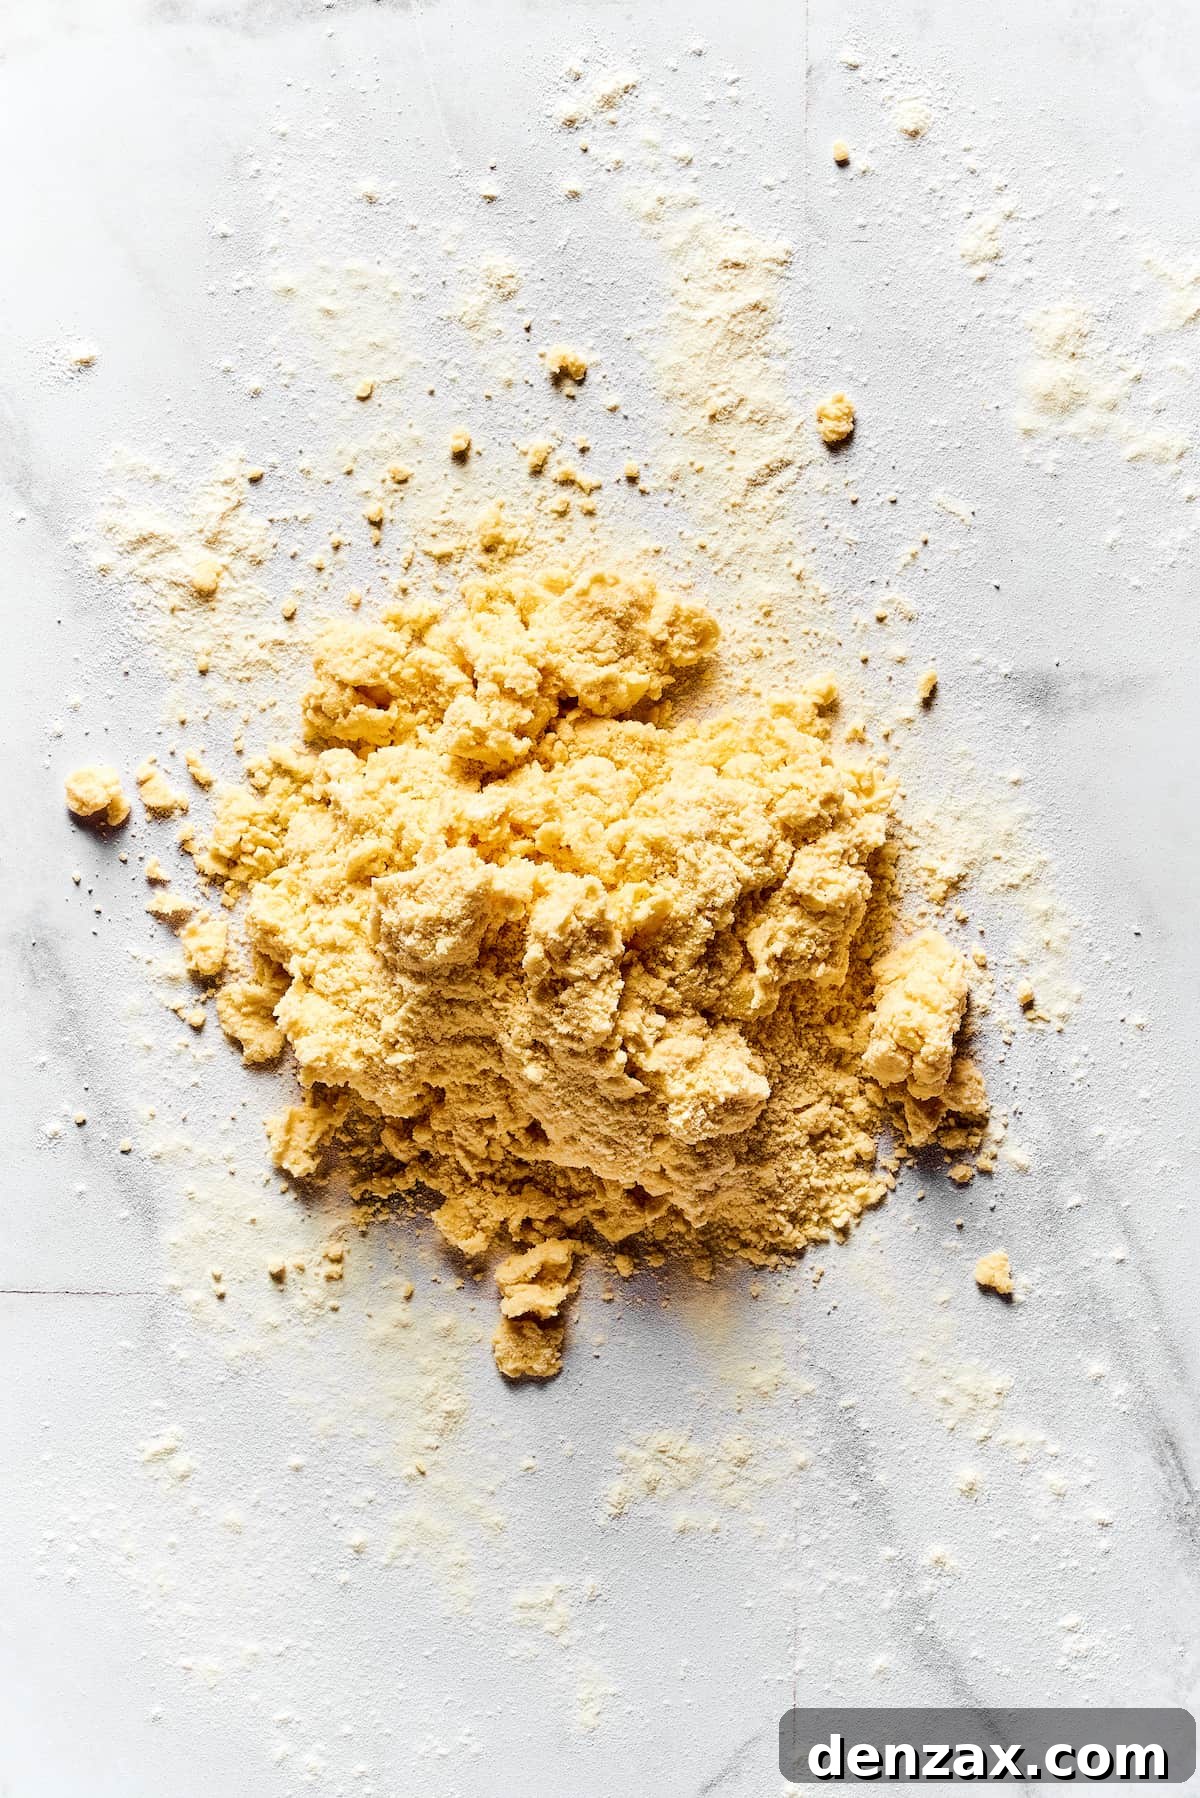
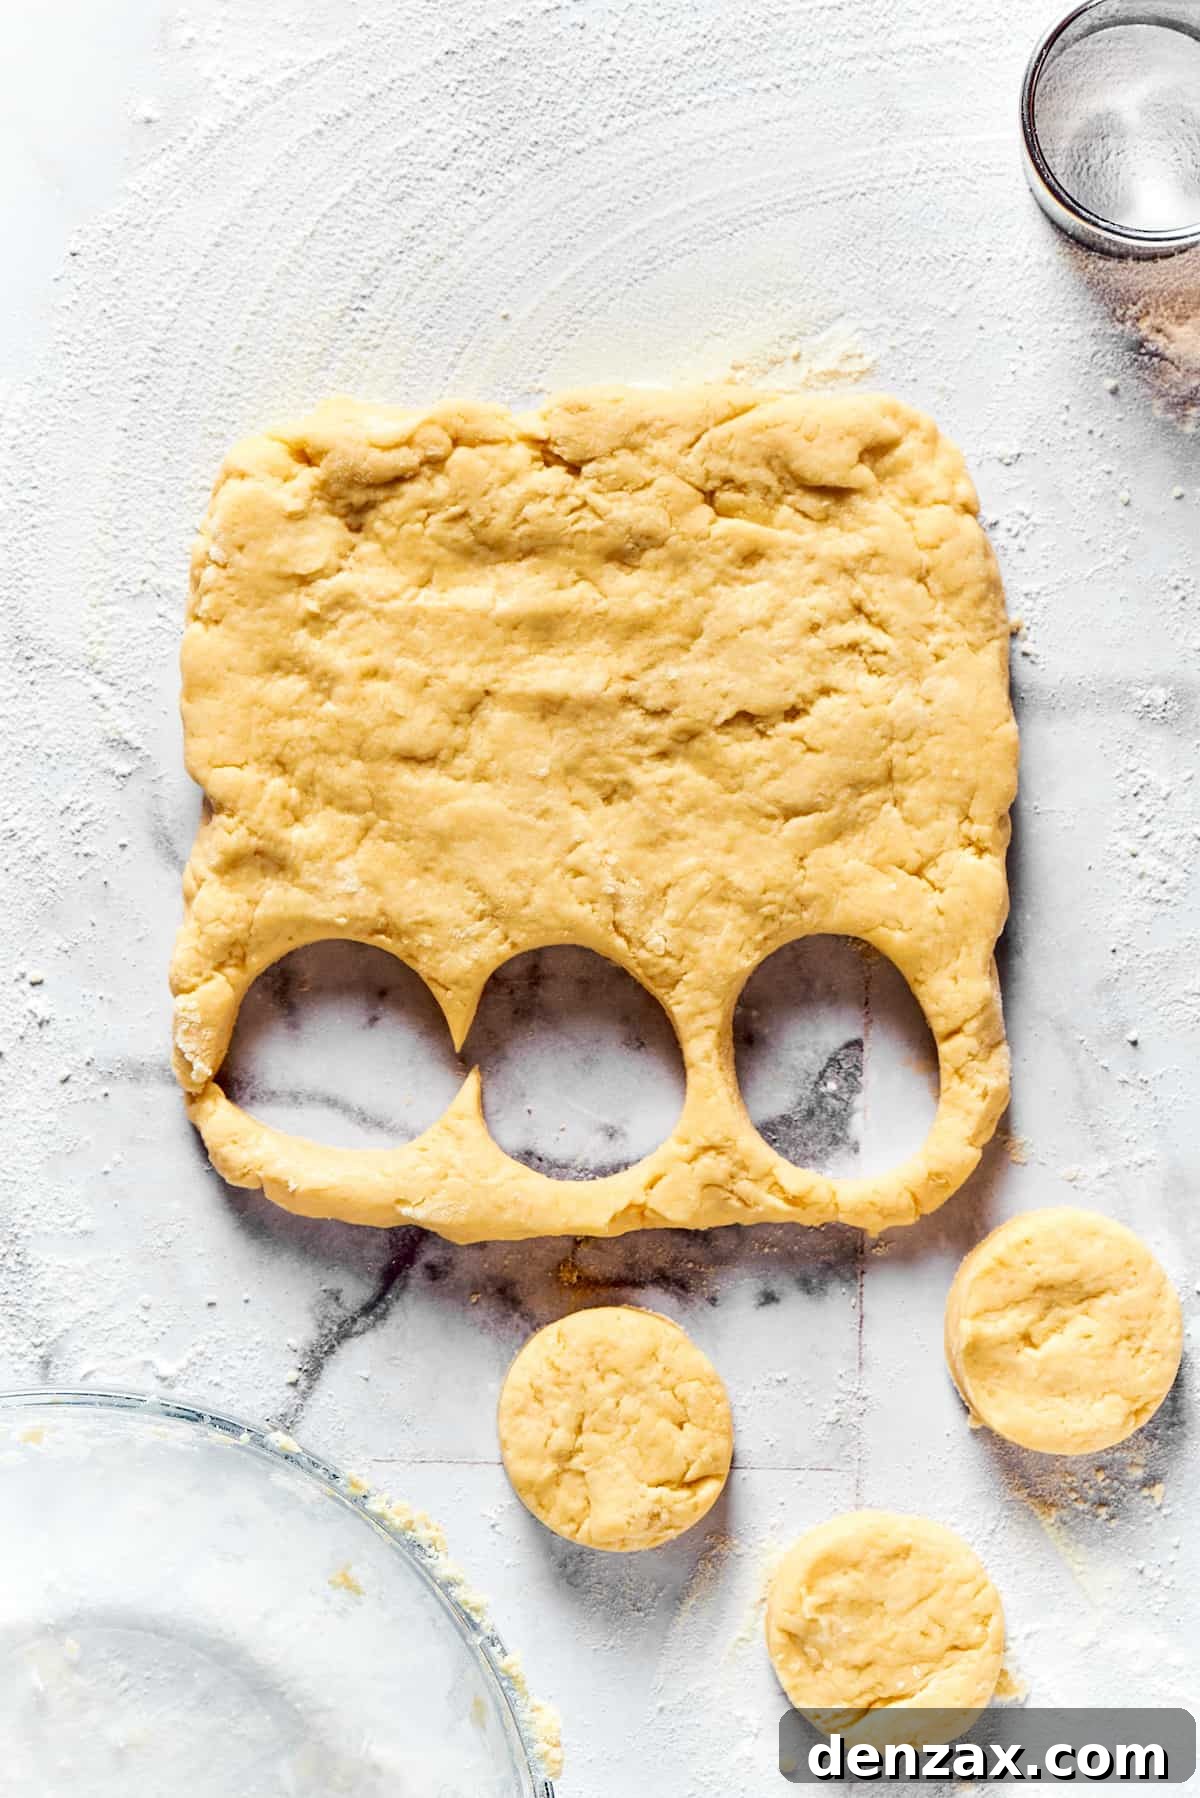
- Shape and Cut Your Biscuits: Turn the dough out onto a lightly floured work surface. With very light hands, gently knead or pat the dough just enough to bring it completely together, forming a cohesive mass. Avoid excessive kneading. Flatten the dough evenly until it’s about 1 inch thick. Using a sharp, metal biscuit cutter (avoid twisting it, which can seal the edges and inhibit rise), cut out 9 rounds. Gather the dough scraps, gently press them together without overworking, and then flatten and cut out an additional 3 rounds, yielding a total of 12 biscuits.
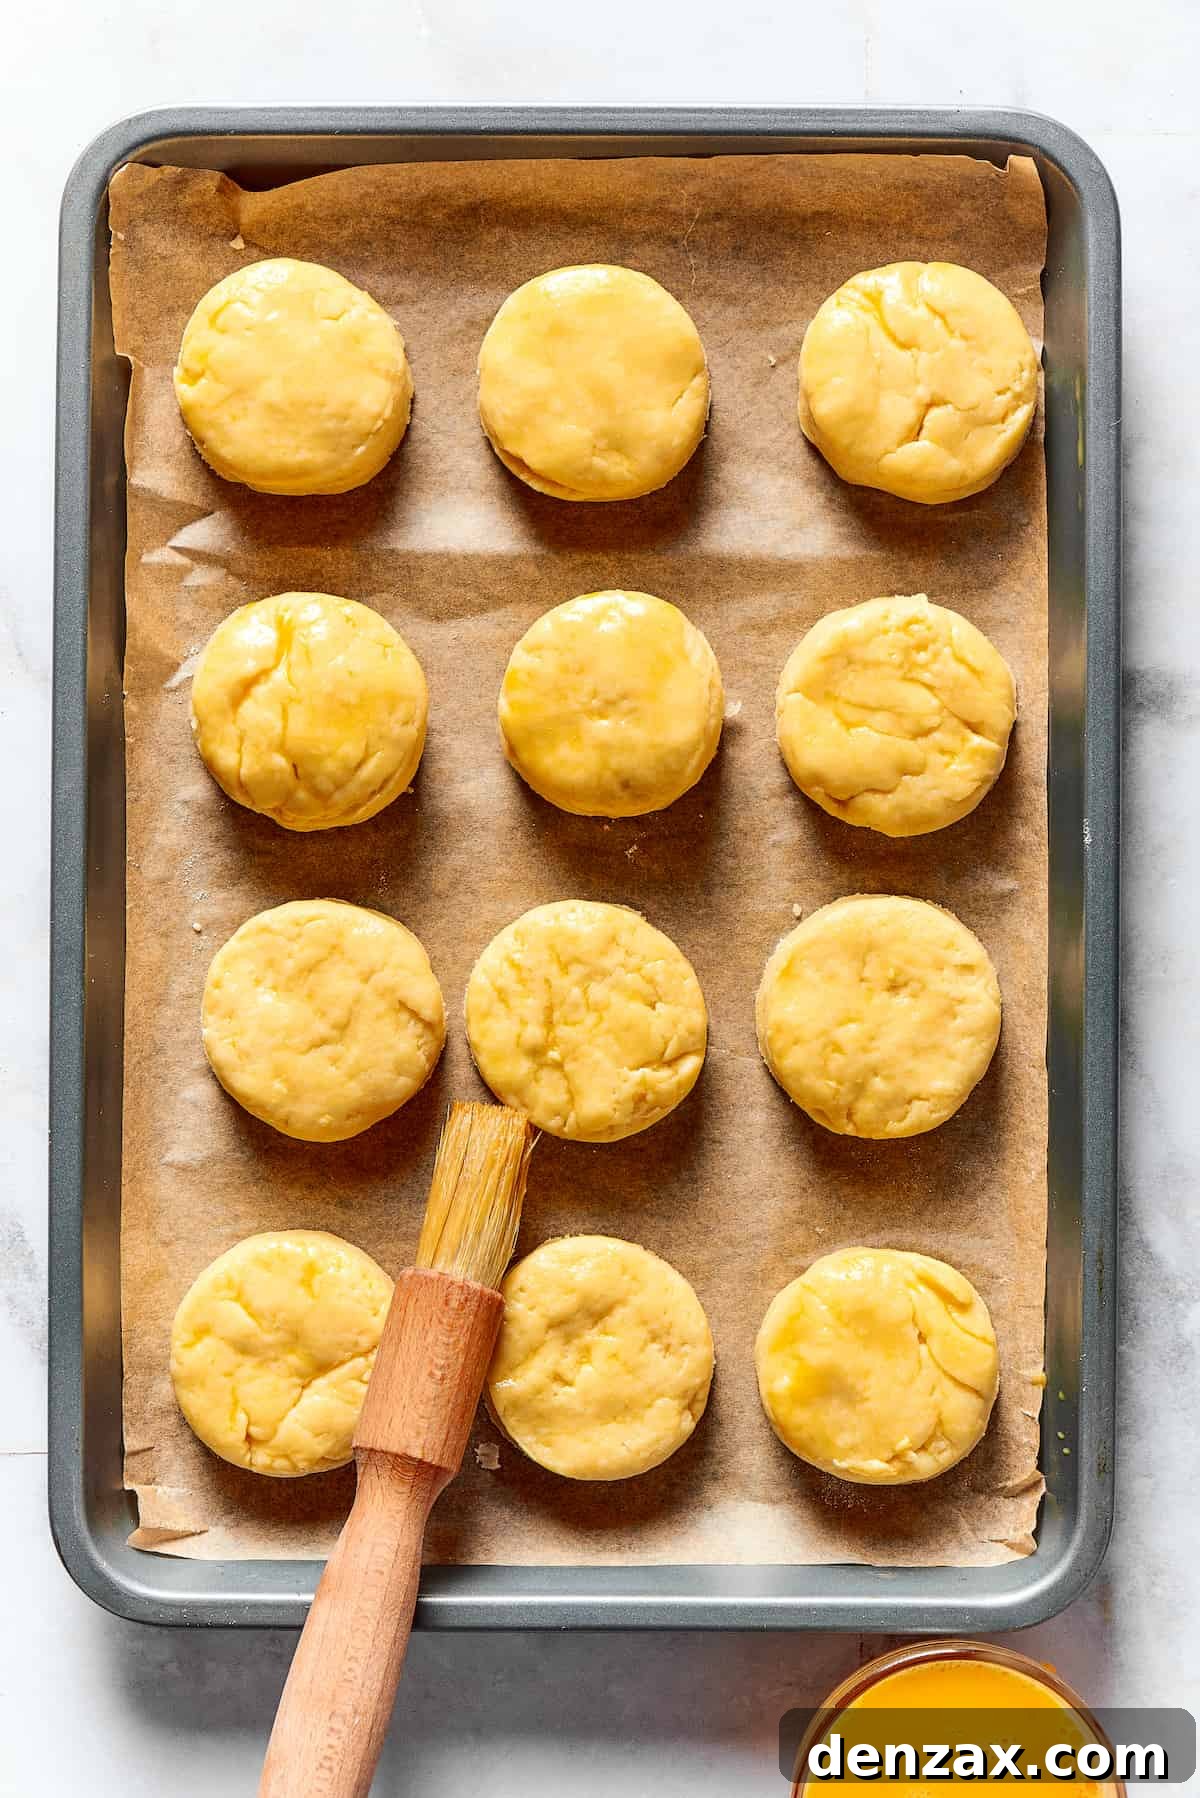
- Glaze and Bake to Golden Perfection: Carefully transfer your cut-out biscuit rounds to the prepared baking sheet, spacing them about an inch apart. In a small bowl, lightly beat one egg (or pour a small amount of milk) and gently brush the tops of each biscuit with this glaze. This step helps create a beautiful, rich golden-brown finish and a slight sheen. Immediately place the baking sheet into your preheated 450°F oven. Bake for approximately 10 to 12 minutes, or until the biscuits have risen significantly and achieved a deep golden-brown color on top and bottom.
- Cool and Serve: Once the biscuits are beautifully risen and golden, carefully remove the baking sheet from the oven. Allow them to cool on the baking sheet for a few minutes before transferring them to a wire rack. Serve them warm, straight from the oven, for the ultimate experience.
- Optional Maple Topping: To prepare the optional maple glaze, combine 3 tablespoons of maple syrup and 1 tablespoon of butter in a small saucepan. Heat over medium-high heat, bringing the mixture to a gentle simmer. Let it cook and reduce for about 3 to 4 minutes, stirring occasionally, until it slightly thickens. Immediately brush this warm maple glaze generously over the tops of your freshly baked buttermilk biscuits while they are still warm, allowing the glaze to seep into every nook and cranny.
Unlock the Secrets: Essential Tips for Baking Flawless Biscuits
While the recipe itself is straightforward, a few key techniques can elevate your homemade biscuits from good to absolutely extraordinary. Every experienced baker holds their favorite tips close, but I’m delighted to share my top secrets for achieving consistently light, fluffy, and tender biscuits that will earn rave reviews every time. Master these principles, and you’ll be baking like a pro in no time!
- Handle Dough with the Utmost Care: Biscuit dough is unique in that it thrives on minimal handling. Unlike yeast breads that require extensive kneading, overmixing biscuit dough is the quickest path to toughness. It’s far better for your dough to appear a bit sticky, shaggy, and lumpy rather than smooth and uniform. A smooth dough indicates that the gluten has been overdeveloped, which will result in chewy, dense, and frankly, disappointing biscuits. Think of it as gently coaxing the ingredients together rather than aggressively combining them.
- Embrace the Chill: The Power of Cold Ingredients: This is a non-negotiable tip for achieving those desirable, sky-high flaky layers. Ensure your butter is not just cold, but *ice-cold*, and your buttermilk is straight from the refrigerator. The small pockets of cold butter within the dough will melt rapidly when they hit the hot oven, releasing steam that pushes the layers of dough apart. This process creates the distinct, buttery air pockets and delicate flakes that define a truly great biscuit. If you notice your butter or dough starting to warm up during the mixing or shaping process, don’t hesitate to pop it into the fridge or even the freezer for 5-10 minutes to firm up.
- Consider the Magic of Shortening: While butter offers unparalleled flavor, some traditional bakers swear by incorporating vegetable shortening for an even higher rise and a slightly more tender crumb. Shortening, being 100% fat, has a higher melting point than butter, which means it stays solid longer in the oven, creating more steam and lift before fully melting. You can experiment by replacing half of the butter with an equal amount of cold shortening for an even loftier biscuit.
- The DIY “Buttermilk” Solution: Don’t have buttermilk on hand? No problem! You can easily create a substitute that works wonderfully in a pinch. Simply combine two teaspoons of white vinegar (or lemon juice) with enough regular milk (preferably whole milk) to reach ¾ cup. Stir gently and let this mixture sit for 5-10 minutes. The acid will curdle the milk, creating a fantastic, tangy buttermilk substitute that will react perfectly with your baking powder, ensuring excellent rise and tenderness.
- Avoid Twisting the Cutter: When cutting your biscuit rounds, press straight down firmly and lift straight up. Resist the natural urge to twist the biscuit cutter. Twisting can seal the edges of the dough, preventing the biscuits from rising evenly and creating those beautiful, separated layers.
- Fresh Leavening Agents: Always check the expiration date on your baking powder. Leavening agents lose their potency over time. If your baking powder is old, your biscuits might not rise as much as they should, leading to a denser texture.
Understanding the Rise: Why Biscuits Go Straight to the Oven
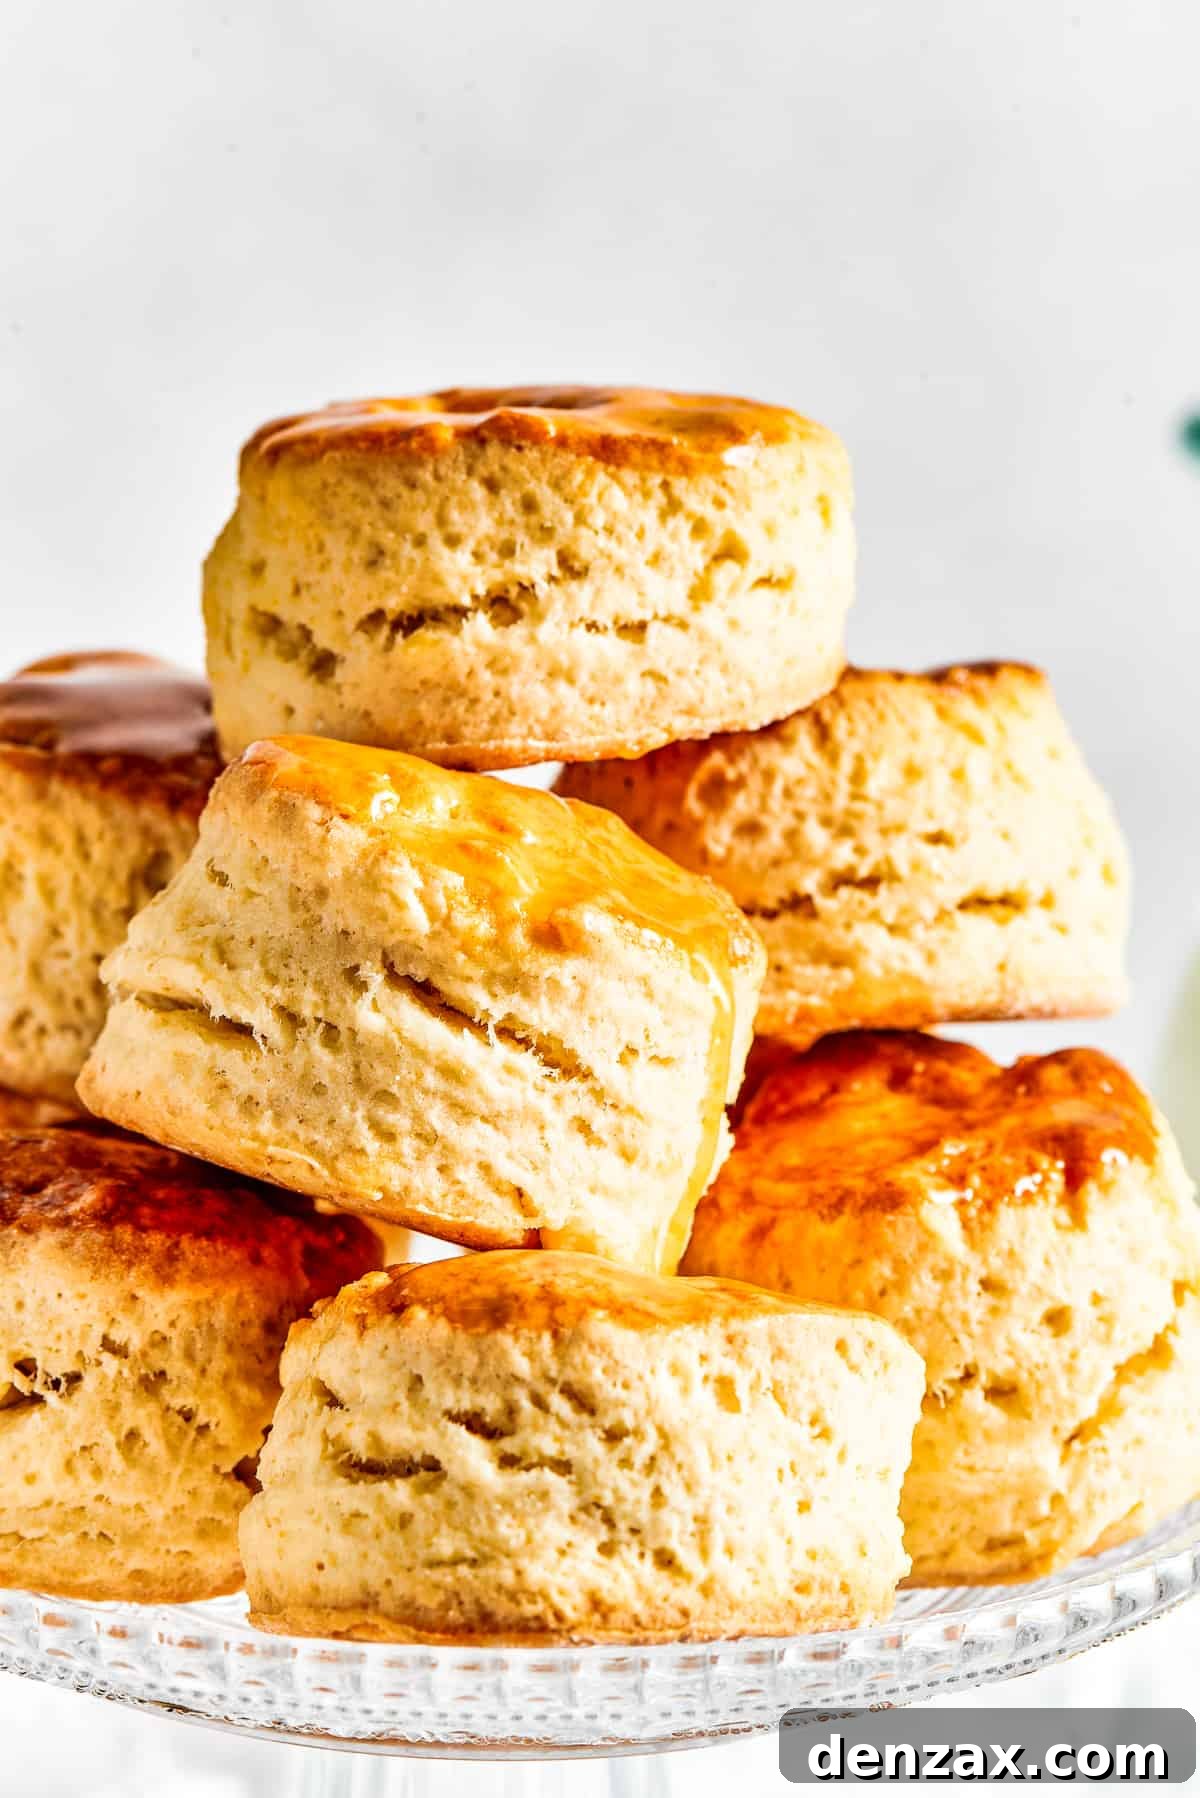
A common question among new bakers is whether biscuits, like yeast breads, need time to “proof” or rise before baking. The answer, for most traditional biscuit recipes, is a resounding no! Biscuits fall into the category of “quick breads,” meaning they rely on chemical leavening agents like baking powder (and often baking soda, which reacts with the acid in buttermilk) to create their lift.
These chemical leaveners begin to activate the moment they come into contact with liquid, and their full rising power is unleashed rapidly in the heat of the oven. Unlike yeast, which produces carbon dioxide slowly over time, baking powder creates gas bubbles almost instantly when heated. Therefore, for optimal fluffiness and a high rise, biscuits are typically mixed, shaped, and then immediately transferred to a very hot oven. Allowing them to sit and “rise” beforehand can actually diminish their leavening power, resulting in flatter, less airy biscuits. The exception to this rule would be specialized recipes like “angel biscuits,” which incorporate both baking powder and yeast, and thus do require a short proofing period.
Delightful Pairings: What to Serve with Your Homemade Biscuits
The beauty of homemade biscuits lies in their incredible versatility. They can effortlessly transition from a humble breakfast staple to a sophisticated side dish for dinner. Their buttery, tender crumb makes them the perfect companion for a vast array of flavors and textures. Here are some of our favorite serving suggestions to inspire your next meal:
- Classic Southern Comfort: Pair your biscuits with rich, creamy sausage gravy for an iconic Southern breakfast. Add some scrambled eggs and crispy bacon, and you have a breakfast feast that’s hard to beat.
- Hearty Chicken Meals: What could be more comforting than fluffy biscuits alongside chicken? Serve them with crispy fried chicken, a generous bowl of warming Oven Baked Chicken Tenders, or even tucked into a steaming bowl of chicken and dumplings for an extra layer of texture.
- Robust Pot Roasts: A succulent Perfect Pot Roast, simmering with vegetables, is an ideal partner for these biscuits. They’re perfect for soaking up all those delicious, savory juices, making every bite incredibly flavorful.
- Sweet & Savory Ham: The tender, buttery notes of homemade biscuits are a natural complement to the rich, often sweet flavor of ham. A Slow Cooker Ham with Brown Sugar Glaze and a simple green vegetable creates a mouthwatering menu that feels both elevated and comforting.
- Soups and Stews: For a cozy and satisfying meal, serve warm biscuits alongside your favorite hearty soups or stews. Whether it’s a chunky beef stew, a creamy tomato soup, or a spicy chili, a biscuit is perfect for dipping and adding substance.
- Sweet Dessert Delights: Don’t limit biscuits to savory dishes! Split them open and fill with fresh berries and whipped cream for a simple shortcake, or drizzle with honey and a sprinkle of cinnamon for a sweet treat.
Preserving Freshness: Storing and Reheating Your Biscuits
While freshly baked biscuits are always best, sometimes you might have leftovers, or perhaps you want to bake ahead. Knowing how to properly store and reheat your homemade biscuits ensures you can enjoy their deliciousness long after they come out of the oven. Proper storage helps maintain their tender texture and prevents them from becoming stale.
- Room Temperature Storage: Once completely cooled, homemade biscuits can be stored in an airtight container at room temperature for up to 2 days. This keeps them soft and prevents them from drying out too quickly.
- Refrigeration: For extended freshness, transfer your cooled biscuits to an airtight container and store them in the refrigerator for up to a week.
- Reheating for Optimal Enjoyment: To bring leftover biscuits back to life, wrap them loosely in foil and warm them in a preheated oven at 350°F (175°C) for about 5-10 minutes, or until heated through. For a quicker option, a few seconds in the microwave can warm them, though they might lose some crispness.
Can I Freeze These Homemade Biscuits? Absolutely!
Freezing biscuits is an excellent way to prepare ahead, whether you want baked biscuits ready for a quick meal or raw dough to bake on demand. This flexibility makes homemade biscuits even more convenient.
- Freezing Baked Biscuits: Once fully baked and cooled, place the biscuits in a single layer on a baking sheet and flash freeze for about 30 minutes until solid. Then, transfer them to an airtight freezer bag or container. They can be frozen for up to 3 months. To reheat, thaw overnight in the refrigerator or warm directly from frozen in a 350°F (175°C) oven until heated through.
- Freezing Unbaked Biscuits: You can also freeze the raw biscuit dough! After cutting out your biscuit rounds, place them on a parchment-lined baking sheet and flash freeze until solid. Once frozen, transfer them to an airtight freezer bag or container. I highly recommend placing wax paper or parchment paper between unbaked biscuits to prevent them from sticking together. They will keep well in the freezer for up to 3 months. When ready to bake, place frozen biscuits on a prepared baking sheet and bake directly from frozen, adding an extra 5-10 minutes to the baking time, or until golden brown and cooked through.
Explore More Easy & Delicious Bread Recipes
If you’ve enjoyed making these easy homemade biscuits, you’ll love exploring other simple and satisfying bread recipes. Baking fresh bread at home is a rewarding experience, and we have a collection of favorites that are perfect for any occasion. Expand your baking repertoire with these delightful options:
- The Best Homemade Cornbread Recipe: A classic side dish that’s moist, flavorful, and incredibly easy to make. Perfect with chili, soups, or any Southern-inspired meal.
- Homemade Crescent Rolls (Butterhorn Rolls): Fluffy, buttery, and utterly irresistible, these rolls are a staple for holidays and special dinners, and surprisingly simple to master.
- Easy Homemade Flatbread Recipe: Versatile and quick, this flatbread is perfect for wraps, dipping, or as a base for pizzas. A fantastic addition to any weeknight meal.

5 from 5 votes
Easy Homemade Biscuits
by Katerina | Easy Weeknight Recipes
Easy Homemade Biscuits are a must-have for special meals, and they are so simple to make! These warm and tender biscuits rise high and practically melt in your mouth.
Prep Time: 20 minutes
Cook Time: 10 minutes
Total Time: 30 minutes
Servings: 12 biscuits
Ingredients
For the Homemade Biscuits:
- 2½ cups all-purpose flour, plus extra for dusting
- 2 tablespoons granulated sugar (optional)
- 1½ teaspoons baking powder
- ½ to 1 teaspoon sea salt
- ½ cup cold unsalted butter, cut into small cubes
- ¾ cup cold buttermilk
- 1 lightly beaten egg, or milk for glaze
For the Optional Maple Glaze:
- 3 tablespoons maple syrup
- 1 tablespoon butter
Instructions
- Preheat the oven to 450°F (230°C). Line a large baking sheet with parchment paper and set aside.
- In a large mixing bowl, whisk together the flour, sugar, baking powder, and salt until well combined.
- Using your fingers or a pastry cutter, cut in the cubed cold butter until the mixture resembles coarse breadcrumbs.
- Make a deep well in the center of the flour mixture and pour in the cold buttermilk. Mix gently with a spoon or spatula to form a soft, shaggy dough. Do not overwork the dough.
- Transfer the dough to a lightly floured surface and knead very gently, just enough to bring the dough together.
- Lightly press the dough to an even thickness of 1-inch (2.5 cm). Use a biscuit cutter to cut out 9 rounds. Gather the remaining dough scraps, gently press them together, and cut out an additional 3 rounds.
- Place the biscuit rounds on the prepared baking sheet and brush the tops with the lightly beaten egg (or milk) for a golden glaze. Bake for about 10-12 minutes, or until the biscuits are well risen and golden brown.
- Remove from the oven and let the biscuits cool slightly on the baking sheet before serving warm.
- For the optional maple glaze: Place the maple syrup and butter in a small saucepan. Heat to a simmer over medium-high heat and cook for about 3 to 4 minutes, or until slightly reduced and thickened.
- Brush the warm buttermilk biscuits generously with the maple glaze immediately after removing them from the oven.
Equipment
- Mixing Bowls
- Pastry Cutter (optional, fingers work too)
- Biscuit Cutter (round, sharp-edged)
- Baking Sheet
- Parchment Paper
- Whisk
Notes for Perfect Biscuits
- Cold Butter is Key: Ensure your butter is very cold to achieve flaky layers. It creates steam in the oven, separating the dough into distinct flakes.
- Fresh Ingredients Matter: Always use fresh baking powder and flour. Check expiration dates, as old leavening agents won’t give you a good rise.
- Buttermilk for Tenderness: Cold buttermilk adds a unique tangy flavor and contributes significantly to the tender crumb. For a substitute, use milk with a splash of vinegar or lemon juice.
- Do Not Overwork the Dough: Handle the dough as little as possible. Every touch develops gluten, leading to tougher biscuits. A lightly mixed, slightly shaggy dough is ideal.
- Proper Biscuit Cutting: Use a sharp, sturdy metal biscuit cutter and press straight down. Avoid twisting the cutter, as this seals the edges and can inhibit the biscuits from rising evenly.
Nutrition Information (Estimate Per Biscuit)
- Calories: 207 kcal
- Carbohydrates: 26g
- Protein: 4g
- Fat: 10g
- Saturated Fat: 6g
- Polyunsaturated Fat: 1g
- Monounsaturated Fat: 3g
- Trans Fat: 0.4g
- Cholesterol: 38mg
- Sodium: 180mg
- Potassium: 67mg
- Fiber: 1g
- Sugar: 6g
- Vitamin A: 310 IU
- Calcium: 61mg
- Iron: 1mg
Nutritional information provided is an estimate and for courtesy only. Values may vary based on specific ingredients, brands, and preparation methods. Please use your preferred nutritional calculator for more detailed and accurate information.