
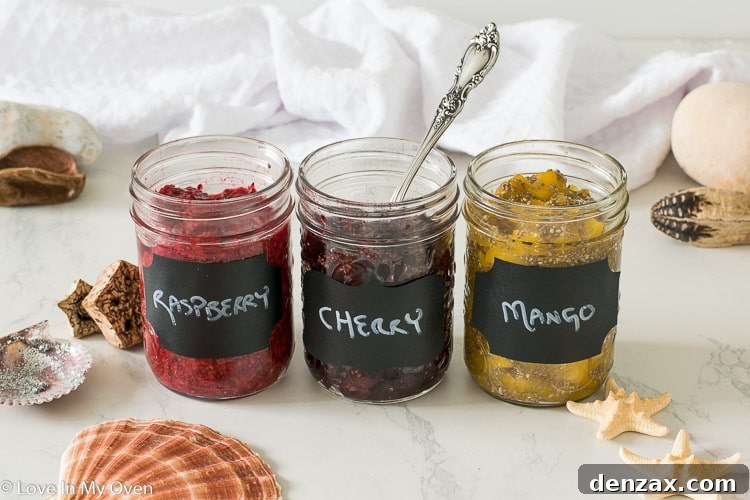
Looking for a truly healthy and incredibly easy jam recipe? Discover how to make your own delicious 3-ingredient chia jam without any added sugar or artificial sweeteners! This simple recipe allows you to use any fruit, fresh or frozen, creating a naturally sweet, sugar-free jam that’s ready to enjoy in just about 10 minutes.
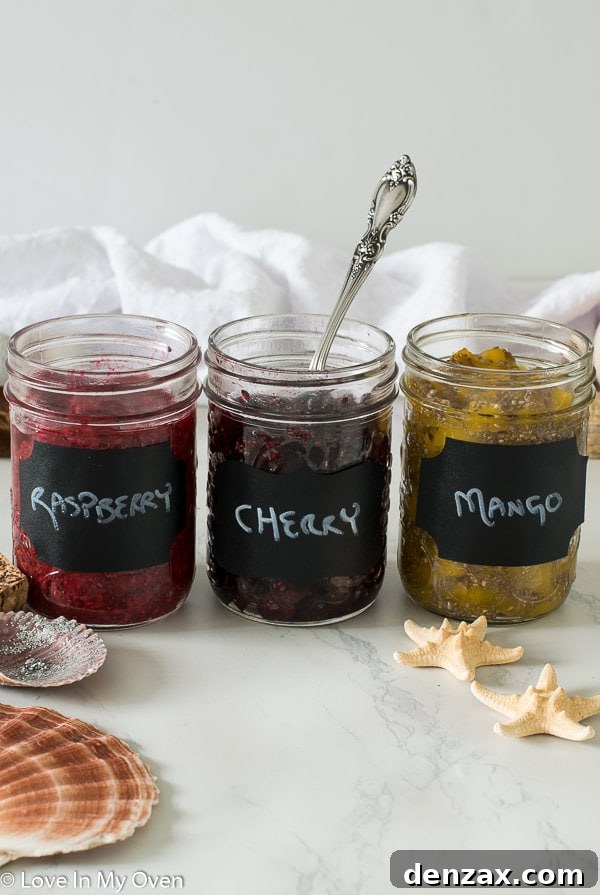
*Please note* this post was originally published in 2019. We’ve since updated the text for clarity and SEO, but the original, beloved recipe remains exactly the same!
Imagine a jam that is not only bursting with natural fruit flavor but is also completely sugar-free, sweetener-free, and gelatin-free! Add to that a significant protein boost, courtesy of nutrient-dense chia seeds, and you might think it sounds too good to be true. But it’s not! While we might have been a little late to the chia jam party, we’re definitely here to stay. This game-changing 3-ingredient chia jam has become a staple in our kitchen, and we only wish we had discovered this fantastic recipe sooner, especially when our children were embarking on their baby-led weaning journey. Its simple, wholesome ingredients make it absolutely perfect for little ones!
The beauty of this recipe lies in its incredible versatility. You can effortlessly make this delightful jam with almost any fruit you prefer. However, through much delicious experimentation, we’ve found that vibrant raspberries, plump blueberries, and sweet cherries consistently yield the most exceptional results. Each fruit brings its unique flavor profile, allowing you to customize your jam to perfection.
Our little Hattie, for instance, has declared raspberry her undeniable favorite. Its tart sweetness combined with the jammy texture is simply irresistible!
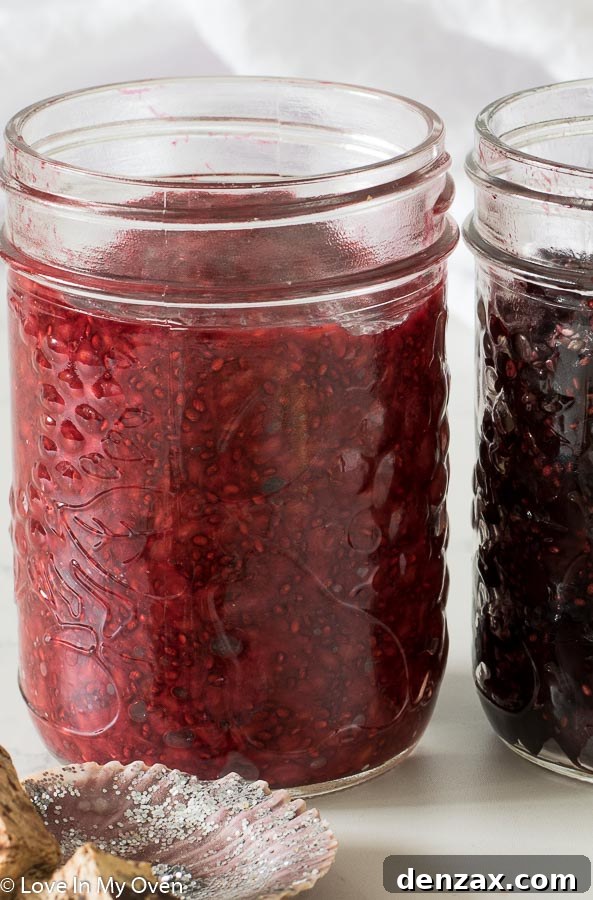
Is 3-Ingredient Chia Jam Healthy? Absolutely!
Yes, absolutely! Three-ingredient chia jam stands out as a remarkably healthy alternative to traditional jams laden with refined sugars and artificial additives. At its core, this jam champions the incredible nutritional powerhouse: chia seeds. These tiny, ancient seeds are not only incredibly low in calories but are also packed with essential dietary fiber, plant-based protein, and beneficial omega-3 fatty acids – vital components for overall well-being and a balanced diet. Furthermore, chia seeds are a fantastic source of powerful antioxidants, which combat free radicals in the body and support cellular health.
Beyond the star ingredient, the recipe relies on two cups of fresh or frozen fruit, providing natural sweetness and a bounty of vitamins, minerals, and natural fruit sugars, complemented by just a touch of fresh lemon juice for brightness and a natural preservative. Unlike many store-bought varieties that often contain high-fructose corn syrup, pectin, or artificial sweeteners, this homemade chia jam requires no added sugar whatsoever. While a touch of natural sweetener like maple syrup or honey can be added to personal taste, many find the fruit’s natural sugars perfectly sufficient, especially with naturally sweet fruits.
For those adhering to specific dietary plans, this jam is a perfect fit for keto or low-carb lifestyles, provided you select carb-conscious fruits like raspberries, blueberries, or strawberries. These berries offer lower net carbs while still delivering incredible flavor and nutritional benefits. This makes chia jam a versatile and guilt-free treat that can be enjoyed by nearly everyone, regardless of their dietary preferences.
How Do Chia Seeds Naturally Thicken Jam?
The magic behind chia jam’s delightful texture lies in the remarkable properties of chia seeds themselves. When these tiny seeds are introduced to a liquid, such as a warm fruit compote, they possess an incredible ability to absorb moisture. This absorption causes the chia seeds to swell up considerably, forming a gelatinous coating around each seed. This natural gelling process is what transforms the fruity liquid into a thick, “jammy” consistency without the need for traditional pectin, gelatin, or excessive cooking. It’s a completely natural and plant-based way to achieve that perfect spreadable texture, making it a brilliant hack for healthier homemade jams.
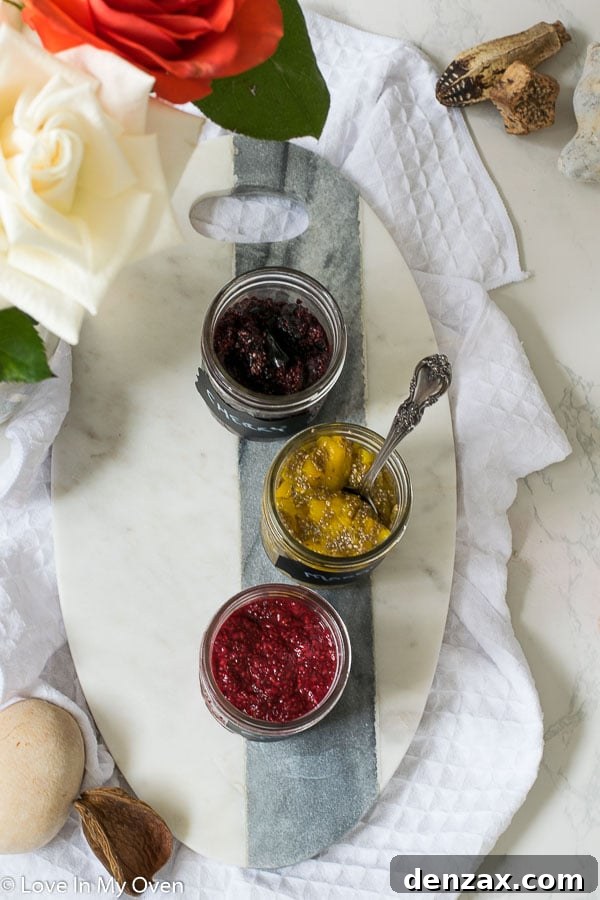
Is 3-Ingredient Chia Jam Safe for Babies?
Yes, absolutely! This 3-ingredient chia jam is an excellent and wholesome option for babies, particularly those following a baby-led weaning approach. It offers a naturally sweet spread without any refined sugars, which is a significant advantage over many commercially available jams. It’s perfect for spreading thinly on a piece of toast or a soft cracker, perhaps paired with a smear of peanut butter or another nut butter for added protein and healthy fats, creating a balanced and tasty snack for your little one.
You can also swirl a small spoonful into plain yogurt or oatmeal to naturally sweeten it up, introducing new flavors and textures. The only minor caution would be to introduce it gradually, as the high fiber content of chia seeds can sometimes cause mild stomach discomfort in very young babies if consumed in large quantities. Start with just a little bit at a time for your wee one, observing how they react, and slowly increase the amount as their digestive system adjusts. This mindful approach ensures your baby enjoys all the benefits without any unnecessary discomfort.
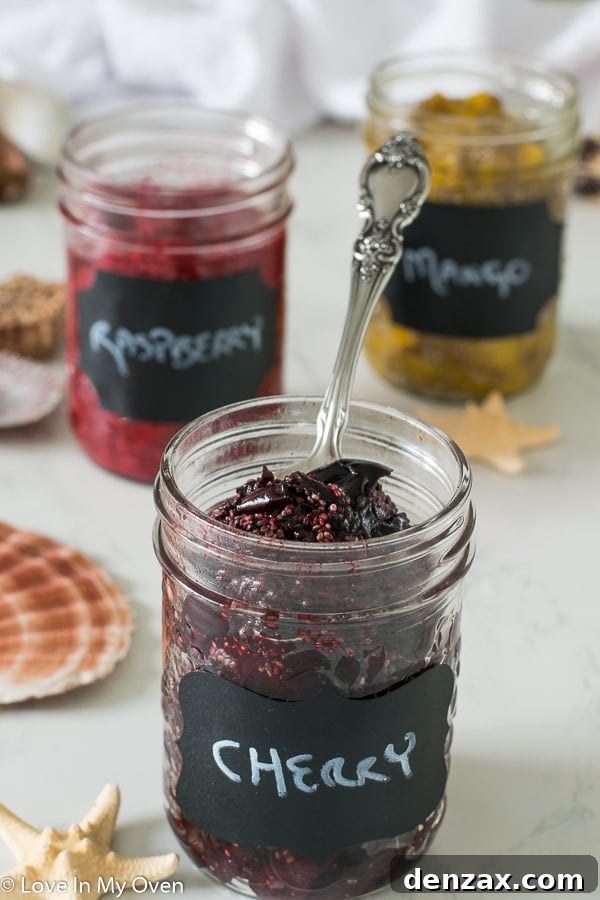
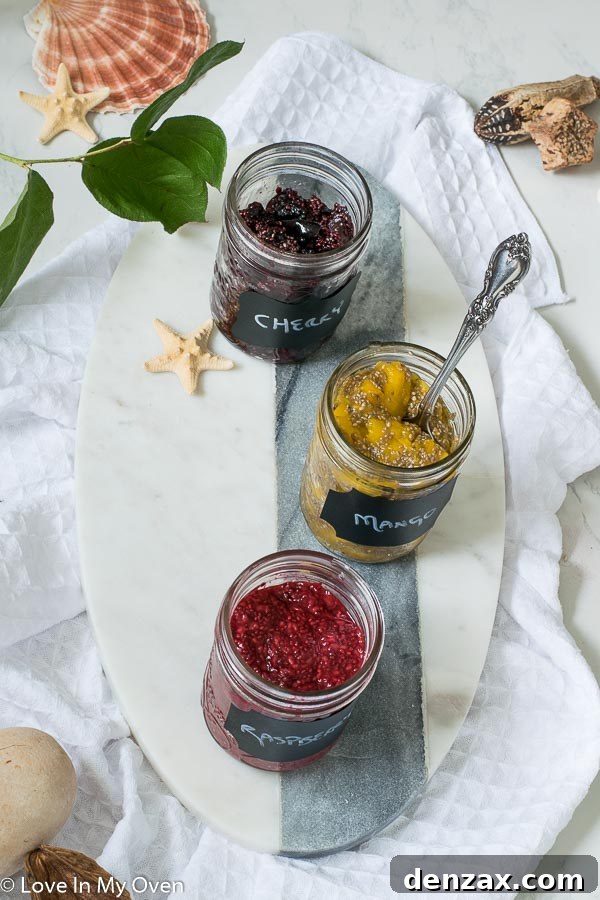
As mentioned before, raspberry remains Hattie’s top pick. The boys in our family really enjoyed the delightful tartness of the cherry version, and I personally found the mango one to be a refreshing tropical treat. If you opt for frozen mango chunks, I highly recommend giving them a quick chop with a knife or a pulse in a food processor before heating, as these bags often contain quite large pieces that benefit from being broken down for a smoother jam texture. This tiny extra step ensures a perfectly spreadable jam consistency.
This jam literally takes just 10 minutes to prepare on the stovetop, plus a bit of cooling time to allow it to set and thicken properly. Its incredible ease of preparation has made it a weekly ritual in our kitchen. I’ve been particularly enjoying it in the mornings, swirled generously into my favorite plain yogurt and topped with a hearty sprinkle of granola for a satisfying and healthy breakfast.
Speaking of granola, I recently made a batch of my renowned cherry almond granola, this time elevating it with dark chocolate-covered raisins, and I truly believe it’s my best batch yet – an absolute must-try if you’re a granola enthusiast!
Happy Monday, and happy jamming!
Why Choose Chia Jam Over Traditional Jam?
When it comes to spreads, traditional jams often fall short on the health front. They are typically loaded with refined sugars, sometimes as much as half the jar, and often rely on added pectin for gelling. Chia jam, in stark contrast, utilizes the natural sweetness of fruit and the incredible gelling properties of chia seeds, eliminating the need for any added sugar or artificial thickeners. This results in a jam that is significantly lower in calories and carbohydrates, while being substantially higher in fiber, protein, and beneficial omega-3 fatty acids. It’s a choice that supports better blood sugar control, improved digestion, and sustained energy, making it a far superior option for a health-conscious lifestyle.
The Versatility of Fruits: Finding Your Favorite Flavor
One of the most exciting aspects of making 3-ingredient chia jam is the endless possibilities offered by different fruits. While raspberries, blueberries, and cherries are classic favorites and create a beautifully balanced jam, don’t hesitate to experiment with other options. Strawberries are another excellent choice, offering a familiar sweetness that many adore. For a tropical twist, consider fruits like pineapple or a blend of berries and mango. Just remember that fruits with higher water content might require slightly less added water in the recipe, while denser fruits might need a little extra mashing. Each fruit brings its own unique nutritional benefits and flavor profile, encouraging you to explore and discover your personal favorite combinations. The key is to choose ripe, flavorful fruit for the best results.
Tips for Perfect Chia Jam Every Time
- Consistency is Key: If your jam seems too thin after cooling, simply stir in an additional teaspoon or two of chia seeds and let it sit for another 15-30 minutes to absorb more liquid. If it’s too thick, you can gently warm it on the stove with a tablespoon of water or fruit juice until it reaches your desired consistency.
- Storage and Shelf Life: Homemade chia jam, being free of artificial preservatives, has a shorter shelf life than store-bought versions. Store it in an airtight glass container, like a mason jar, in the refrigerator for up to 5-7 days. For longer storage, chia jam freezes beautifully. Simply transfer it to freezer-safe containers, leaving a little headroom for expansion, and freeze for up to 2-3 months. Thaw in the refrigerator overnight before use.
- Sweetness Adjustment: While this recipe is designed to be sugar-free, you can always adjust the sweetness to your preference. If your fruit is particularly tart, or if you prefer a sweeter jam, add a tablespoon of natural sweeteners like maple syrup, honey, or a few drops of stevia or erythritol (for keto/low-carb) after removing the jam from the heat. Taste and adjust until perfect.
Beyond Toast: Creative Ways to Enjoy Your Chia Jam
While a classic slice of toast or a warm scone with chia jam is always a delight, don’t limit yourself! This versatile spread can elevate countless meals and snacks. Try swirling it into your morning oatmeal, Greek yogurt, or cottage cheese for an extra boost of flavor and nutrition. It’s also fantastic as a topping for pancakes, waffles, or French toast, providing a healthier alternative to sugary syrups. For a quick dessert, layer it with granola and yogurt parfaits. You can even use it as a filling for healthier thumbprint cookies or as a vibrant addition to smoothie bowls. Its natural sweetness and rich texture make it an invaluable ingredient in any healthy kitchen.
Frequently Asked Questions (FAQ)
Can I use frozen fruit?
Yes, absolutely! Frozen fruit works just as well as fresh fruit, and sometimes even better because it breaks down more easily during cooking. Just be mindful that frozen fruit typically releases more liquid, so you might need slightly less added water in the recipe.
How long does homemade chia jam last?
Since this jam contains no added preservatives, it should be stored in an airtight container in the refrigerator for 5-7 days. For longer storage, it freezes well for up to 2-3 months.
Do I need to mash the fruit?
Mashing the fruit helps to create a smoother, more jam-like consistency. For softer berries like raspberries, a fork or potato masher will do the trick. For harder or larger fruit chunks like mango, you may want to cut them smaller before cooking or use an immersion blender for a super smooth finish.
What if my jam is too runny/thick?
If your jam is too runny after cooling, stir in an additional teaspoon of chia seeds and let it sit longer. If it’s too thick, gently warm it up with a tablespoon of water or fruit juice to thin it out to your desired consistency.
If you’re looking for a few other recipes with a short list of ingredients that are great for your babe or kids, be sure to check these out:
- Roasted Garlic Hummus
- Baby Banana Pancakes
- Healthy Oatmeal Chocolate Chip Cookies
- Baby Banana Muffins
And if you haven’t already subscribed to our newsletter, be sure to click that SUBSCRIBE button to your right! Don’t miss out on more delicious and healthy recipes. 🙂
Print Recipe

Easy 3 Ingredient Chia Jam
5 from 14 reviews
- Author: Katherine | Love In My Oven
- Total Time: 10 minutes
- Yield: 1 cup
Description
Make your own easy and healthy 3-ingredient chia jam without sugar or sweetener! Use any fruit, fresh or frozen, and have a sugar-free jam that’s ready in 10 minutes.
Ingredients
- 2 cups fruit, fresh or frozen*
- 2 tbsp water**
- 1 tbsp lemon juice
- 2 tbsp chia seeds
- optional: 1 tbsp maple syrup (for additional sweetness)
Instructions
- In a medium saucepan over medium-high heat, combine the fruit, 1-2 tablespoons of water (refer to notes below for guidance on water quantity), and the lemon juice. Bring the mixture to a gentle boil, allowing the fruit to soften and release its natural juices. Reduce the heat and simmer for 5-7 minutes, using a fork or a potato masher to break down any larger chunks of fruit, achieving your desired consistency.
- Remove the saucepan from the heat and stir in the chia seeds until well combined. If you prefer a slightly sweeter jam, this is the perfect time to add the optional maple syrup, stirring it in thoroughly. Let the mixture sit undisturbed for approximately 10 minutes; this crucial resting period allows the chia seeds to fully absorb the liquid and activate their gelling properties. Once the jam has cooled completely and thickened, transfer it to a clean mason jar or another suitable airtight container (made of hard plastic or glass). Store the homemade chia jam in the refrigerator, where it will stay fresh for 5-7 days.
Notes
*You can use any fruit for this recipe, but for the most successful and delicious results, we recommend sticking to standard jam flavors such as raspberry, blueberry, cherry, or strawberry. While experimentation is fun, fruits like banana might not yield the best texture for a traditional jam.
**When using fresh fruit, it’s advisable to add the full 2 tablespoons of water to help the fruit break down. However, if you are using frozen fruit, you may only need 1 tablespoon of water, as frozen fruit tends to release much more liquid during the cooking process.
***If you’re working with frozen mango or strawberry chunks that are particularly large, ensure you mash them up as thoroughly as possible during the simmering stage. This will help achieve a smoother, more uniform jam texture. You can find more detailed tips on fruit preparation in the blog post above!
- Prep Time: 10 minutes