
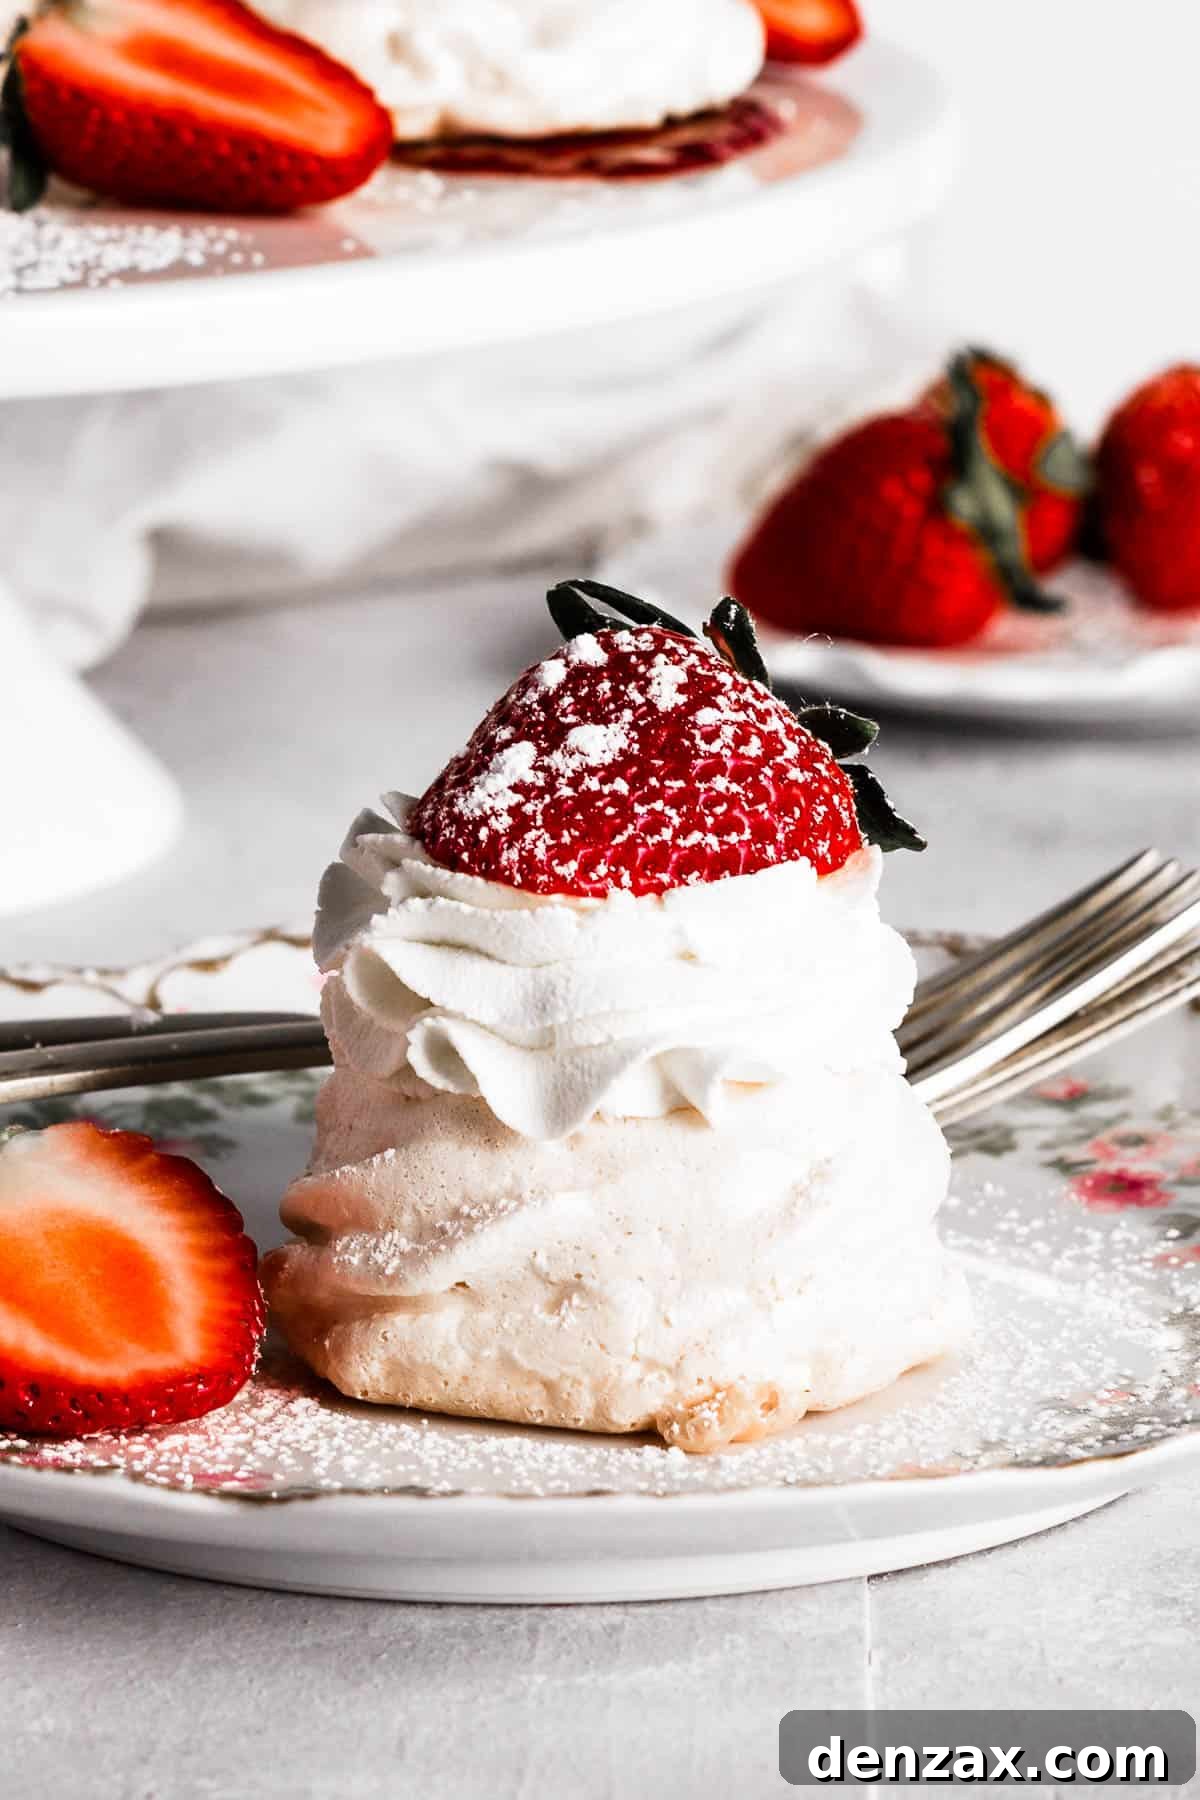
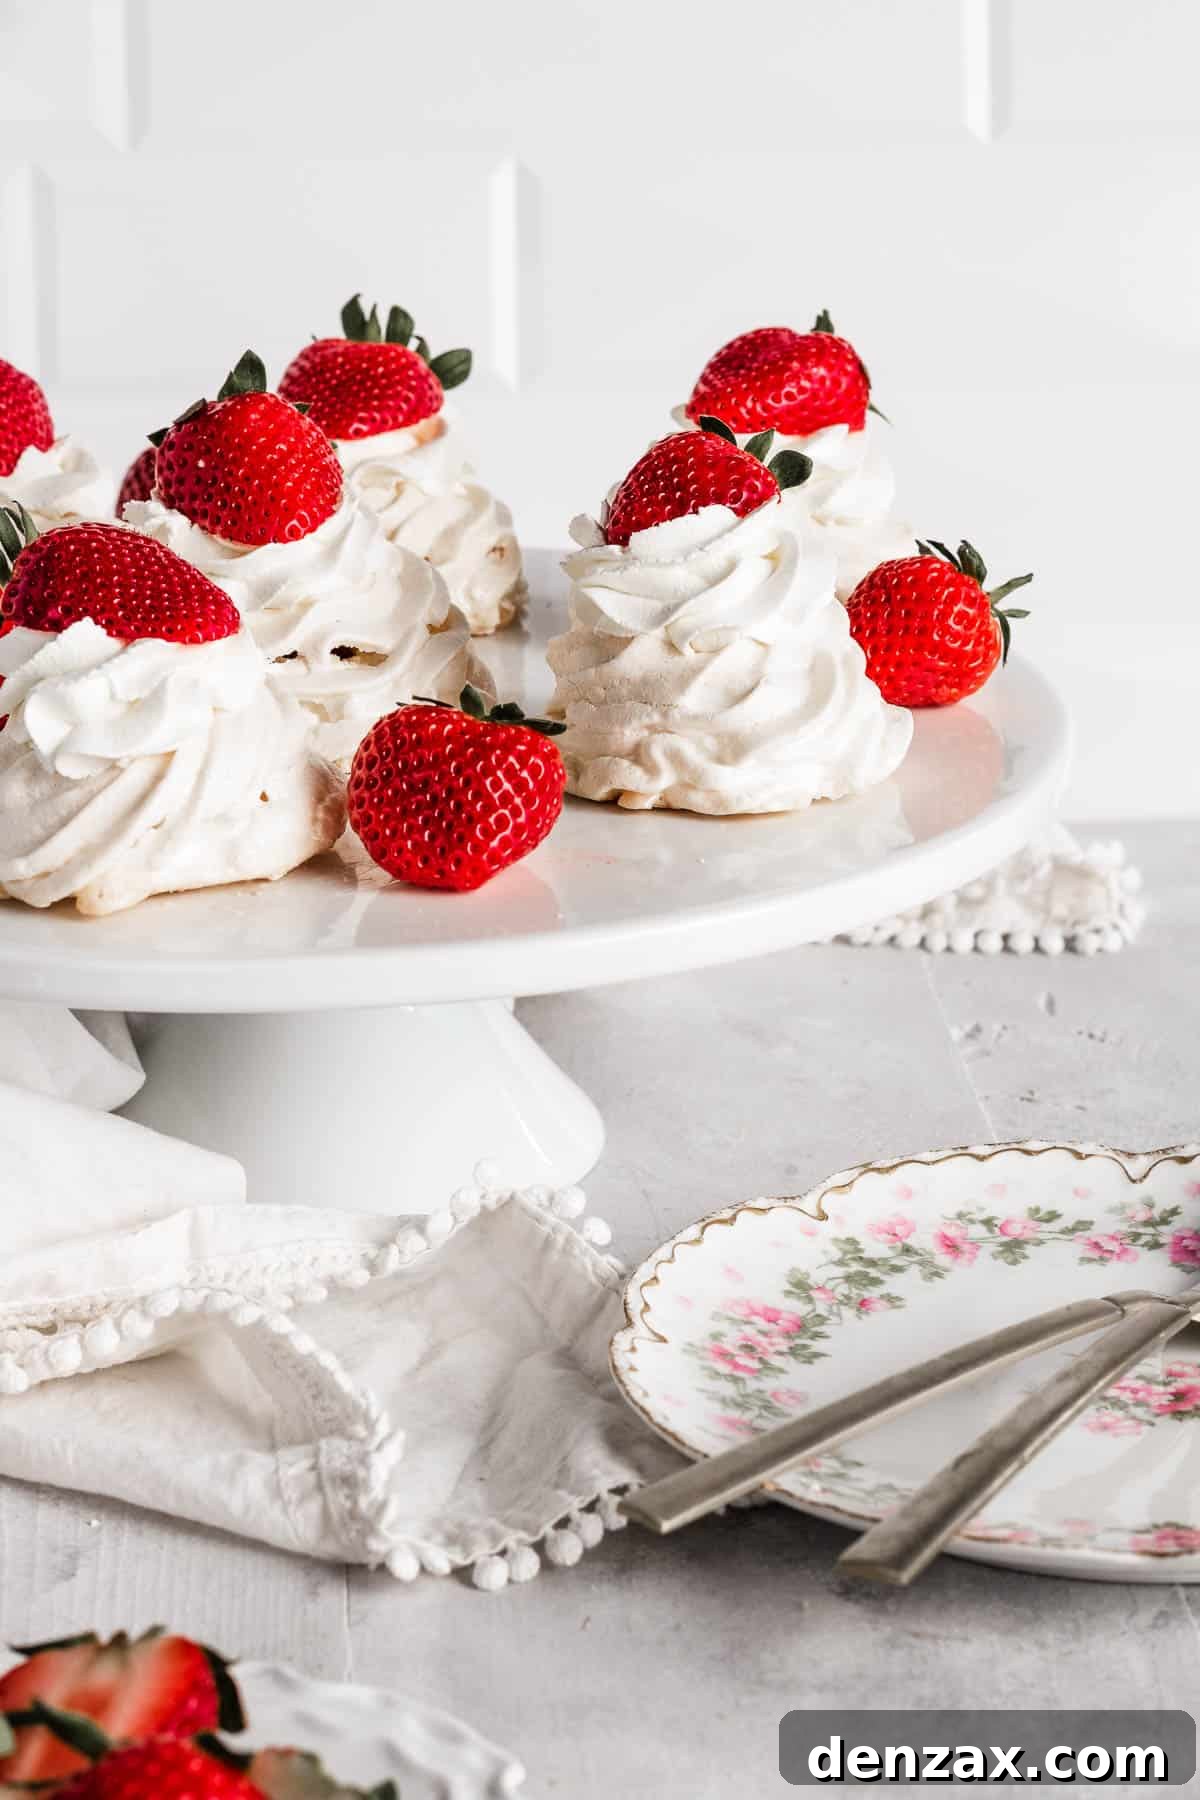
Delight in the exquisite lightness of these **Strawberry Pavlova Nests**, a truly stunning yet surprisingly simple dessert. Featuring delicate mini meringues, each ‘nest’ is lovingly filled with luscious strawberry jam, then crowned with a cloud of fresh whipped cream and vibrant, juicy strawberries. This elegant treat embodies the essence of spring and is an absolute showstopper for any gathering, from intimate brunches to festive holiday celebrations.
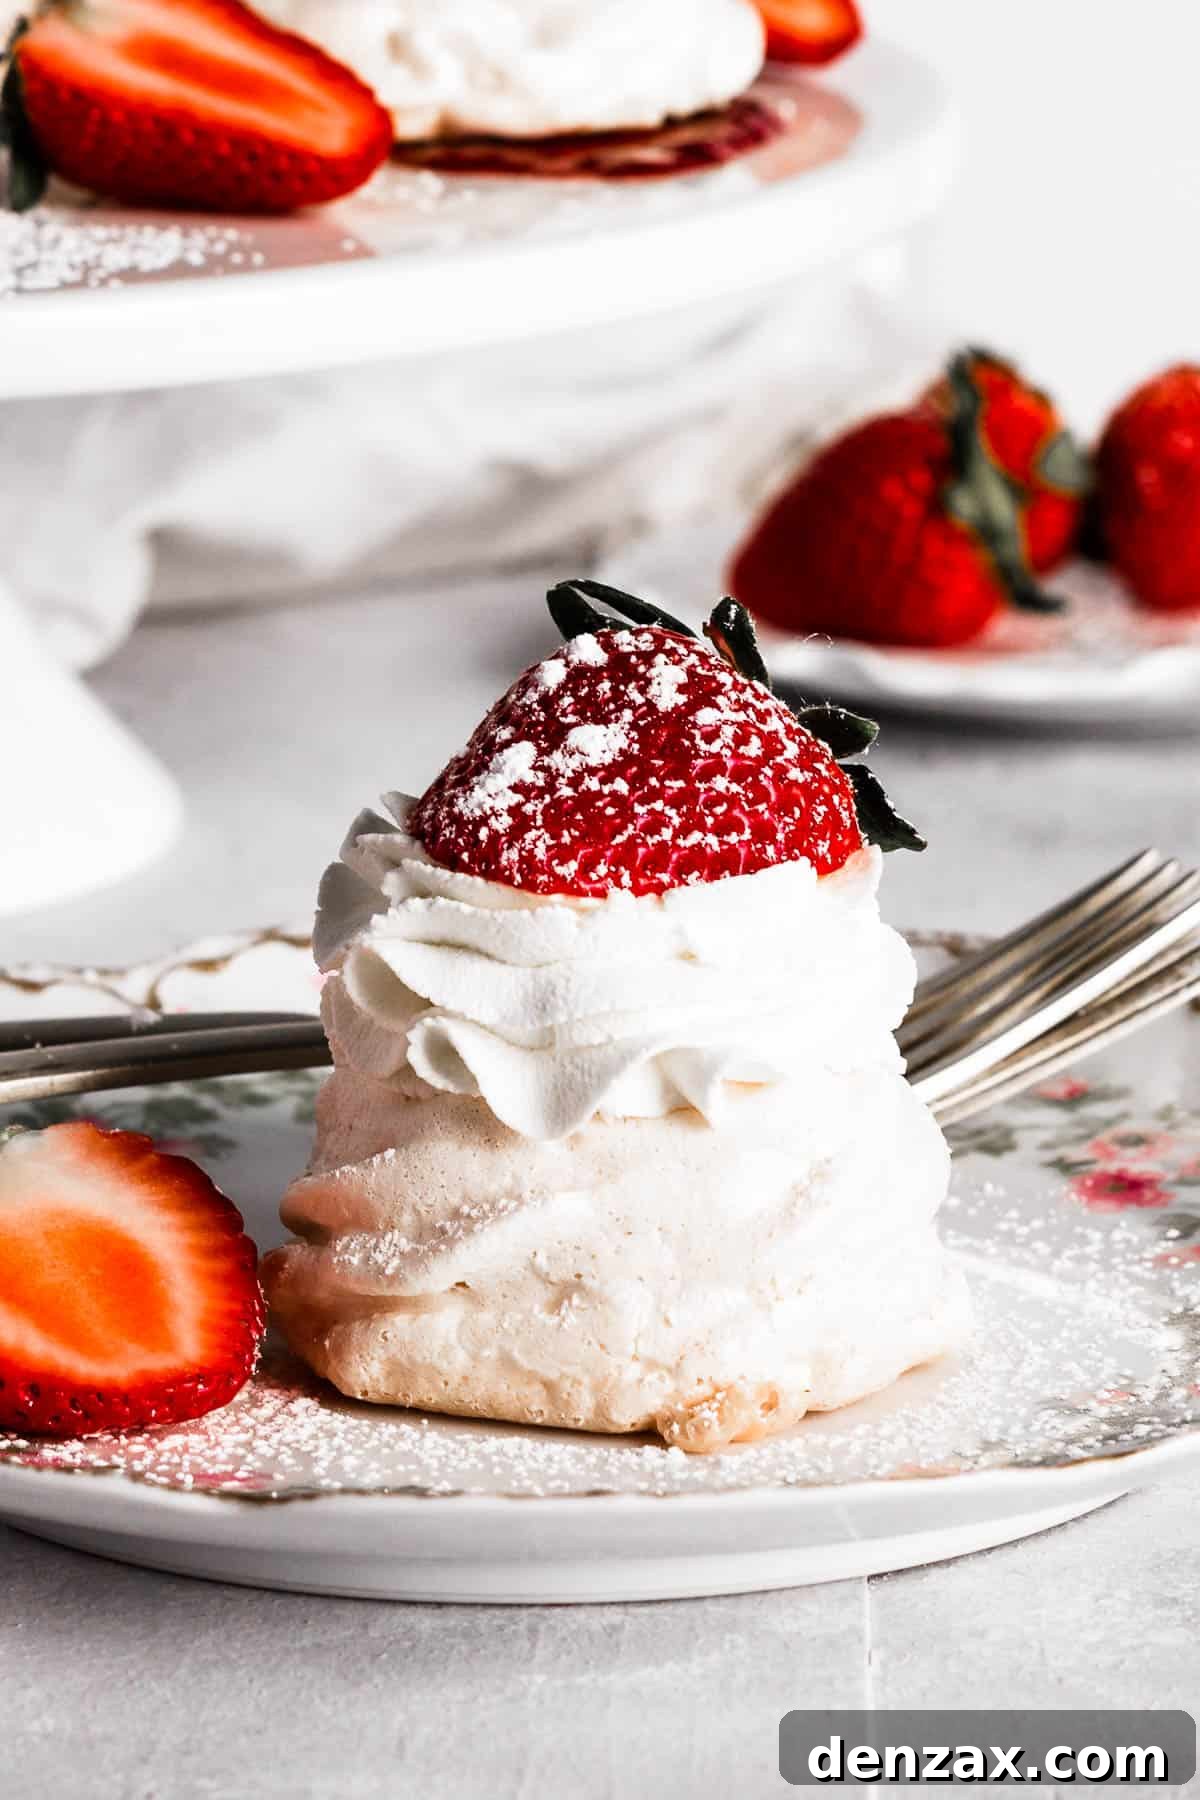
Irresistible Mini Strawberry Pavlova Nests: The Ultimate Spring Dessert
Pavlova holds a special place in the hearts of dessert lovers worldwide, and for good reason. Its unique texture – a perfect harmony of a crisp outer shell and a soft, marshmallow-like interior – is simply divine. When paired with fresh, seasonal fruits like strawberries, as in this recipe, it becomes an utterly captivating culinary experience. Our mini pavlova “nests” take this classic dessert to a new level of charm, incorporating both sweet strawberry jam and fresh berries, making them an ideal choice for springtime celebrations.
Imagine these beautiful, vibrant desserts gracing your table for Easter, Mother’s Day, or any special occasion. Despite their sophisticated appearance, these mini pavlovas are remarkably easy to prepare, making them accessible even for novice bakers. Their delightful bursts of color and fresh flavors are sure to impress your guests and bring a touch of elegance to any menu.
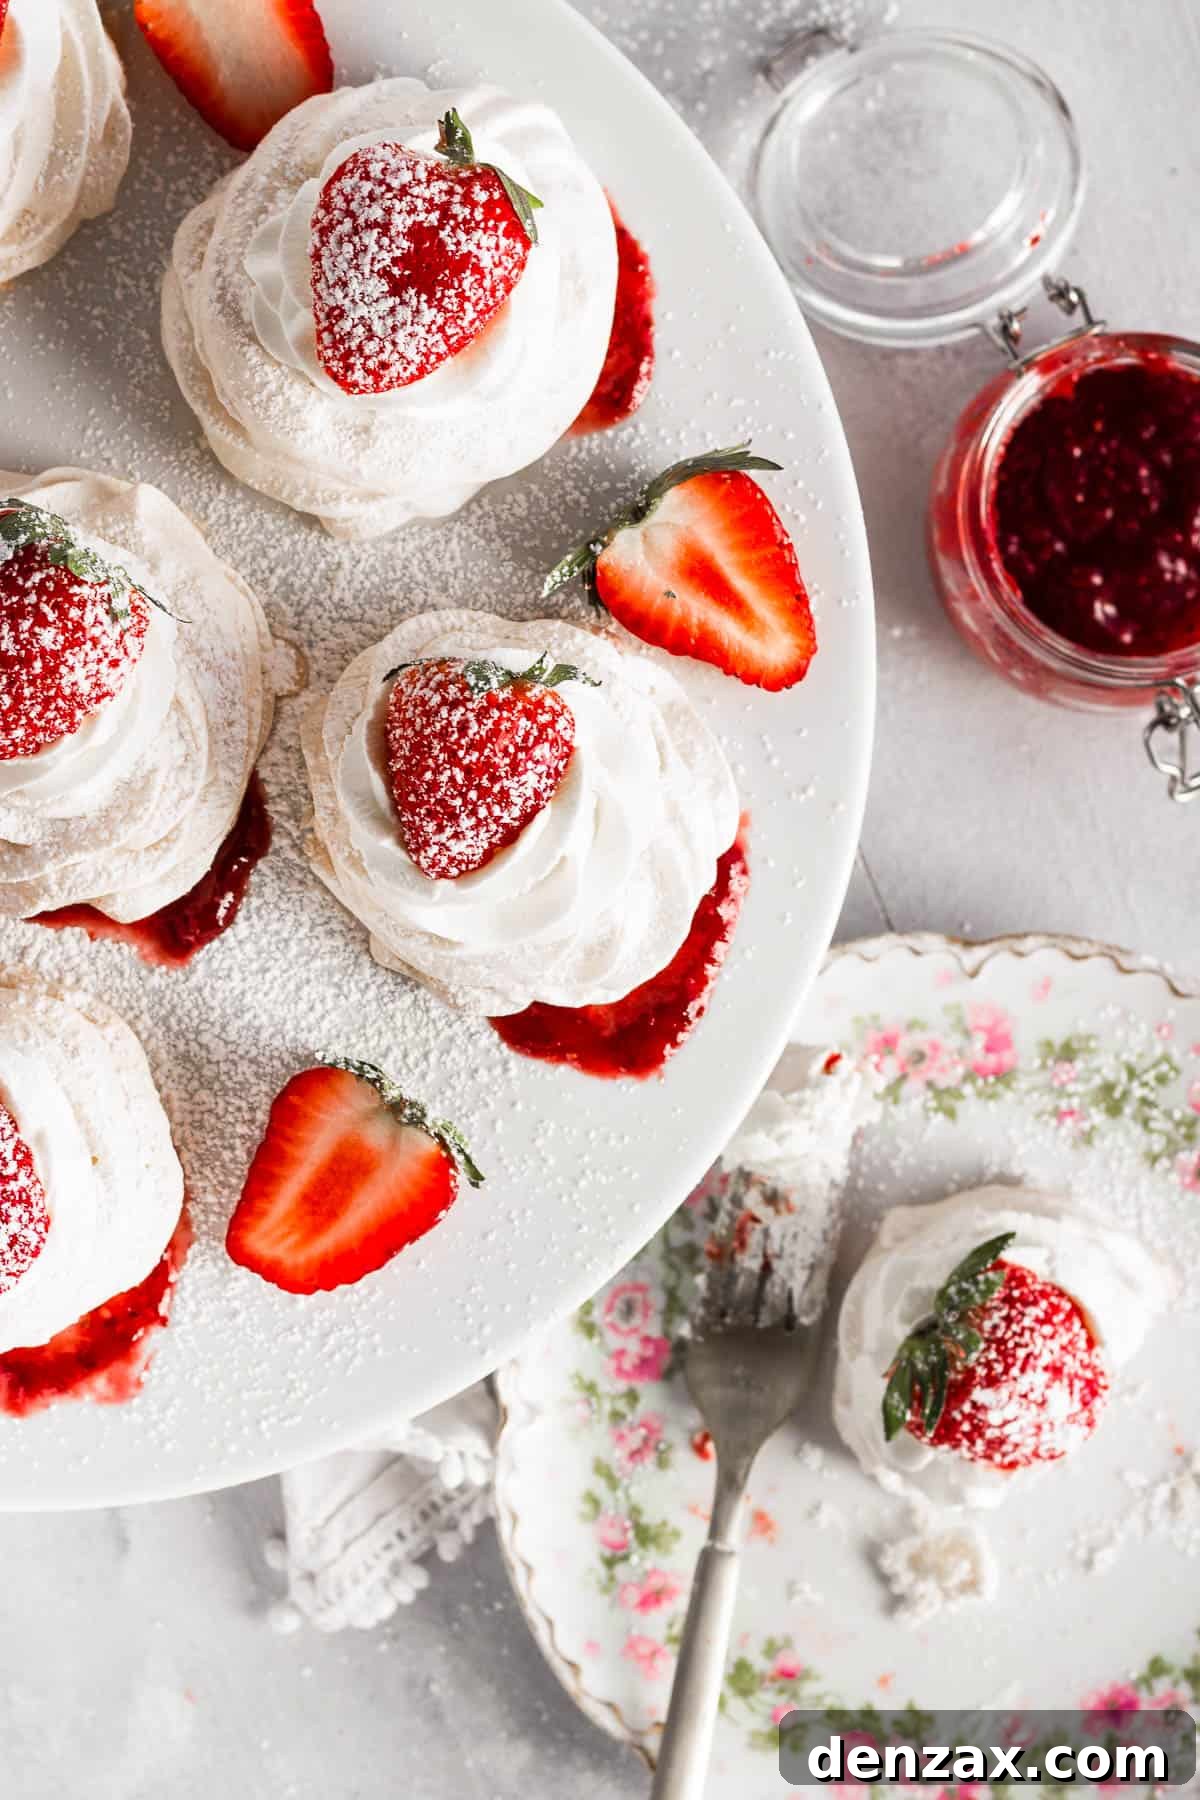
Unveiling the Delicacy: What Exactly is a Pavlova?
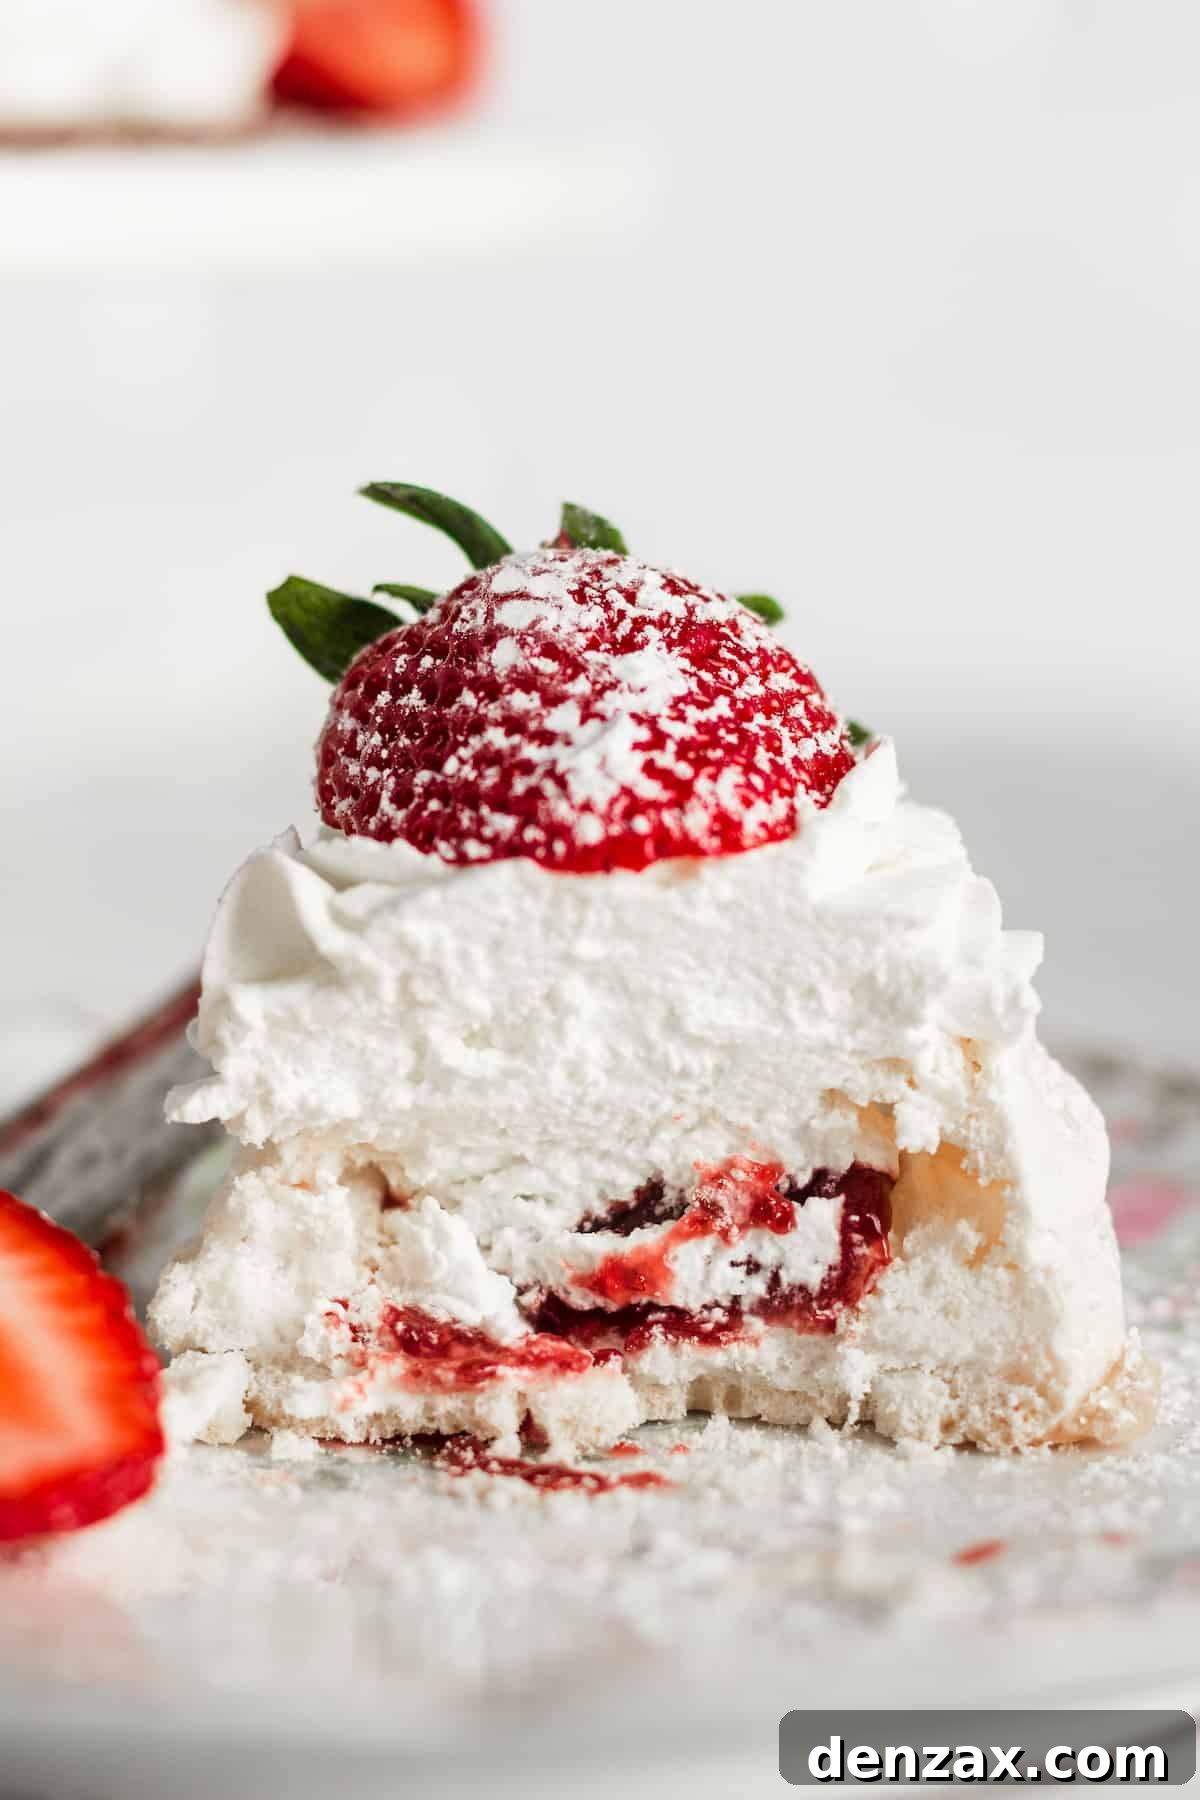
At its heart, a pavlova is an ethereal “cake” crafted primarily from whipped egg whites and sugar. While often likened to a meringue, it possesses a distinct character: a beautifully crisp, almost glassy exterior that gives way to a surprisingly soft, chewy, and marshmallow-like center. This textural contrast is what sets pavlova apart and makes it so universally adored. Traditionally, pavlovas are generously adorned with fresh whipped cream and an assortment of tender, vibrant fruits, with strawberries and kiwi being popular choices.
The origins of this dainty dessert are shrouded in a delightful mystery, believed to have emerged in the 1920s. It was named in homage to the legendary Russian ballerina Anna Pavlova, who toured Australia and New Zealand during that era. While food historians continue to debate its precise birthplace, both Australia and New Zealand proudly claim its invention, and it remains an incredibly cherished and popular dessert in both nations today.
In the Southern Hemisphere, pavlova enjoys immense popularity, especially during their summer Christmas festivities. However, its light, airy texture and emphasis on fresh fruit also make it a common fixture for Easter celebrations worldwide, perhaps due to the symbolic use of eggs and its refreshing, fruit-centric appeal. Our mini pavlova nests are specifically designed with this celebratory spirit in mind, offering a charming, individual portion perfect for any festive table.
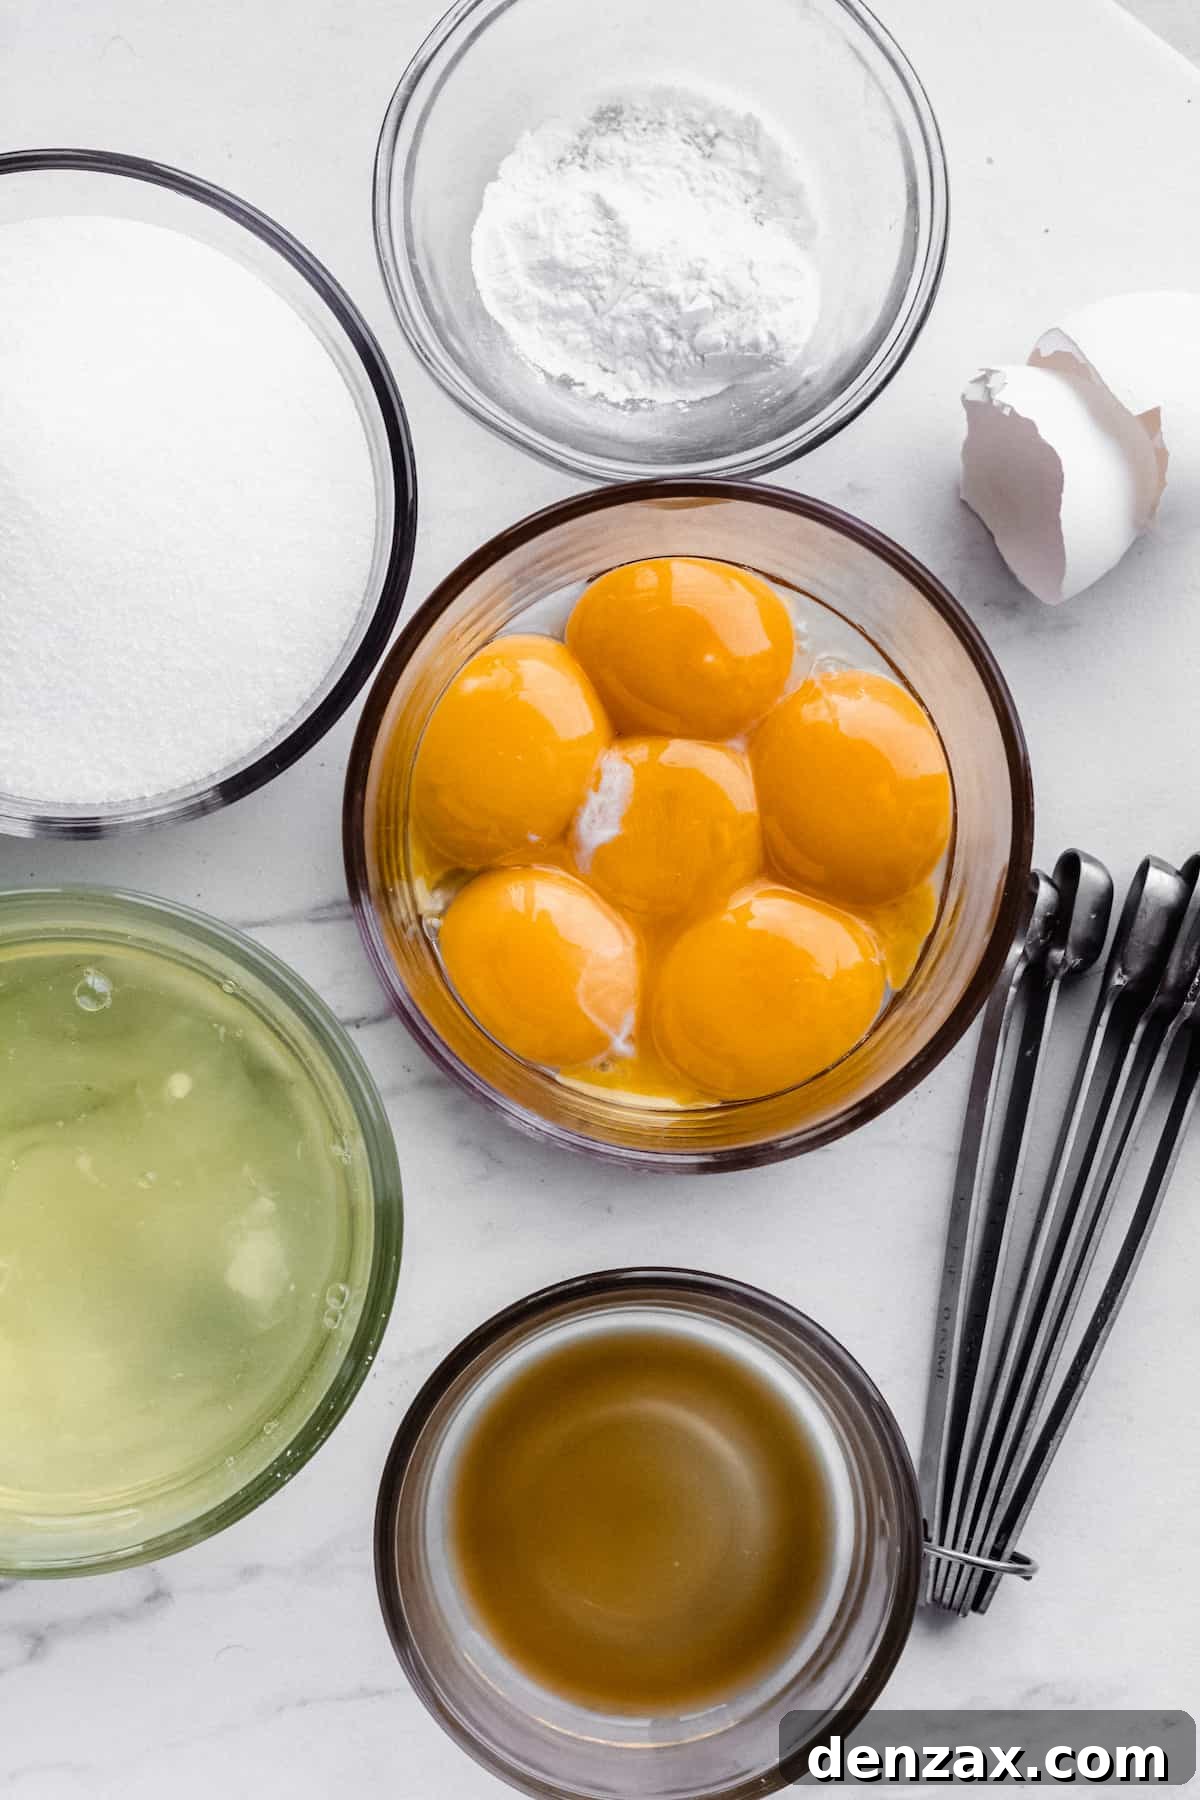
Gather Your Ingredients: Simple Components for a Magnificent Dessert
Creating these smooth, delightful pavlova nests requires just a few basic ingredients, promising beautiful and delicious results that will undoubtedly impress. Precision in measurement and temperature is key to achieving that perfect pavlova texture.
For the Pavlova Base:
- Egg Whites: You will need 6 large egg whites, ideally at room temperature. Room temperature egg whites whip up with greater volume and stability, contributing to a lighter, airier meringue. Ensure there is absolutely no trace of yolk, as fat can prevent the whites from whipping properly.
- Granulated Sugar: Two cups of granulated sugar are essential. Fine sugar dissolves more easily, preventing a grainy texture in your pavlova. Gradually adding it allows for proper incorporation and stability.
- Cornstarch: Two and a half teaspoons of cornstarch (or arrowroot powder) act as a stabilizer, helping to create that signature soft, marshmallowy interior while maintaining a crisp exterior. It also helps prevent weeping.
- Lemon Juice: Half a tablespoon of fresh lemon juice is crucial. The acidity helps to stabilize the egg whites, ensuring they whip to maximum volume and contributing to the pavlova’s delicate texture and a hint of bright flavor. Don’t omit this!
- Vanilla Extract: One teaspoon of pure vanilla extract adds a lovely aromatic depth to the meringue, complementing the fruit flavors beautifully.
For the Delectable Toppings:
- Heavy Whipping Cream: One and a half cups of heavy whipping cream, well chilled, will form the basis of our fluffy, homemade whipped cream. Chilled cream whips faster and holds its shape better.
- Granulated Sugar: Two tablespoons of granulated sugar will sweeten the whipped cream to perfection. Adjust to your taste if you prefer it sweeter or less sweet.
- Strawberry Jam: A small jar (approximately ½ cup) of your favorite strawberry jam or preserves for filling the nests. The fruit chunks in preserves add a wonderful texture.
- Fresh Strawberries: About 8 fresh strawberries, sliced or halved, are needed for an elegant garnish. Choose ripe, vibrant berries for the best flavor and appearance.
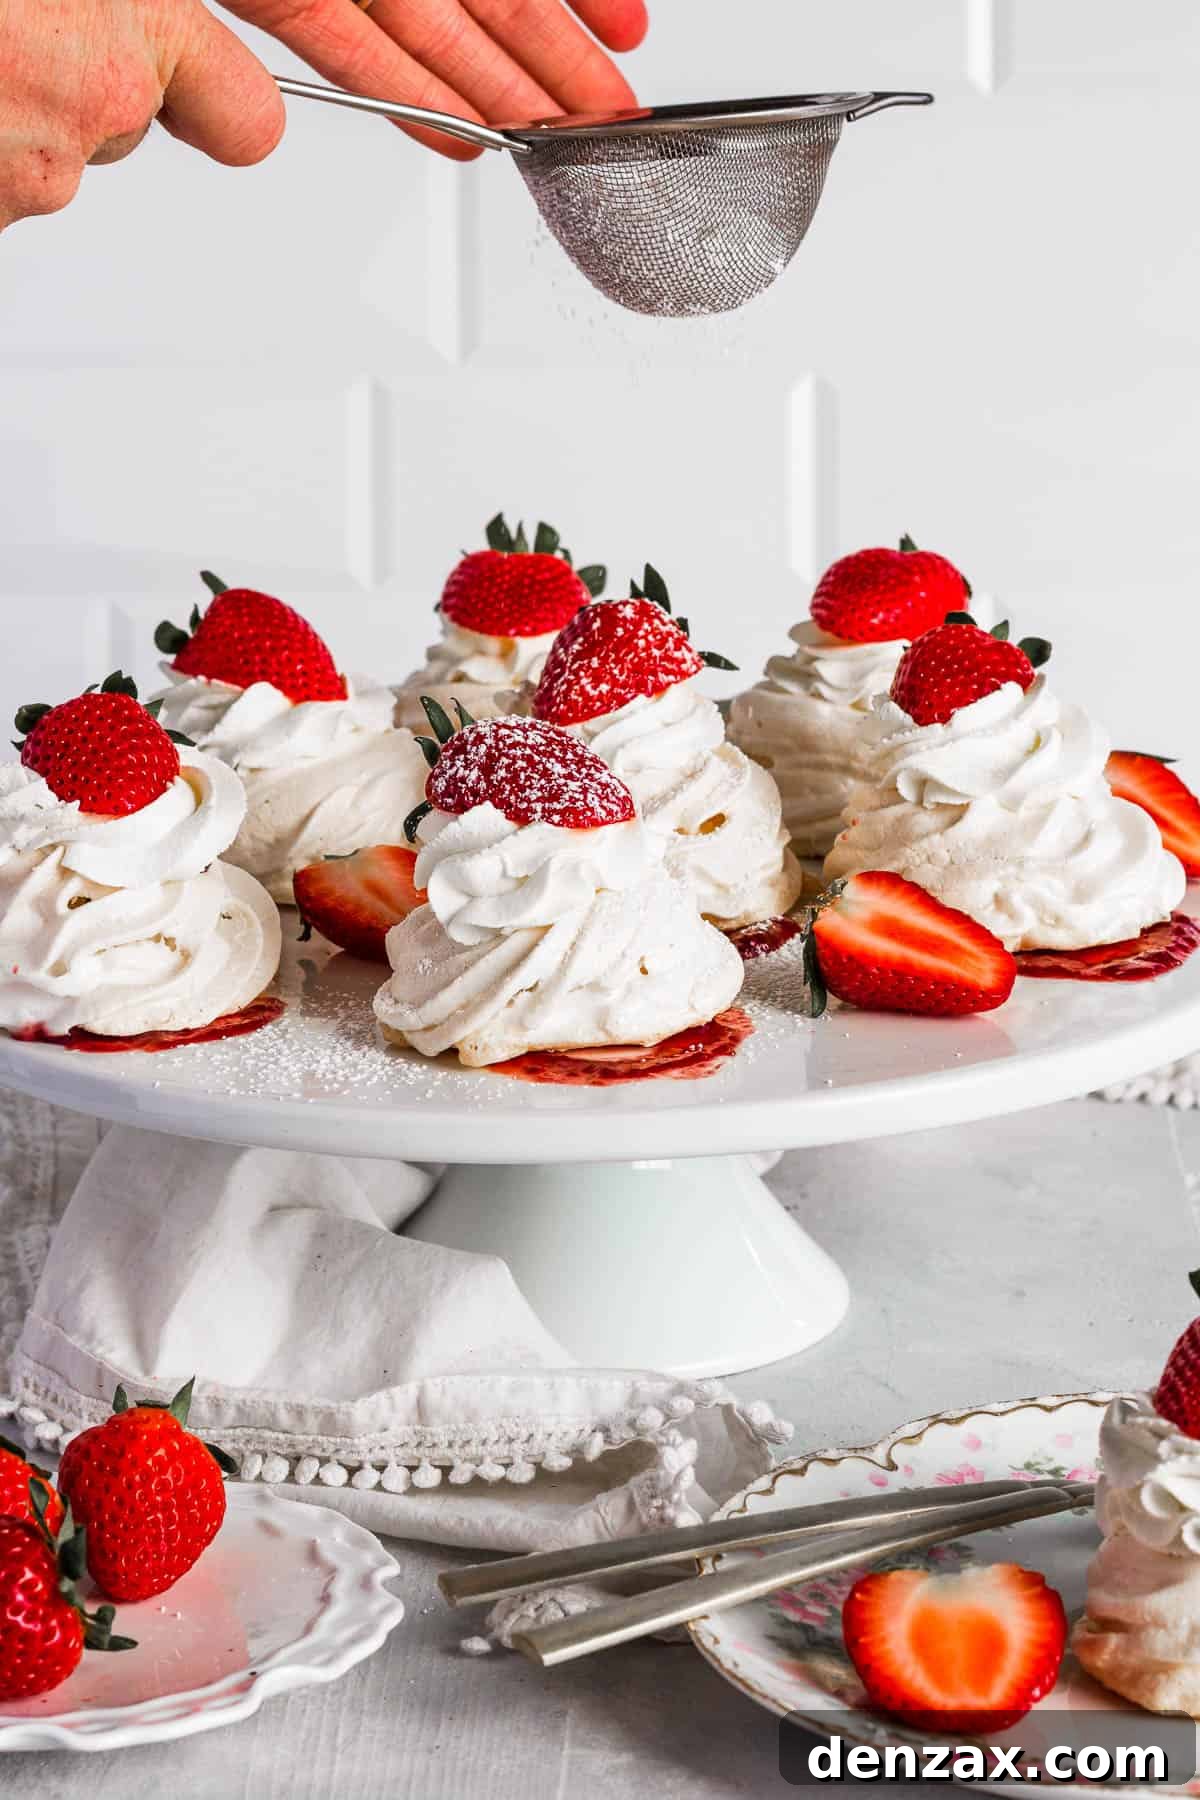
- Powdered Sugar: A light dusting of powdered sugar is optional, but it adds a beautiful finishing touch and an extra hint of sweetness.
Crafting Perfection: A Step-by-Step Guide to Making Pavlova Nests
Making pavlova is a delightful baking experience, and this recipe for mini nests is straightforward and enjoyable. While we’re focusing on individual nests here, you could easily adapt this to create one large pavlova, perhaps with a thin layer of jam and a generous topping of whipped cream and berries.
- Prepare the Egg Whites: Carefully separate 6 egg whites from their yolks. It’s crucial that not even a speck of yolk gets into the whites, as fat will prevent them from whipping properly. Place the egg whites in a clean bowl and let them sit at room temperature for about 20-30 minutes. This helps them achieve maximum volume when whipped.
- Preheat Oven and Prepare Baking Sheets: Preheat your oven to a low 225°F (107°C). Line two large baking sheets with parchment paper; this prevents sticking and makes transfer easy. Prepare your piping bag by fitting it with a large star or round tip, and set it aside.
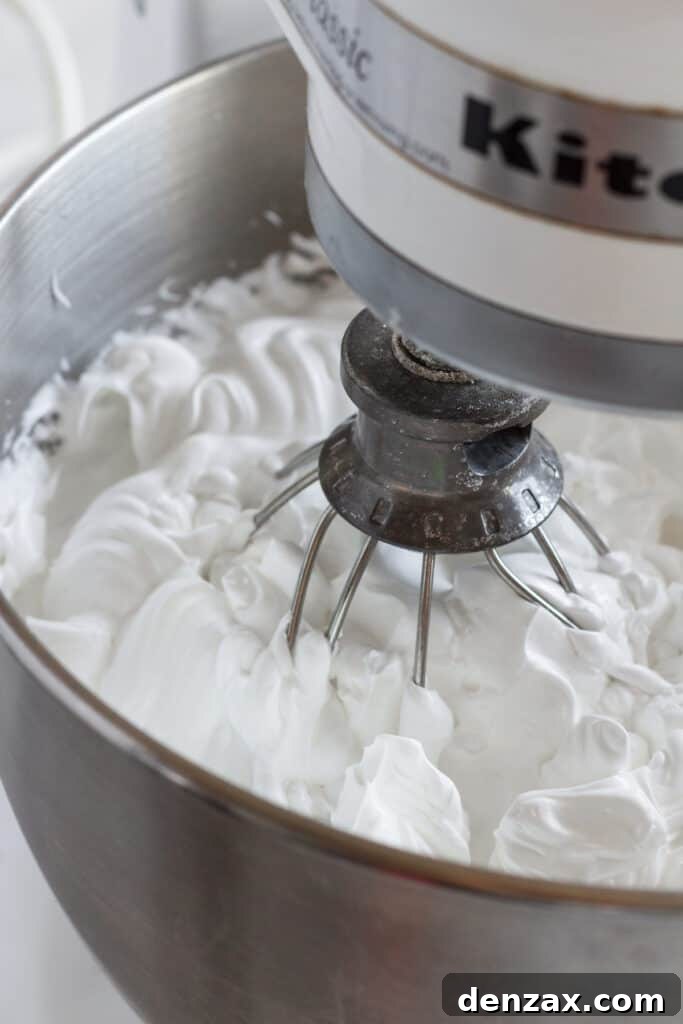
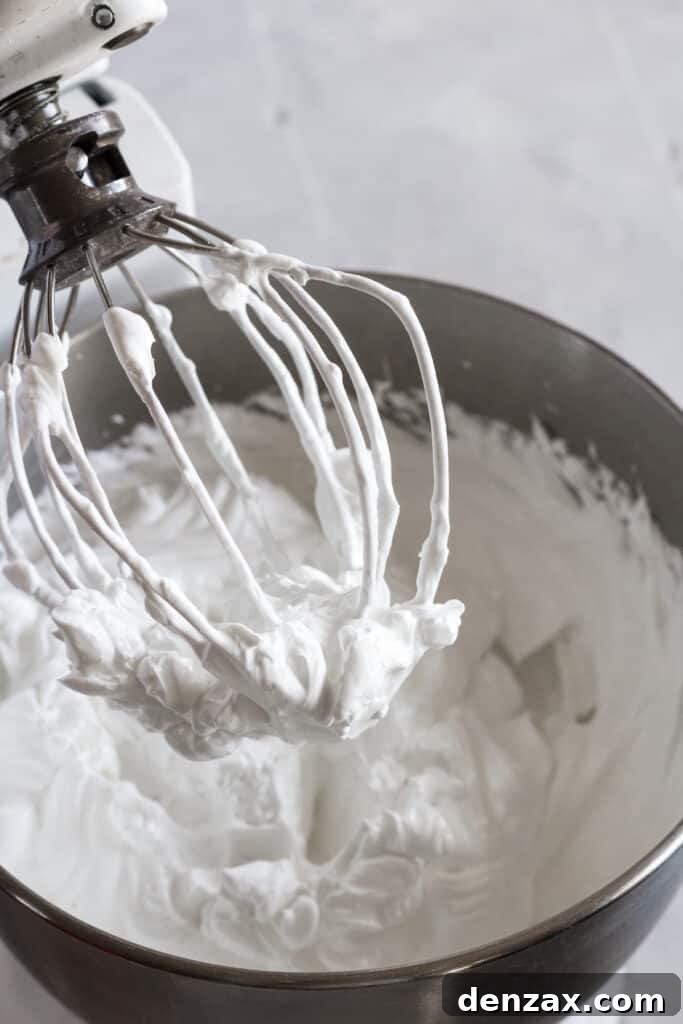
- Whip the Egg Whites: Using either a stand mixer with a whisk attachment or an electric handheld mixer, begin beating the room-temperature egg whites on HIGH speed. Ensure your mixing bowl is impeccably clean and dry – any grease residue can hinder the whites from reaching stiff peaks. Beat for 1 to 2 minutes until soft peaks form, meaning when you lift the whisk, the peaks gently curl over.
- Gradually Add Sugar: With the mixer still running on high, slowly add the granulated sugar, a little at a time (about a tablespoon every 15-20 seconds). This gradual addition is key to allowing the sugar to fully dissolve into the egg whites, creating a stable, glossy meringue. Once all the sugar is incorporated, continue beating for another 6 to 8 minutes on HIGH speed. The mixture should become very thick, glossy, and form stiff peaks that hold their shape firmly when the whisk is lifted.
- Fold in Remaining Ingredients: Once stiff peaks are achieved, carefully and gently fold in the lemon juice, vanilla extract, and cornstarch. Use a spatula to incorporate these ingredients, ensuring you don’t deflate the air you’ve worked so hard to incorporate. The mixture should remain light and airy. Scoop the prepared pavlova mixture into your piping bag.
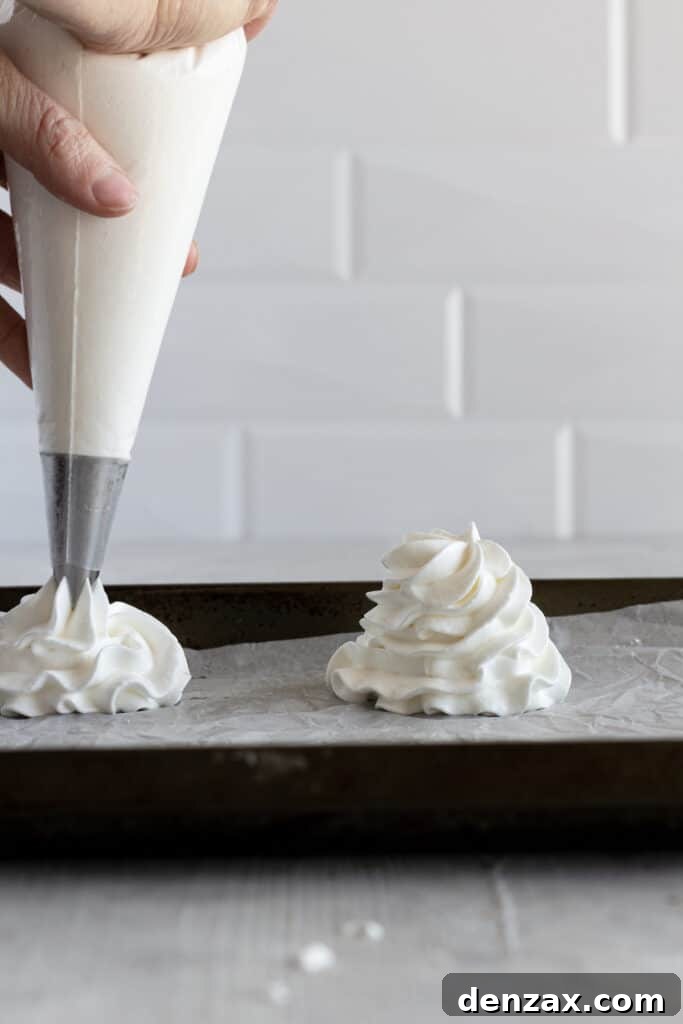
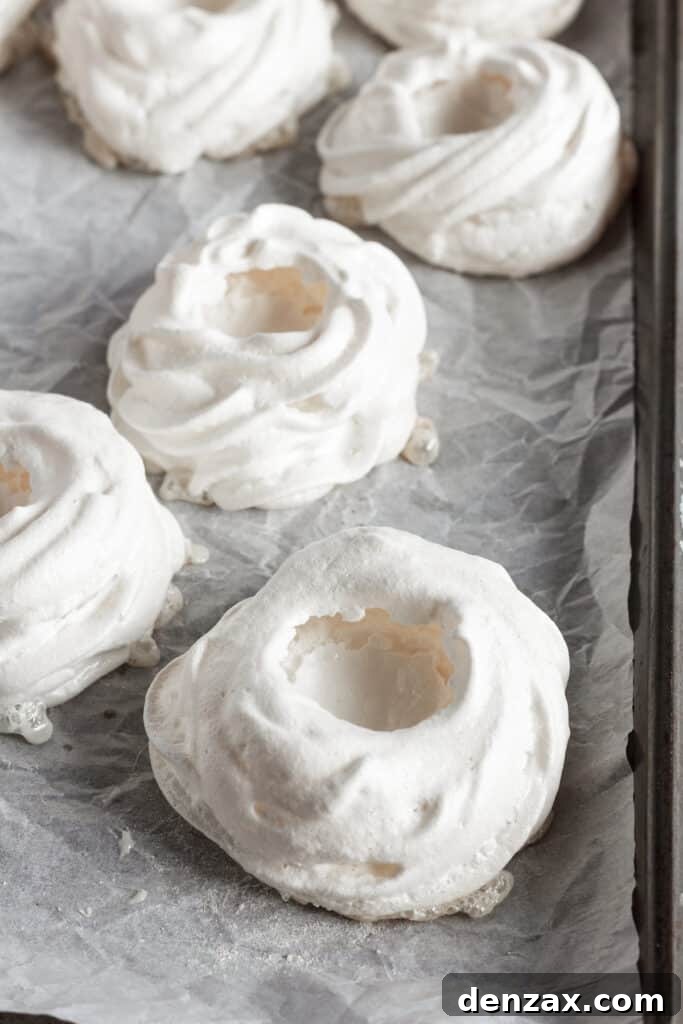
- Shape the Mini Pavlovas: On the parchment-lined baking sheets, pipe the meringue into roughly 3-inch wide nests. You can create a base disc and then pipe a rim around the edge to form the nest shape. Aim for 12 to 15 nests, depending on your desired size. Gently use the back of a spoon to create a small indentation in the center of each nest, which will hold your delicious filling.
- Bake and Cool Properly: Bake the meringue nests for 1 hour at 225°F (107°C). After the hour, turn off the oven but **do not open the door**. This is a critical step. Allow the pavlovas to cool slowly inside the oven for at least 30 minutes, or even longer (up to several hours or overnight if possible). This gradual cooling prevents cracking and helps them maintain their crisp texture. Once cooled, transfer them to a wire rack to cool completely to room temperature.
- Prepare Whipped Cream: When you are ready to serve the pavlovas, prepare the whipped cream. Place the thoroughly chilled heavy whipping cream and 2 tablespoons of sugar into a clean, chilled mixing bowl. Beat on HIGH speed for 2 to 3 minutes, or until stiff peaks form. Be careful not to overbeat, or it will turn into butter!
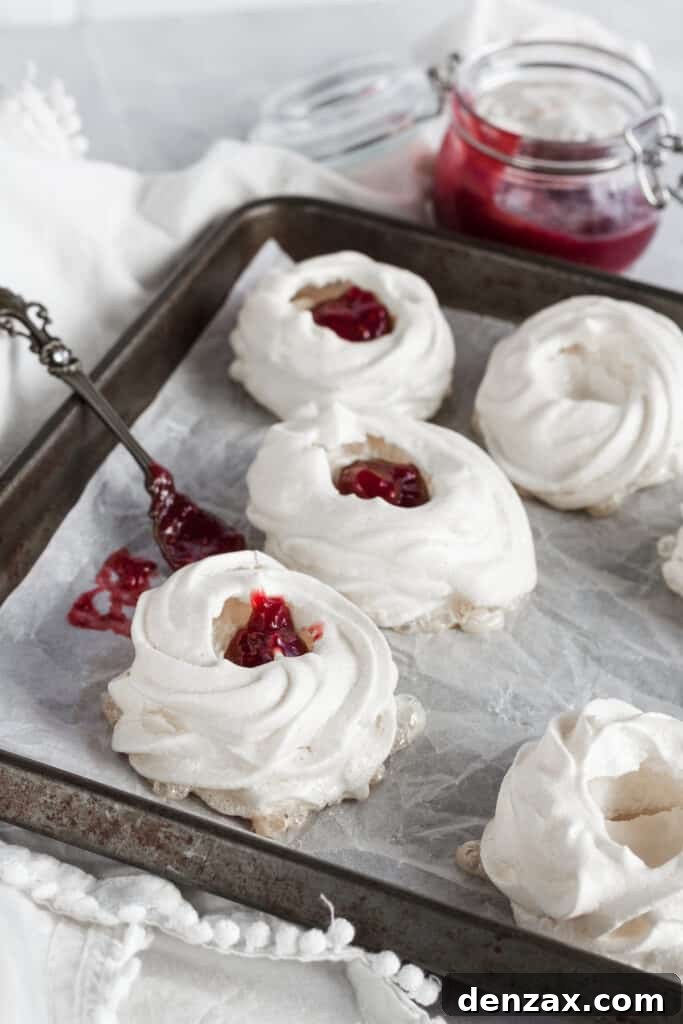
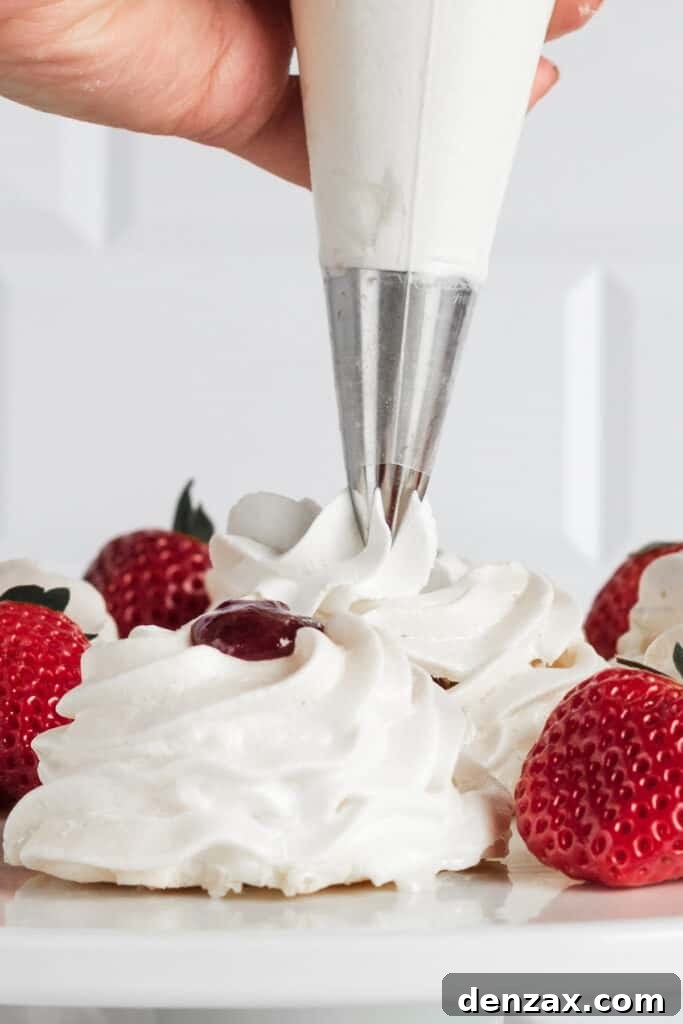
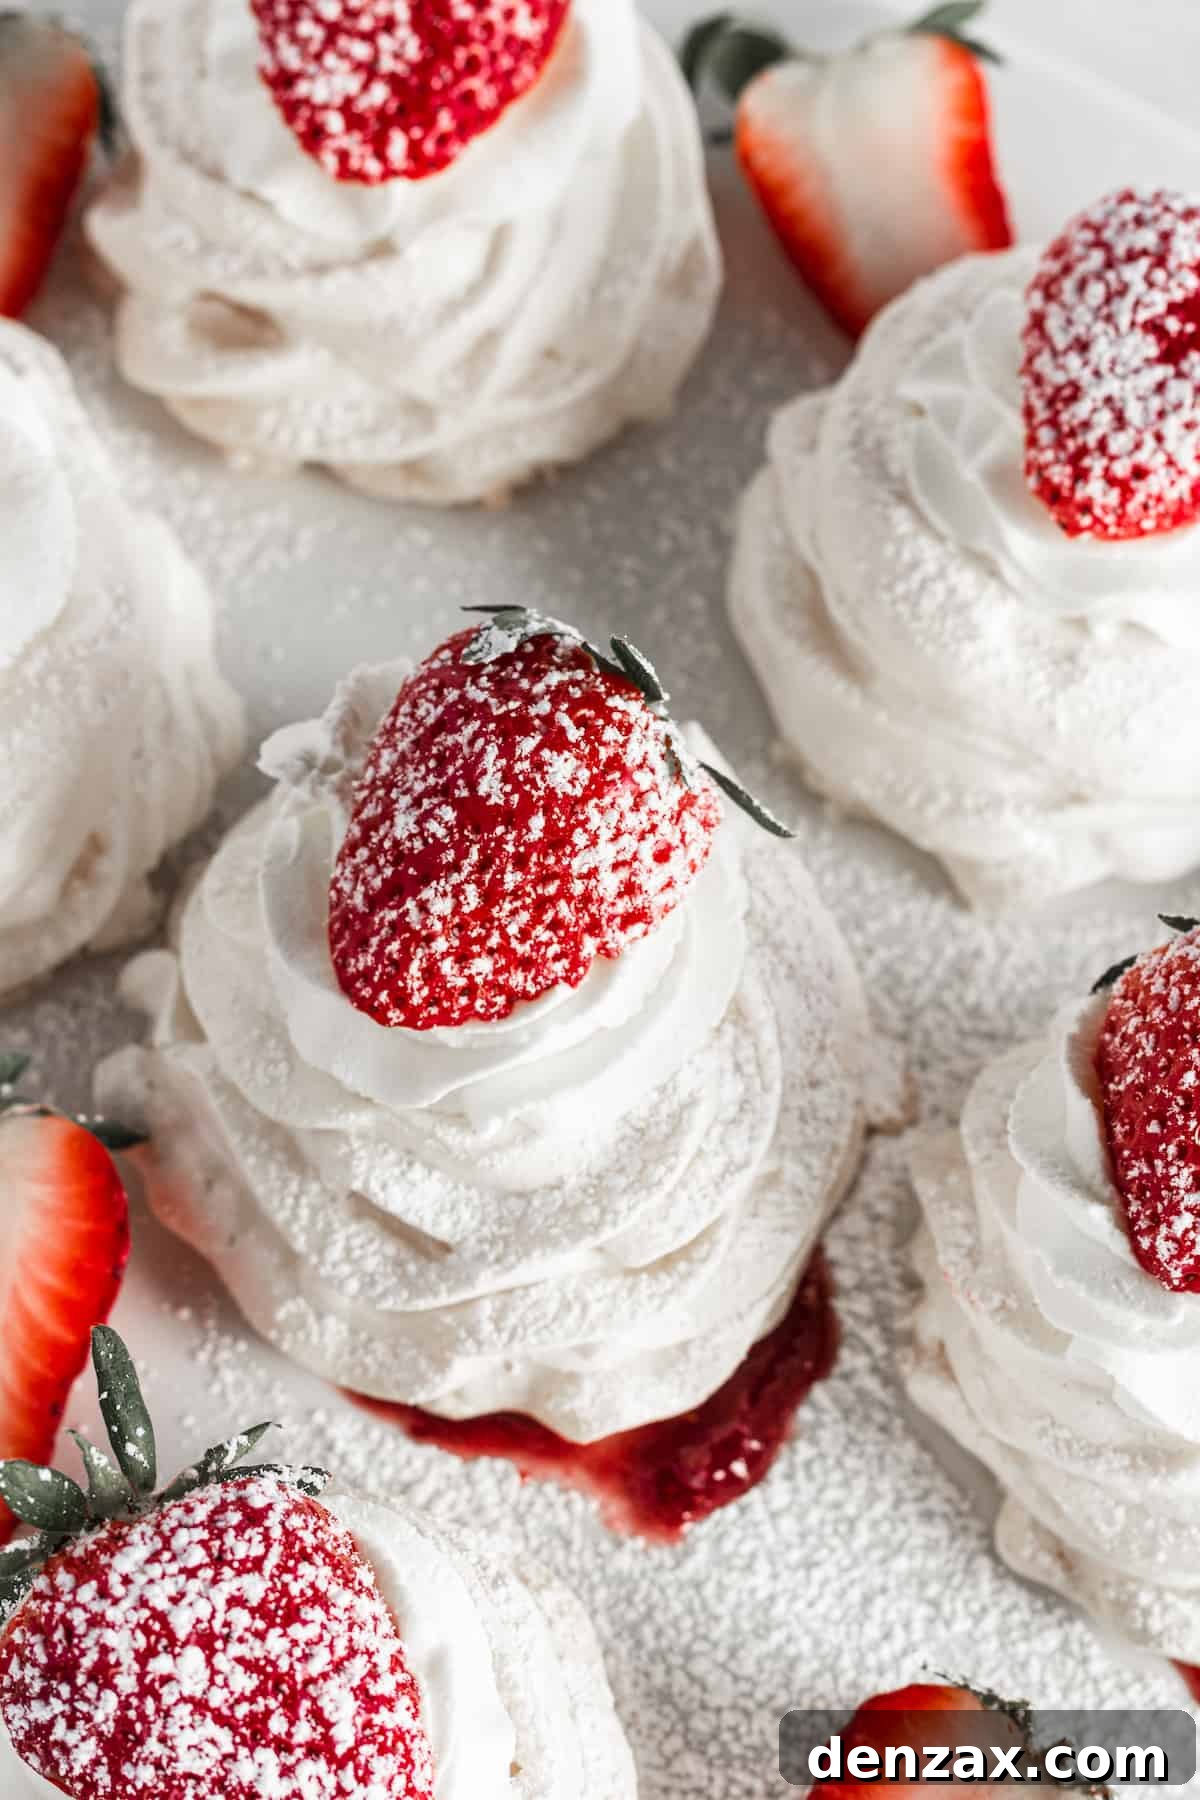
- Assemble Your Pavlovas: Carefully spoon approximately 1 tablespoon of strawberry jam into the center of each cooled pavlova nest. Then, pipe or spoon a generous dollop of fresh whipped cream over the jam. Finally, crown each pavlova with a sliced or halved fresh strawberry. Serve immediately and savor every bite!
Creative Shaping: Designing Your Pavlova Masterpiece
The beauty of pavlova lies not only in its taste but also in its versatility regarding shape. For these mini strawberry delights, the “nest” shape is particularly charming, providing a natural bowl for the luscious fillings. This involves piping a flat base and then building up the sides to create a shallow well in the center.
However, your creativity isn’t limited! You could also opt for:
- Simple Discs: Pipe small, flat rounds like miniature cakes, perfect for stacking or serving individually with toppings layered on top.
- Delicate Domes: Create small, rounded domes with slightly flattened tops, offering a more sculptural presentation.
- Large Platter Pavlova: For a grander statement, pipe one large, round pavlova with a raised rim, transforming it into an impressive dessert platter for family-style serving.
Experiment with different piping tips or even a spoon to find the shape that best suits your occasion and aesthetic preference.
The Moment of Truth: How to Tell if Your Pavlova is Perfectly Baked
Achieving the perfect pavlova texture requires patience and careful attention during the baking process. Since pavlovas are cooked “low and slow” and then allowed a long, gentle cool-down in the oven, it can be tricky to know when they are truly done without opening the oven door too early. Here are the key indicators:
- Firm and Dry Exterior: After the full baking and cooling period in the oven (with the door closed), a properly baked pavlova will feel firm and dry to the touch on both its sides and top. It should not feel sticky or soft.
- Easy Release from Parchment Paper: A perfectly cooked pavlova will easily peel away from the parchment paper without sticking. If it adheres to the paper or feels gummy, it likely needs more time to dry out, even if the oven is off.
- Crisp Shell, Marshmallowy Interior: The ultimate test, though only possible after completely cooling, is the bite. The outer shell should be delightfully crisp and delicate, while the inside should be soft, chewy, and somewhat gooey, reminiscent of a marshmallow.
Resist the urge to peek or open the oven door during the cooling phase, as sudden temperature changes can cause the pavlova to crack or collapse.
Beyond Strawberry: Exciting Topping Variations for Your Pavlova
While our Strawberry Pavlova Nests are a classic for a reason, pavlovas are incredibly versatile, offering a blank canvas for a myriad of flavor combinations. Feel free to explore other topping ideas, always beginning with a generous dollop of fresh whipped cream and then adding your creative flair:
- Lemon-Berry Dream: Swirl vibrant lemon curd into your whipped cream, then scatter a colorful medley of fresh blueberries, blackberries, raspberries, and strawberries over the top for a zesty, fruity explosion.
- Exotic Baklava Bliss: For an unexpected twist, drizzle your pavlova with warm honey and sprinkle generously with finely chopped pistachios. Elevate it further by roughly chopping store-bought baklava and distributing it evenly for a rich, nutty, and sweet indulgence.
- Decadent Chocolate Cherry: Indulge your sweet tooth by topping your pavlova with a silky chocolate ganache. Add a sprinkle of slivered almonds for texture and garnish with bright maraschino cherries for a classic flavor pairing.
- Refreshing Watermelon Peach: Perfect for summer, use small cookie cutters to create fun shapes from fresh watermelon slices and arrange them alongside delicate slices of ripe peaches. A light dusting of powdered sugar can enhance the sweetness if the fruit needs it.
- Festive Peppermint Chocolate: A delightful option for the holidays! Drizzle with chocolate syrup and sprinkle crushed peppermint candies or candy canes for a cool, minty crunch. For a subtle variation, crushed spearmint candies can offer a milder mint-chocolate experience.
Mastering Pavlova: Essential Tips for Perfect Results Every Time
While making pavlova can seem intimidating, especially for those new to meringue-based desserts, a few key techniques and considerations will ensure your mini pavlova nests turn out flawlessly beautiful and delicious:
- Ensure Sugar Dissolves Completely: This is paramount. When gradually adding sugar to the whipping egg whites, take your time. You should not feel any grittiness when you rub a tiny bit of the meringue between your fingers. Undissolved sugar can lead to “weeping” (liquid leaking) during baking and cooling, and a less stable meringue that is prone to cracking. Beat until the mixture is truly smooth and glossy.
- Avoid Overbeating the Cream: Whipping cream is delicate. Beat it only until stiff peaks form. Overbeating will cause the cream to separate and become grainy, eventually turning into butter and whey. Keep a close eye on it, especially in the last minute of whipping.
- Humidity is Your Foe: Pavlova is highly sensitive to moisture. It’s best to prepare pavlovas on dry, low-humidity days. High humidity can prevent the meringue from drying out properly, resulting in a sticky, soft, and potentially soggy pavlova rather than a crisp and airy one. Store baked pavlova in an airtight container at room temperature, away from humidity.
- Cleanliness is Key: Any fat or grease in your mixing bowl or on your whisk can inhibit the egg whites from whipping up properly. Always ensure all equipment is meticulously clean and dry before you begin.
- Room Temperature Egg Whites: As mentioned in the ingredients, allow your egg whites to come to room temperature. They whip up faster and achieve greater volume and stability compared to cold egg whites.
Troubleshooting: Preventing Pavlova Cracks and Common Issues
It can be disheartening to pull a beautiful pavlova from the oven only to find it covered in cracks. While some minor cracking is normal, excessive cracking often indicates an issue in the preparation or baking process. Here’s why your pavlova might crack and how to prevent it:
- Shrinkage and Uneven Baking: Pavlovas sometimes crack because the soft, moist interior shrinks away from the crisp, baked outer layer as it cools. This often happens if the meringue is baked too quickly at too high a temperature, or if it cools too rapidly. To prevent this, ensure your oven temperature is accurate and that the pavlova cools gradually inside the turned-off oven.
- Grainy Meringue Mixture: The consistency of your meringue is crucial. It should be stiff, glossy, and perfectly smooth, indicating that all the sugar has dissolved. If the mixture is grainy (meaning the sugar hasn’t dissolved), it’s more likely to crack and leak moisture during baking. This is why gradual sugar addition and thorough beating are so important. If your mixture feels grainy, it’s best to start over.
- Sudden Temperature Changes: Opening the oven door during baking or cooling, or removing the pavlova from the oven too quickly, can shock the meringue, causing it to deflate and crack. Always allow it to cool slowly inside the oven.
- Overbeating Egg Whites: While stiff peaks are desired, overbeating can make the meringue dry and brittle, leading to cracking. Stop beating once the peaks are firm and glossy.
Pin
Mini Strawberry Pavlova Nests
by Katerina | Easy Weeknight Recipes
A light and airy meringue dessert with a creamy center, topped with strawberry jam, whipped cream, and fresh strawberries.
Prep Time: 30 minutes
Cook Time: 1 hour
Resting Time: 30 minutes
Total Time: 2 hours
Servings: 14
Ingredients
For the Pavlova Base:
- 6 egg whites, at room temperature
- 2 cups superfine sugar
- 2 ½ teaspoons cornstarch or arrowroot powder
- ½ tablespoons lemon juice
- 1 teaspoon vanilla extract
For the Toppings:
- 1 ½ cups heavy whipping cream, chilled
- 2 tablespoons granulated sugar
- ½ cup strawberry jam or preserves
- 8 fresh sliced or halved strawberries, for garnish
- Powdered sugar, for garnish (optional)
Instructions
- Separate 6 eggs from their yolks, being careful not to get any yolk in the whites. Place egg whites in a bowl and allow to sit on the counter to come to room temperature; about 20 minutes.
- Preheat the oven to 225°F (107°C). Line two baking sheet pans with parchment paper and set aside. Fit your piping bag with a large tip. Set aside.
- In a stand mixer or mixing bowl with an electric hand mixer, beat the egg whites on HIGH for one to two minutes, or until soft peaks form. With the mixer still on, add the sugar a little bit at a time until dissolved. Once all the sugar is dissolved, continue beating for 6 to 8 minutes on HIGH speed, or until stiff peaks form.
- Once stiff peaks form, gently fold in the lemon juice, vanilla extract and cornstarch. Once combined, scoop the pavlova mixture into the prepared piping bag.
- On the parchment lined baking sheet, pipe the meringue into roughly 3-inch nests. You should end up with about 12 to 15 nests, depending on how big you want to make them. Gently press a spoon on the top to create a small indent in the center.
- Bake the meringue nests for 1 hour at 225°F (107°C). After the first hour, turn the oven off and keep the door closed. Let the pavlovas cool in the oven for at least 30 minutes, or preferably longer. Then you can transfer them to a cooling rack to cool completely.
- In the meantime, place the chilled heavy whipping cream and 2 tablespoons of sugar in a mixing bowl. Mix on HIGH for 2 to 3 minutes, or until stiff peaks form. Set aside.
- Place roughly 1 tablespoon jam in the center of each pavlova nest.
- Top with piped whipped cream and half of a fresh strawberry. Enjoy!
Nutrition
Calories: 250kcal | Carbohydrates: 40g | Protein: 2g | Fat: 9g | Saturated Fat: 6g | Cholesterol: 35mg | Sodium: 35mg | Potassium: 62mg | Fiber: 1g | Sugar: 37g | Vitamin A: 376IU | Vitamin C: 5mg | Calcium: 21mg | Iron: 1mg
Nutritional info is an estimate and provided as courtesy. Values may vary according to the ingredients and tools used. Please use your preferred nutritional calculator for more detailed info.
More Exquisite Dessert Ideas to Explore
If you’ve fallen in love with these Strawberry Pavlova Nests, you’re likely a connoisseur of delightful desserts! Here are a few more recipes to add to your baking repertoire that are equally satisfying and impressive:
- Indulgent Red Velvet Crinkle Cookies
- Rich and Moist Easy Tres Leches Cake
- Comforting Homemade Banana Pudding
We hope this comprehensive guide inspires you to create beautiful and delicious Strawberry Pavlova Nests. Whether for a special occasion or a simple sweet craving, this dessert promises an unforgettable experience. Happy baking!