
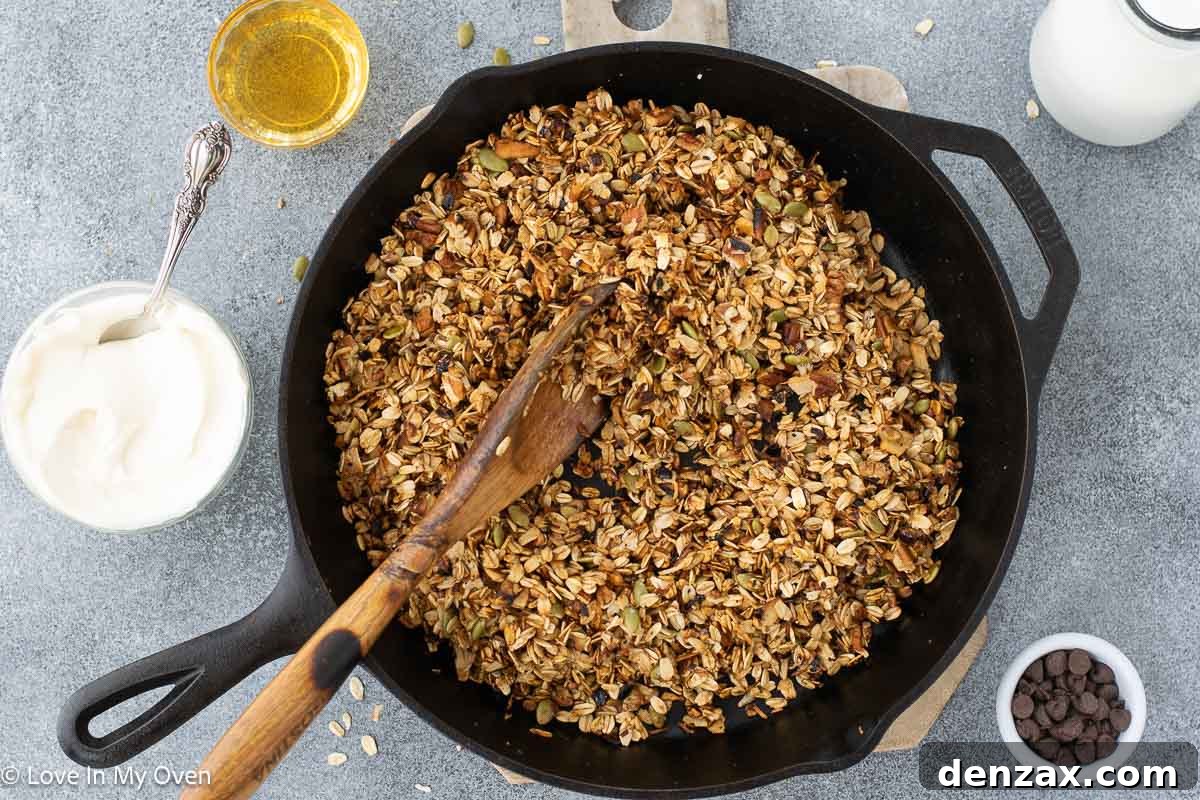
Embrace the ease of homemade granola without turning on your oven! This simple stovetop granola recipe delivers sweet, crunchy, and utterly delicious results, all prepared in a single pan. Perfect for busy mornings or a healthy snack, it’s a game-changer for anyone seeking convenience without compromising on flavor.
There’s nothing quite like the aroma of freshly made granola filling your kitchen. While the thought of baking often brings warmth and comfort, sometimes the weather or a busy schedule calls for a quicker, cooler approach. If you’re like many who appreciate a wholesome breakfast but dread heating up the entire house, especially during warmer months, then this stovetop granola recipe is about to become your new best friend.
Gone are the days when homemade granola meant a lengthy baking process. This innovative method transforms ordinary oats into golden, crunchy goodness right on your stovetop. It’s an excellent solution for those seeking a fast, no-fuss recipe that doesn’t compromise on the beloved texture and taste of traditional baked granola. Whether you’re topping your morning yogurt, adding a crunch to your smoothie bowl, or simply enjoying it by the handful, this one-pan wonder ensures a delightful experience.
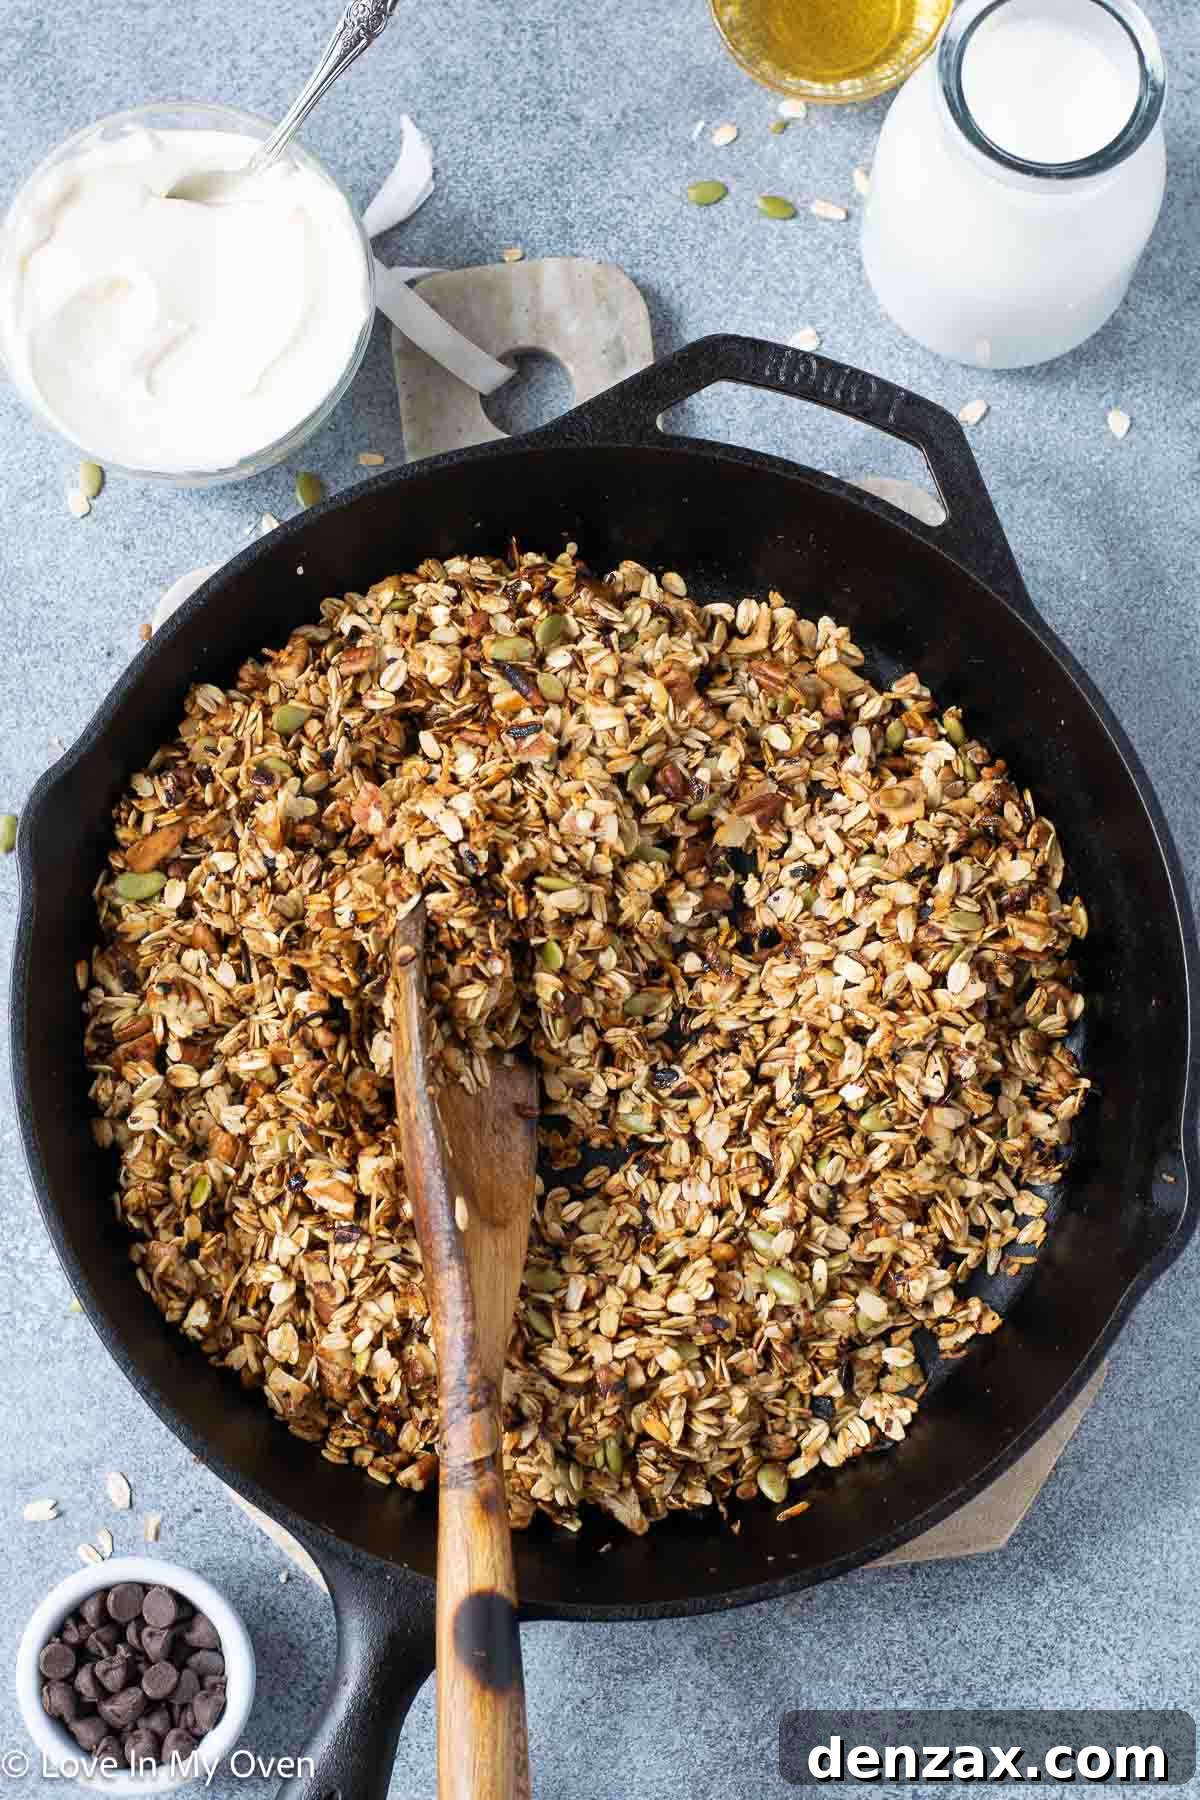
Why Choose Stovetop Granola? The Benefits of a No-Bake Approach
In a world where time is a precious commodity, a recipe that promises speed and simplicity is always welcome. Stovetop granola isn’t just a clever alternative; it offers several compelling advantages:
- No Oven Required: The most obvious benefit is avoiding the oven. This is particularly appealing during summer or in smaller living spaces where heat dissipation can be an issue. Keep your kitchen cool while still enjoying warm, fragrant granola.
- Faster Preparation: While traditional granola can take 30-45 minutes or more in the oven, this stovetop version is ready in about 15 minutes from start to finish. It’s perfect for whipping up a batch on a whim.
- One-Pan Convenience: Everything comes together in a single large skillet, minimizing cleanup and making the cooking process incredibly streamlined.
- Energy Efficiency: Using the stovetop for a shorter period typically consumes less energy than preheating and running an oven, making it a more eco-friendly option.
- Crispy Texture Control: The direct heat of the stovetop allows for precise control over the browning and crispiness of your oats and other ingredients, often resulting in a superior crunch that’s hard to achieve in the oven.
This method truly simplifies the art of granola making, proving that you don’t need fancy equipment or a long baking schedule to achieve a gourmet breakfast staple. It’s an ideal choice for busy families, students, or anyone looking to enjoy the freshest granola with minimal effort.
How to Make Granola on the Stove: A Simple Guide
Creating crispy, flavorful granola on your stovetop is surprisingly straightforward. The key lies in a thoughtful combination of fats and sweeteners, along with continuous low-heat cooking, to achieve that perfect golden crunch without burning. The process leverages the direct heat of your pan to toast the oats and other mix-ins, infusing them with a delicious aroma and texture.
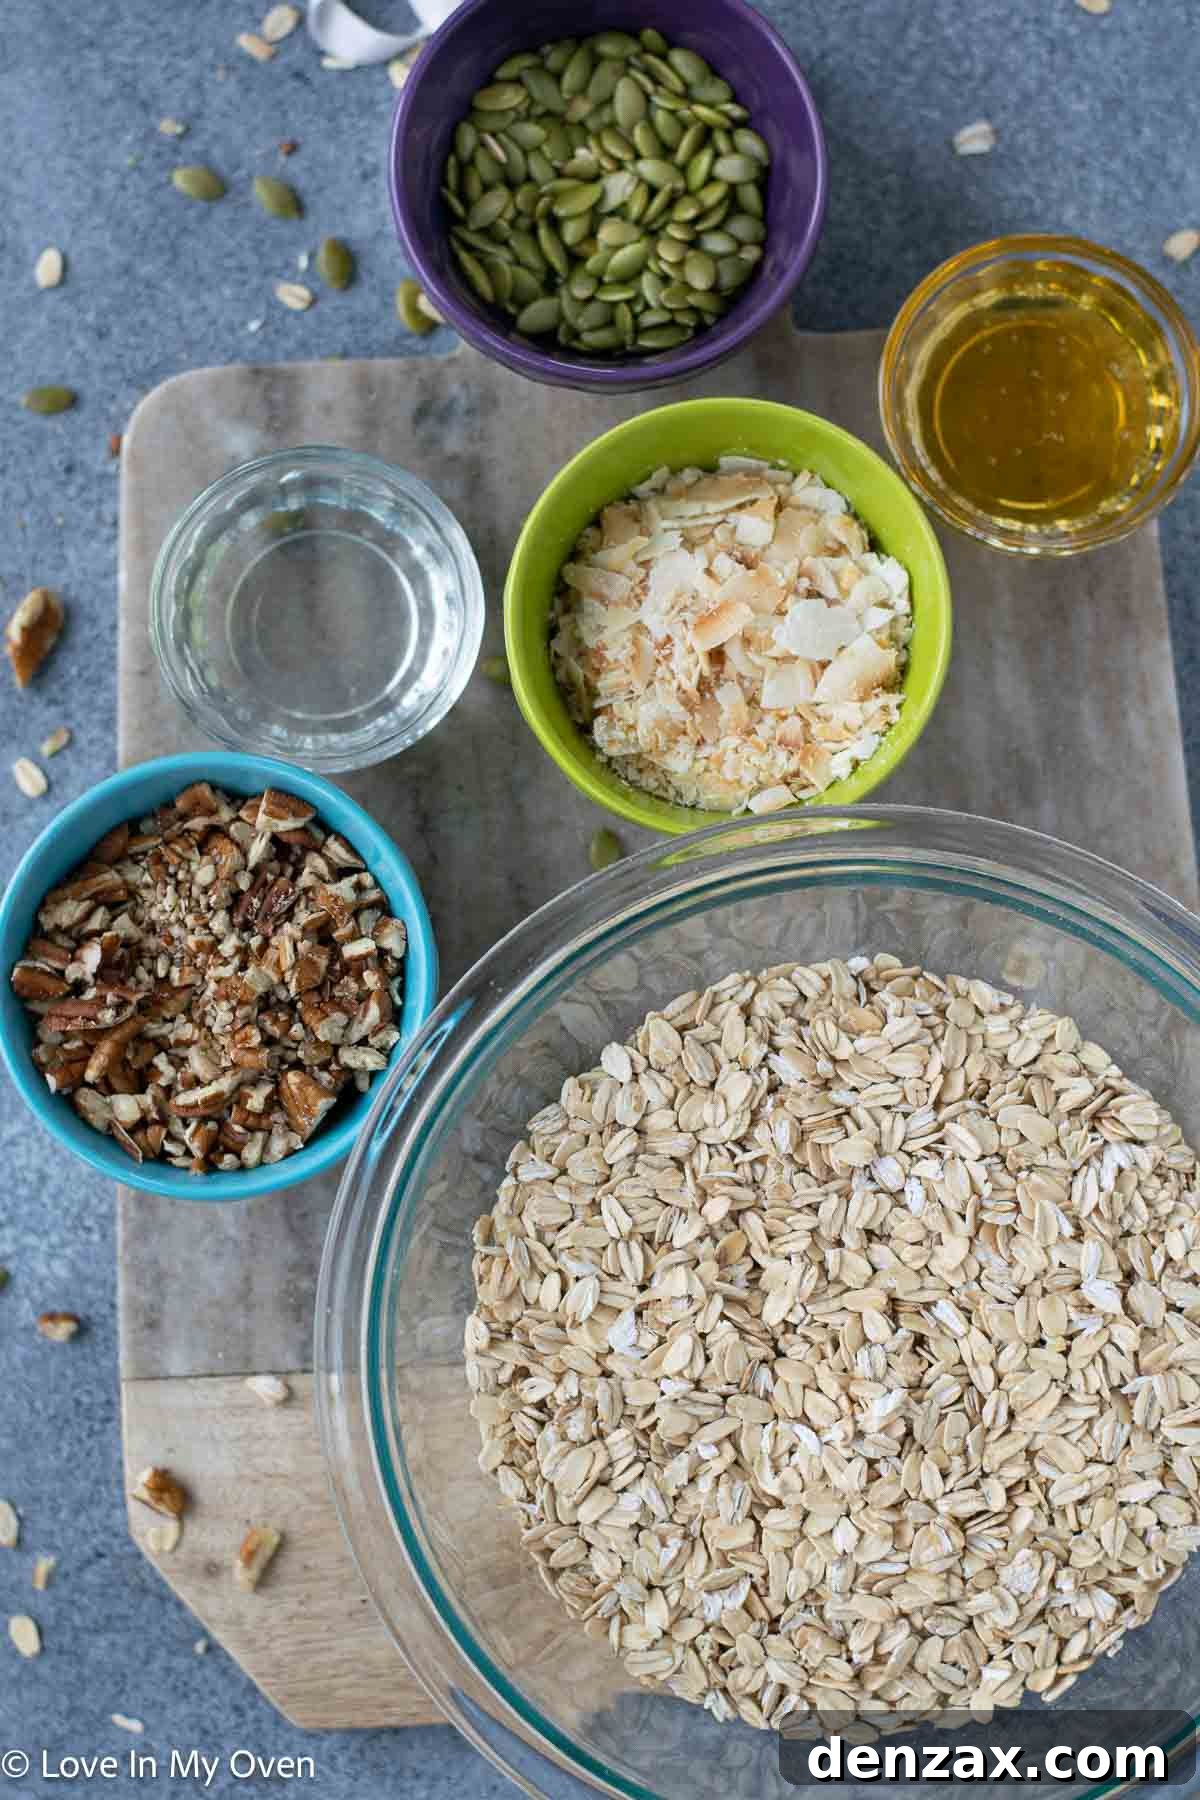
To embark on your stovetop granola journey, you’ll need a handful of wholesome ingredients, many of which you likely already have in your pantry:
- Rolled Oats: The foundation of any great granola. Opt for old-fashioned rolled oats for the best texture; instant or quick oats tend to get mushy.
- Cinnamon: Adds a warm, comforting spice that complements the sweetness beautifully.
- Coconut Oil (or Olive Oil): Essential for providing the fat needed to toast the oats evenly and achieve that desirable crispiness. Coconut oil also imparts a subtle tropical flavor.
- Honey: Acts as both a natural sweetener and a binder, helping the granola clump together and achieve its signature crunchy clusters.
- Raw Pumpkin Seeds: Provides a delightful nutty flavor and a boost of nutrients.
- Chopped Pecans: Adds a rich, buttery taste and satisfying crunch. Feel free to substitute with other nuts like walnuts or almonds.
- Coconut Chips/Flakes: These toast beautifully on the stovetop, adding a lovely texture and tropical note.
- A Pinch of Salt: Crucial for balancing the sweetness and enhancing all the other flavors.
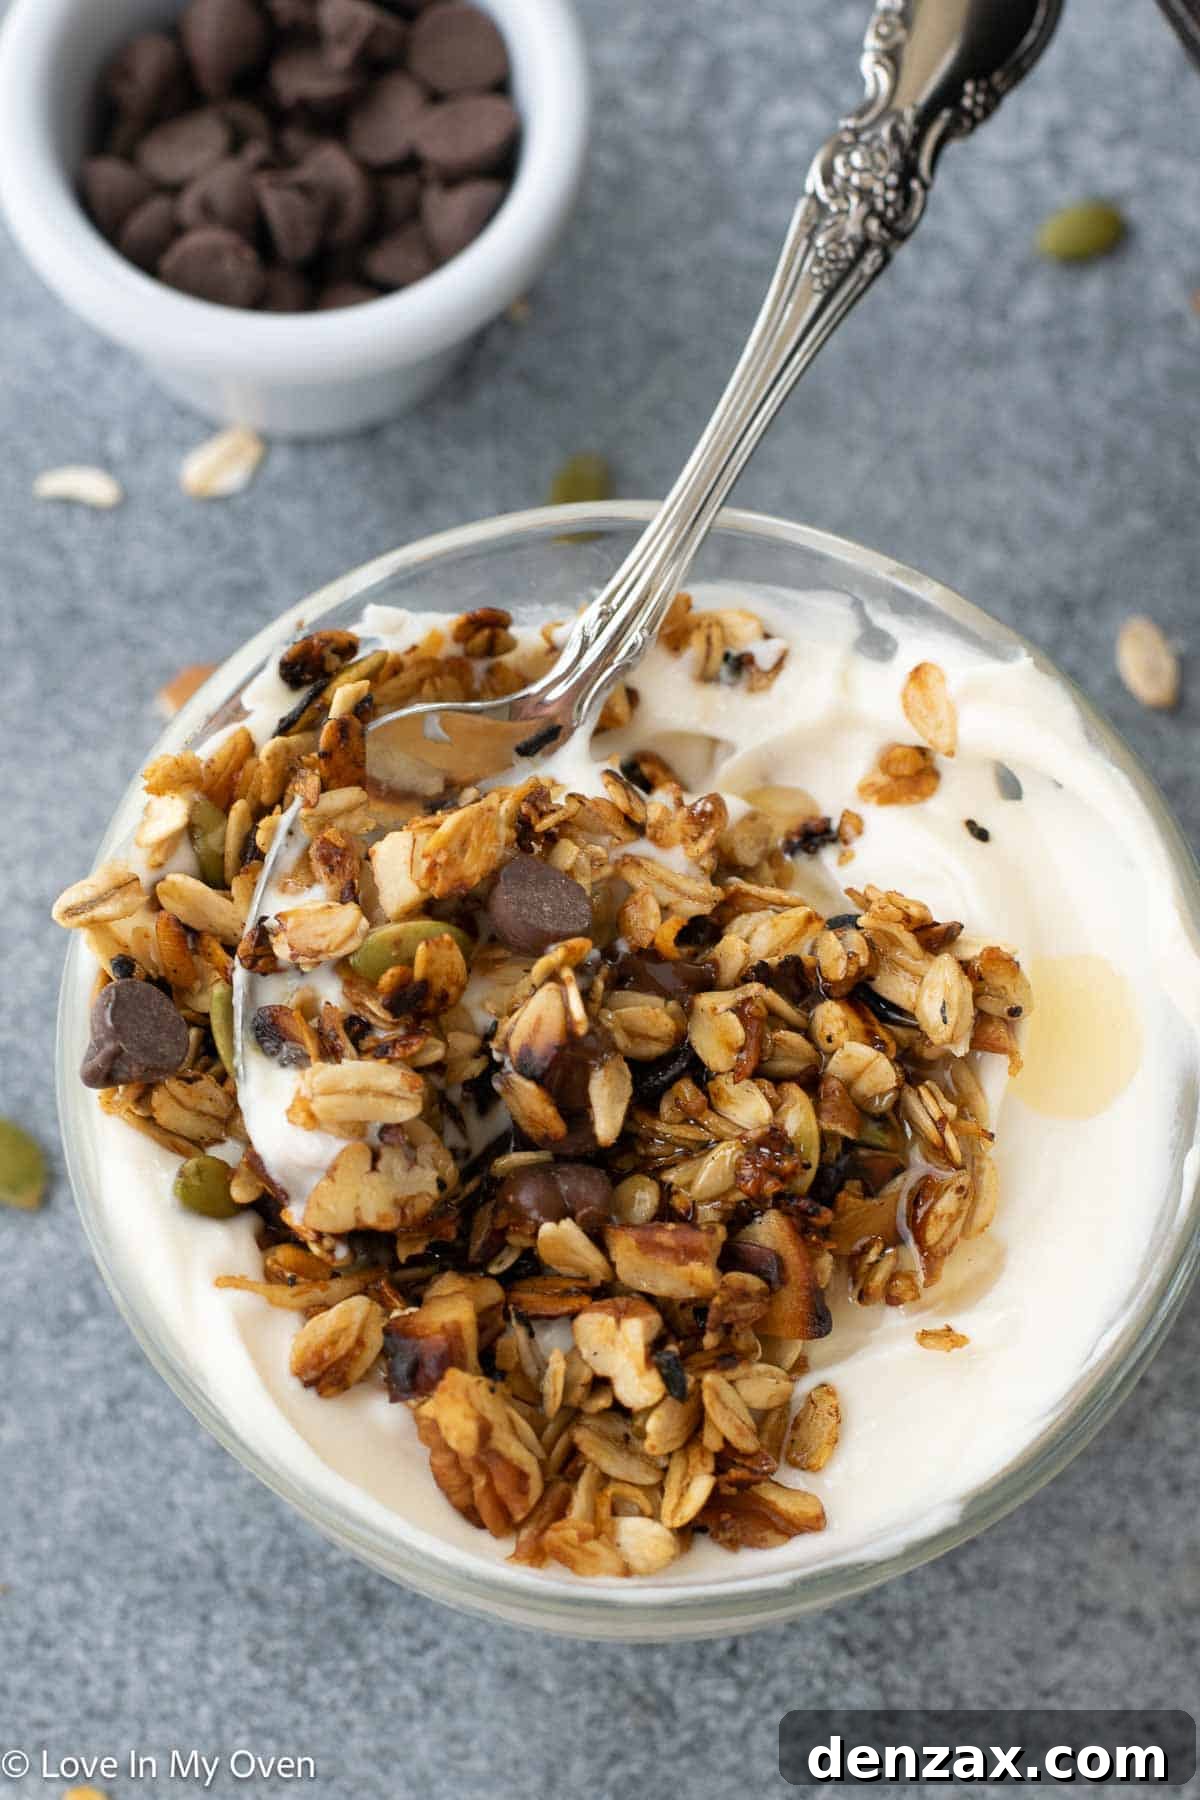
Once your stovetop granola is cooked and cooled, the fun truly begins with customization! You can fold in a variety of delightful additions to elevate its flavor and texture. Think sweet chocolate chips, tangy dried cranberries, or classic raisins – the possibilities are endless for creating your personalized blend.
Crafting Your Stovetop Granola: Step-by-Step Instructions
Follow these detailed steps to create a batch of perfectly crunchy and flavorful stovetop granola. Precision in cooking time and consistent stirring are key to success:
- Prepare the Base: Begin by melting your chosen fat and sweetener. In a large, heavy-bottomed pan or skillet (a non-stick pan works best for even heat distribution), combine 1/4 cup of coconut oil (or olive oil) with 1/4 cup of honey over low heat. Stir gently until both are fully melted and well combined. This creates the sticky, flavorful base that will coat your oats and allow them to crisp up beautifully.
- Add Dry Ingredients: Once the oil and honey are melted, immediately add the dry components. Pour in 2 1/2 cups of rolled oats, 1/2 teaspoon of ground cinnamon, 1/2 cup of coconut flakes, 1/2 cup of chopped pecans, 1/4 cup of raw pumpkin seeds, and a tiny pinch of salt (about 1/8 teaspoon).
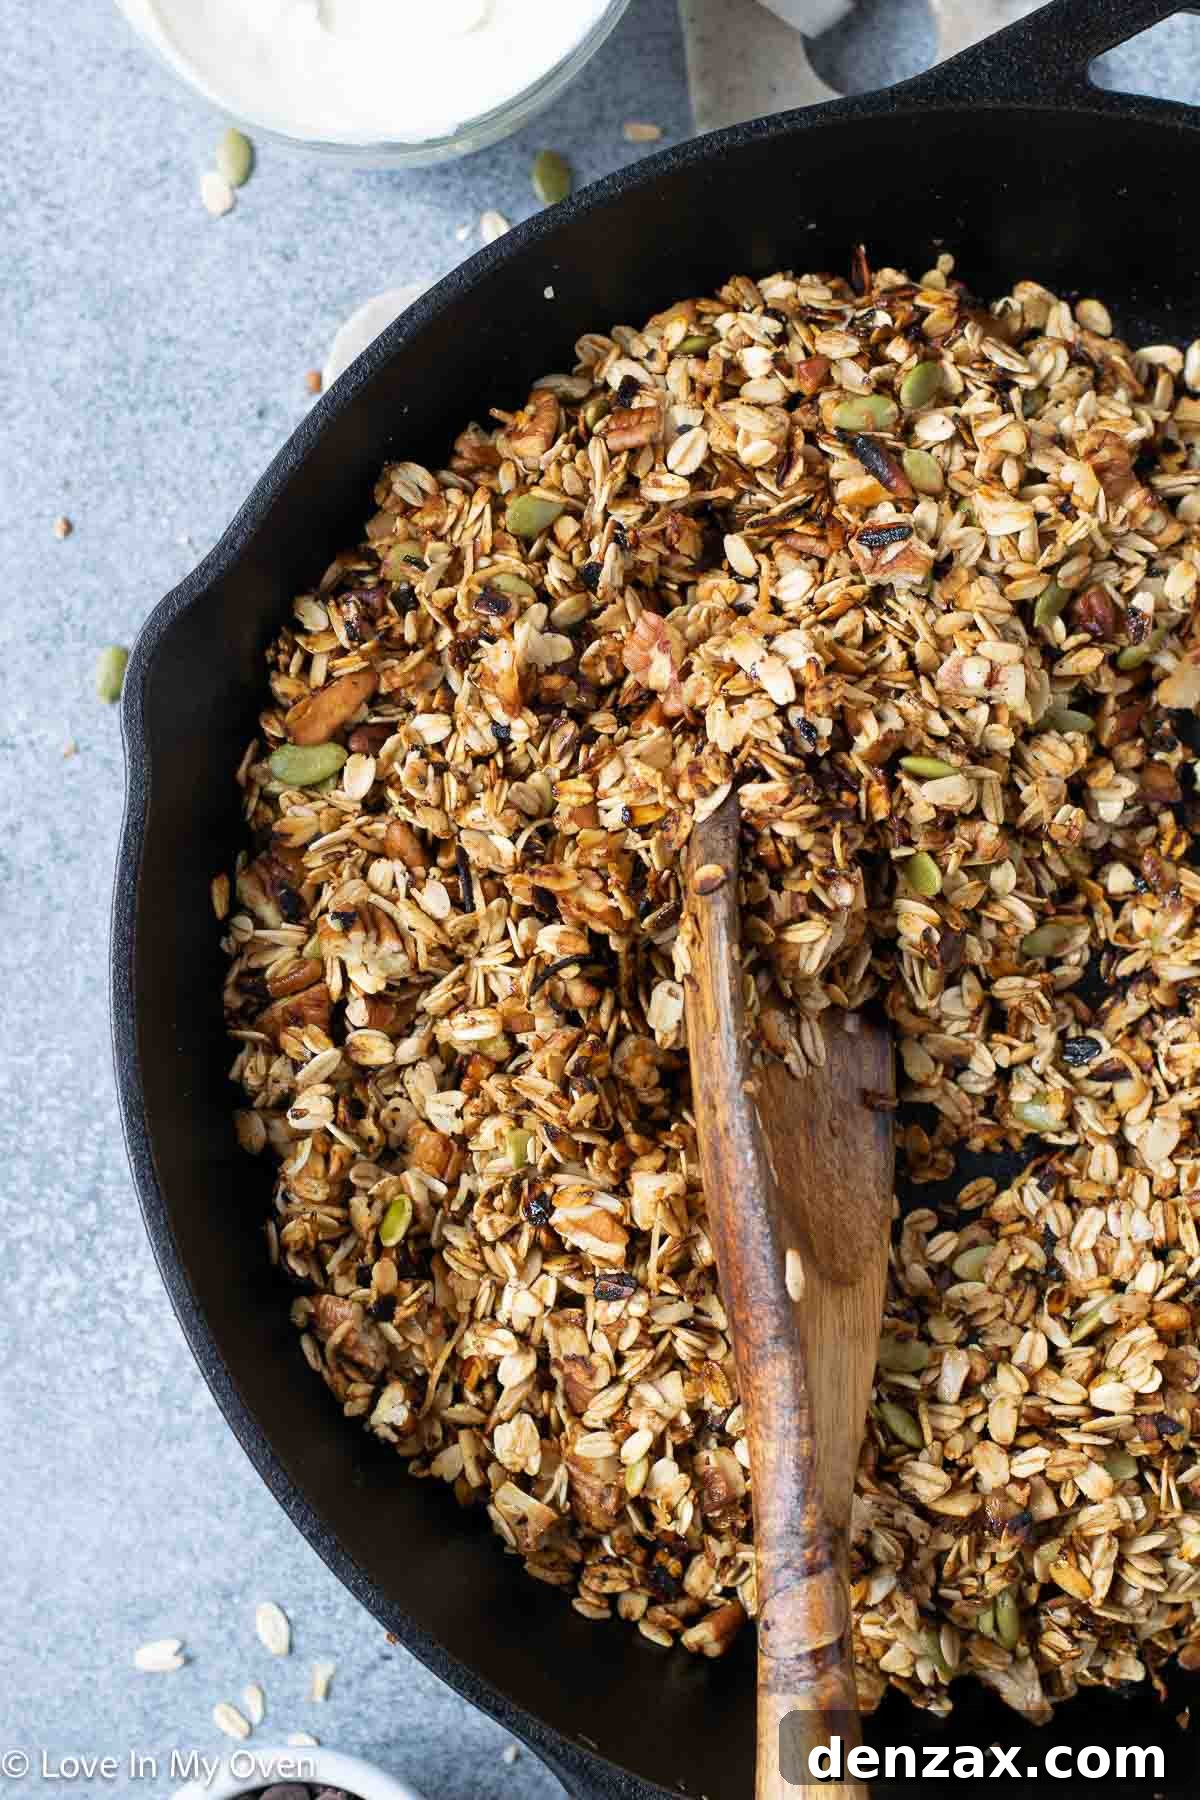
- Combine and Cook: Using a wooden spoon or heat-resistant spatula, stir all the ingredients thoroughly until the oats, nuts, and seeds are uniformly coated with the honey and oil mixture. It’s important that everything is well-distributed to ensure even cooking and browning. Spread the mixture out as flat as you can across the bottom of the pan. Allow it to cook over low heat for approximately 4 minutes without stirring. This initial period helps the bottom layer toast.
- Stir and Flatten (Repetitively): After 4 minutes, stir the granola well, scraping the bottom of the pan to prevent sticking, and then press it flat again. This repetitive stirring and flattening technique is crucial. It ensures all sides of the oats and nuts get exposure to the heat, promoting faster cooking and an even, crunchy texture. The constant contact with the hot pan helps develop desirable clusters. A critical caution: Do not let the mixture sit unstirred for more than 3-4 minutes at a time, especially on lower heat settings, as it can quickly begin to burn. Keep a close eye on it!
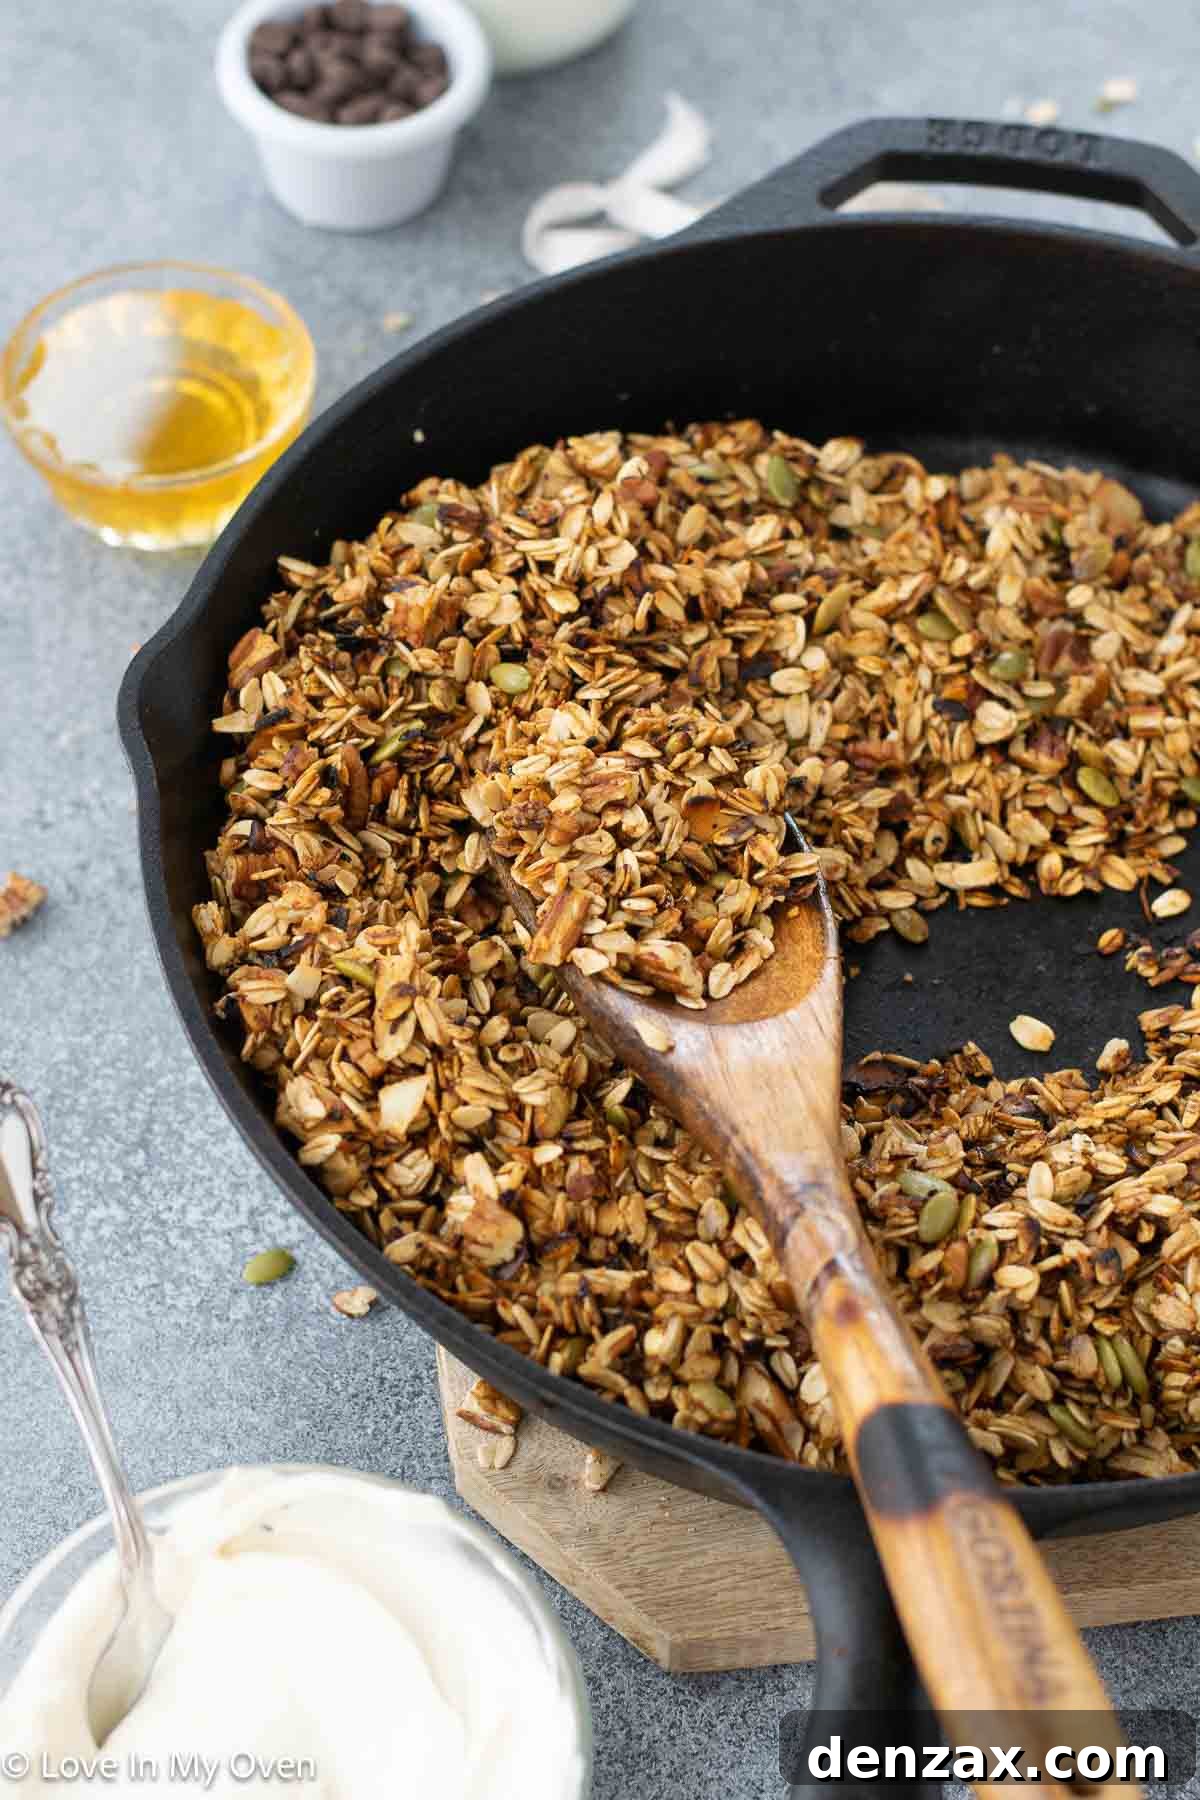
- Final Toasting and Cooling: Continue cooking the granola on the stove for a total of about 10 minutes, or until you observe that the oats and coconut flakes are lightly browned and the entire mixture emits a wonderfully fragrant, toasted aroma. The color change is your primary indicator. Once it reaches this stage, remove the pan from the heat. Allow the granola to cool undisturbed in the pan for 10-20 minutes. This cooling period is vital for it to firm up and develop crunchy clusters before you stir it further or serve it.
- Optional Add-ins: Once the granola has completely cooled to room temperature, you can incorporate your optional additions. Fold in 1/4 cup of chocolate chips, 1/4 cup of raisins or dried cranberries, or any other preferred mix-ins like white chocolate chips, which are also delicious. Adding these after cooling prevents them from melting or becoming too soft.
By following these instructions, you’ll achieve a homemade stovetop granola that’s perfectly crunchy, flavorful, and ready to be enjoyed!
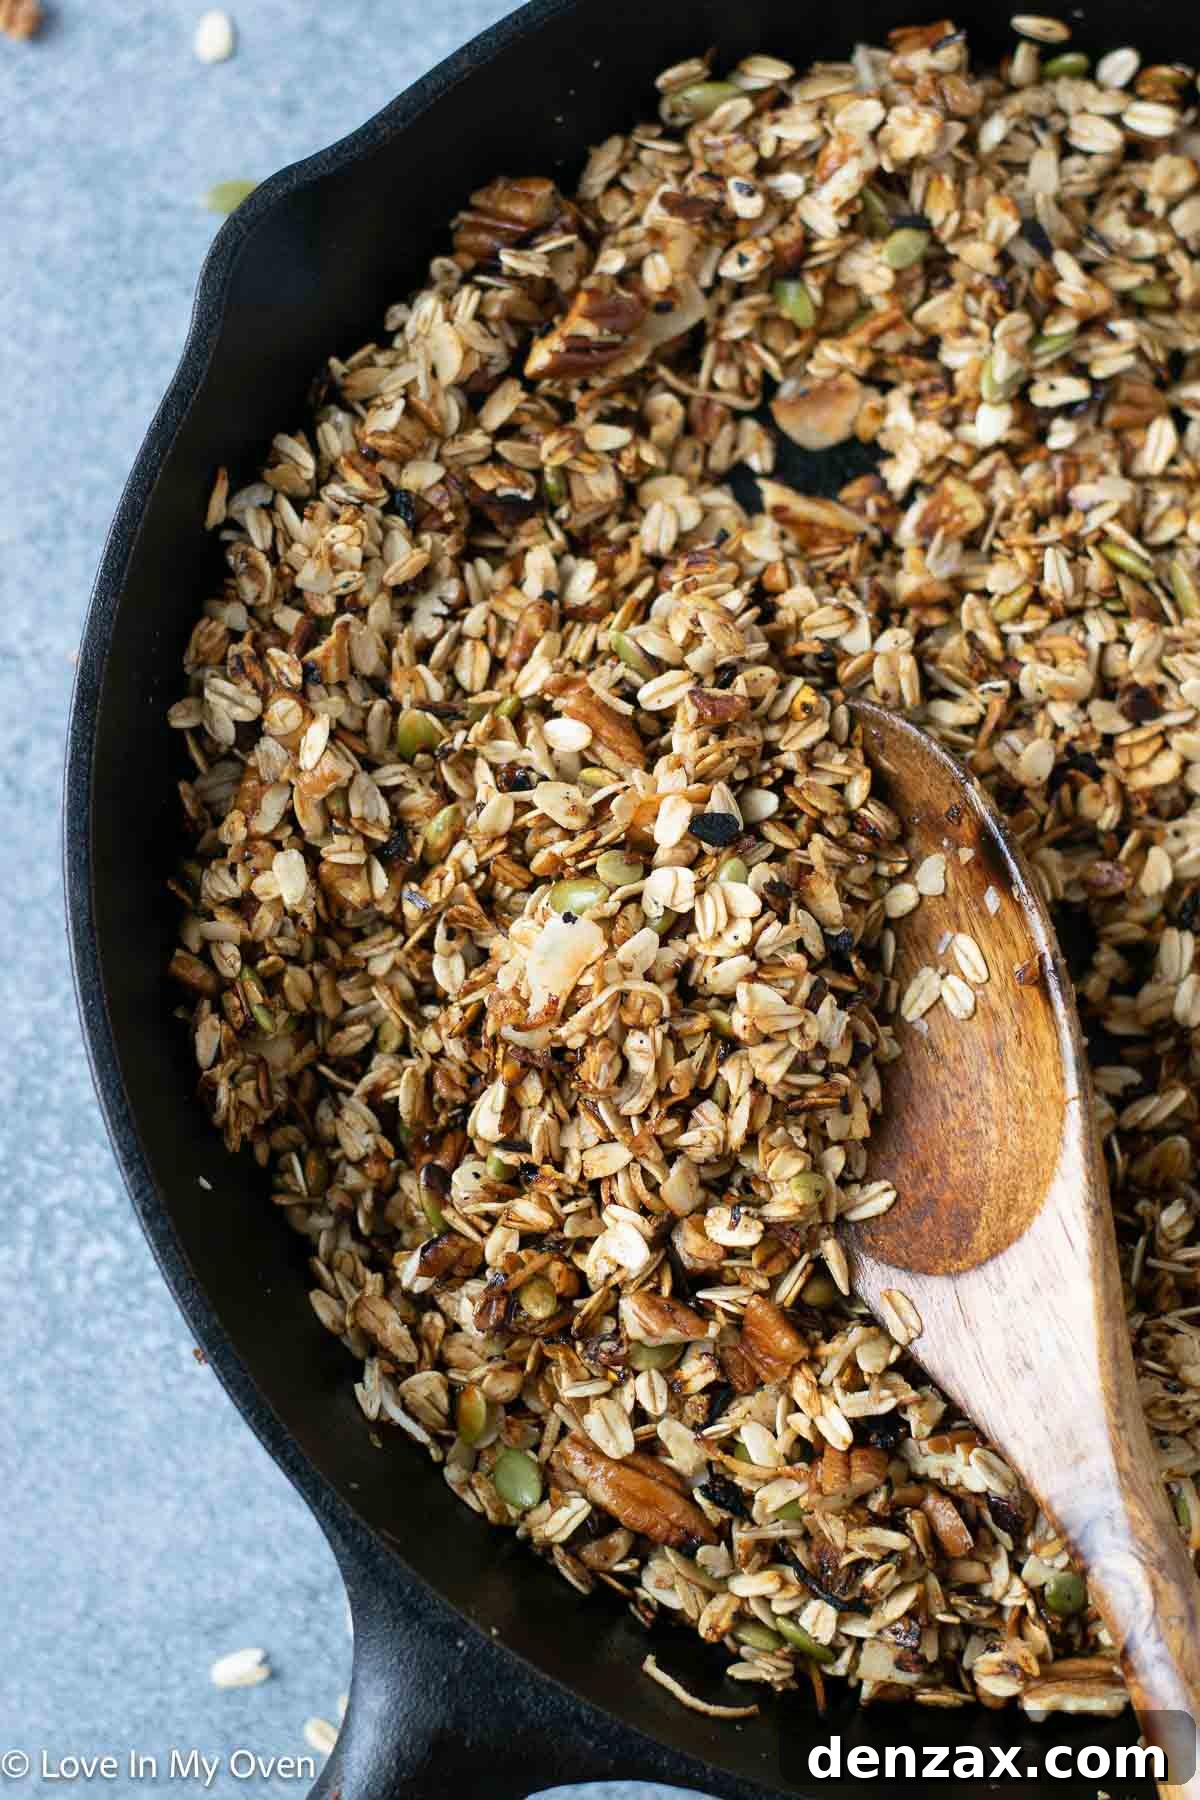
Achieving Those Irresistible Granola Clusters
One of the most satisfying aspects of homemade granola is the presence of those delightful, crunchy clusters. While stovetop cooking provides a different environment than baking, you can still achieve fantastic clumps by following a few simple tips:
- Press it Down: As mentioned in the instructions, after each stir, press the granola mixture down flat into the pan with your spoon. This maximizes contact points between the oats and the sticky honey-oil mixture, encouraging them to fuse together as they toast.
- Don’t Over-Stir at the End: Once the granola is cooked and removed from the heat, resist the urge to stir it immediately. Allowing it to cool completely and undisturbed in the pan is perhaps the most crucial step for cluster formation. As the honey and oil cool, they will solidify, locking the oats into crunchy clumps.
- Leave it be Until Fully Cooled: Seriously, don’t touch it! Patience is a virtue here. After it’s completely cold, you can break it up gently with your hands or a spoon into your desired cluster sizes.
By implementing these techniques, you’ll be rewarded with a batch of stovetop granola that not only tastes incredible but also boasts those much-desired, satisfying clusters.
Customization: Make Your Stovetop Granola Uniquely Yours
The beauty of homemade granola lies in its versatility. While the base recipe is fantastic, it serves as a canvas for endless creativity. Here are some ideas to customize your stovetop granola:
- Spice it Up: Beyond cinnamon, consider adding other warm spices like nutmeg, cardamom, ginger, or a hint of allspice. A dash of vanilla extract added with the wet ingredients can also elevate the flavor profile.
- Nut & Seed Variations: Don’t limit yourself to pecans and pumpkin seeds. Experiment with chopped almonds, walnuts, cashews, sunflower seeds, or even sesame seeds. For a nut-free version, increase the quantity of pumpkin and sunflower seeds.
- Dried Fruit Galore: After cooling, stir in various dried fruits such as chopped apricots, figs, dates, blueberries, or cherries. The chewy texture contrasts wonderfully with the crunchy granola.
- Chocolate Delights: White chocolate chips, dark chocolate chunks, or even cacao nibs can be folded in once the granola is completely cooled for a decadent touch.
- Alternative Sweeteners: While honey is a classic, you can swap it for maple syrup for a different flavor profile or to make the granola vegan (see below). Agave nectar is another option, though it might be slightly less sticky.
- Citrus Zest: For a bright, fresh flavor, add a teaspoon of orange or lemon zest during the last minute of cooking.
Feel free to mix and match these ideas to create a granola blend that perfectly suits your taste buds and dietary preferences. Remember to add most “wet” or delicate add-ins (like dried fruit or chocolate) after the granola has fully cooled to prevent them from melting or becoming soggy.
How Do You Enjoy Stovetop Granola? Versatile Serving Suggestions
Once you’ve made a batch of this delightful stovetop granola, you’ll find countless ways to incorporate it into your daily routine. Its sweet and crunchy texture makes it incredibly versatile:
- The Classic Breakfast: Our absolute favorite way to enjoy this granola is paired with creamy Greek yogurt. Add a generous sprinkle, perhaps some fresh berries or sliced bananas, and a light drizzle of extra honey for a truly satisfying and wholesome start to your day.
- Simple Snack: Sometimes, the best way to enjoy something delicious is in its purest form. Grab a handful of stovetop granola straight from the container for a quick energy boost between meals.
- With Milk: Pour some over your favorite milk (dairy or non-dairy) in a bowl for a healthier, more flavorful take on traditional cereal.
- Smoothie Topping: Add a delightful crunch to your morning smoothie by sprinkling granola on top. It offers both texture and added nutrients.
- Dessert Enhancer: Think beyond breakfast! Use this granola as a lighter, more textured topping for an apple crisp or crumble. It also makes a fantastic stuffing for baked apples or pears, adding depth of flavor and a lovely textural contrast.
- Pudding & Parfait Layers: Create beautiful and delicious parfaits by layering granola with yogurt, fruit, and chia pudding.
However you choose to enjoy it, this stovetop granola is sure to become a cherished addition to your culinary repertoire.
Can This Granola Be Made Vegan and Gluten-Free?
Absolutely! This stovetop granola recipe is incredibly adaptable to various dietary needs:
- Gluten-Free: If you use certified gluten-free rolled oats, this recipe is naturally gluten-free as written. Always check the labels of your oats to ensure they haven’t been cross-contaminated during processing if gluten sensitivity is a concern.
- Vegan: To make this recipe completely vegan, the only ingredient you need to swap is the honey. Simply replace the honey with an equal amount of pure maple syrup. Maple syrup provides a similar binding quality and delicious sweetness, ensuring your granola is 100% plant-based.
Regardless of your dietary adjustments, you can take comfort in knowing that your homemade granola is naturally sweetened with no added refined sugars, providing a healthier alternative to many store-bought options. This makes it a fantastic choice for those looking for wholesome, real food ingredients!
What’s the Best Way to Store This Granola?
Proper storage is essential to maintain the freshness and crispiness of your homemade stovetop granola. Once your granola has completely cooled to room temperature (this is critical to prevent condensation and sogginess), transfer it to an airtight container. A glass jar with a tight-fitting lid or a sealed plastic container works perfectly.
Store the container at room temperature in a cool, dry place away from direct sunlight. Stored correctly, your granola will stay fresh, crunchy, and delicious for 1 to 2 weeks. While it might last even longer, in most households, a batch of this irresistible stovetop granola rarely makes it past the first few days!
Stovetop Granola: Your New Go-To Healthy Snack!
This stovetop granola recipe offers a delightful blend of convenience, health, and incredible flavor. It’s a perfect solution for enjoying homemade goodness without the fuss of an oven, providing a versatile base for countless breakfast and snack creations. From its quick preparation to its customizable ingredients and satisfying crunch, it truly is a game-changer for any busy kitchen. Don’t wait – try this easy one-pan recipe today and savor the sweet, toasty aroma and taste of your very own homemade granola!
Recipe Card: Stovetop Granola
Stovetop Granola
5 Stars from 1 review
- Author: Katherine | Love In My Oven
- Total Time: 15 minutes
- Yield: 3 cups
Description
There’s no need to turn on the oven for this simple stovetop granola! This is a quick granola recipe that you can make all in one pan. It’s sweet and crunchy and delicious!
Ingredients
- 1/4 cup coconut oil
- 1/4 cup honey*
- 2 1/2 cups rolled oats
- 1/2 tsp ground cinnamon
- 1/2 cup coconut flakes
- 1/2 cup chopped pecans
- 1/4 cup raw pumpkin seeds
- 1/8 tsp salt
- optional adds: 1/4 cup chocolate chips, 1/4 cup raisins or dried cranberries
Instructions
- In a large pan over low-medium heat, melt the coconut oil with the honey. Once melted, add the rolled oats, ground cinnamon, coconut flakes, chopped pecans, pumpkin seeds and salt.
- Stir everything together with a wooden spoon, and spread the mixture out as flat as you can. Let it all cook over low heat for about 4 minutes before stirring again and then laying it flat again. Doing this repetitively will help the oats cook faster and ensure they stay crunchy! Be sure not to let the mixture sit without stirring for more than 3-4 minutes at a time or it will definitely begin to burn!
- Cook the granola on the stove for about 10 minutes, or until the oats and coconut are lightly browned and fragrant. Remove the granola from heat and allow it to cool in the pan for 10-20 minutes before stirring and serving.**
- Once the granola has completely cooled, you can add in the chocolate chips, raisins or dried cranberries, or any other add-ins you’d like!
Store the granola in an airtight container (once completely cooled) at room temperature for 1-2 weeks for optimum freshness.
Notes
*Replace the honey with maple syrup to keep this recipe vegan.
**Allowing the granola to completely cool in the pan before breaking it up will help you get those nice crunchy clusters!
- Prep Time: 5 minutes
- Cook Time: 10 minutes
- Category: granola
- Method: stovetop
- Cuisine: american
Explore More Granola Delights from Our Blog:
If you’ve enjoyed this stovetop method and developed a love for homemade granola, be sure to check out some of our other cherished granola recipes. While this new stovetop version is a fantastic quick option, sometimes a baked classic hits the spot too. My personal go-to has long been our rich Chocolate Coconut Pecan Granola, but here are a few more favorites to inspire your next batch:
- Cranberry Pecan Granola
- Nutella Walnut Granola
- Healthy Peanut Butter Granola