
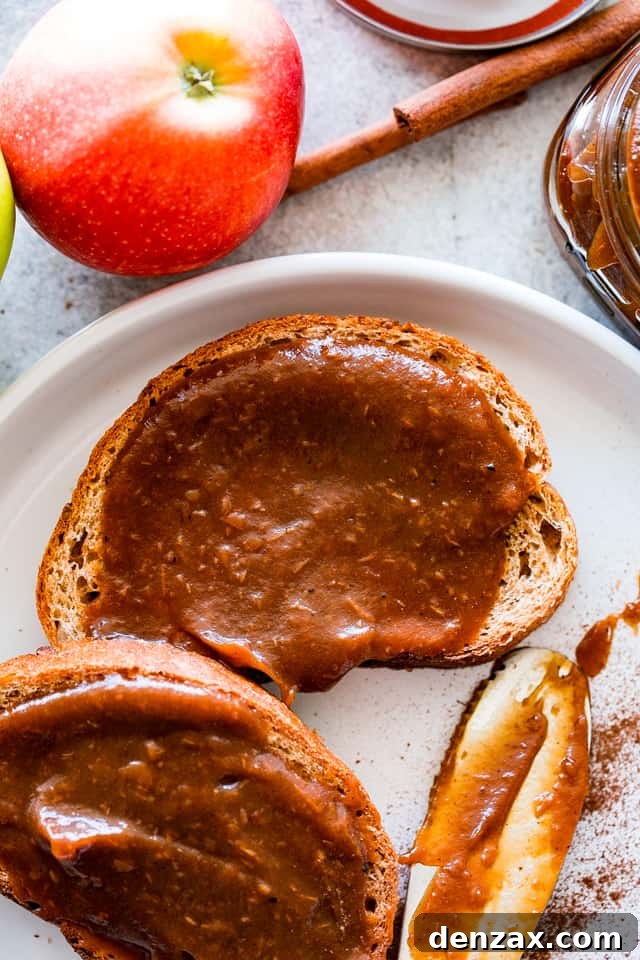
Sweet, deeply delicious, gently caramelized, and infused with an exquisite blend of warming spices, this Instant Pot Apple Butter is the quintessential taste of Autumn captured perfectly in a jar. Forget long hours slaving over a stovetop; thanks to the modern marvel of the Instant Pot, you can now enjoy this rich, velvety spread with unparalleled ease and speed!
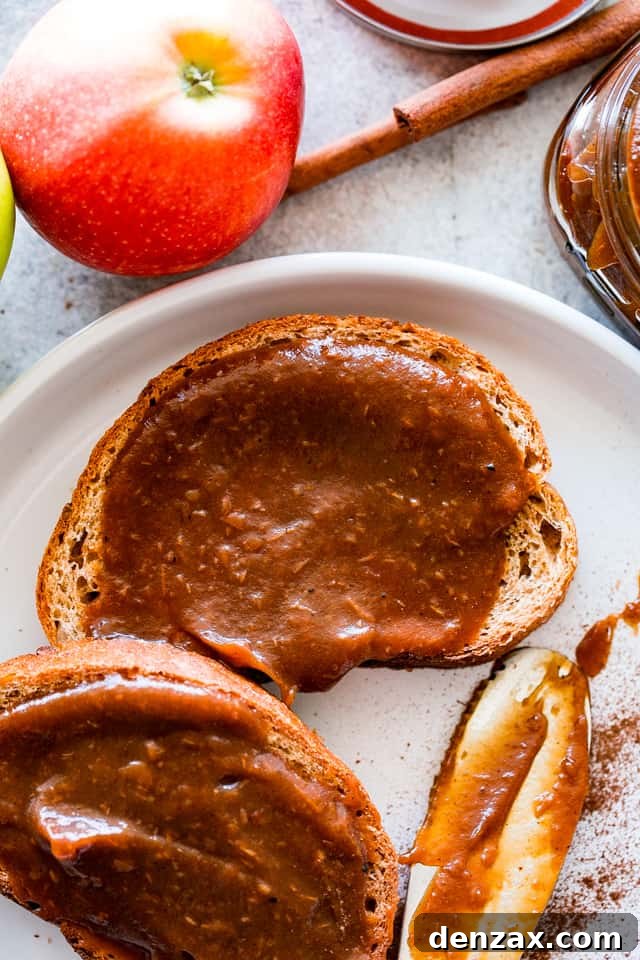
Unlock Autumn’s Flavor: Easy Instant Pot Apple Butter Recipe
Traditional apple butter recipes are renowned for their incredible depth of flavor, achieved through a long, slow cooking process that transforms ordinary apples into a luxurious, caramelized spread. This typically involves hours of simmering, stirring, and patient waiting, often akin to making applesauce and then further reducing and browning it. However, with the revolutionary power of the Instant Pot, we’re dramatically shortening that extensive cooking time without compromising on flavor or texture. Imagine whipping up a batch of this delectable, cinnamon-infused apple butter in under an hour of active time! This recipe is not just about speed; it’s about efficiency, yielding a rich, deeply flavored spread that’s perfect for gifting, enjoying with family, or simply savoring on a quiet morning. Plus, its freezer-friendly nature means you can enjoy the sweet taste of autumn for up to 6 months – now that’s a truly tasty investment for your pantry!
Making apple butter in an Instant Pot offers several distinct advantages. Beyond the obvious time-saving benefit, the sealed, pressurized environment helps to break down the apples much more quickly and thoroughly, ensuring a smooth puree with minimal effort. This method also concentrates the flavors beautifully, allowing the natural sweetness of the apples and the warmth of the spices to shine through. The hands-off cooking aspect is another huge bonus; once the Instant Pot is set, you’re free to attend to other tasks, making this an ideal project for busy weekends or even weeknights.
Applesauce vs. Apple Butter: Understanding the Delicious Difference
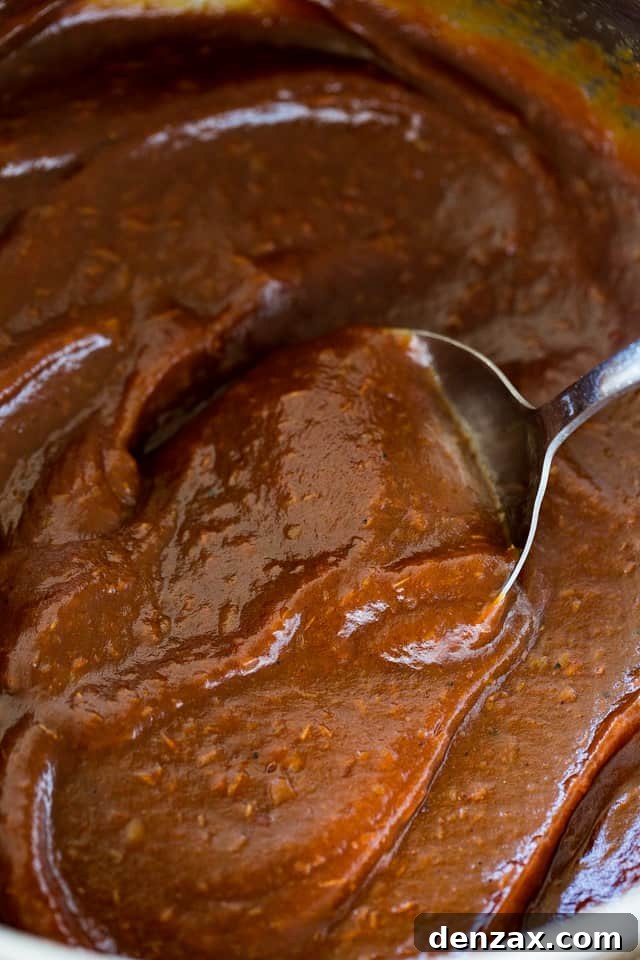
While both applesauce and apple butter celebrate the humble apple, they are distinct culinary creations. The primary difference lies in the process of caramelization, which is a magical transformation that occurs when ingredients are cooked to bring out and brown their natural sugars. Think of the rich, complex flavors of caramel – that’s the essence apple butter strives for.
Applesauce is essentially cooked, pureed apples, often with some sugar and perhaps a hint of spice. Its texture is typically lighter, sometimes chunky, and its flavor is bright and fresh. Apple butter, on the other hand, starts with cooked-down and pureed apples, but then takes a crucial extra step: it’s cooked further, often for an extended period, until it achieves a deep, dark caramel color and a highly concentrated sweetness. This prolonged cooking allows the sugars to caramelize, developing a profound, almost jam-like flavor and a silky-smooth, thick consistency that is far denser than applesauce. Furthermore, while applesauce may or may not be spiced, apple butter is almost universally flavored with a blend of warm spices like cinnamon, allspice, and nutmeg, which complement and enhance its rich, autumnal character.
To Peel or Not to Peel: Your Apples for Apple Butter
One common question when making apple butter is whether to bother with peeling the apples. The good news is, you absolutely can leave the peel on! This significantly streamlines the preparation process, saving you valuable time and effort in the kitchen. Leaving the peels on also adds a subtle complexity to the flavor and a bit more nutritional fiber to your finished product. The Instant Pot’s high-pressure cooking is so effective that the peels become incredibly soft and easily blend into the butter, contributing to its rich color and smooth texture.
However, there are a few considerations:
- Unwaxed vs. Waxed Apples: If you’re using unwaxed apples (often found at farmers’ markets or organic sections), leaving the peel on is generally hassle-free. If using conventional waxed apples, you might prefer to peel them or use a wax-removal method, such as a quick scrub with a brush under warm water or a gentle vinegar solution.
- Desired Texture: While modern blenders (especially immersion blenders) are powerful enough to pulverize the peels, some individuals prefer an absolutely unblemished, silken texture. If you fall into this category, peeling might be worth the extra effort for you.
- Washing is Key: Regardless of whether you peel them or not, always wash your apples thoroughly before use to remove any dirt, pesticides, or surface contaminants.
Ultimately, the choice is yours, but for ease and added nutritional benefits, leaving the peel on is a perfectly viable and popular option for Instant Pot apple butter!
Essential Ingredients for Perfect Instant Pot Apple Butter
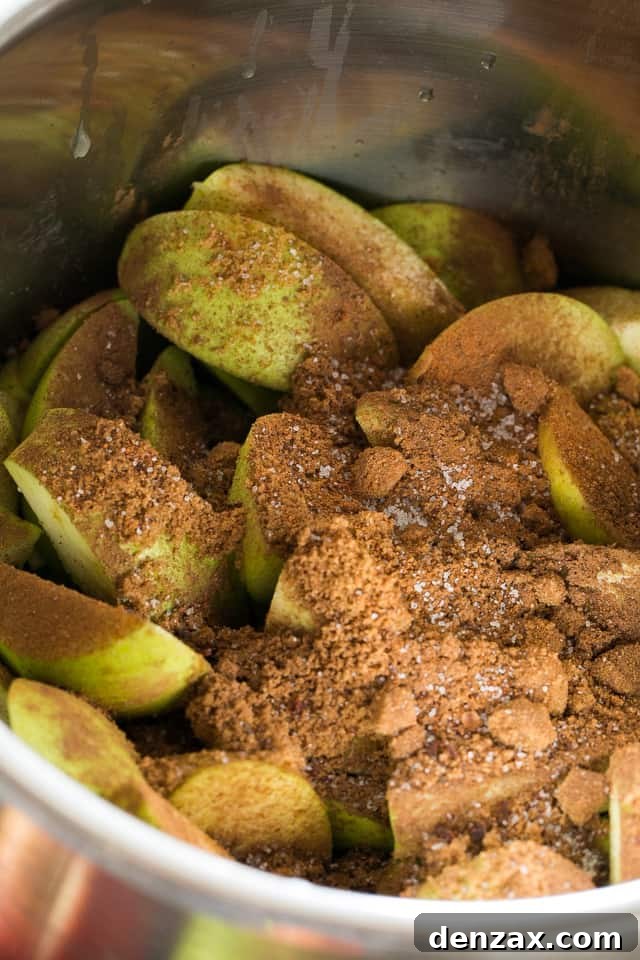
Crafting exceptional Instant Pot Apple Butter requires a thoughtful selection of ingredients. Each component plays a vital role in achieving that perfect balance of sweetness, tang, and warming spice. Here’s what you’ll need:
- Apples (Approx. 5 pounds): The star of the show! You’ll need about 5 pounds of sweet apples, cored and cut into wedges. While Granny Smith apples are excellent for their tartness which balances the sweetness, for apple butter, many cooks prefer sweeter varieties like Pink Lady, Fuji, Golden Delicious, Gala, Honeycrisp, or even a mix. These apples break down beautifully and contribute significantly to the caramelized flavor. Choose firm, ripe apples without bruises.
- Lemon Juice (1 tablespoon): A crucial ingredient that adds a necessary tangy note, brightening the overall flavor profile and preventing the apple butter from becoming cloyingly sweet. It also helps to prevent browning during cooking and enhances the natural apple flavor.
- Brown Sugar (½ cup): This sugar contributes to the rich, deep caramel notes and adds a subtle molasses flavor that white sugar alone cannot. For best results, be sure to pack the brown sugar down firmly into your measuring cup.
- Granulated Sugar (¼ cup): Provides a clean sweetness. For a more natural approach, you can substitute raw or natural cane sugar for some or all of the granulated and brown sugar in this recipe. Adjust sweetness to your personal preference.
- Apple Cider (¼ cup): This is the liquid necessary for building pressure in the Instant Pot and infusing even more apple flavor. Ensure you use pure apple cider, not apple cider vinegar, as the latter would make your butter too tart. If apple cider isn’t available, unsweetened pure apple juice is a perfectly acceptable substitute.
- Warming Spices:
- Ground Cinnamon (1 teaspoon): The cornerstone of apple butter’s flavor, providing warmth and aromatic sweetness.
- Ground Allspice (½ teaspoon): Offers a complex flavor profile, reminiscent of cloves, cinnamon, and nutmeg, adding depth.
- Ground Nutmeg (½ teaspoon): A classic companion to apples, delivering a delicate, warm, and slightly nutty aroma. For the freshest flavor, consider grating whole nutmeg.
- Pure Vanilla Extract (1 tablespoon): Added at the end, vanilla rounds out all the flavors, enhancing the sweetness and complexity of the apple butter. Always opt for pure vanilla extract for the best, most authentic taste.
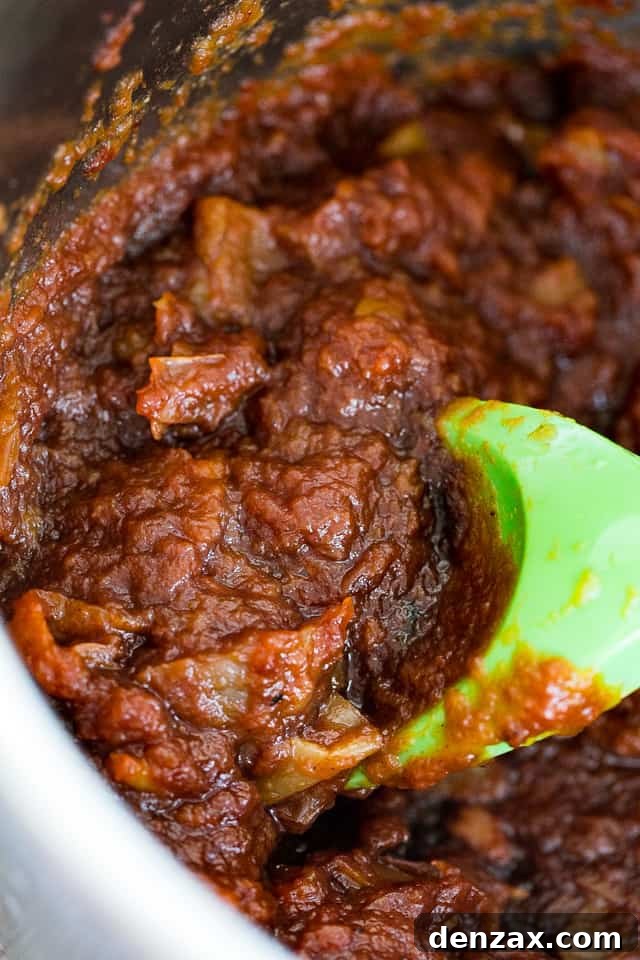
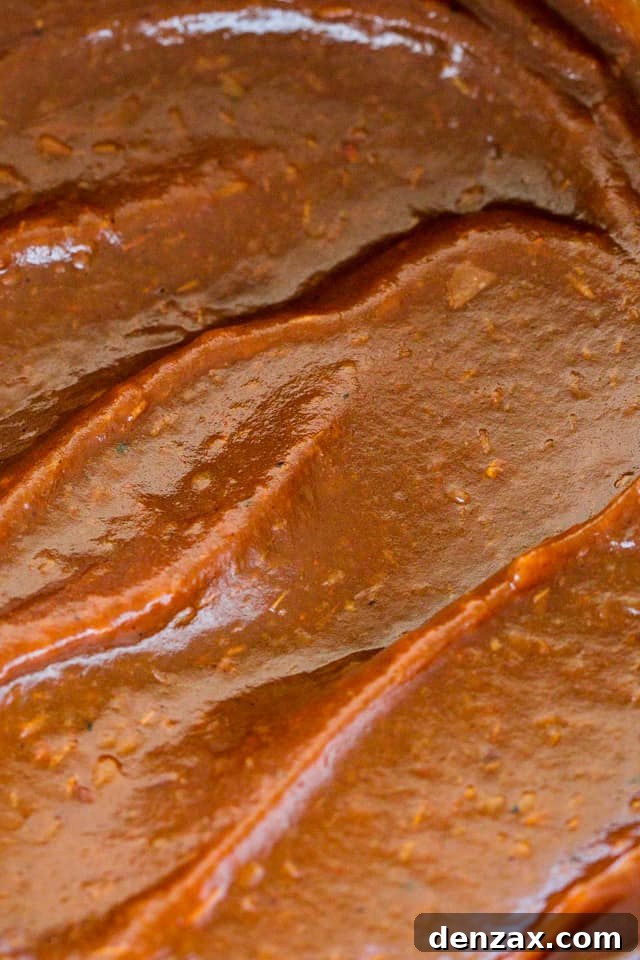
Step-by-Step Guide: How to Make Apple Butter In The Instant Pot
Making homemade apple butter in your Instant Pot is surprisingly simple, yielding incredible results with minimal fuss. Follow these steps for a perfectly spiced, smooth, and delicious spread:
- Prepare and Combine Ingredients: Begin by placing your prepared apples (cored and cut into wedges, peels on or off as preferred) directly into the inner pot of your Instant Pot. Add the fresh lemon juice, both brown and granulated sugars, apple cider, cinnamon, allspice, and nutmeg. Stir everything thoroughly until the apples are well coated with the sugars and spices. Finish by stirring in the pure vanilla extract.
- Pressure Cook the Apples: Secure the lid on your Instant Pot, ensuring the sealing ring is properly in place. Rotate the steam release valve to the “Sealing” position. Select the “Pressure Cook” (or “Manual”) setting and set the cooking time to 8 minutes on HIGH pressure. Once the cooking cycle is complete, allow the pressure to release naturally for 15 minutes. This natural release method helps to prevent foaming and allows the flavors to meld further. After 15 minutes, carefully move the steam release valve to the “Venting” position to release any remaining pressure before opening the lid.
- Blend for Smoothness: With the pressure fully released and the lid removed, you’ll find beautifully softened apples. Now it’s time to achieve that signature smooth consistency. Use an immersion blender directly in the Instant Pot to puree the apple mixture until it is completely smooth and lump-free. If you don’t have an immersion blender, carefully transfer the cooked apples in batches to a high-powered blender or food processor. Blend until silky smooth, then return the pureed apple mixture to the Instant Pot.
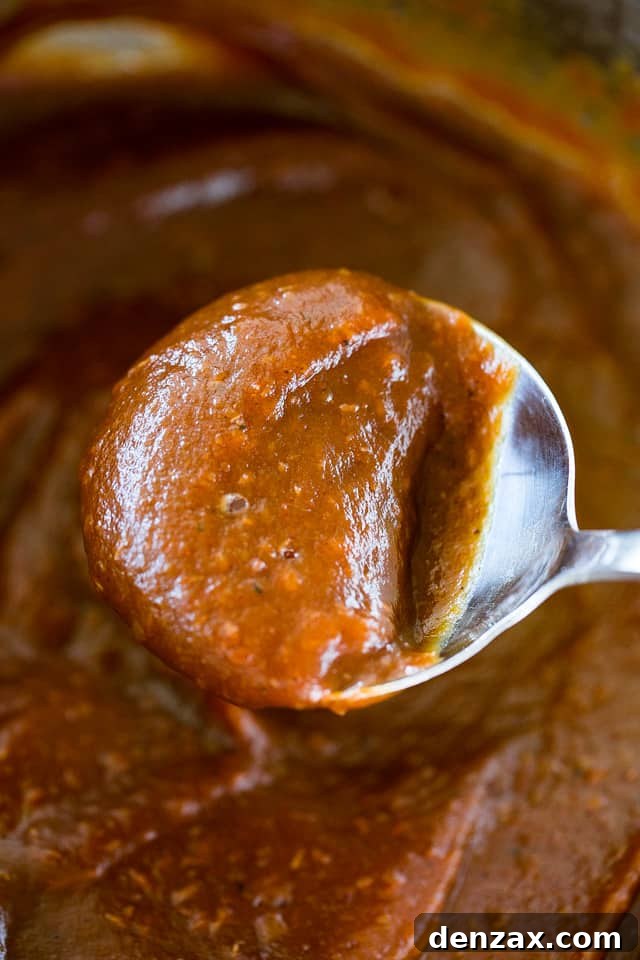
- Simmer to Perfection: Turn the Instant Pot to the “Saute” function. For a gentler simmer and to prevent scorching, press the “Minus” button (or adjust the setting) to set it to “LESS.” Bring the apple puree to a gentle simmer, stirring frequently, especially as it thickens, to prevent it from sticking to the bottom. Continue to cook for approximately 12 to 15 minutes, or until the apple butter has thickened to a spreadable consistency and has developed a beautiful dark golden-brown, caramelized color. It should coat the back of a spoon.
- Cool, Serve, and Store: Once your apple butter reaches the desired consistency and color, turn off the Instant Pot. For optimal flavor and texture development, allow the apple butter to cool completely inside the Instant Pot before transferring it. This slow cooling process helps it thicken further and allows the flavors to deepen. Once cooled, spoon your homemade Instant Pot Apple Butter into airtight containers and refrigerate, freeze, or can as desired.
Creative Culinary Uses for Instant Pot Apple Butter
Once you’ve made a batch of this luscious Instant Pot Apple Butter, you’ll discover its versatility extends far beyond a simple breakfast spread. Its complex sweet-tart flavor, combined with warm spices, makes it an excellent addition to both sweet and savory dishes. Here are some inspiring ways to use your homemade apple butter:
- Breakfast & Brunch Delights:
- Classic Spreads: The most obvious and beloved use! Spread generously on warm toast, fluffy biscuits, delicate scones, toasted English muffins, bagels, or even croissants.
- Pancake & Waffle Topping: Ditch the maple syrup sometimes and slather apple butter on fluffy pancakes, waffles, or French toast for a comforting, spiced twist.
- Yogurt & Oatmeal Mixer: Stir a spoonful into your morning yogurt, cottage cheese, or hot oatmeal for an instant flavor boost and natural sweetness.
- Pastry Filling: Use it as a filling for turnovers, crêpes, or even homemade pop-tarts.
- Elevate Your Charcuterie & Cheese Boards:
- With its nuanced flavors and sweet, fruity mellowness, apple butter is a sophisticated addition to any cheese board or charcuterie spread. It pairs exceptionally well with a variety of cheeses, from sharp cheddar and creamy brie to tangy goat cheese and rich blue cheese.
- Serve alongside crusty bread, artisanal crackers, cured meats like prosciutto or salami, and a selection of nuts for a truly gourmet experience.
- Baking & Dessert Transformations:
- Moisture & Flavor Booster: Substitute apple butter for some or all of the fat (like oil or butter) in baked goods like muffins, quick breads, cakes, and even cookies for a healthier, moister, and more flavorful result.
- Sweetening Agent: Reduce the amount of added sugar in recipes by incorporating apple butter, leveraging its natural sweetness.
- Glazes & Frostings: Whisk it into cream cheese frosting or create a simple glaze for bundt cakes, doughnuts, or pastries.
- Ice Cream & Sundaes: Drizzle warm apple butter over vanilla ice cream or layer it into parfaits.
- Savory Culinary Adventures:
- Sauce & Marinade Base: Use apple butter as a base or an enhancement in BBQ sauces, glazes for roasted pork or chicken, or marinades for autumn-inspired dishes.
- Accompaniment to Meats: Serve a dollop alongside roasted pork loin, chicken, or duck for a delightful sweet and savory contrast.
- Soup & Stew Enhancer: A small amount can add depth and a hint of sweetness to hearty squash soups or stews.
- Beverage Infusion:
- Stir a spoonful into hot tea or warm cider for an extra layer of cozy flavor.
- Use in fall-inspired cocktails or mocktails.
The possibilities are truly endless! Let your culinary creativity lead the way with this delightful homemade spread.
Choosing the Best Apples for Your Instant Pot Apple Butter
The type of apple you choose can significantly impact the final flavor and texture of your apple butter. While many recipes recommend tart, firm apples for baking, for apple butter, a blend or focus on sweeter, more mellow varieties often yields the best results. This is because the natural sugars in these apples are more pronounced, contributing beautifully to the caramelization process that gives apple butter its distinctive rich, deep flavor. “Yum” indeed!
Here’s a guide to help you choose the ideal apples:
- Sweet Varieties (Excellent for Caramelization):
- Fuji: Known for their crispness and honey-like sweetness, Fuji apples break down well and offer a balanced flavor.
- Gala: Sweet and aromatic, Gala apples are a popular choice for baking and sauces due to their fine texture and delightful flavor.
- Golden Delicious: These apples are incredibly versatile, sweet, and become very soft when cooked, making them ideal for a smooth apple butter.
- Pink Lady (Cripps Pink): Offering a good balance of sweet and tart with a firm flesh, Pink Lady apples contribute a lovely complexity.
- Honeycrisp: While often enjoyed fresh, their sweet-tart flavor and crisp texture transform beautifully when cooked, adding depth.
- Tart Varieties (For Balance and Brightness):
- Granny Smith: If you prefer a slightly tangier apple butter or are using very sweet spices, a small proportion of Granny Smiths can provide a welcome tart counterpoint, preventing the butter from becoming overly sweet. They hold their shape well until fully cooked down.
- Recommended Approach:
- For a truly complex and well-rounded flavor, consider using a blend of 2-3 different sweet apple varieties. This allows you to capture the best attributes of each, resulting in a more nuanced and delicious apple butter. For instance, a mix of Golden Delicious, Fuji, and Pink Lady would be fantastic.
- Avoid overly soft or mealy apples, as they can sometimes result in a less desirable texture. Fresh, firm, and ripe apples are always the best choice.
Experiment with your favorite sweet apple combinations to discover your perfect Instant Pot Apple Butter!
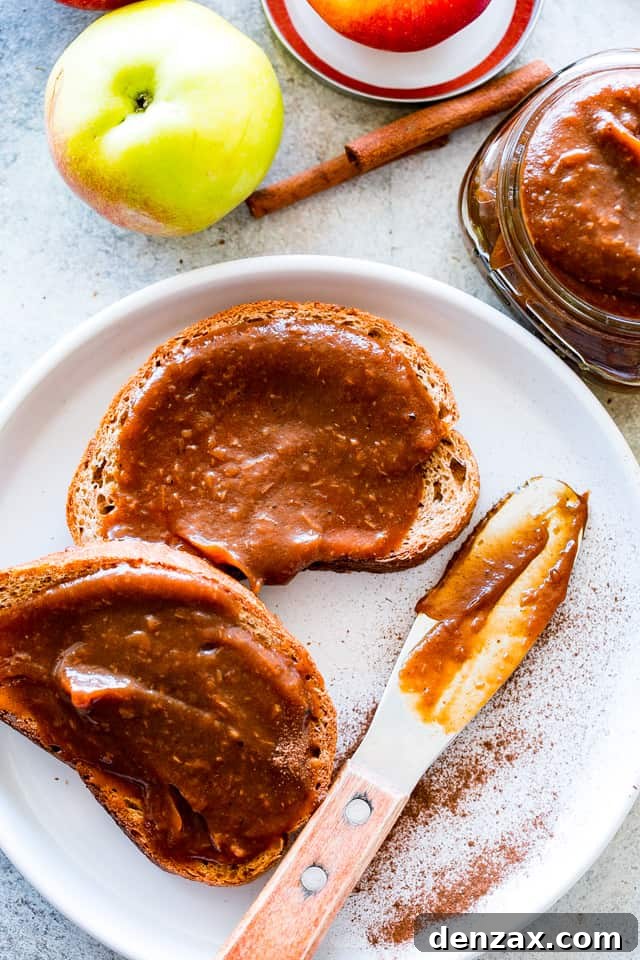
Storage and Preservation Tips for Homemade Apple Butter
Making a large batch of Instant Pot Apple Butter is a fantastic idea, especially since it’s so versatile and stores exceptionally well. Proper storage ensures you can enjoy the rich flavors of autumn for weeks or even months to come. Here’s how to store your homemade apple butter effectively:
- Refrigeration: For immediate enjoyment and short-term storage, transfer your cooled apple butter into clean, airtight containers. Glass jars with tight-fitting lids are an excellent choice. Stored in the refrigerator, homemade apple butter will maintain its freshness and delicious flavor for up to 3 weeks. Always label your containers with the date for easy tracking.
- Freezing: Freezing is an excellent option for longer-term storage, allowing you to savor your apple butter for up to 6 months. To freeze:
- Containers: Spoon the cooled apple butter into freezer-safe airtight containers, leaving about an inch of headspace to account for expansion during freezing.
- Freezer Bags: For space efficiency, you can also use heavy-duty freezer bags. Fill them, press out as much air as possible, seal tightly, and lay them flat to freeze. Once frozen, they can be stacked vertically to save space.
- Small Portions: Consider freezing in smaller portions (e.g., ½ cup or 1 cup) so you can thaw just the amount you need for specific recipes or immediate consumption.
- Thawing: Thaw frozen apple butter in the refrigerator overnight before use. Stir well before serving.
- Canning (Long-Term, Shelf-Stable): If you’re interested in making your apple butter shelf-stable for an extended period, canning is the way to go. This method allows you to store jars of apple butter at room temperature for up to a year or more. Canning requires specific equipment and adherence to safety guidelines to prevent spoilage. For reliable, step-by-step directions on how to safely can apple butter, always refer to trusted resources such as the Ball’s Canning Guides or your local extension office. Following their precise instructions for sterilization, processing times, and sealing is crucial for food safety.
ENJOY your delicious, homemade Instant Pot Apple Butter!

Instant Pot Apple Butter
by Katerina | Easy Weeknight Recipes
An easy Instant Pot version of classic Apple Butter is a delicious and warm apple spread, caramelized and spiced with cinnamon, allspice, and nutmeg.
Prep Time: 5 minutes
Cook Time: 40 minutes
Cooling Time: 30 minutes
Total Time: 1 hour 15 minutes
Yields: 48 ounces
Ingredients
- 5 pounds apples, cored and cut into wedges (peel is optional)
- 1 tablespoon fresh lemon juice
- ½ cup brown sugar
- ¼ cup granulated sugar
- ¼ cup apple cider (NOT apple cider vinegar; pure apple juice can be substituted)
- 1 teaspoon ground cinnamon
- ½ teaspoon ground allspice
- ½ teaspoon ground nutmeg
- 1 tablespoon pure vanilla extract
Instructions
- Place the apples in the Instant Pot and stir in the lemon juice.
- To the apples, add sugars, apple cider, cinnamon, allspice, nutmeg, and vanilla; stir until well combined.
- Secure the lid. Set the valve to sealing. Set to Pressure Cook on HIGH for 8 minutes.
- When cooking time is up, allow Natural Pressure Release for 15 minutes. Remove the lid.
- Using an immersion blender, blend the apple mixture until smooth. Alternatively, use a high-powered blender or food processor to blend in batches, then return to the Instant Pot.
- Turn the Instant Pot to Saute and press the MINUS button to set it to LESS.
- Bring the mixture to a simmer and continue to cook for 12 to 15 minutes or until thickened to desired consistency and a deep golden-brown color.
- Turn OFF the Instant Pot, but let the apple butter completely cool inside the pot.
- Once cooled, spoon the apple butter into an airtight container and keep refrigerated for 3 weeks. You can also freeze it for up to 6 months.
- If you want to preserve the Apple Butter in jars, use Ball’s Canning Guides for step-by-step directions.
Nutrition
Serving: 1 ounce |
Calories: 39 kcal |
Carbohydrates: 10g |
Protein: 1g |
Fat: 1g |
Saturated Fat: 1g |
Sodium: 1mg |
Potassium: 55mg |
Fiber: 1g |
Sugar: 8g |
Vitamin A: 26 IU |
Vitamin C: 2mg |
Calcium: 5mg |
Iron: 1mg
Nutritional info is an estimate and provided as courtesy. Values may vary according to the ingredients and tools used. Please use your preferred nutritional calculator for more detailed info.