
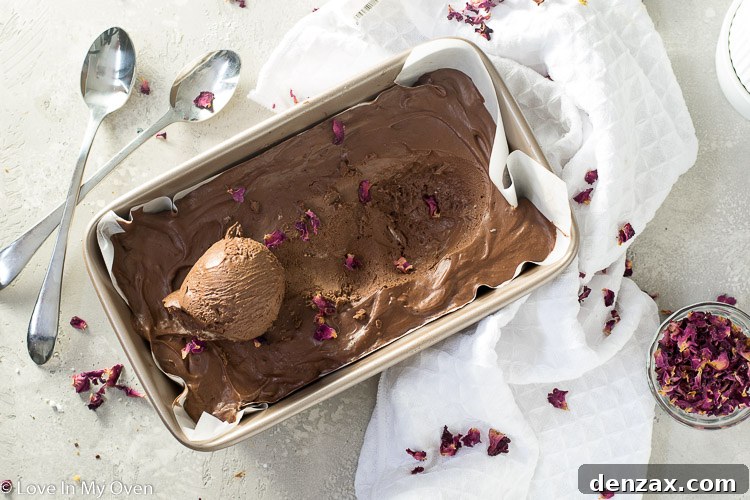
Indulge Guilt-Free: The Ultimate No-Churn Vegan Chocolate Ice Cream
Imagine a world where creamy, decadent chocolate ice cream is not only incredibly easy to make but also completely dairy-free and churn-free. Sound like a dream? Well, it’s a delicious reality! This no-churn vegan chocolate ice cream recipe is a game-changer, delivering a velvety smooth texture and rich cocoa flavor without the need for an ice cream maker or any animal products. Get ready to scoop up pure bliss!
Please note this post contains affiliate links which earn me a small commission, at no extra cost to you.
For those who love to experiment with delightful desserts, particularly those catering to diverse dietary needs, this recipe is a true standout. I’ve always enjoyed crafting no-churn ice creams using traditional dairy ingredients, but the desire to create an equally spectacular dairy-free version for all my vegan and dairy-sensitive friends has been a long-standing goal. This recipe finally brings that vision to life, proving that you don’t need dairy to achieve an unbelievably creamy, satisfying frozen treat.
This creation marks the grand finale of a month-long chocolate celebration, and what a way to conclude! Throughout February, we’ve explored a range of exquisite chocolate delights, each one a testament to the versatility and universal appeal of cocoa. From the magnificent Giant Peanut Butter Cup to the surprisingly delightful Vegan Chocolate Beet Cake, the crunchy Strawberry-Chocolate Bark, and the irresistible Salted Chewy Brownie Cookies, it’s been a chocolate lover’s dream. Finishing with this luscious vegan chocolate ice cream feels like the perfect crescendo, leaving us with a sweet, memorable taste.
Why Choose No-Churn Vegan Chocolate Ice Cream?
The beauty of this recipe lies in its simplicity and accessibility. “No-churn” means you don’t need any specialized equipment like an ice cream maker, making it perfect for home cooks with limited kitchen gadgets. Just a few basic tools and a freezer are all you need to whip up this amazing dessert. For those embracing a vegan lifestyle or dealing with dairy allergies and intolerances, this recipe offers a fantastic alternative to traditional ice cream, ensuring everyone can enjoy a rich, creamy indulgence.
Moreover, homemade ice cream gives you complete control over the ingredients. You can select high-quality cocoa, ensure no artificial additives, and even adjust the sweetness to your preference. It’s a healthier, more mindful way to satisfy your sweet tooth without compromising on flavor or texture. This recipe proves that going vegan doesn’t mean sacrificing the luxurious experience of a truly exceptional dessert.
The Secret to Silky Smooth Vegan No-Churn Ice Cream
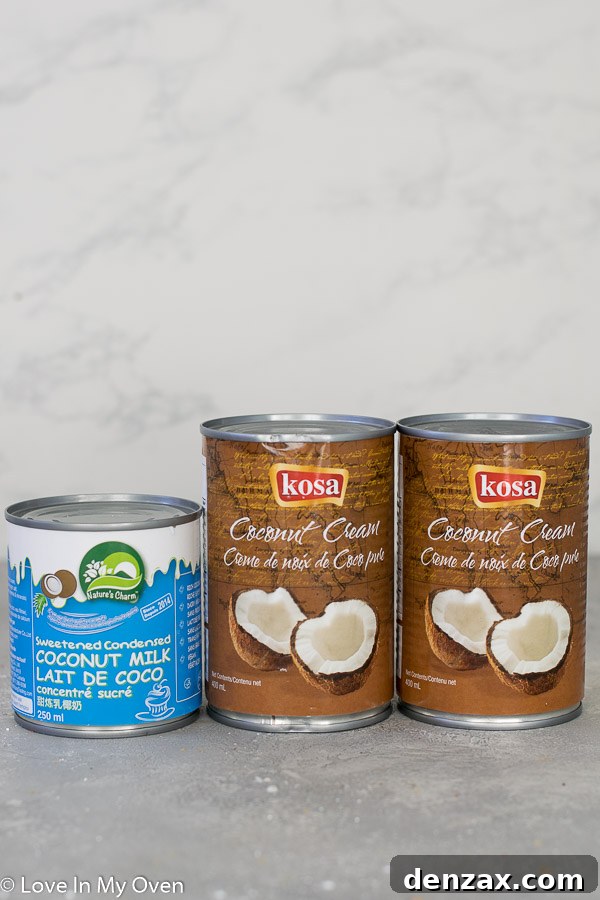
The magic behind this incredibly smooth, no-churn vegan ice cream lies in two key ingredients: full-fat coconut cream and sweetened condensed coconut milk. I discovered the brilliance of this combination when I first spotted sweetened condensed coconut milk on a grocery store shelf. My existing no-churn ice cream method, which relies on whipped dairy cream and condensed milk, had always yielded perfect results. The logical next step was to apply the same principle using coconut-based alternatives, and the outcome was nothing short of spectacular!
The process mirrors that of its dairy counterpart almost perfectly. After some careful experimentation with ratios, I found the ideal balance between the rich coconut cream and the sweet, thick condensed coconut milk. This pairing creates a base that, when whipped, achieves a light, airy texture that freezes beautifully into a delightful, scoopable ice cream. It’s truly a testament to how plant-based ingredients can replicate and even elevate classic dessert experiences.
Finding Sweetened Condensed Coconut Milk
While this ingredient might not be a staple in every conventional grocery store, it’s becoming increasingly available. I successfully located a can at my local health food store, but for broader access, Amazon is an excellent resource. There are several reputable brands that offer high-quality sweetened condensed coconut milk, making it easy to source this crucial component for your vegan ice cream adventures.
For this recipe, you’ll need one entire can of sweetened condensed coconut milk, alongside one 400mL can of refrigerated full-fat coconut cream. The refrigeration step for the coconut cream is vital – it ensures the solid cream separates from the liquid, allowing for proper whipping. Make sure to chill it for at least 24 hours before you plan to make the ice cream for optimal results.
Crafting Your Delicious Vegan Chocolate Ice Cream: A Step-by-Step Guide
Once your coconut cream is perfectly chilled and ready, the process of assembling this delectable ice cream is surprisingly quick and straightforward. Here’s how to achieve that perfect, fluffy base:
- **Prepare the Coconut Cream:** Carefully open the refrigerated can of coconut cream. You’ll notice a thick, solid layer of cream at the top. Gently scoop this solid cream into the bowl of an electric stand mixer fitted with a whisk attachment. If you don’t have a stand mixer, a handheld electric mixer works just as effectively.
- **Whip to Perfection:** Begin whipping the coconut cream on high speed. Initially, it will be quite dense, but within a couple of minutes, it will transform into a light, airy, and fluffy consistency, much like traditional whipped cream. The key here is to whip it thoroughly to incorporate air, which contributes to the ice cream’s smooth final texture.
- **Infuse with Chocolate:** With the coconut cream whipped, it’s time to add the cocoa powder. Start by mixing on a slow speed to prevent a “cocoa cloud” from forming, then gradually increase to high speed until the cocoa is fully incorporated and the mixture is uniformly chocolate-colored.
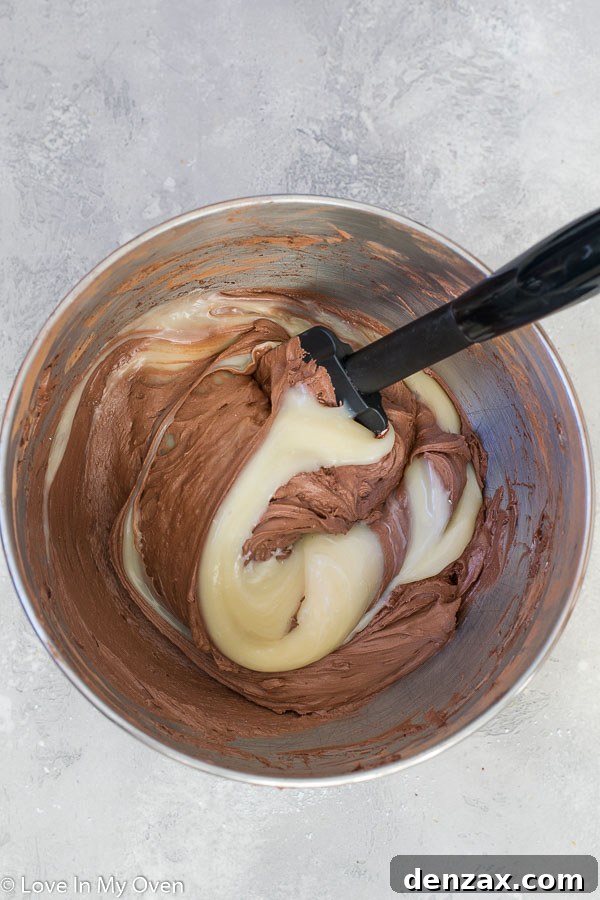
- **Fold in Sweetness:** Finally, scrape the entire can of sweetened condensed coconut milk into the chocolate coconut cream mixture. Using a spatula, gently fold it in. The goal is to combine everything thoroughly without deflating the airy whipped cream. This gentle folding ensures the ice cream retains its light texture.
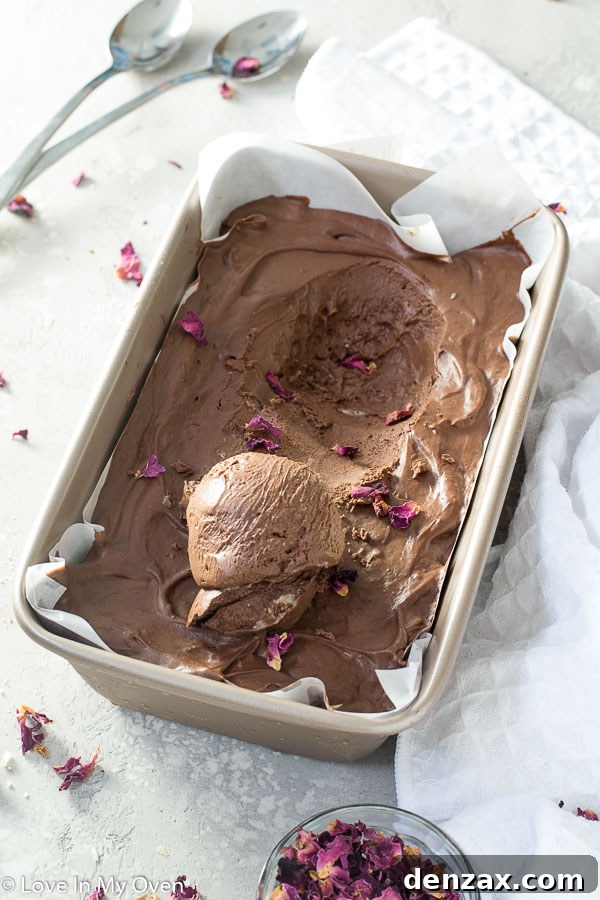
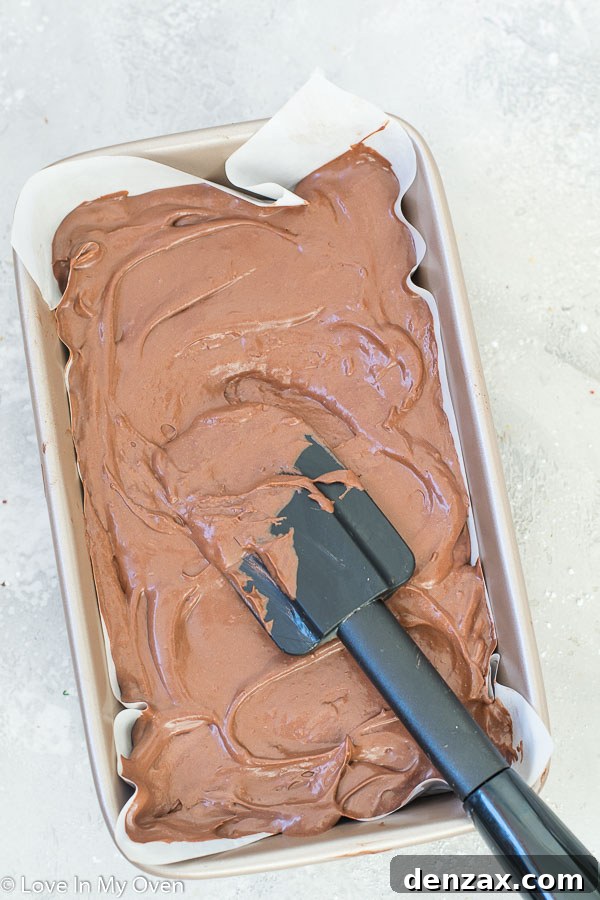
- **Freeze for Flavor:** Once perfectly blended, transfer the mixture into a freezer-safe container. Loaf pans work wonderfully for this, and you can line them with parchment paper for effortless removal and cleanup, though it’s not strictly necessary. Smooth out the top with a spatula for an even freeze.
- **The Waiting Game:** Place the container in the freezer for 5-6 hours. This allows the ice cream to firm up and develop its full flavor and creamy consistency.
Tips for Serving and Storing Your Vegan Ice Cream
While this no-churn vegan ice cream is delightfully easy to make, there’s a small but important detail to keep in mind regarding its texture. Due to the absence of traditional dairy fats and stabilizers, it tends to freeze quite hard. To enjoy perfect scoops every time:
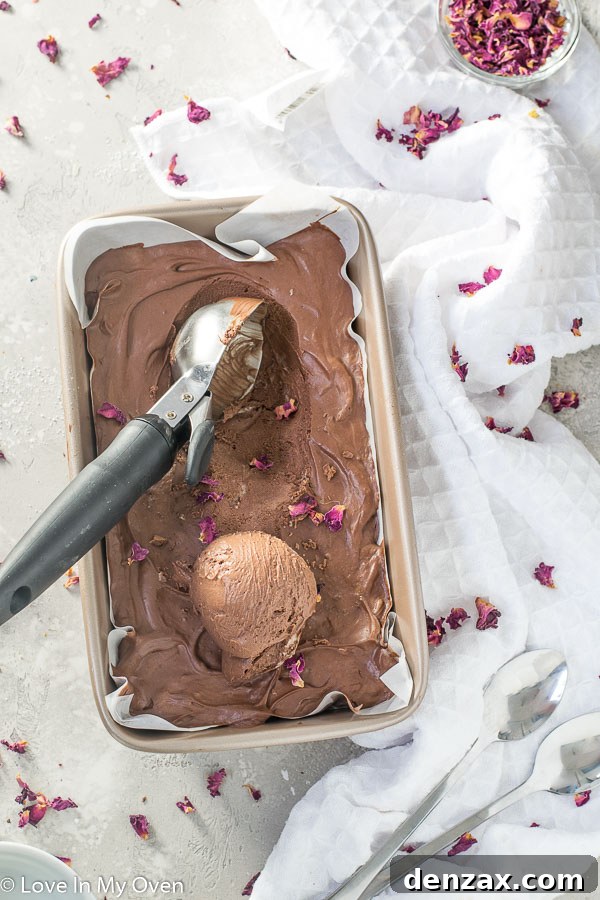
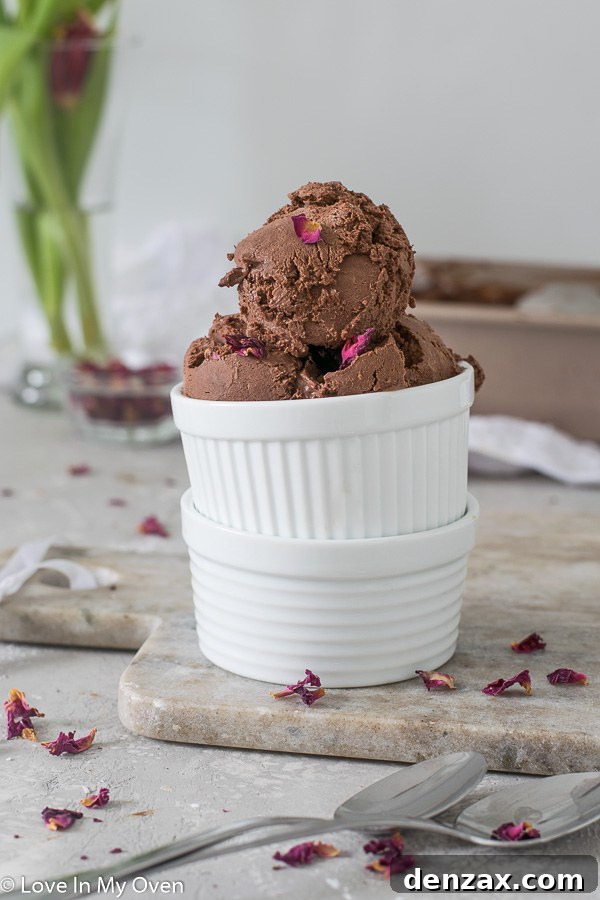
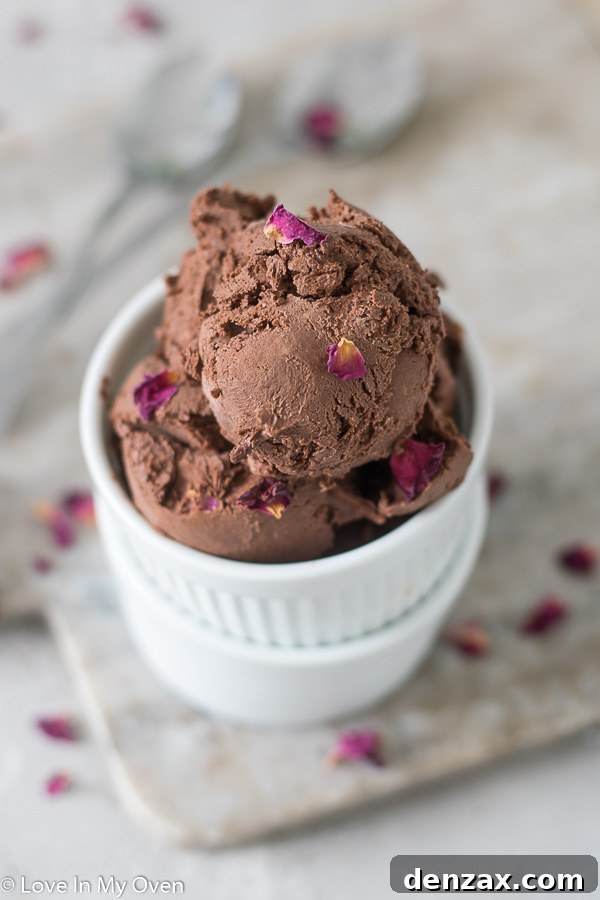
- **Allow to Soften:** When you first remove the ice cream from the freezer, it will be very firm. You’ll need to let it sit at room temperature for at least 20 minutes before it’s soft enough to scoop and serve. Patience is a virtue when it comes to this treat!
- **The Vodka Trick (Optional):** If you prefer immediate scooping convenience, you can add 1-2 tablespoons of vodka to your ice cream mixture before freezing. The alcohol content acts as an anti-freeze, resulting in a slightly softer, more scoopable texture straight from the freezer. Don’t worry, you won’t taste the vodka; it simply works its magic on the ice cream’s consistency.
How Long Can You Store No-Churn Vegan Ice Cream?
This homemade vegan chocolate ice cream stores beautifully for a couple of weeks, provided it’s kept in a tightly sealed, freezer-safe container. The longer it remains frozen, the harder it will become, which means you might need to extend the softening time before serving. For the best texture, try to enjoy it within the first week or two.
Customization and Fun Add-ins
One of the joys of homemade ice cream is the ability to customize it to your heart’s content! This rich chocolate base is perfect for a variety of vegan additions:
- **Crunchy Bits:** Fold in chopped nuts (almonds, walnuts, pecans), vegan chocolate chips, or crushed vegan cookies.
- **Swirls and Sauces:** Create ripples of vegan caramel sauce, peanut butter, or raspberry jam.
- **Fresh Flavors:** Add a swirl of peppermint extract, a dash of espresso powder for a mocha twist, or even a handful of fresh berries.
With this recipe, you’re not just making ice cream; you’re creating a personalized frozen masterpiece!
More Dairy-Free Delights and No-Churn Ice Cream Inspiration
My passion for ice cream, particularly the no-churn variety, is undeniable. If you enjoyed this vegan chocolate version, you might love exploring some of my other favorite creations:
- Matcha No-Churn Ice Cream: A unique and refreshing flavor for green tea lovers.
- Rolo No-Churn Ice Cream: Caramel and chocolate perfection in a creamy base.
- Best Mint Chocolate Chip Ice Cream: A classic done right, with vibrant mint flavor.
And for those seeking more incredible vegan treats to satisfy any craving, be sure to check out these delicious options:
- Vegan Chocolate Beet Cake: An unexpectedly moist and rich cake with a secret ingredient.
- Easy Chocolate Raspberry Mousse: A light, airy, and fruity chocolate dessert.
- Healthier Sea Salt Caramels: A delightful balance of sweet and salty.
This no-churn vegan chocolate ice cream truly rounds out our chocolate celebrations with a triumphant finish. I’m already planning for next year – perhaps an entire month dedicated to chocolate is in order!
What are your thoughts? Are you ready to try this incredible dairy-free delight?
Happy Valentine’s Day (weekend) and happy scooping!
❤
Please note! This ice cream will need about 20 minutes at room temperature before it is scoop-and-serve ready, unless you add vodka (see recipe notes).

Vegan Chocolate Ice Cream (No-Churn)
5 Stars 4 Stars 3 Stars 2 Stars 1 Star
5 from 18 reviews
Author: Katherine | Love In My Oven
Total Time: 10 minutes
Yield: 1 pint 1x
Description
A no-churn vegan ice cream? It sounds almost too good to be true, but this easy vegan chocolate ice cream is the REAL DEAL! This is a silky smooth chocolate ice cream made with coconut milk, and cocoa.
Ingredients
Scale
- 1 can (400mL) full-fat coconut cream, refrigerated*
- 1/2 cup cocoa powder
- 1 can (250mL) sweetened condensed coconut milk
- optional: 2 tablespoons vodka**
Instructions
- In the bowl of a stand mixer fitted with the whisk attachment, or using a handheld electric mixer, scoop out the coconut cream and whip it on high until light and fluffy, about 2 minutes. Add the cocoa powder and whip again on high until incorporated (start out slow initially to avoid a cocoa powder dust cloud). Scrape out the entire can of sweetened condensed milk (and vodka, if using) into the mixture, and use a spatula to fold it in. Once everything is incorporated, empty the mixture into a freezer-safe container. I usually use a loaf pan lined with parchment paper. Smooth out the top of the ice cream and place it in the freezer for 5-6 hours.
- To serve, allow the ice cream to sit at room temperature for about 20 minutes before scooping. If you had added vodka, you should be able to scoop it out immediately. Place the un-used ice cream back in the freezer.
Ice cream keeps for about 2 weeks in the same freezer-safe container. The longer you have it in the freezer, the harder it will become and the longer you might have to leave it at room temperature before scooping!
Notes
*Be sure to refrigerate the can of coconut cream at least 24 hours prior to making the ice cream
**Adding vodka to the recipe will ensure that the ice cream is easier to scoop straight from the freezer; otherwise, you will have to wait about 20 minutes before scooping. You can’t taste the vodka!
- Prep Time: 10 minutes
- Category: ice cream
- Method: no-churn
- Cuisine: vegan
Shop the Recipe!
Thai Kitchen Gluten Free Un…Shop on Amazon Nature’s Charm Sweetned Con…Shop on Amazon Norpro, black Nonstick Anti…Shop on Amazon